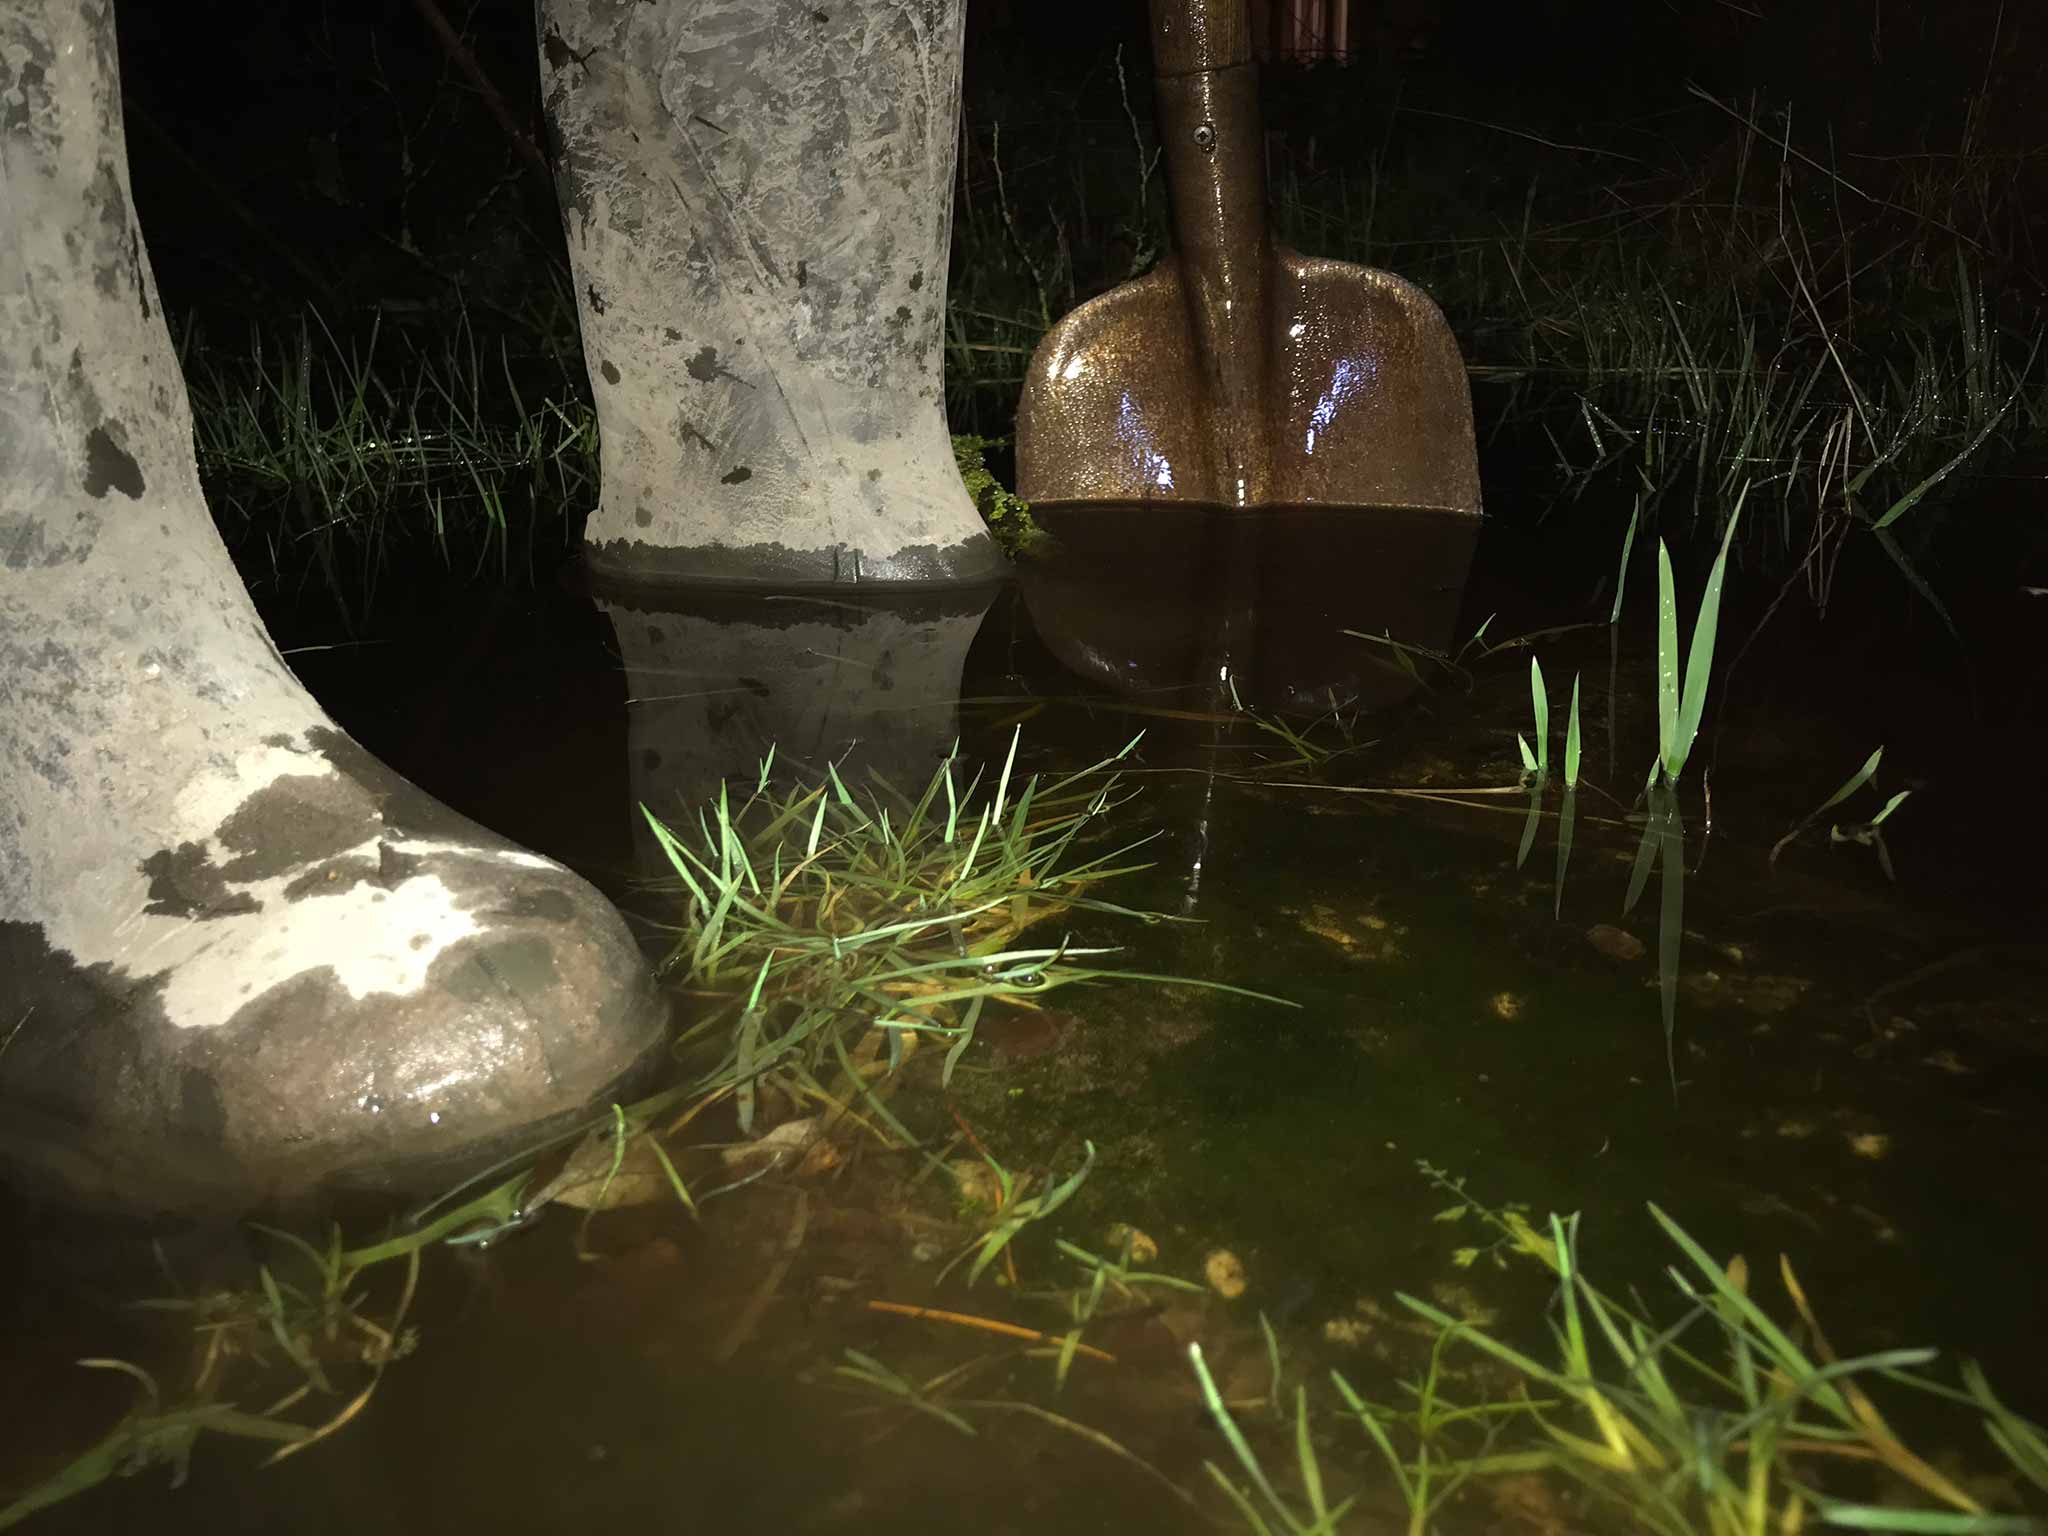
The wettest I’d seen since a long time. About 25mm water in about 4 hours? Water vacuuming for about three and a half hour and spending the rest of the time digging ditches to drain the garden to all directions that could still hold some water or were just lower than others.
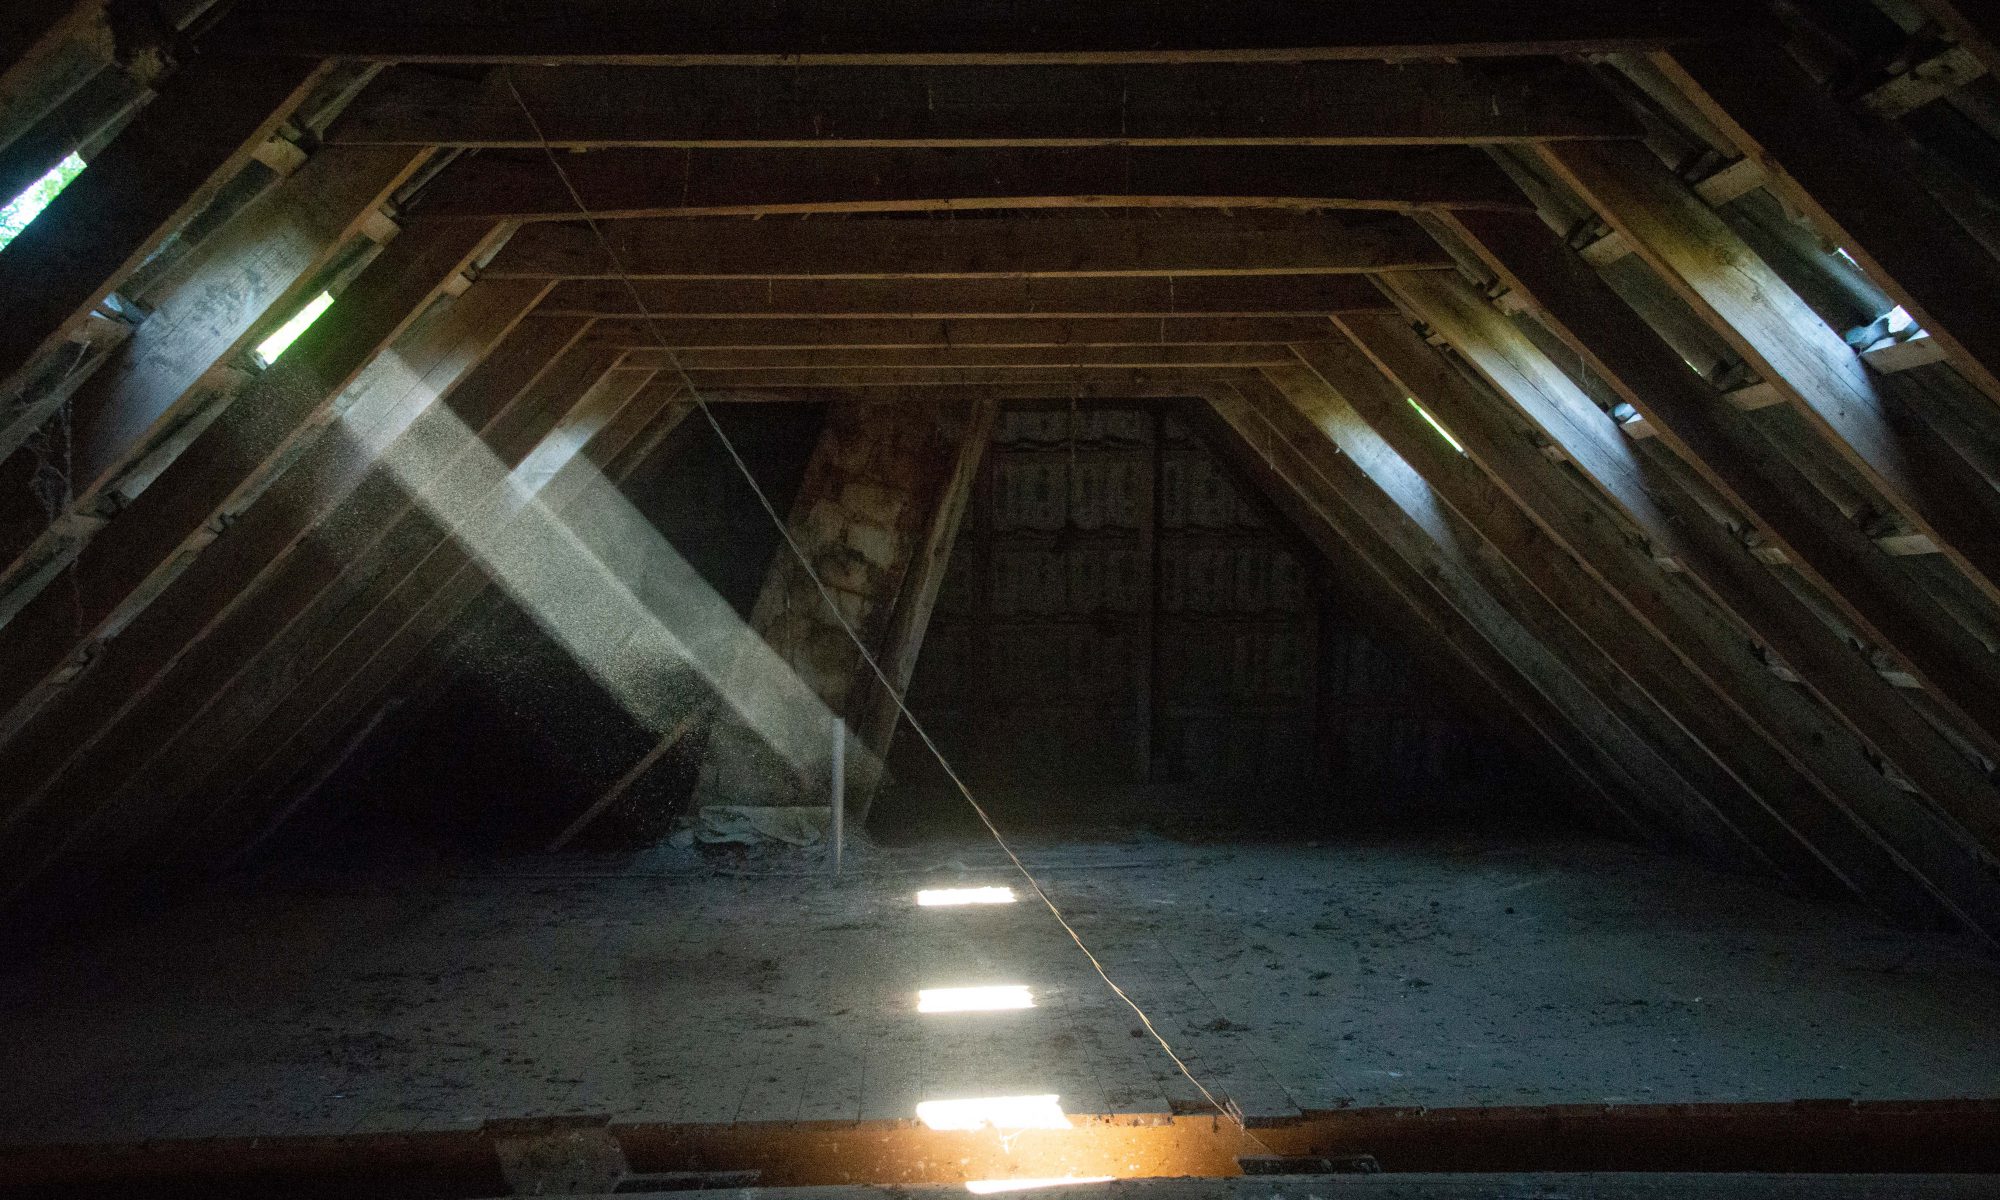
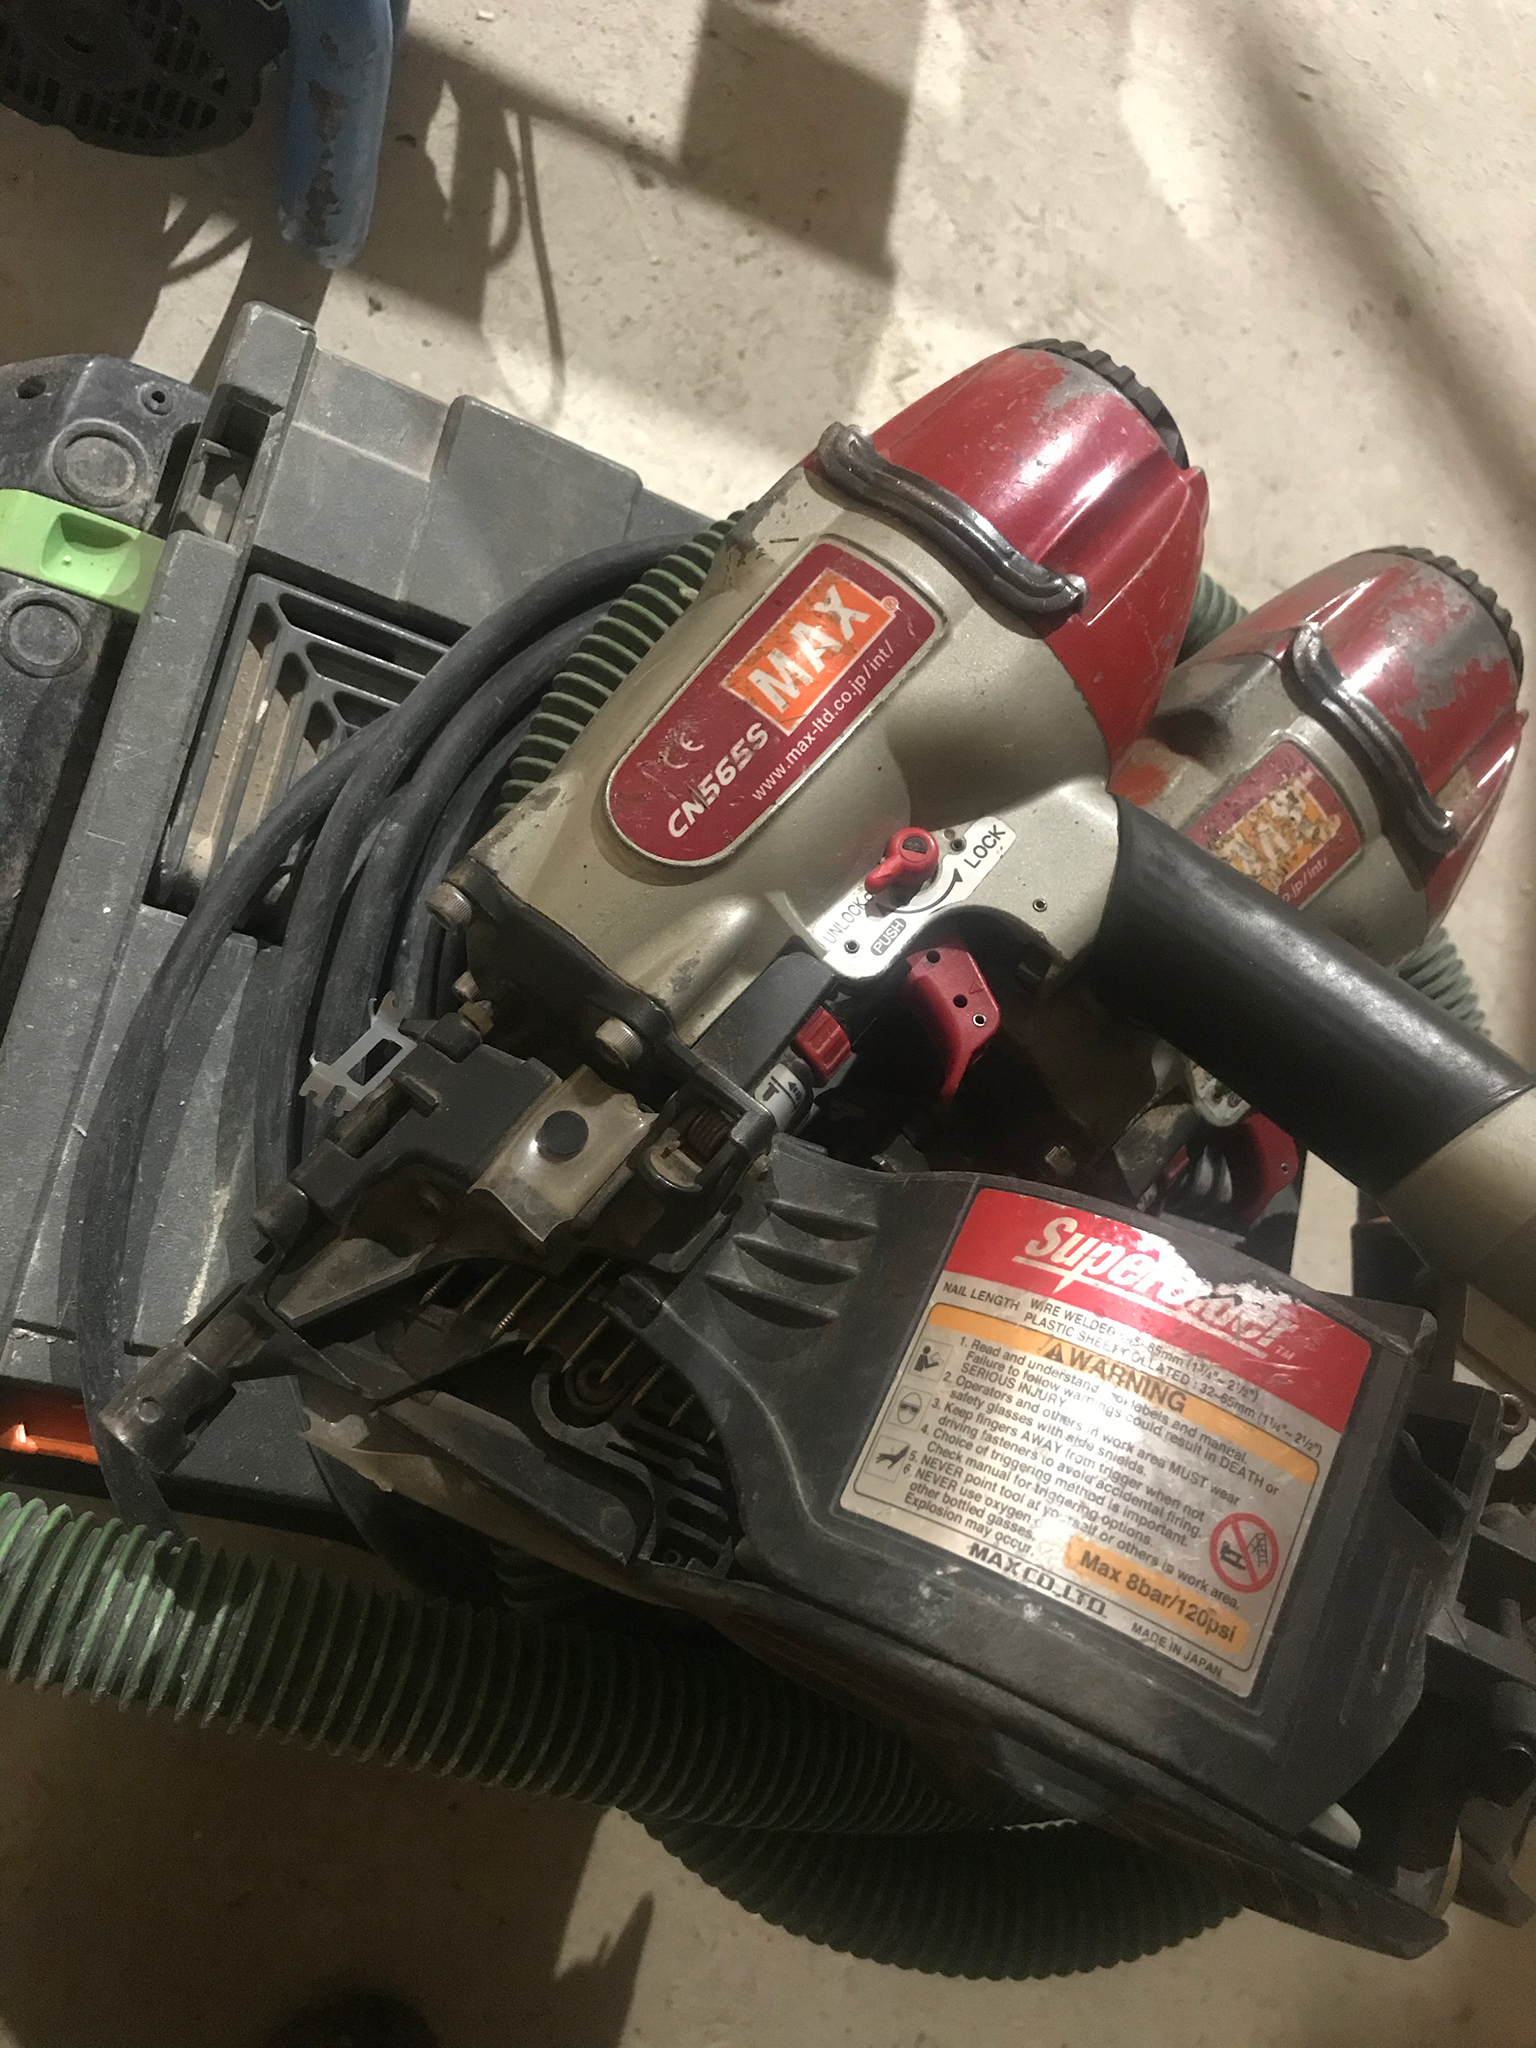
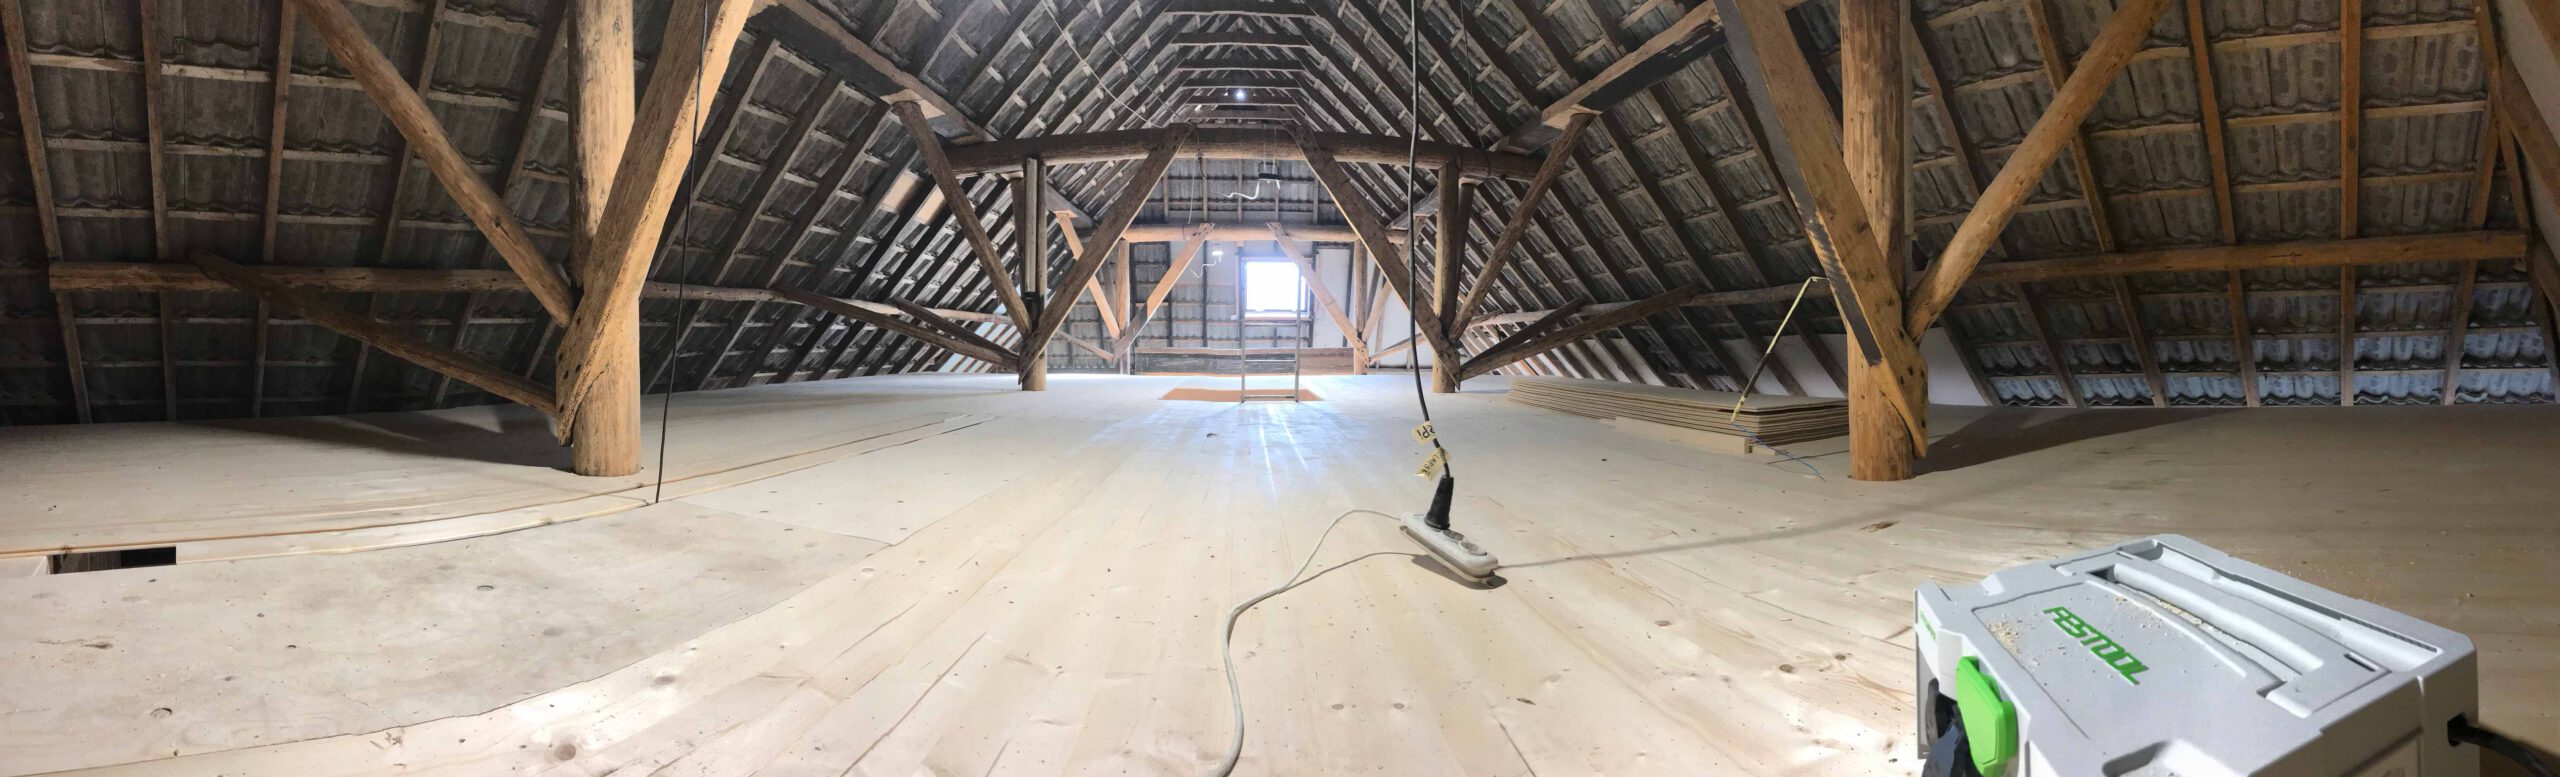
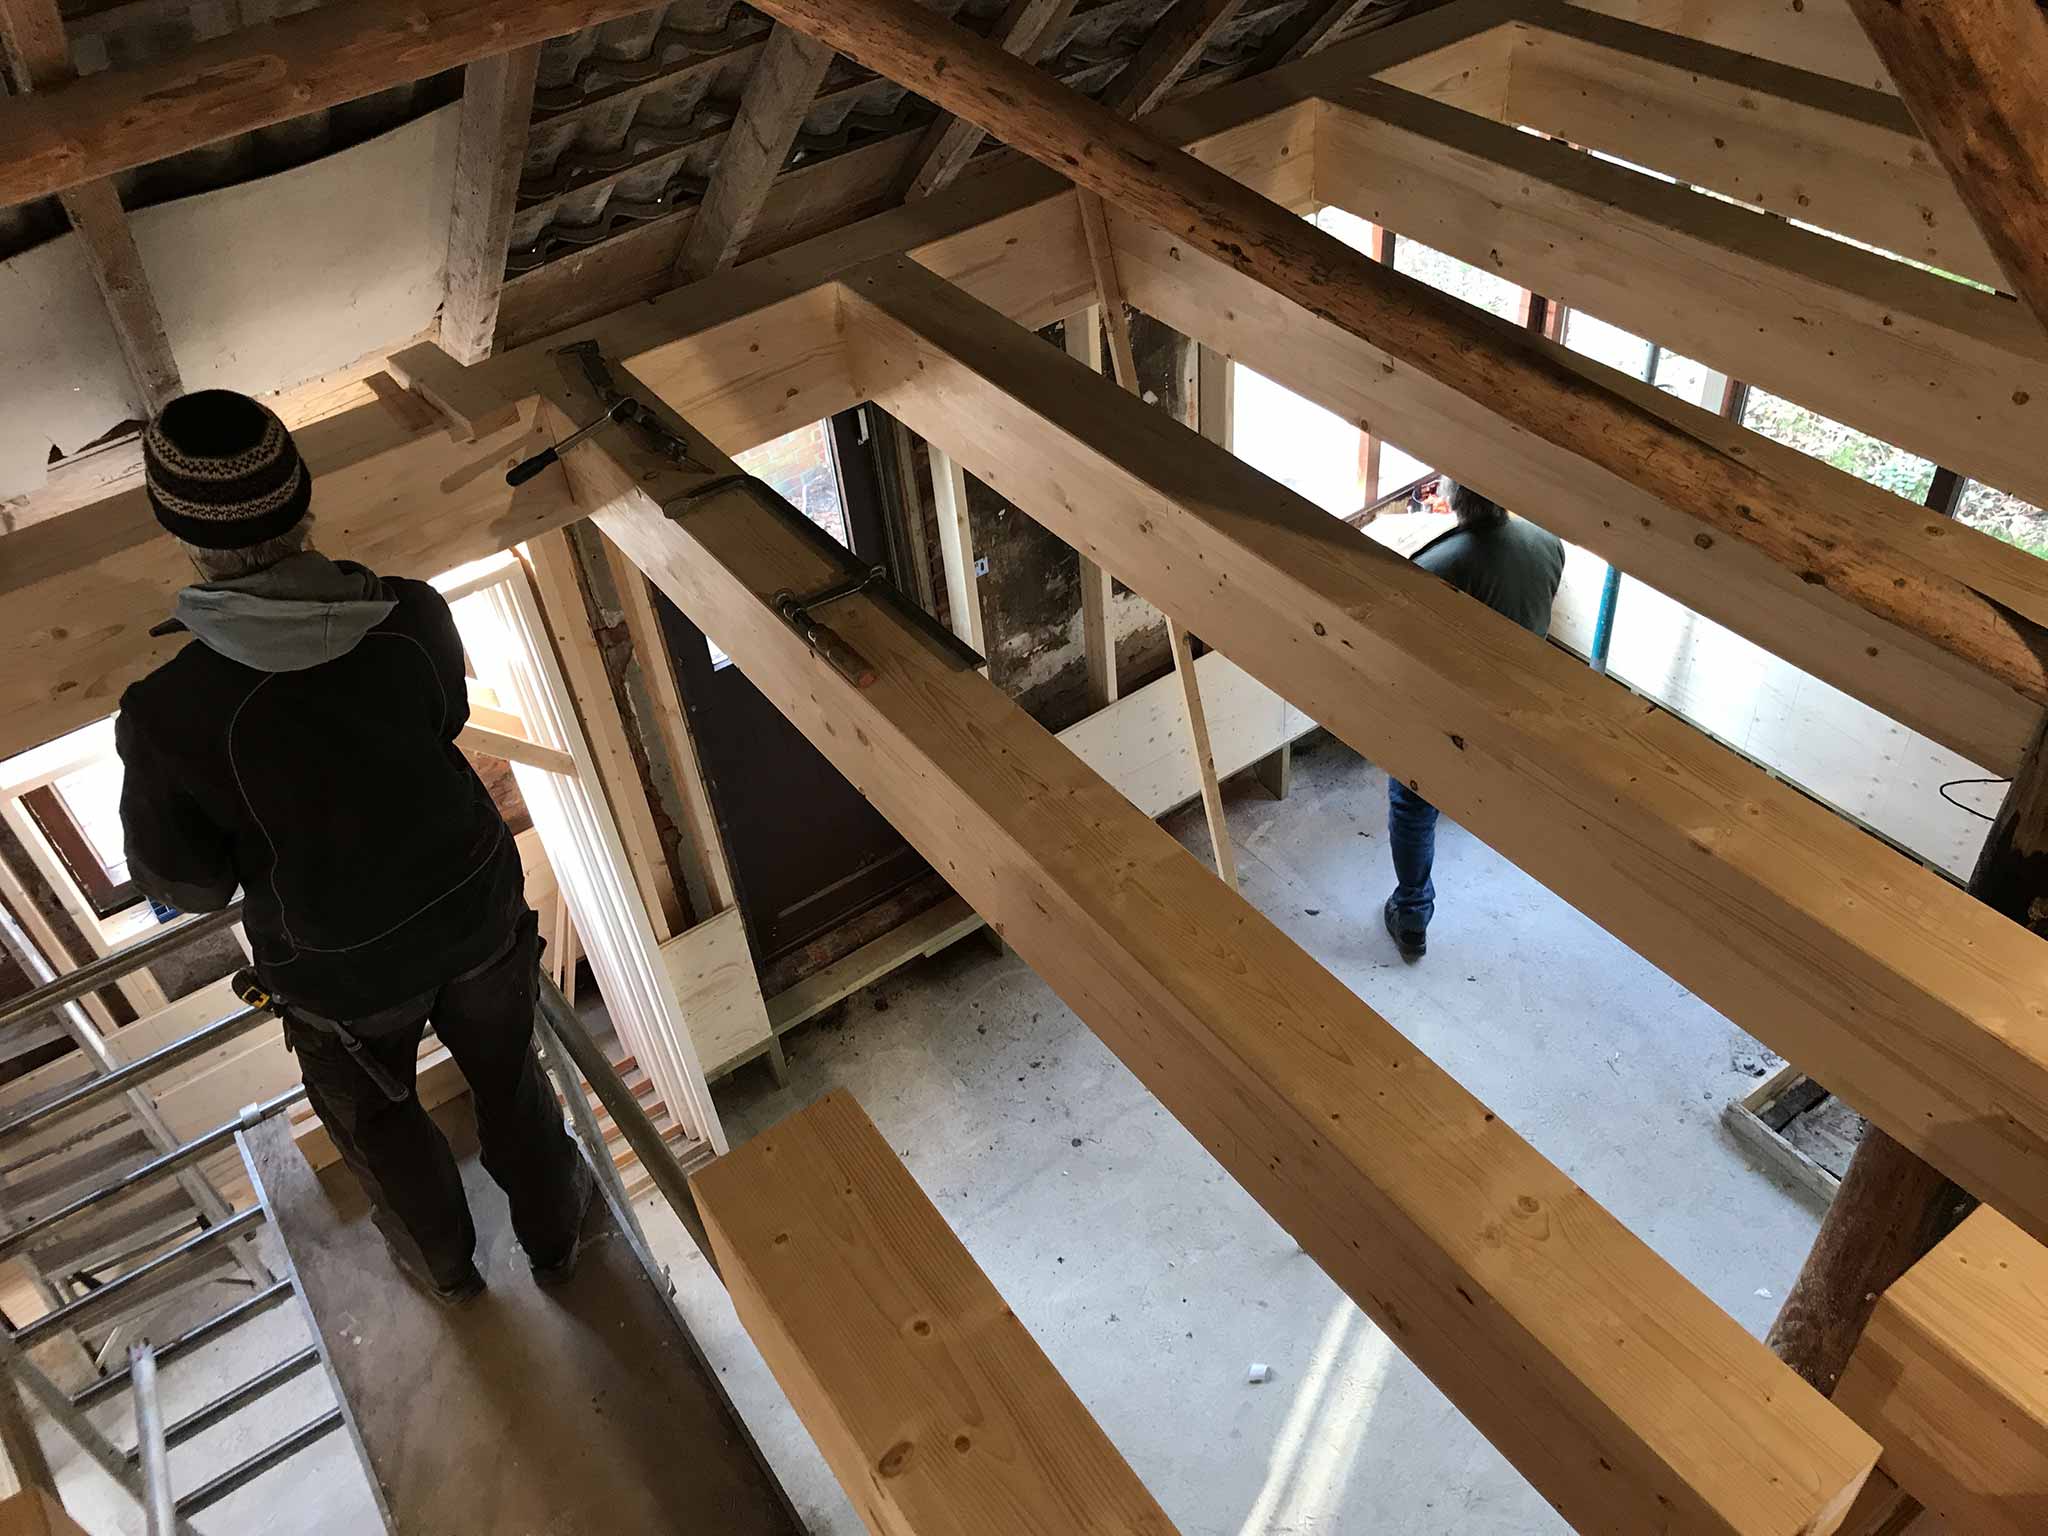
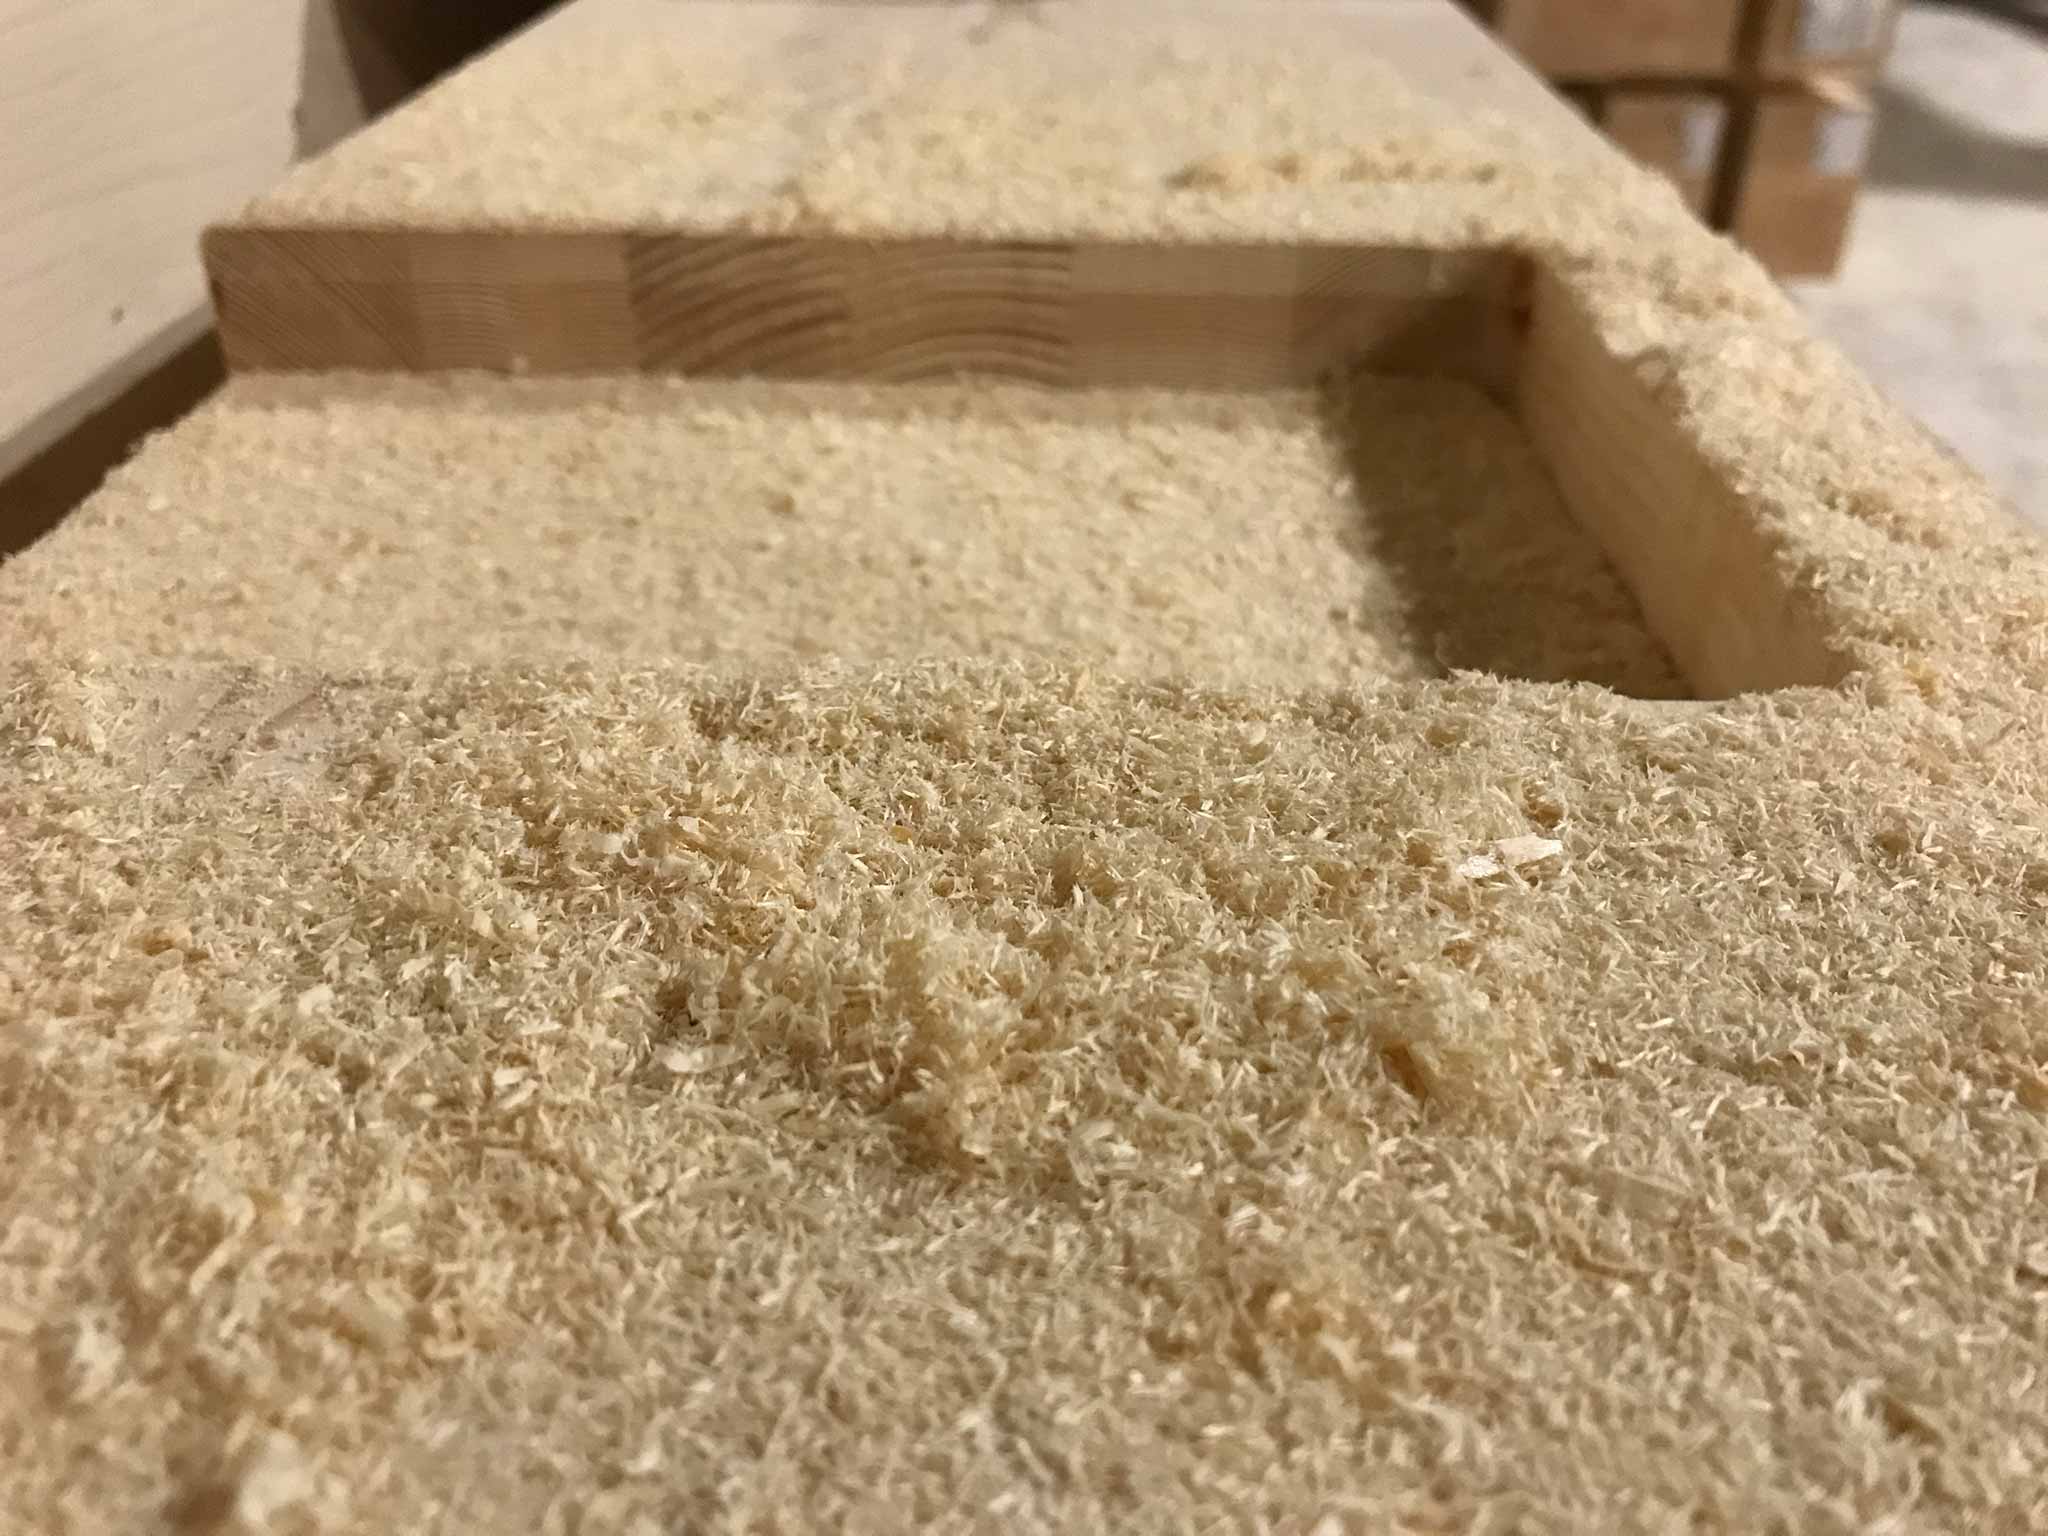
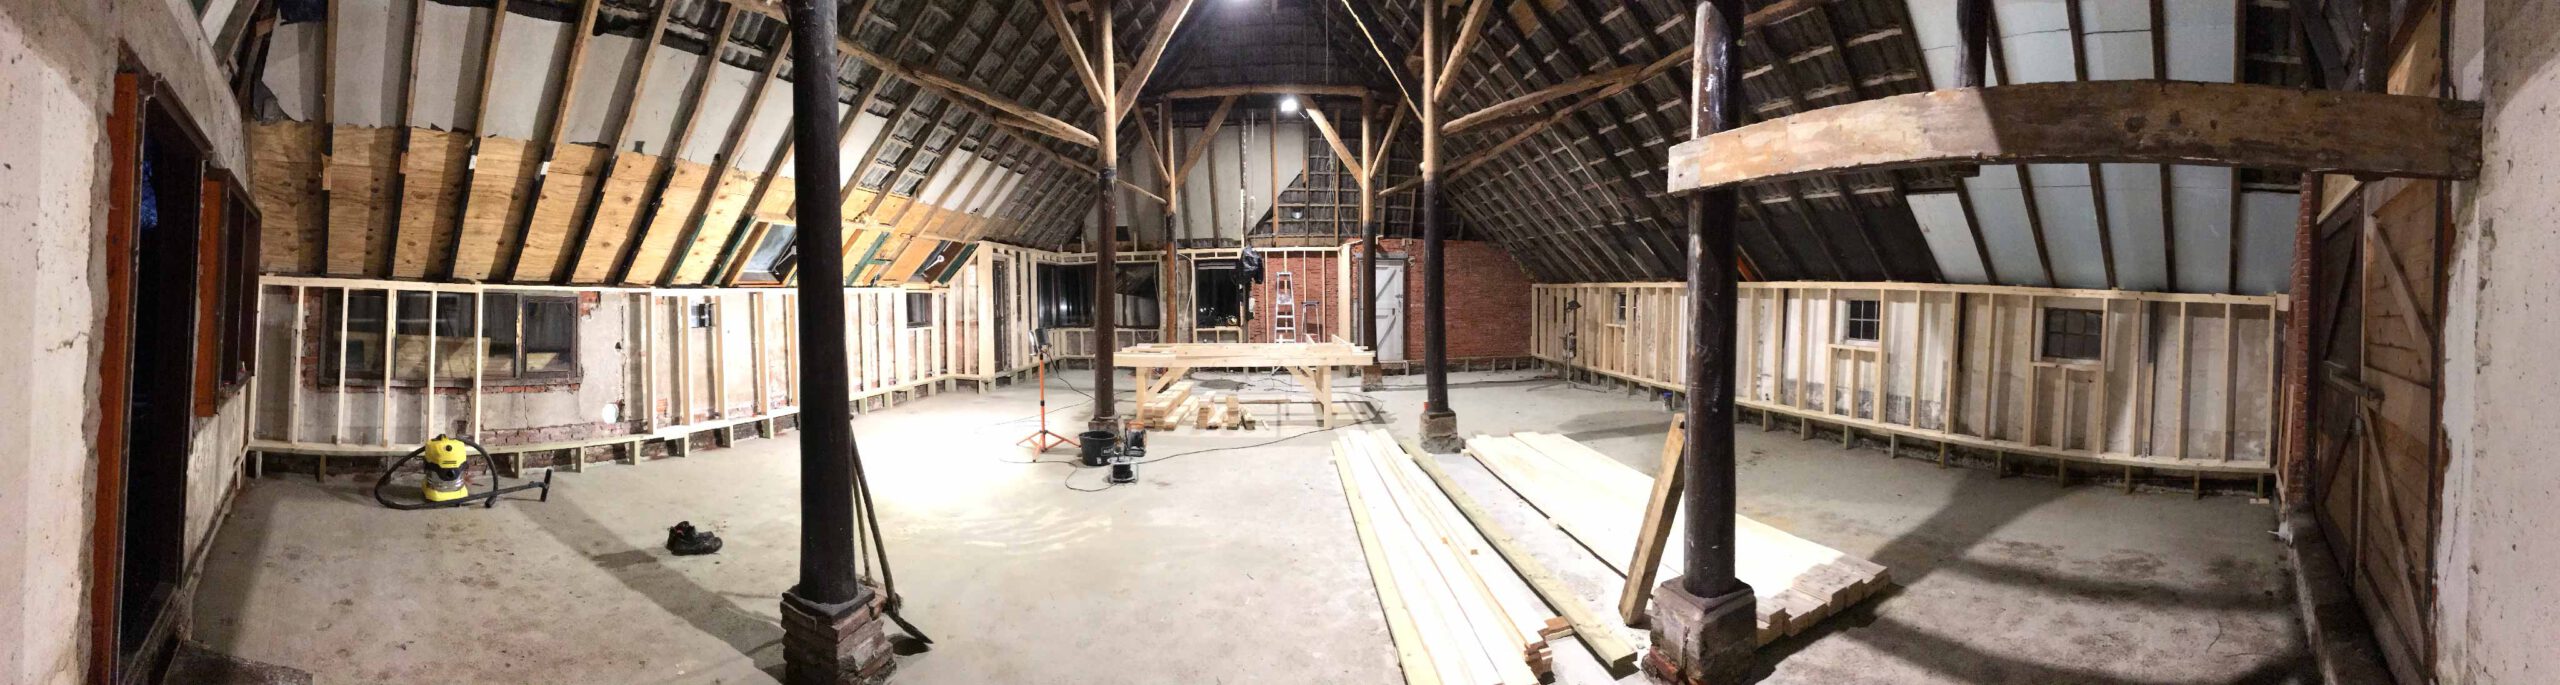
After placing the beams, it is time for the first layer of the attic floor (or the ground floor ceiling). 2cm planks nailed into place. As I’m told, this stuff is never done by hand anymore. Nailguns are a time saver…
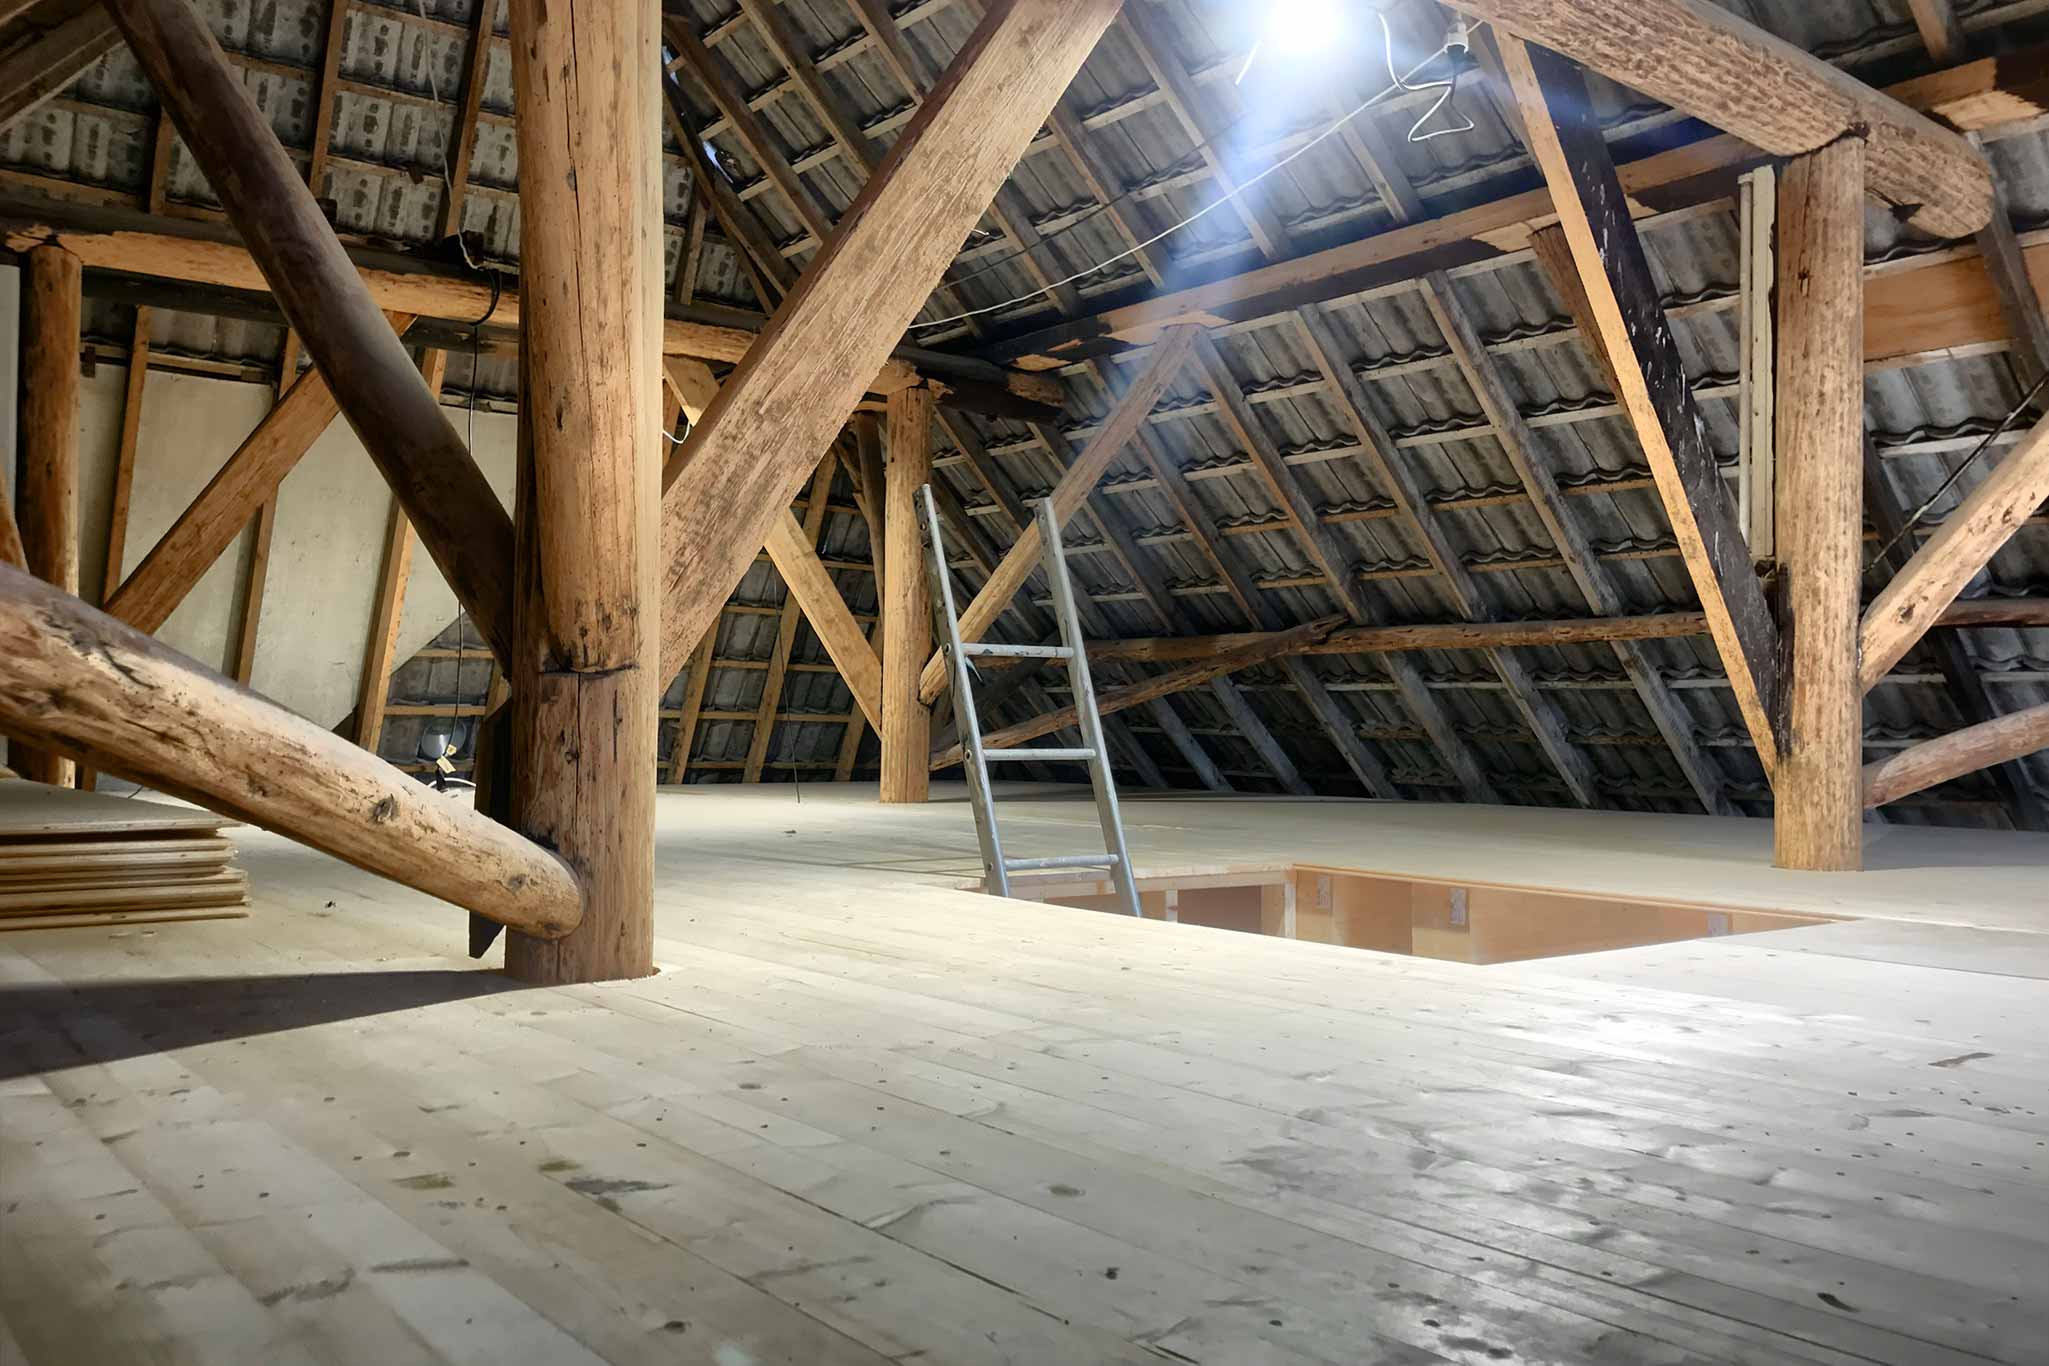
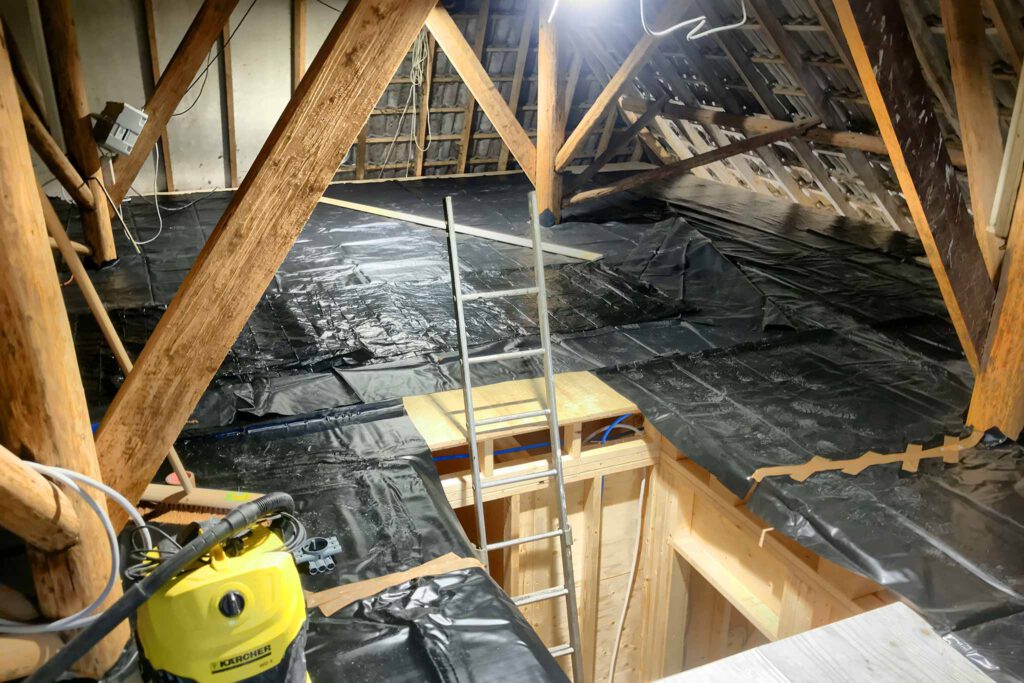
After placing that layer, it will take ‘some’ time until the next layer is placed. therefore I played Christo in the small. Dust apparently has the ability to, together with the shrinking and expanding of the wood, seep through the planks, even with the grooved connections. This could lead to the dust falling though onto the floor below. As there will still be a lot of dust generated for some time, a layer of plastic should prevent the dust from settling in the grooves of the planks.
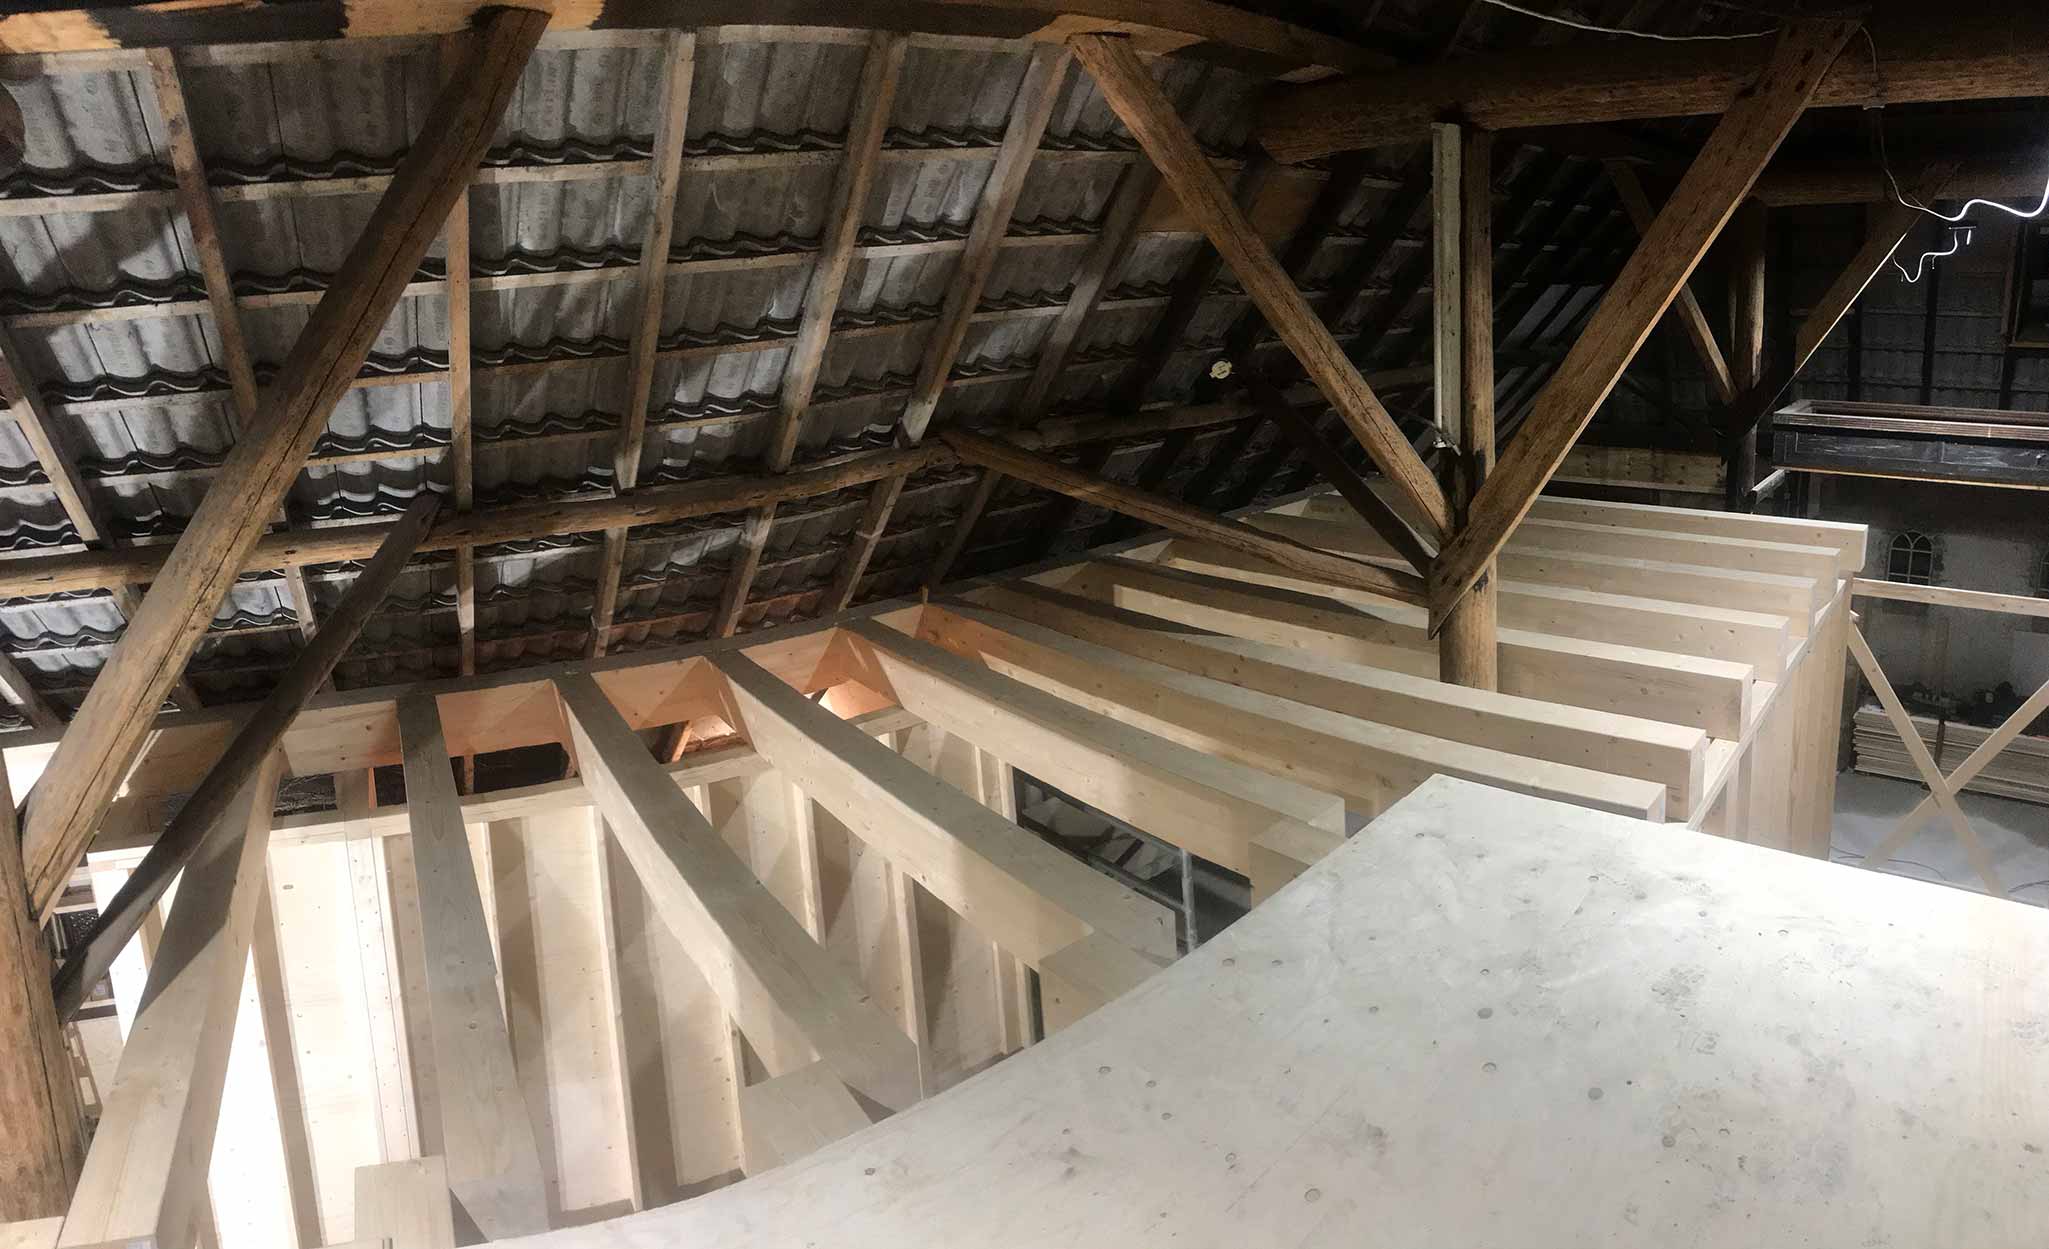
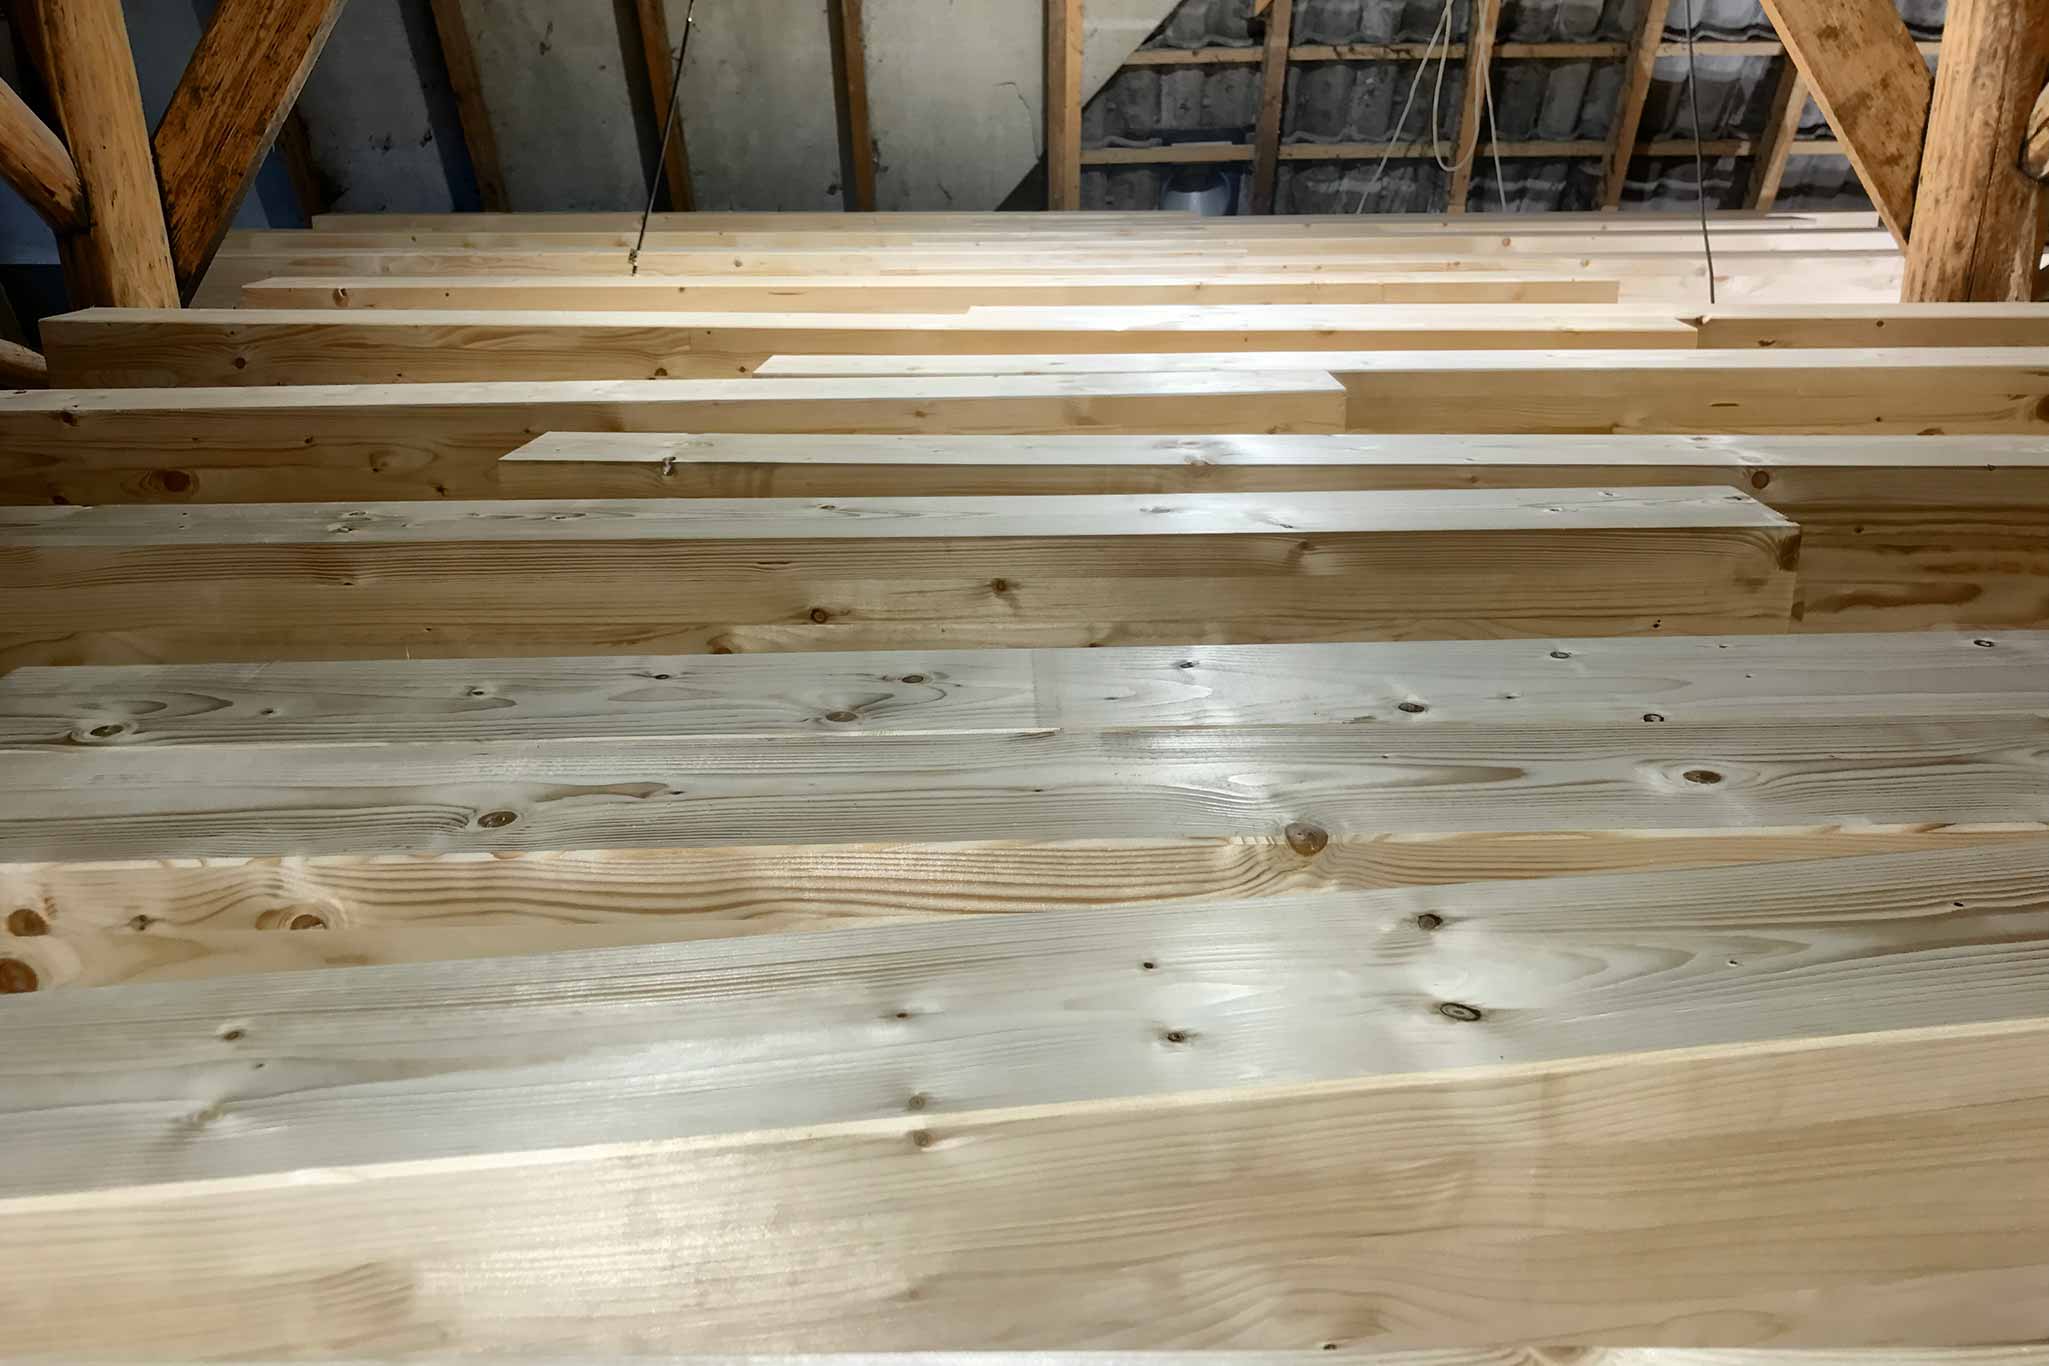
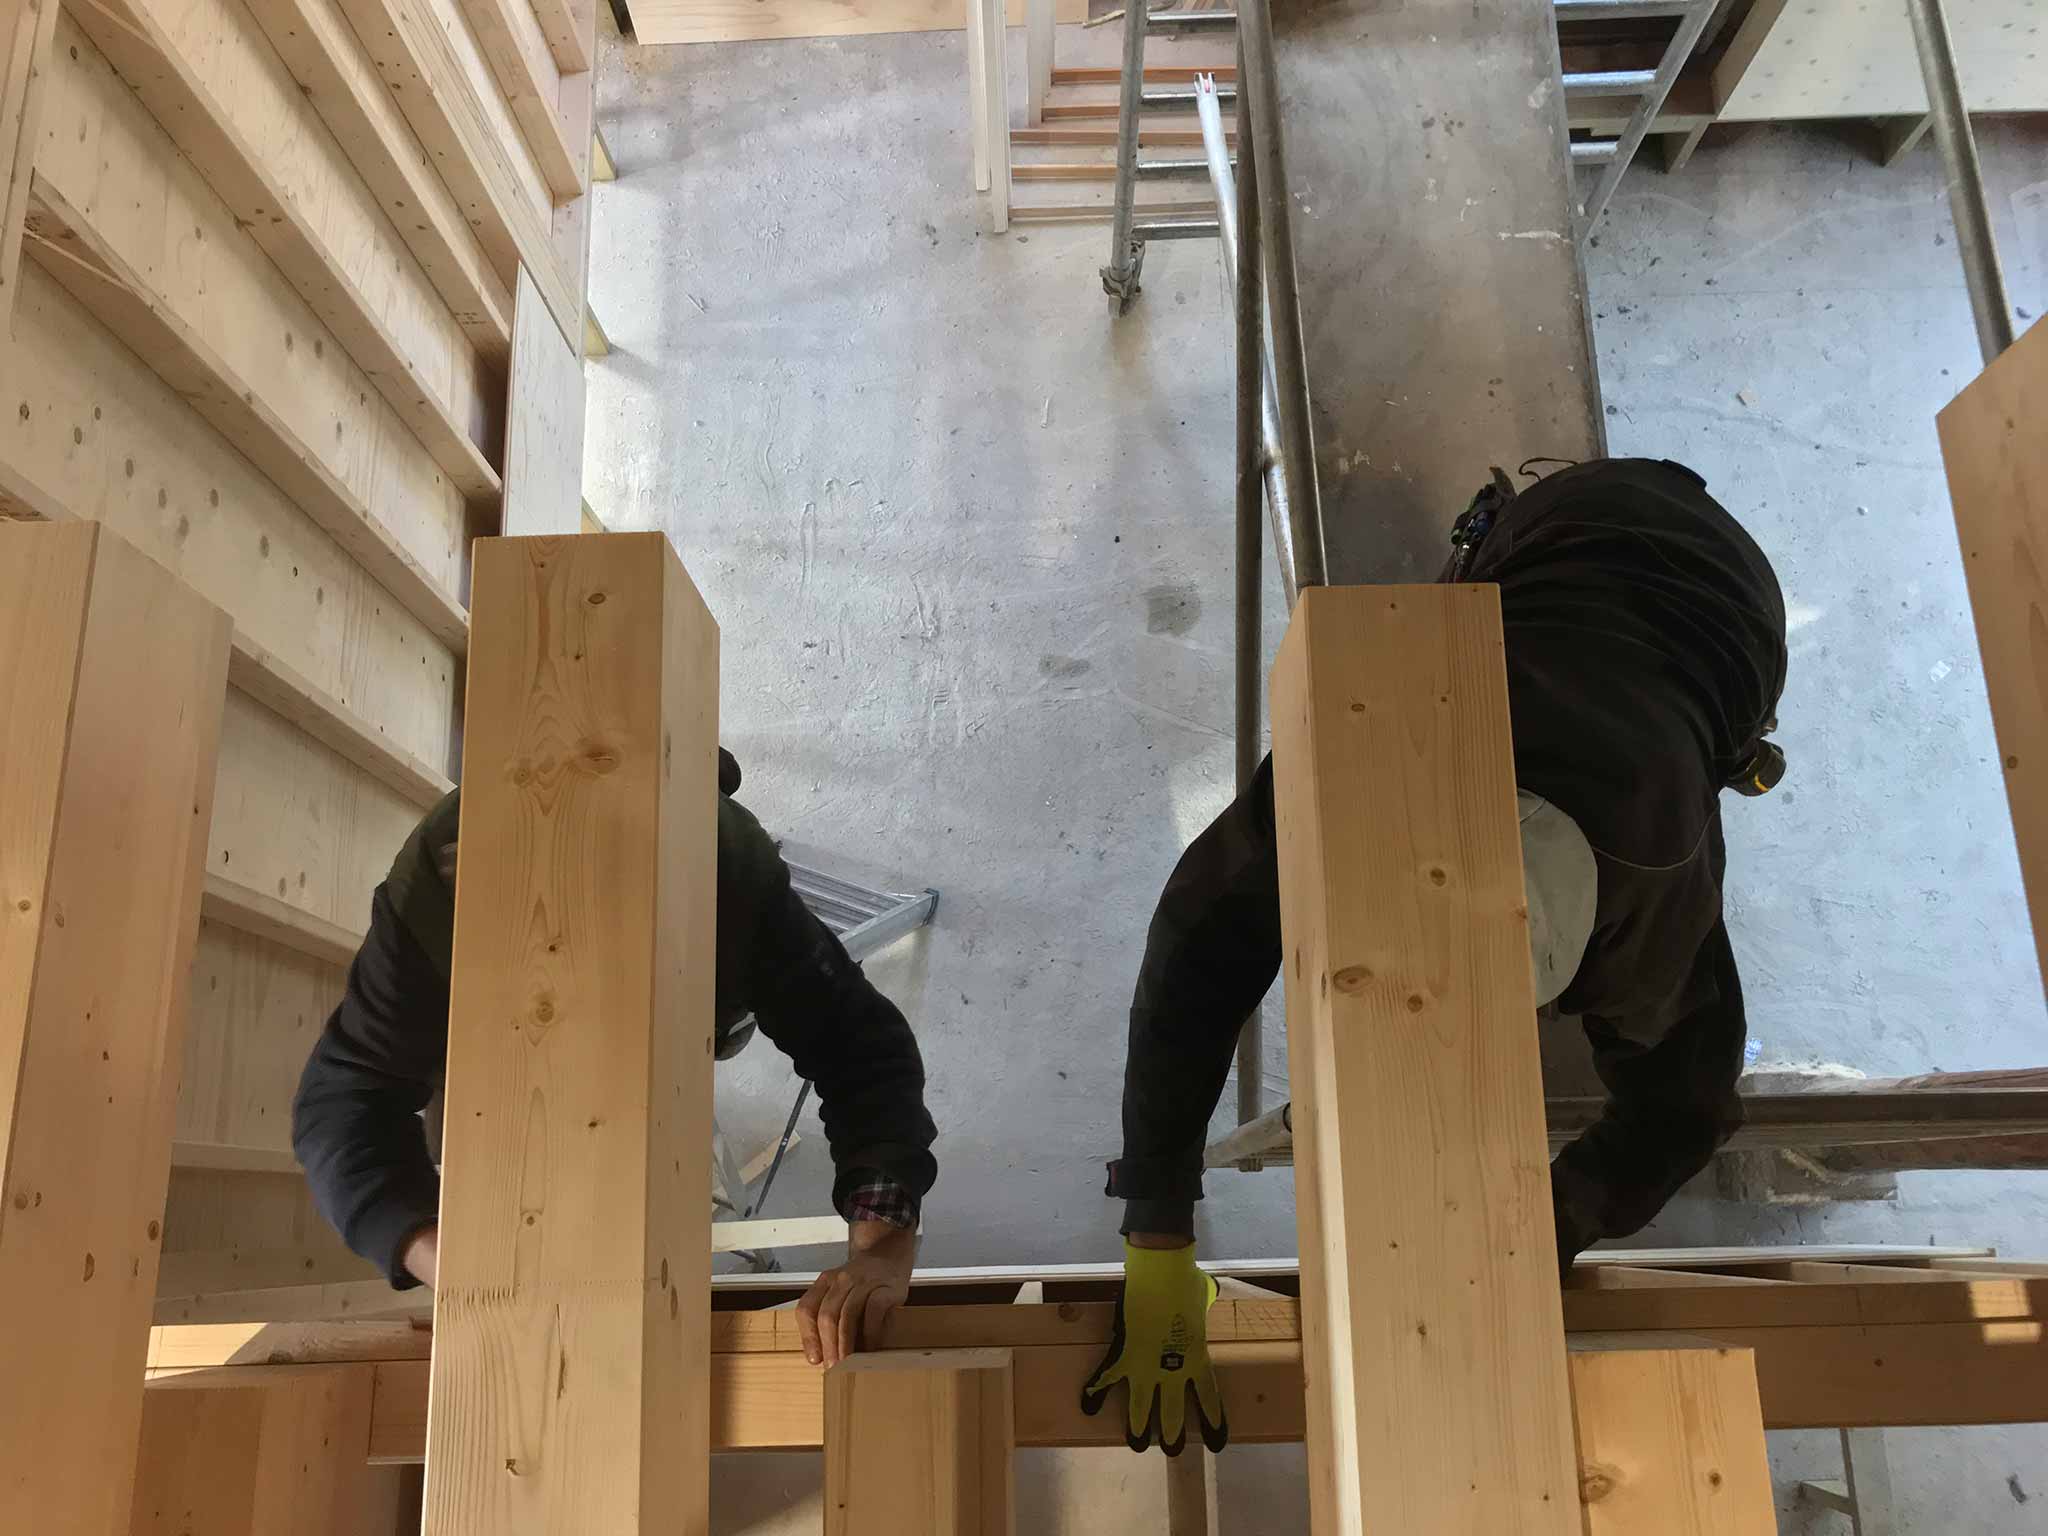
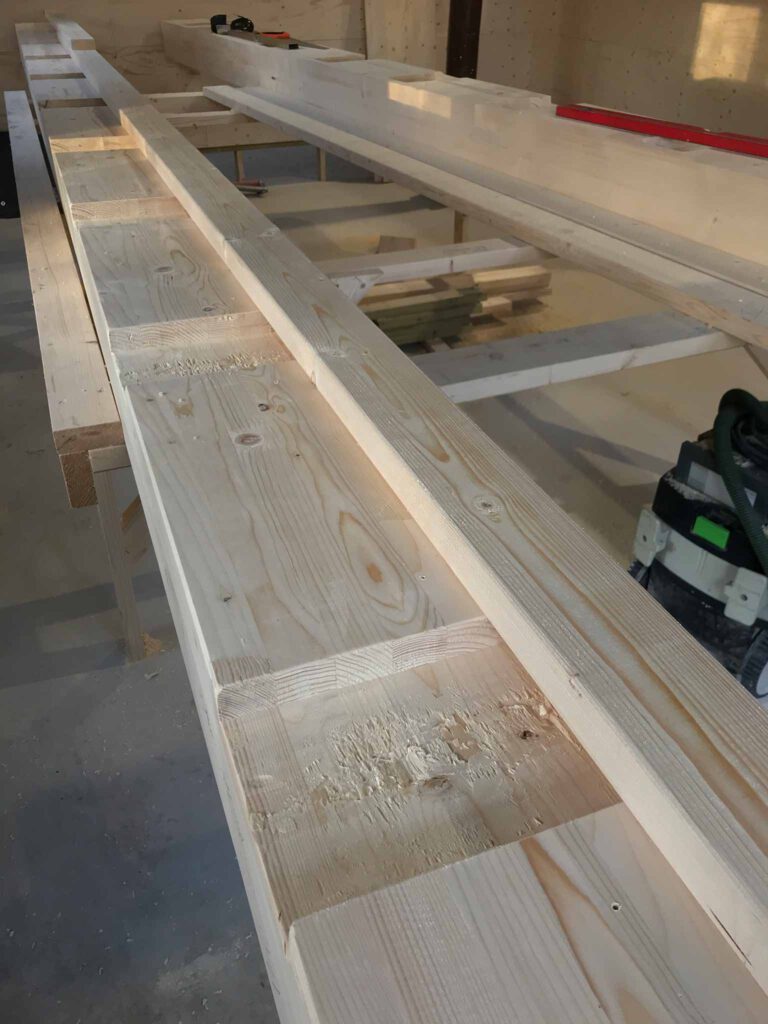
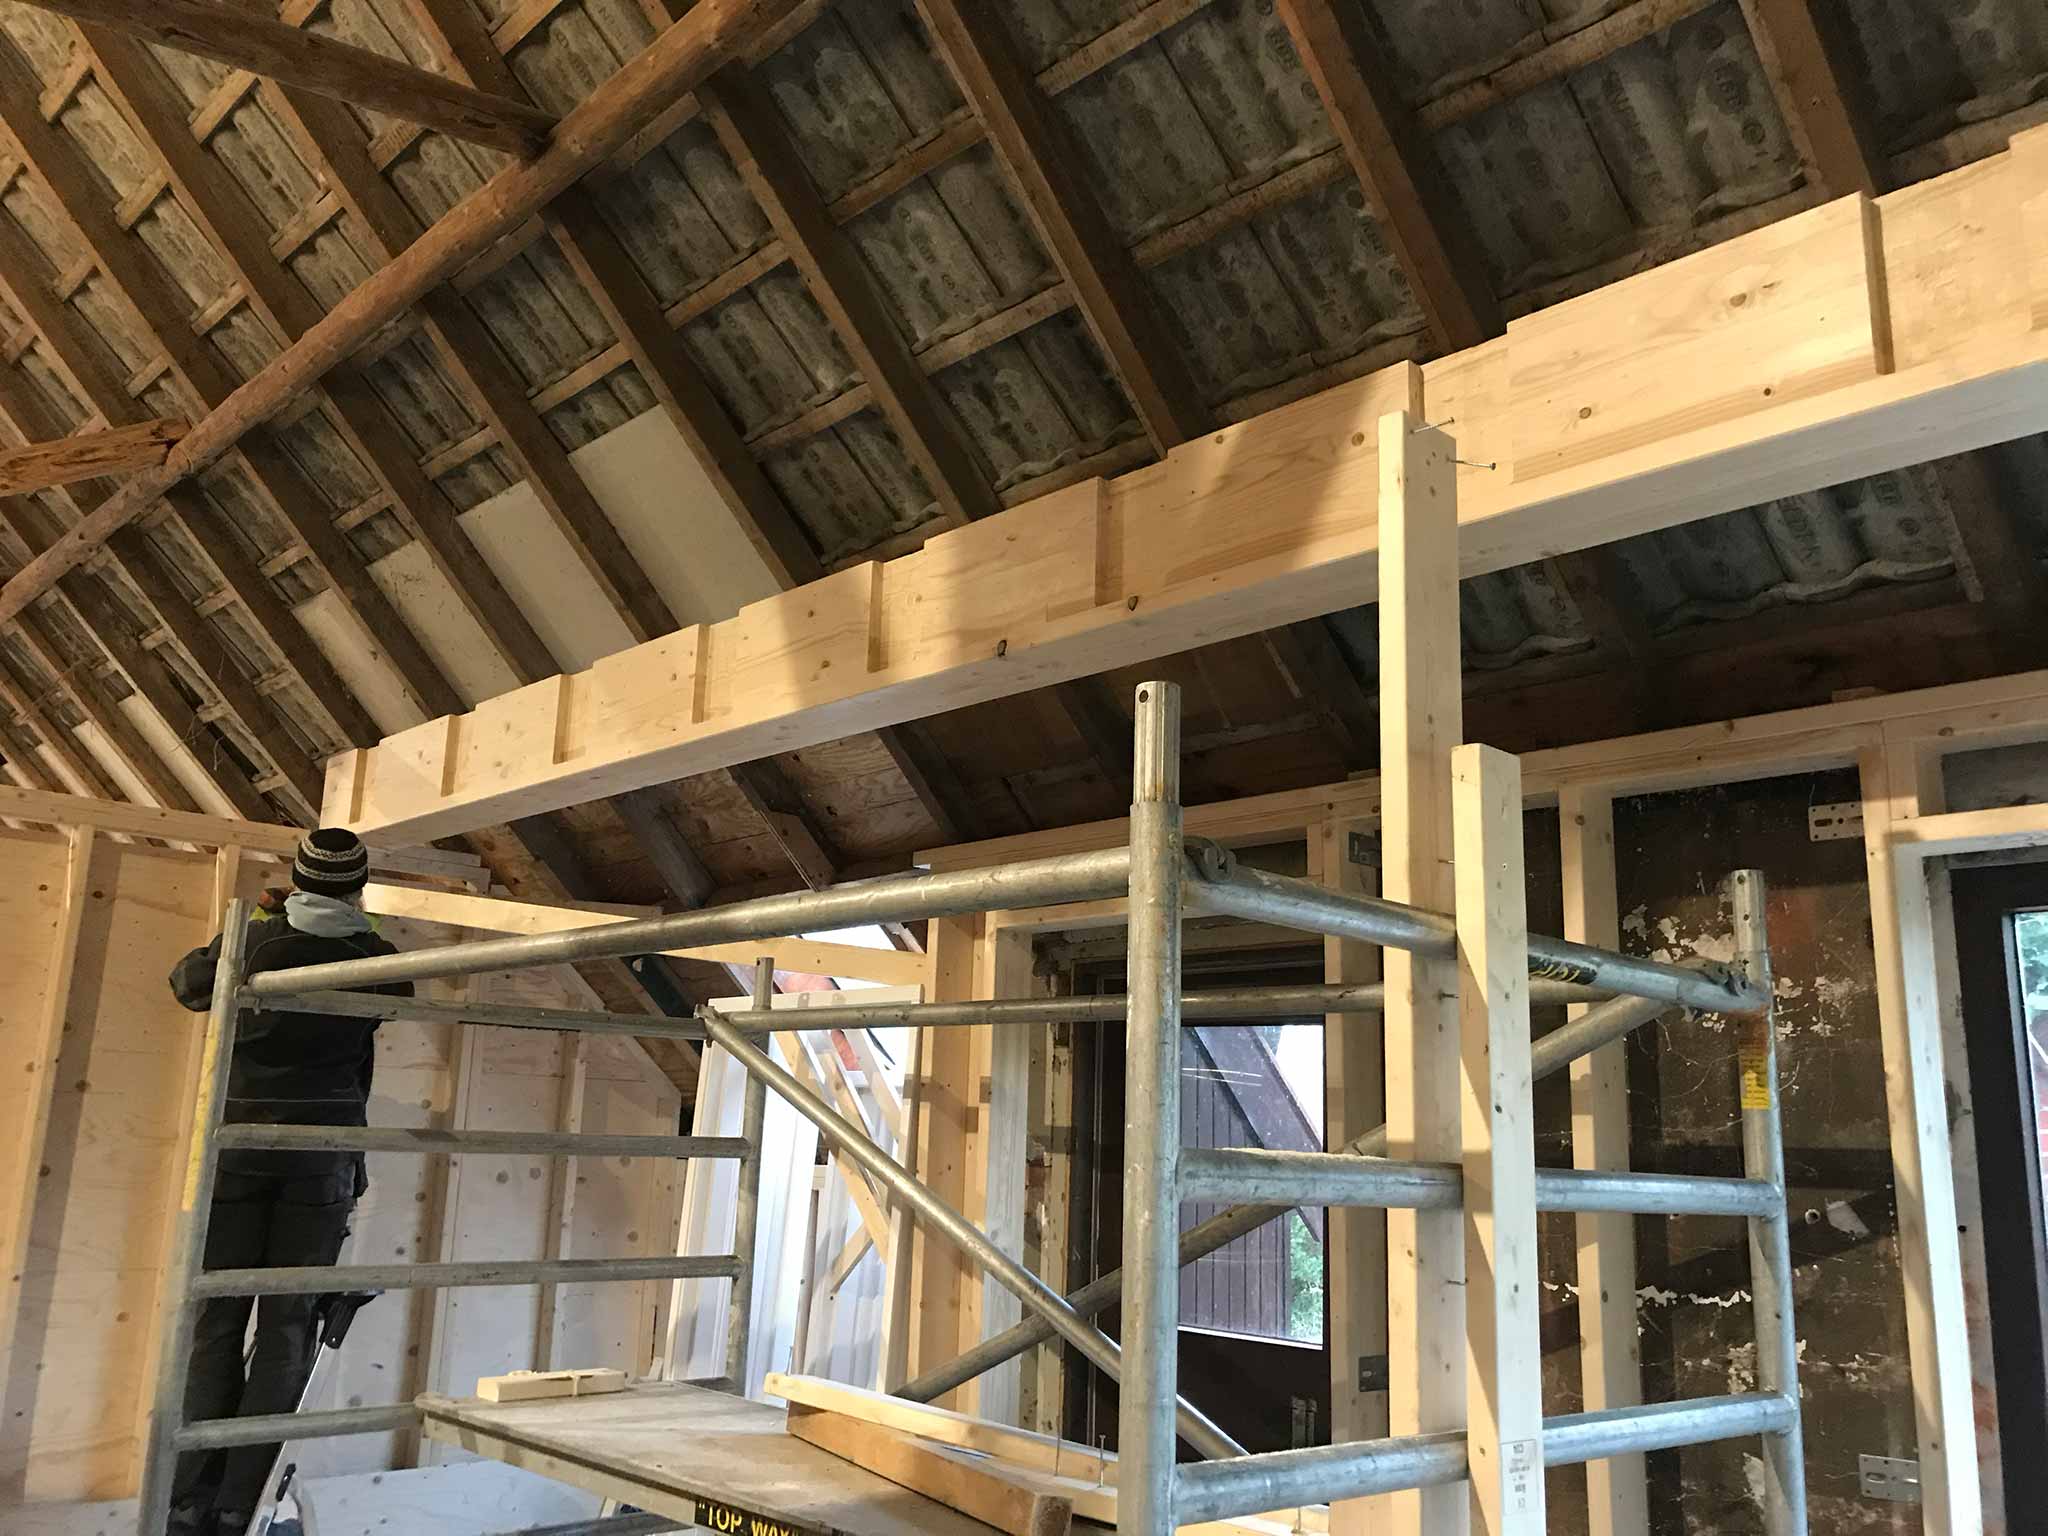
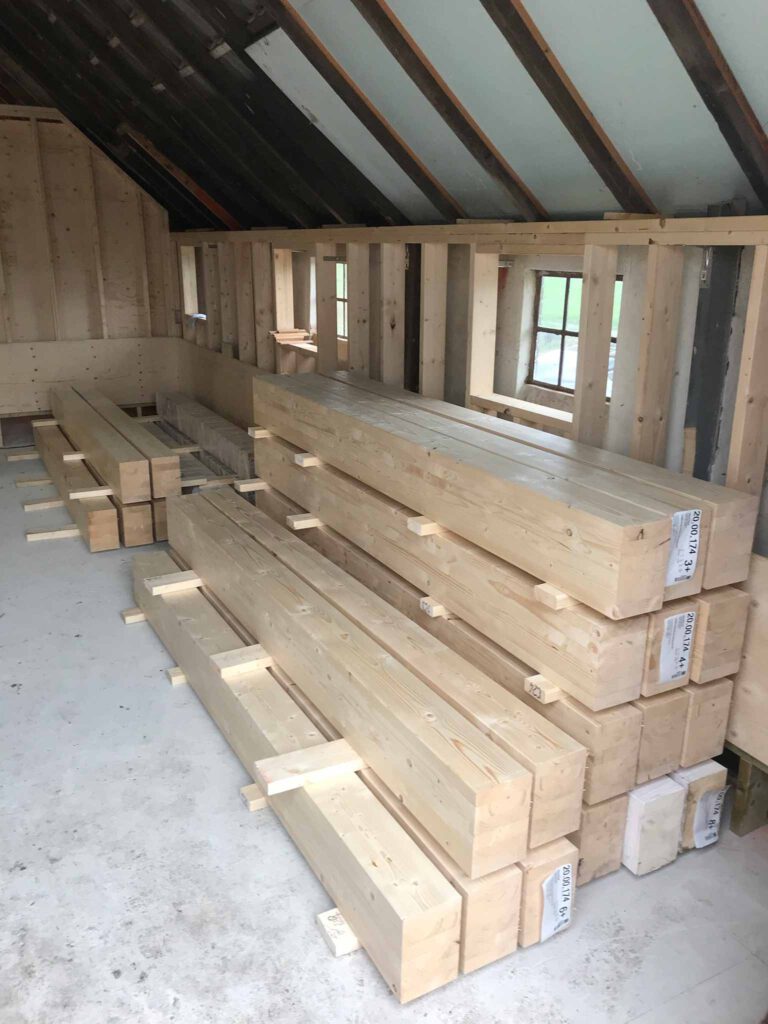
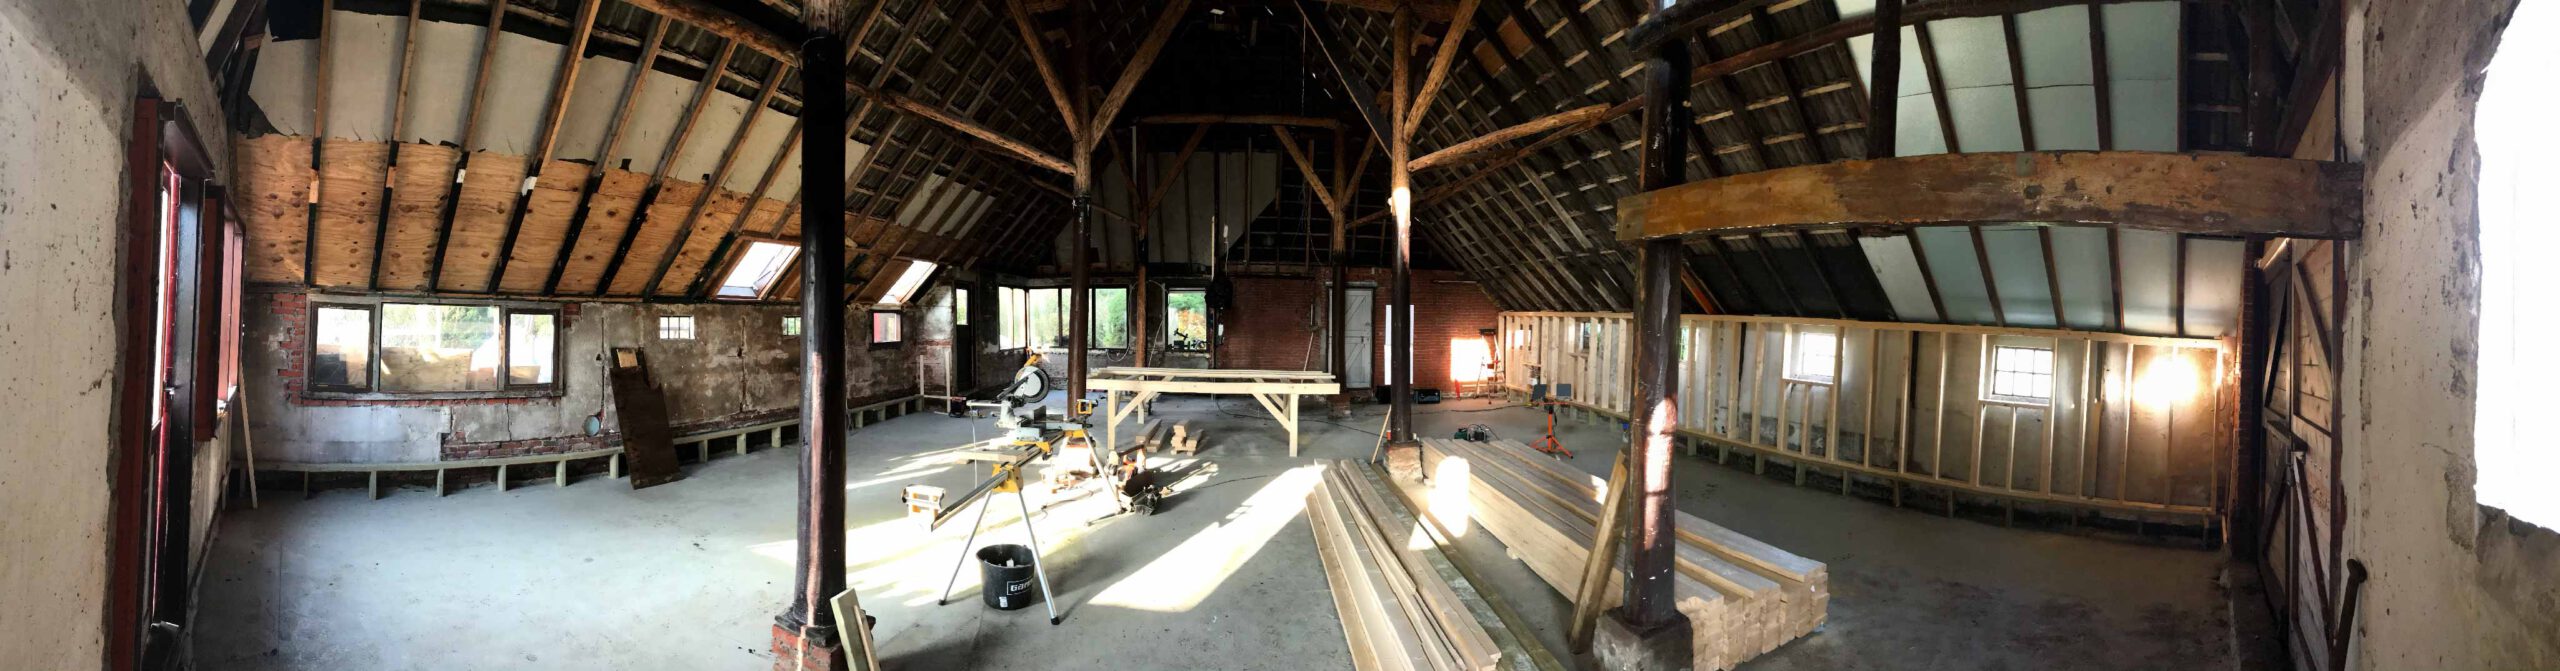
Placing the beams was a two day job. There are two long beams that span about 7 meters of the length of the building. Into these a bunch of shorter beams are inserted and rested on internal walls with their other end.
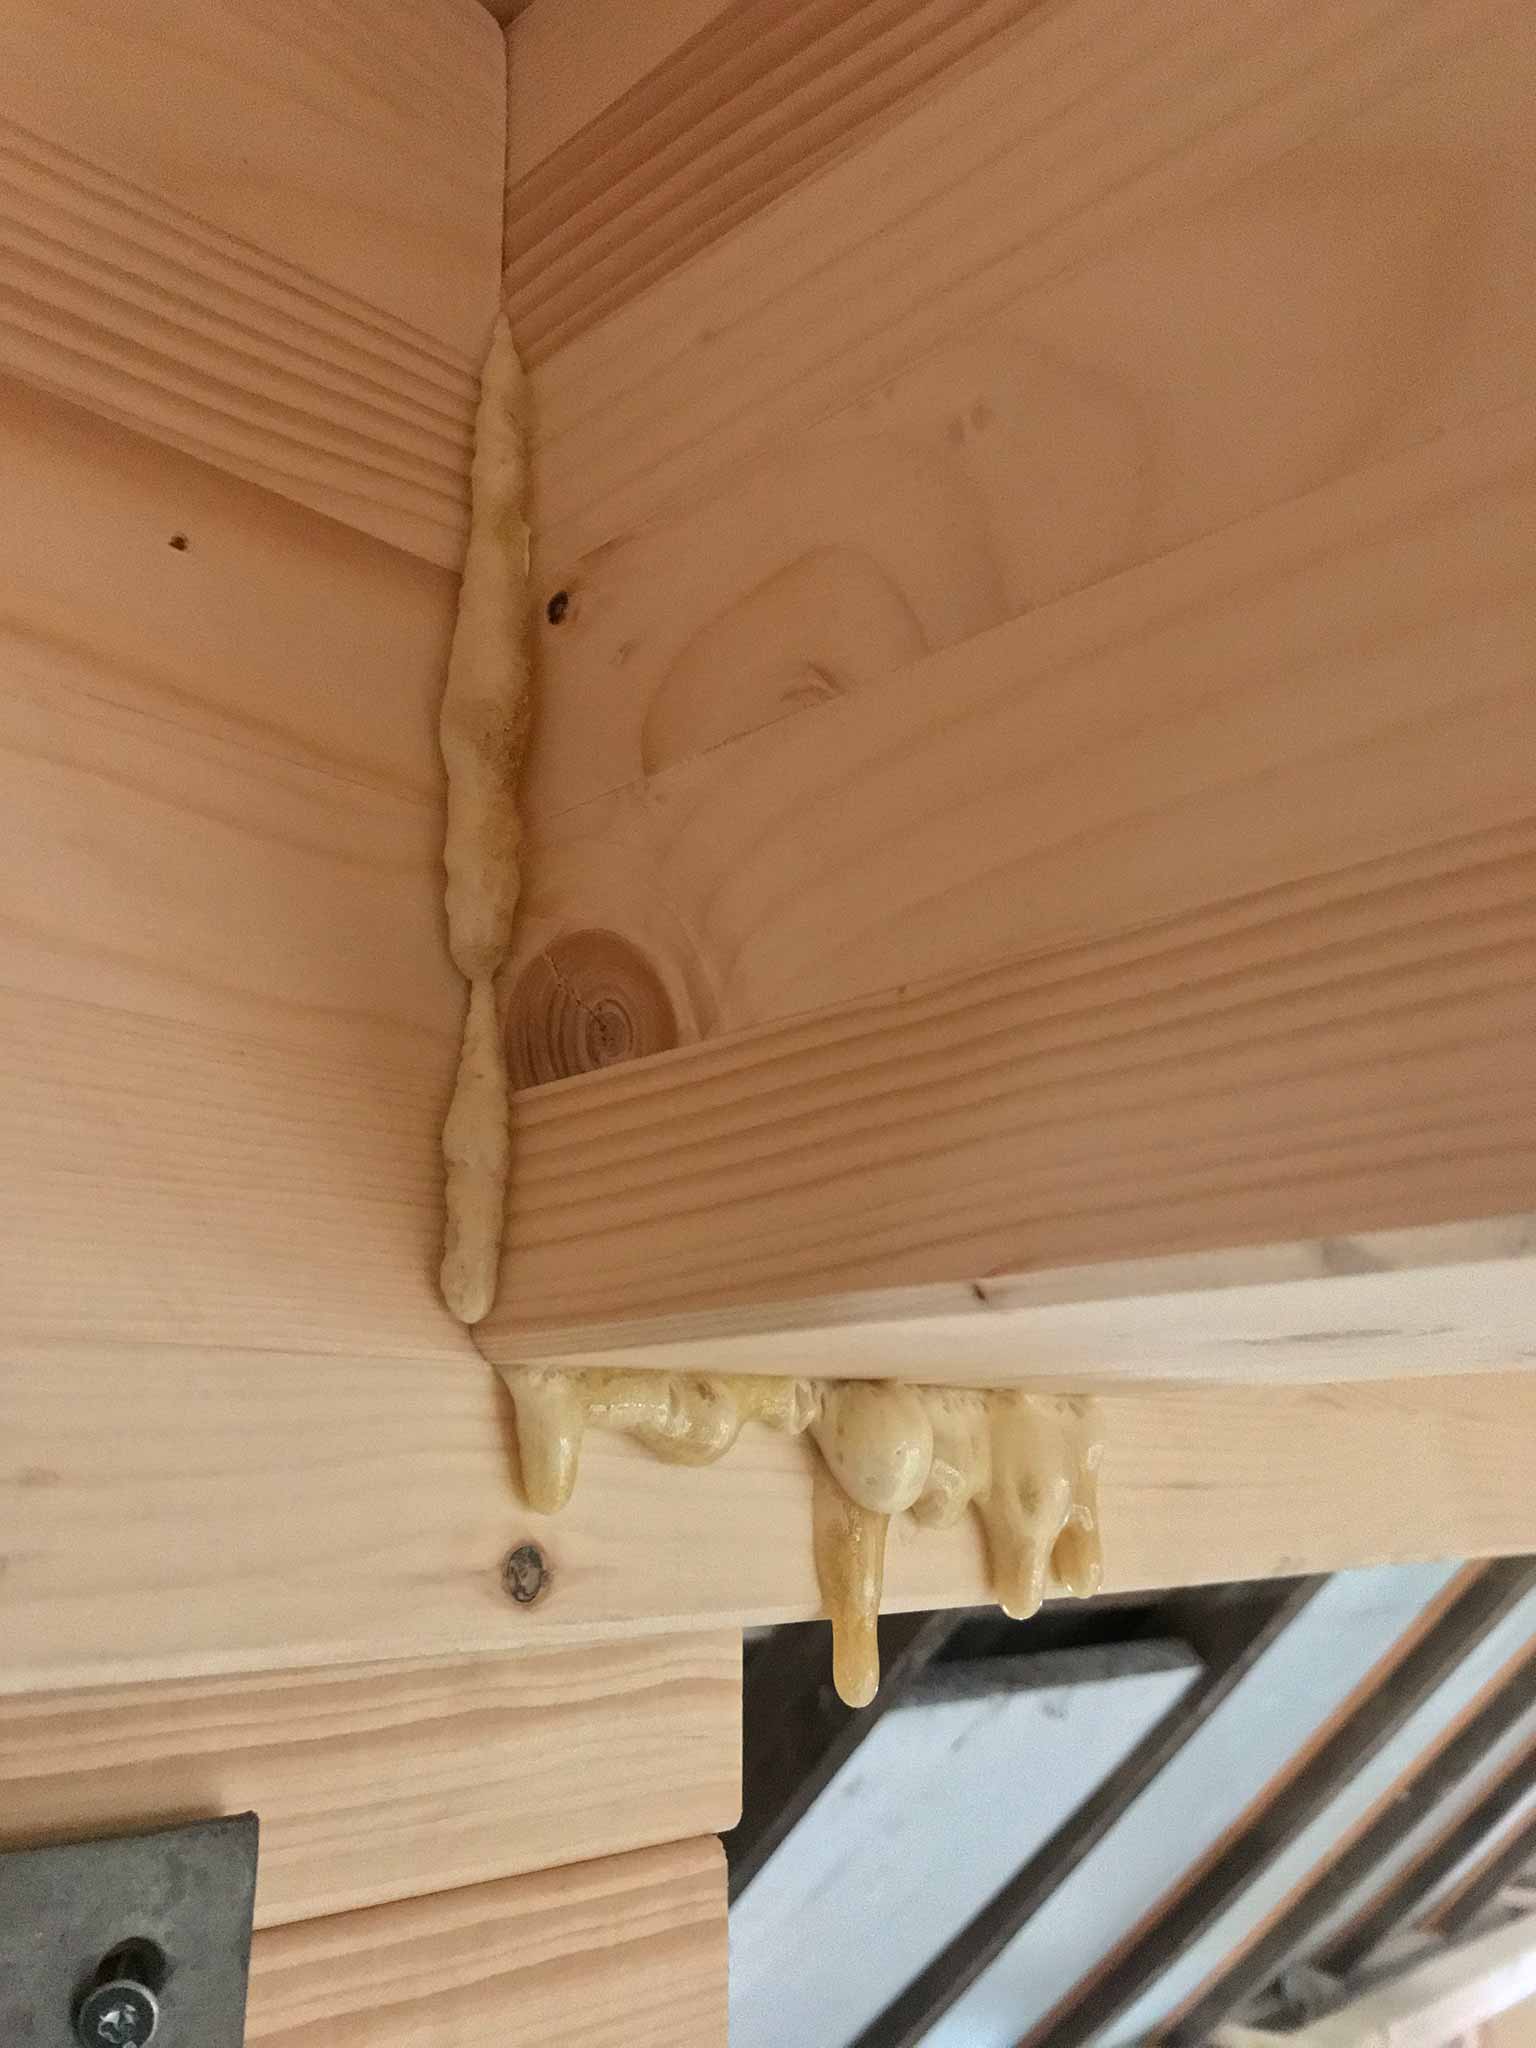
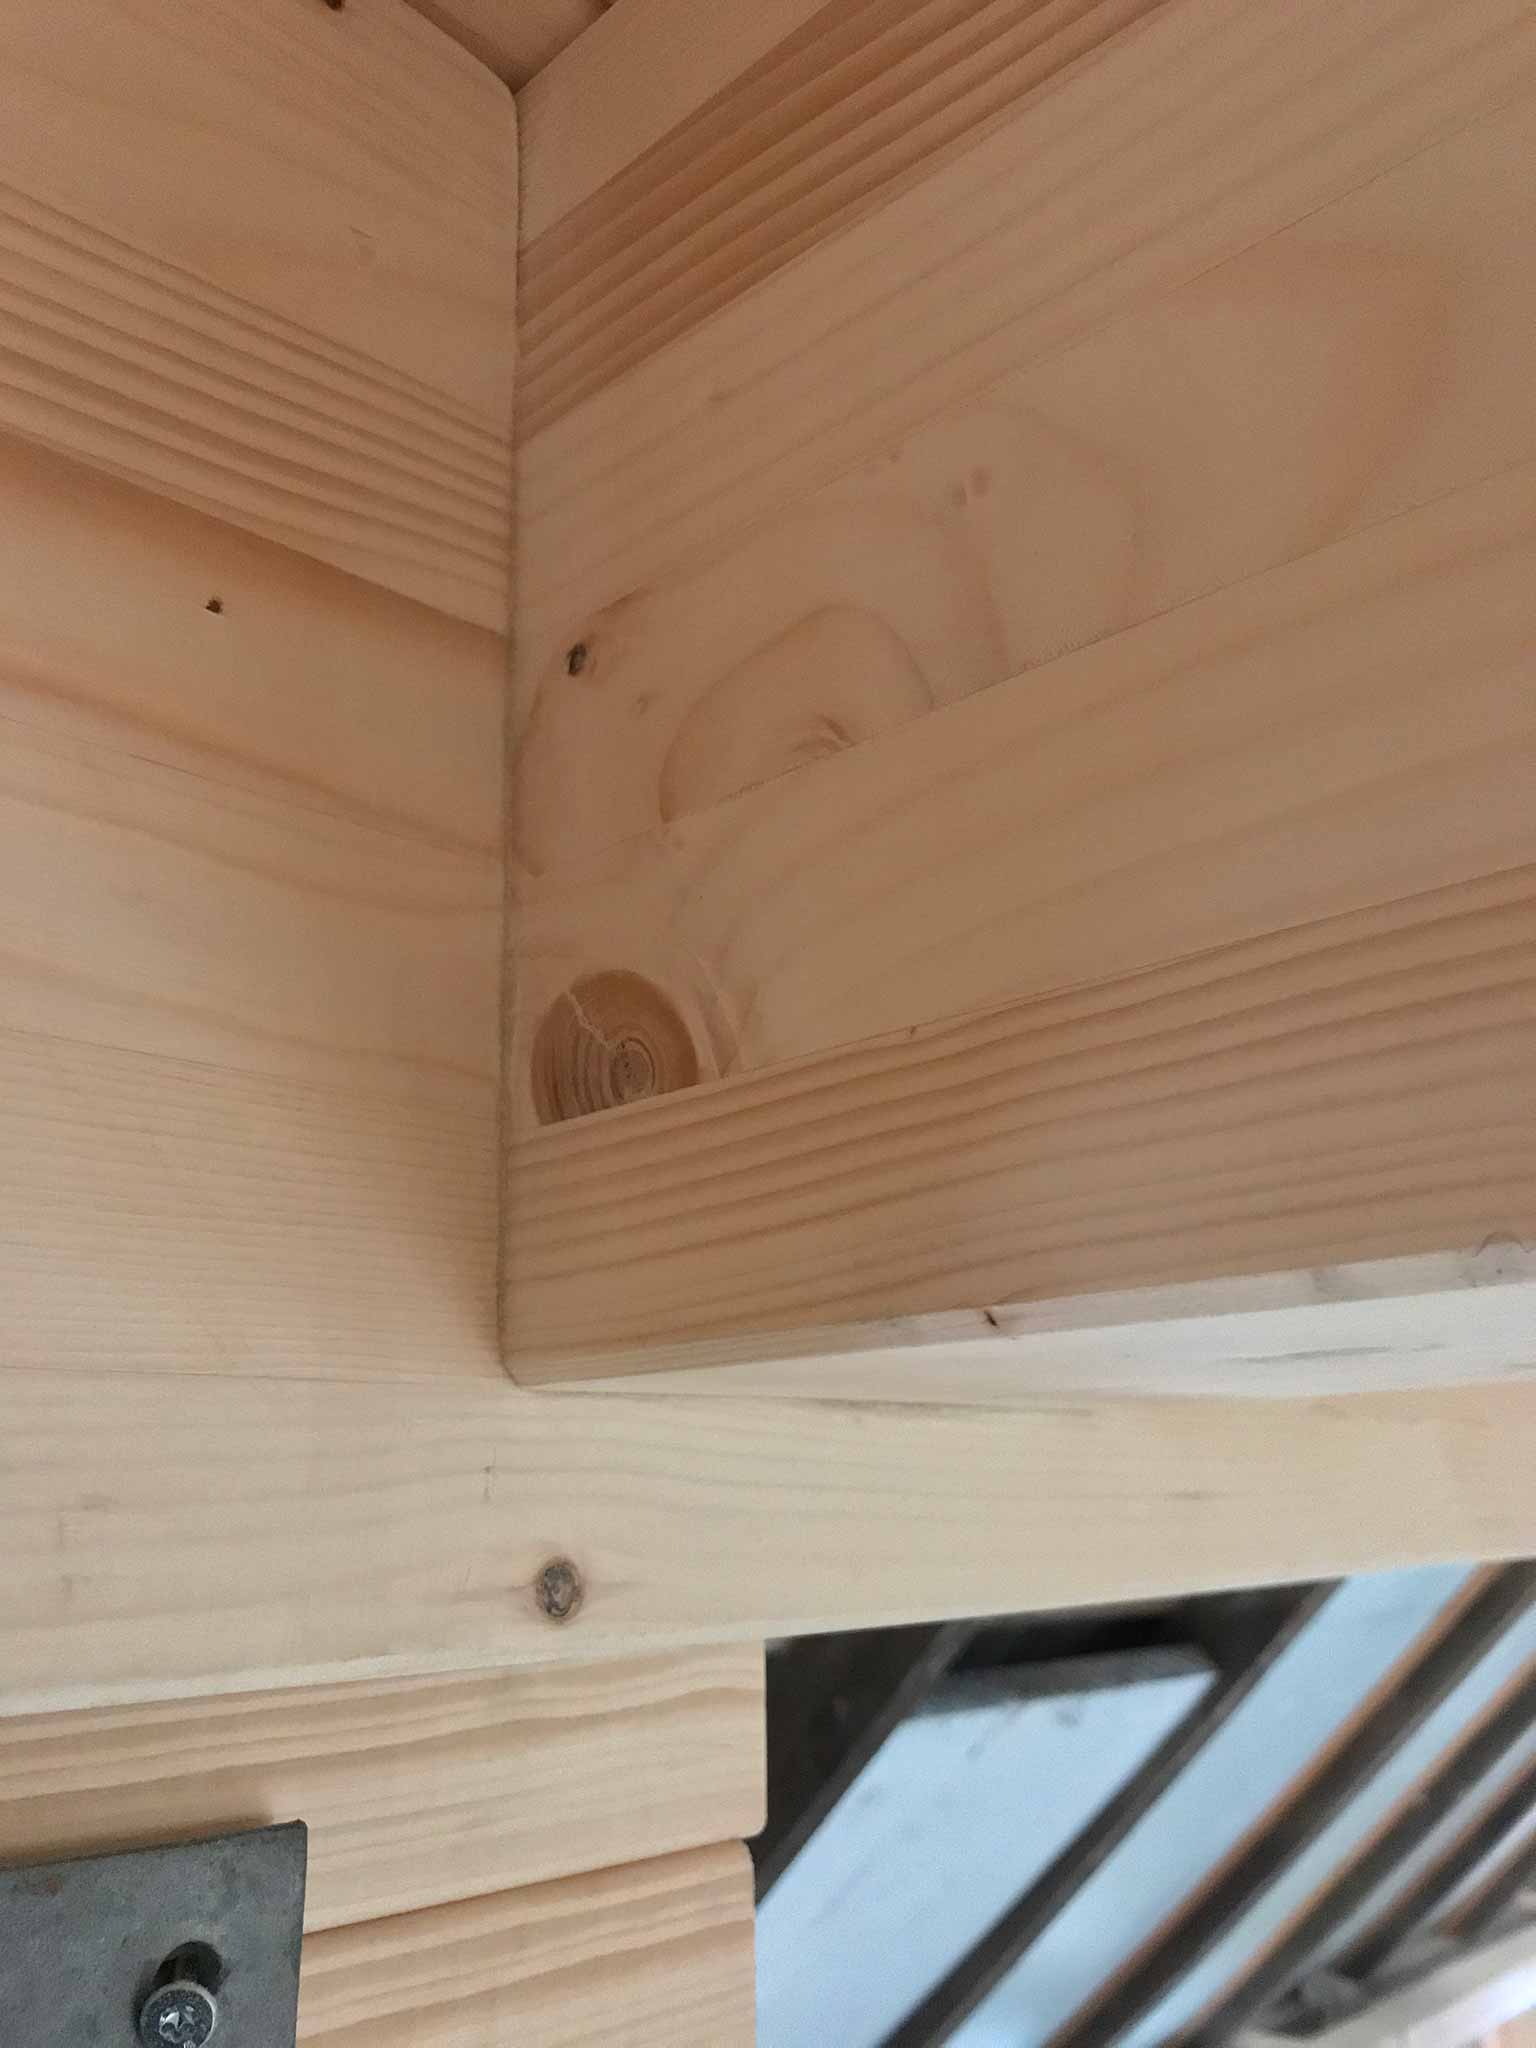
The piece that is inserted into the other beam is pulled against it with a nifty tool before it is screwed into place. The screws and glue should do the trick and there is not too much sideway forces on it anyway.
Nasty thing about the glue is that it drips. Especially when the beams are pulled towards each other. Chisel, paint scraper, sanding paper and a bit of patience do the trick there…
The long beams have 3cm inserts milled into them. Into these, the perpendicular beams slide with a generous amount of glue. Most of those shorter beams only lean on the big beams on one end and rest with the other end on a wooden wall.
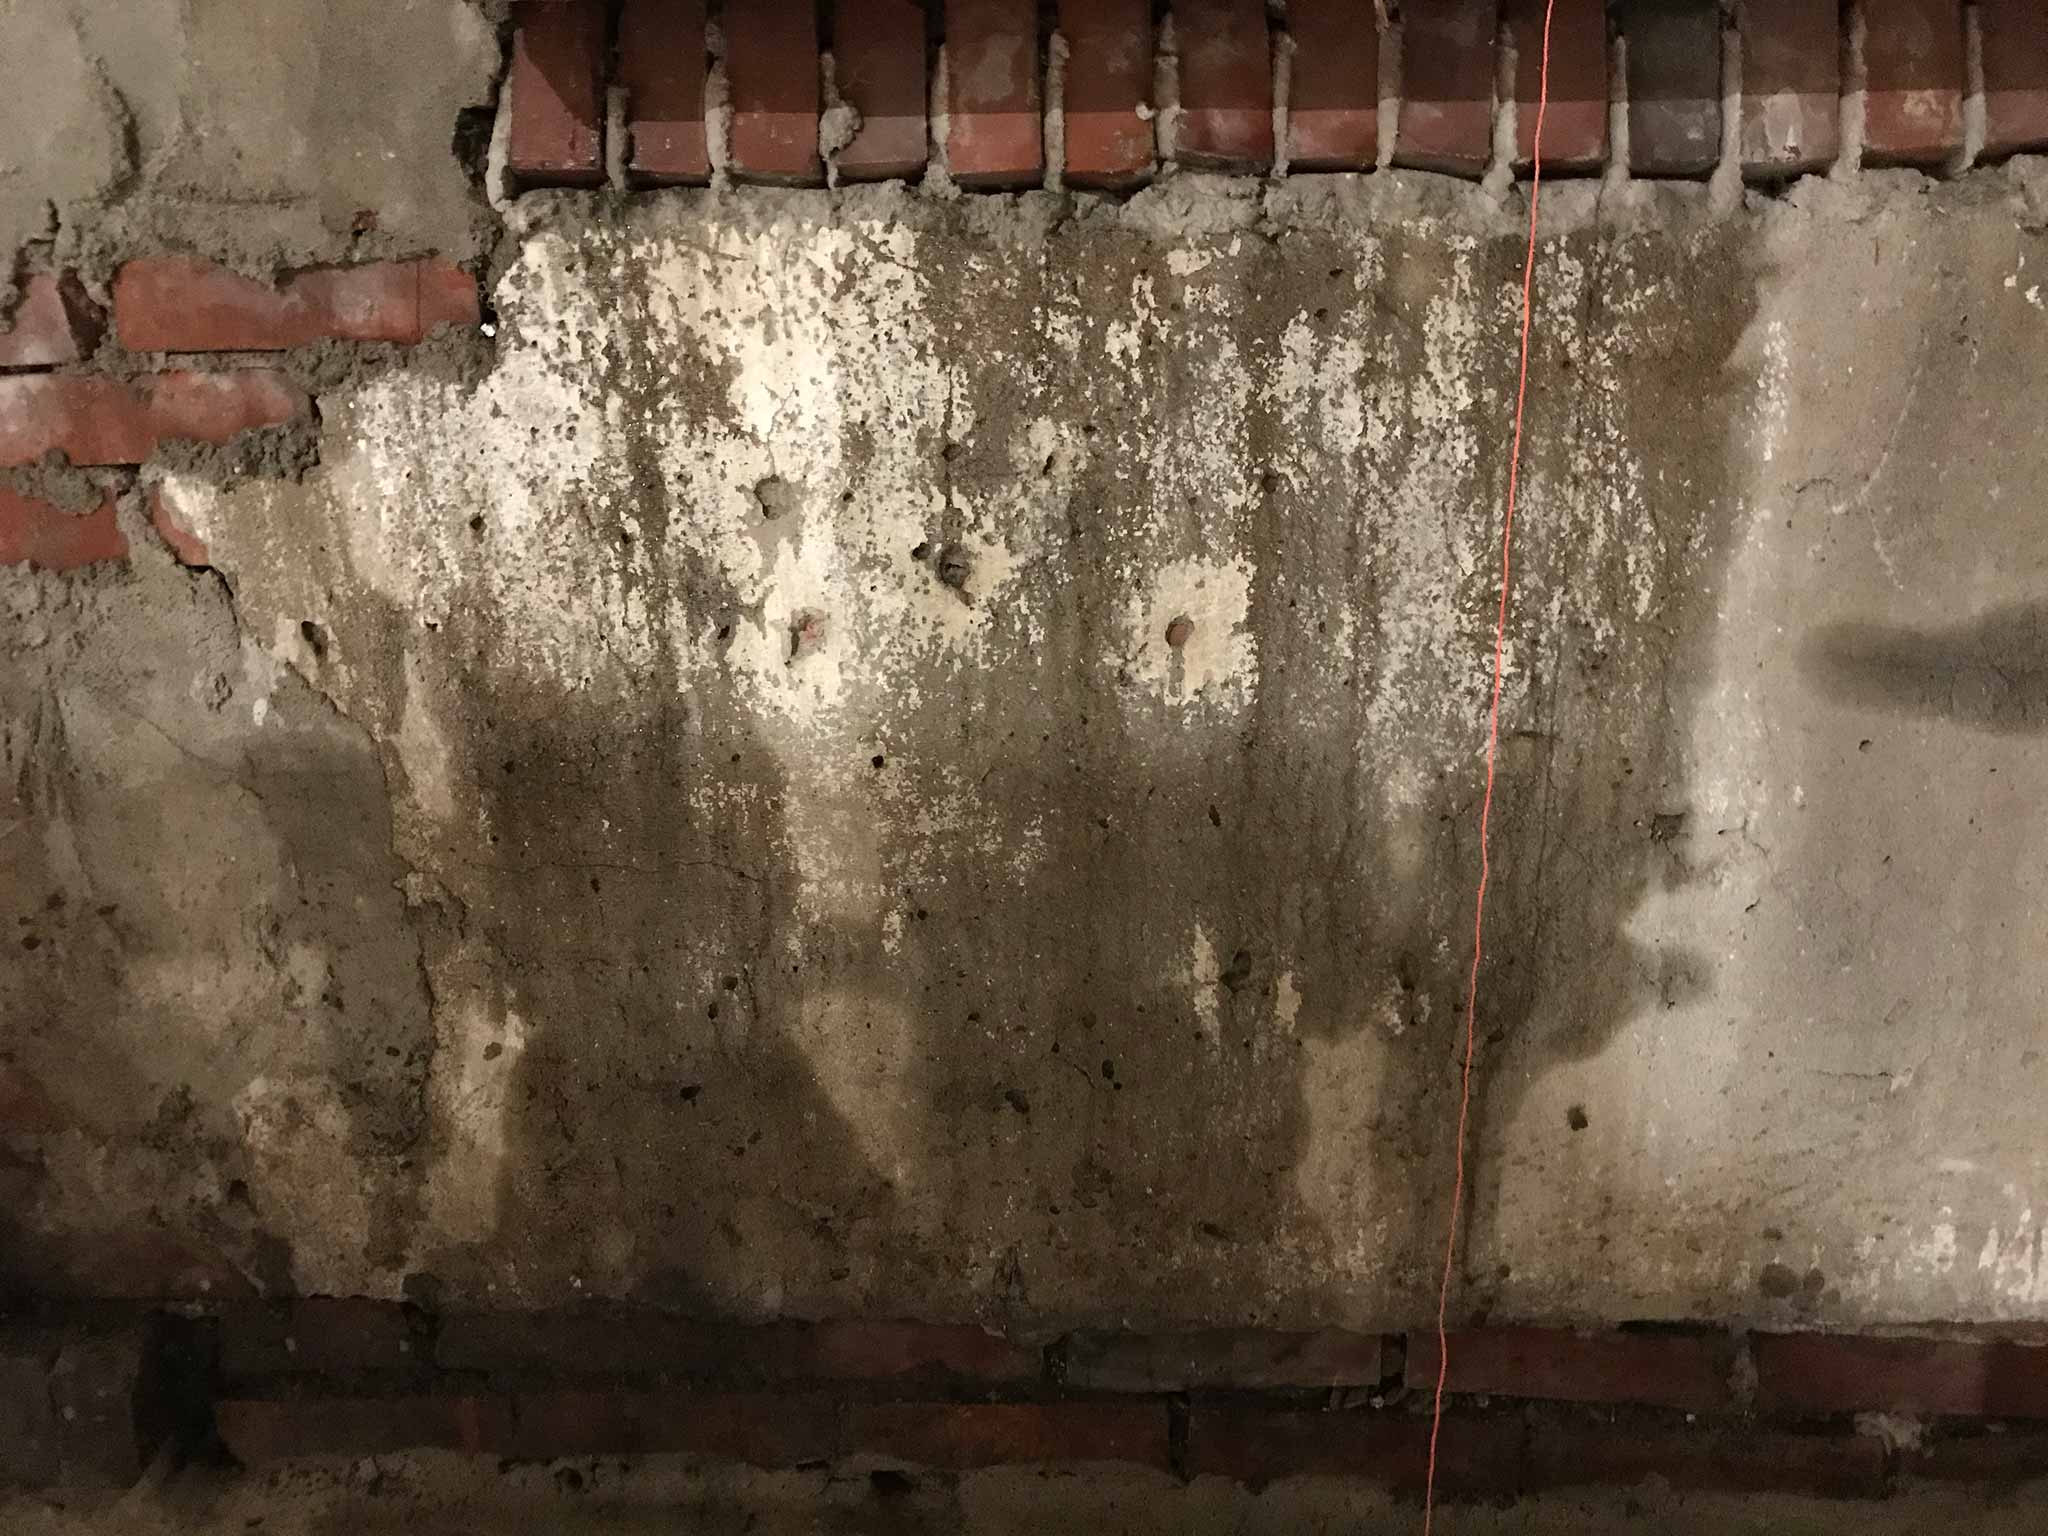
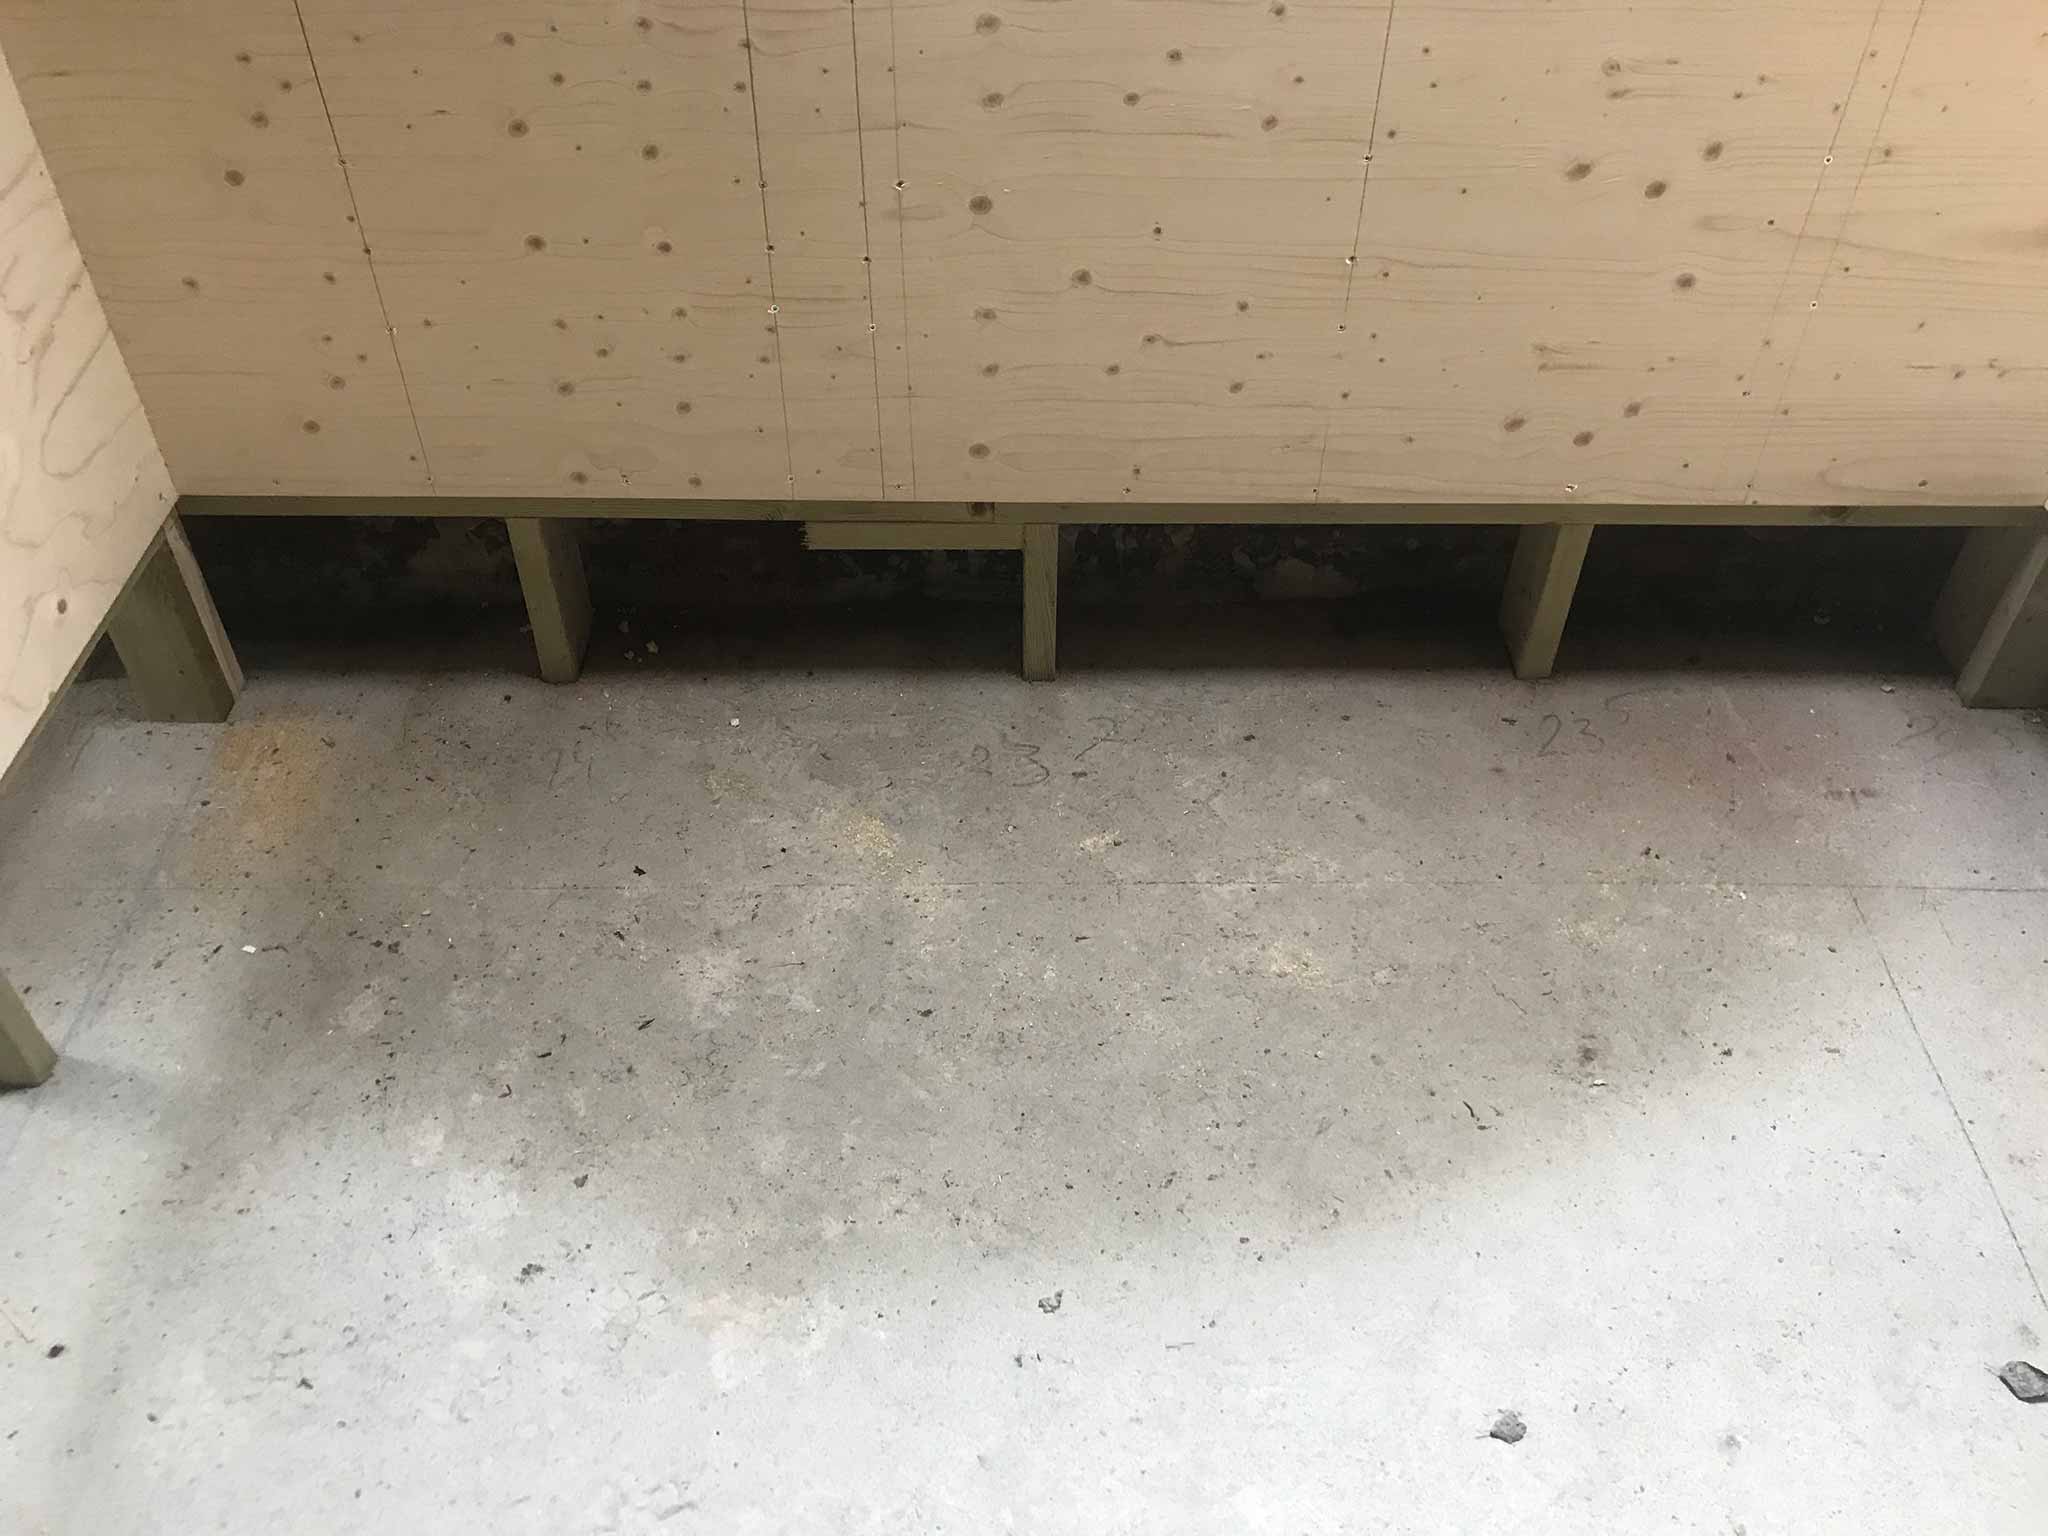
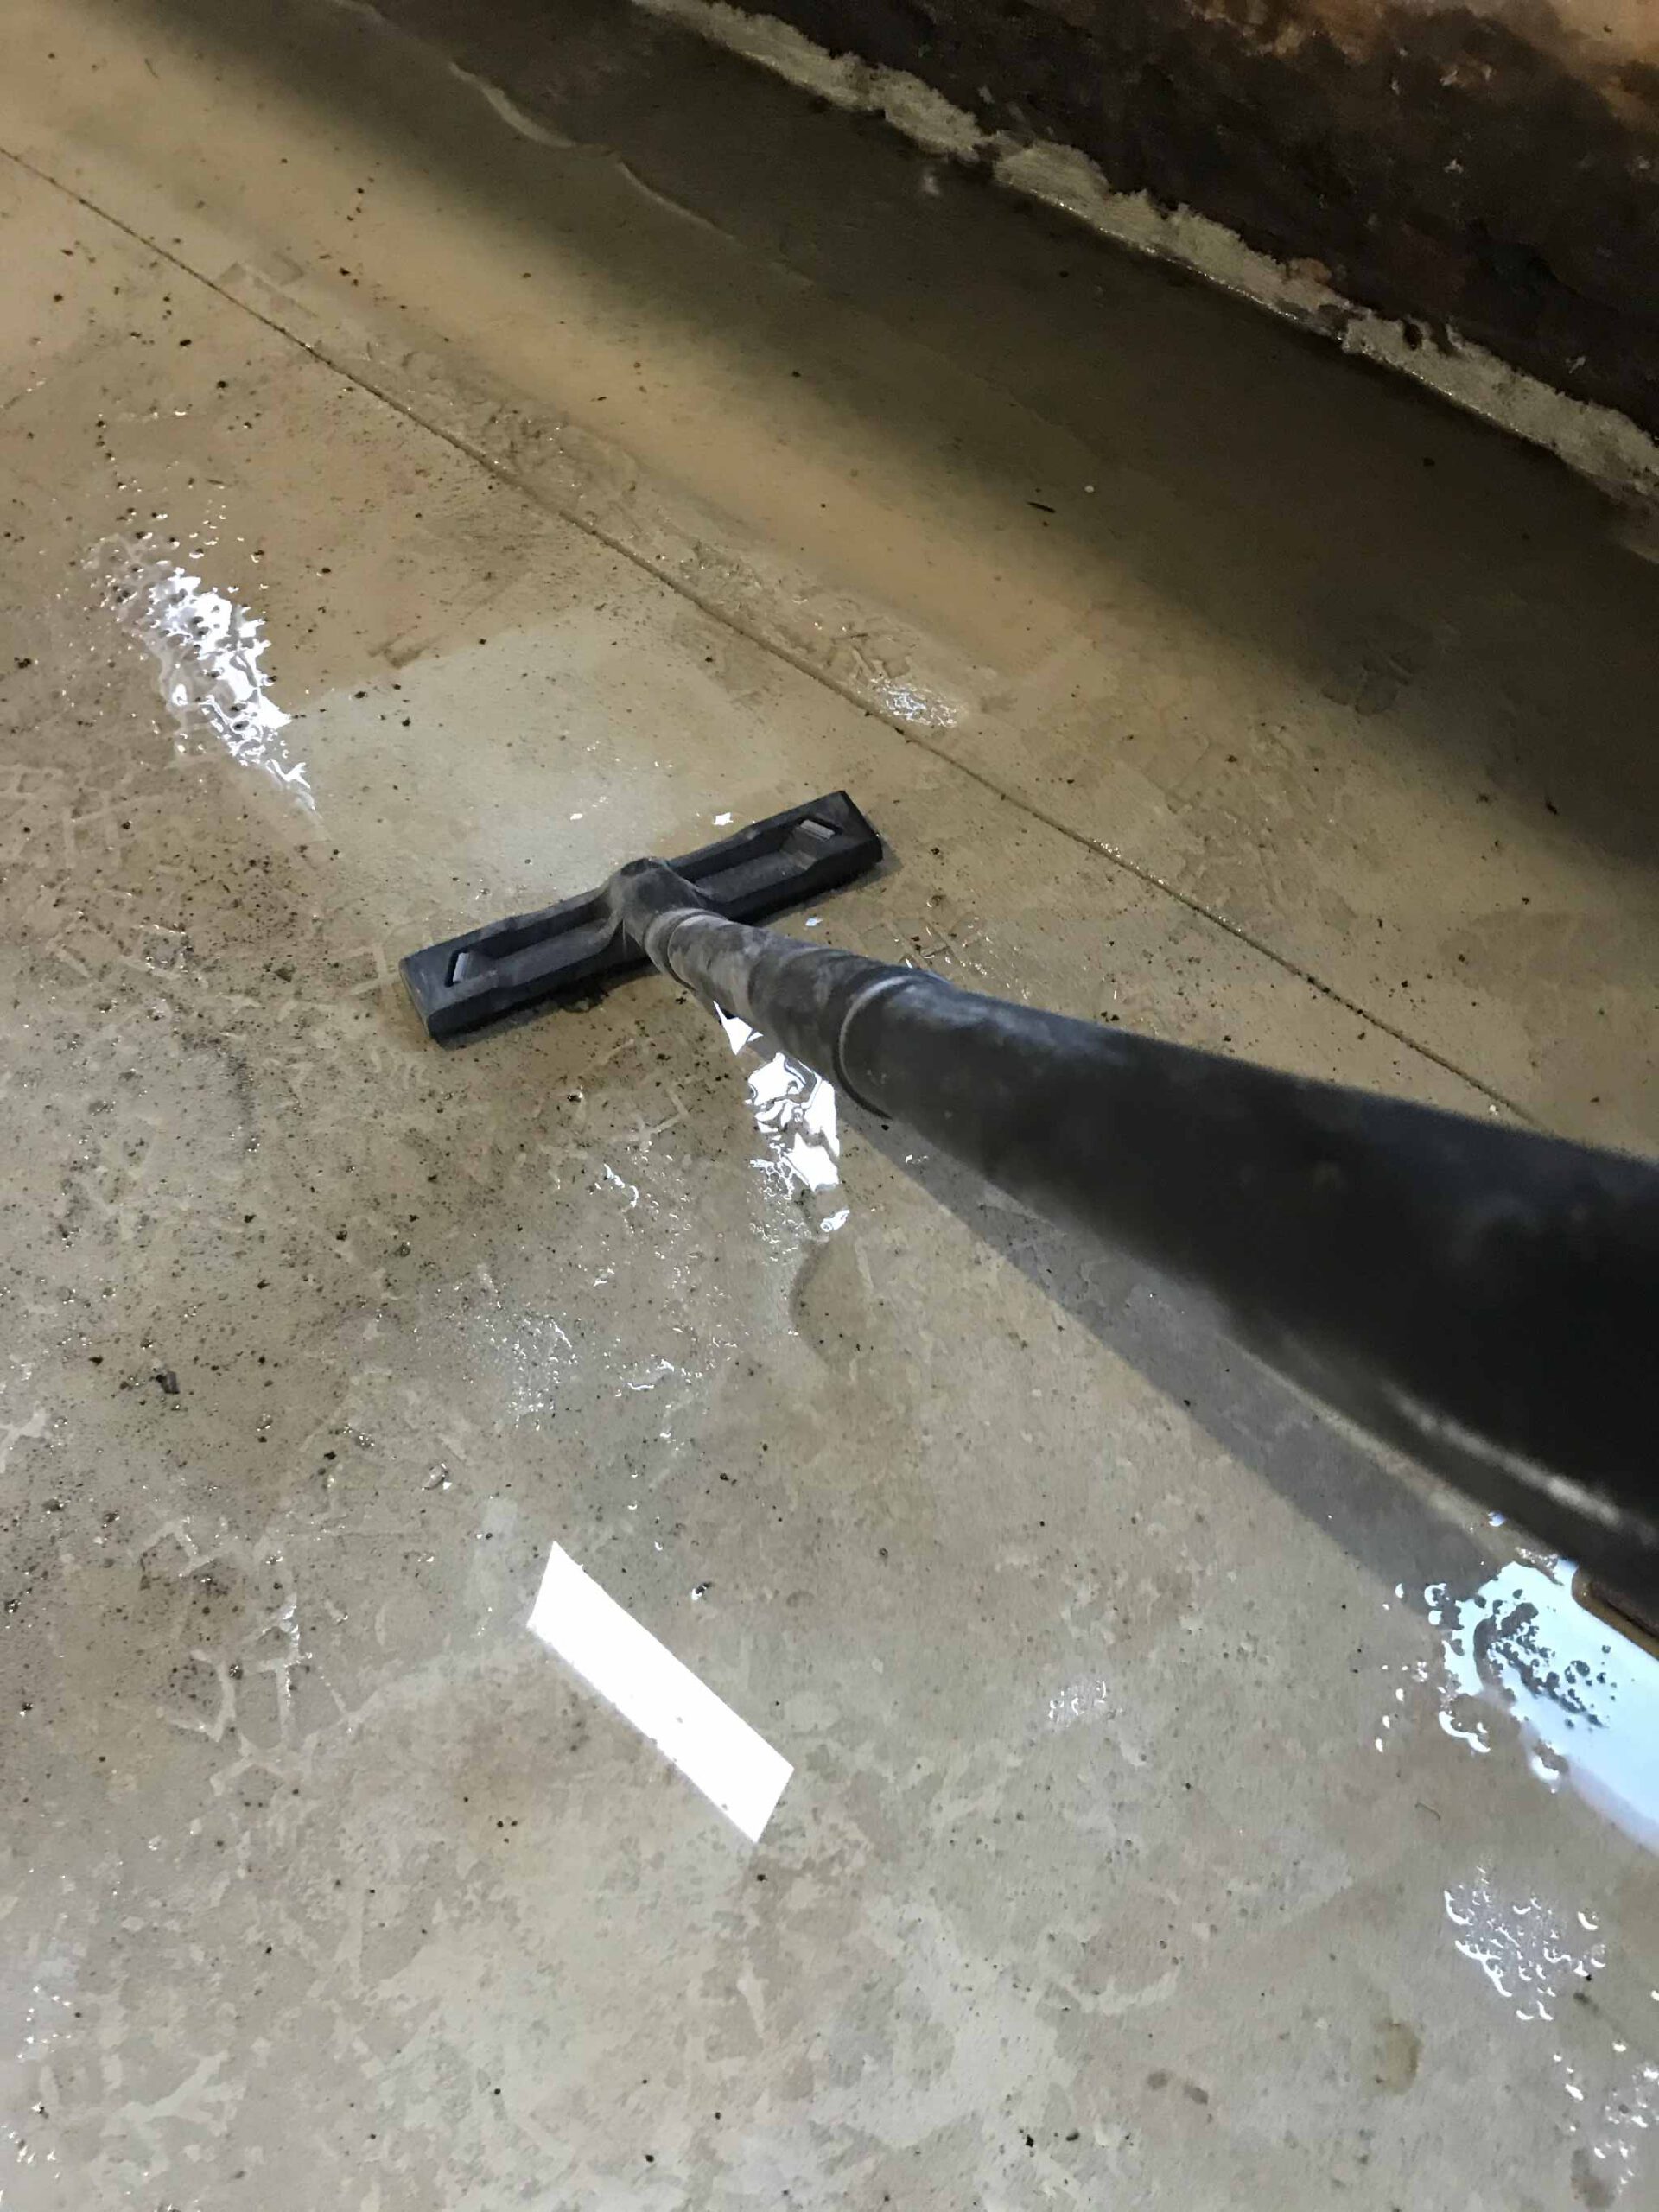
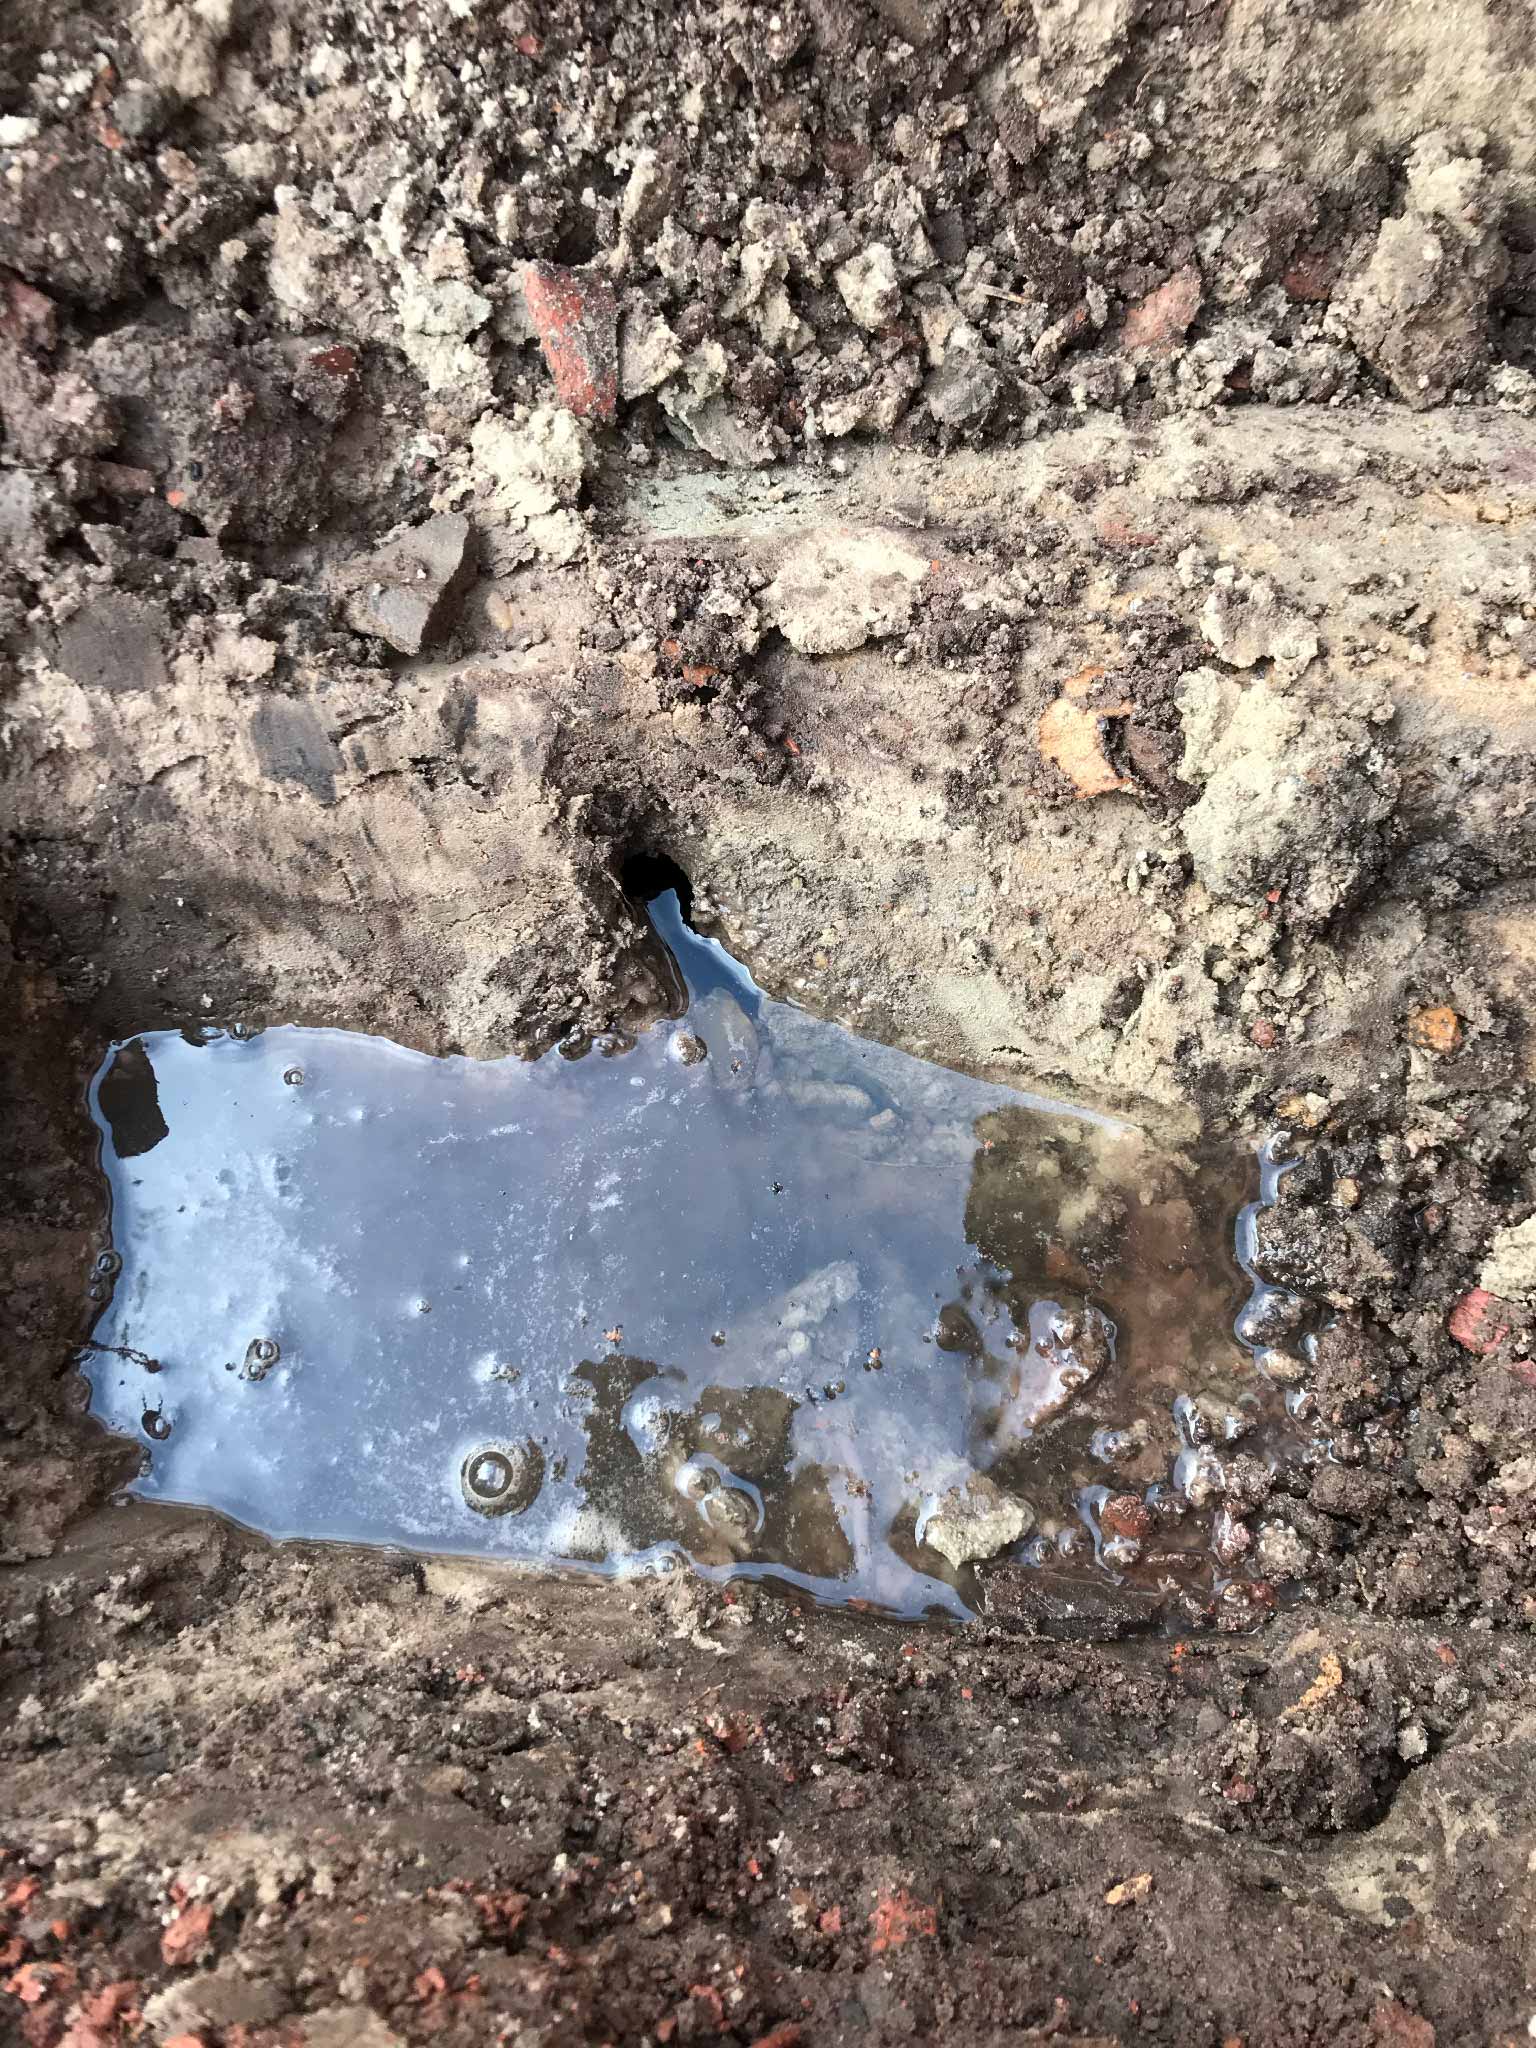
Underneath that dark spot is the water well. Guess the cold of the well leaves a condensate on the floor. Have to check with the smarter people if that needs attention. I know there was moisture there on the walls in the old situation…
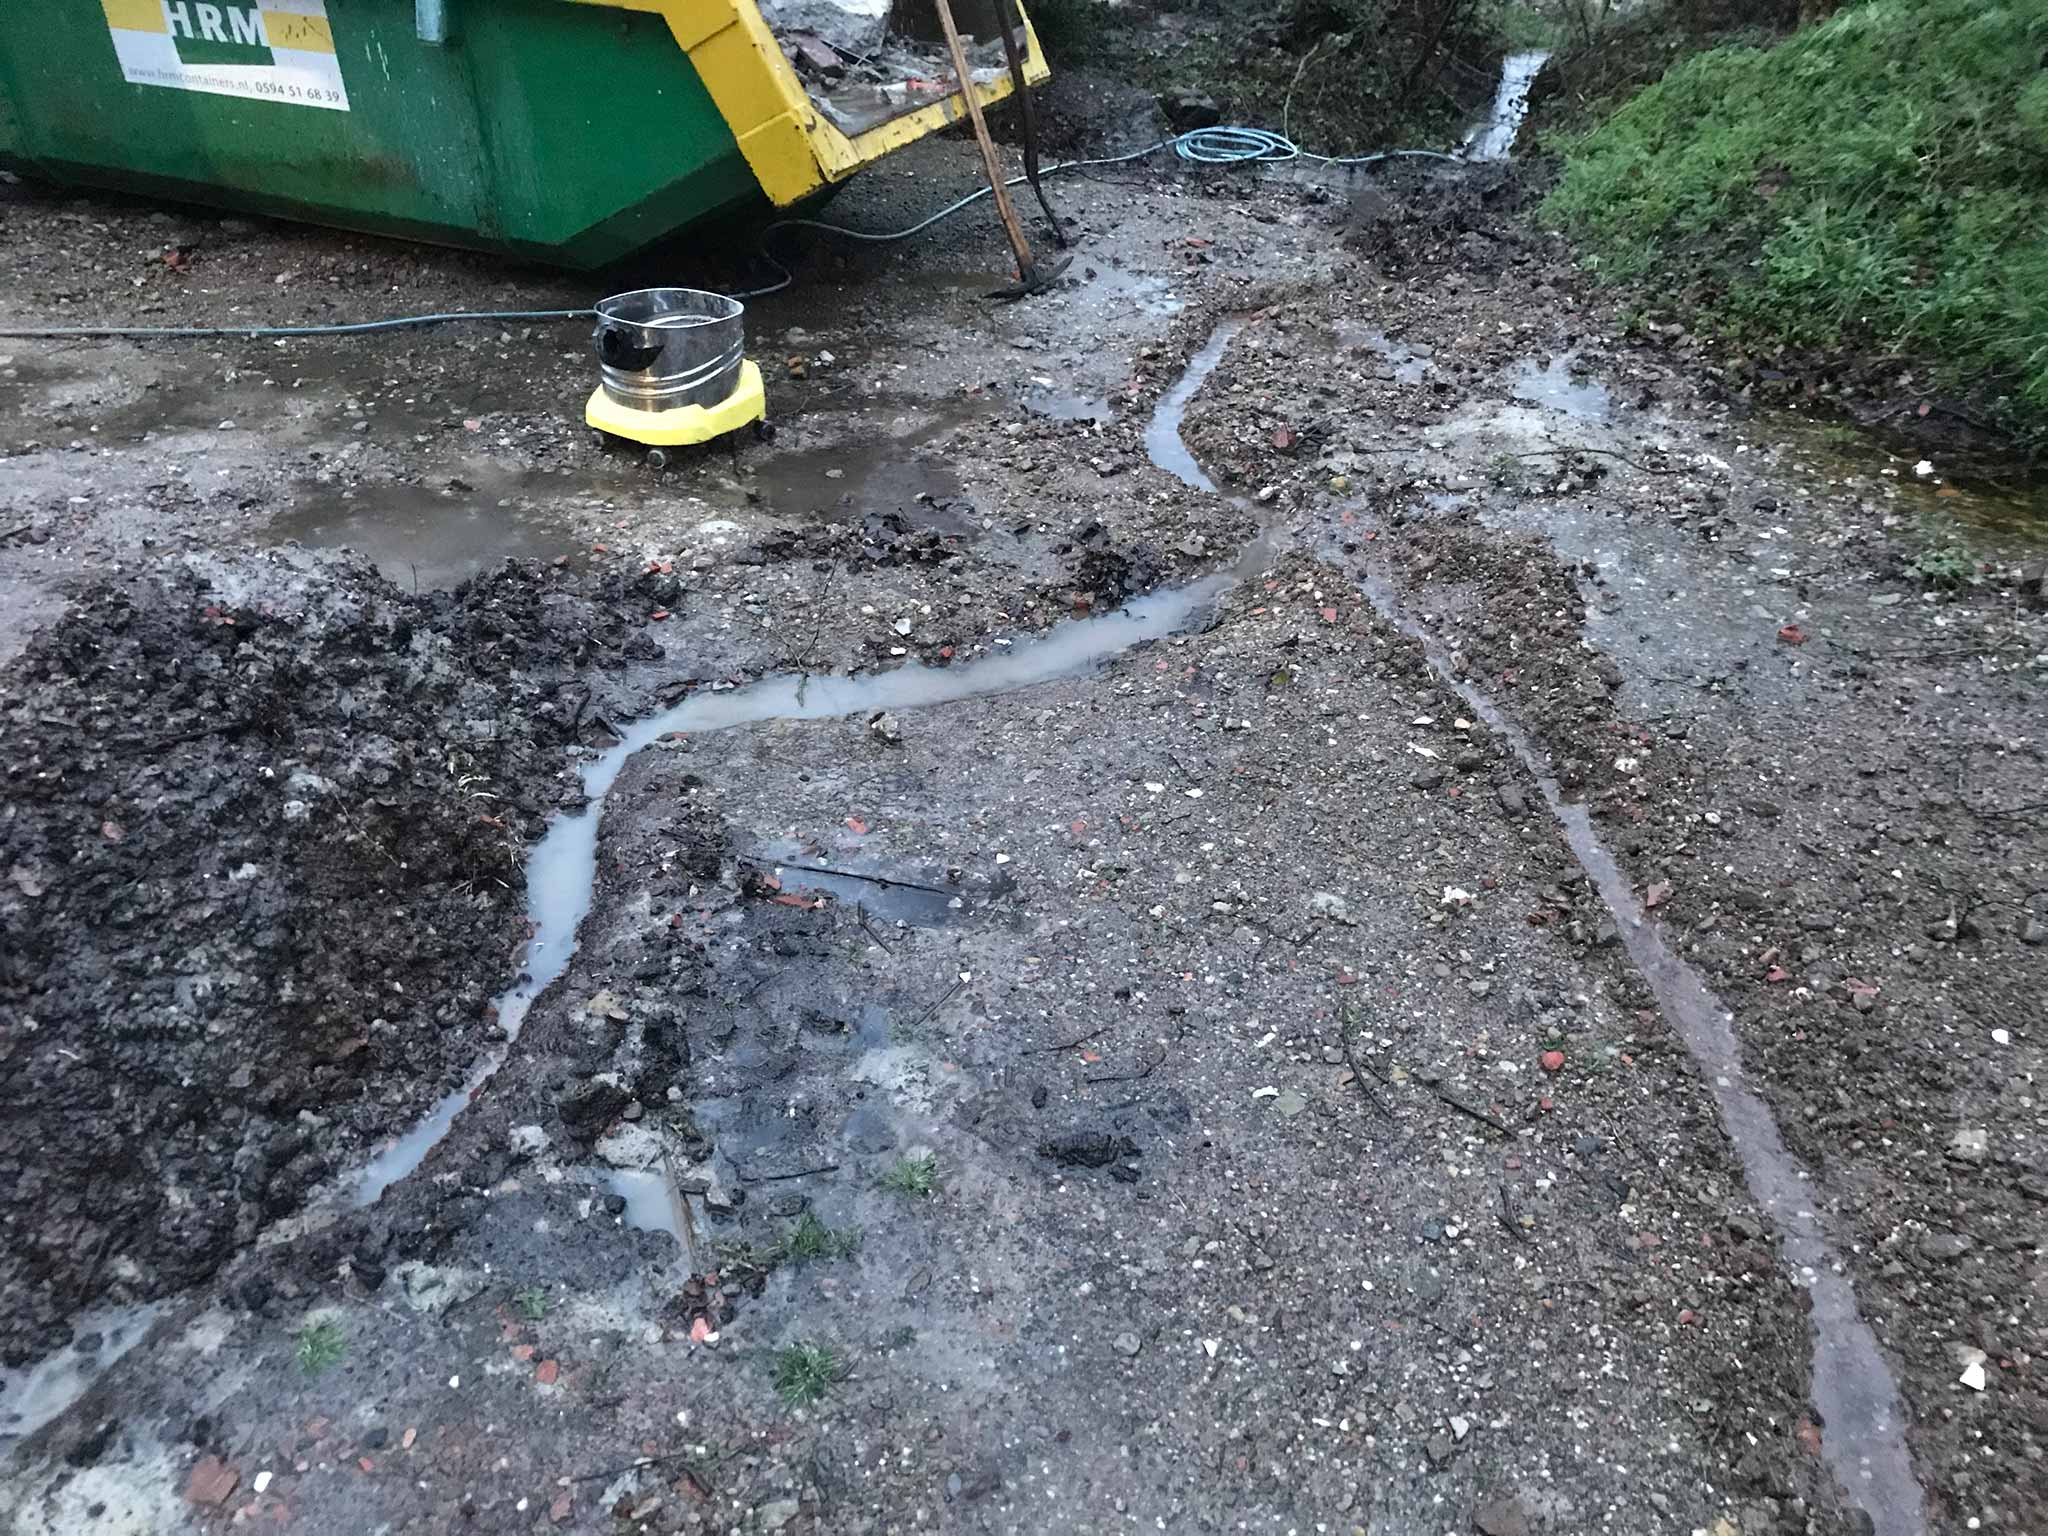
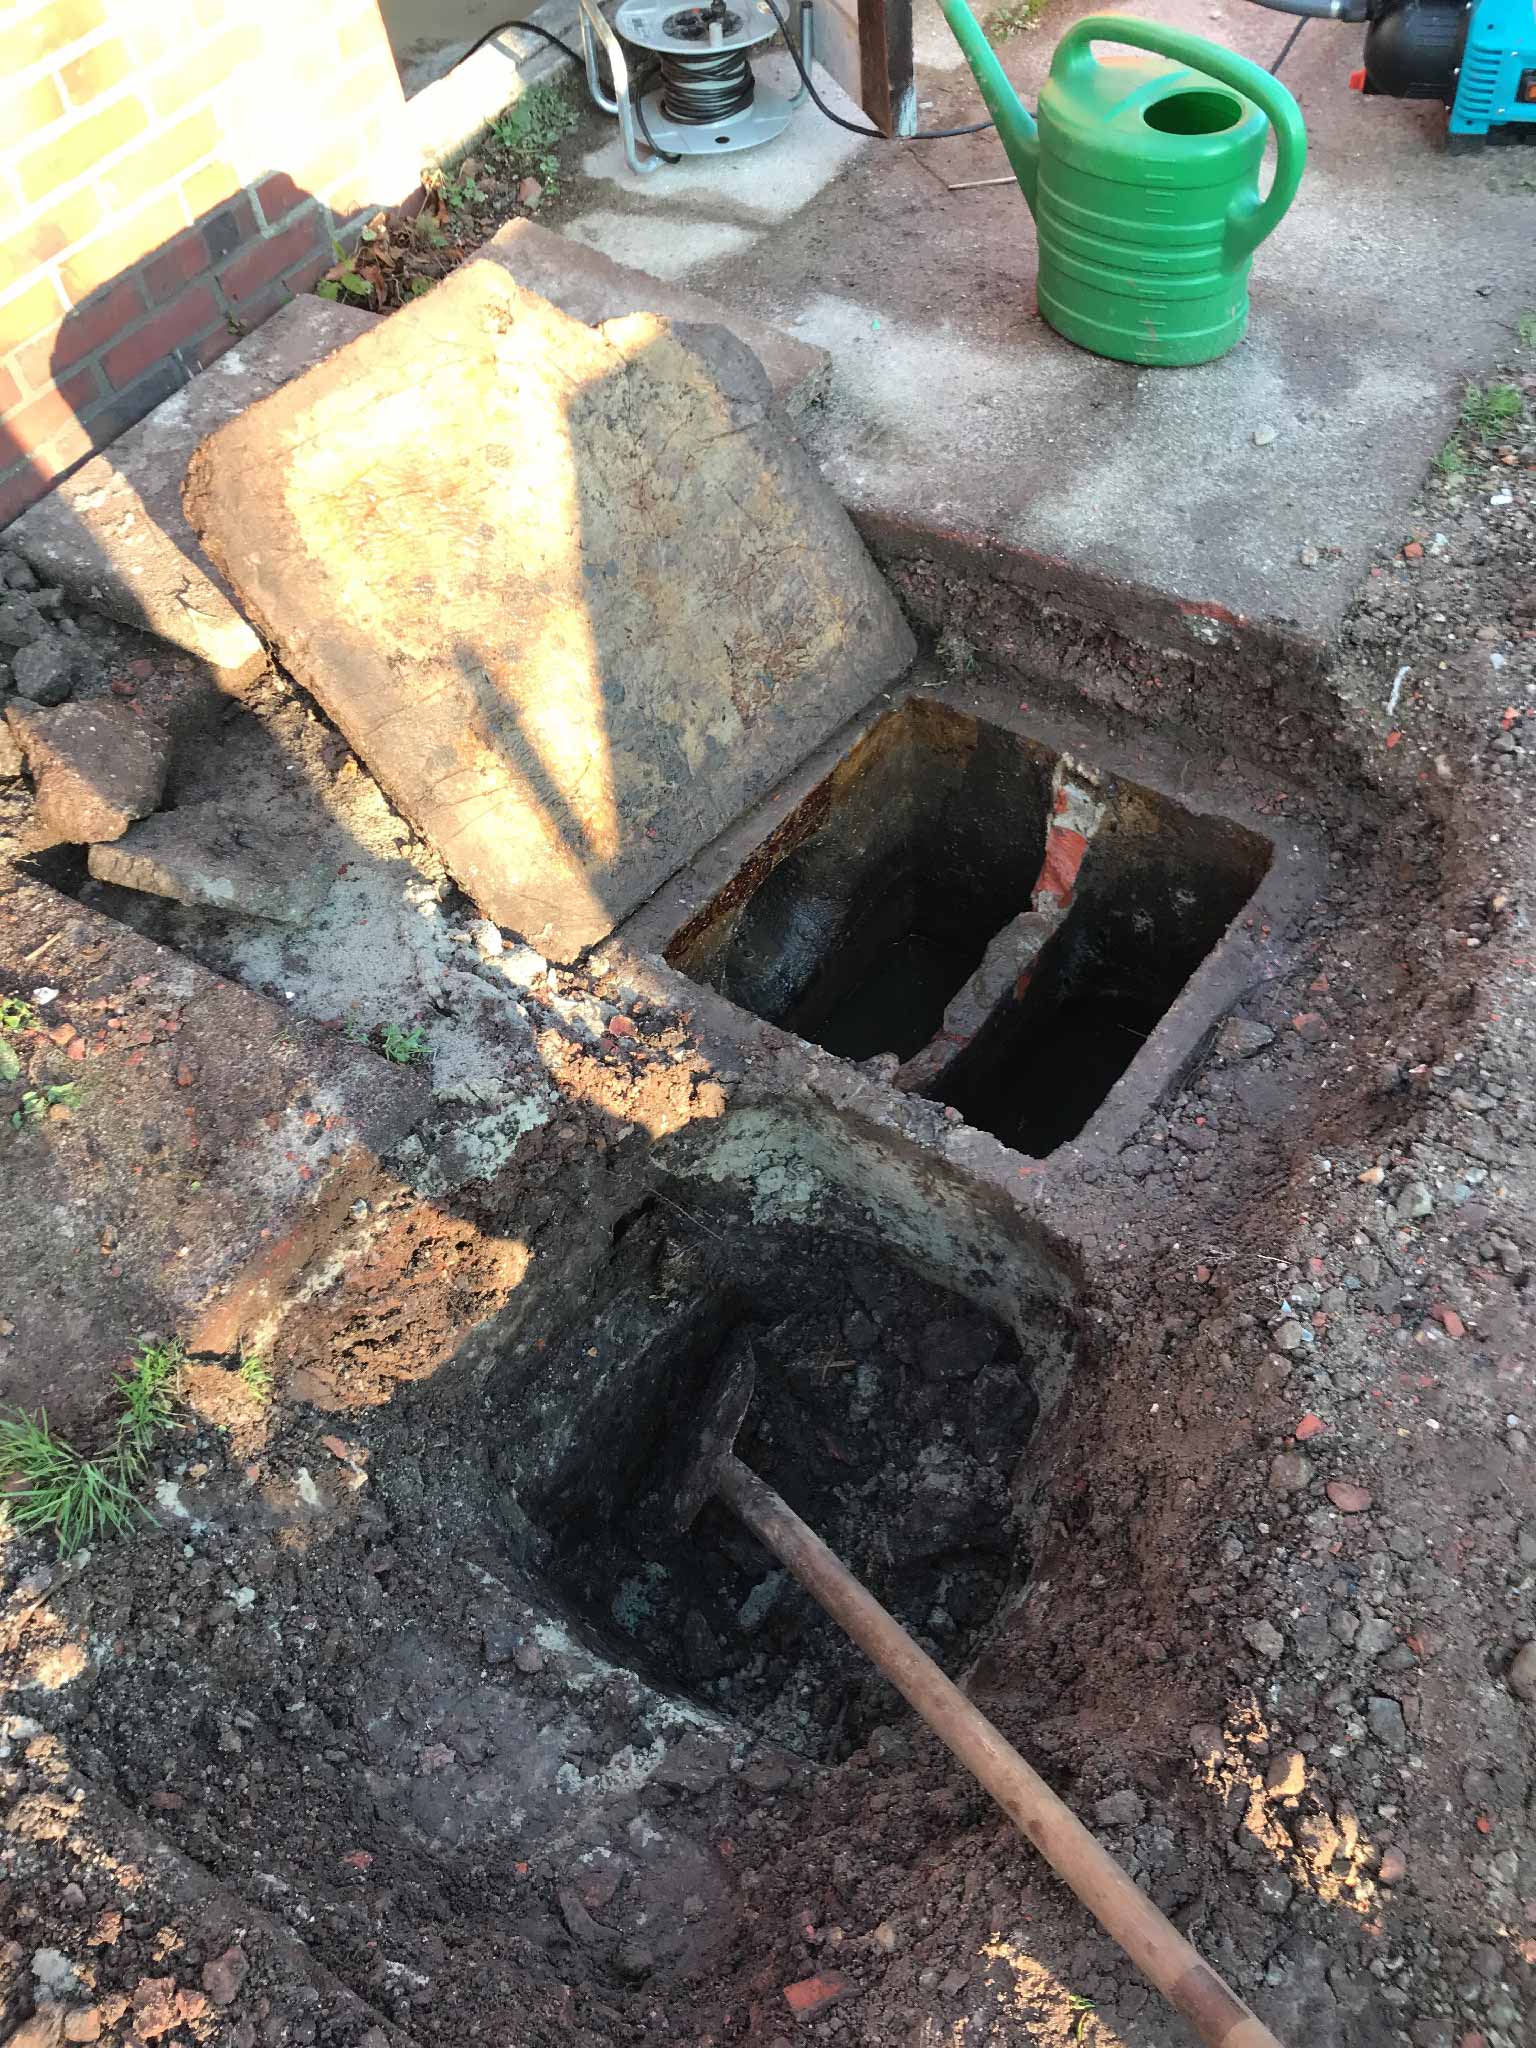
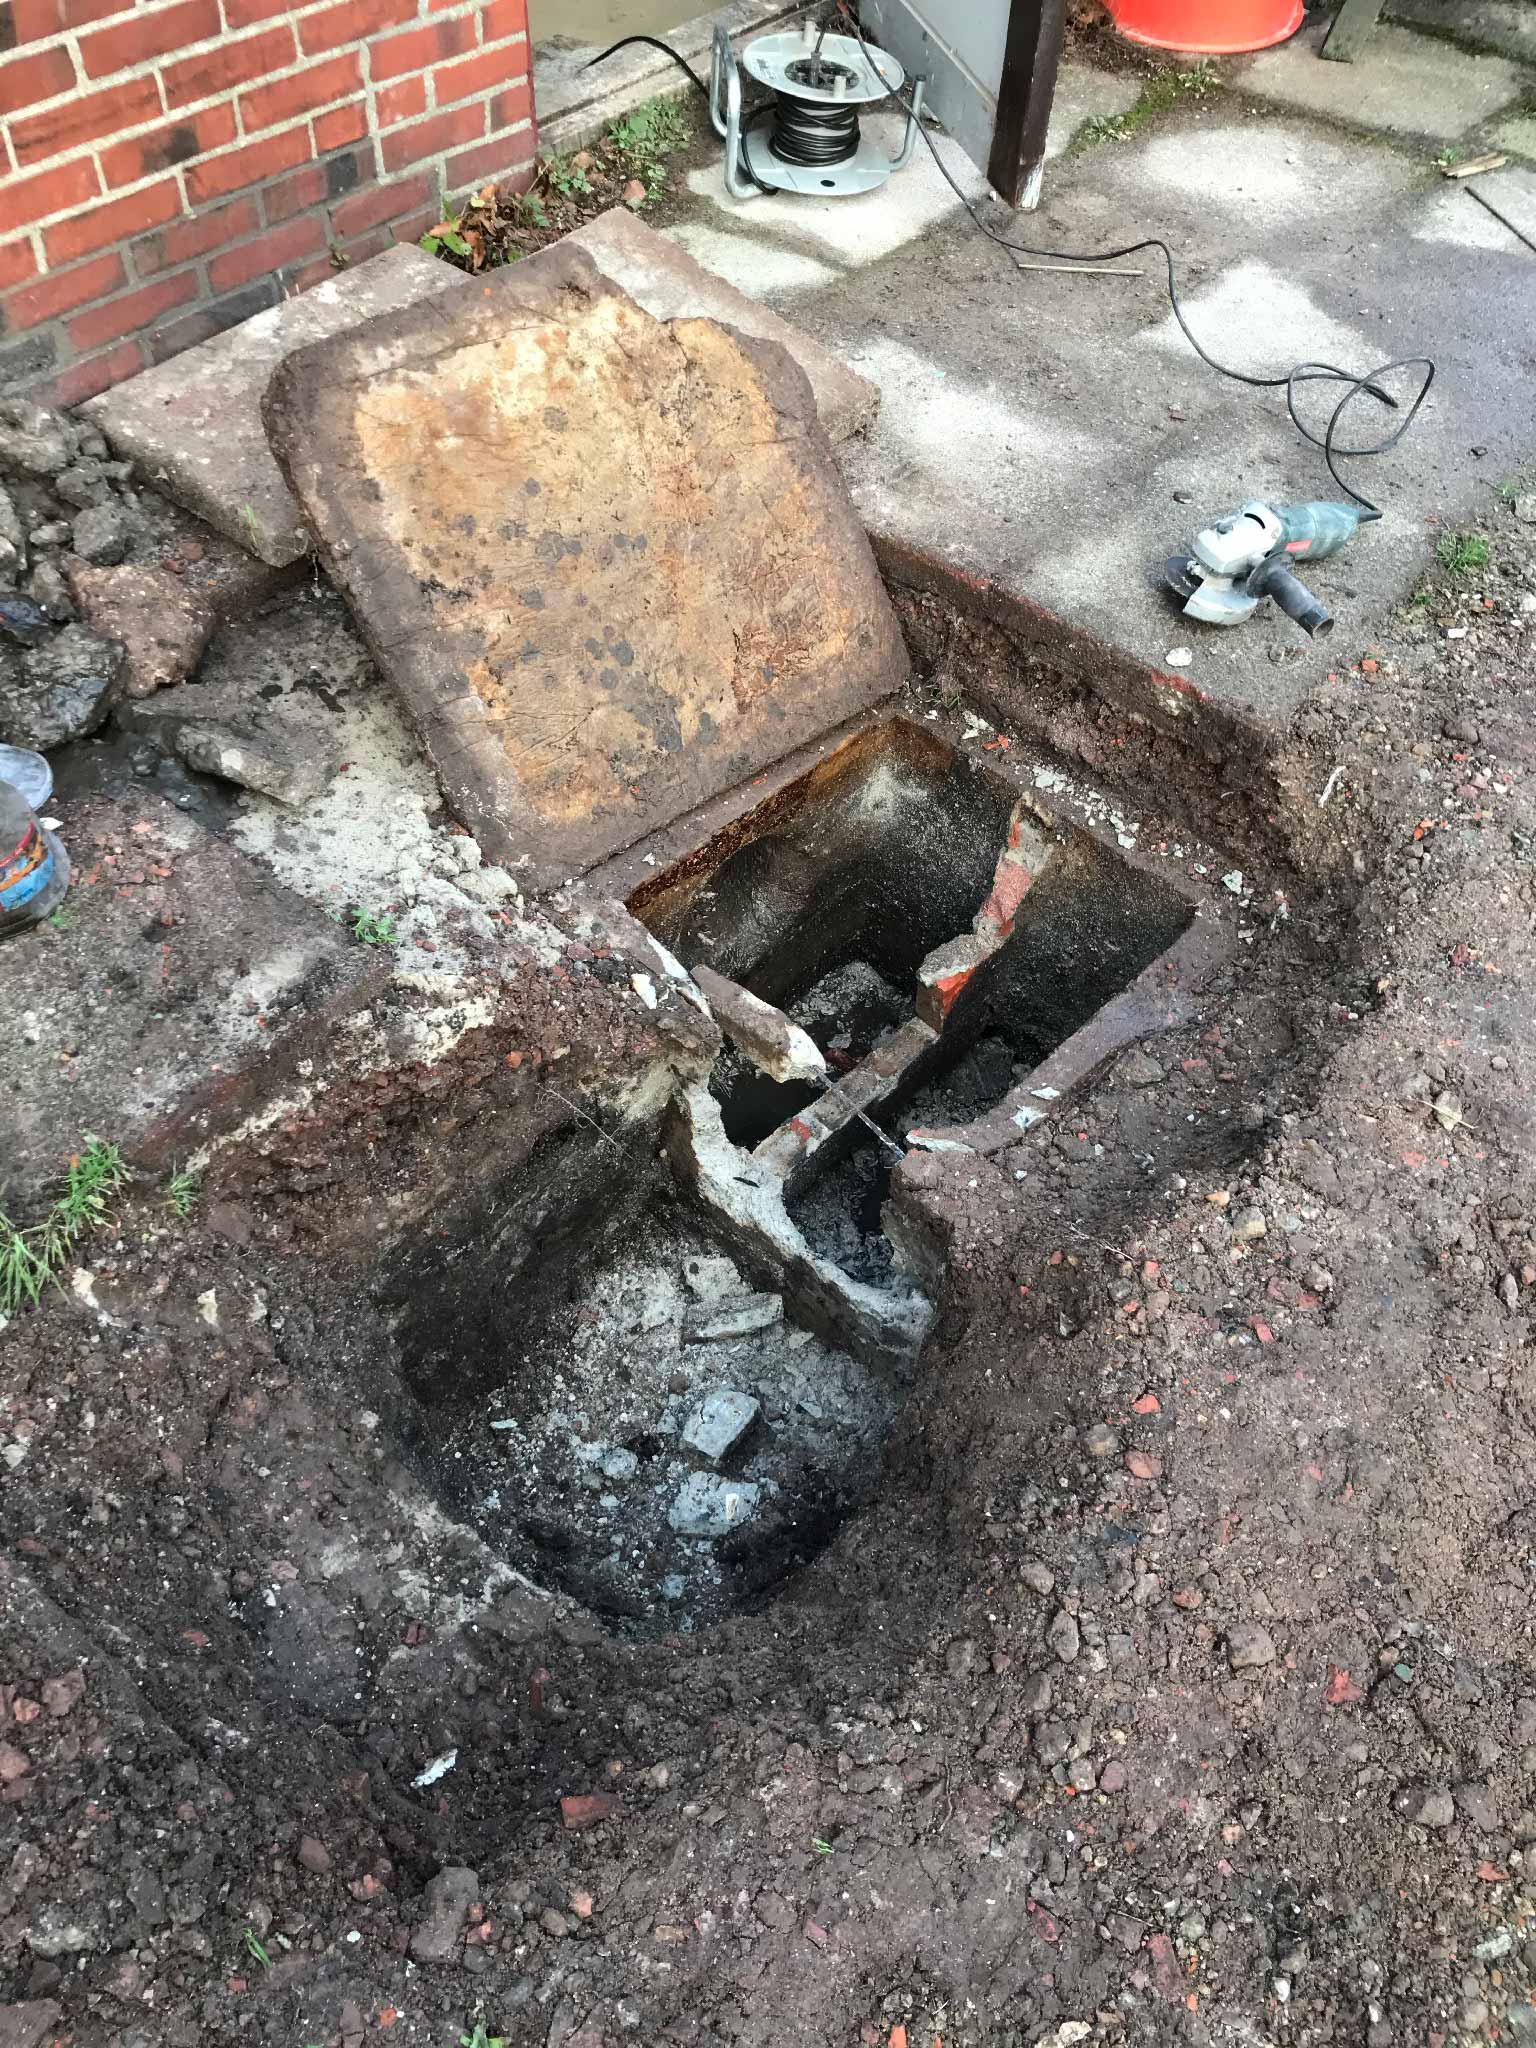
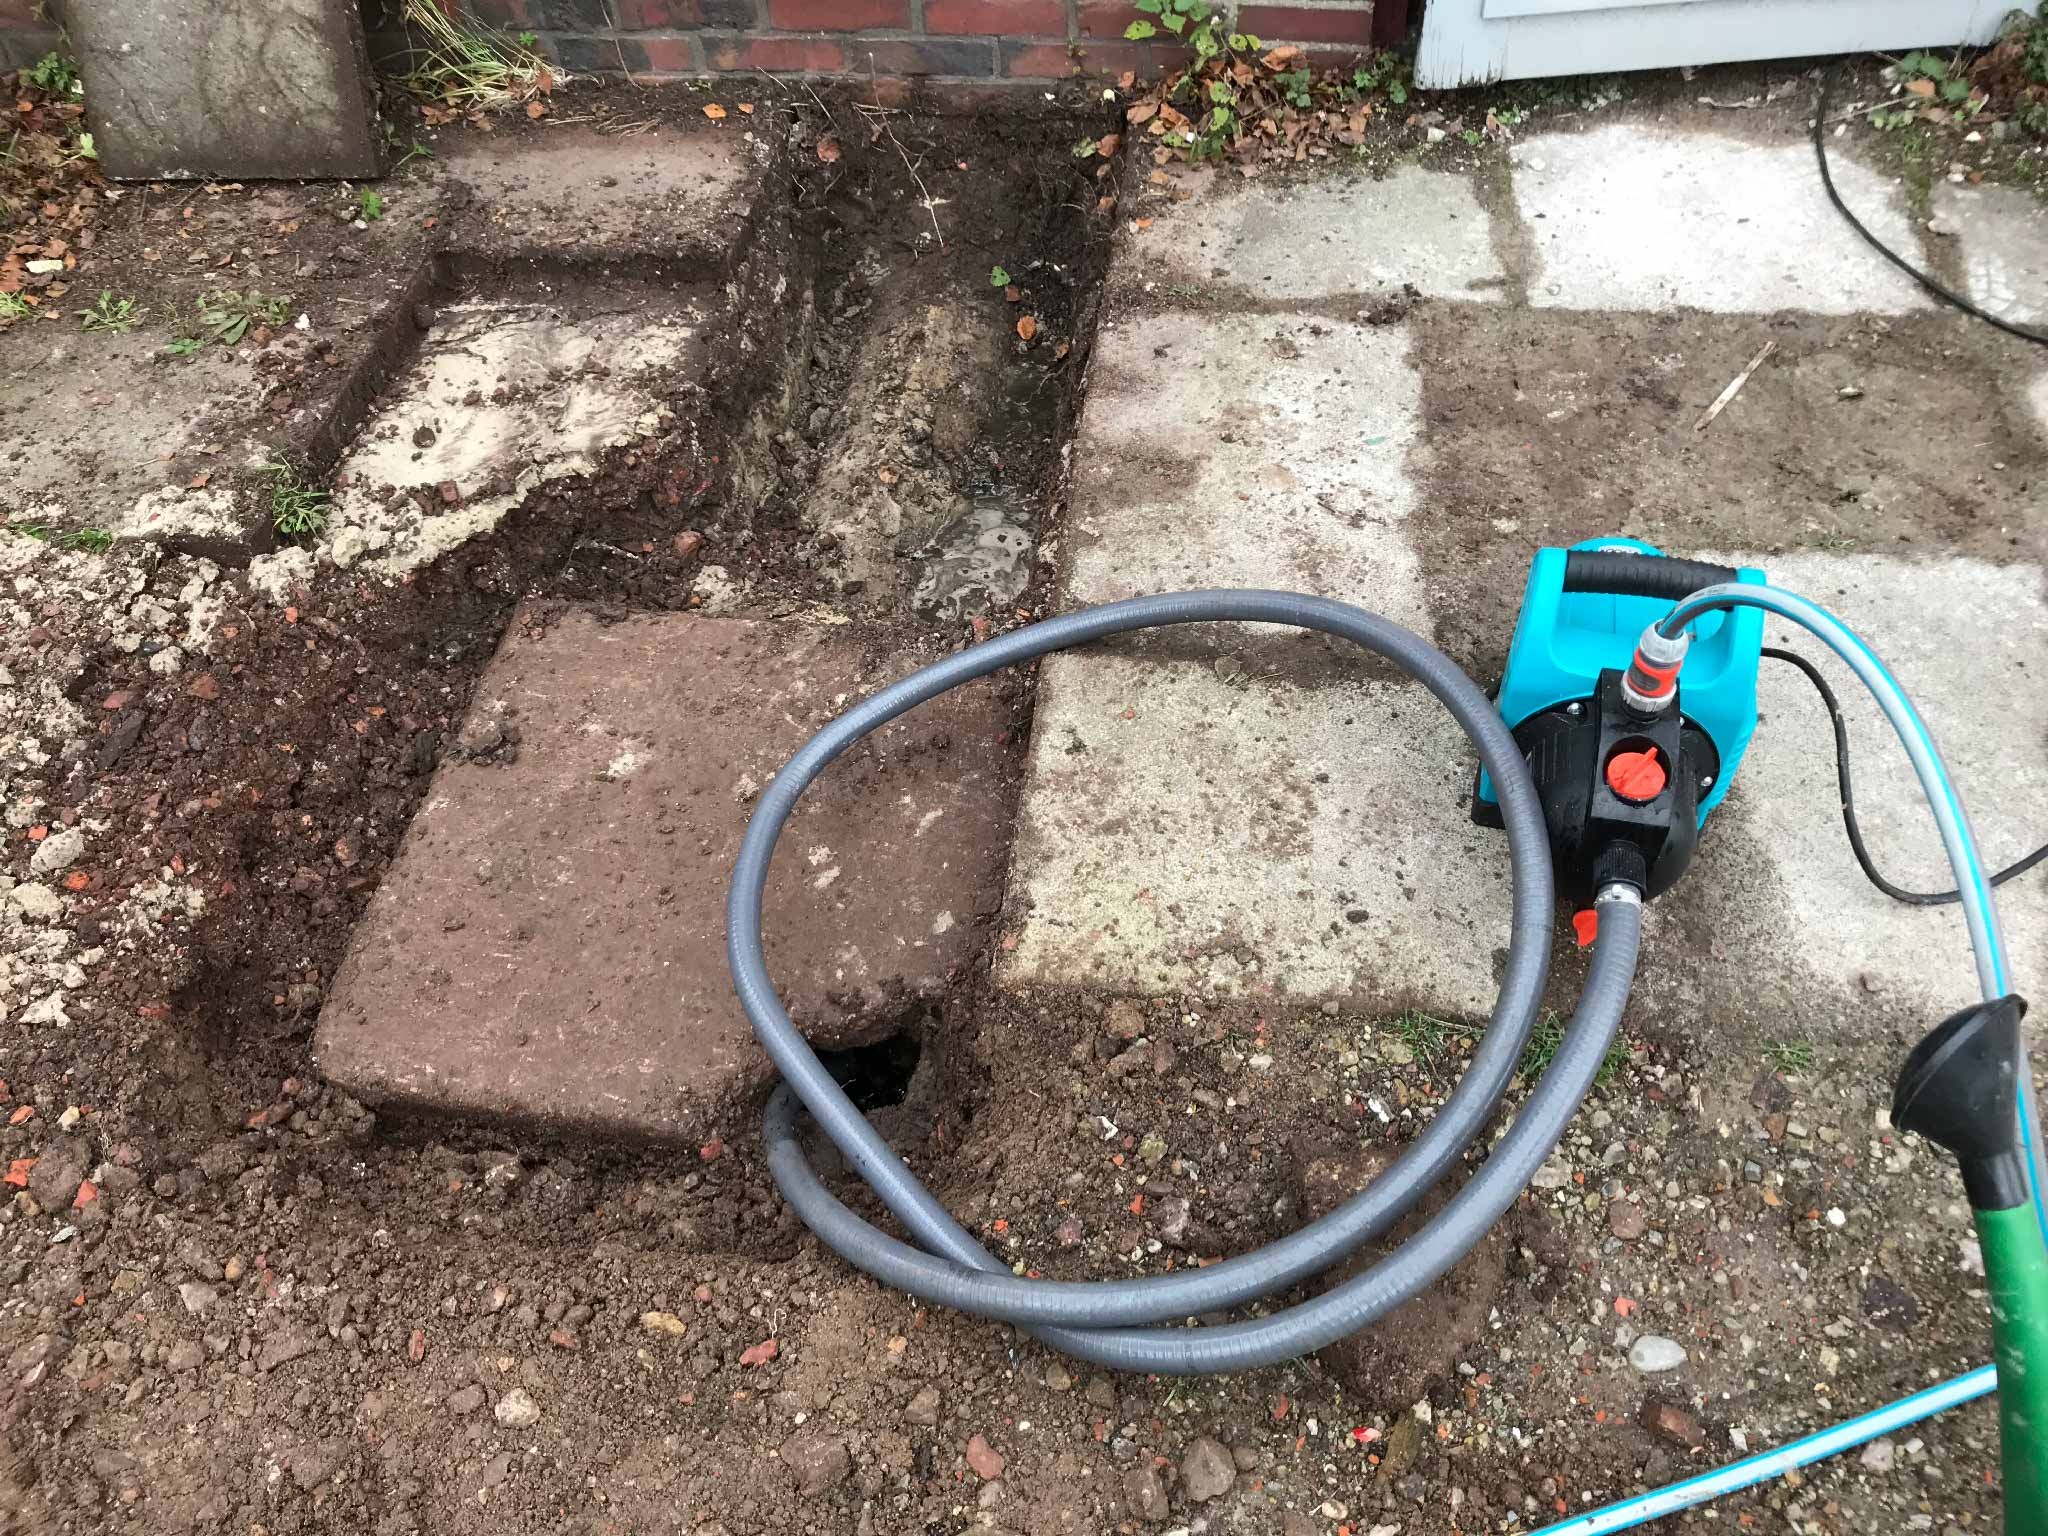
The sink pit filled within two days again. Water nearly running into the house again too. I had drilled a few holes in it but the pit was pretty much embedded in clay/silt so that was of little use. So, the walls had to go. Dug a hole next to the pit for a better swing and the sledge hammer and pickaxe did the rest. Walls are gone and I man handled the bottom somewhat. Guess this should do the trick.
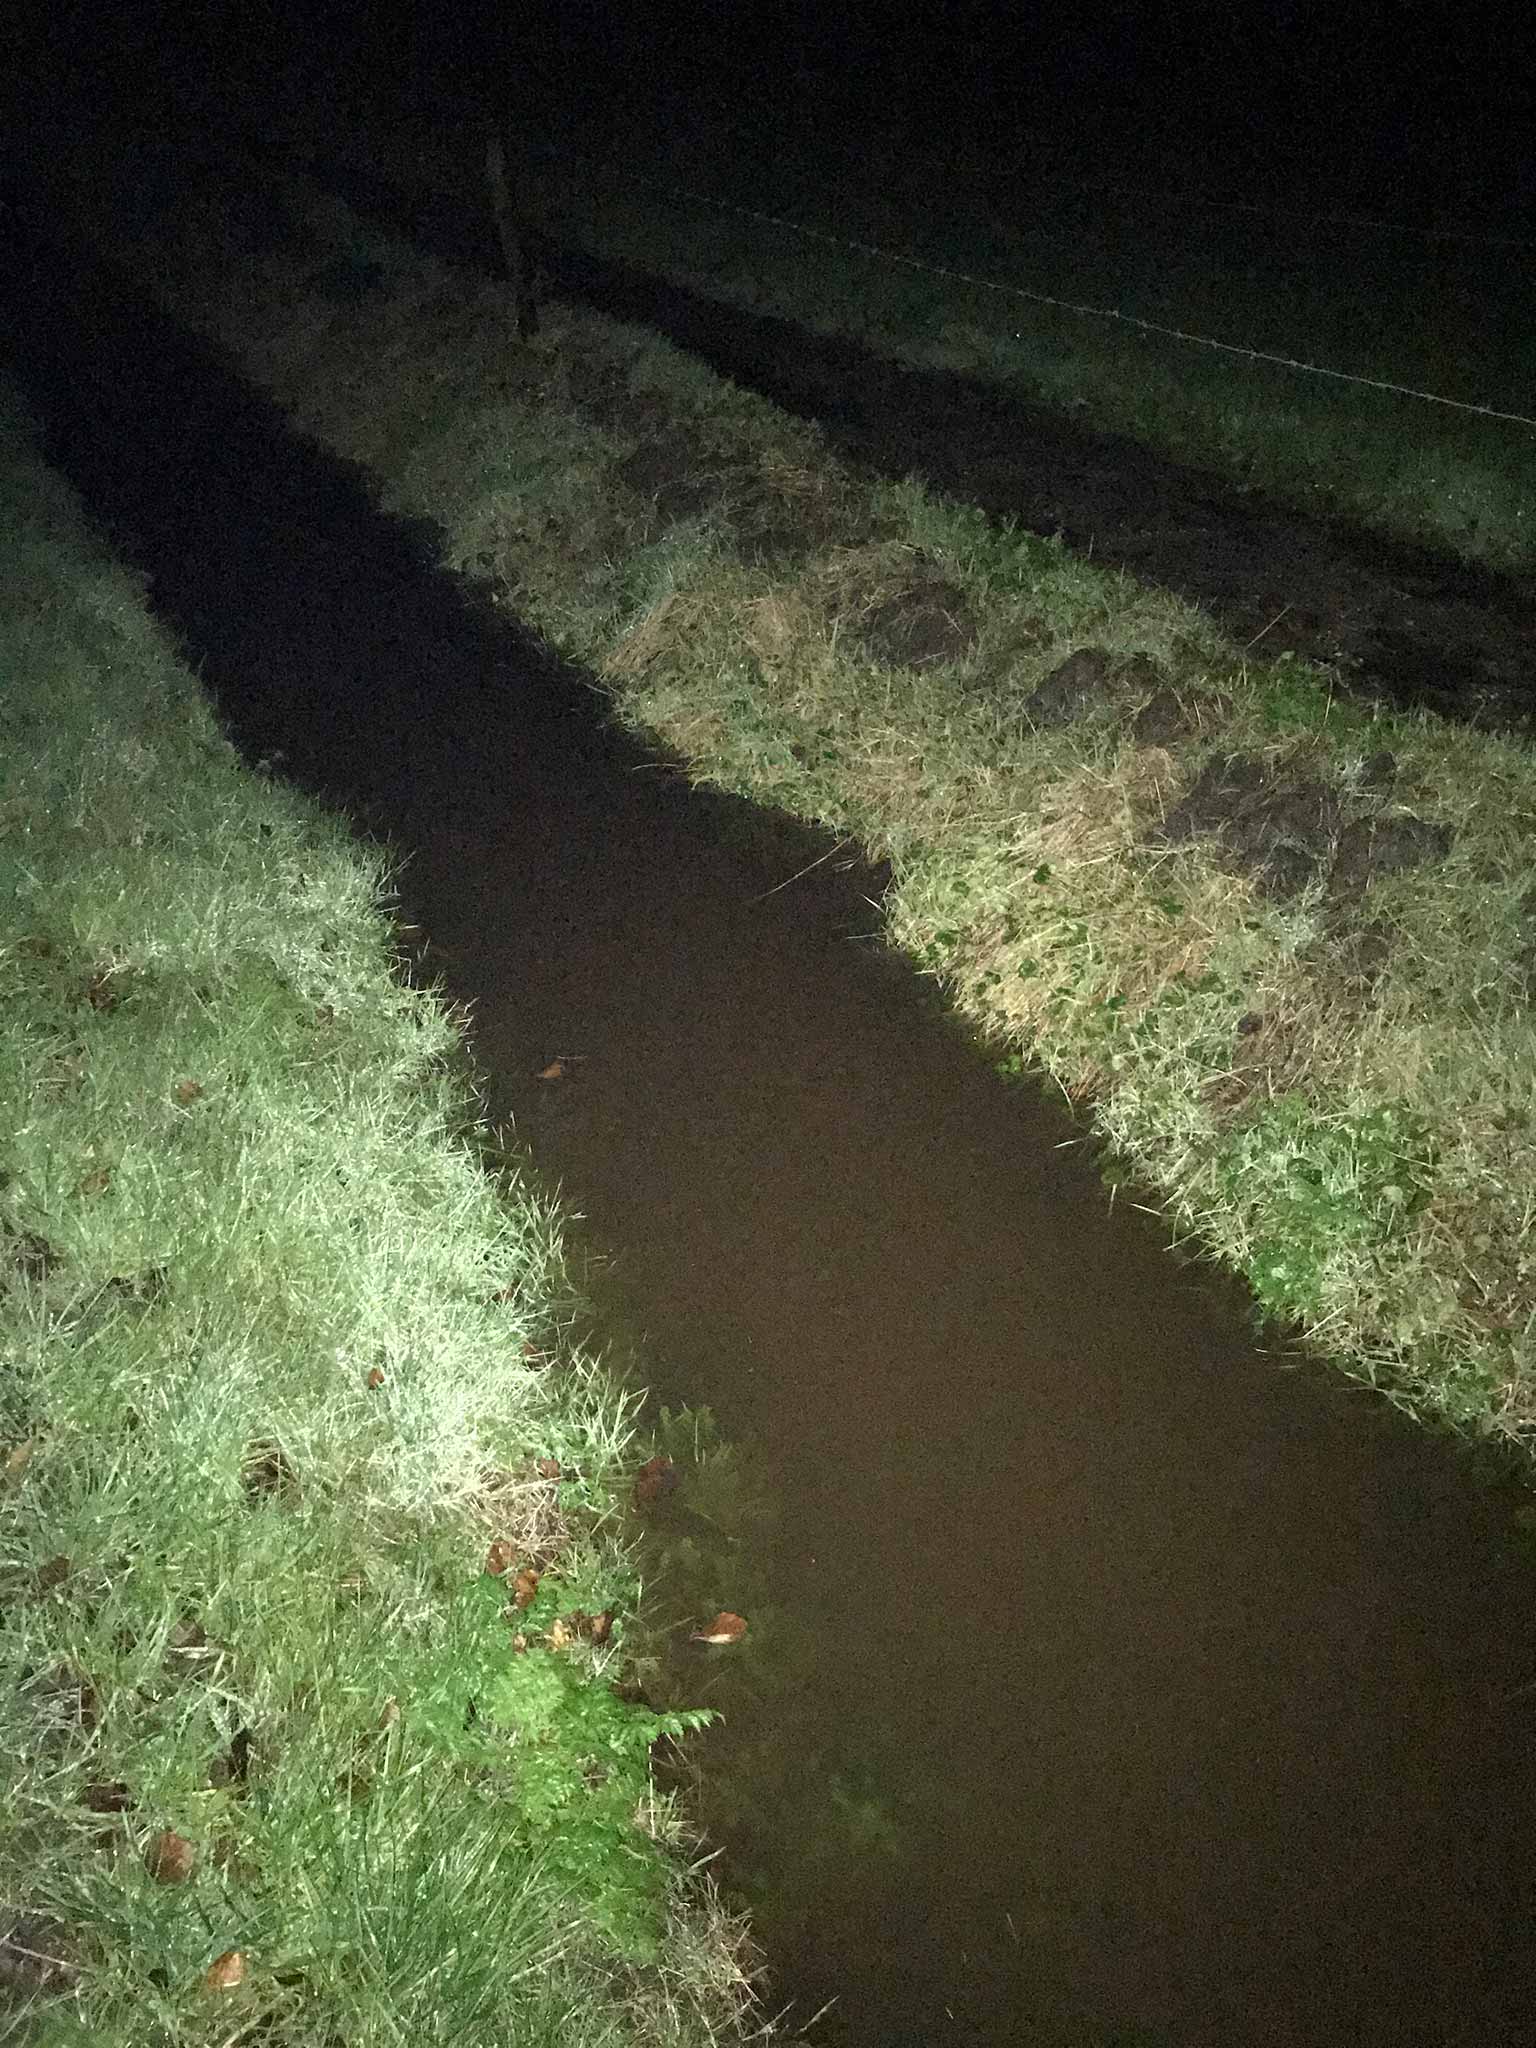
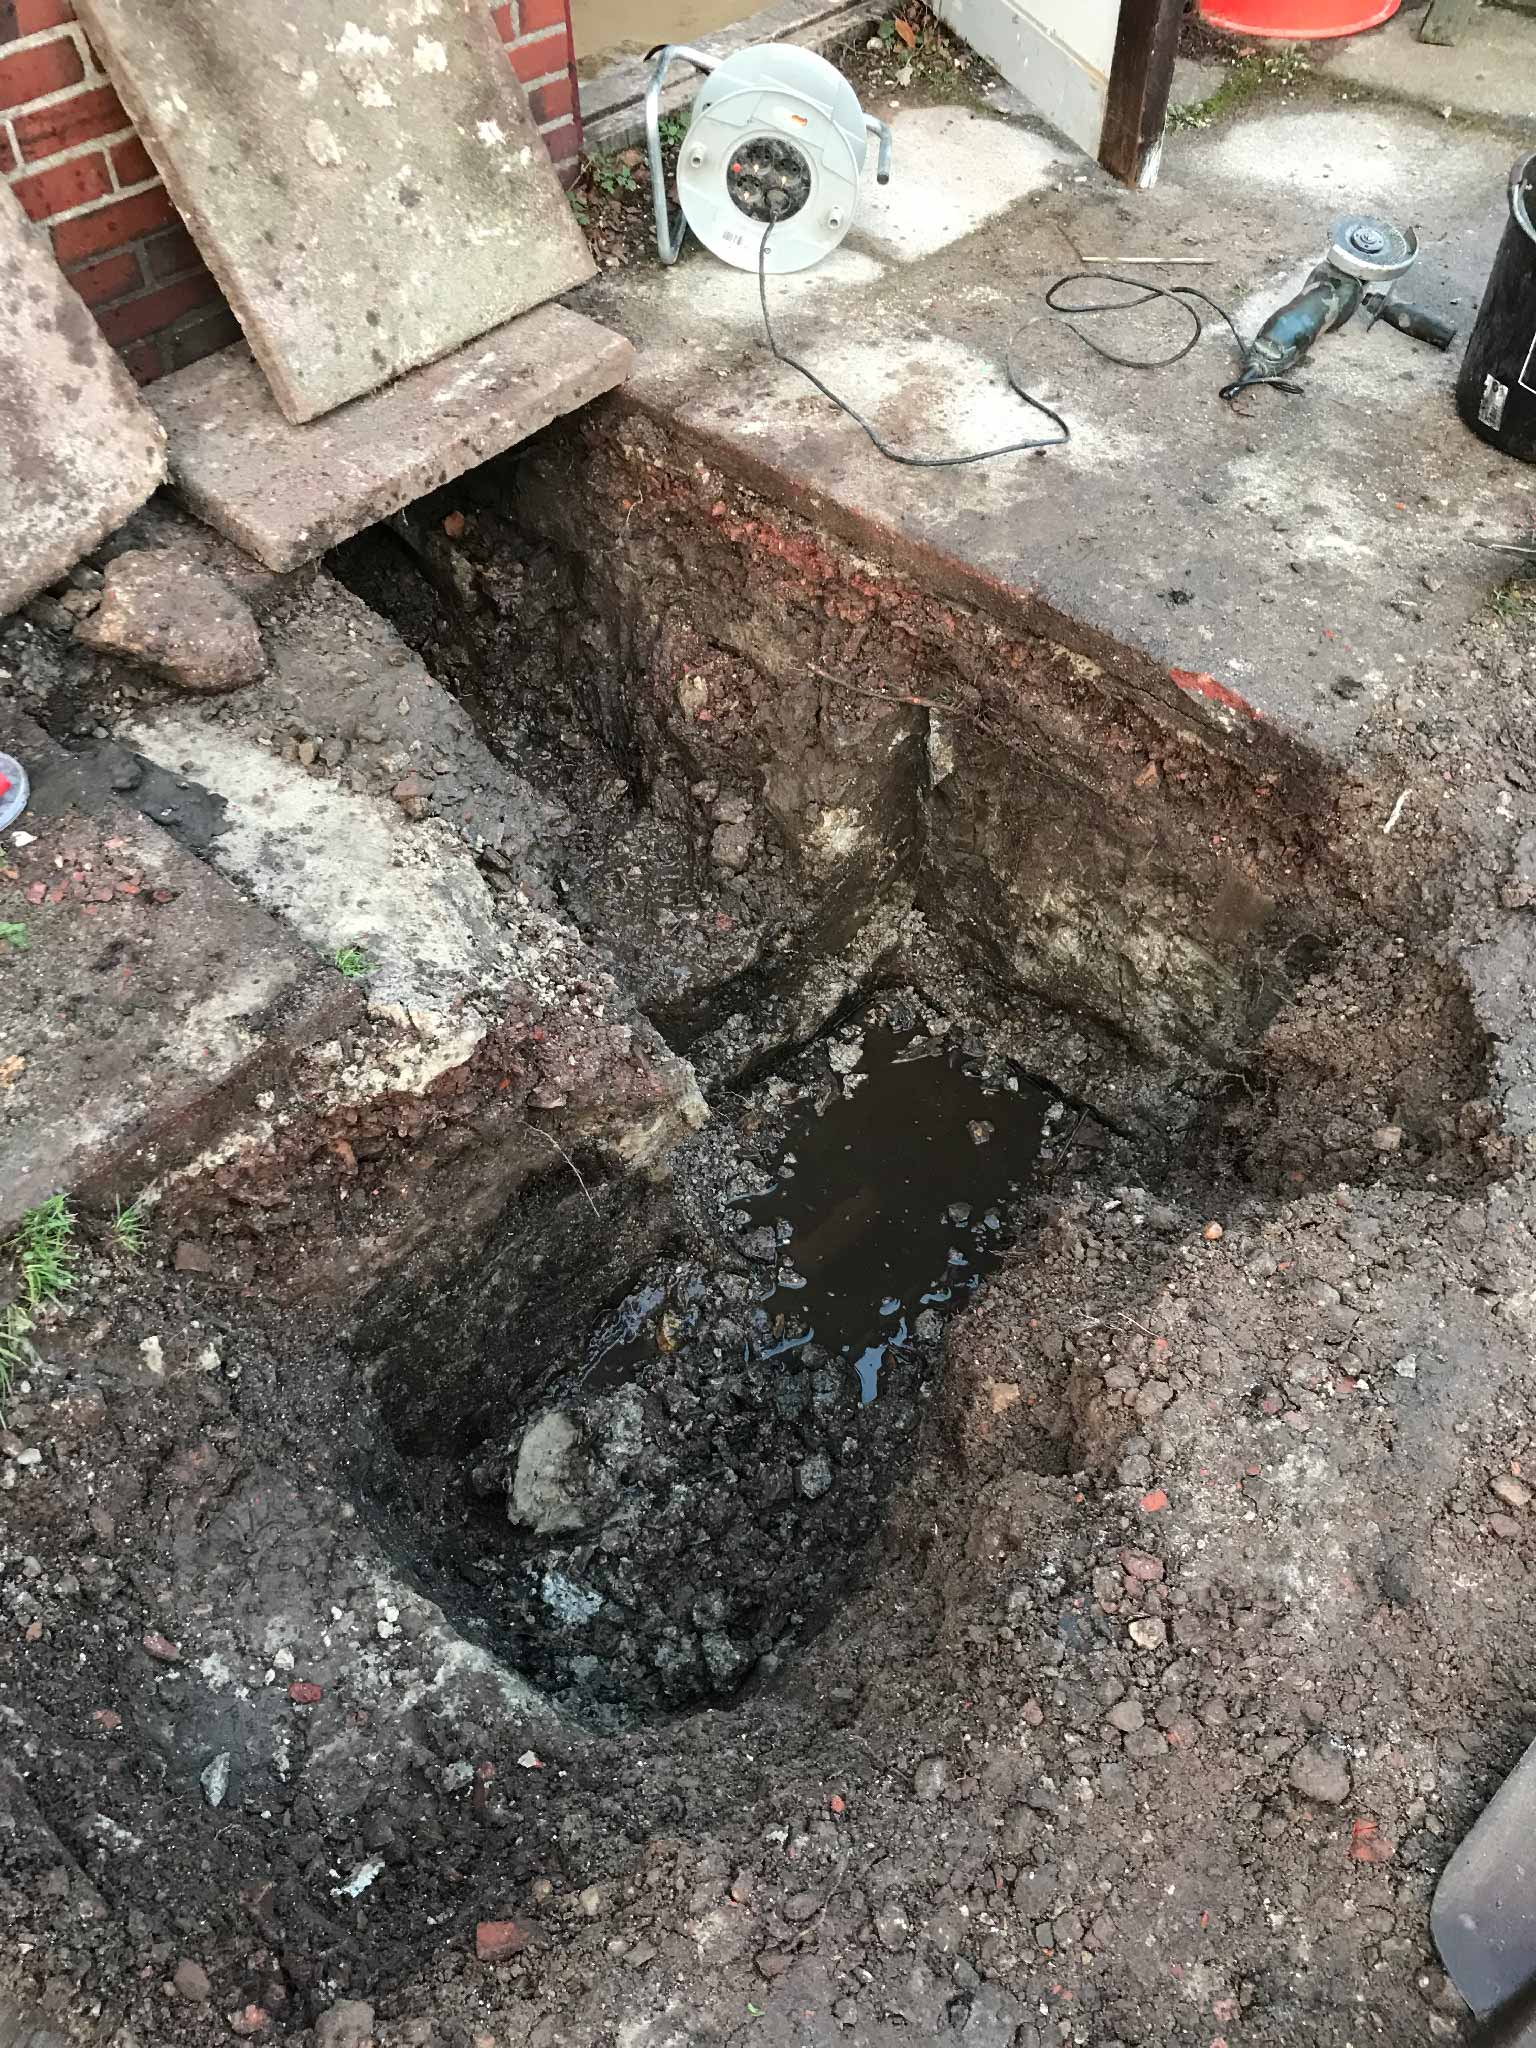
Yes, indeed. The floor currently is about 30cm lower than it used to be and the water finds the way of the least resistance. Into the empty space and onto the concrete floor. Time to figure out where it comes from.
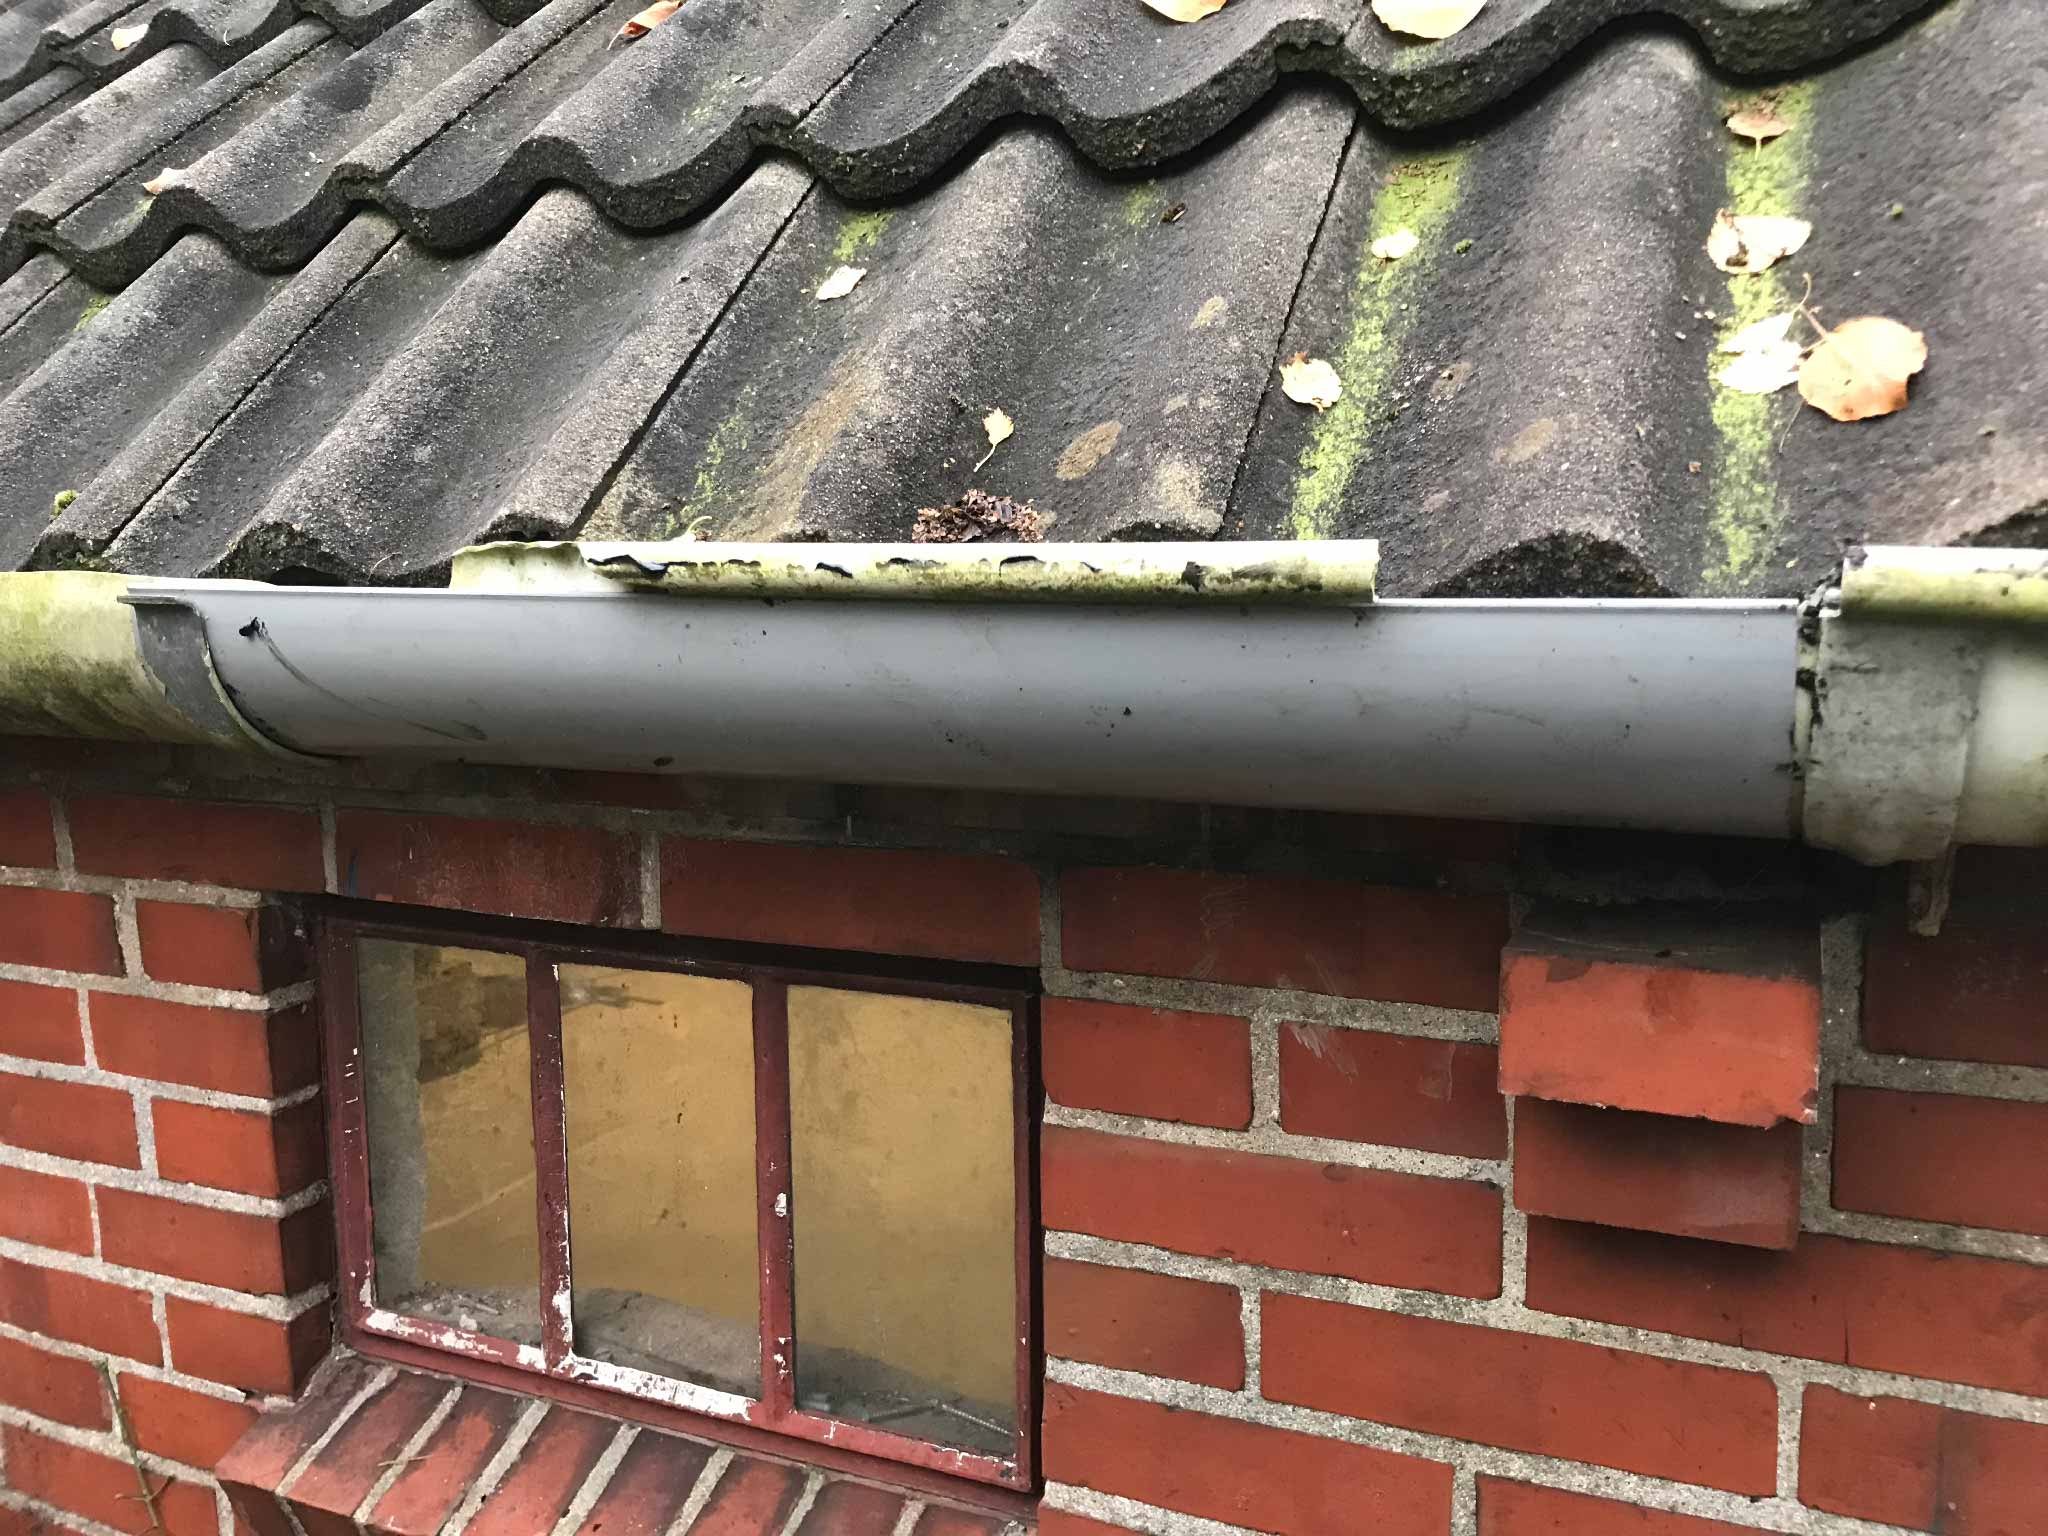
First culprit: a broken gutter. Slid a new section under it with a bunch of kit. Should hold until the new gutter is installed.
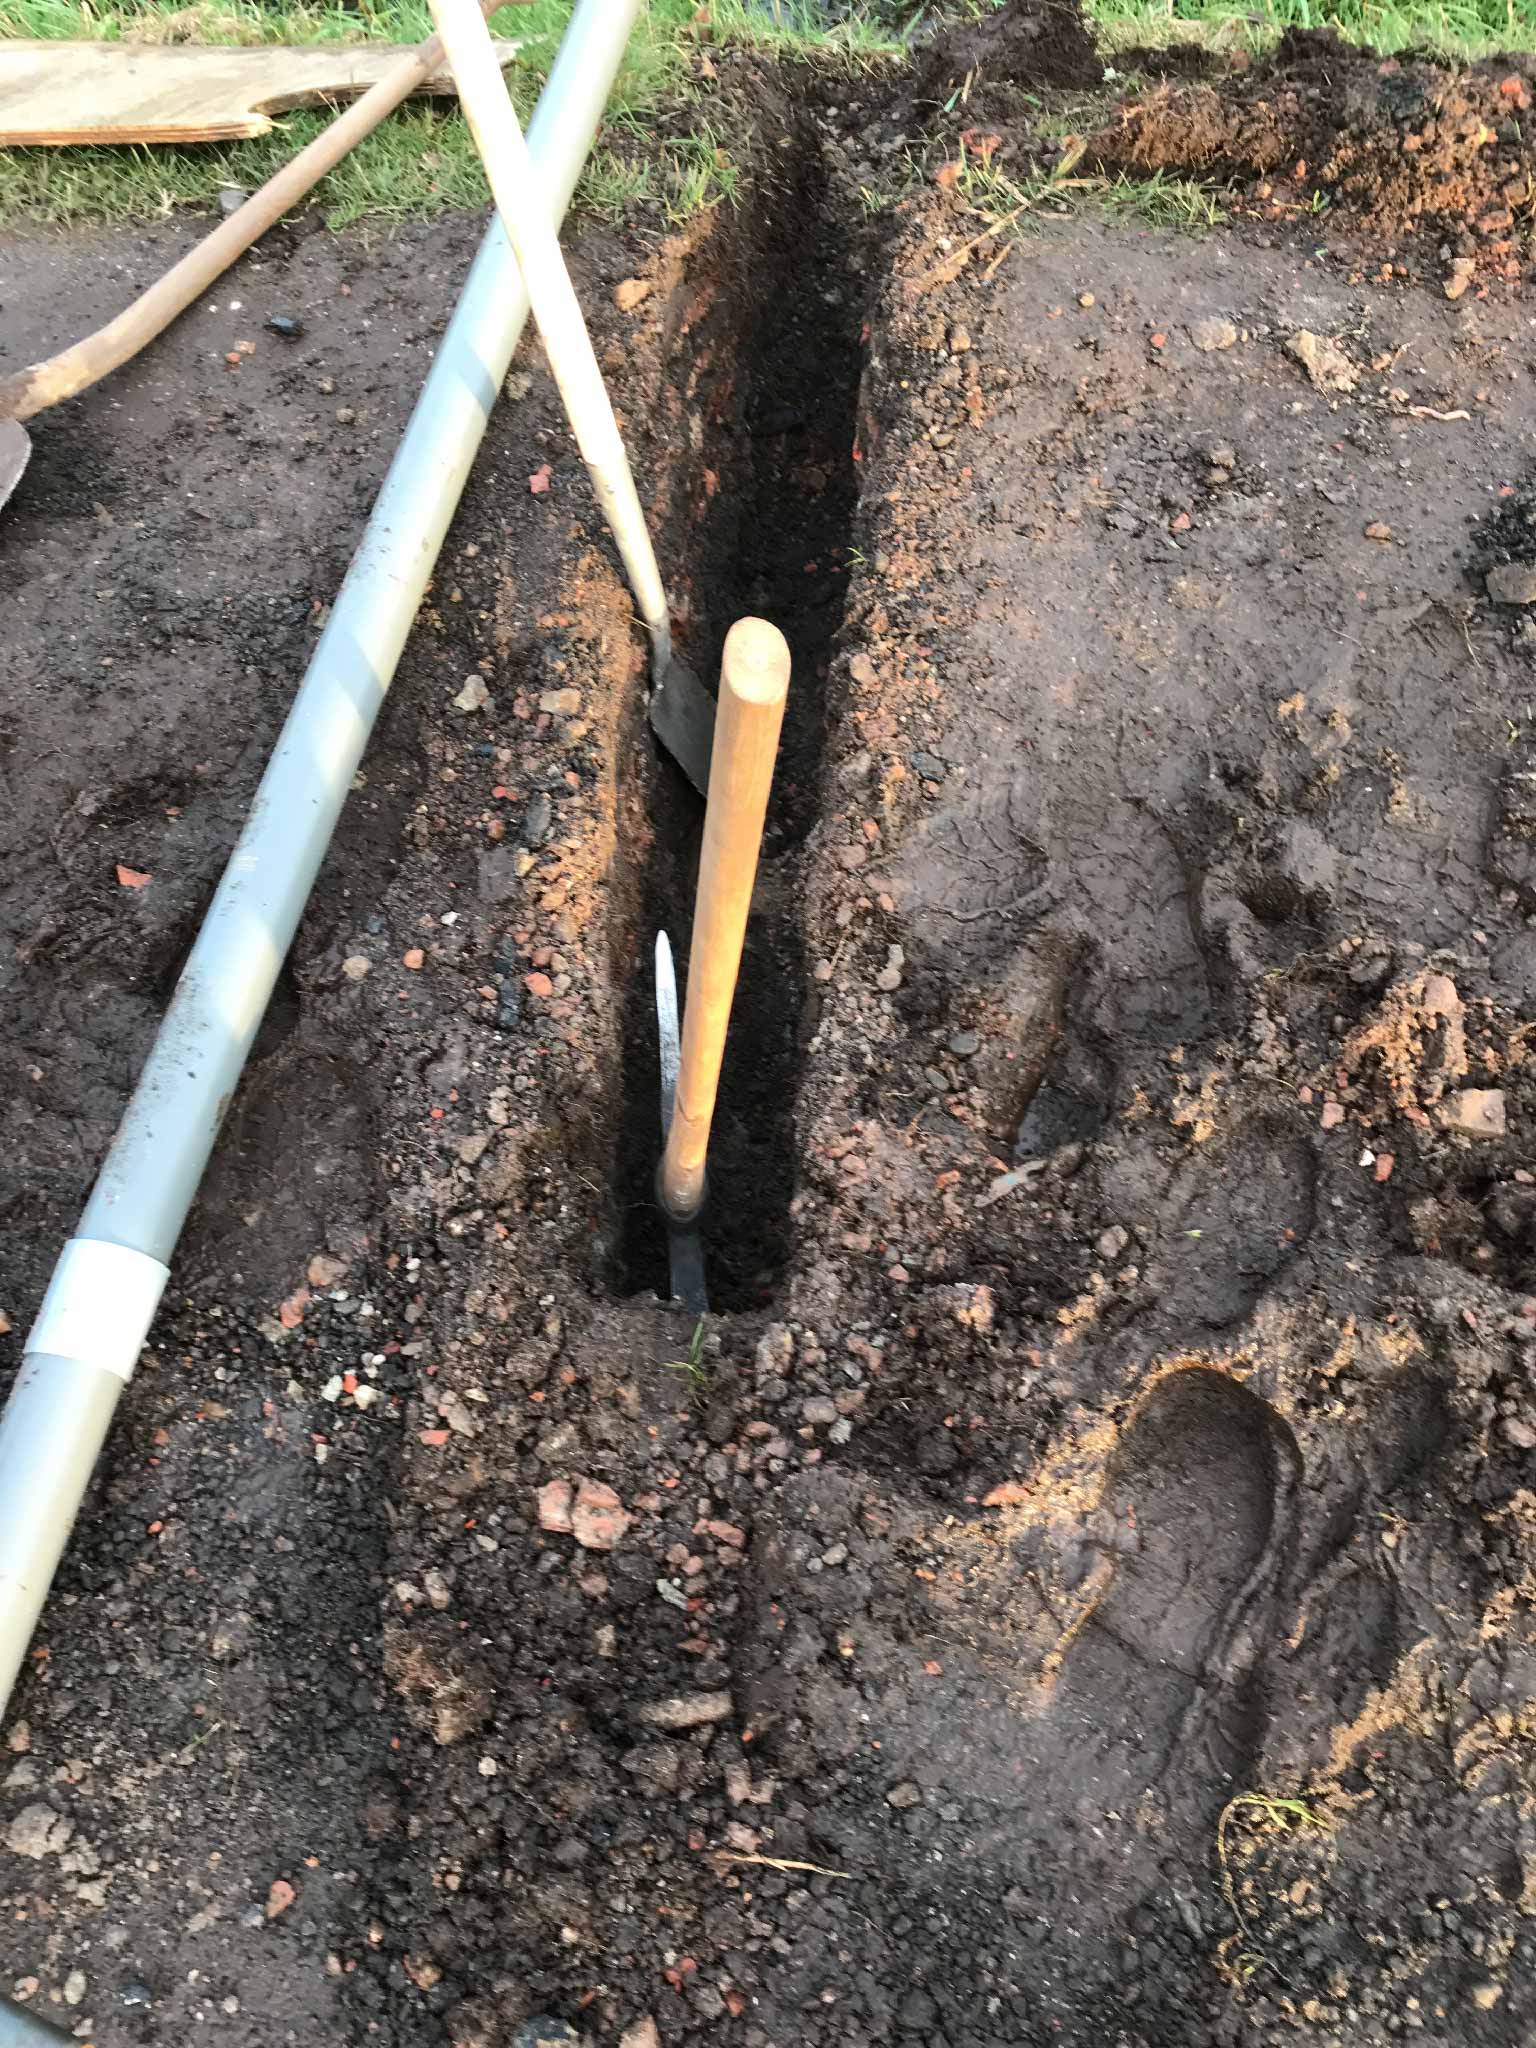
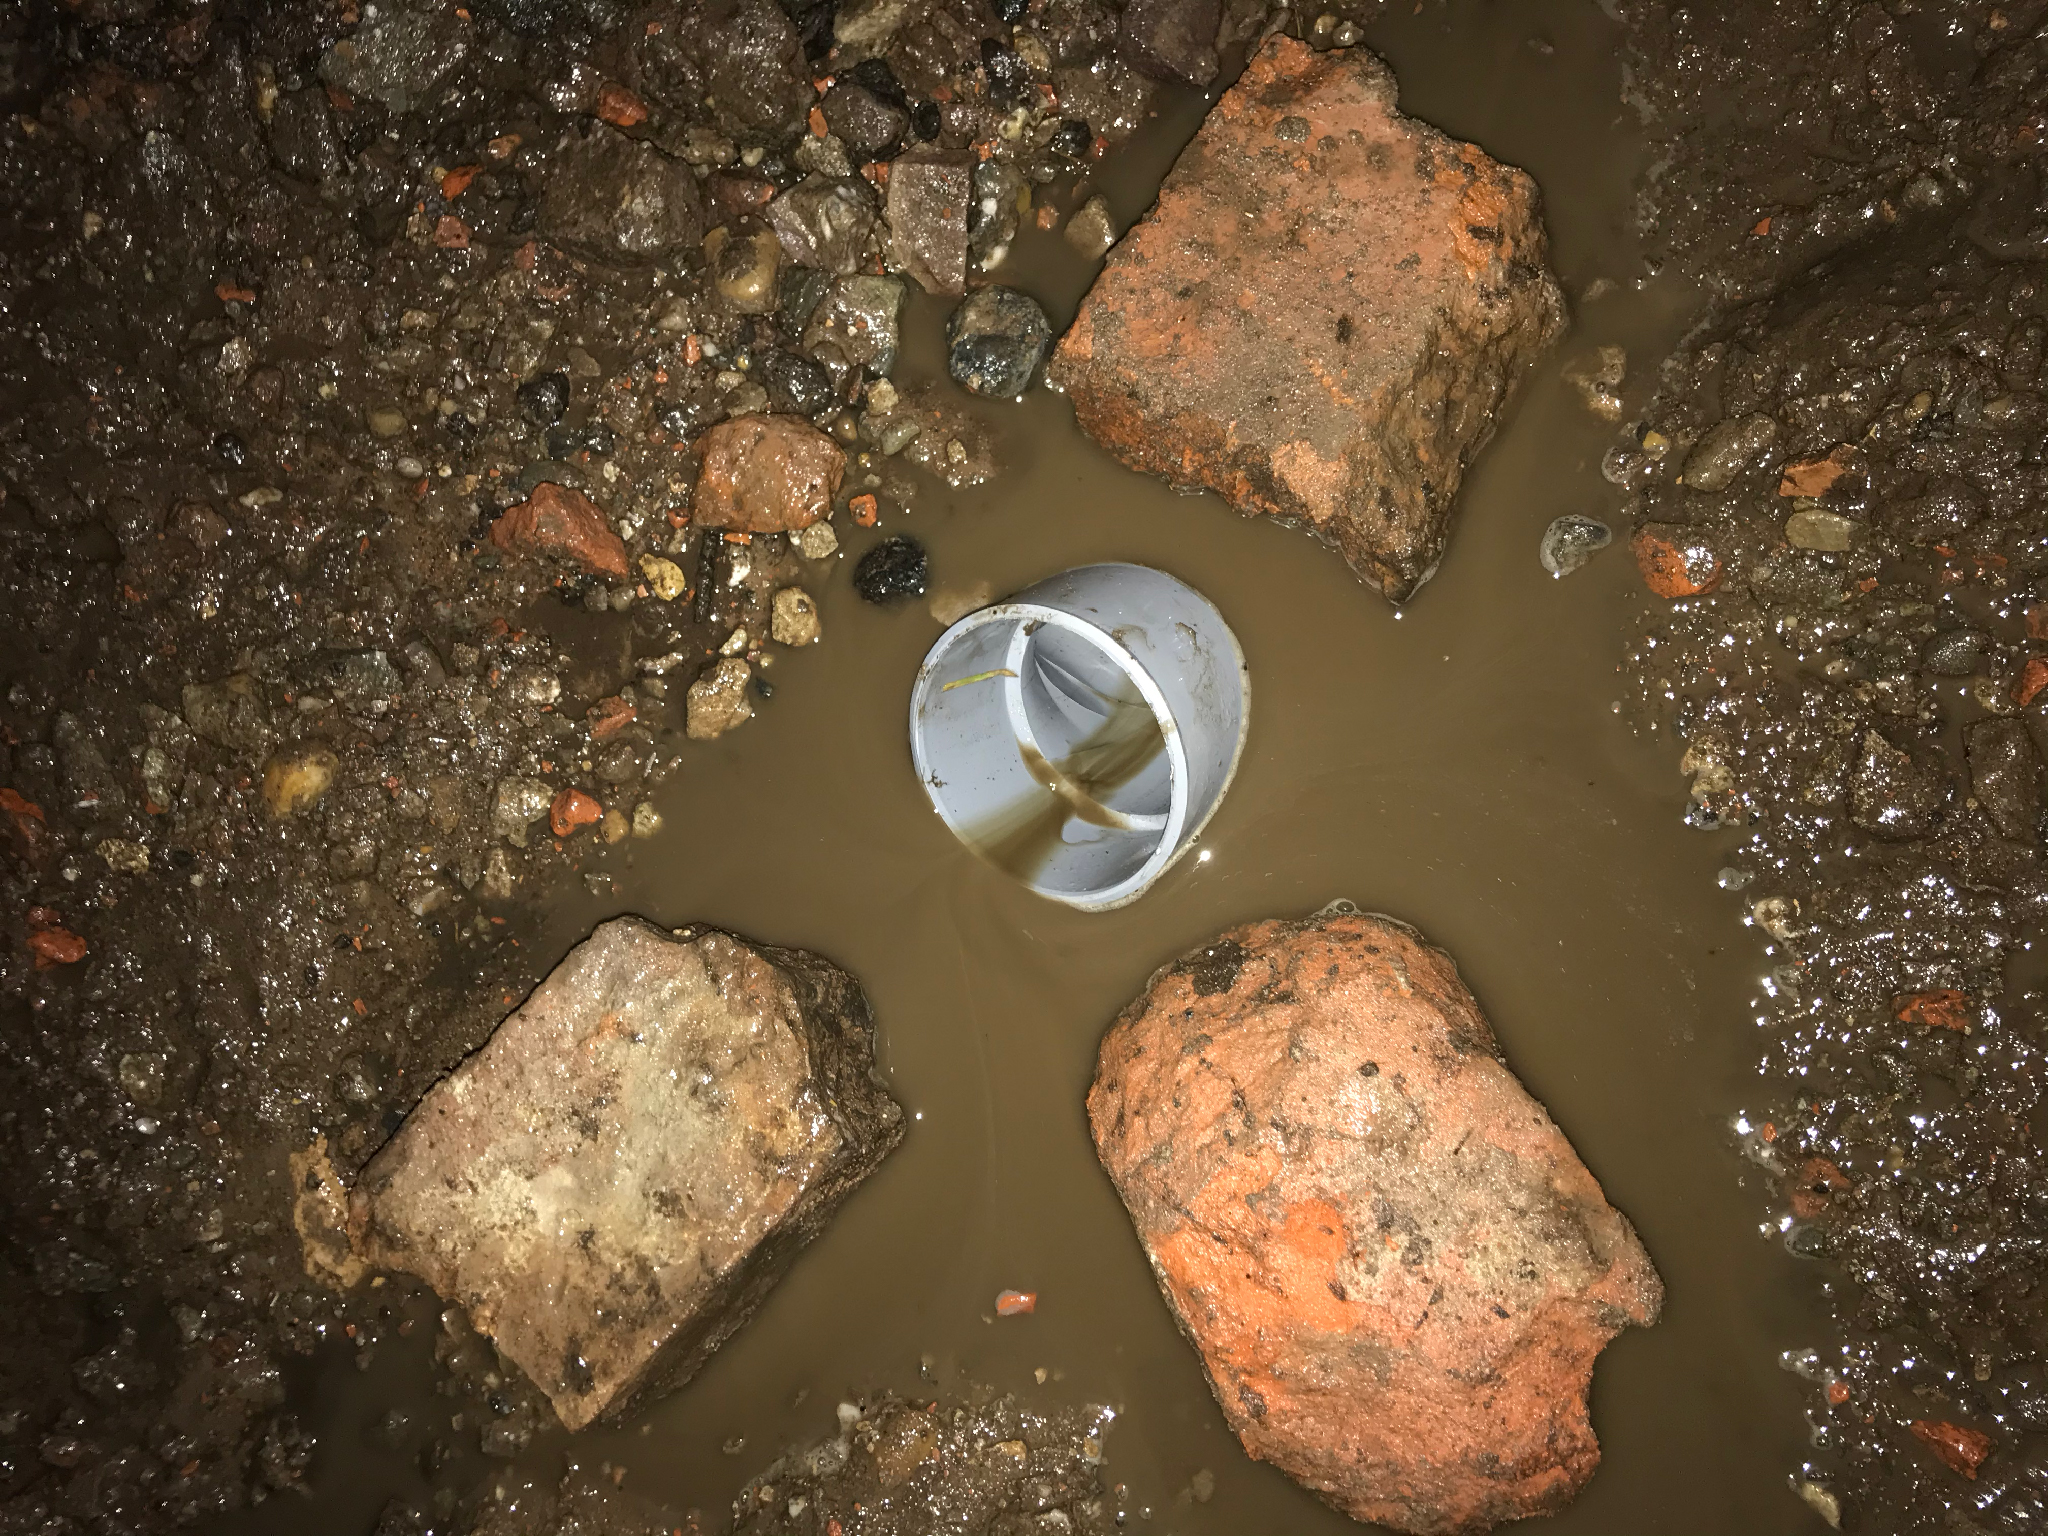
Not really near the house, but the temporary parking lot did not let any water through. So, around its deepest point, which is at a corner, things got muddy. Finally bought a pipe and a drain to get rid of it. Sadly, I stumbled upon some underground structures (sewer?, cables?) an a setting sun (digging 40cm deep in debris compresses by cars and tractors is not an easy task) so the pipe ended up less deep than intended. The drain would not fit on top of it anymore :(. Hope it holds like this for a year or so…
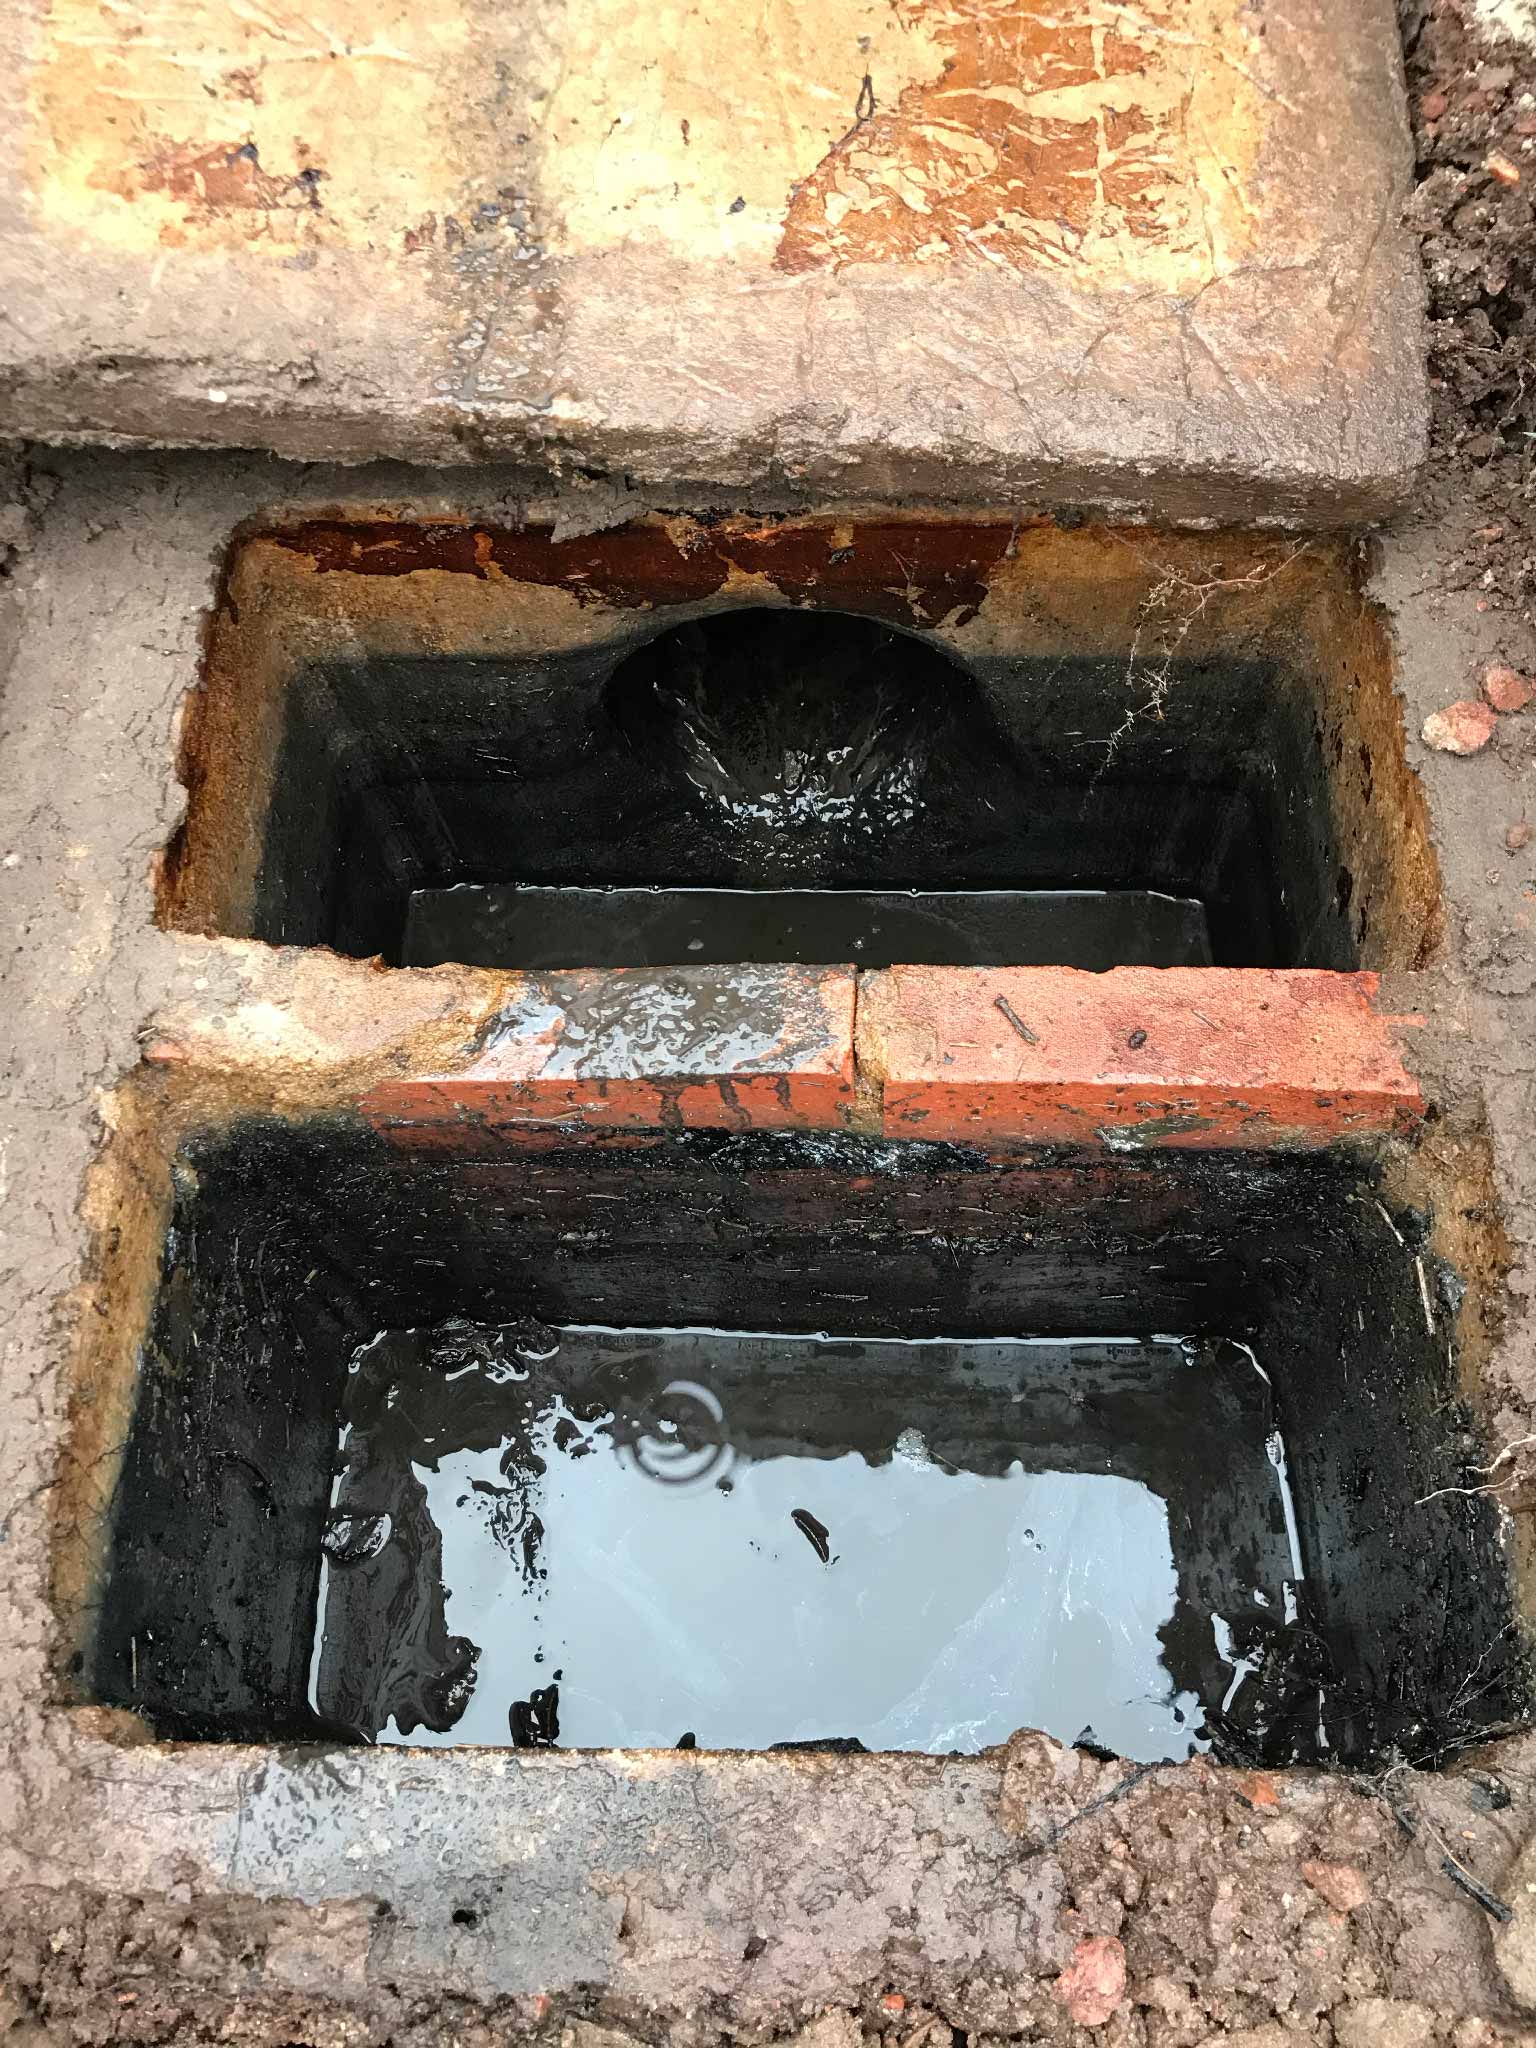
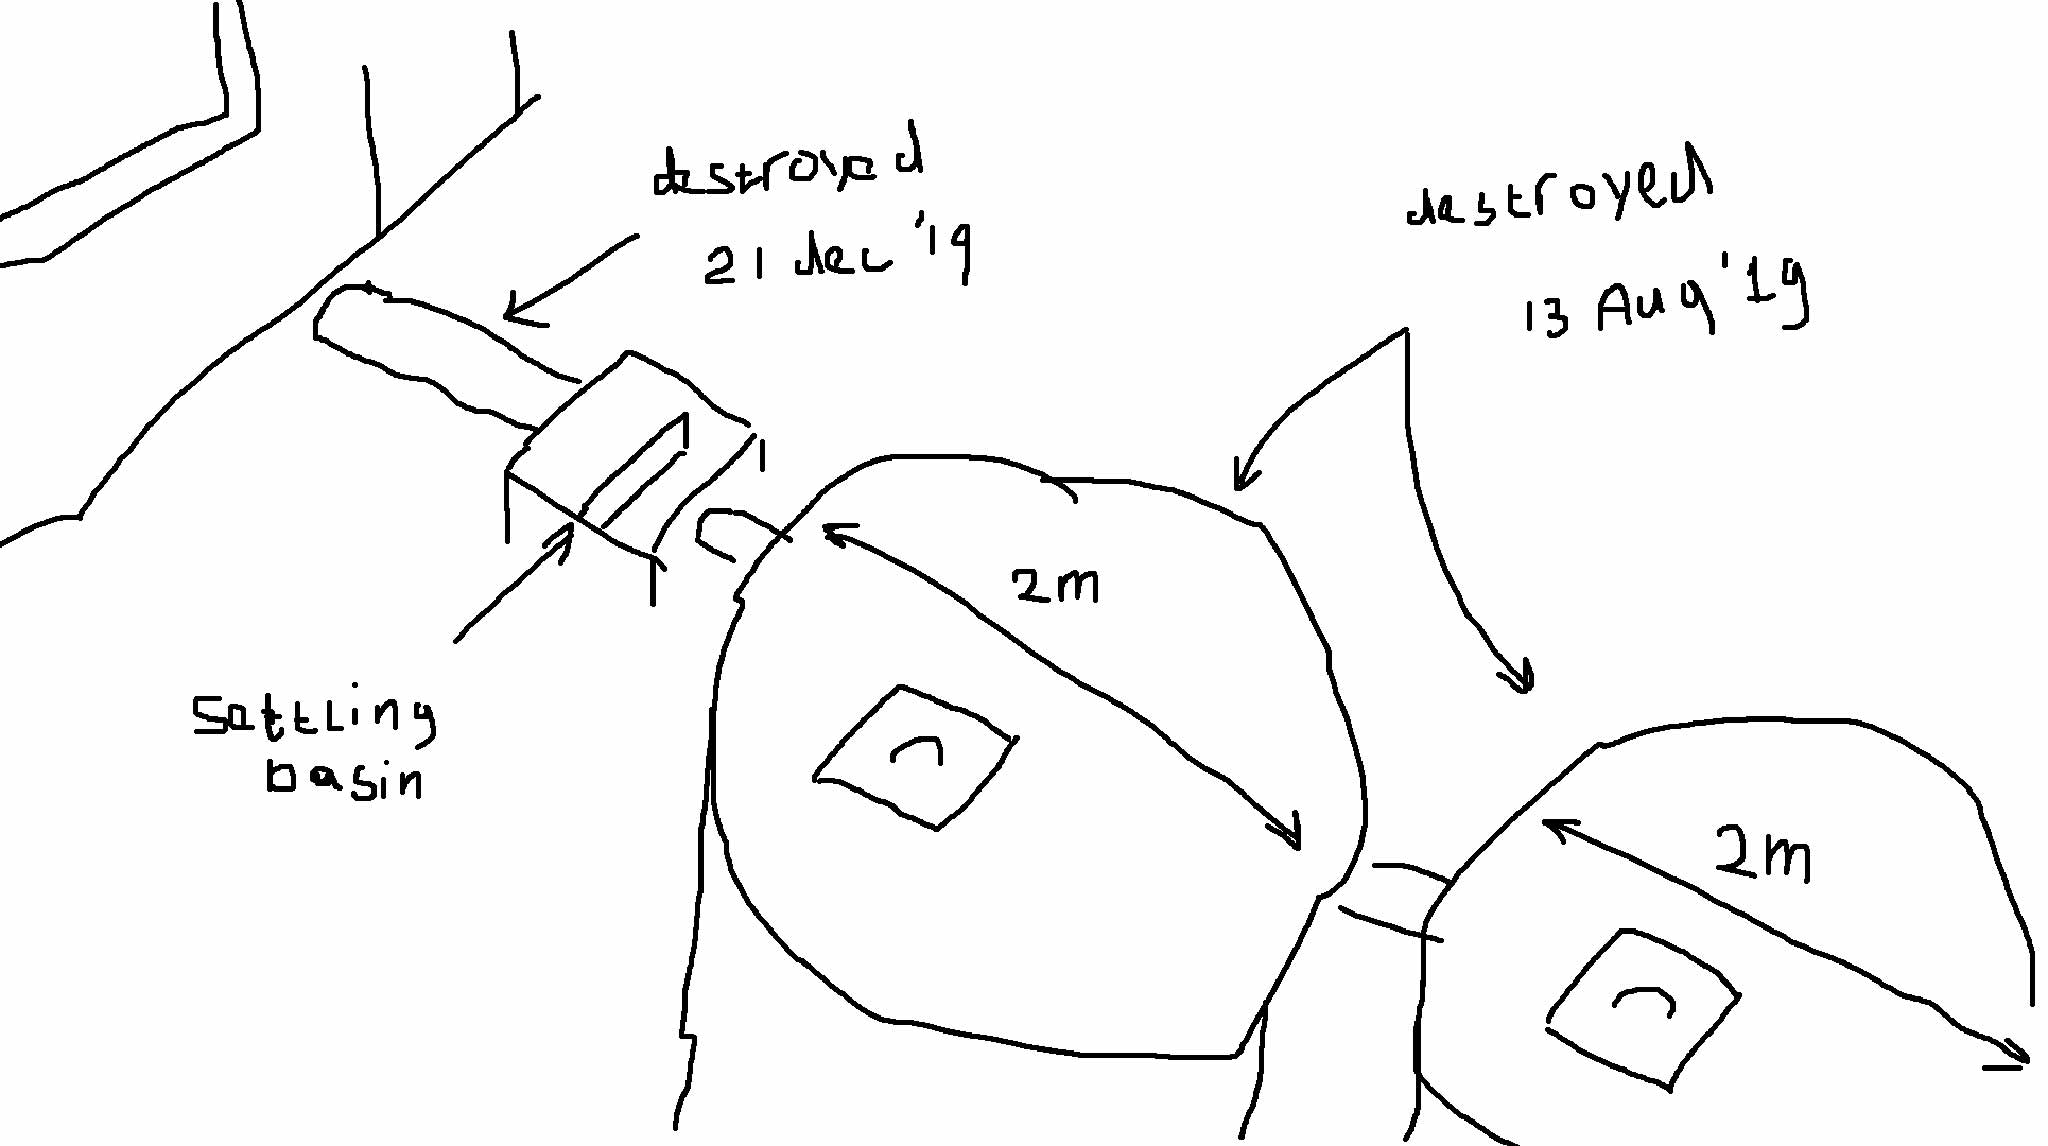
Finally there was this pipe to the cesspit(?) (Dutch: gierkelder). The two cesspits were destroyed last summer but there apparently was some settling basin(?) between the house and the two destroyed cesspits that had filled to the brim and thus overflowed back into the house. The moment I broke the pipe, it ran empty. So, quick fix: drain the basin, drill a number of holes in its bottom and smash the pipe to pieces. Will bring some more time and equipment to break it properly so it will not fill anymore for sure.
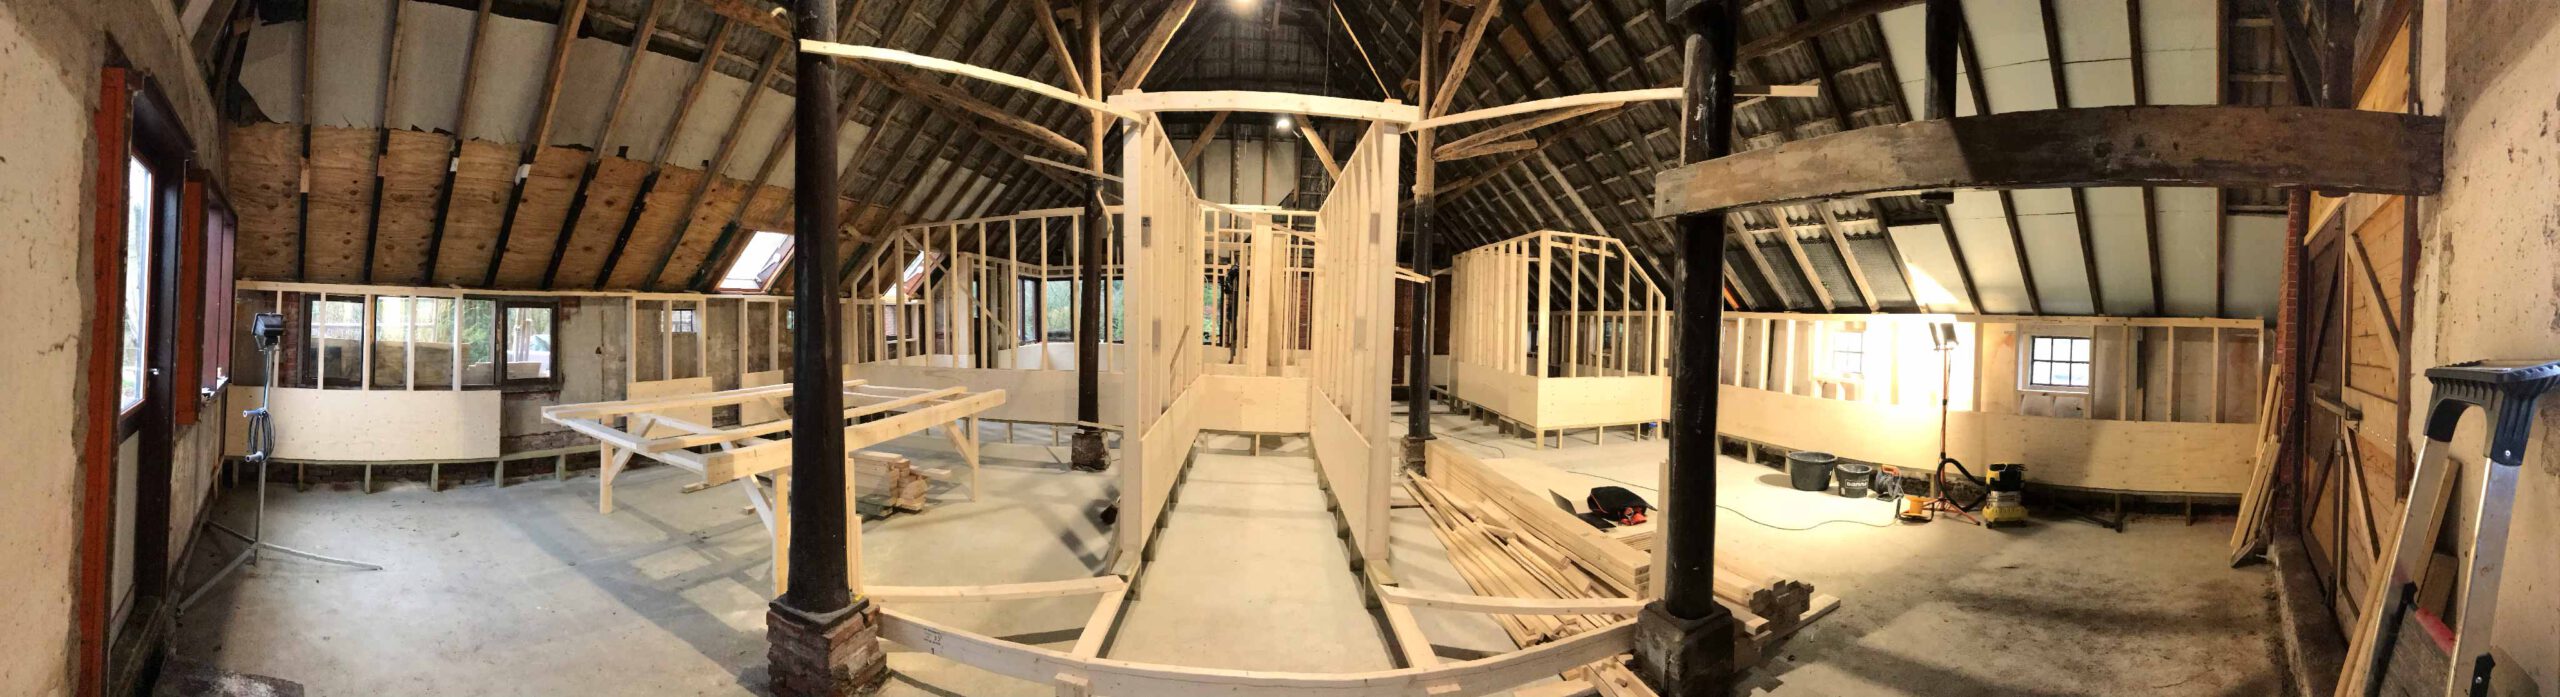
The frames of the walls of the rooms are set up. Been a while since we had to walk around anything really to get from one end of the building to the other. Nice to actually see the rooms now as they will be. “The extension cord? In the bedroom!” The bottom of the walls has it’s panelling already done. This way the electric wiring can be placed in the walls in Januari. Most wall sockets will be positioned pretty low, nicely out of sight.