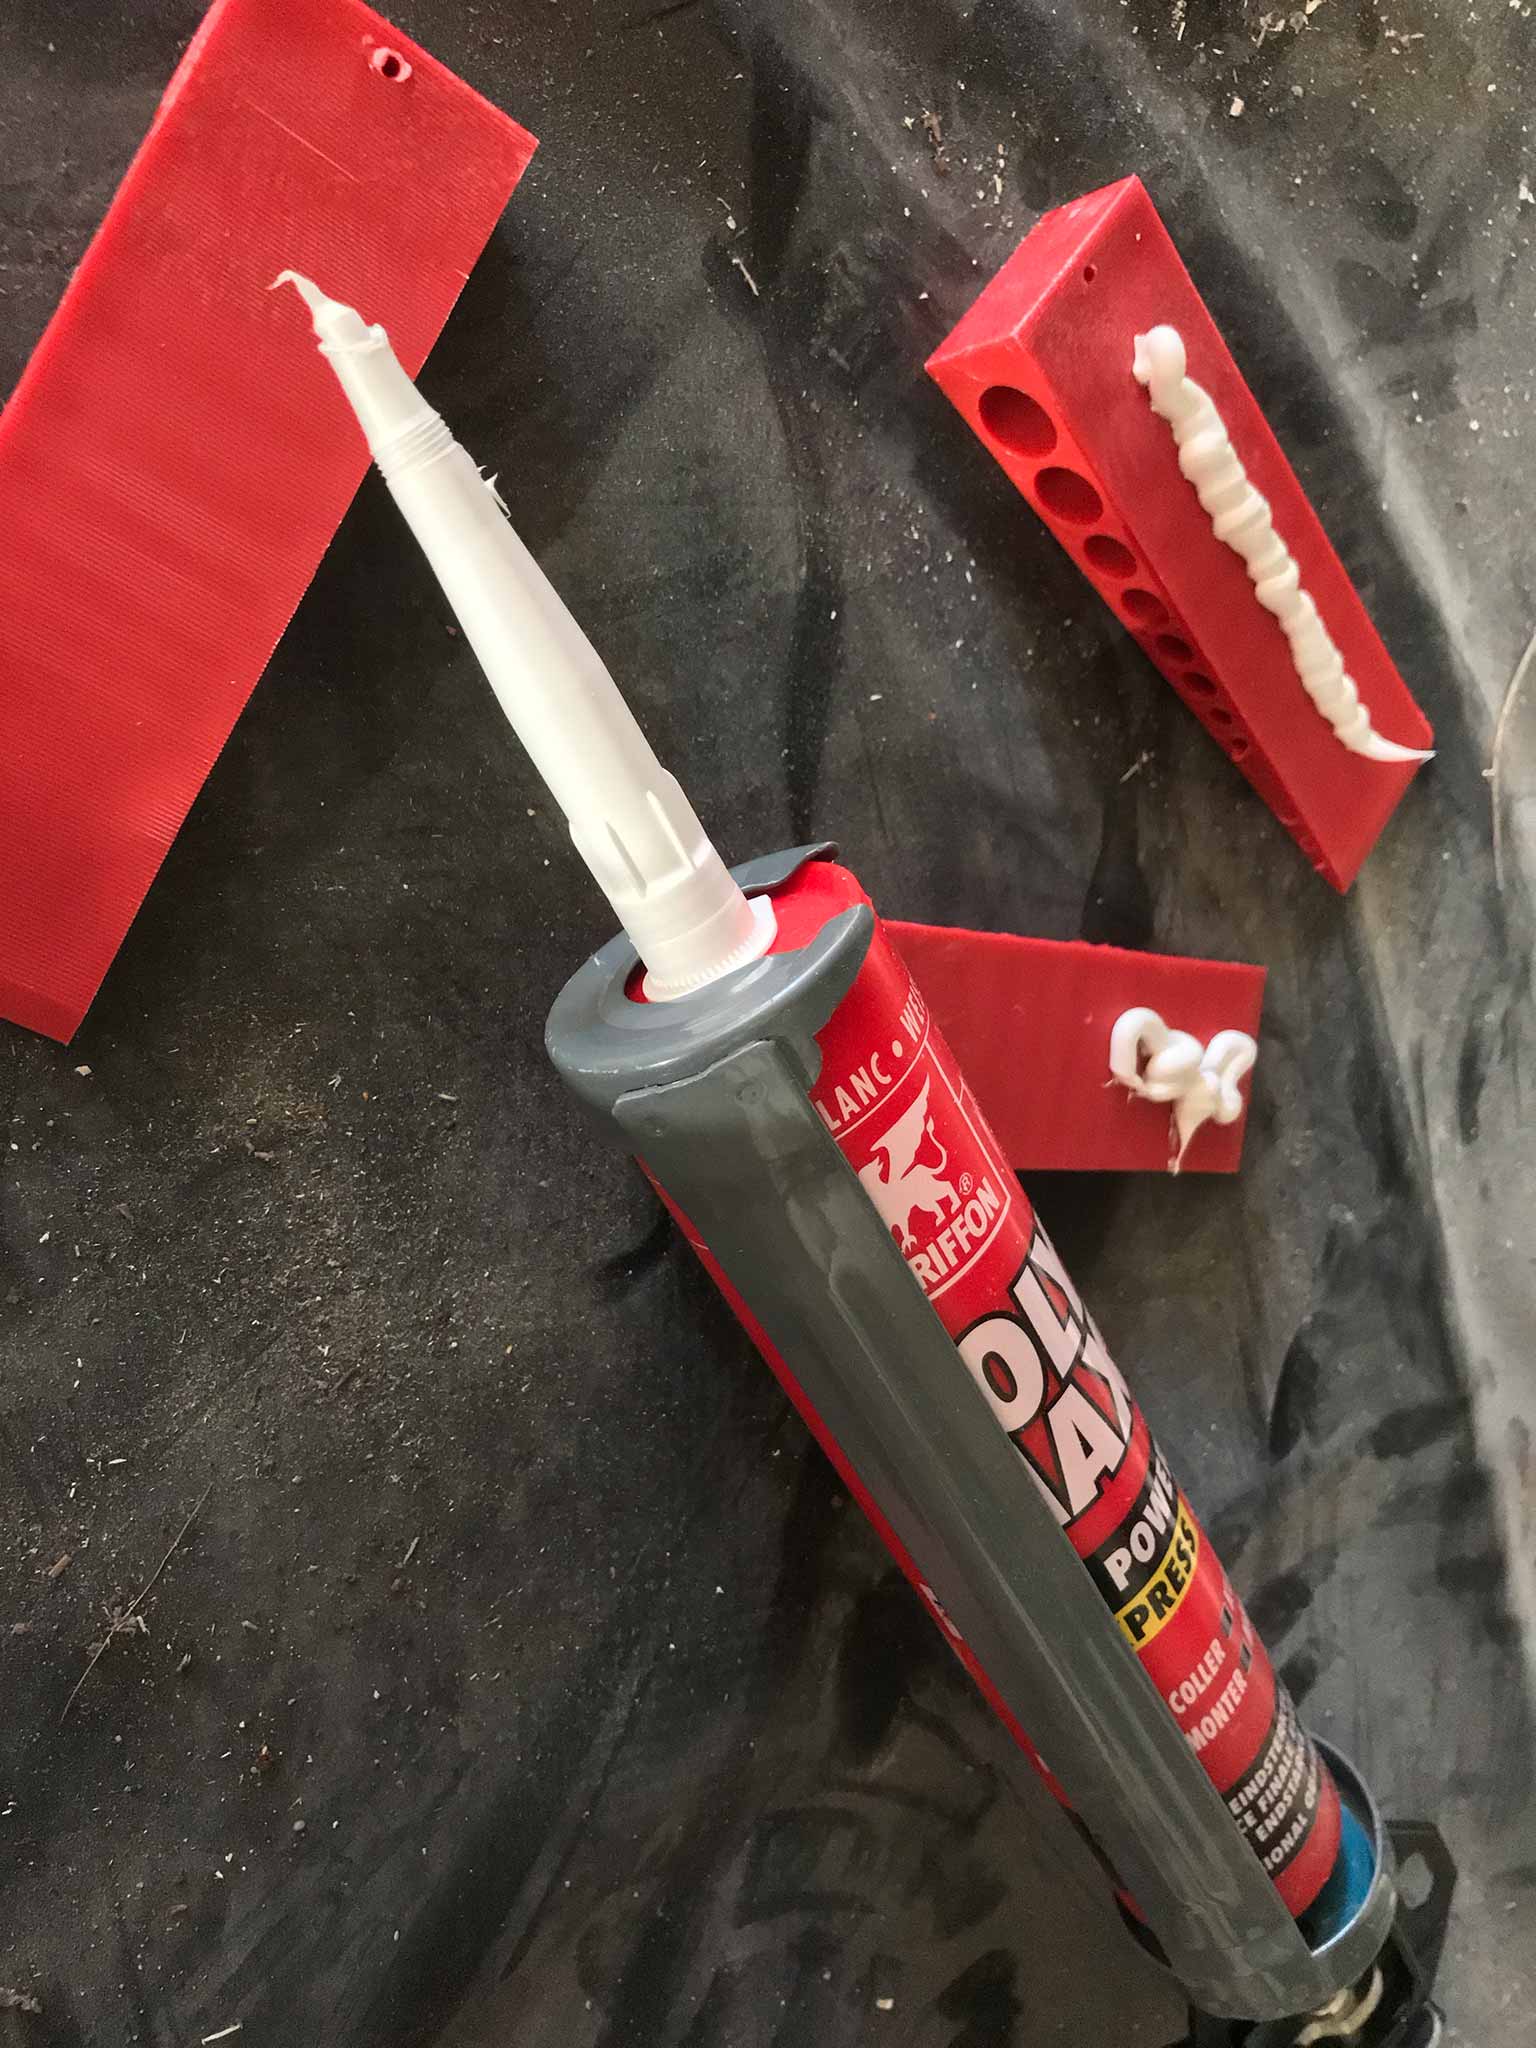
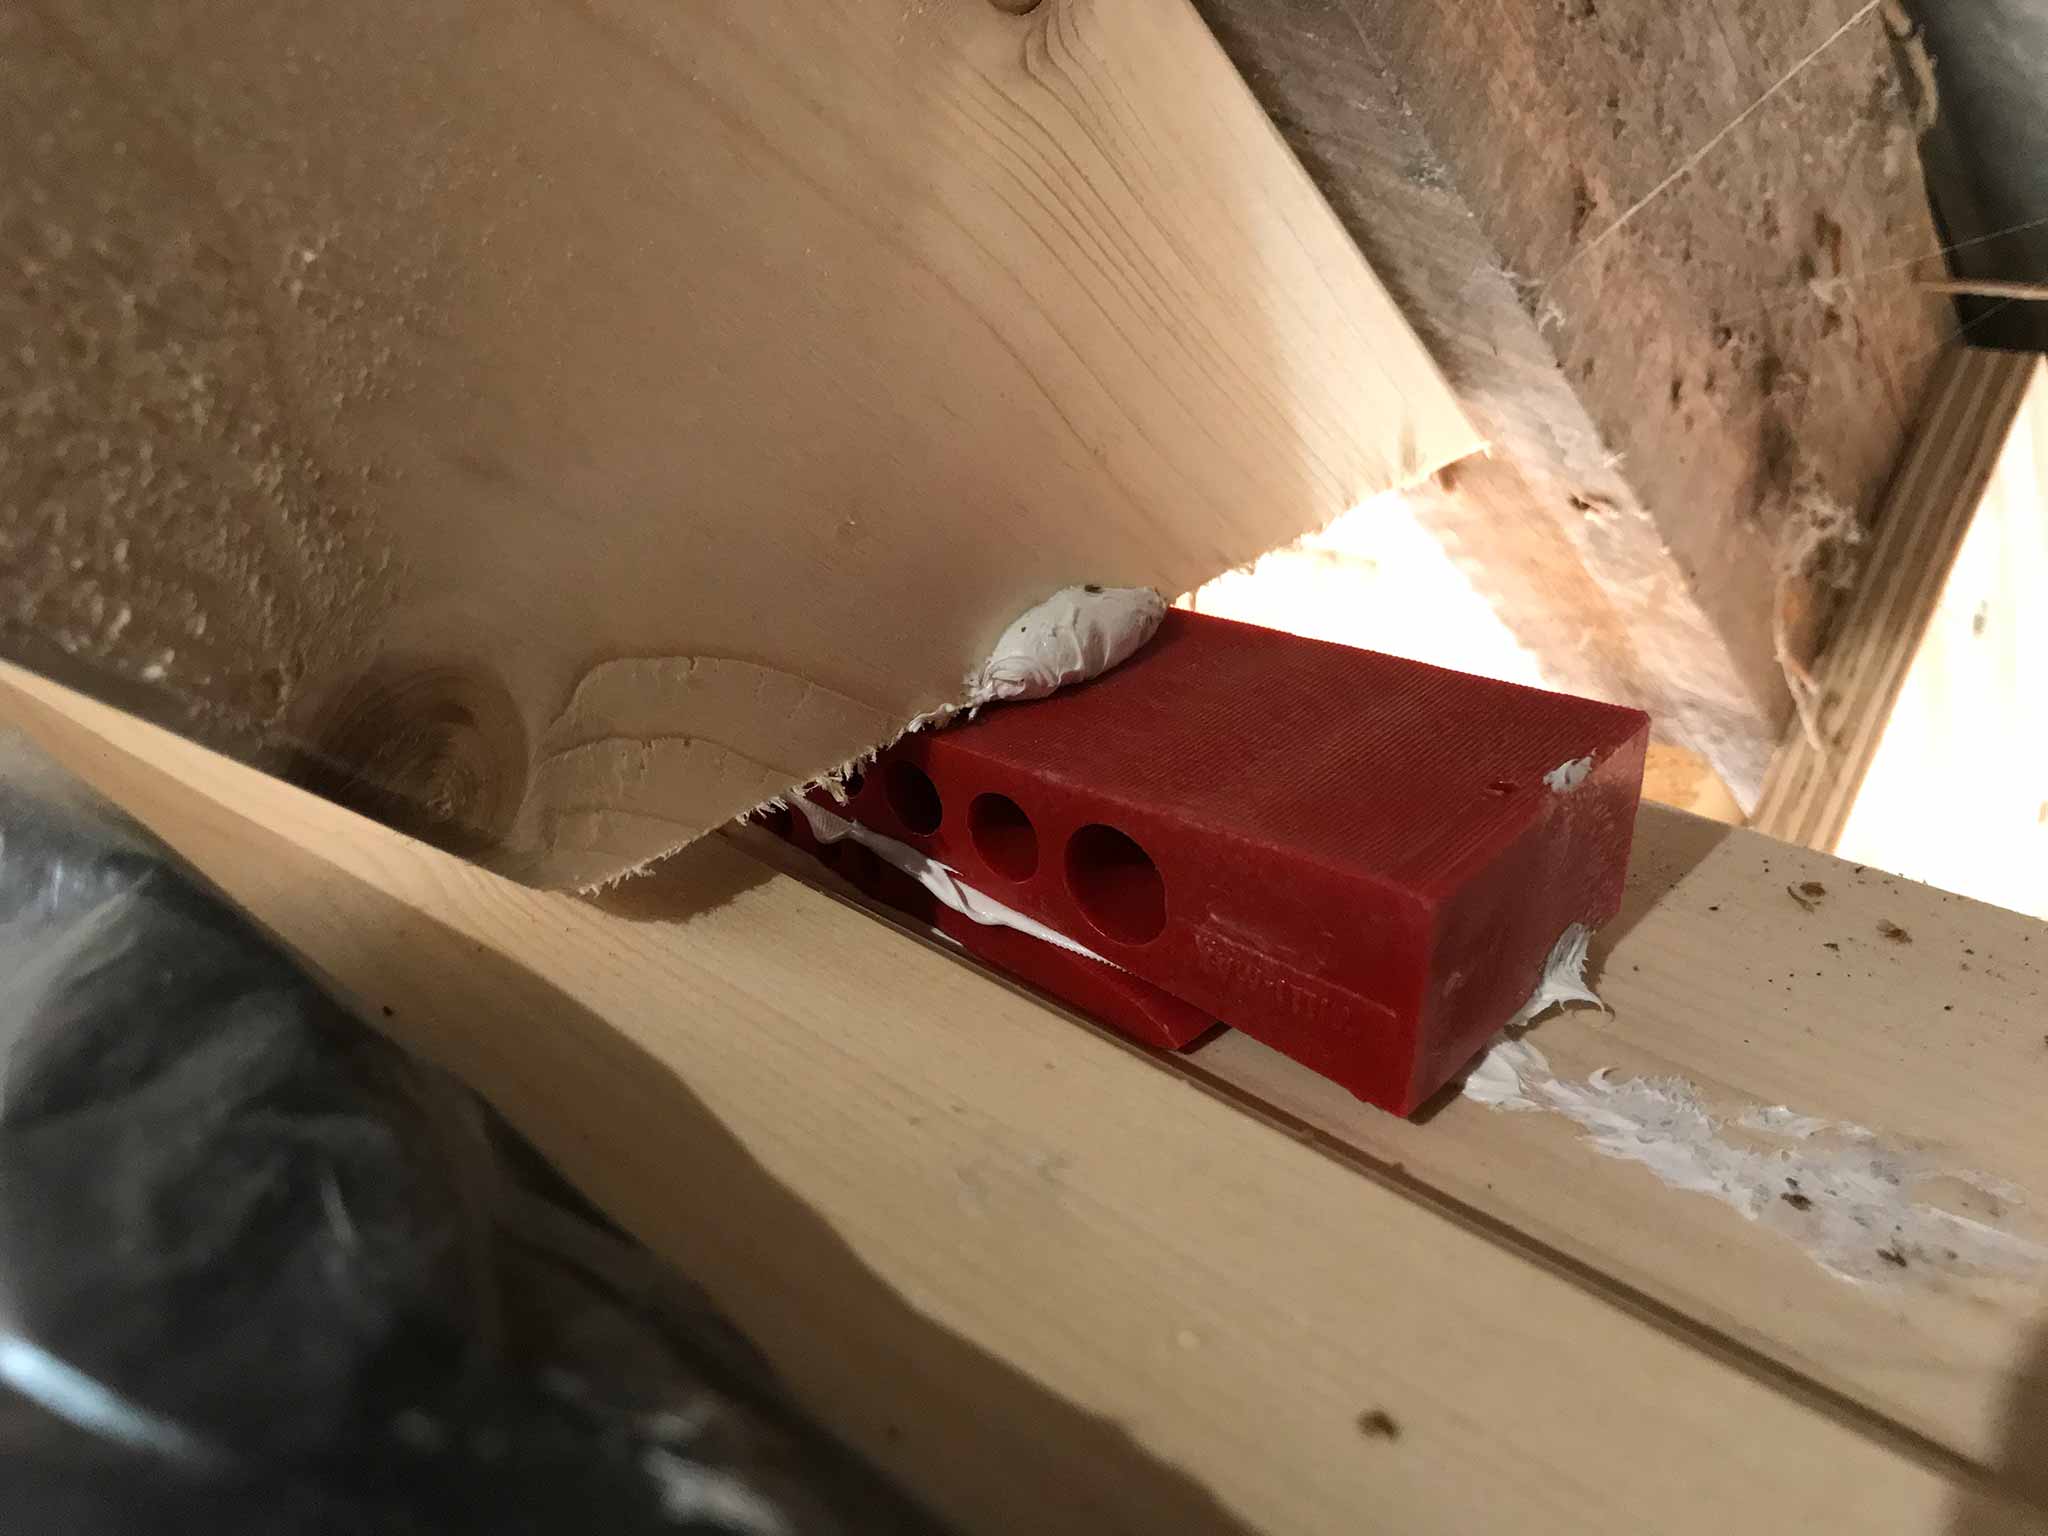
How do you connect the new beams fixed to the roof to the ceiling and the beams supporting it? Wedges! (and glue)
Renovating a home
How do you connect the new beams fixed to the roof to the ceiling and the beams supporting it? Wedges! (and glue)

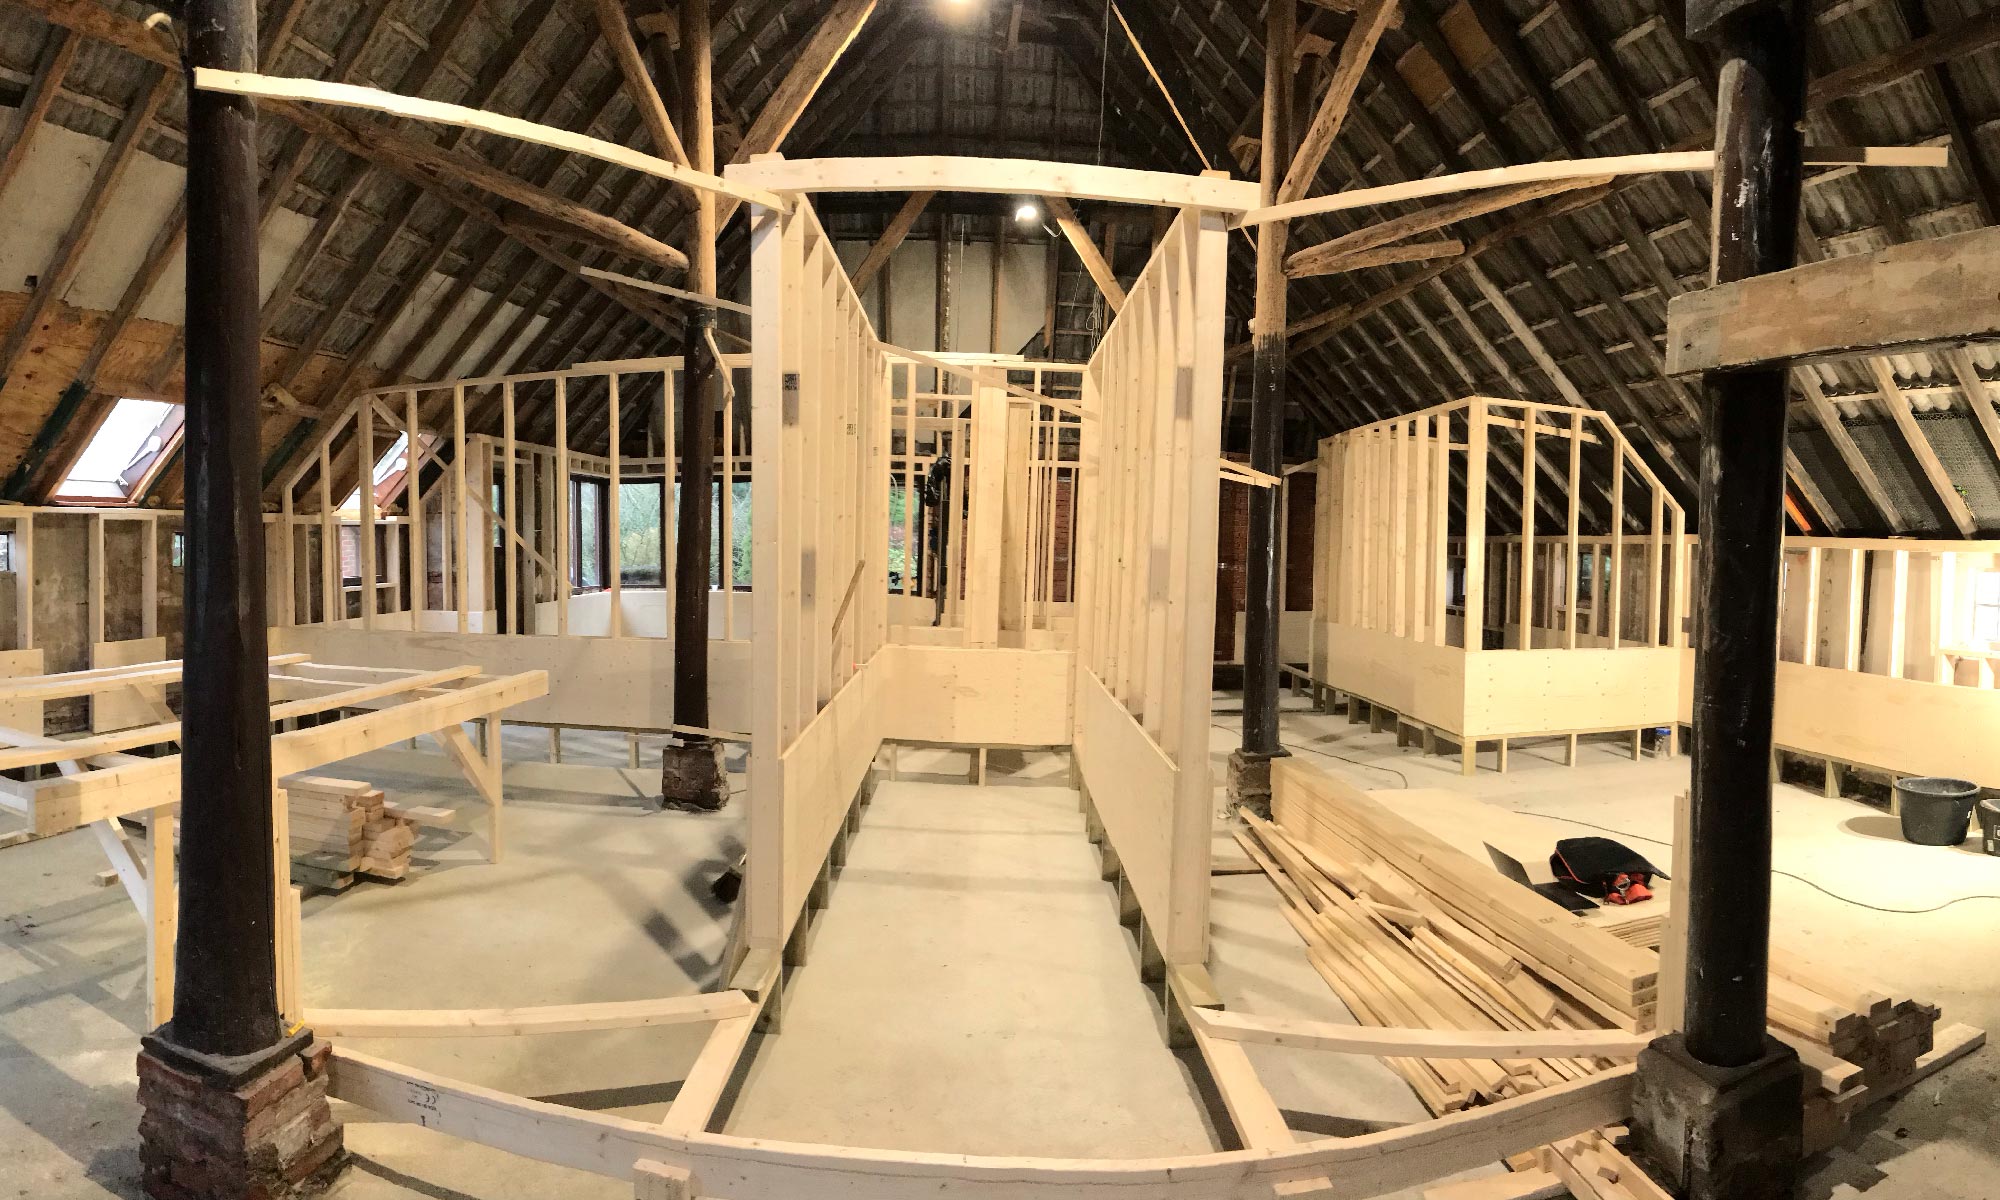
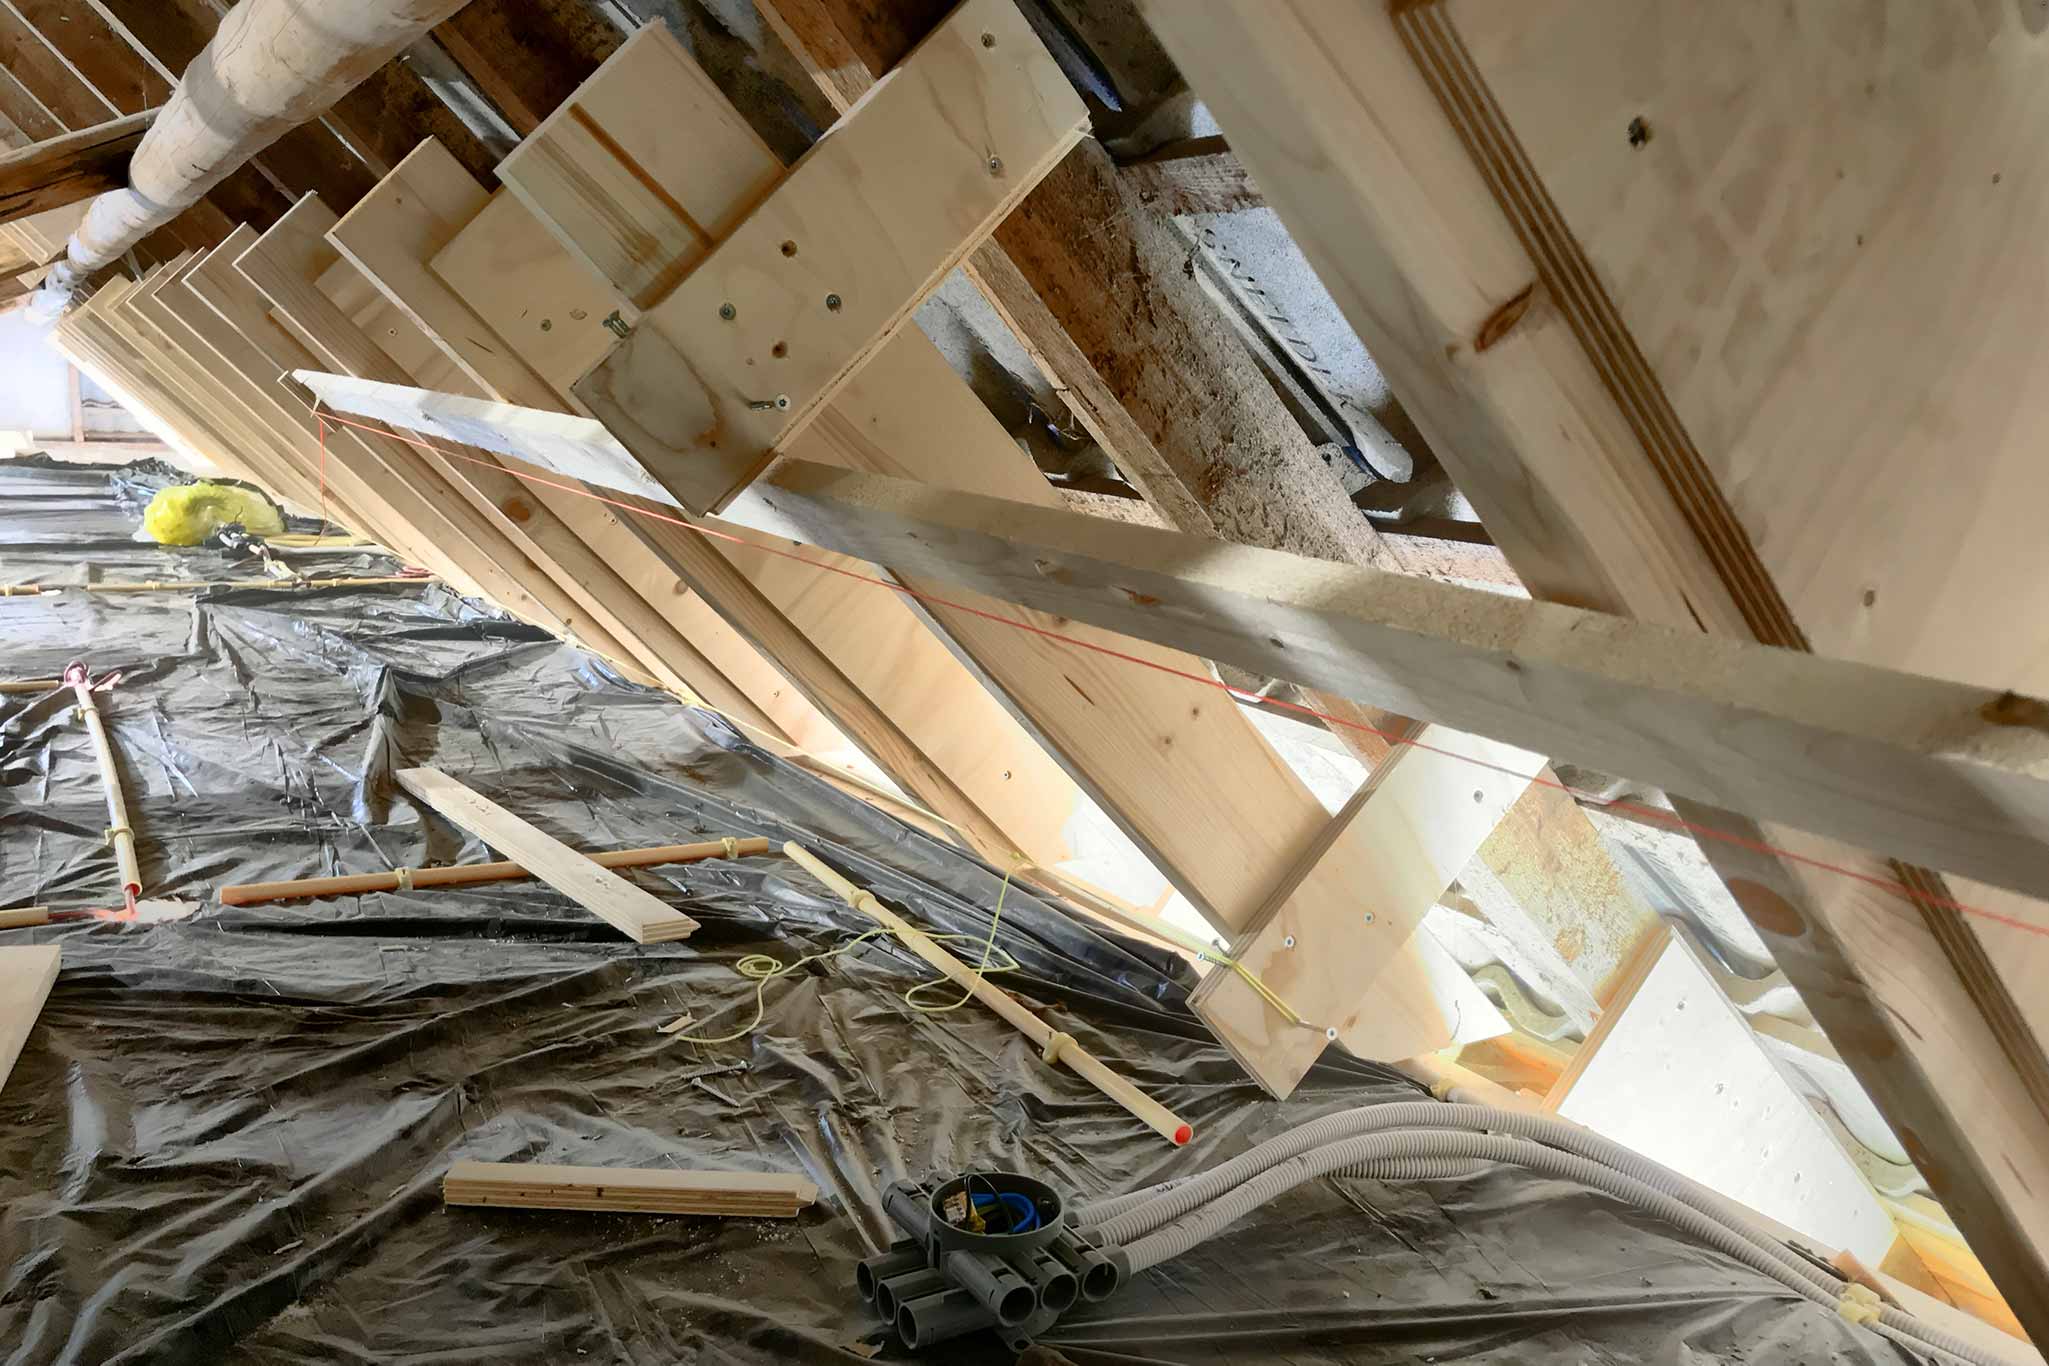
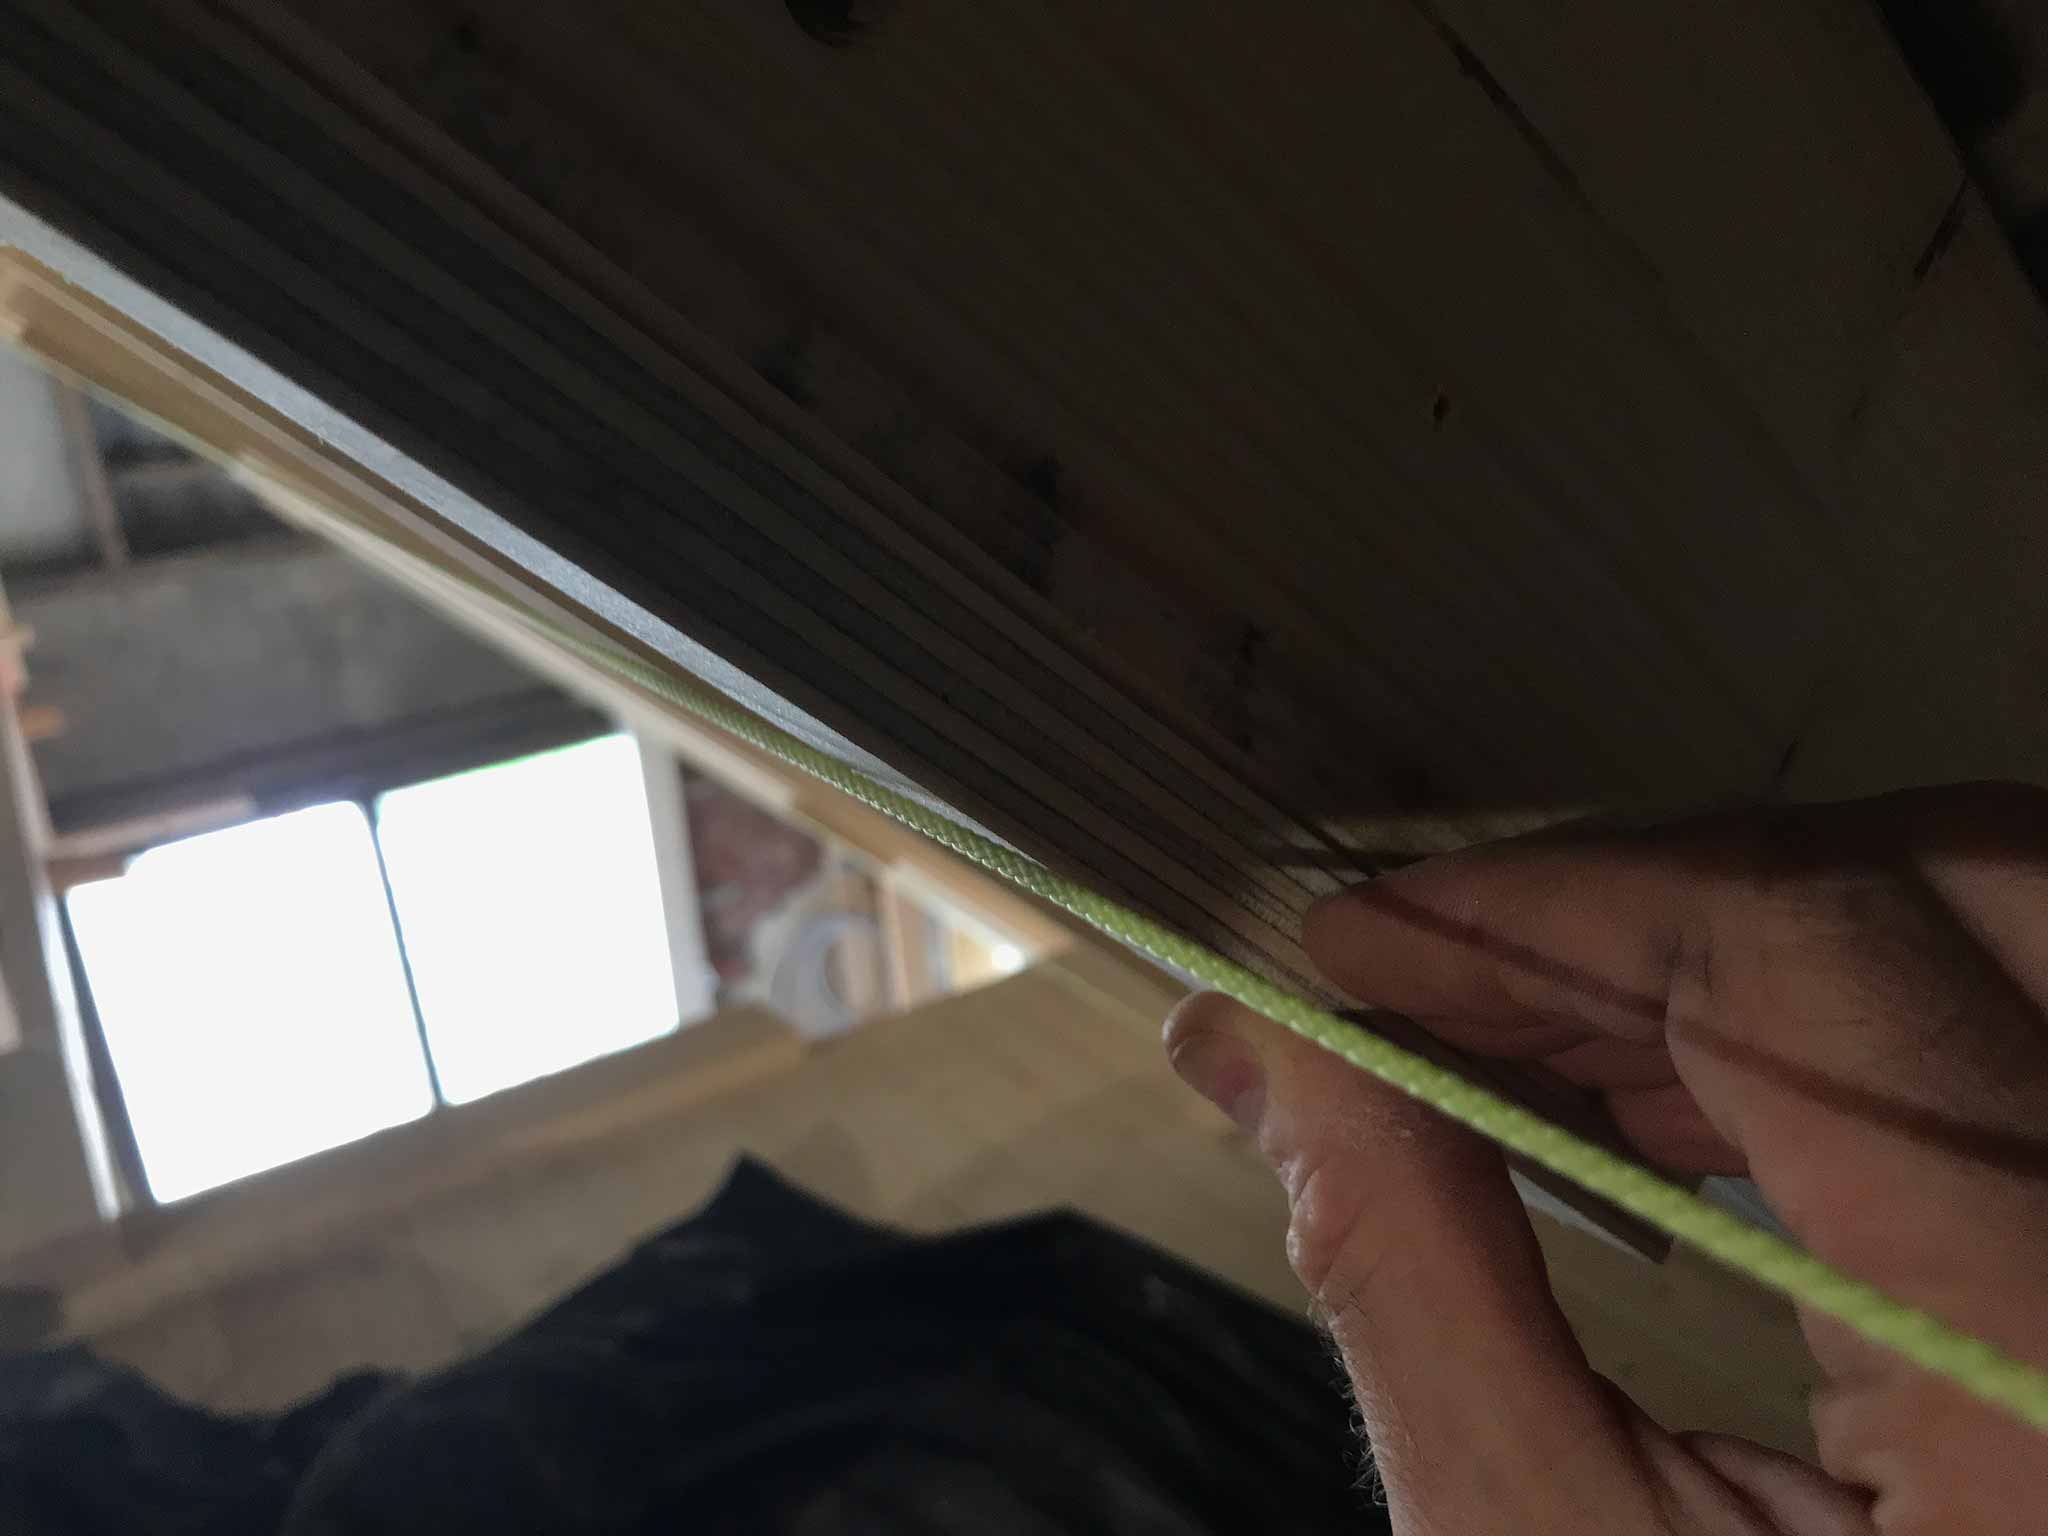
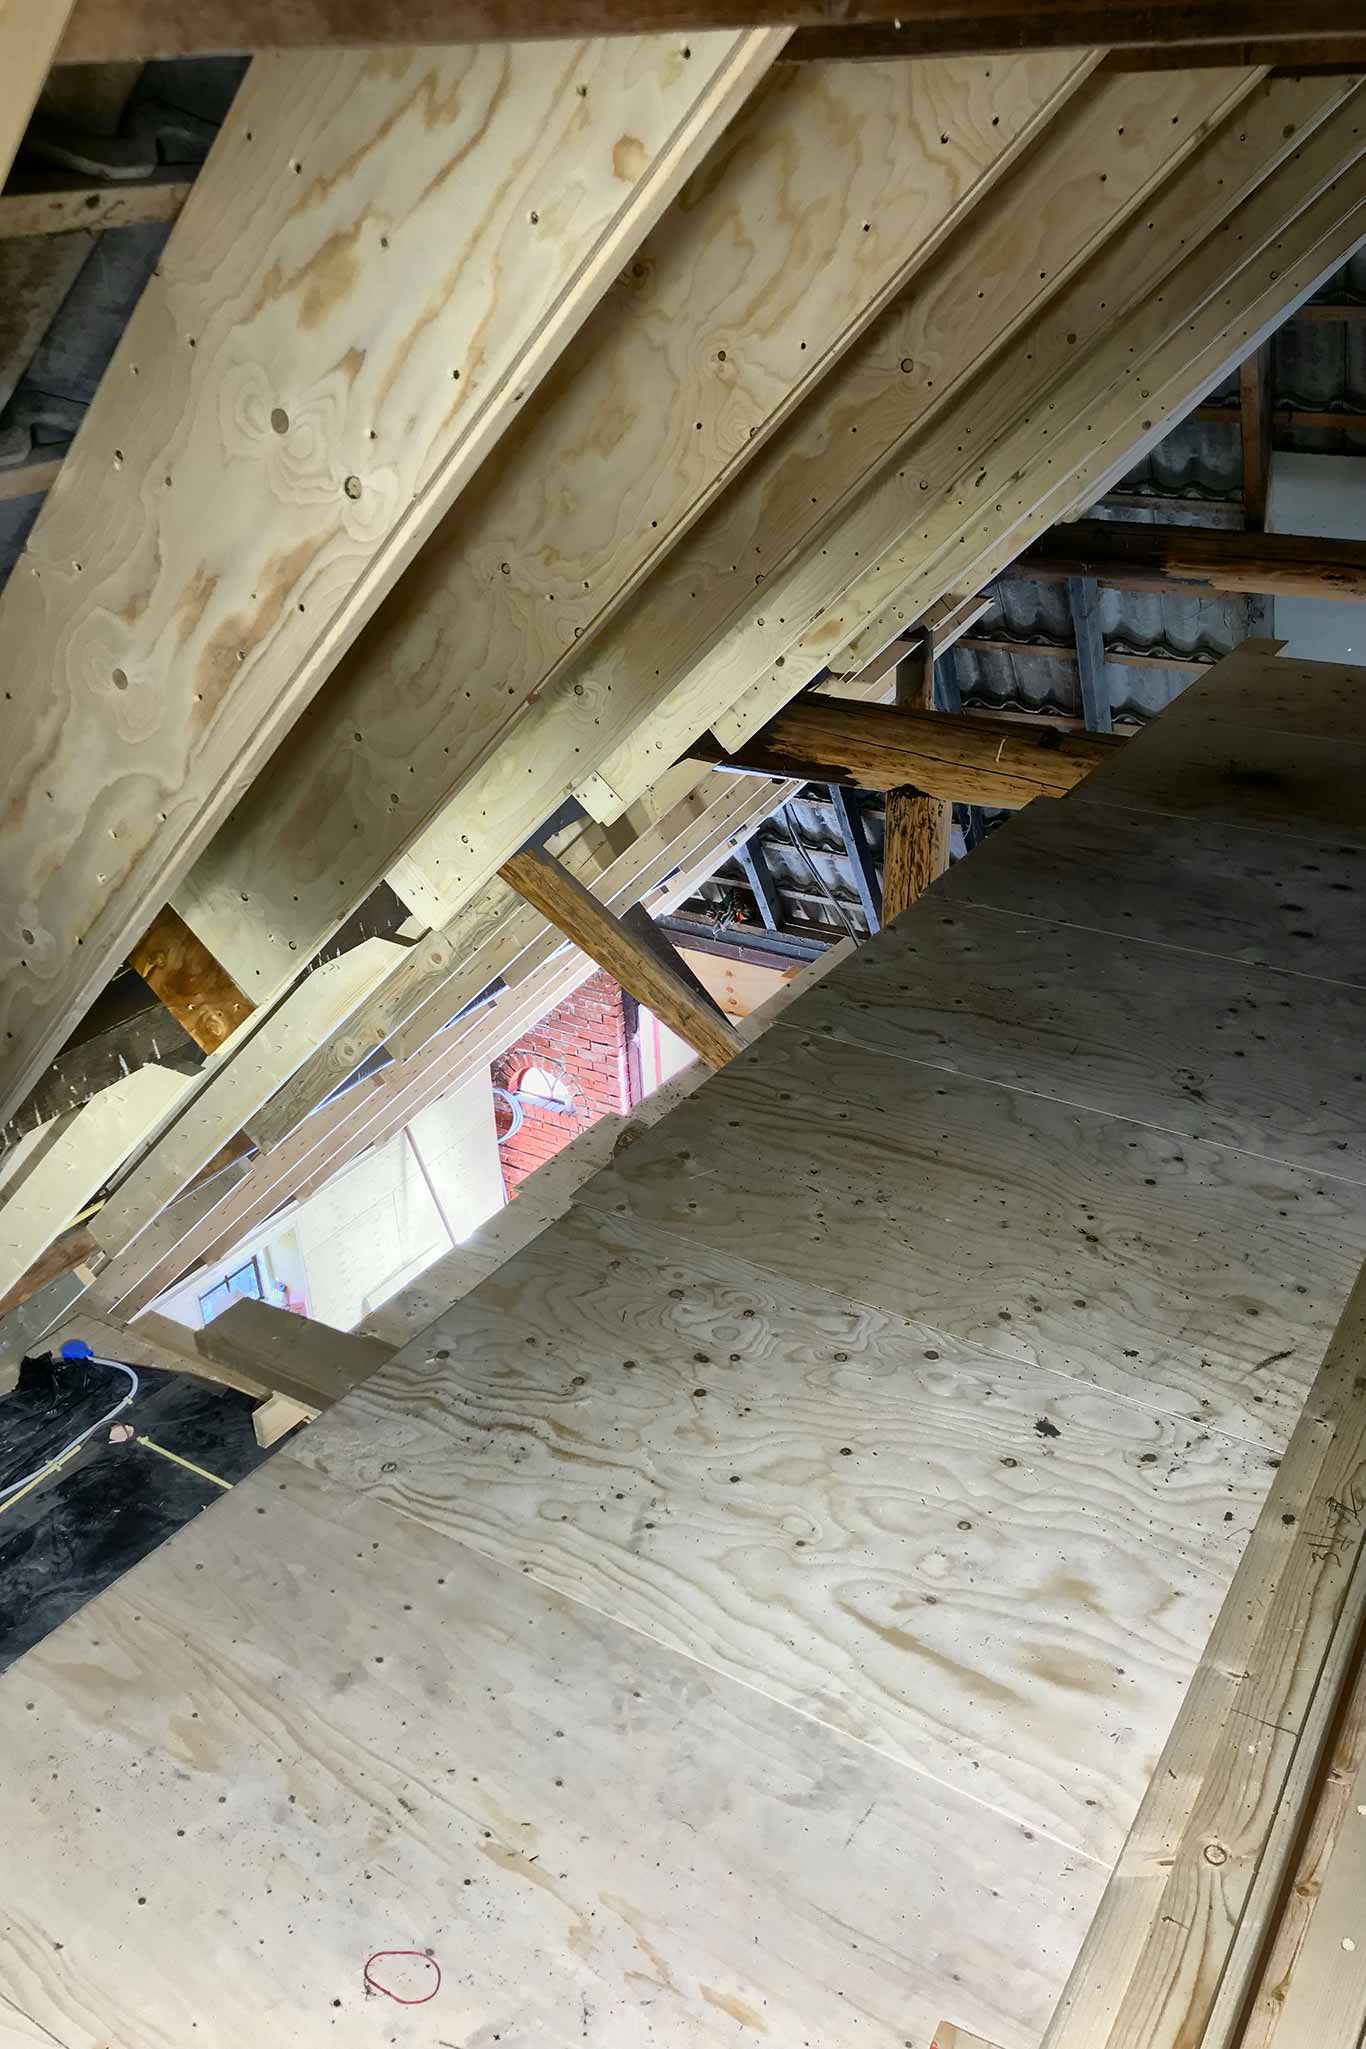
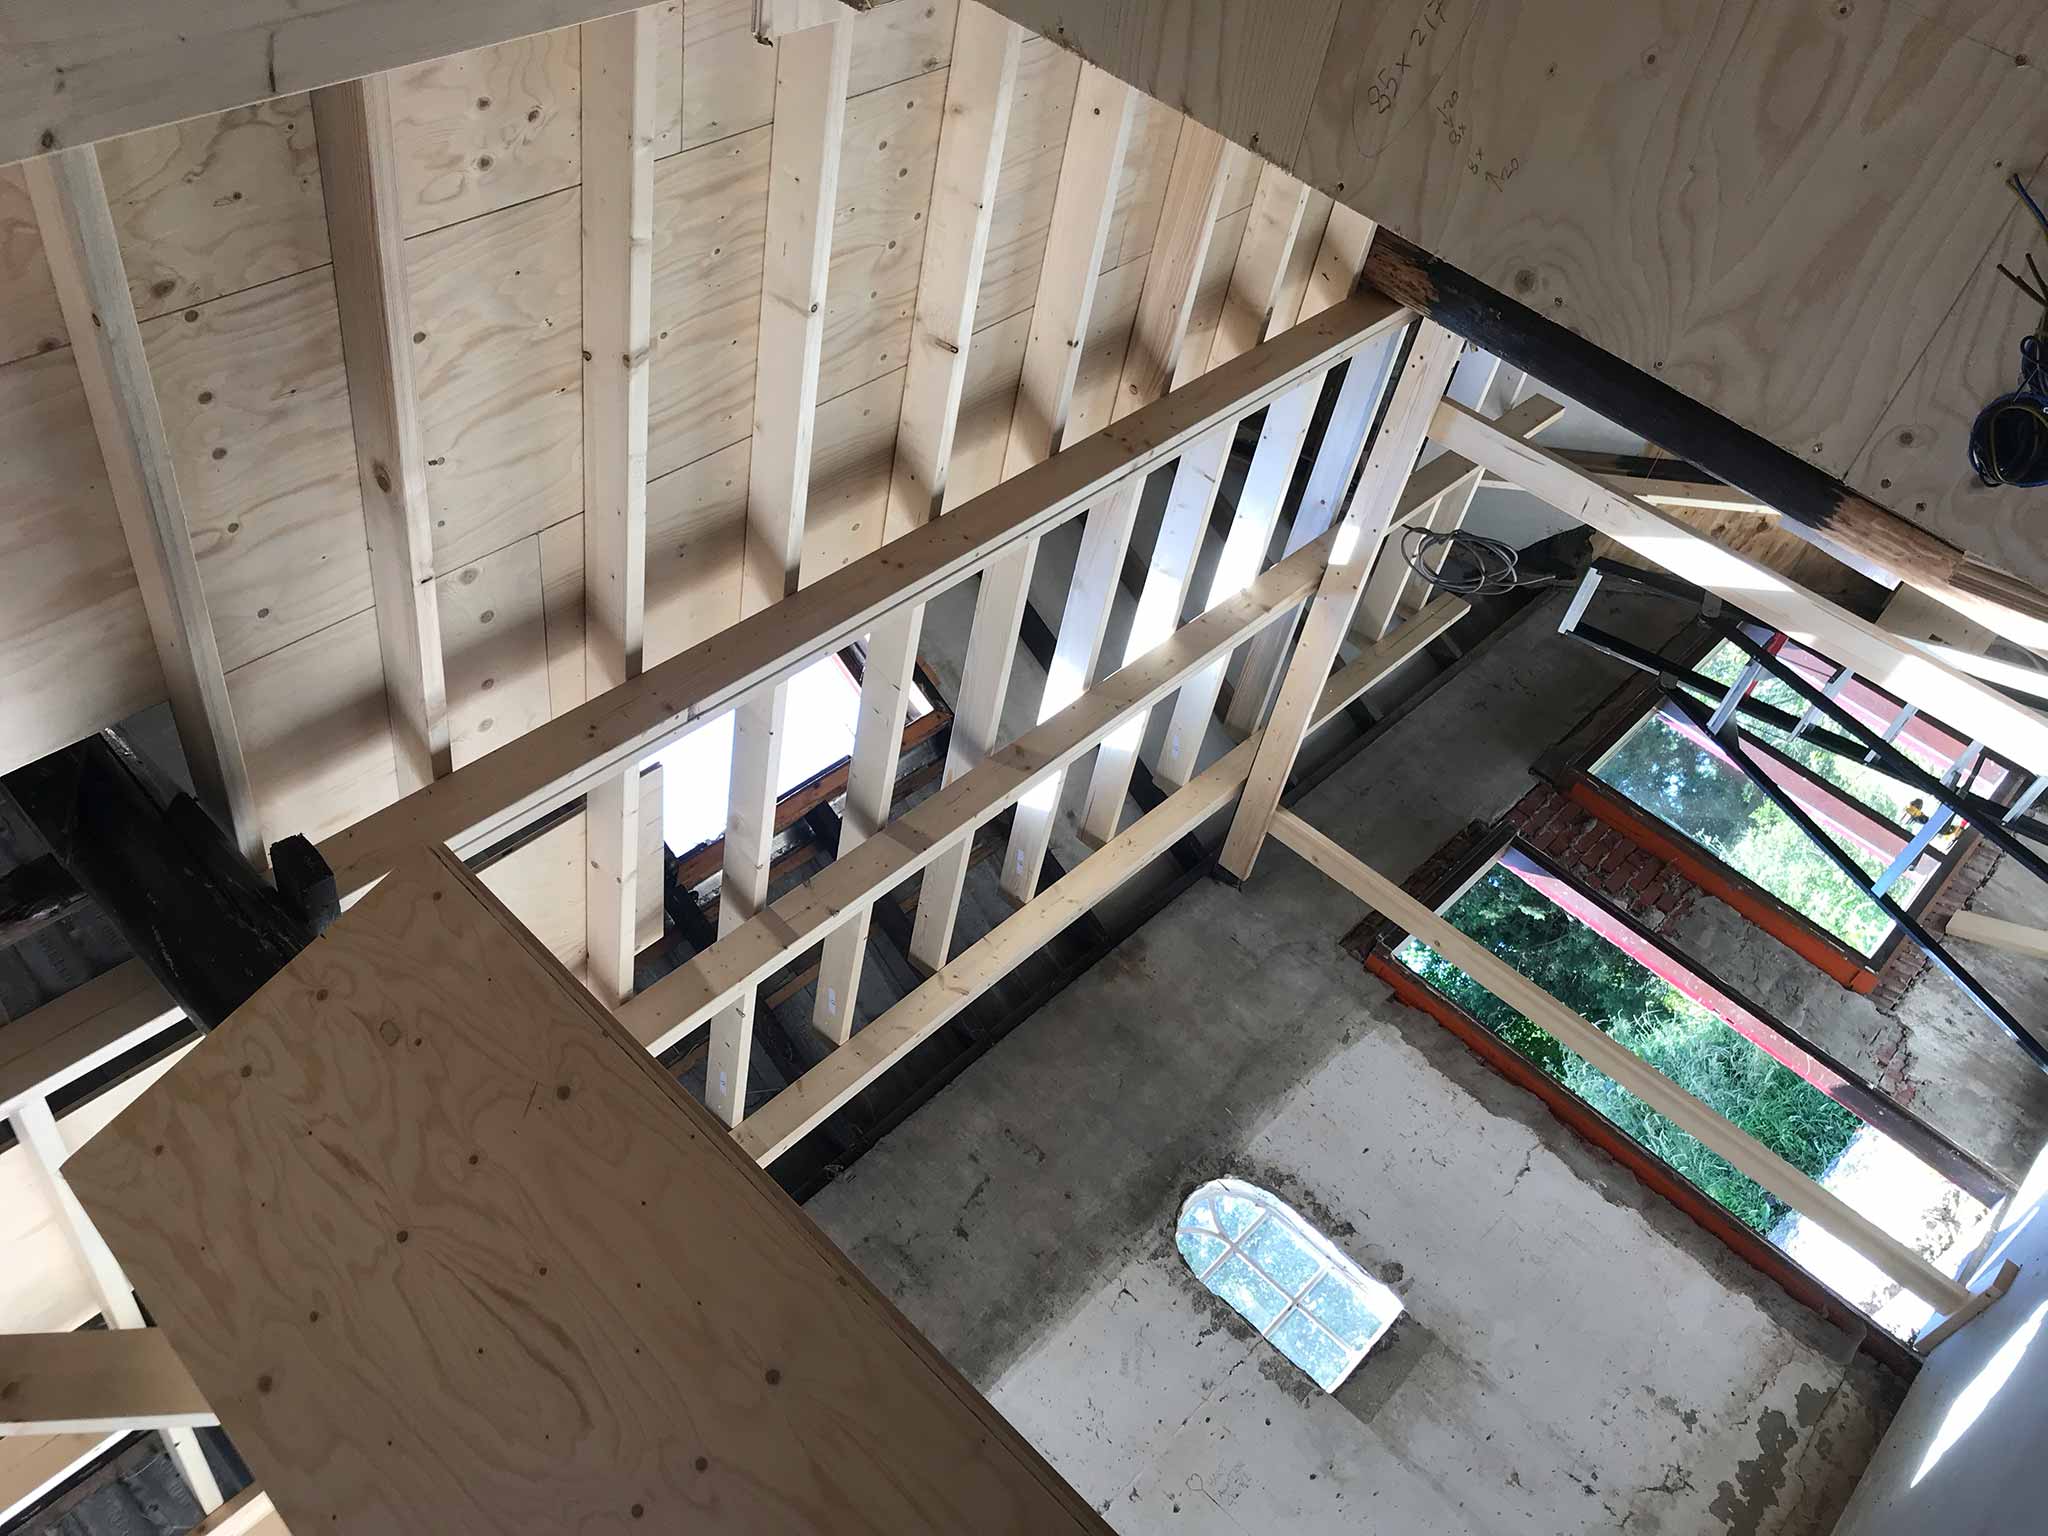
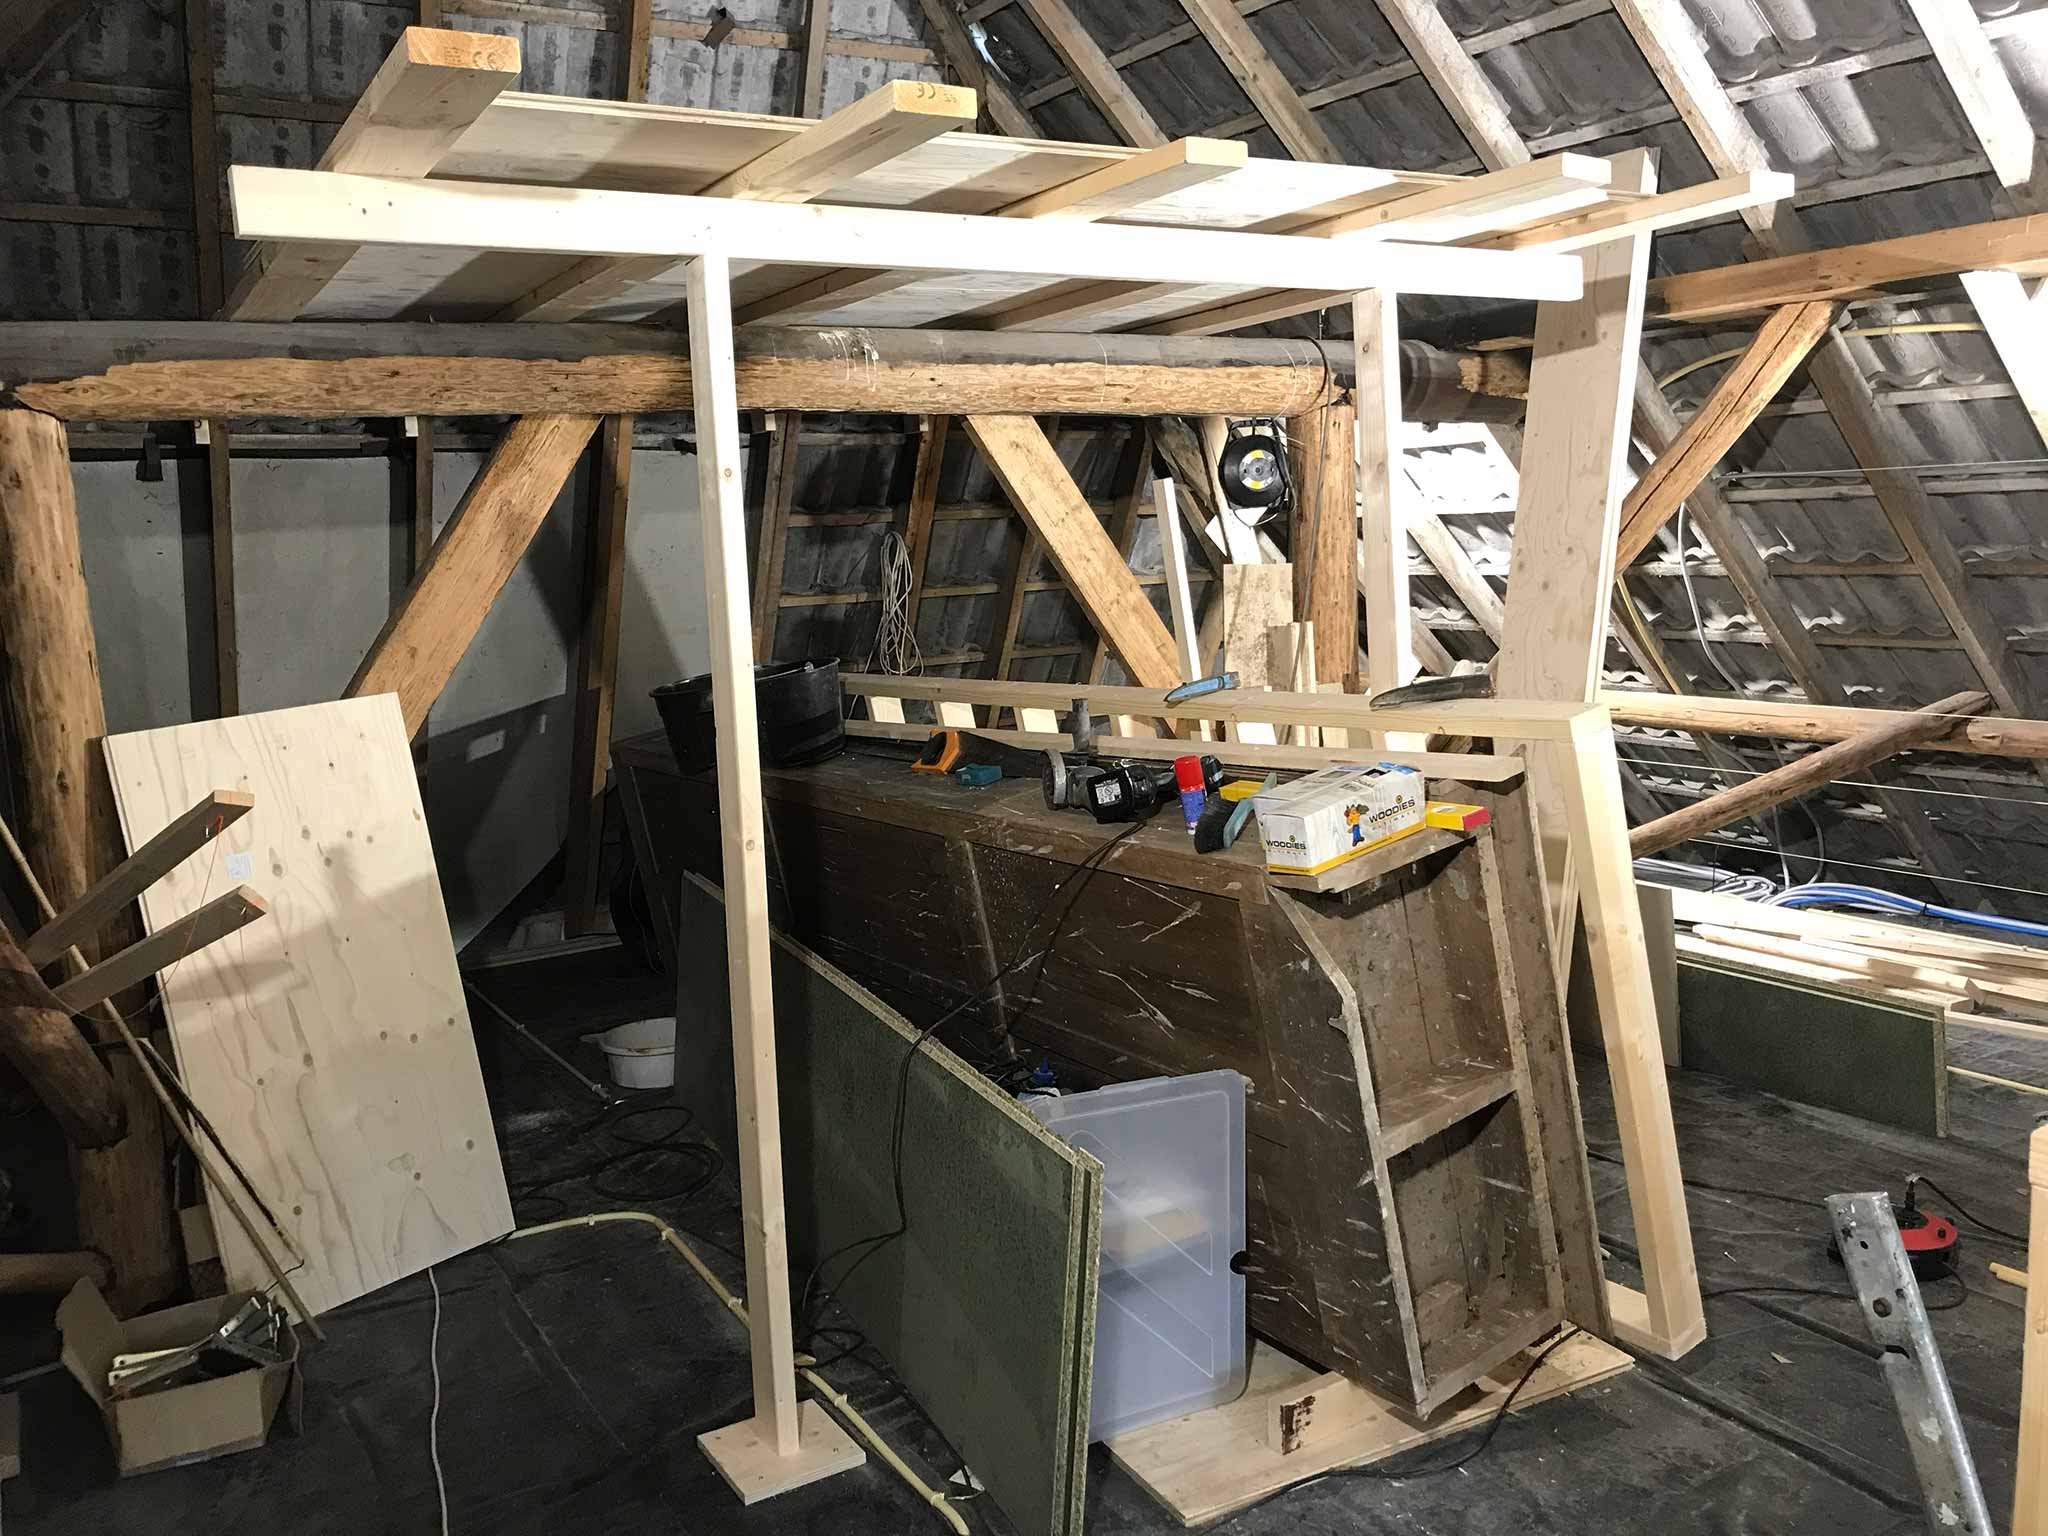
The beams of the roof are only 10cm thick. The insulation layer is going to be 2 times 12 cm. This means there needs to be additional room for the insulation. For this, the existing beams were ‘extended’: plates of underlayment screwed to them and then an additional beam fixed to that plate.
All this done in such a way that the inner roof is straight as an arrow again (the roof has little waves in it). Making sure it is straight was mainly done using small wires. Attach it on both ends of the roof and make sure all the beams in between just touch it.
The plates that form the bridge between the beams were eventually secured with plenty of screws and nails to make them more or less one.
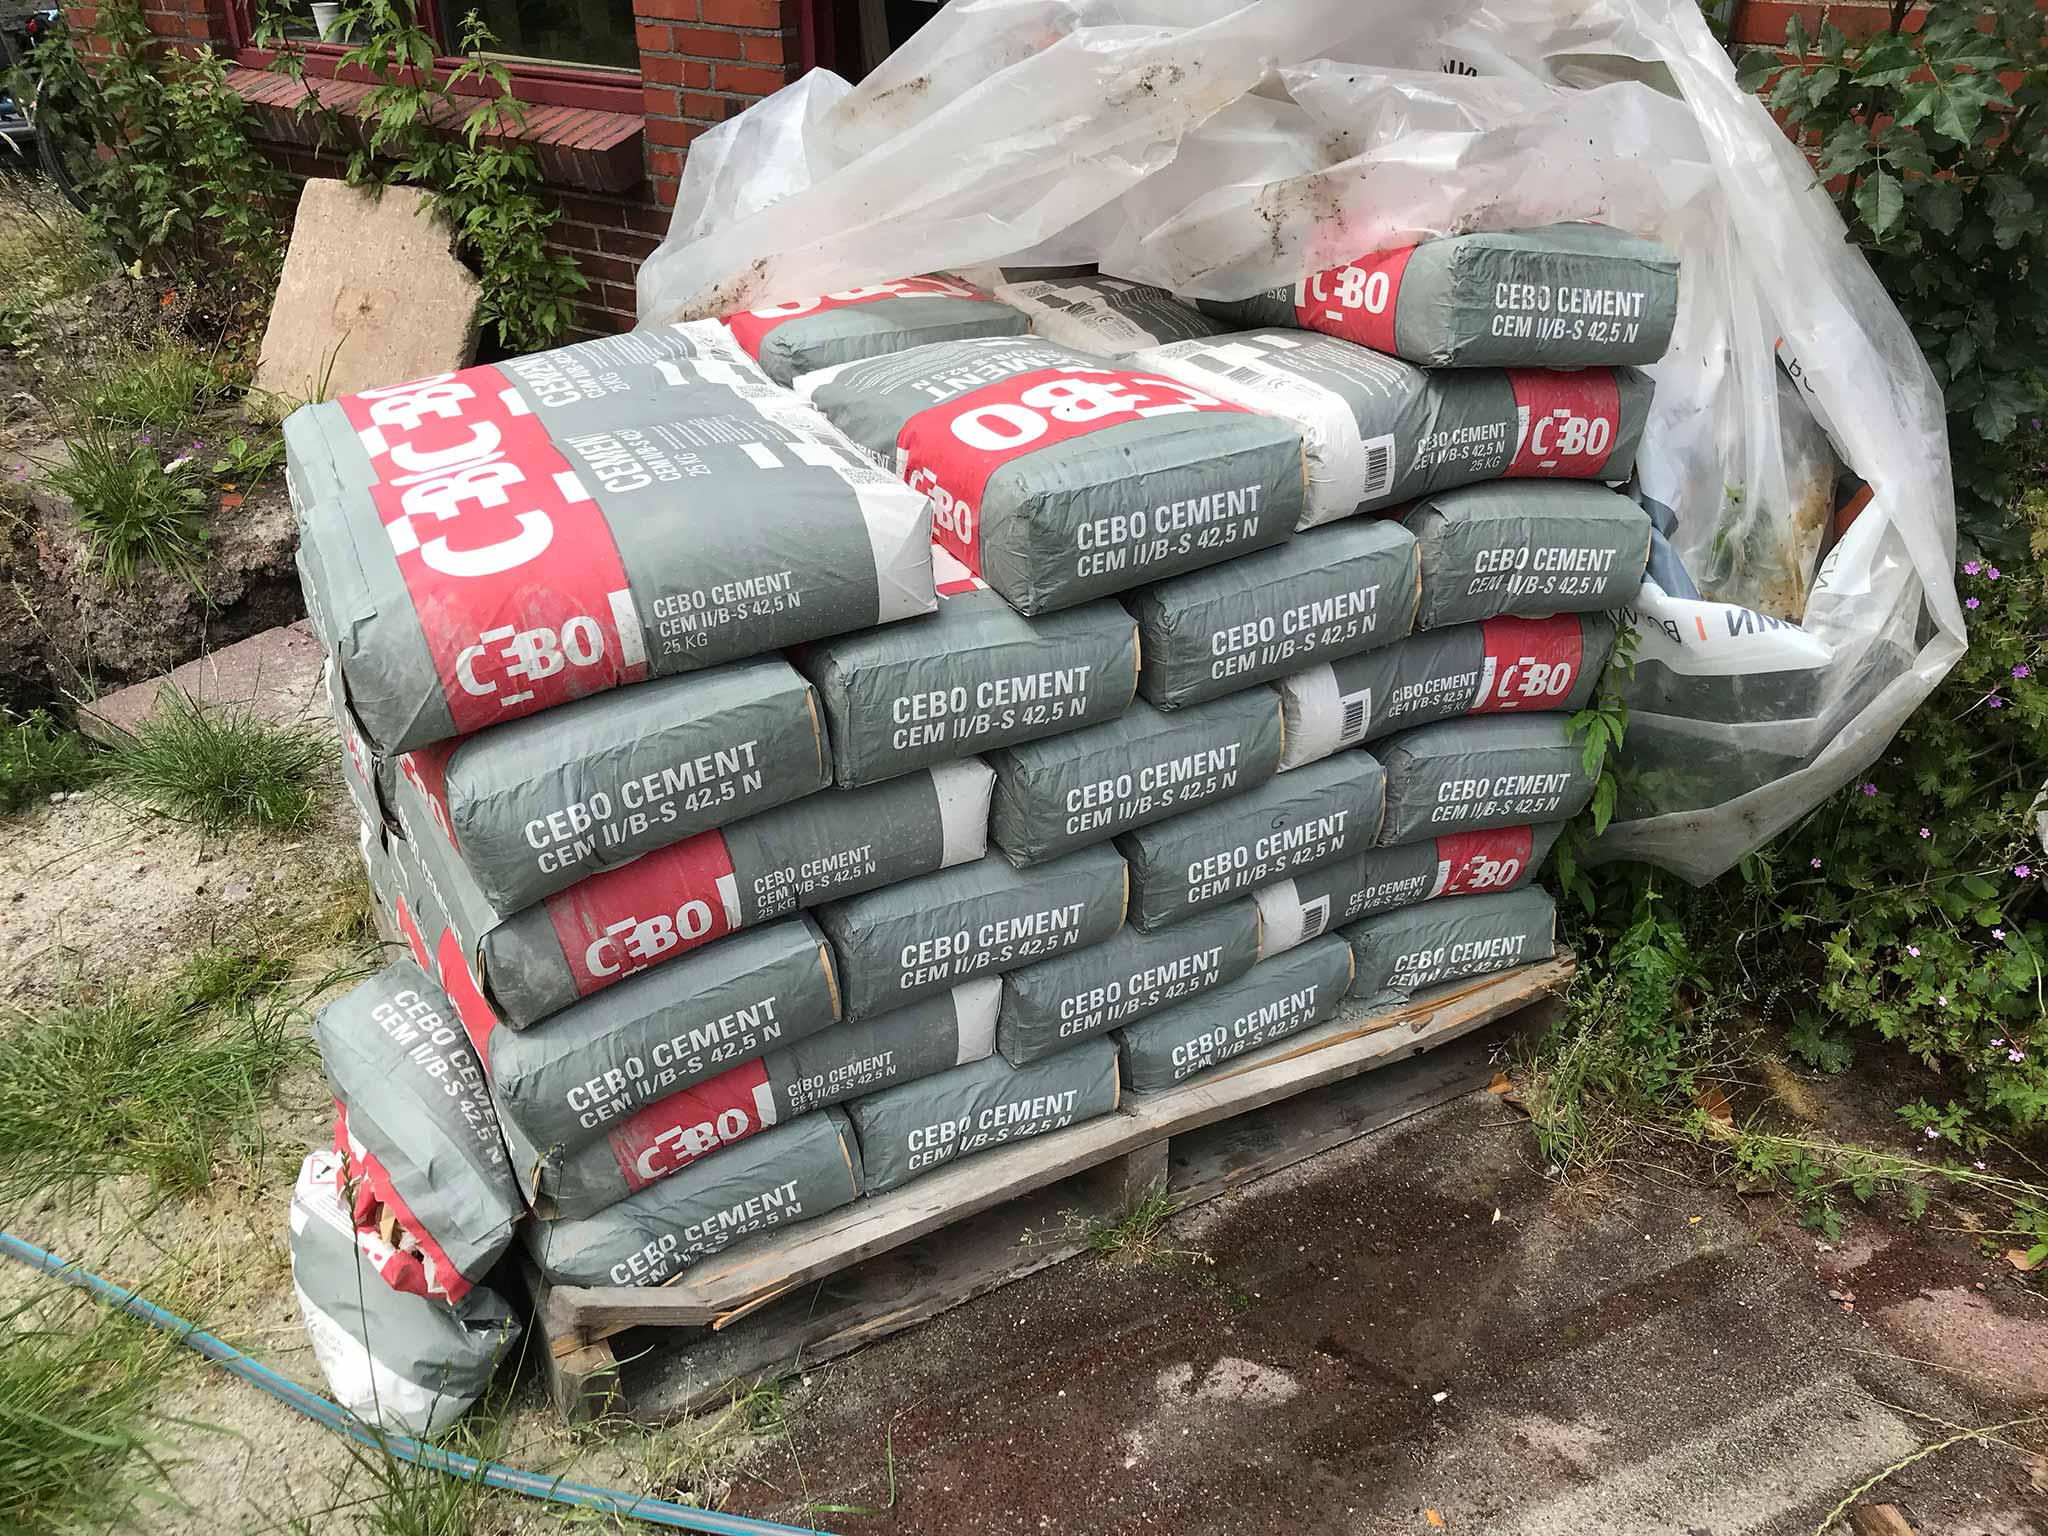
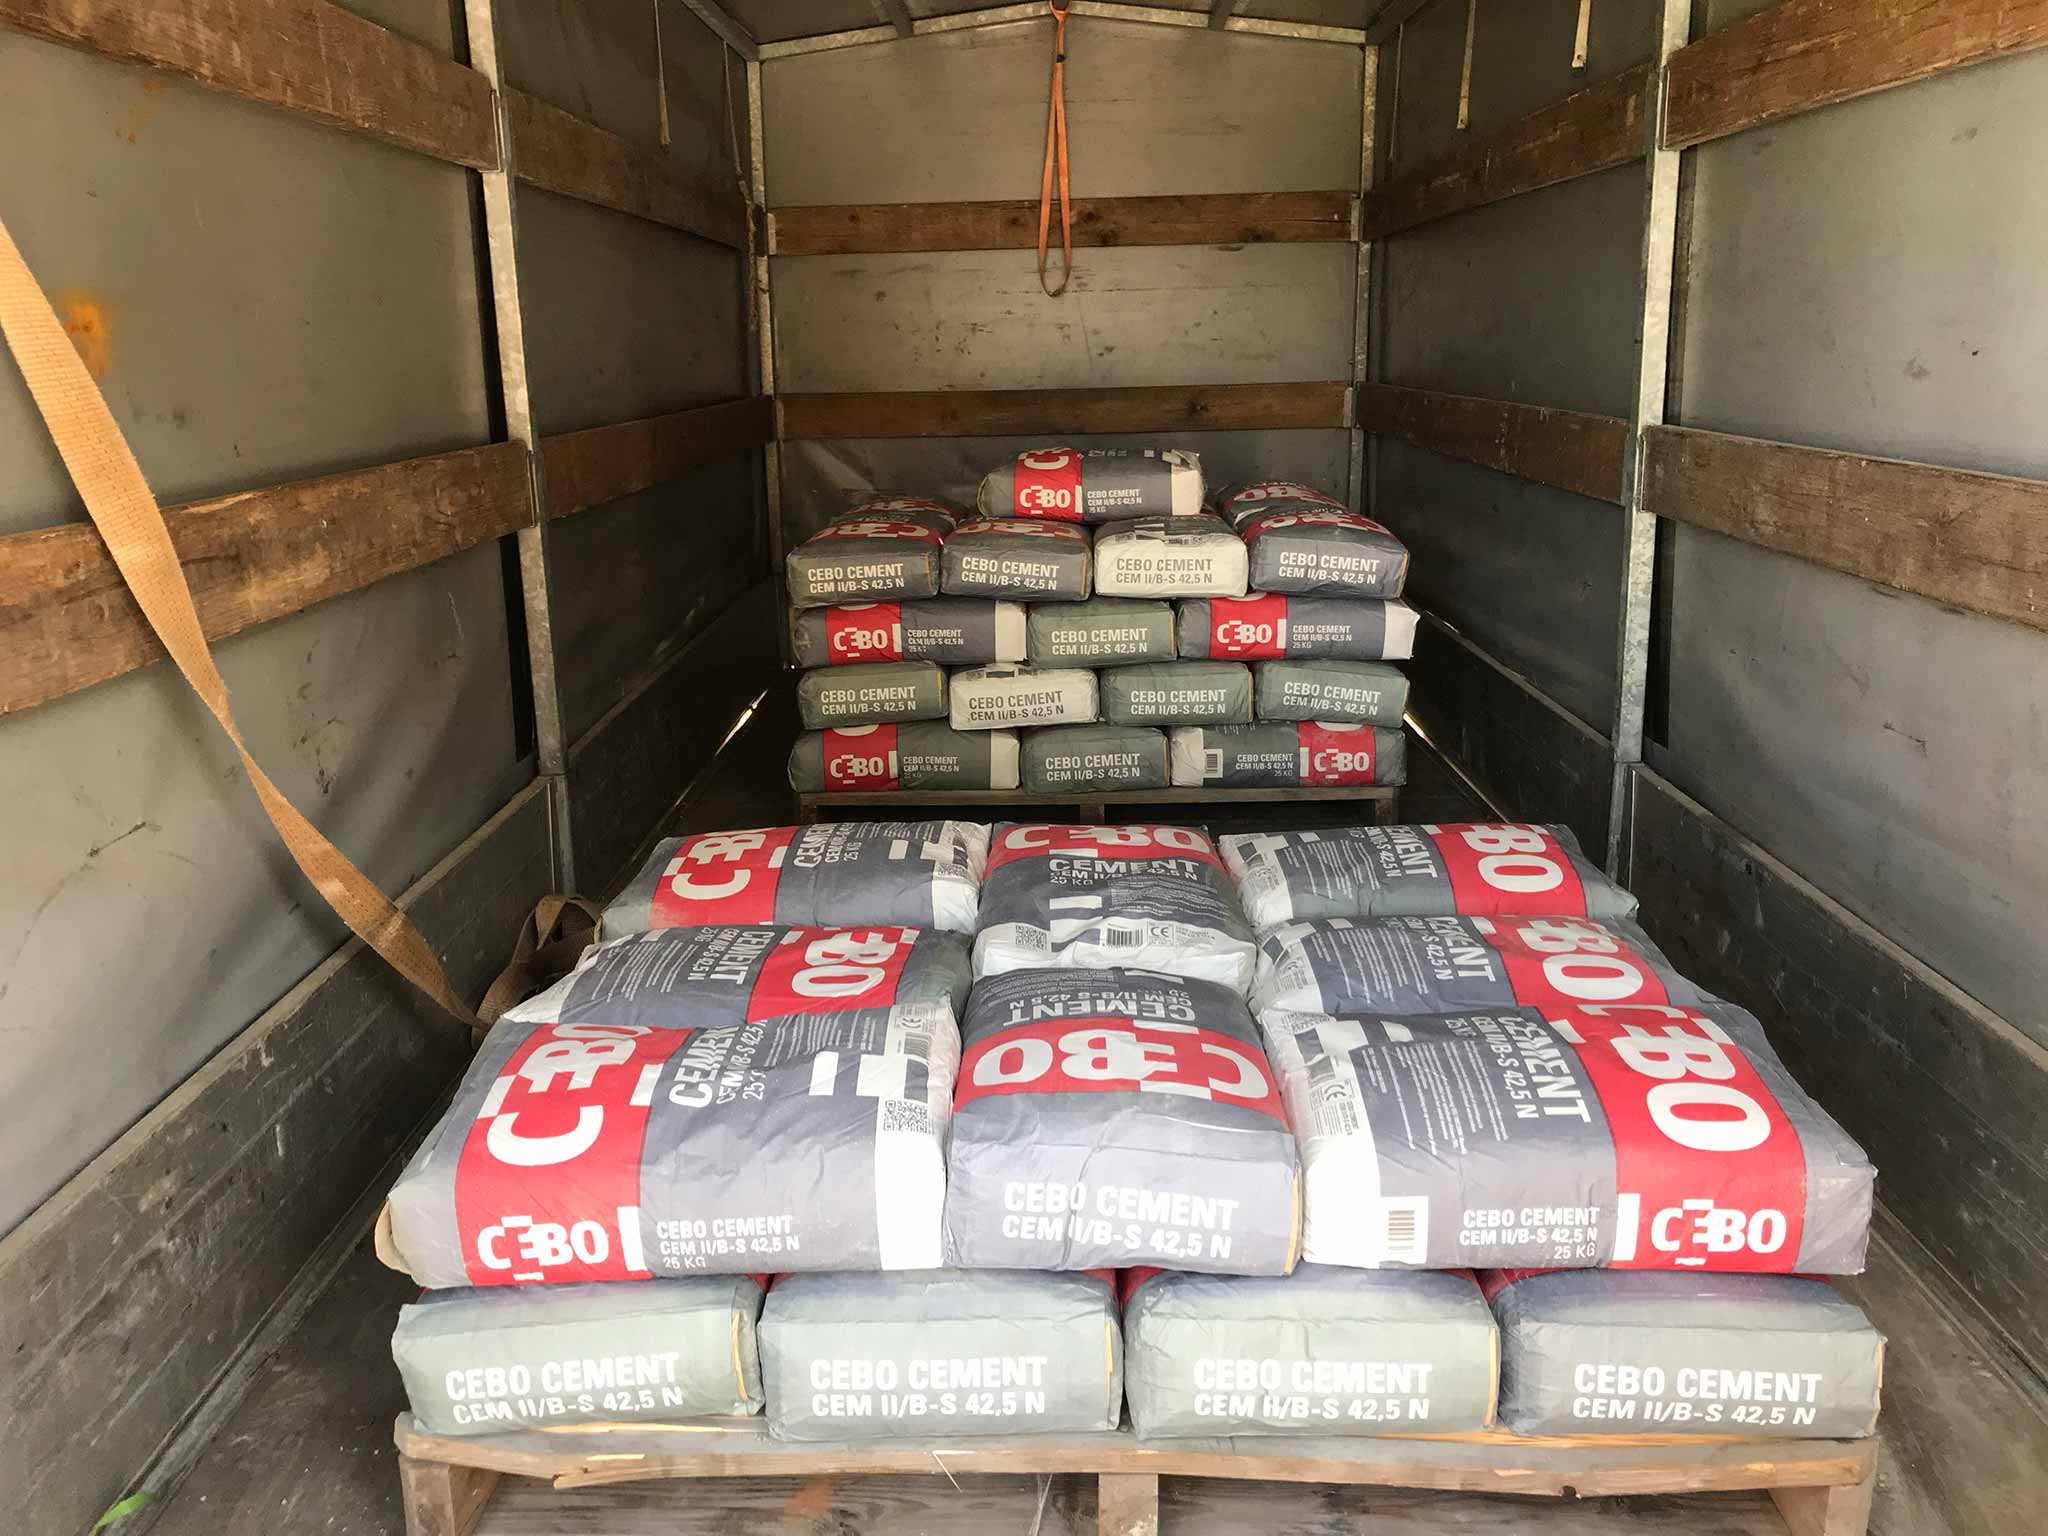
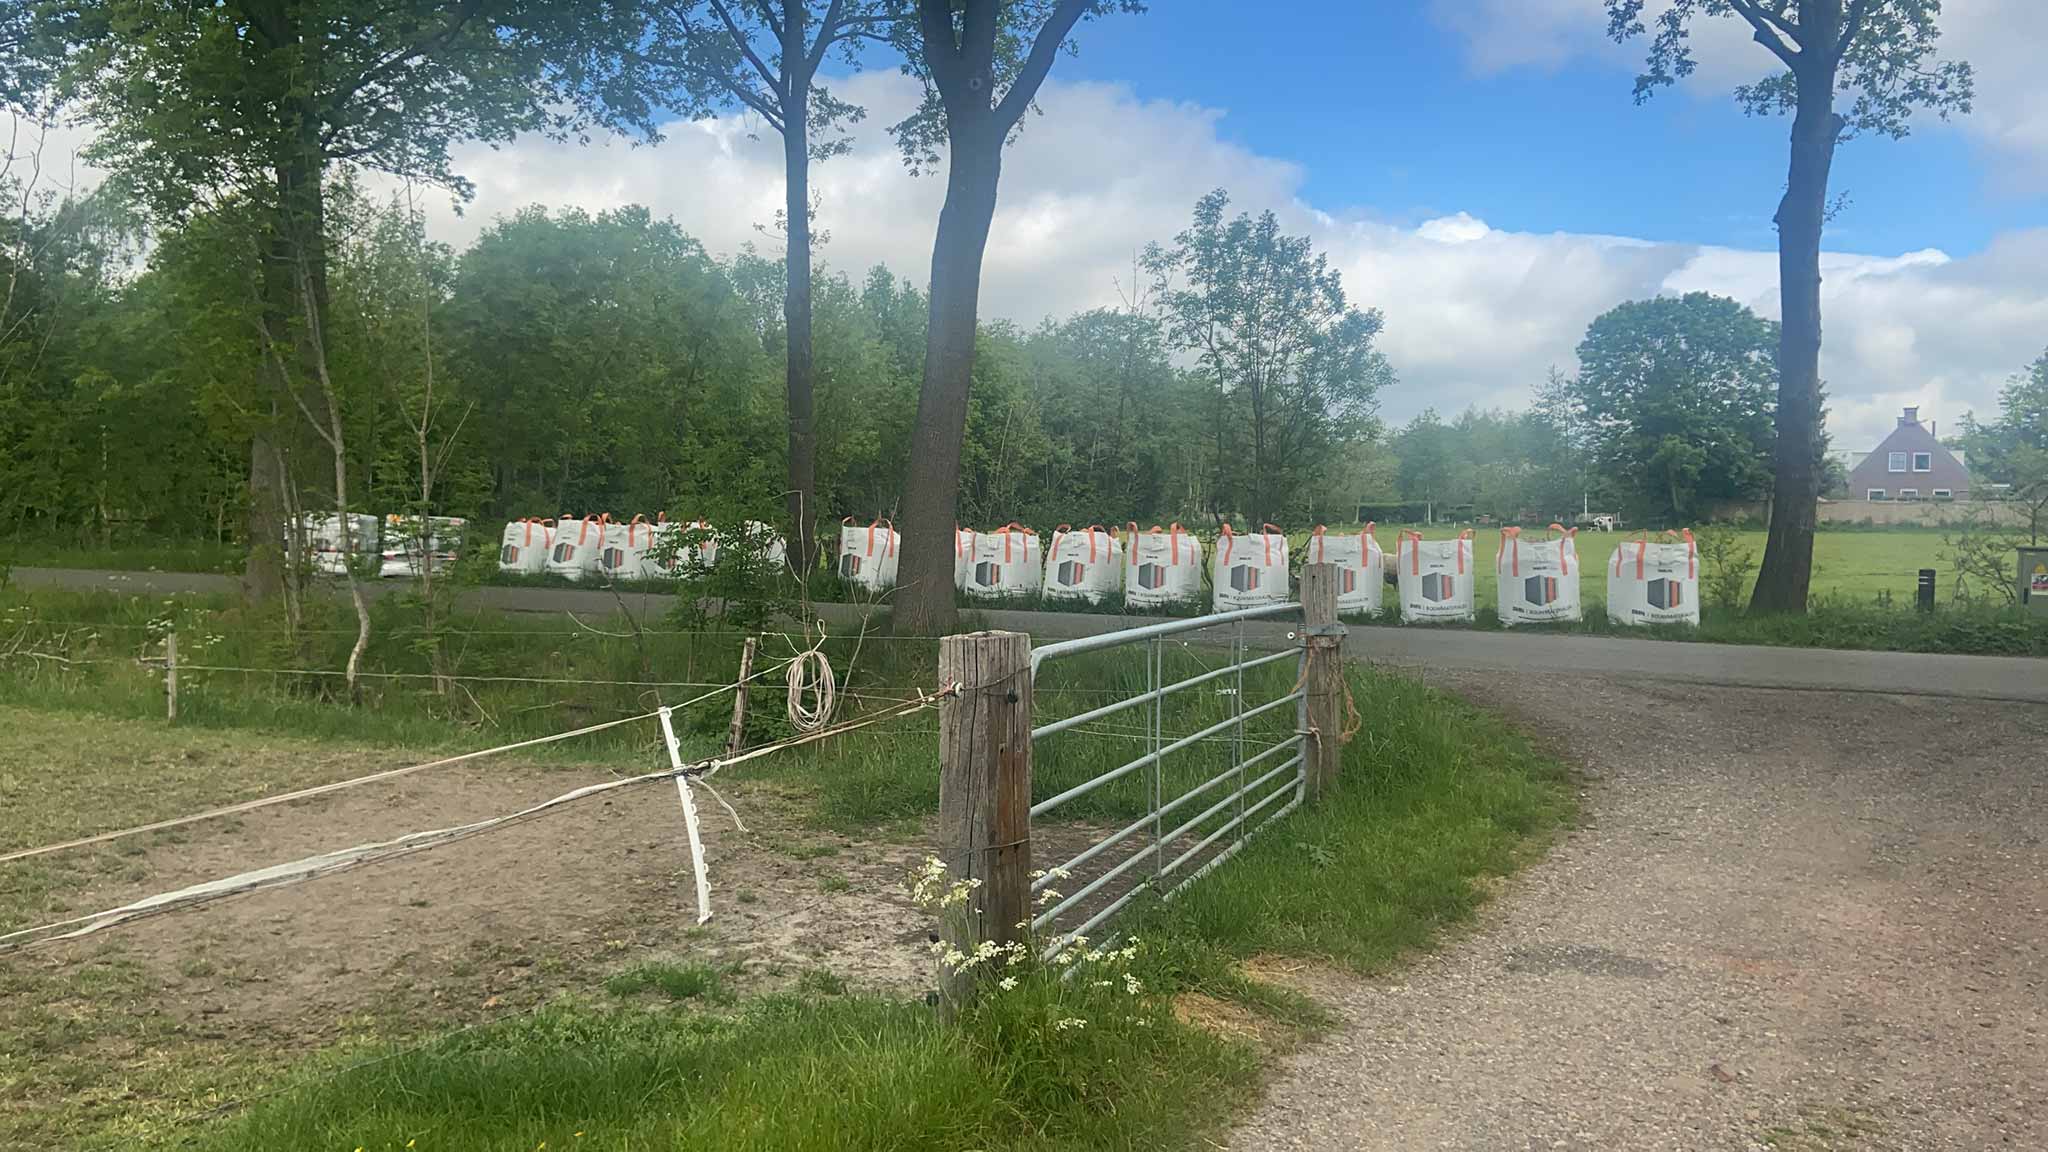
Shovelling, 49 25kg bags of, cement from one place to another
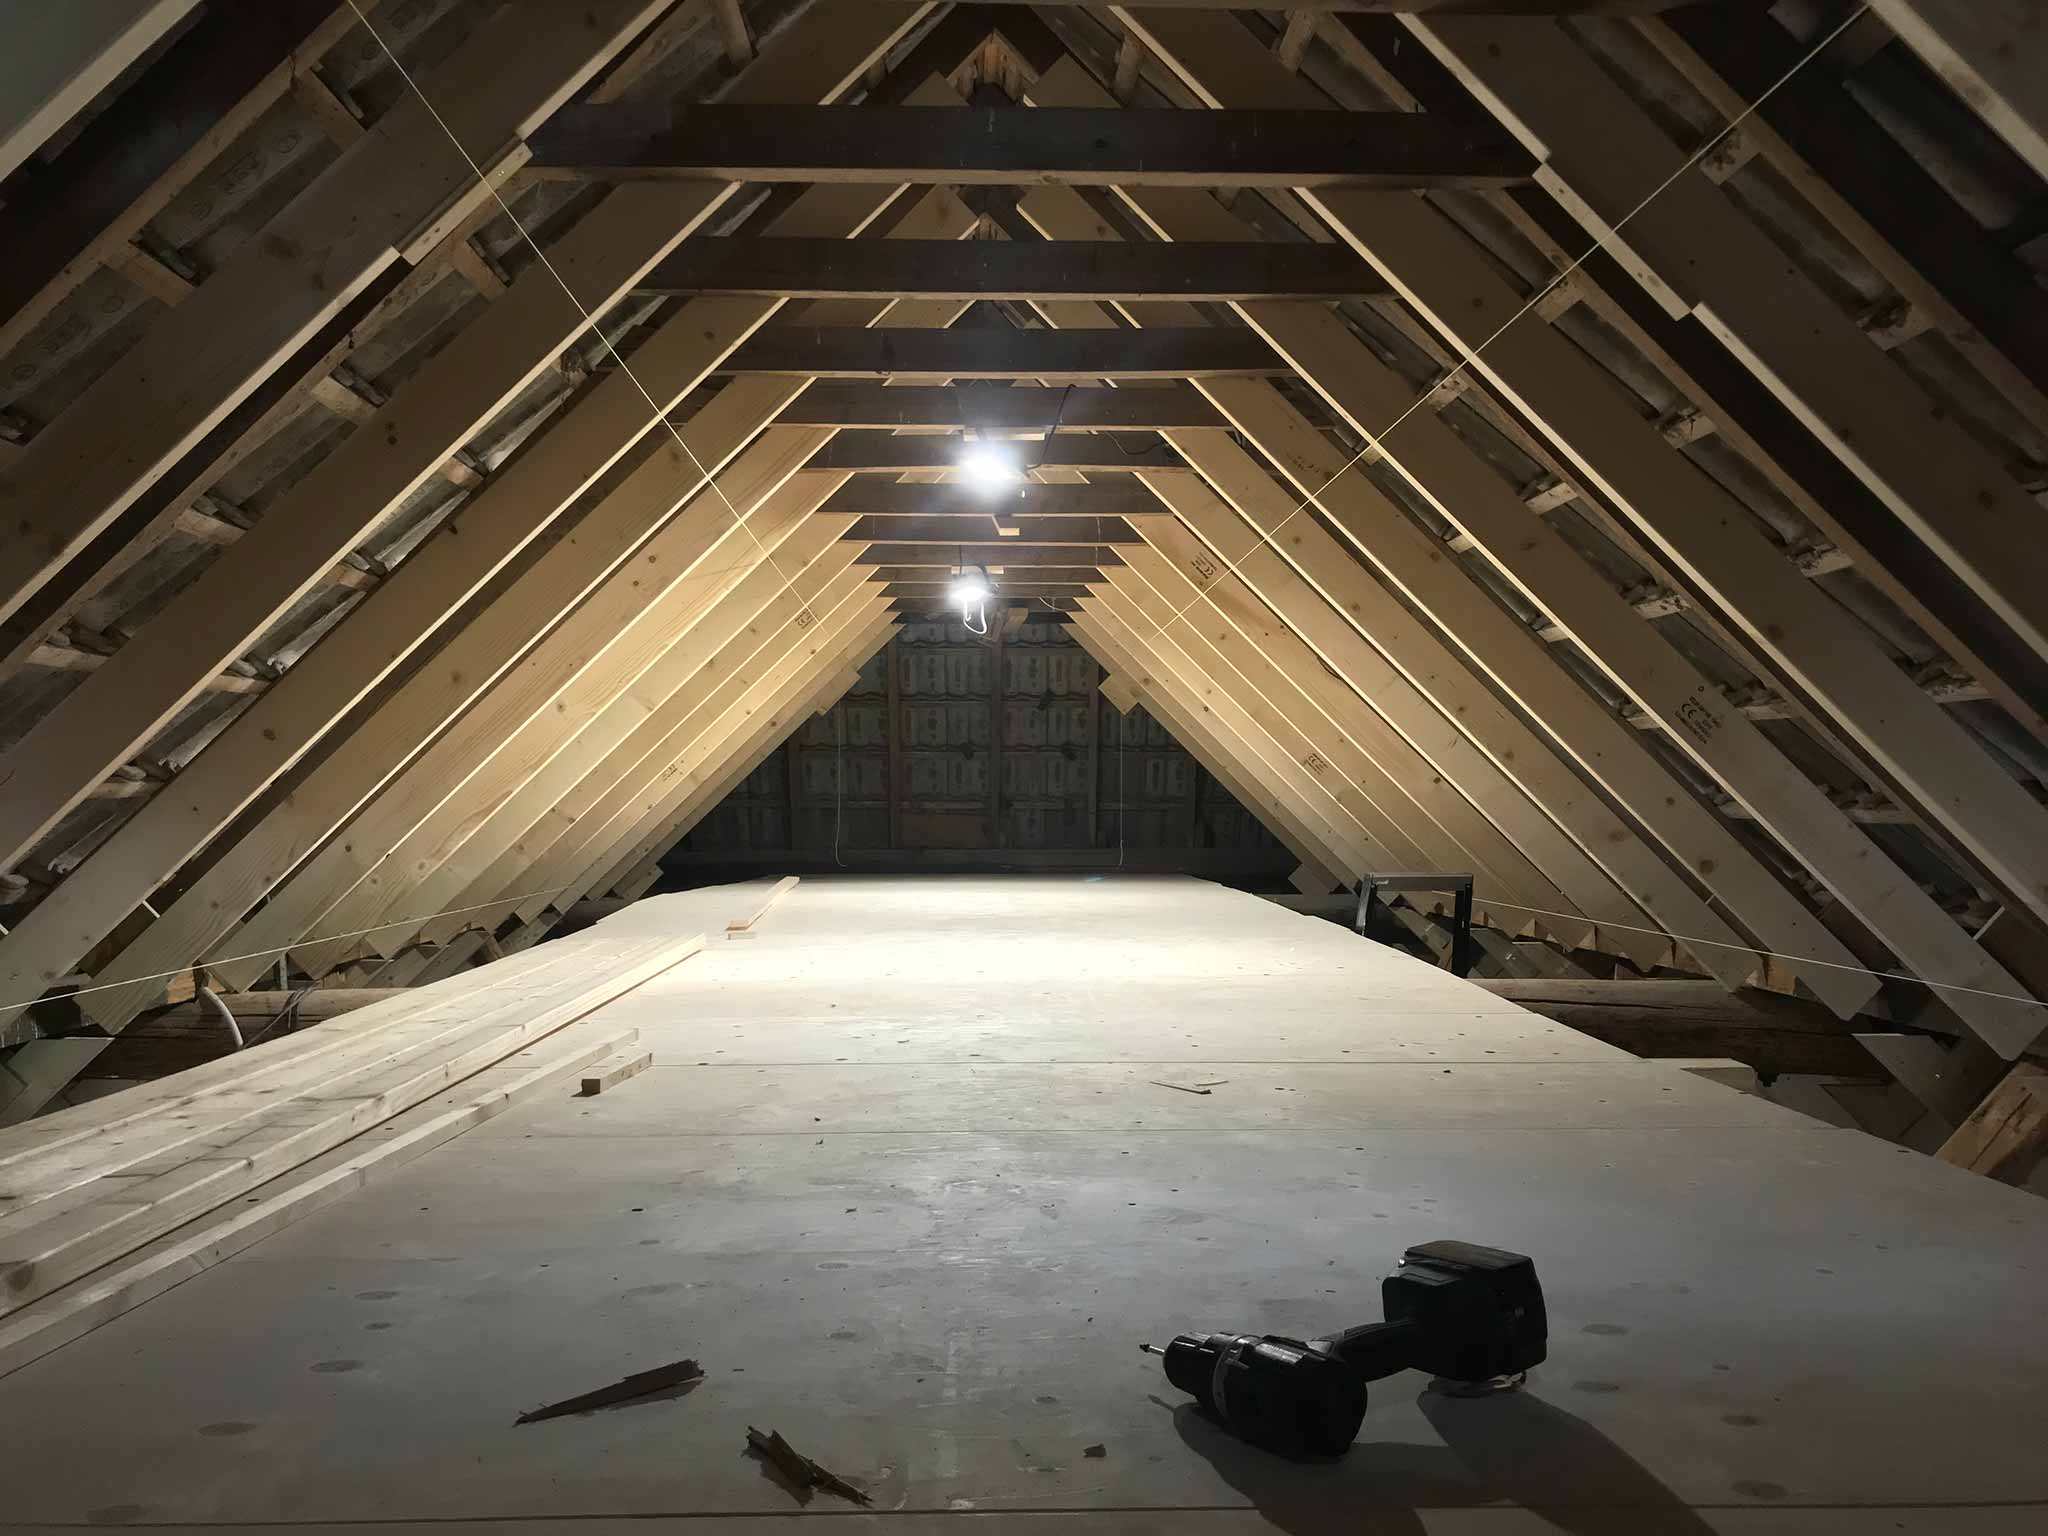
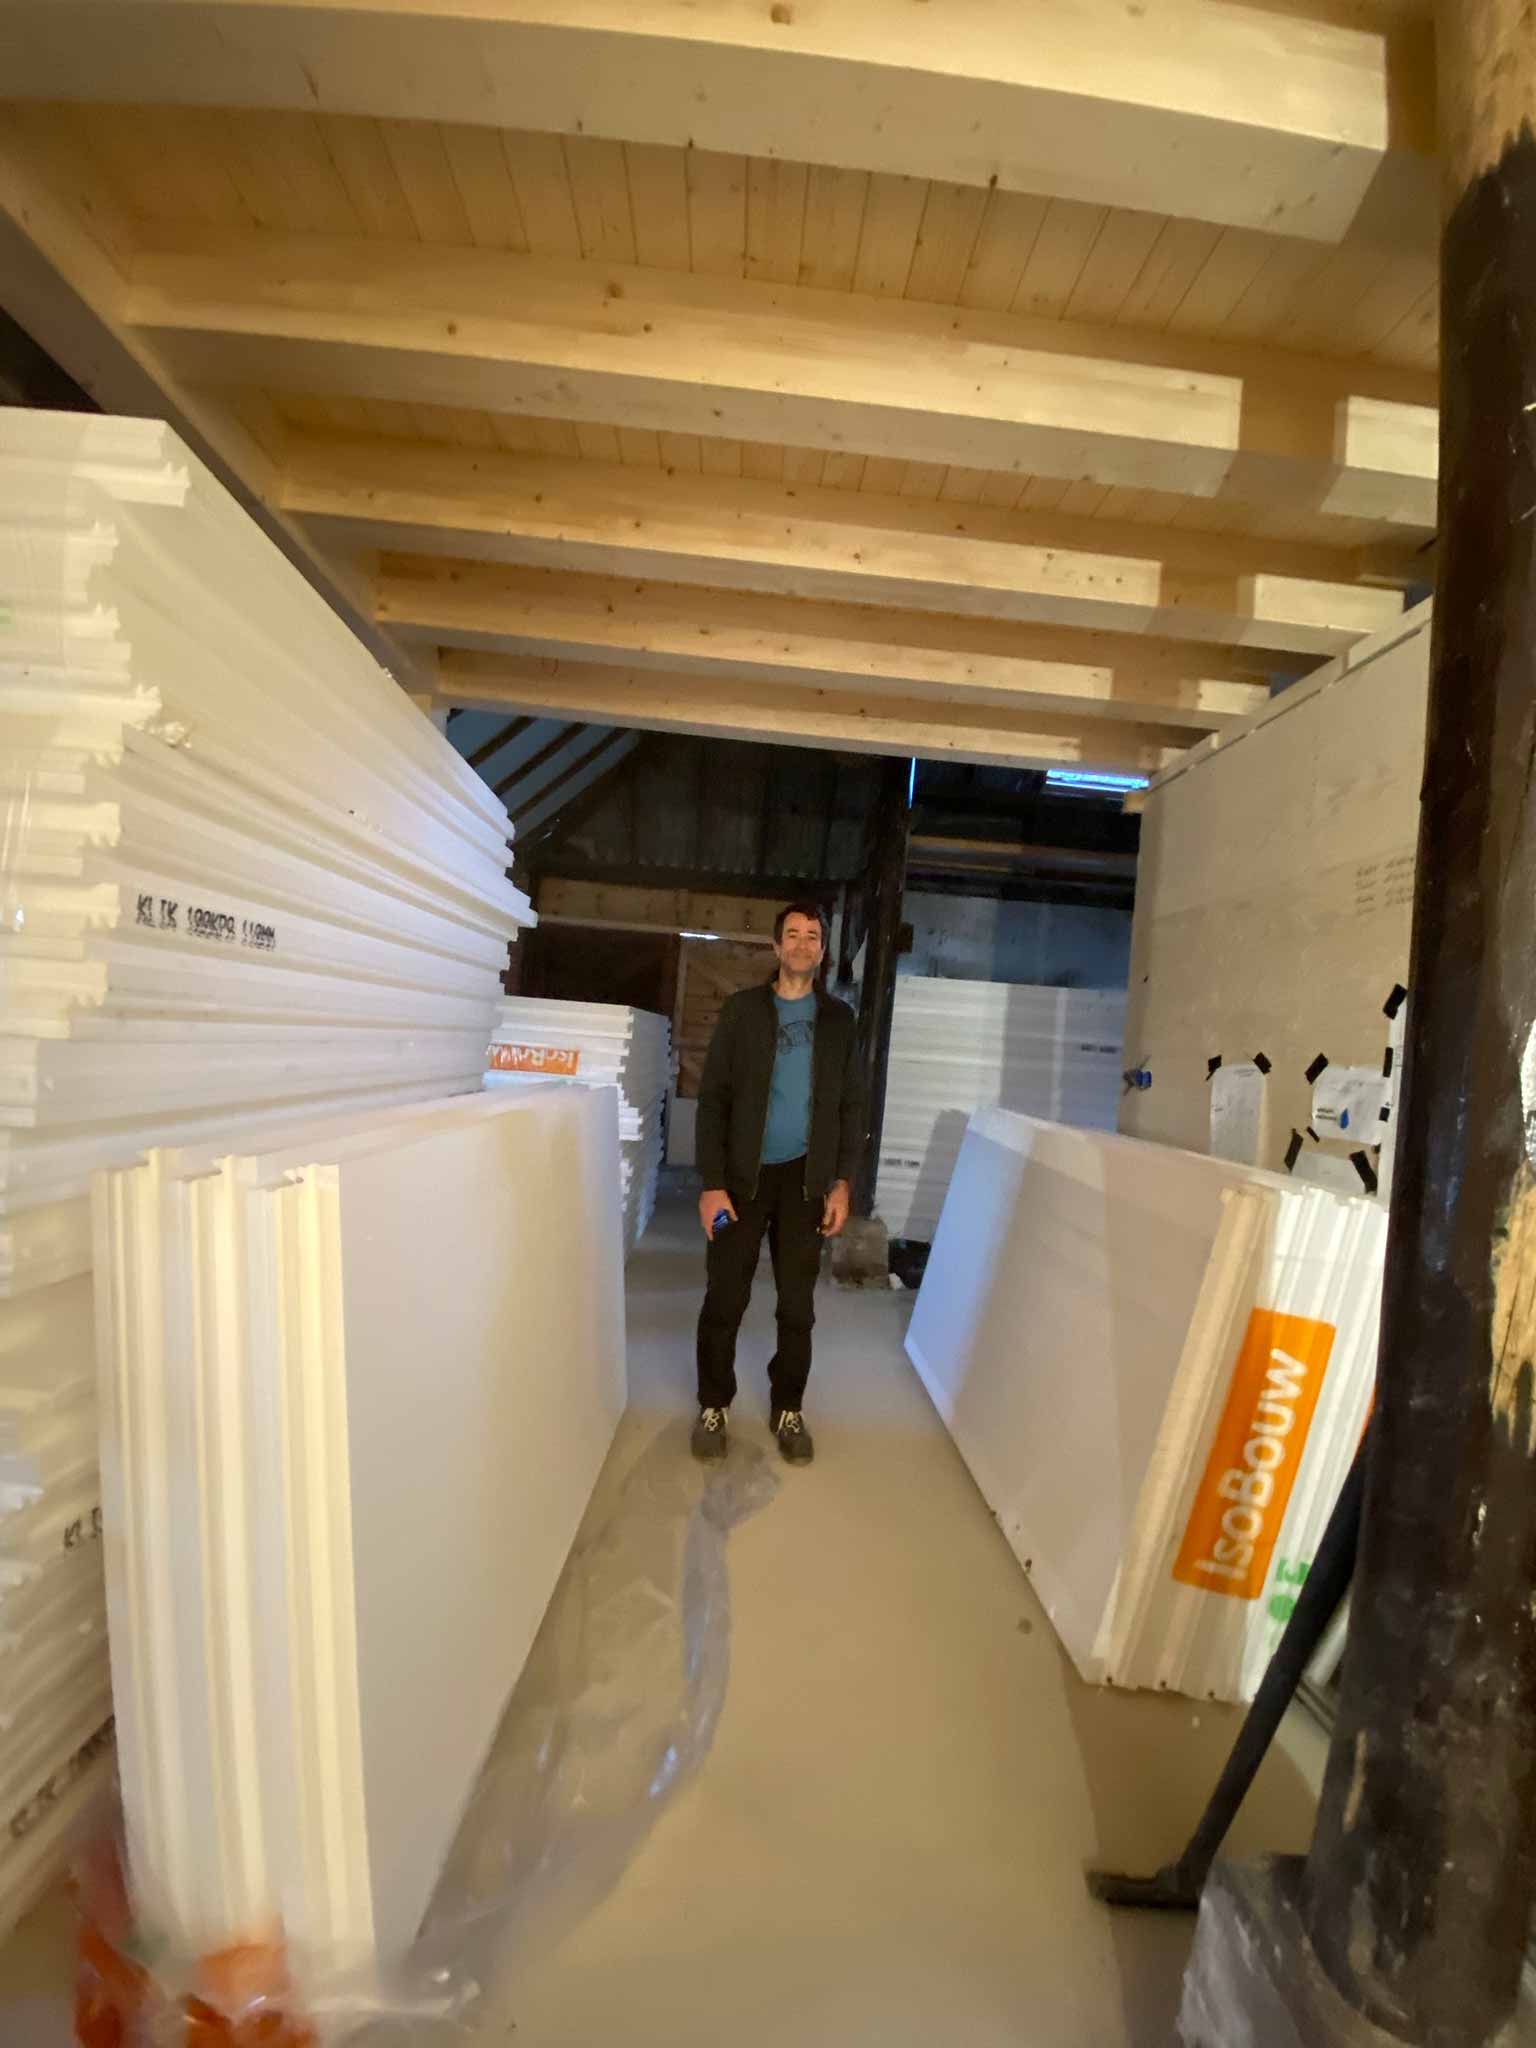
In stead of having to cart a mobile scaffolding around all the time, it was decided to build temporary floors. 👍.
Way faster in the end. After all, the vertical beams of the roof need to be made thicker, the insulation needs to be placed, the wooden boards need to be placed and then the staining needs to happen…
Or in Dutch: “Als het kalf verdronken is dempt men de put”
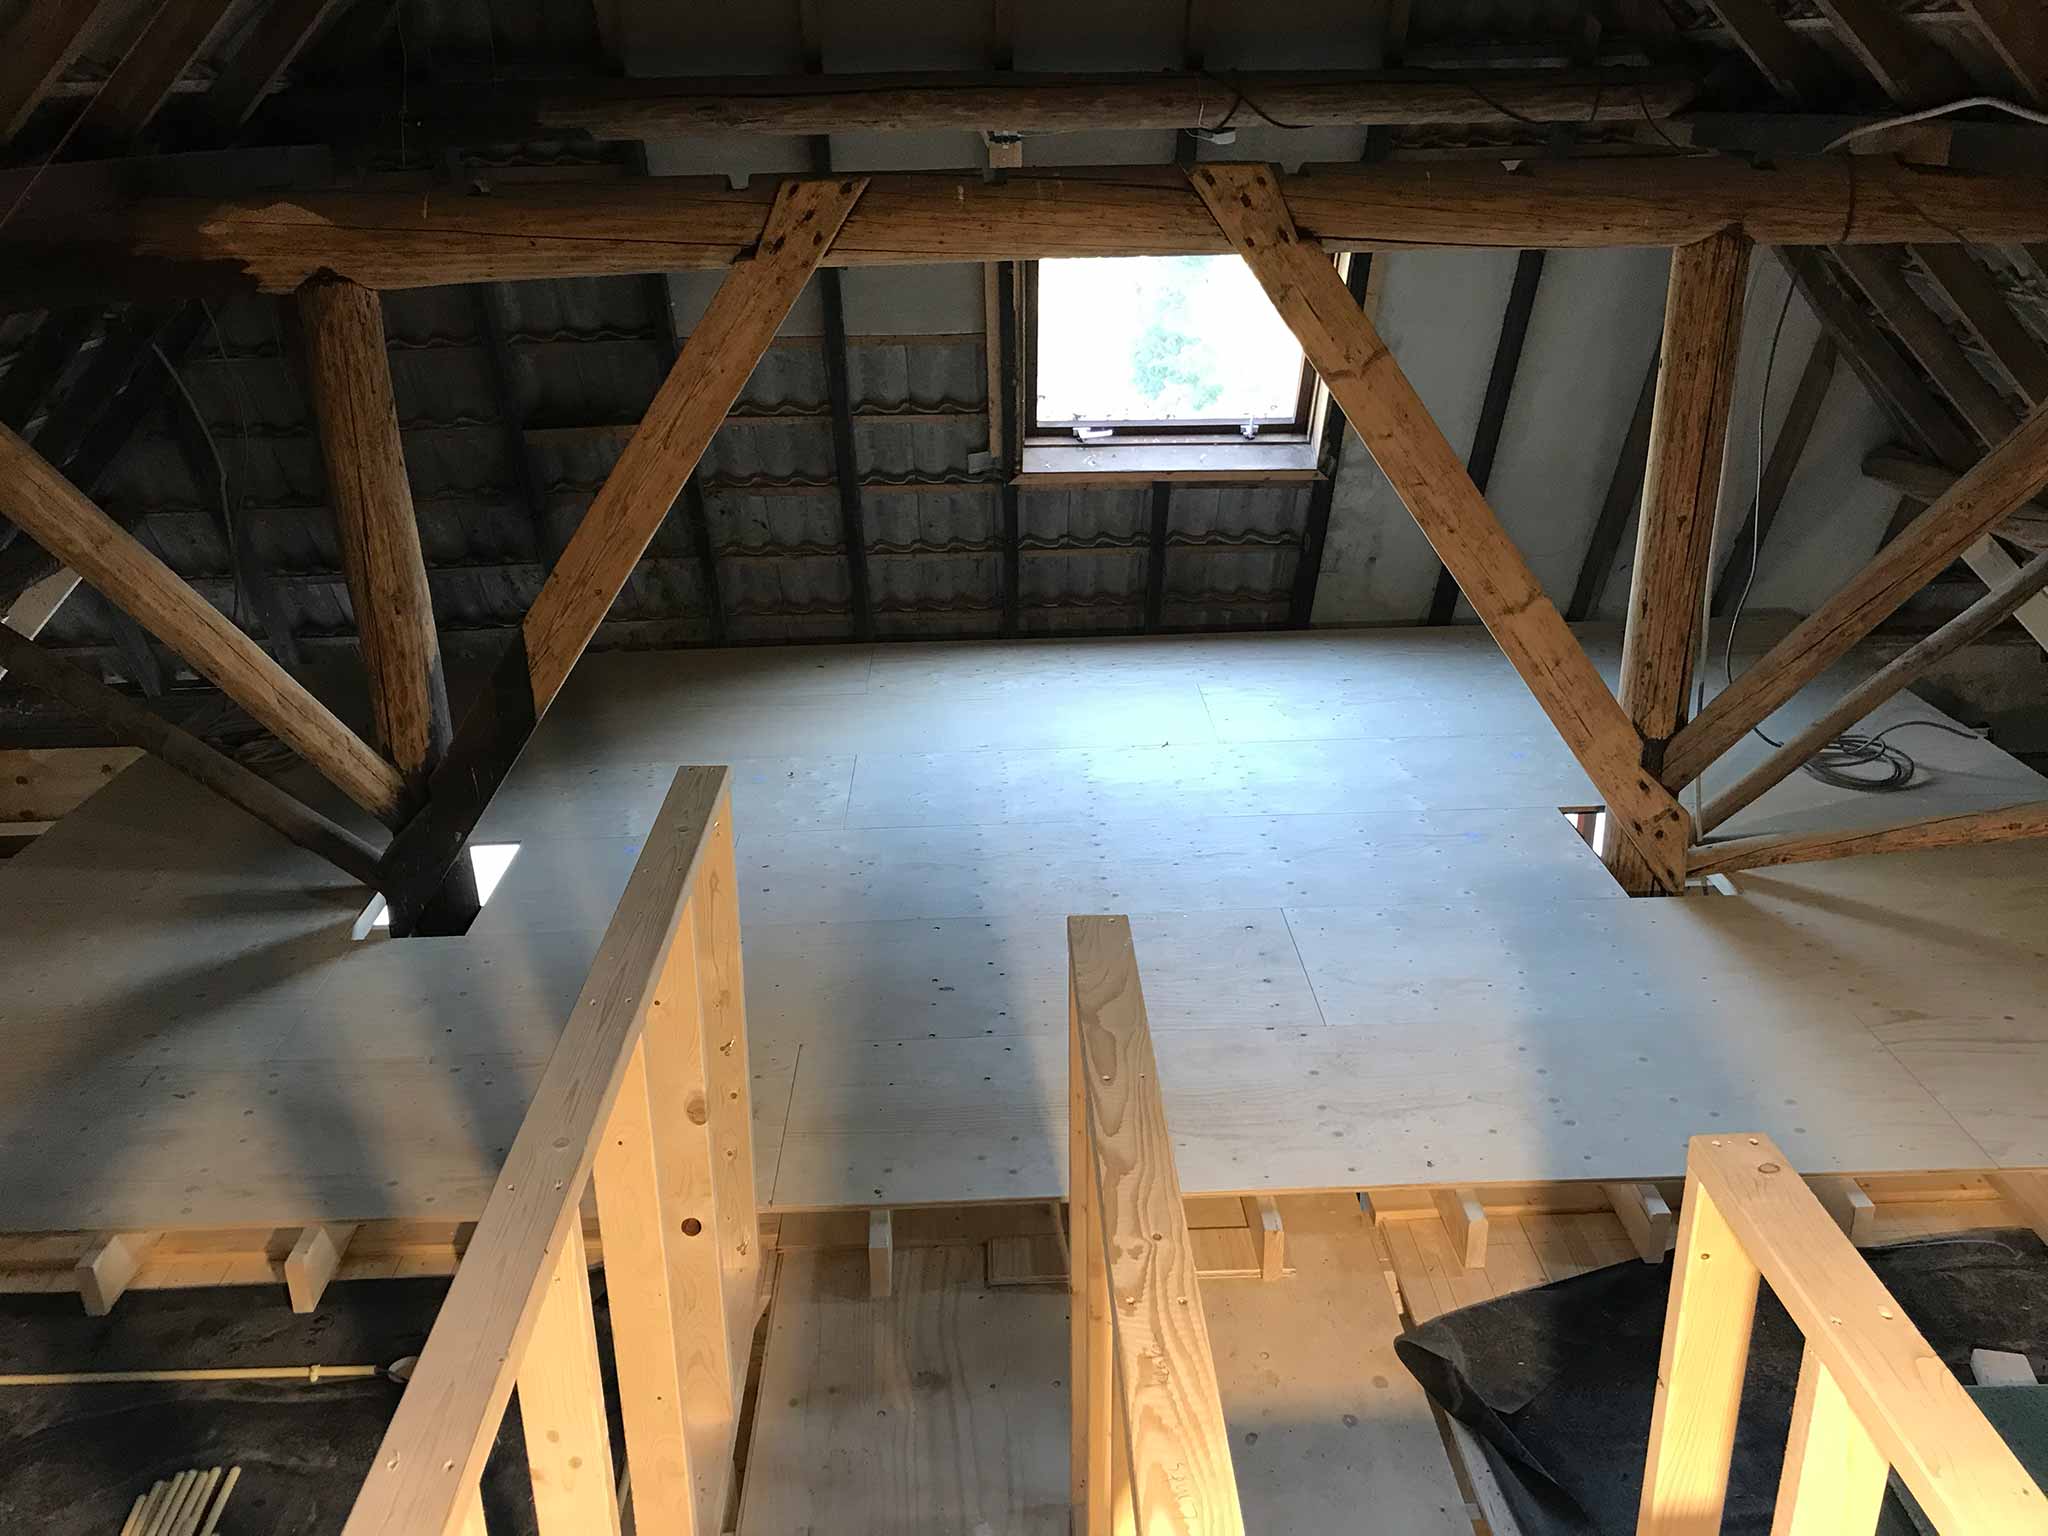
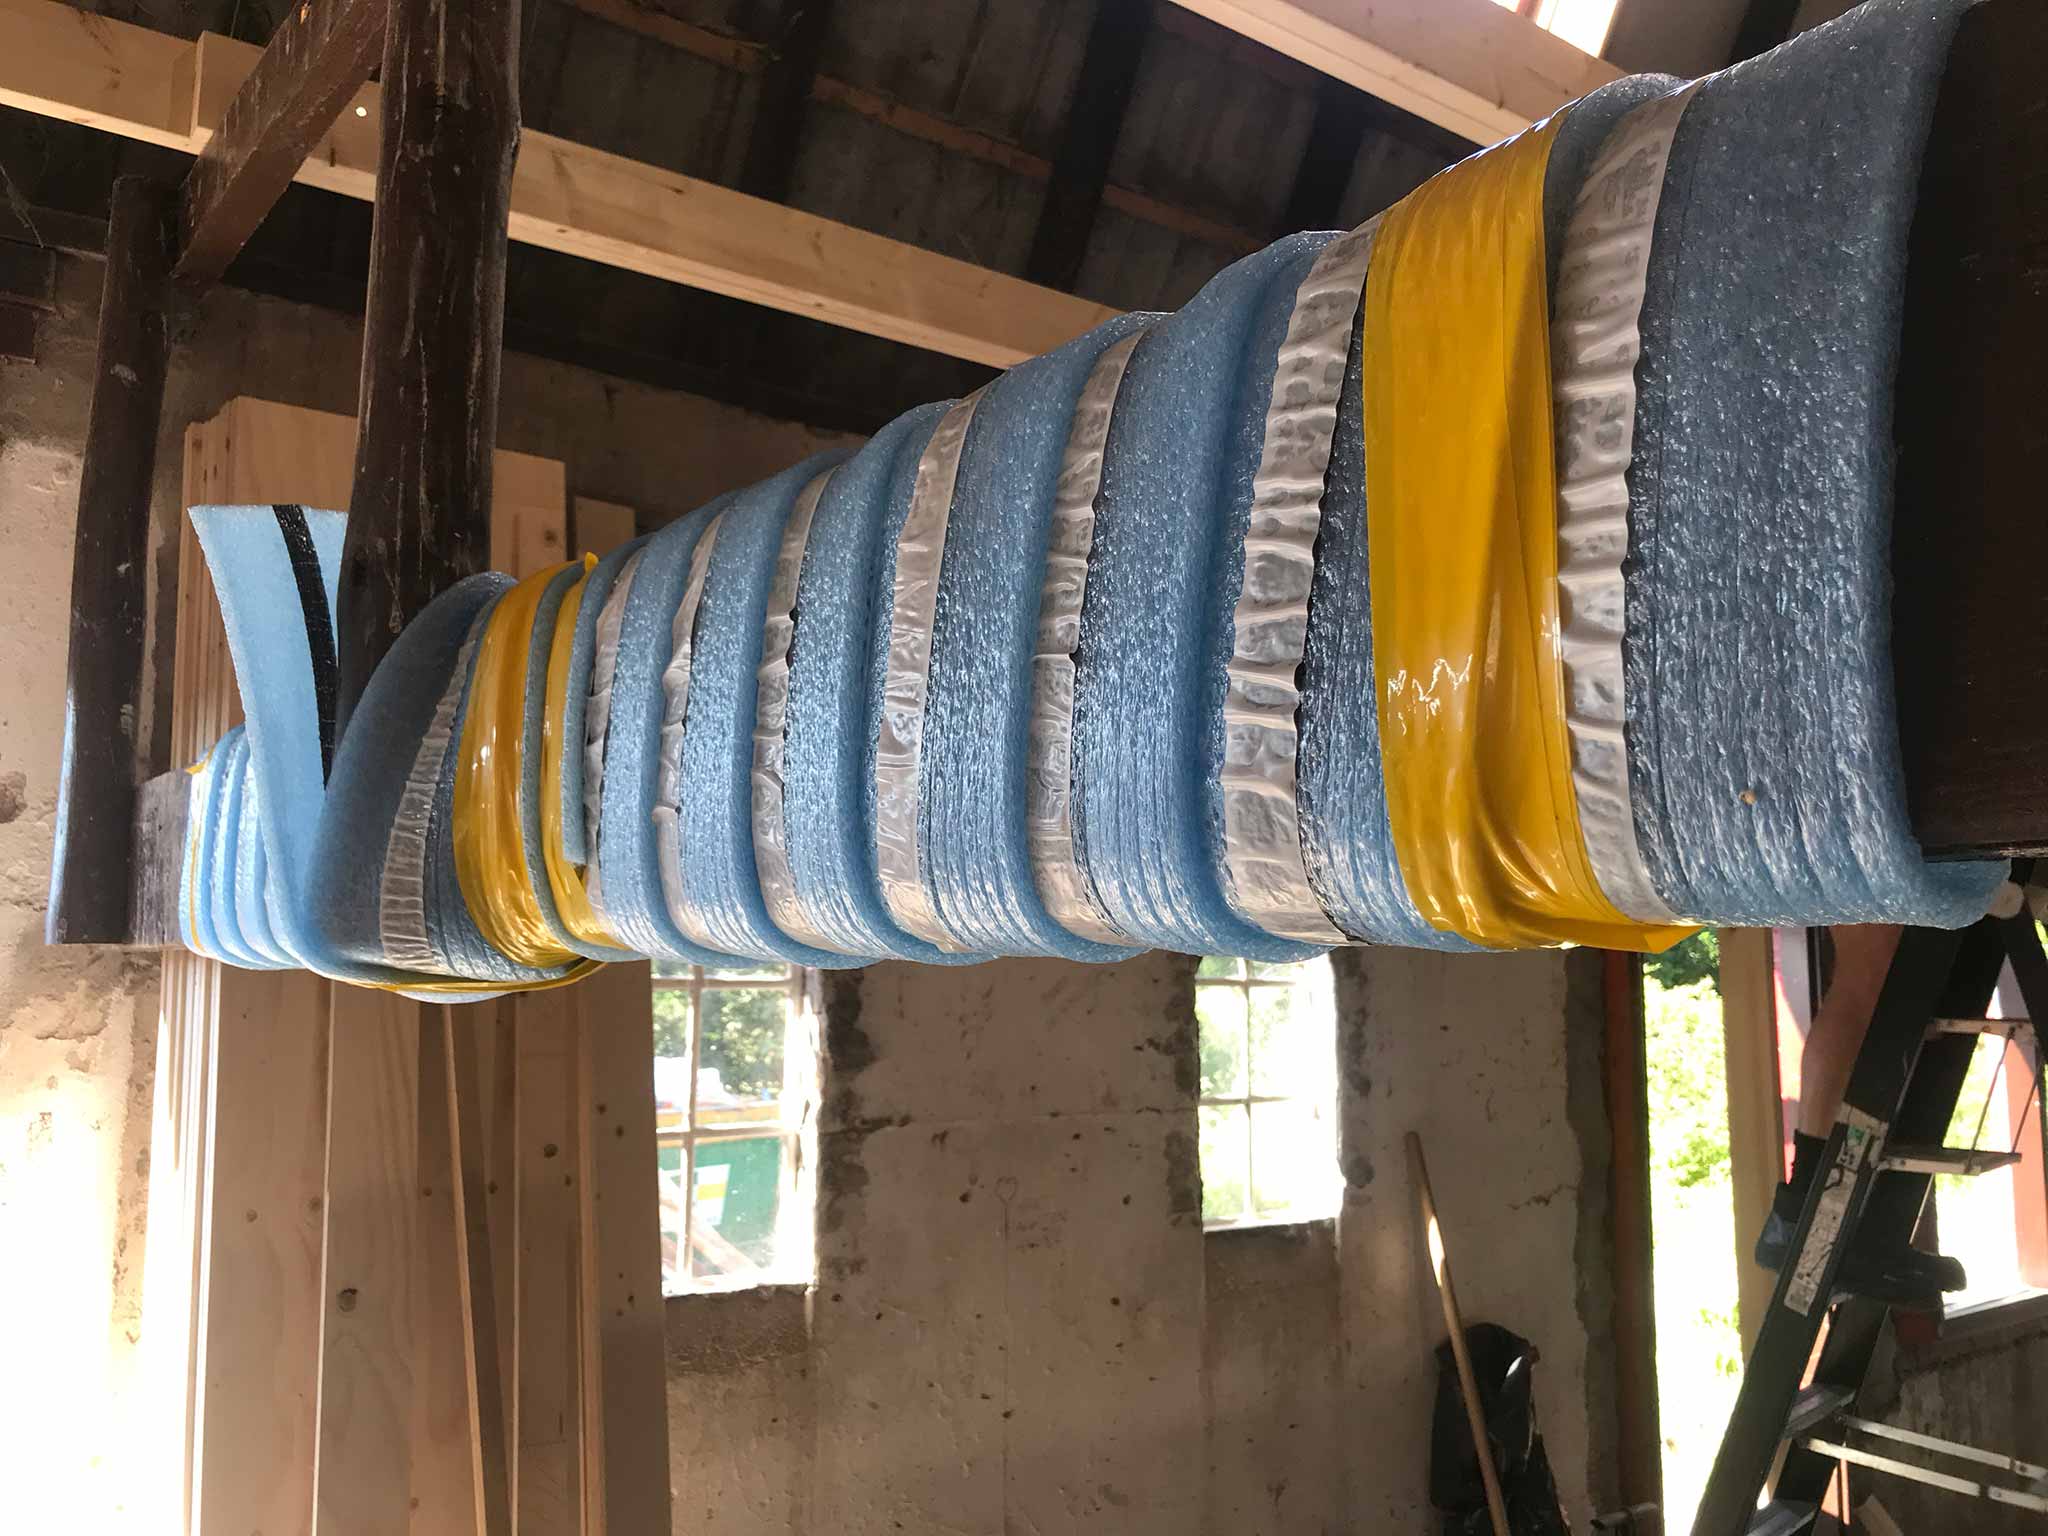
When the floor comes up, some things come down. At least, relative to the floor. The thing coming down this time was an old beam which had plenty of clearing underneath it. Had.
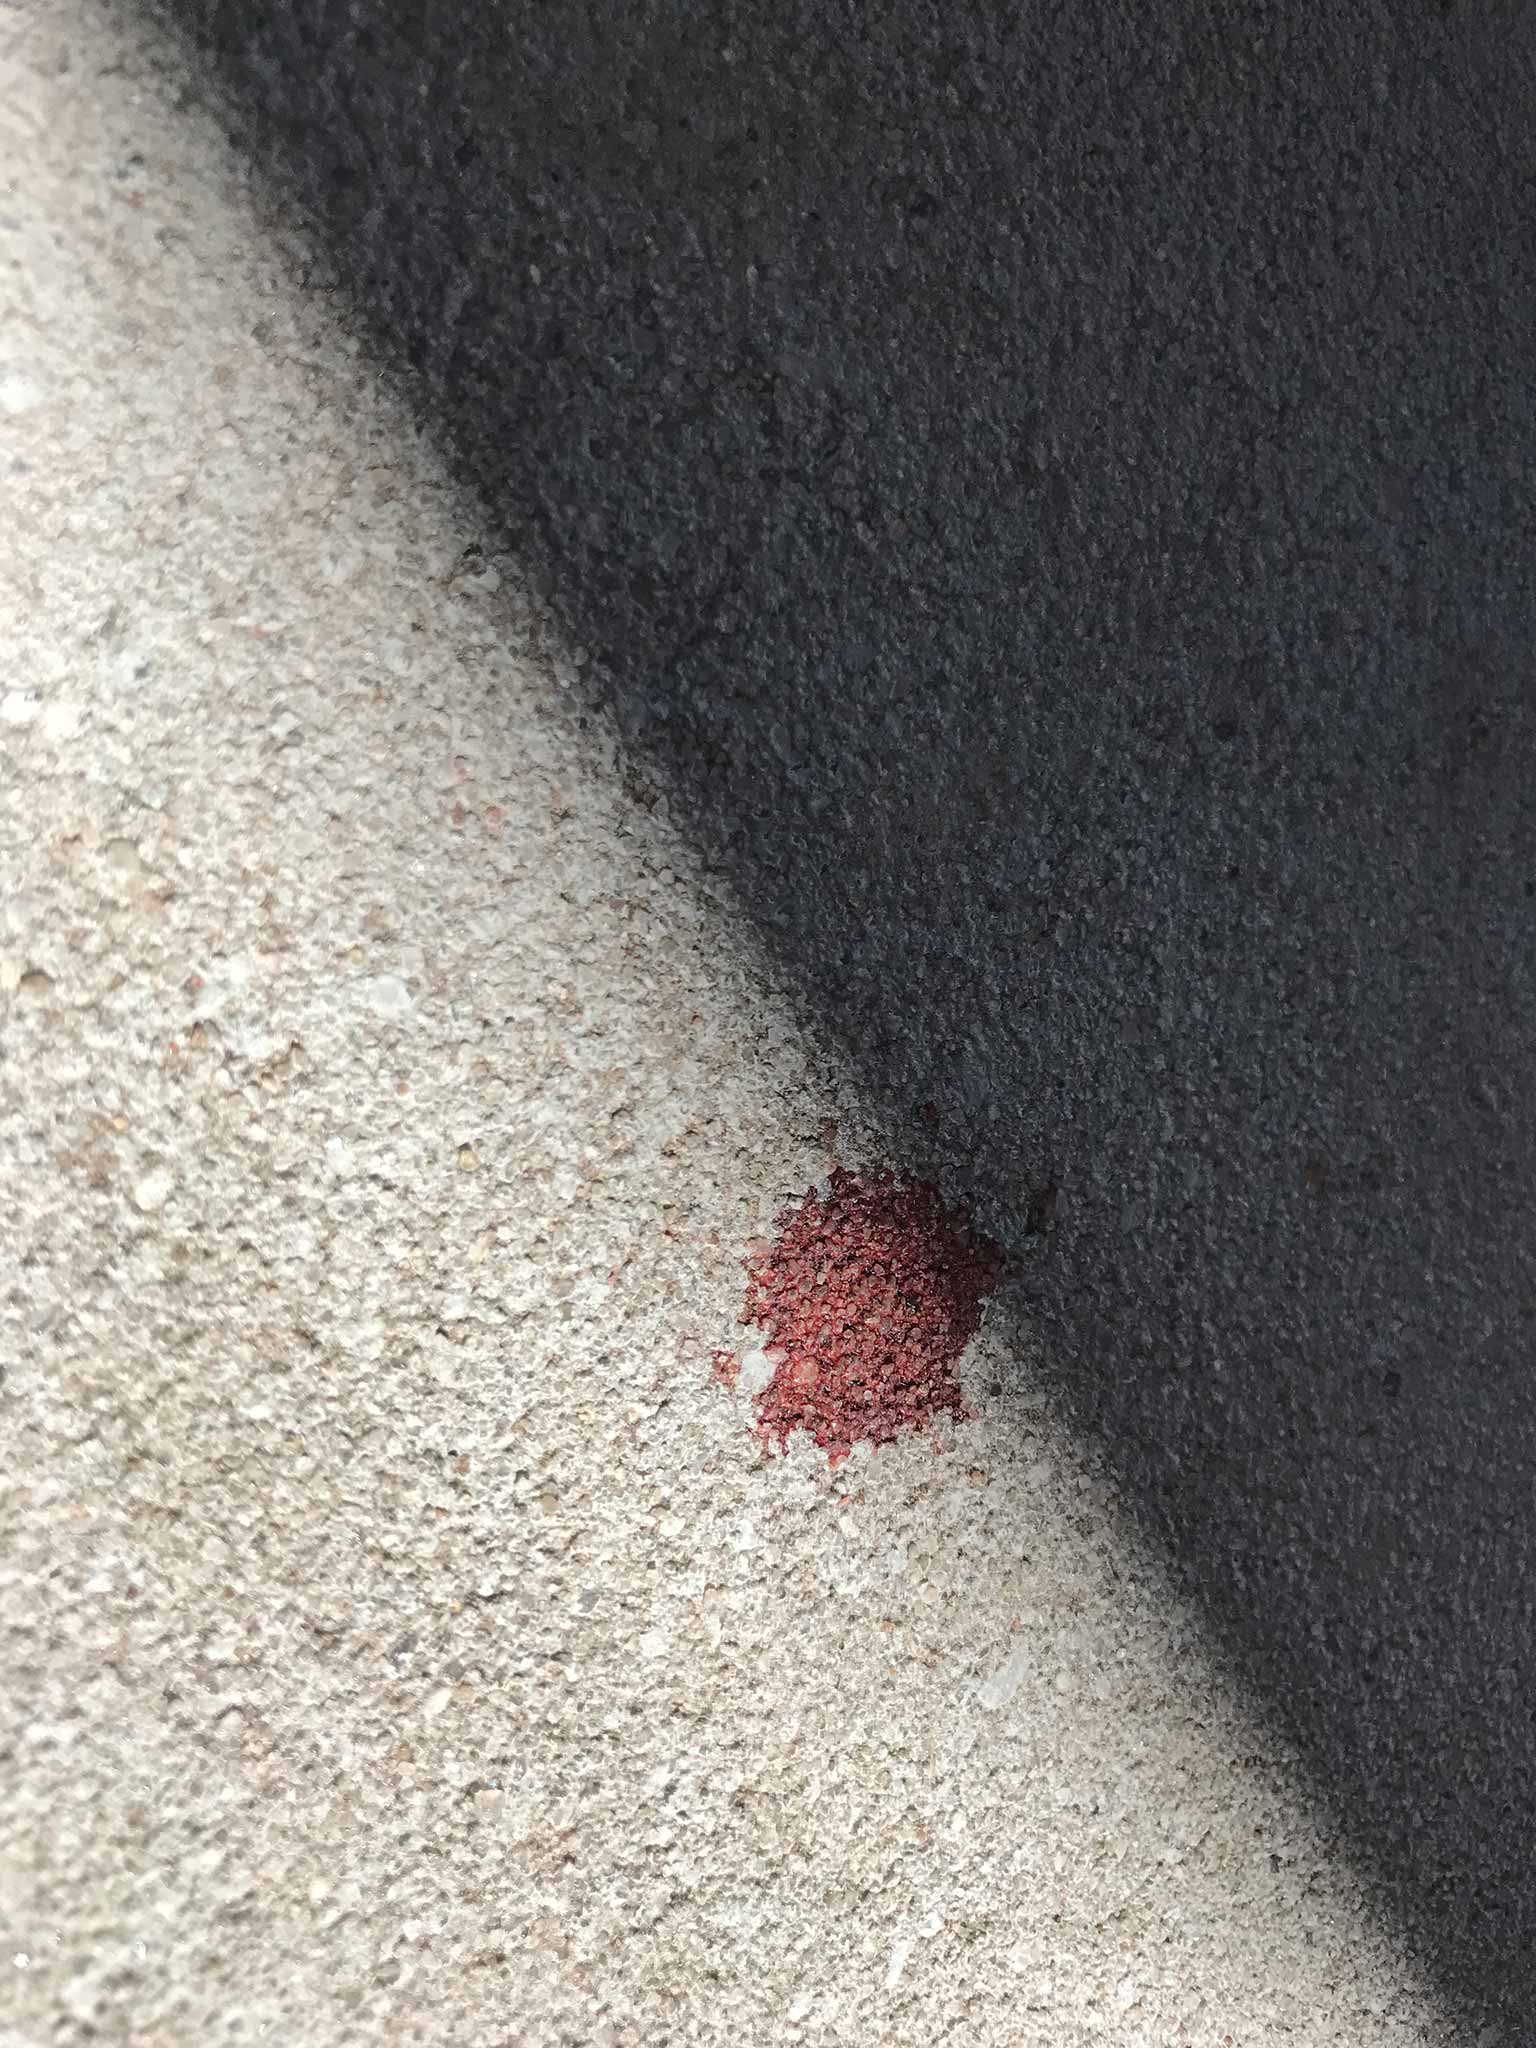
At one of the first days after the new floor was in we discussed it: “That’s one to watch out for now. We better mark it or something”. 5 Minutes later I hit my head hard against it, was cursing my way up a ladder because of my stupidity and slowly made my way down again after I felt the trickle of blood running down my forehead.
Lesson? When you think something is smart to do, do it!. It may save you a break of an hour at the start of the day that is from that moment on spent with a pounding headache as if you drank too much the night before.
The smart thing here was wrapping the damned thing in foam.
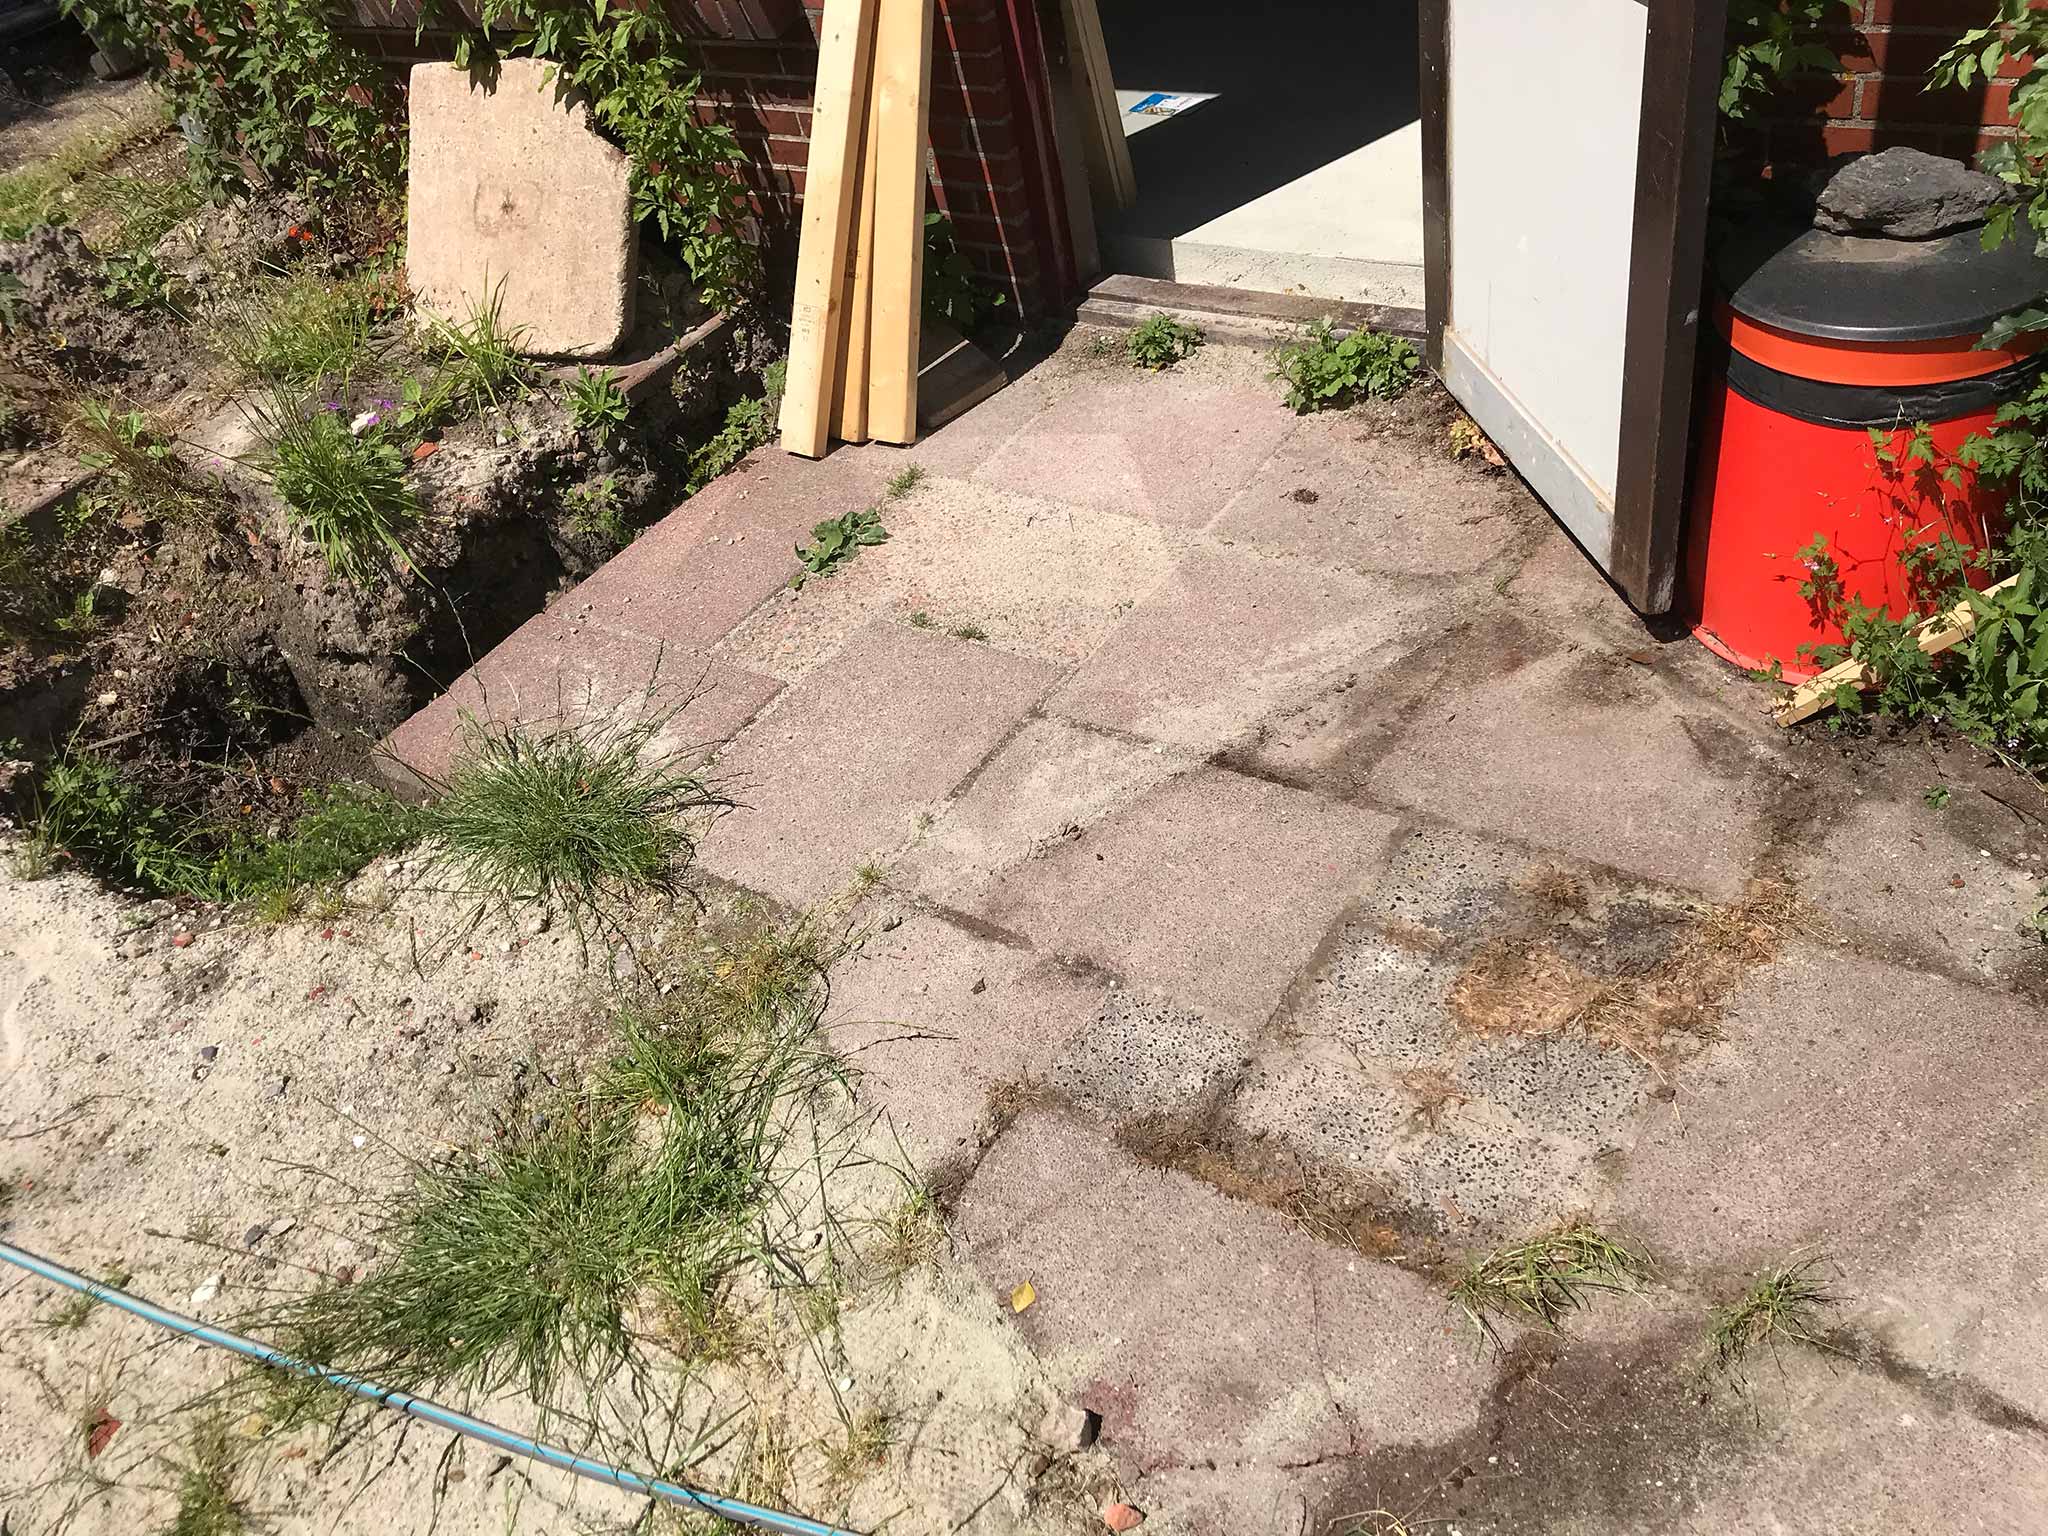
It took some effort, but the new water connection is done.
A combination of circumstances made it harder than anticipated. Some background information: The standard water mains apparently must be 40mm for this type of area. A pipe from the mains towards a house is 25mm.
Firstly, our house is the one before last in a cul-de-sac with the next house some 100 meters away. Because of this, a long time ago, some smart, money saving person split the mains near our house into two 25mm pipes. One to our house and one to the next. Makes sense, but that same person forgot to make a note of this fact. This made it so that the location where the new branch off of the mains was, surprisingly, to be placed at that smaller pipe. This would effectively make it so that two houses would be connected to the pipe-size suited for one house max. Added to that, connecting to such a small pipe is something that apparently cannot be done without taking the pressure off for the entire neighbourhood. So, the options were to redirect the old connection to the new entry into the house or have the diggers digging to find the 40mm pipe on their second time ’round and create a new branche from there.
Secondly, there is a tree. That tree was not too big, or hardly worth mentioning, some 50 to 60 years ago. It is however a respectful tree now. With roots. An option was to redirect the old connection to the water meter around the tree, into the house where all the new connections come in. Some digging had to be done to find the old connection near its branch off of the main pipe..
Thirdly, the location of the old brach off of the mains was noted to be 2.8 meters from the front of the house. This was however not corrected after a piece of the house was torn down, moving the front of the house back a few meters. The digging for the old branch off of the mains proved to be a bit harder because of this…
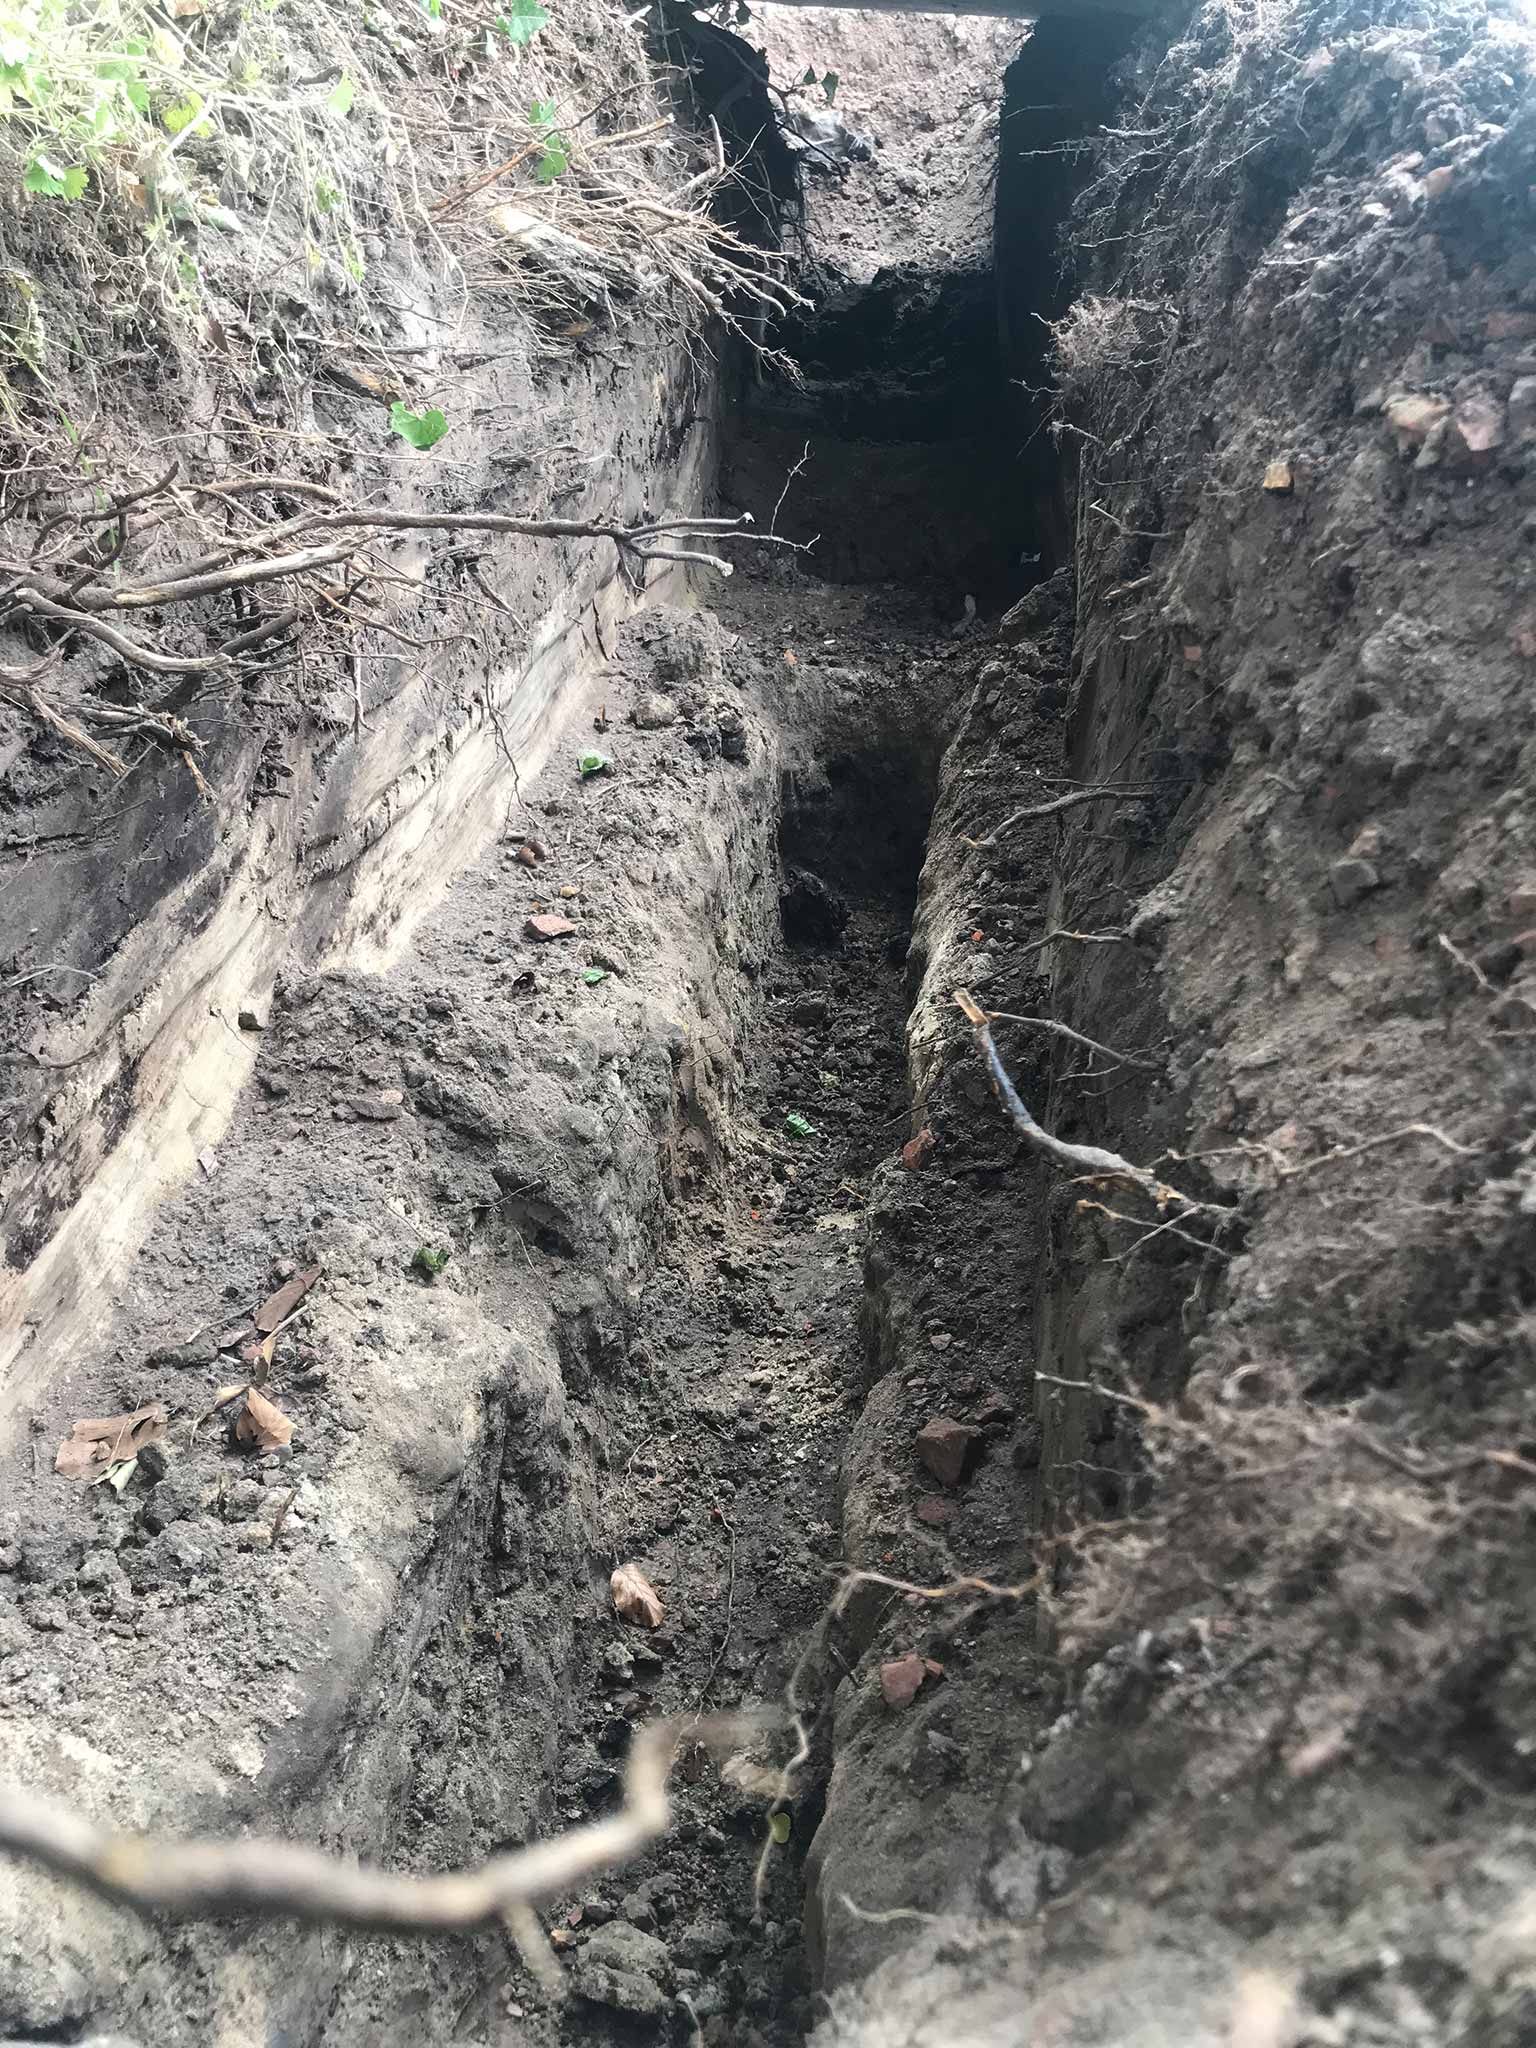
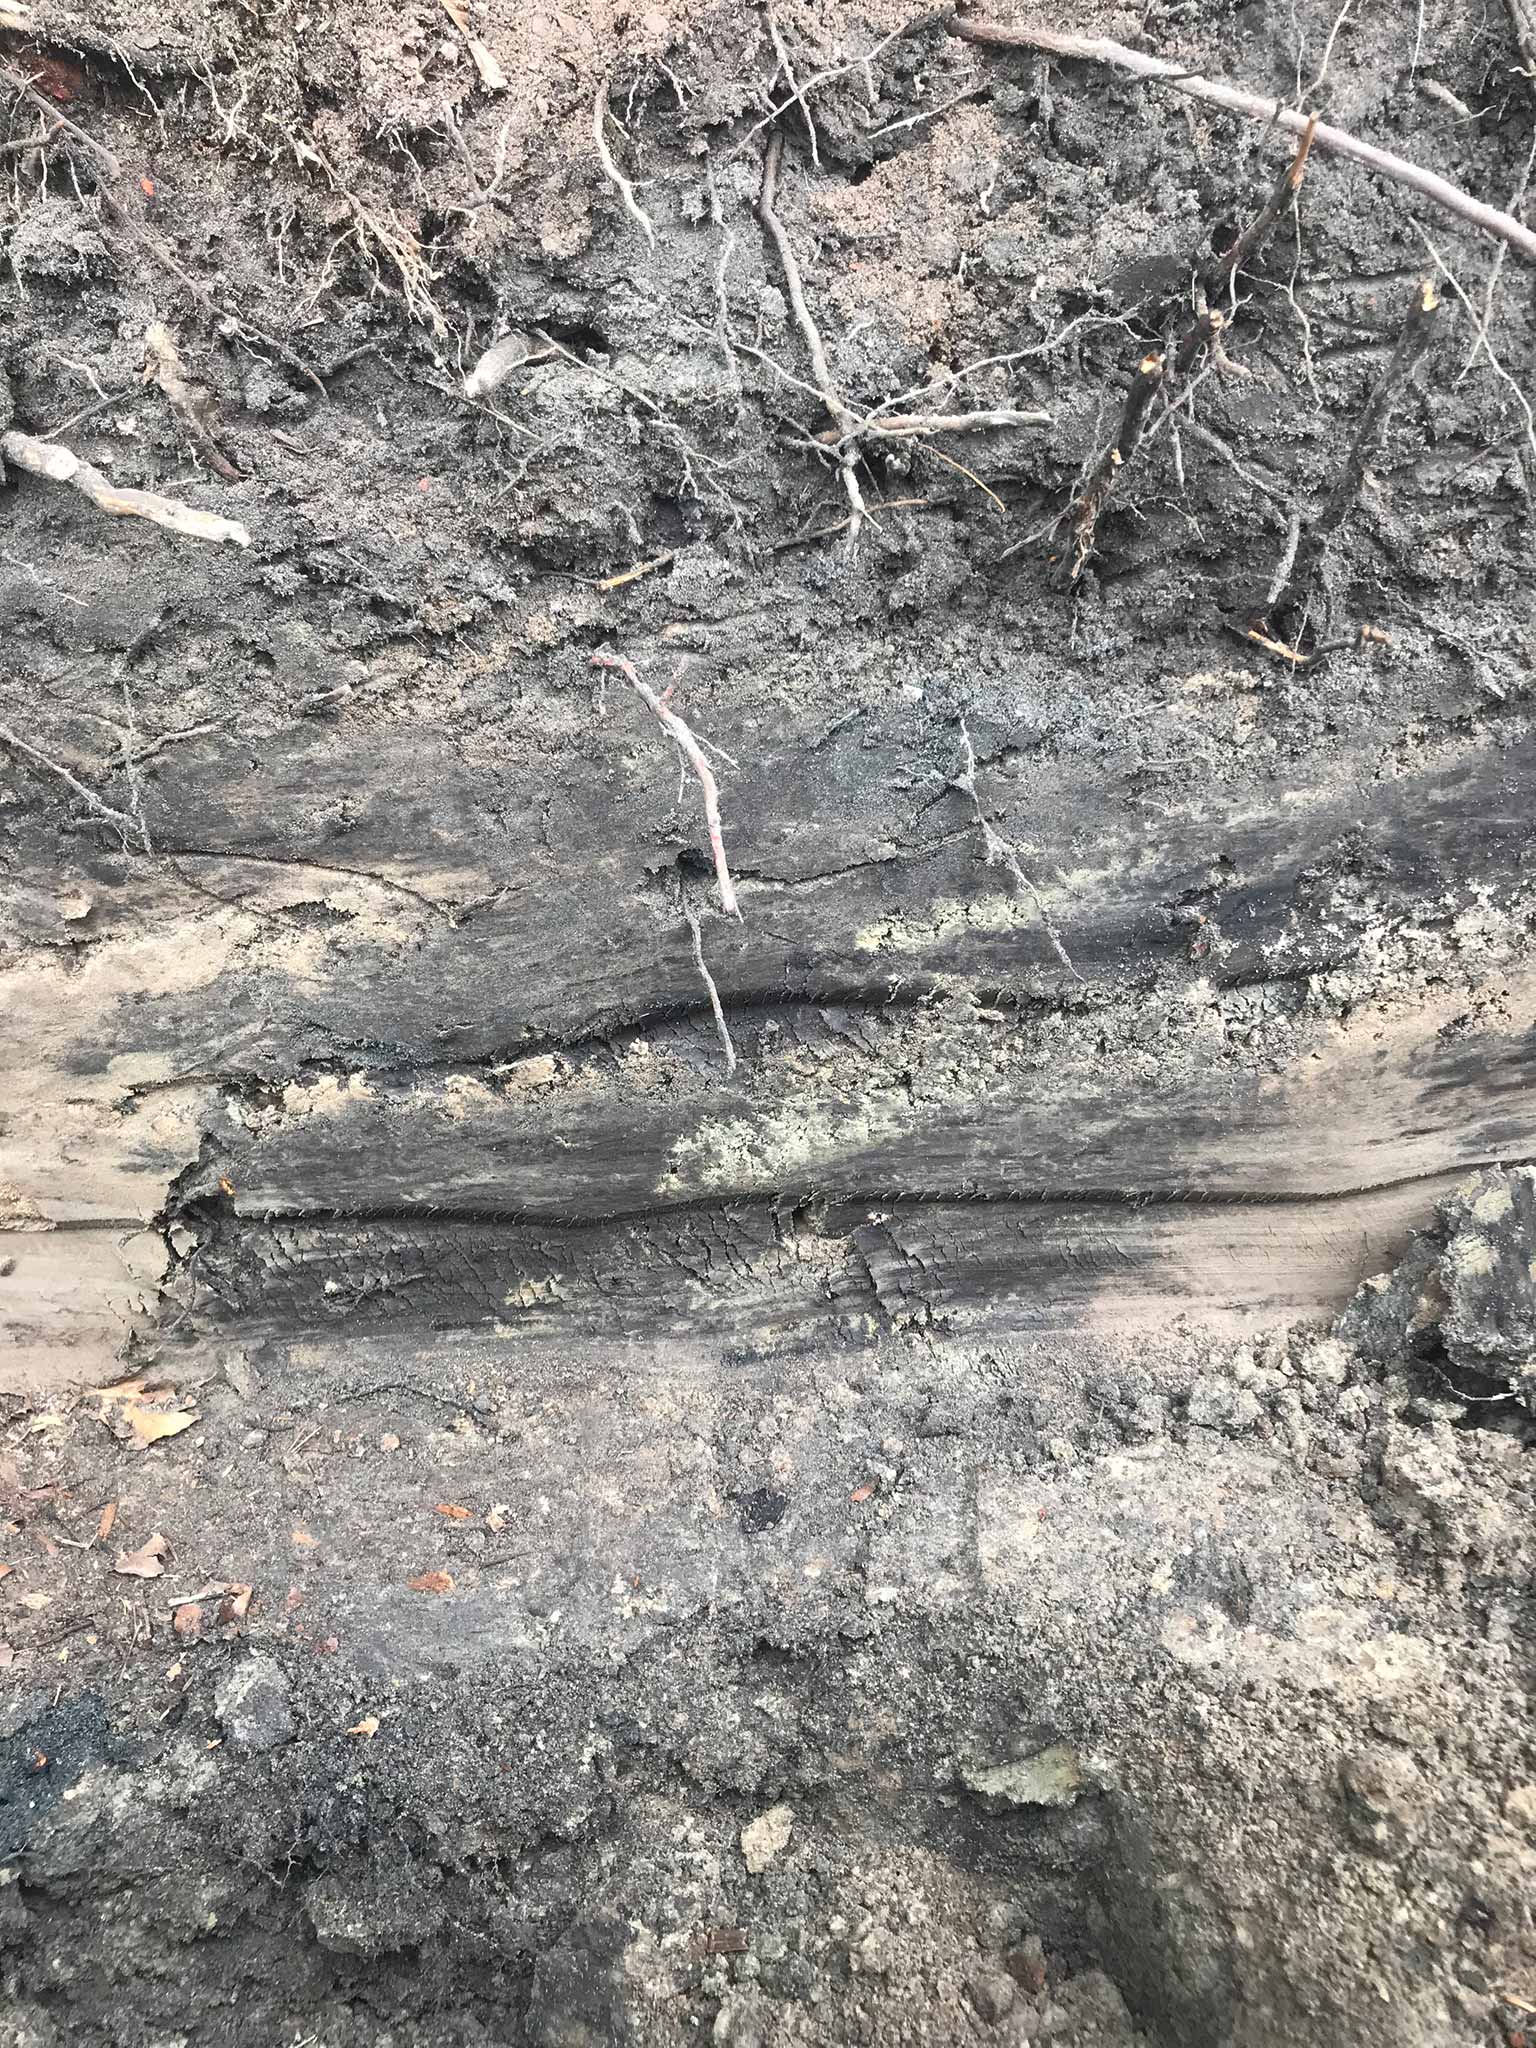
But, it is all done now and below is the new up to date drawing of the situation for future generations of diggers.
Fun fact: It may look a little bit like work relief, having one person on the mini crane, and one looking at the digging leaning on a shovel, but there is a purpose for it. As the above shows that it is not always clear where pipes are laid out, the digging needs to be done carefully. The one standing by keeps a keen eye out on the profile of the ground and its layering for hints of earlier digs and thus where pipes actually are. In the fourth picture you can clearly see a dark interruption in the horizontal layer of light clay/loam. That’s where the old pipe towards the house runs.


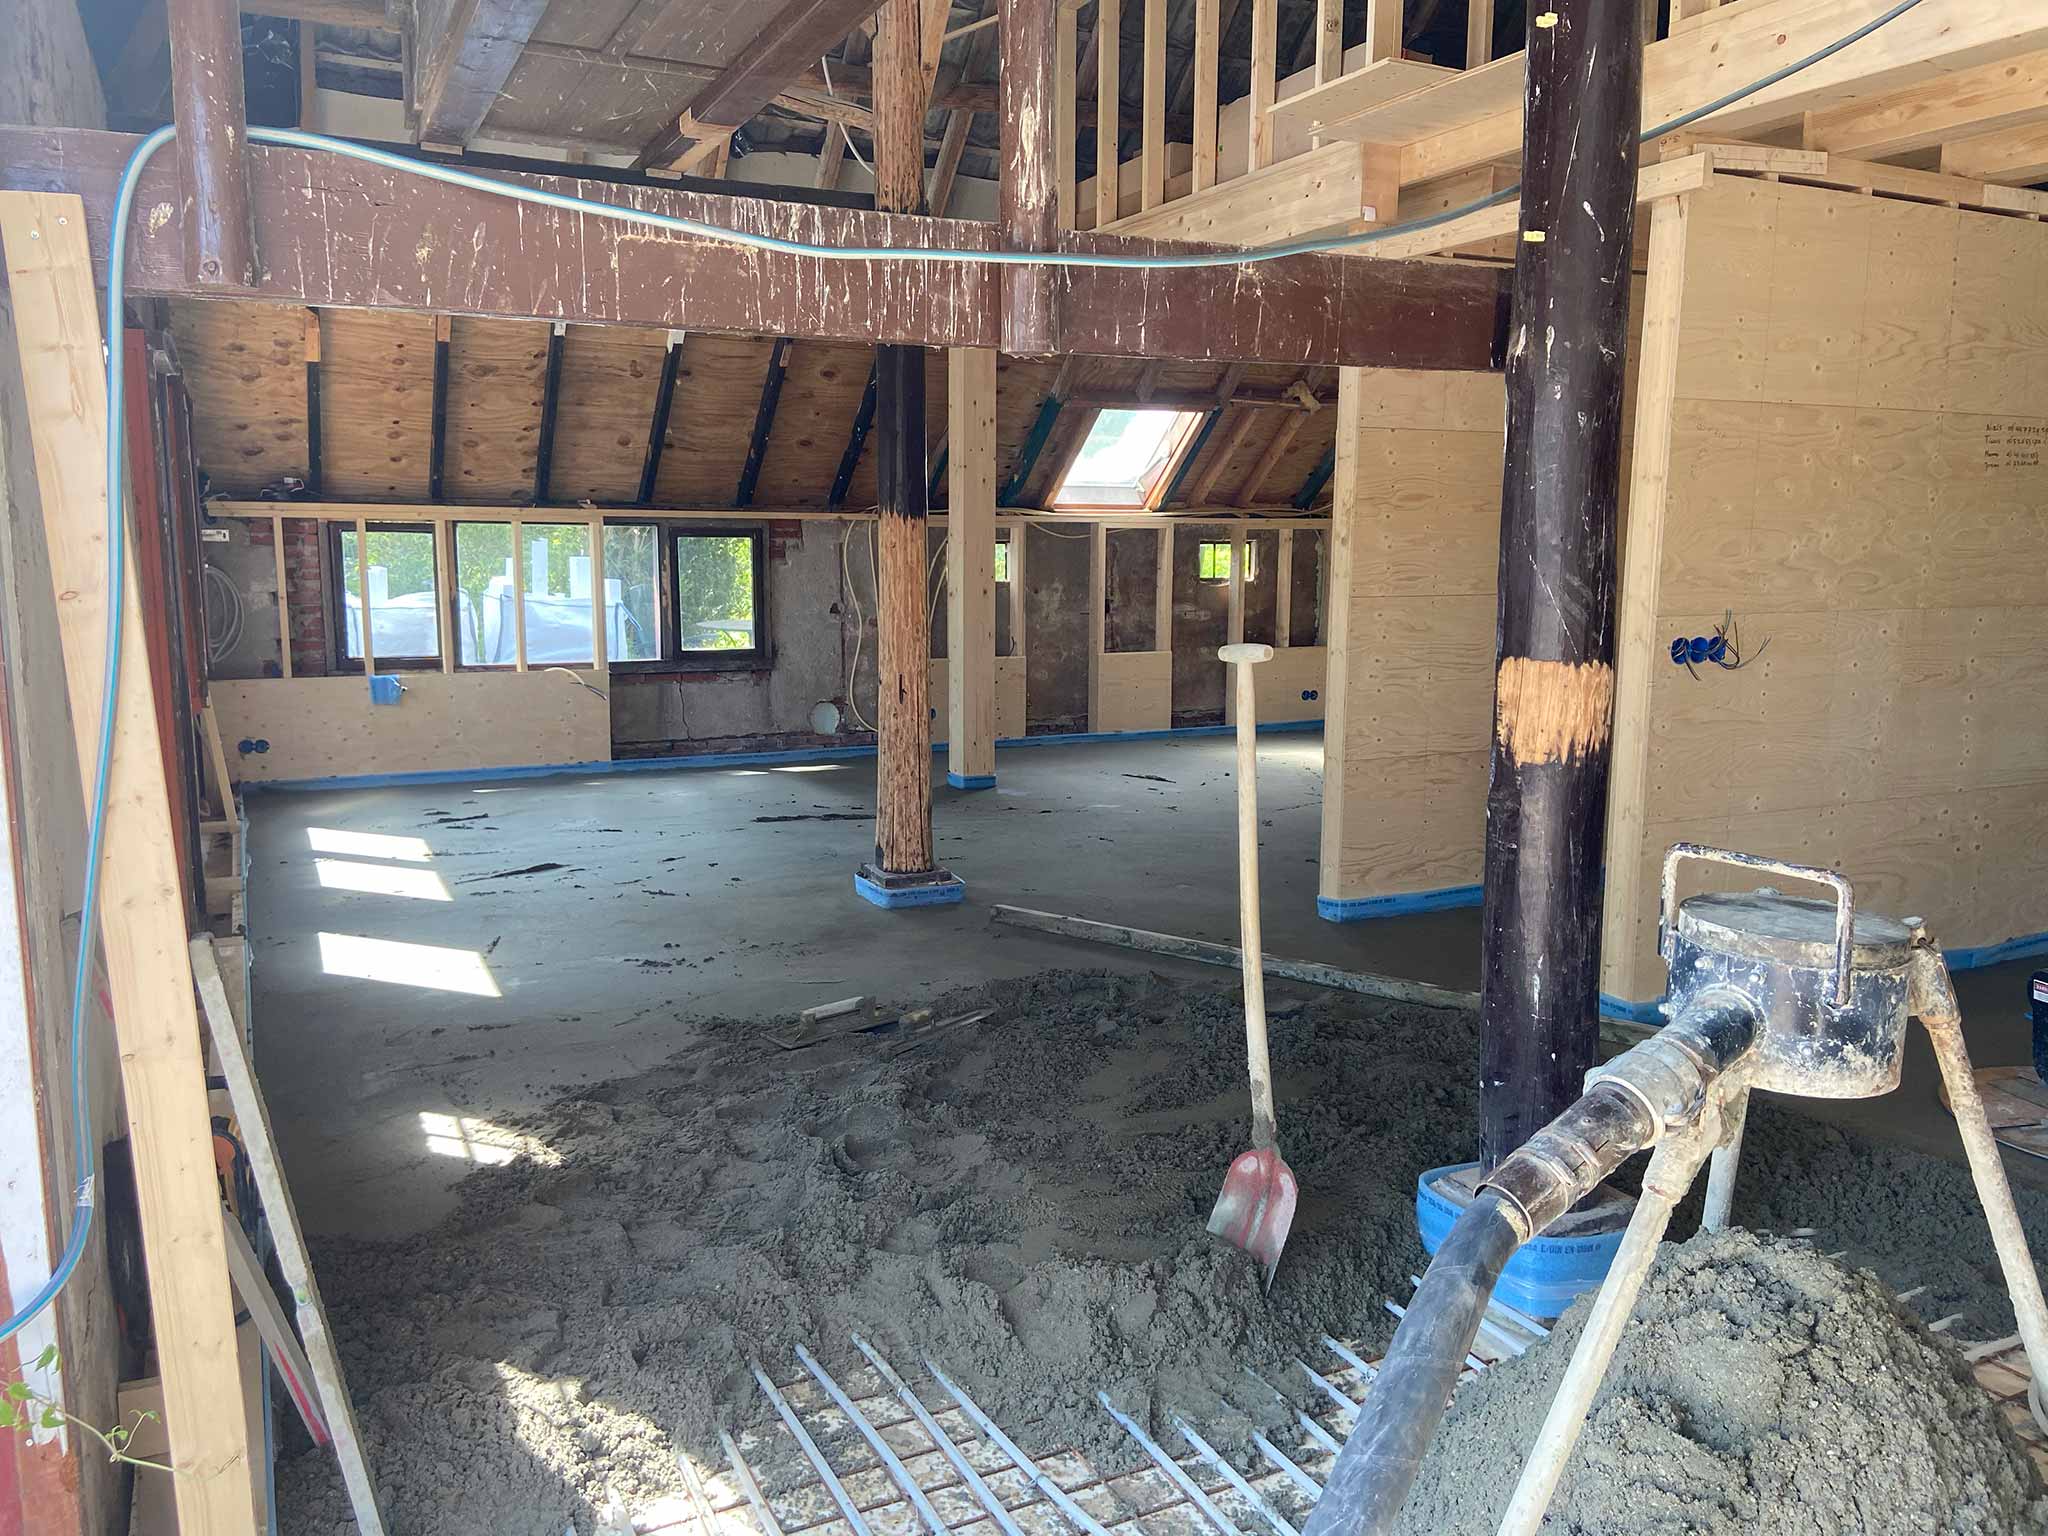
Two days of setting up time lapse cameras and at the moment supreme, the Raspberry Pis did not have internet and the crontabs did not run. No time lapse of the ‘pouring’ of the cement floor 😡. Somehow the router was off. Should teach me to mind my own things first before other things. Oh, wait… The floor is ‘my thing’.
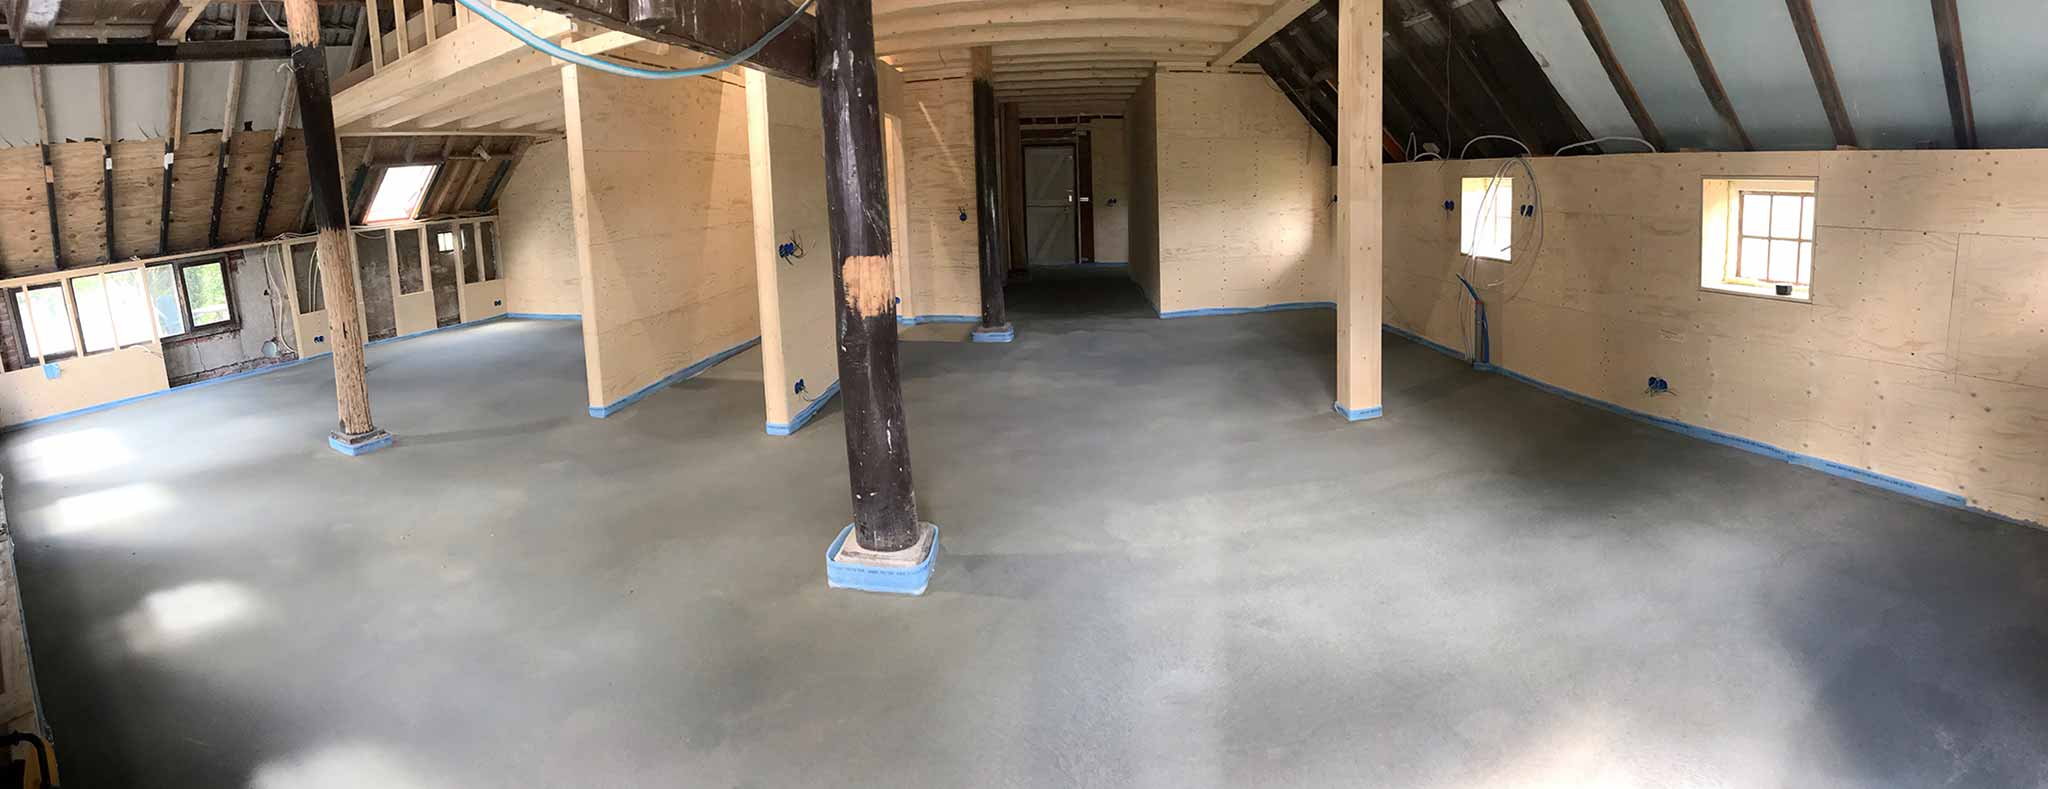
Oh well, the floor is in. Most important, I know…
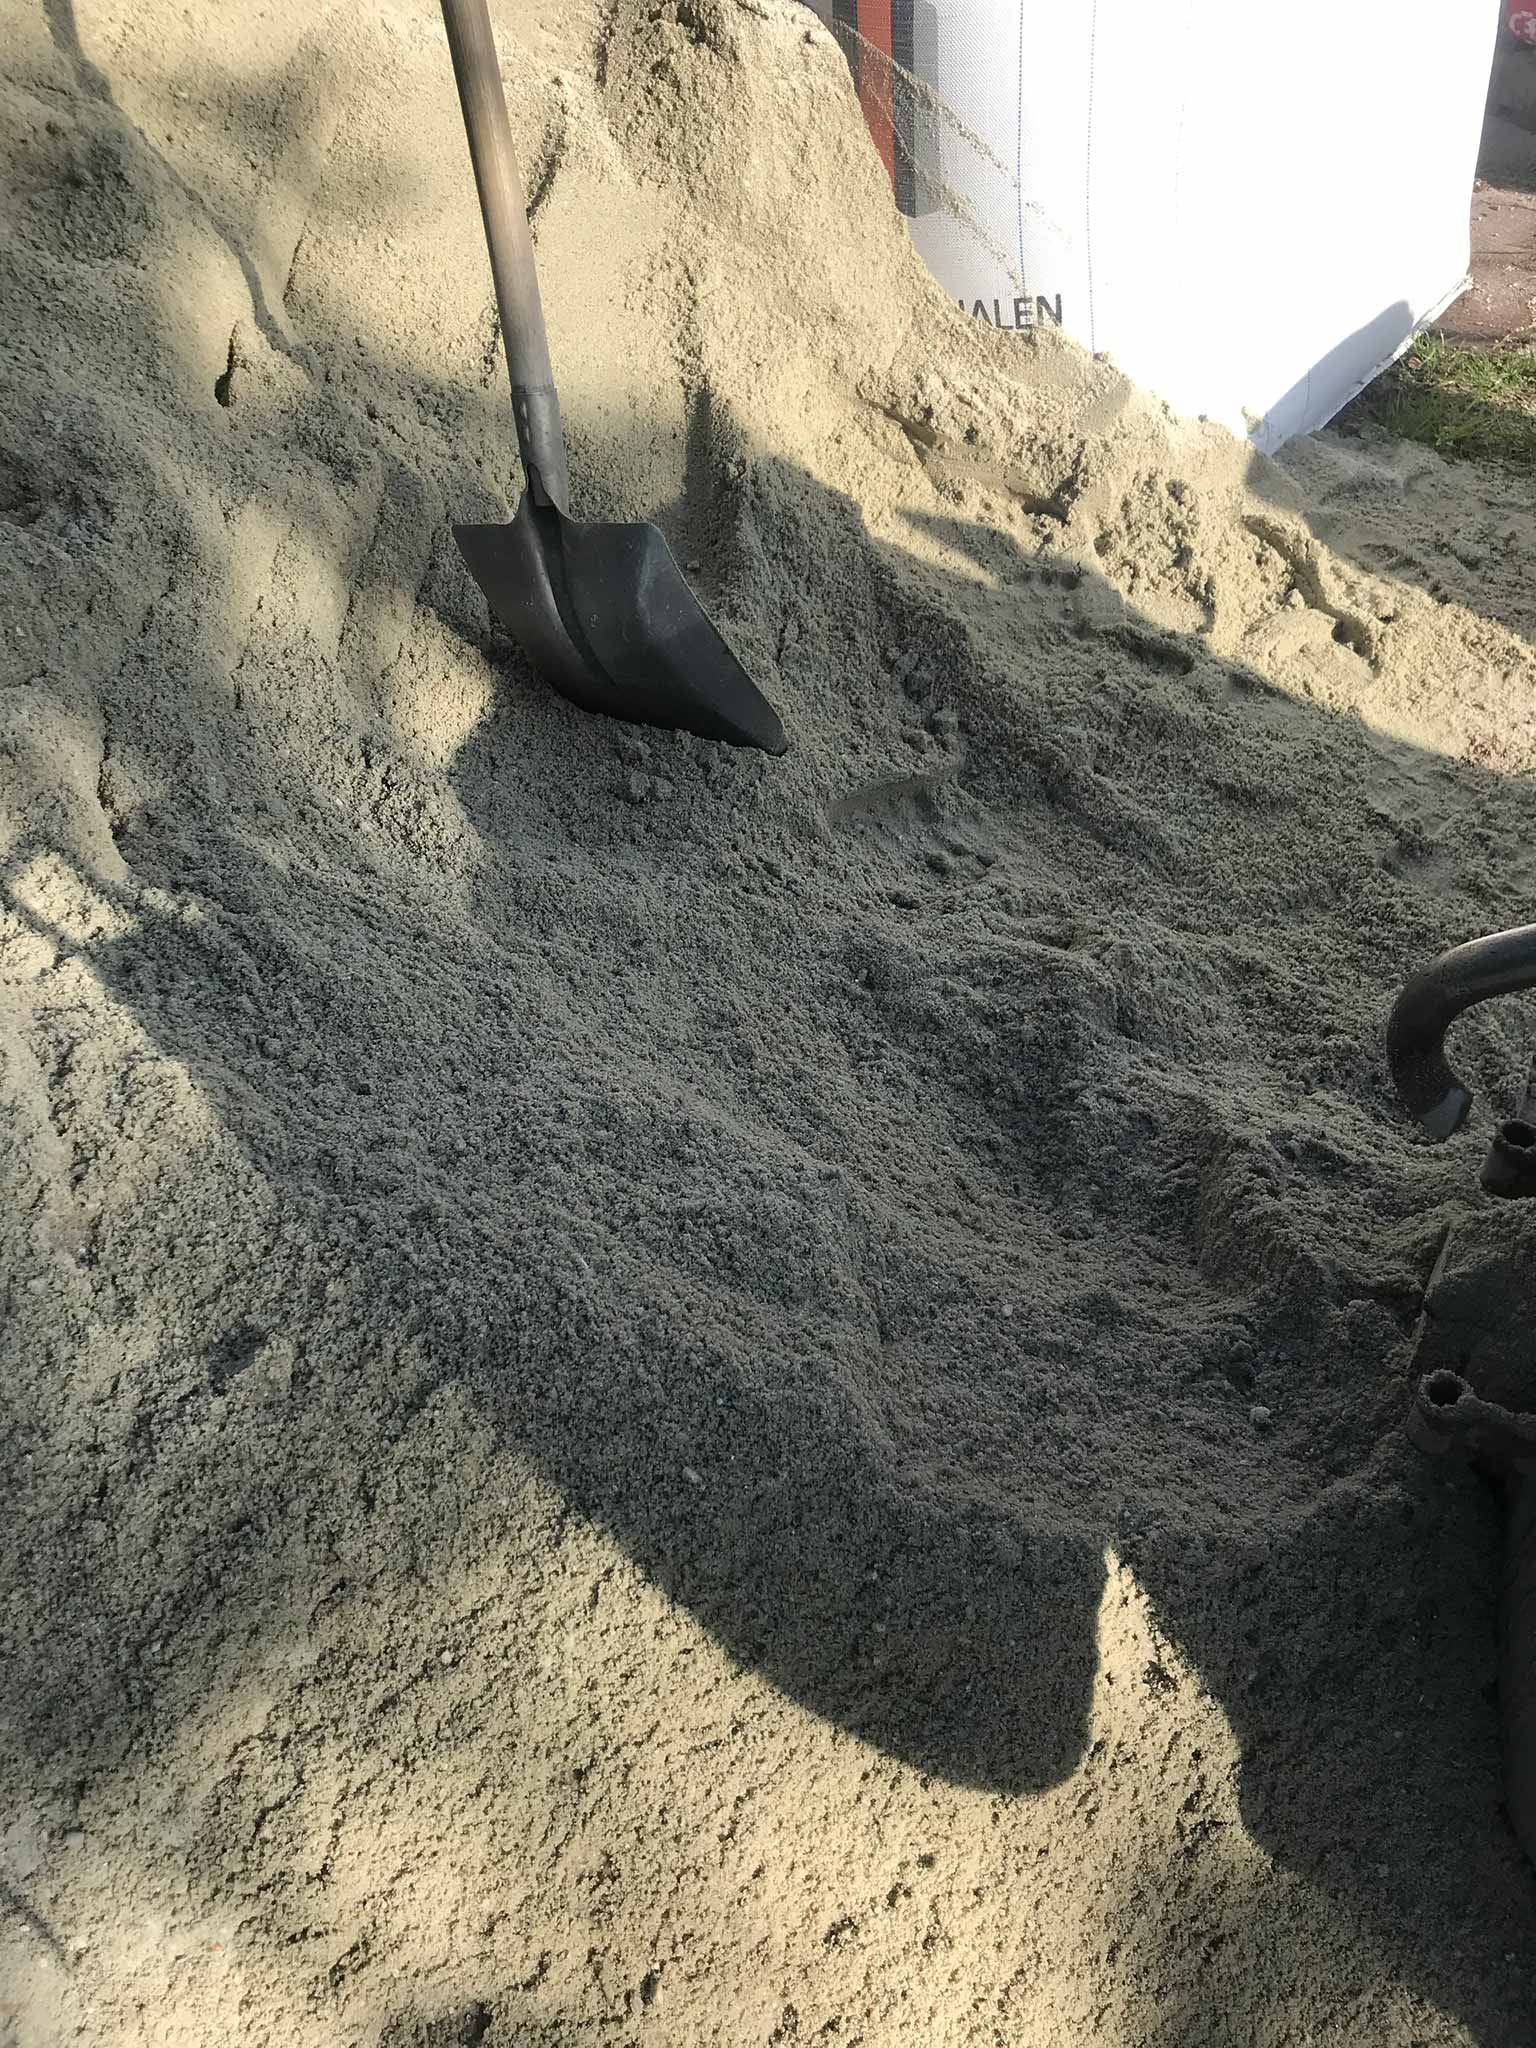
It is incredible, the ease with which a pile of cement is made into a horizontal surface of well over 100 square meters! Ok, I have not done the marble test yet, but it looks mighty straight.
The cement, water and sand is scooped into the mixer. Once mixed, it is sent through a ‘hose’ into the house and dumped onto a pile. This pile of cement is distributed with a shovel, flattened it with a bit aluminum beam and that’s it!

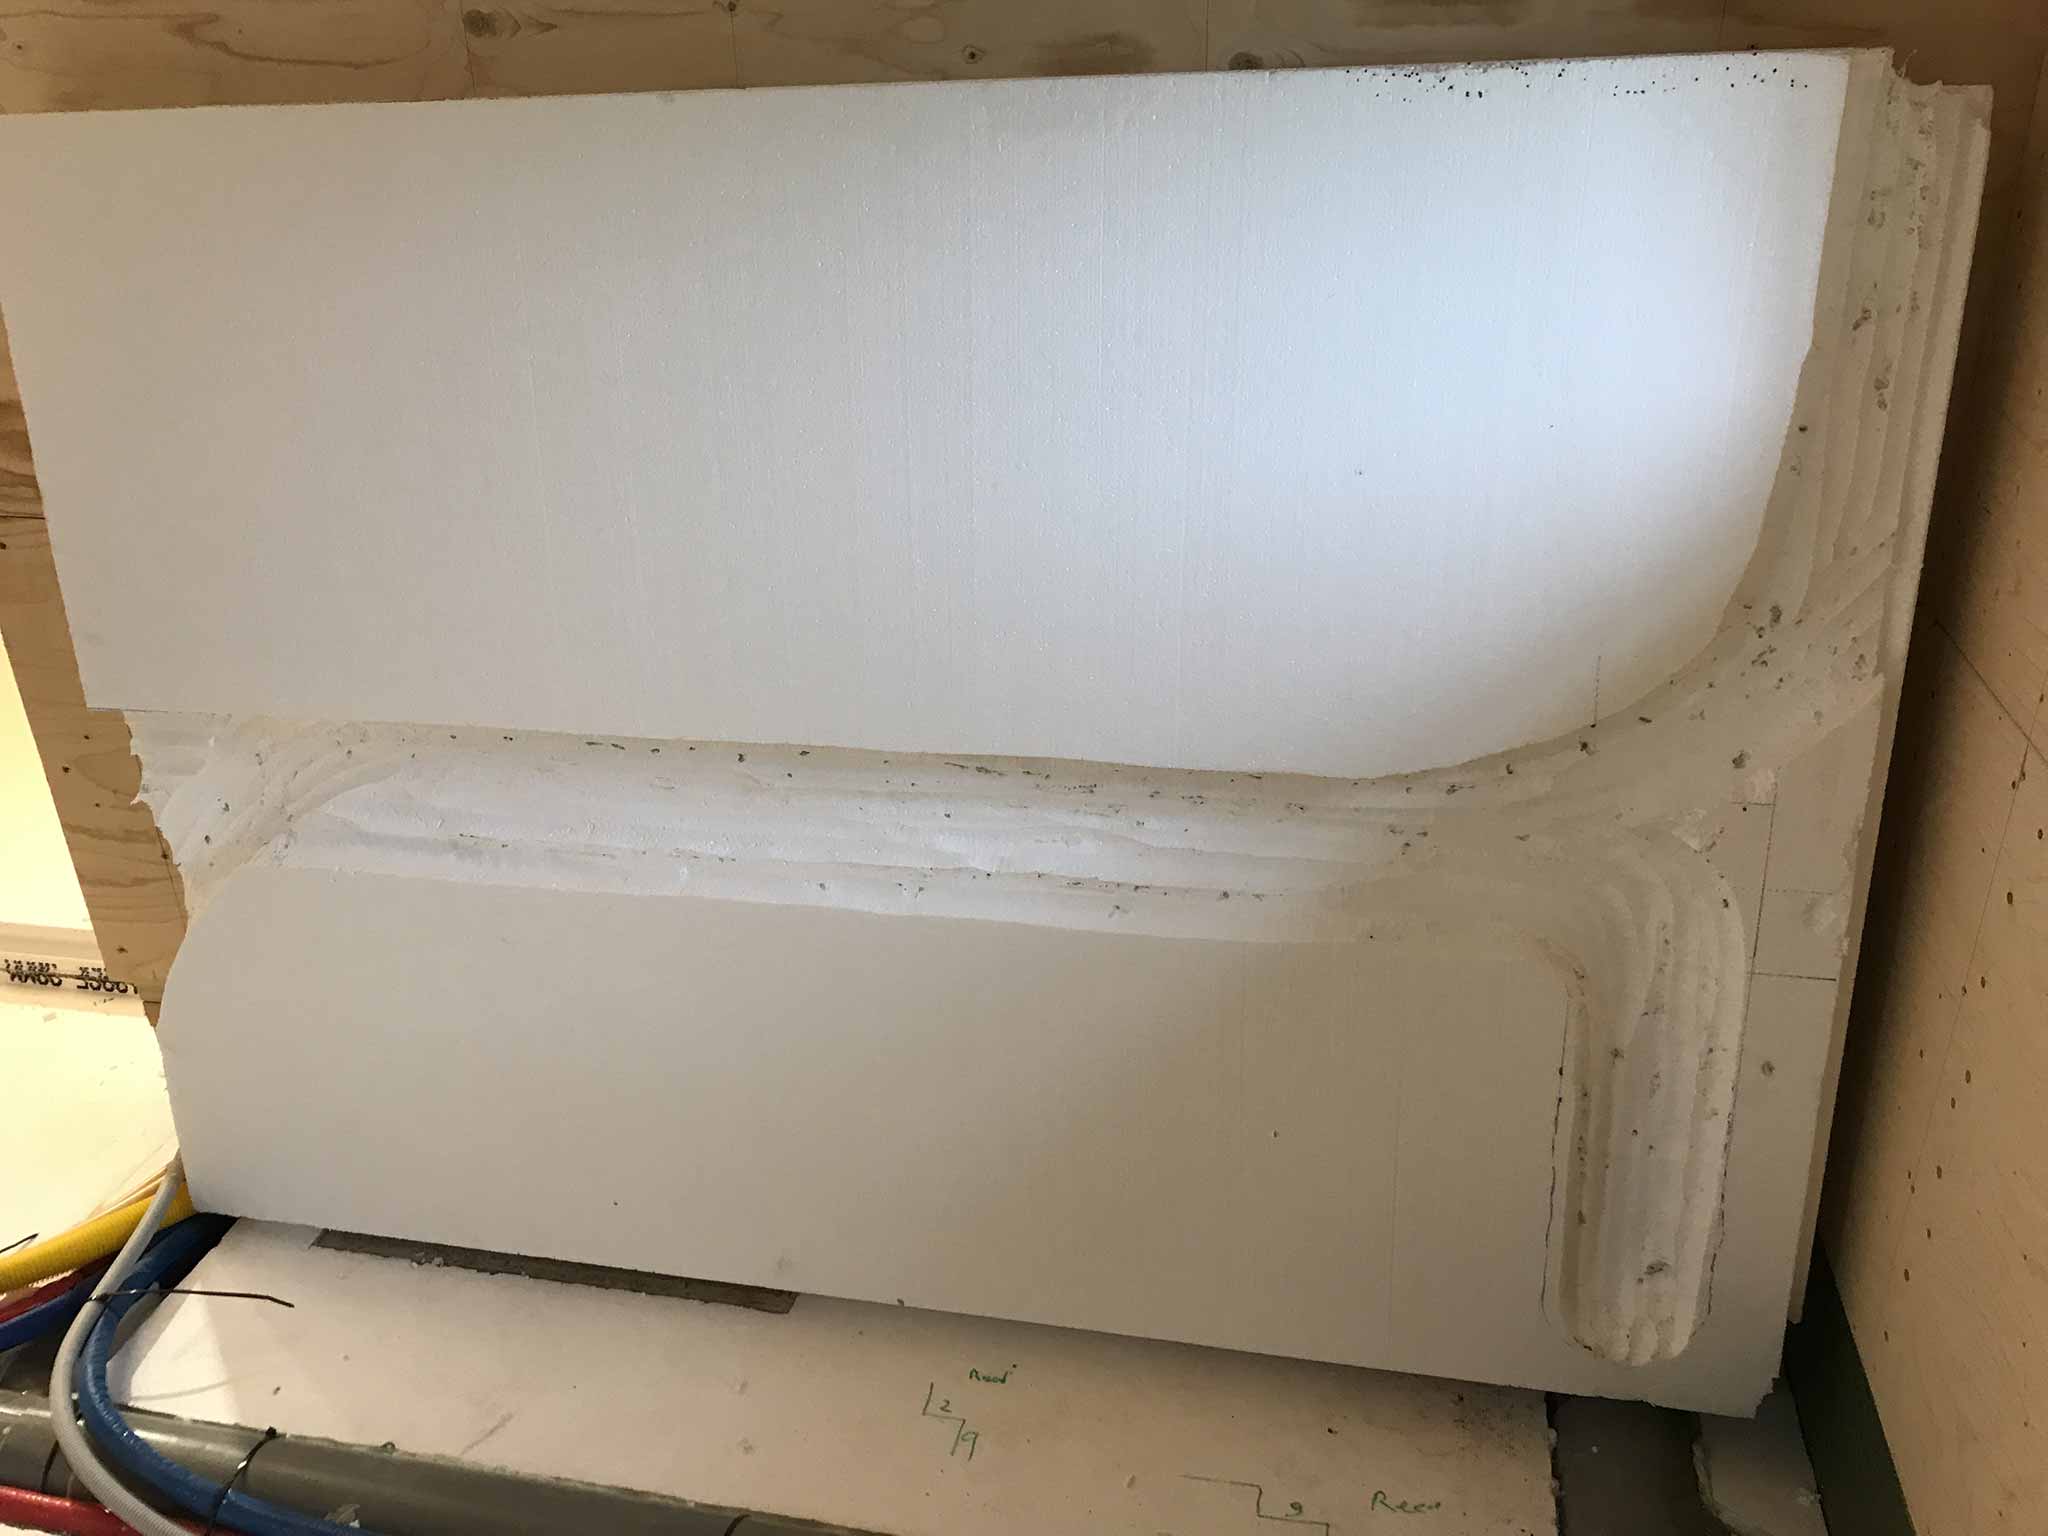
26 m^2 of styrofoam, thought it would be easier. The large flat areas are a breeze but there is plenty of corners, pipes and connections that need careful measuring. We were told it may have been done a bit too precise. Rougher around the edges and then filling with builders foam does the trick too. Oh well.
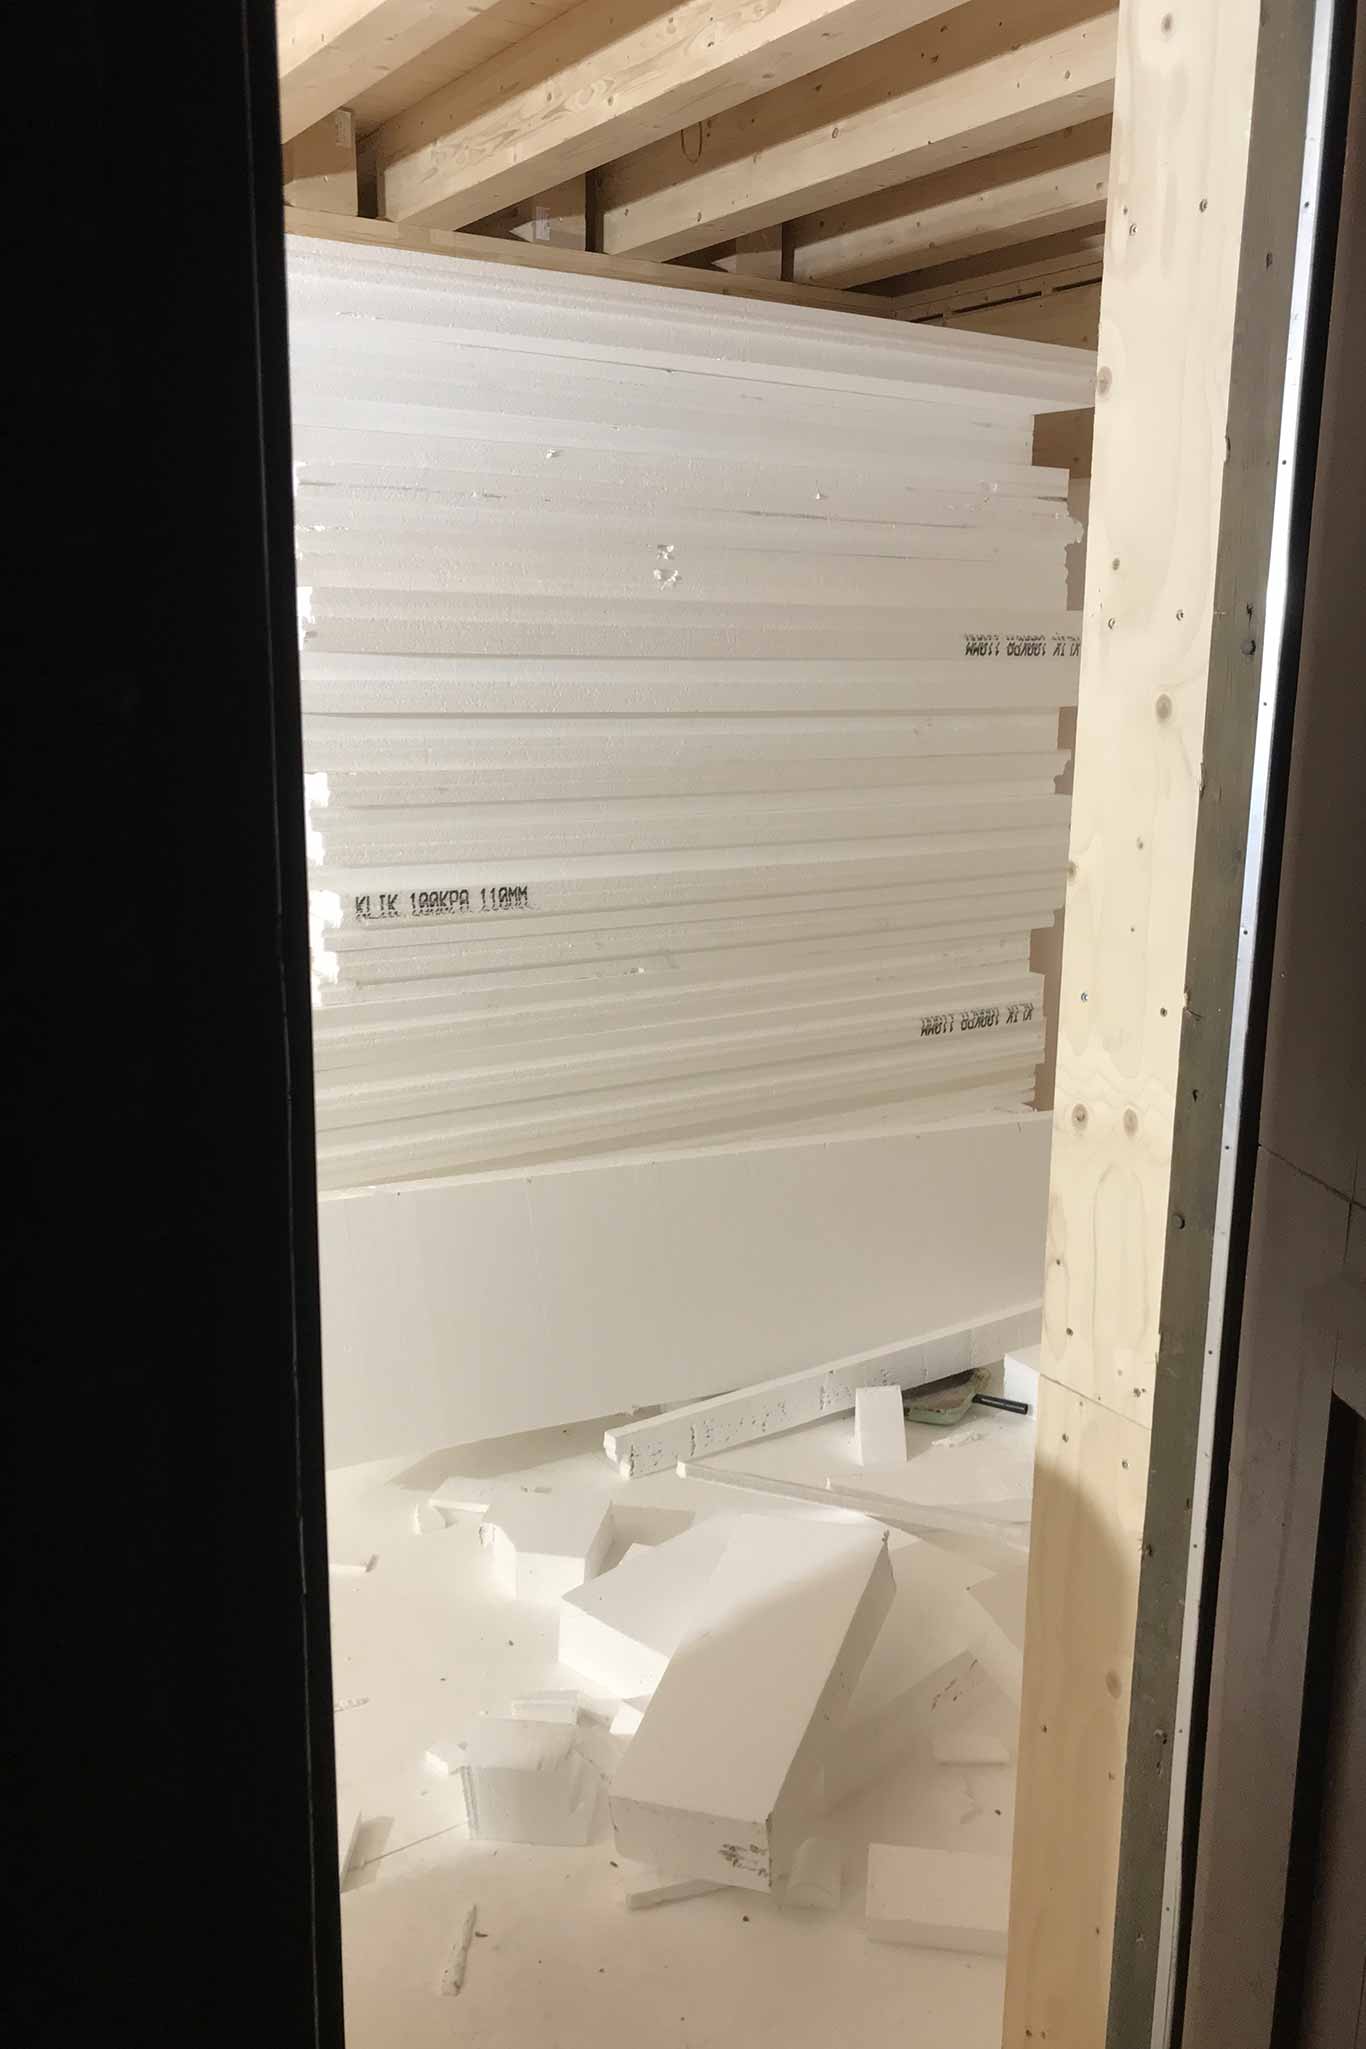
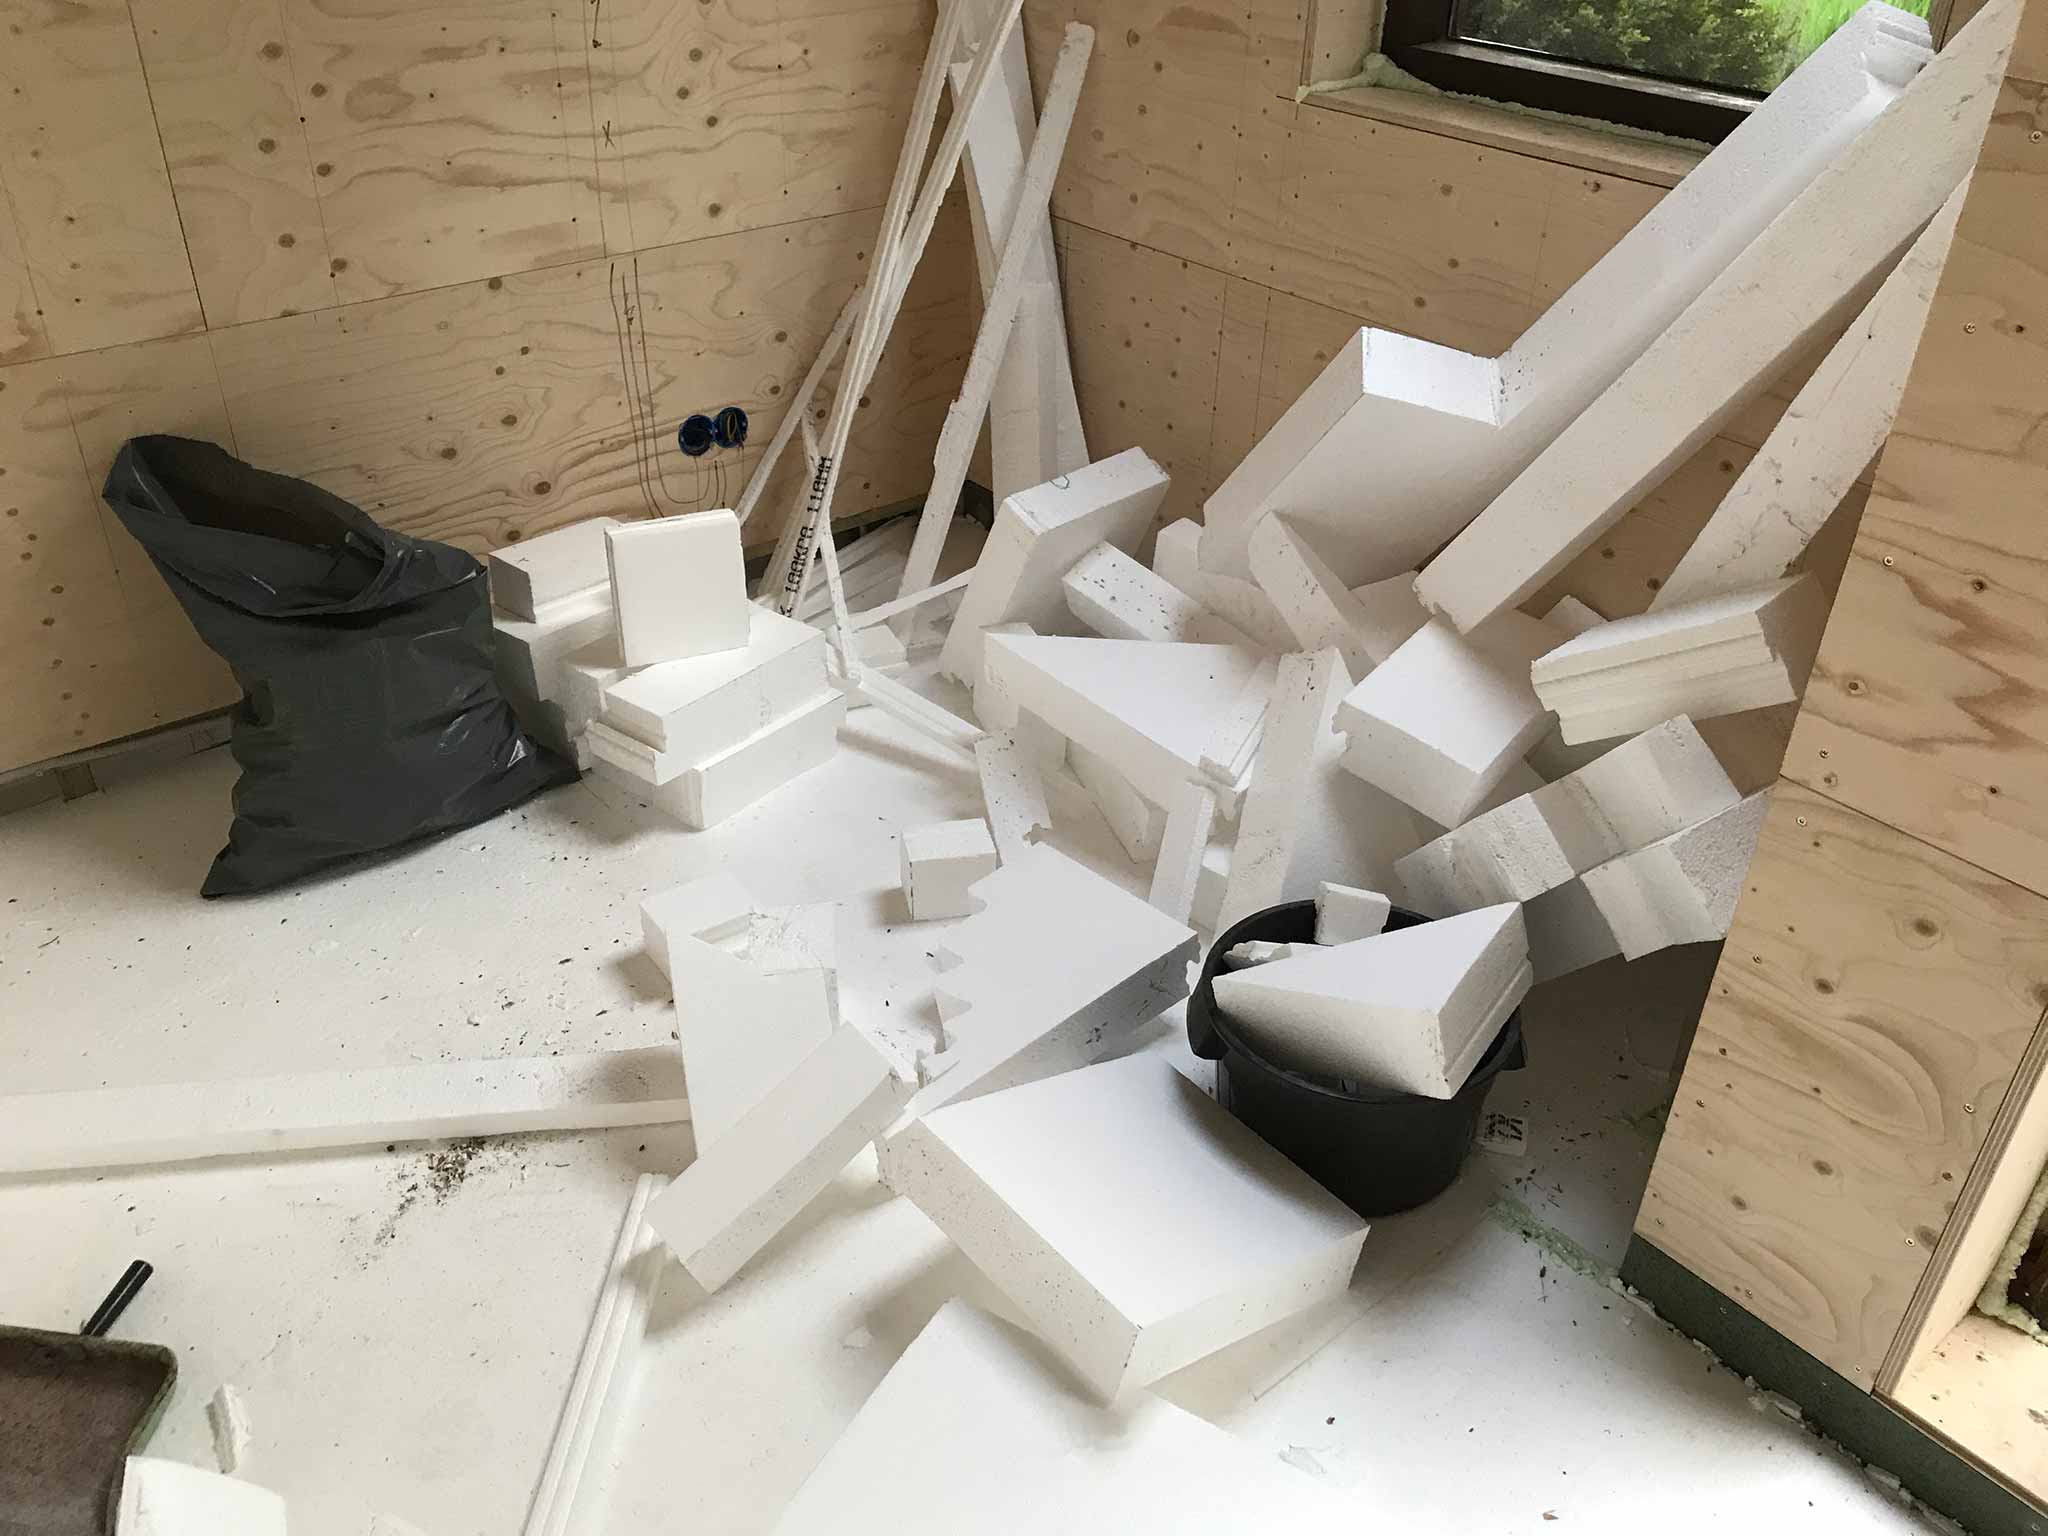
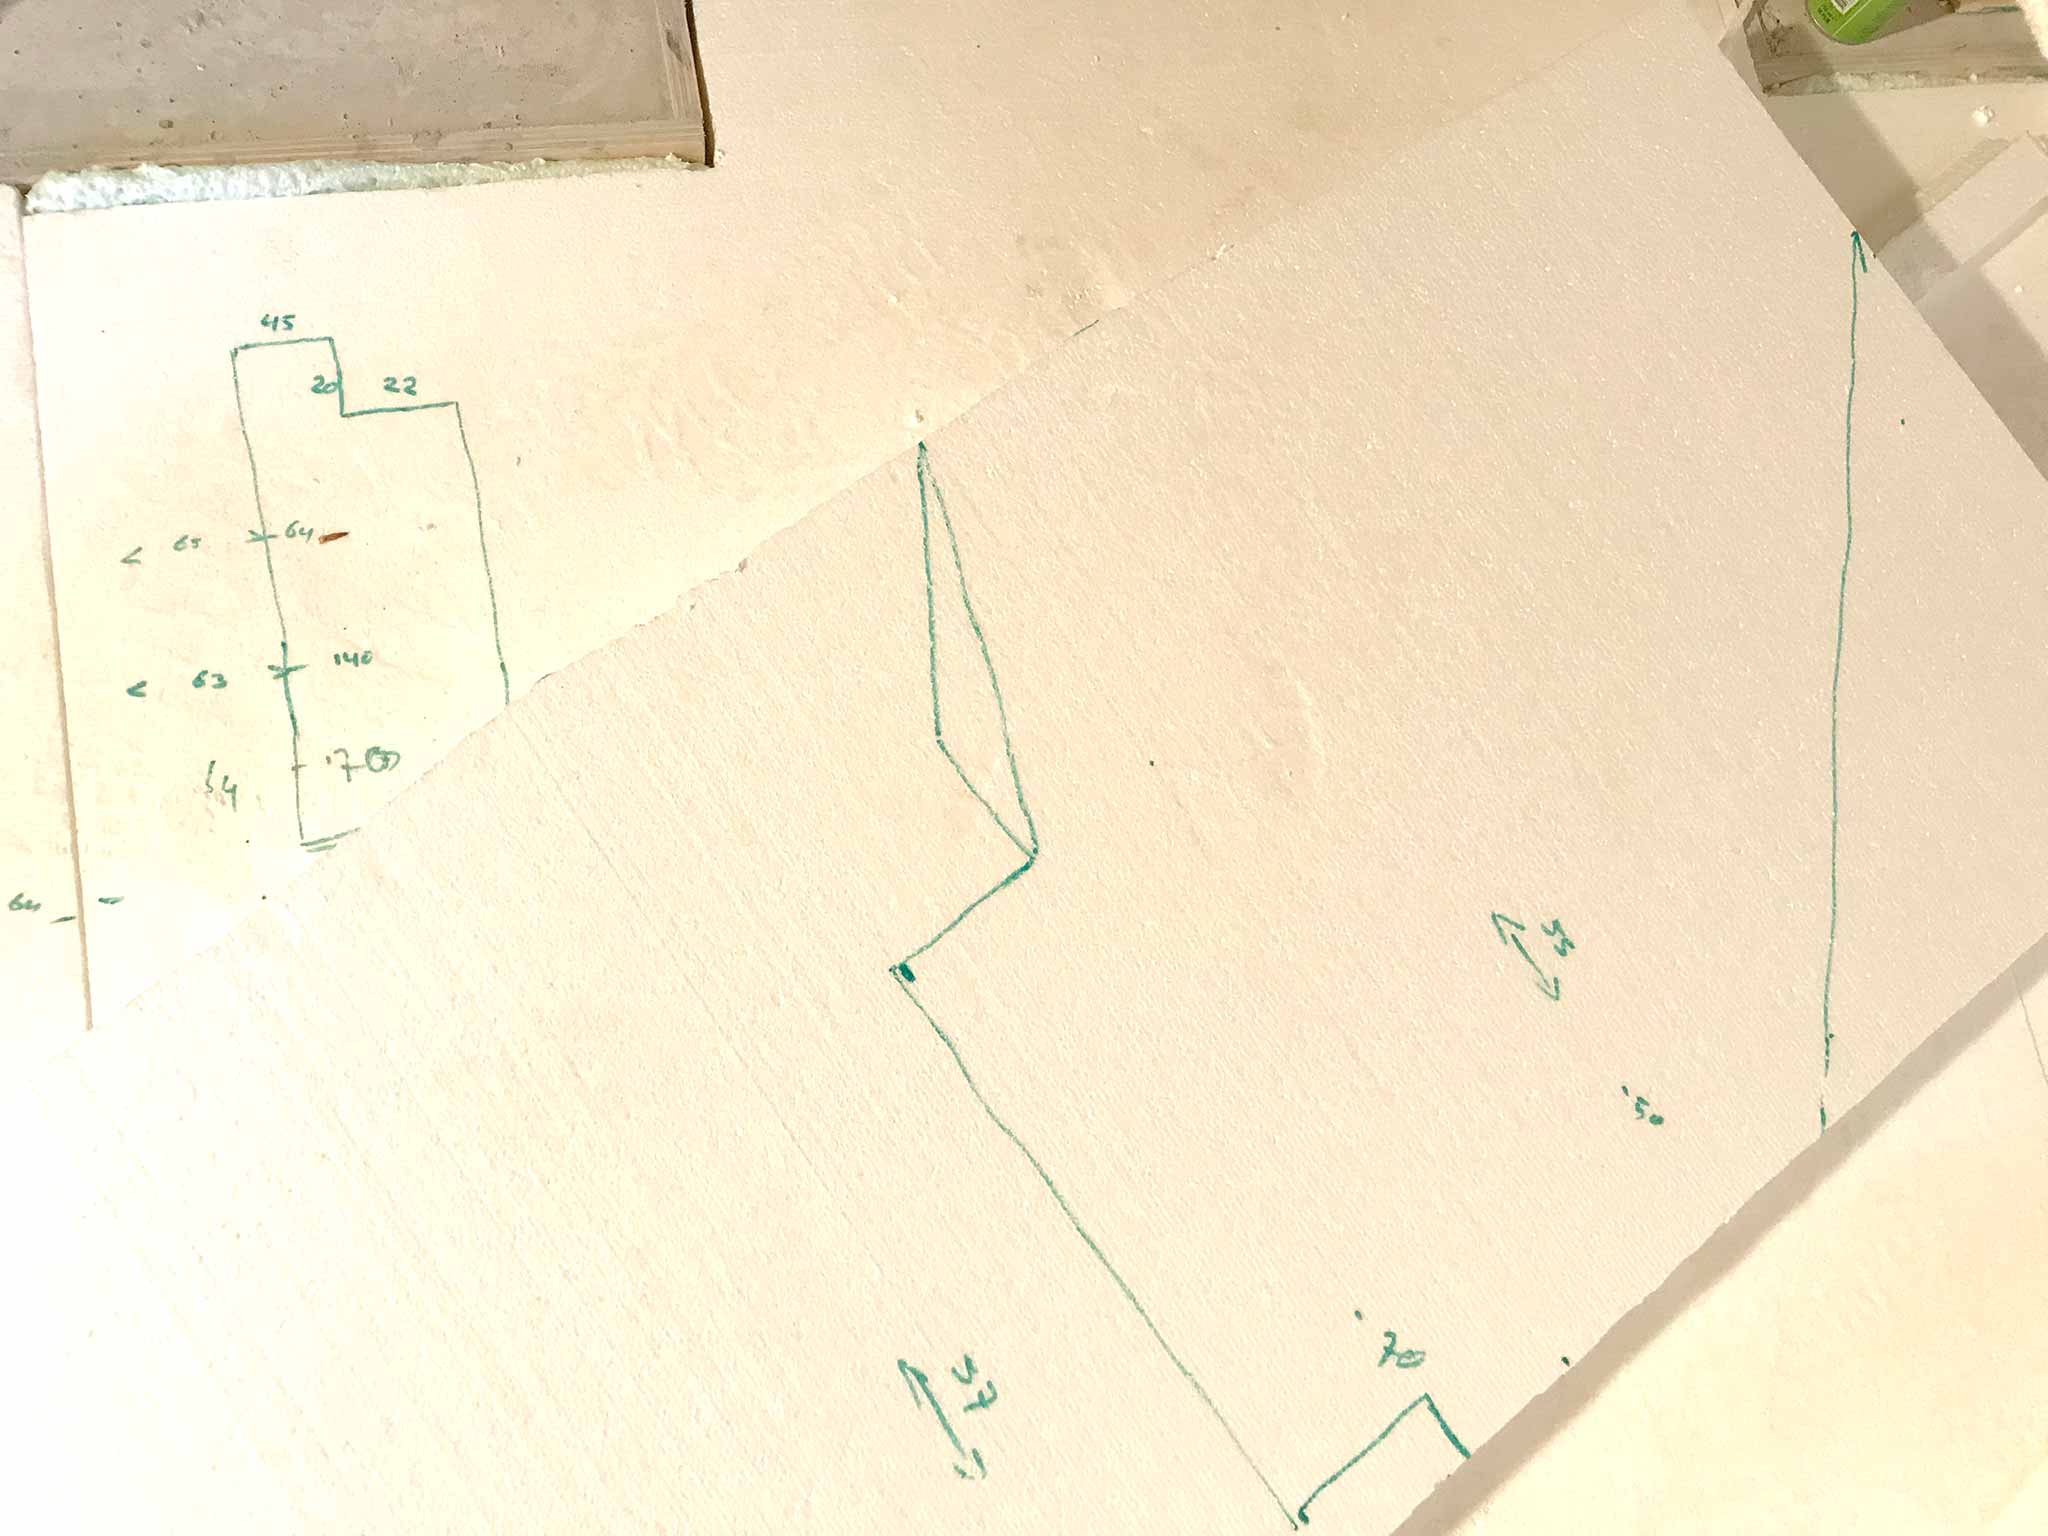
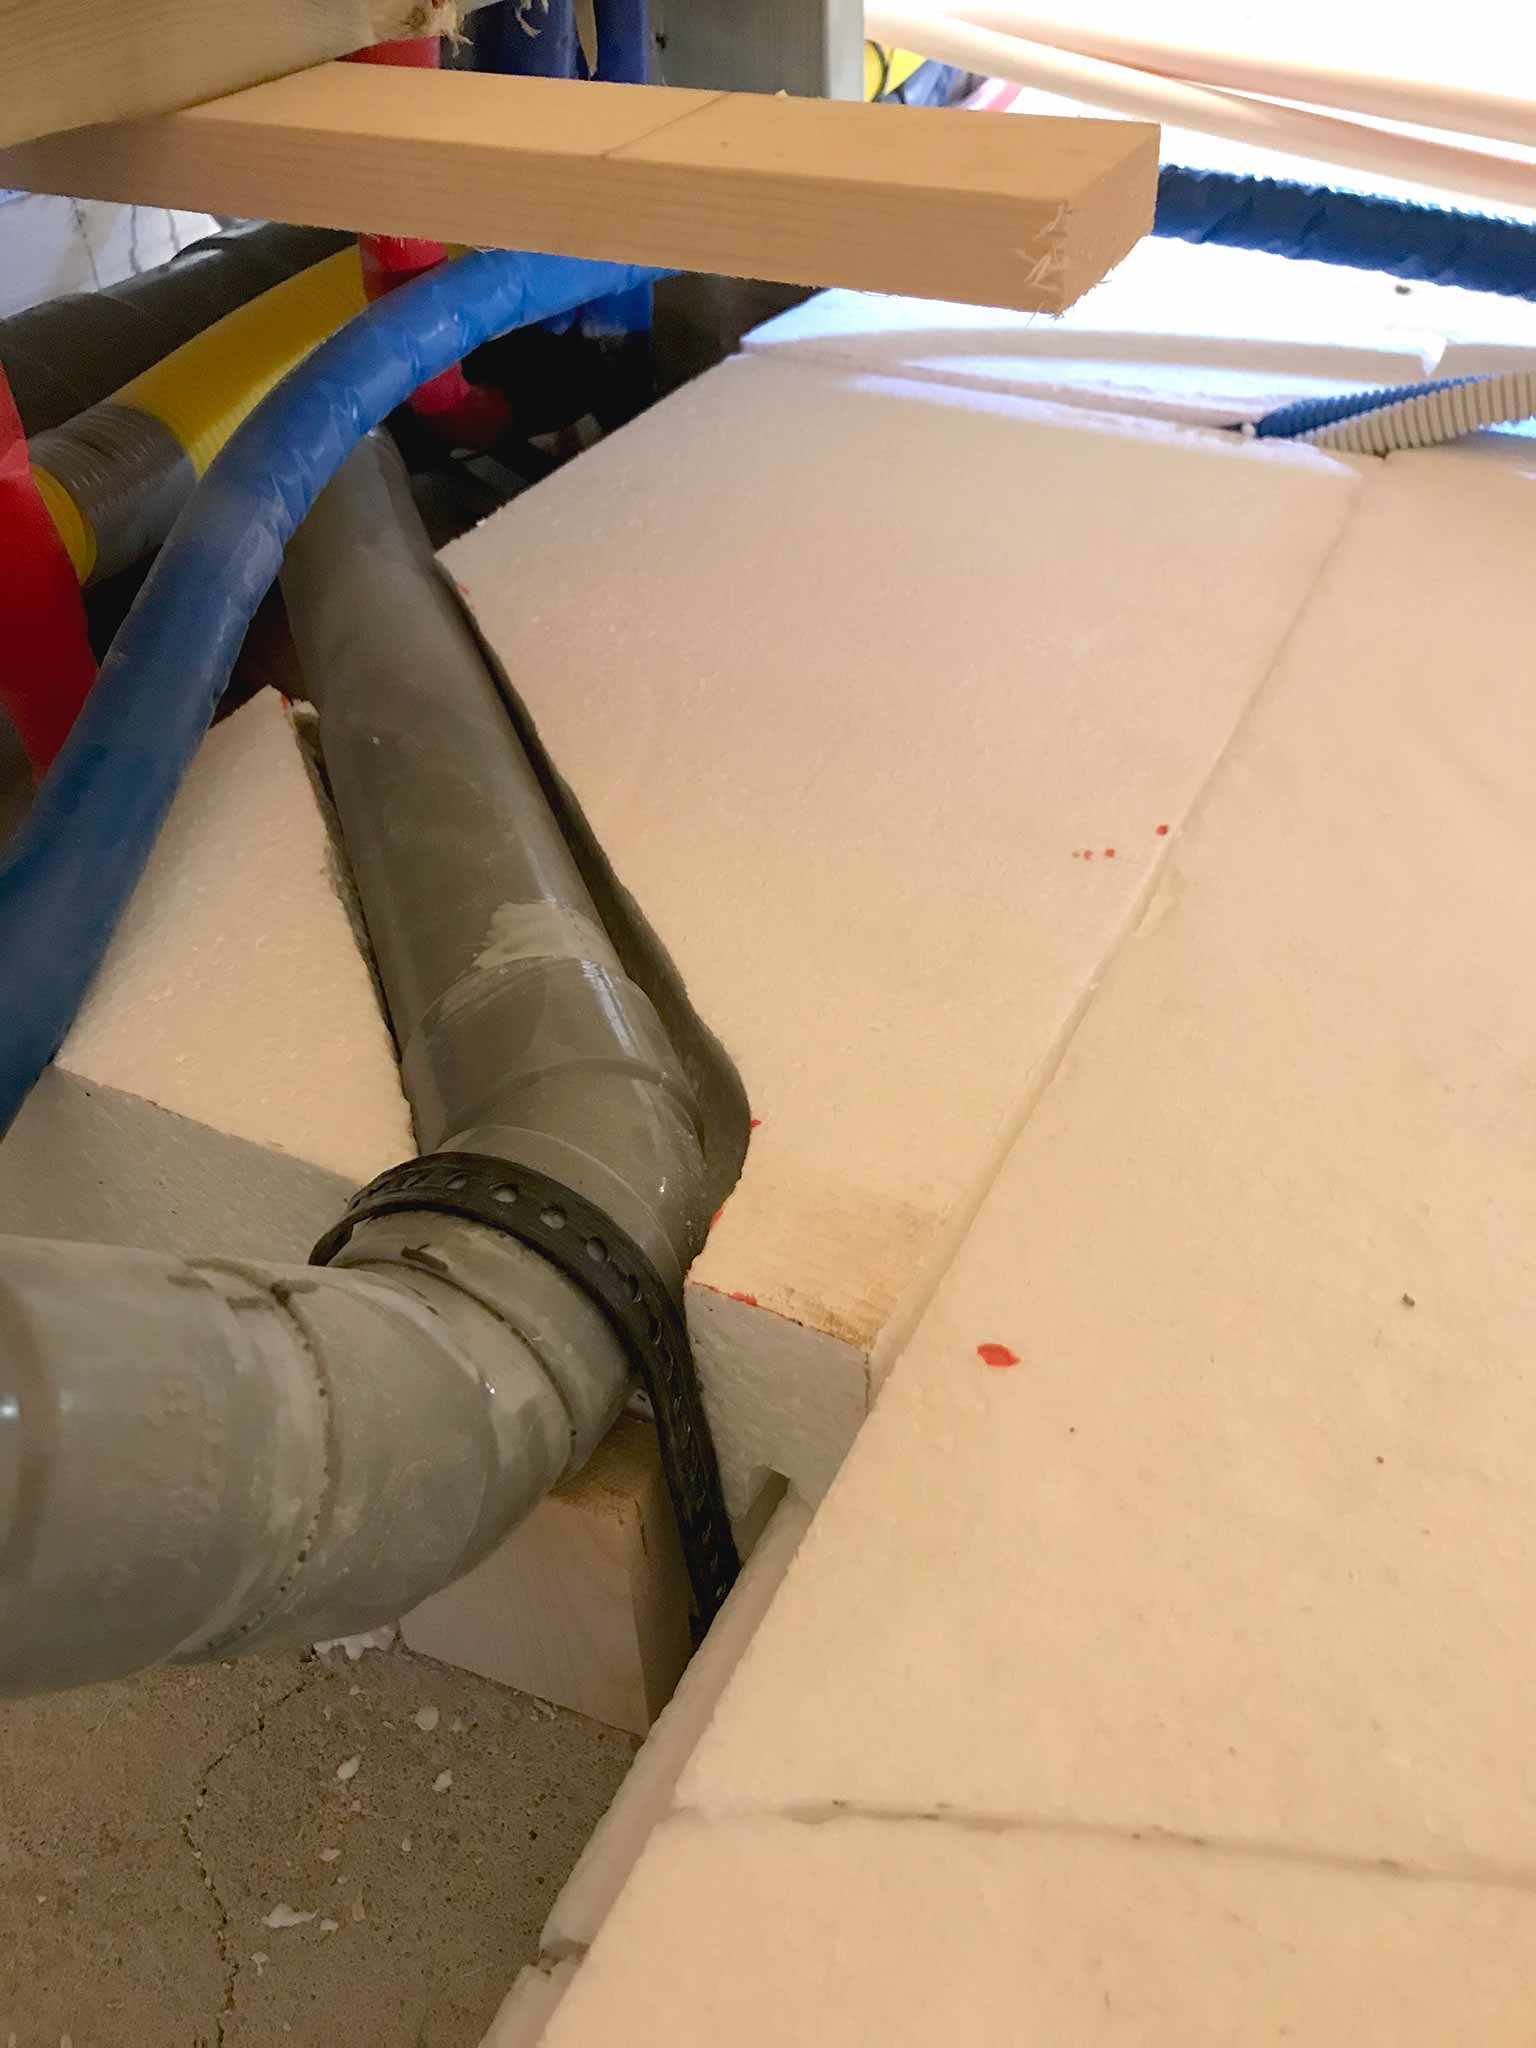
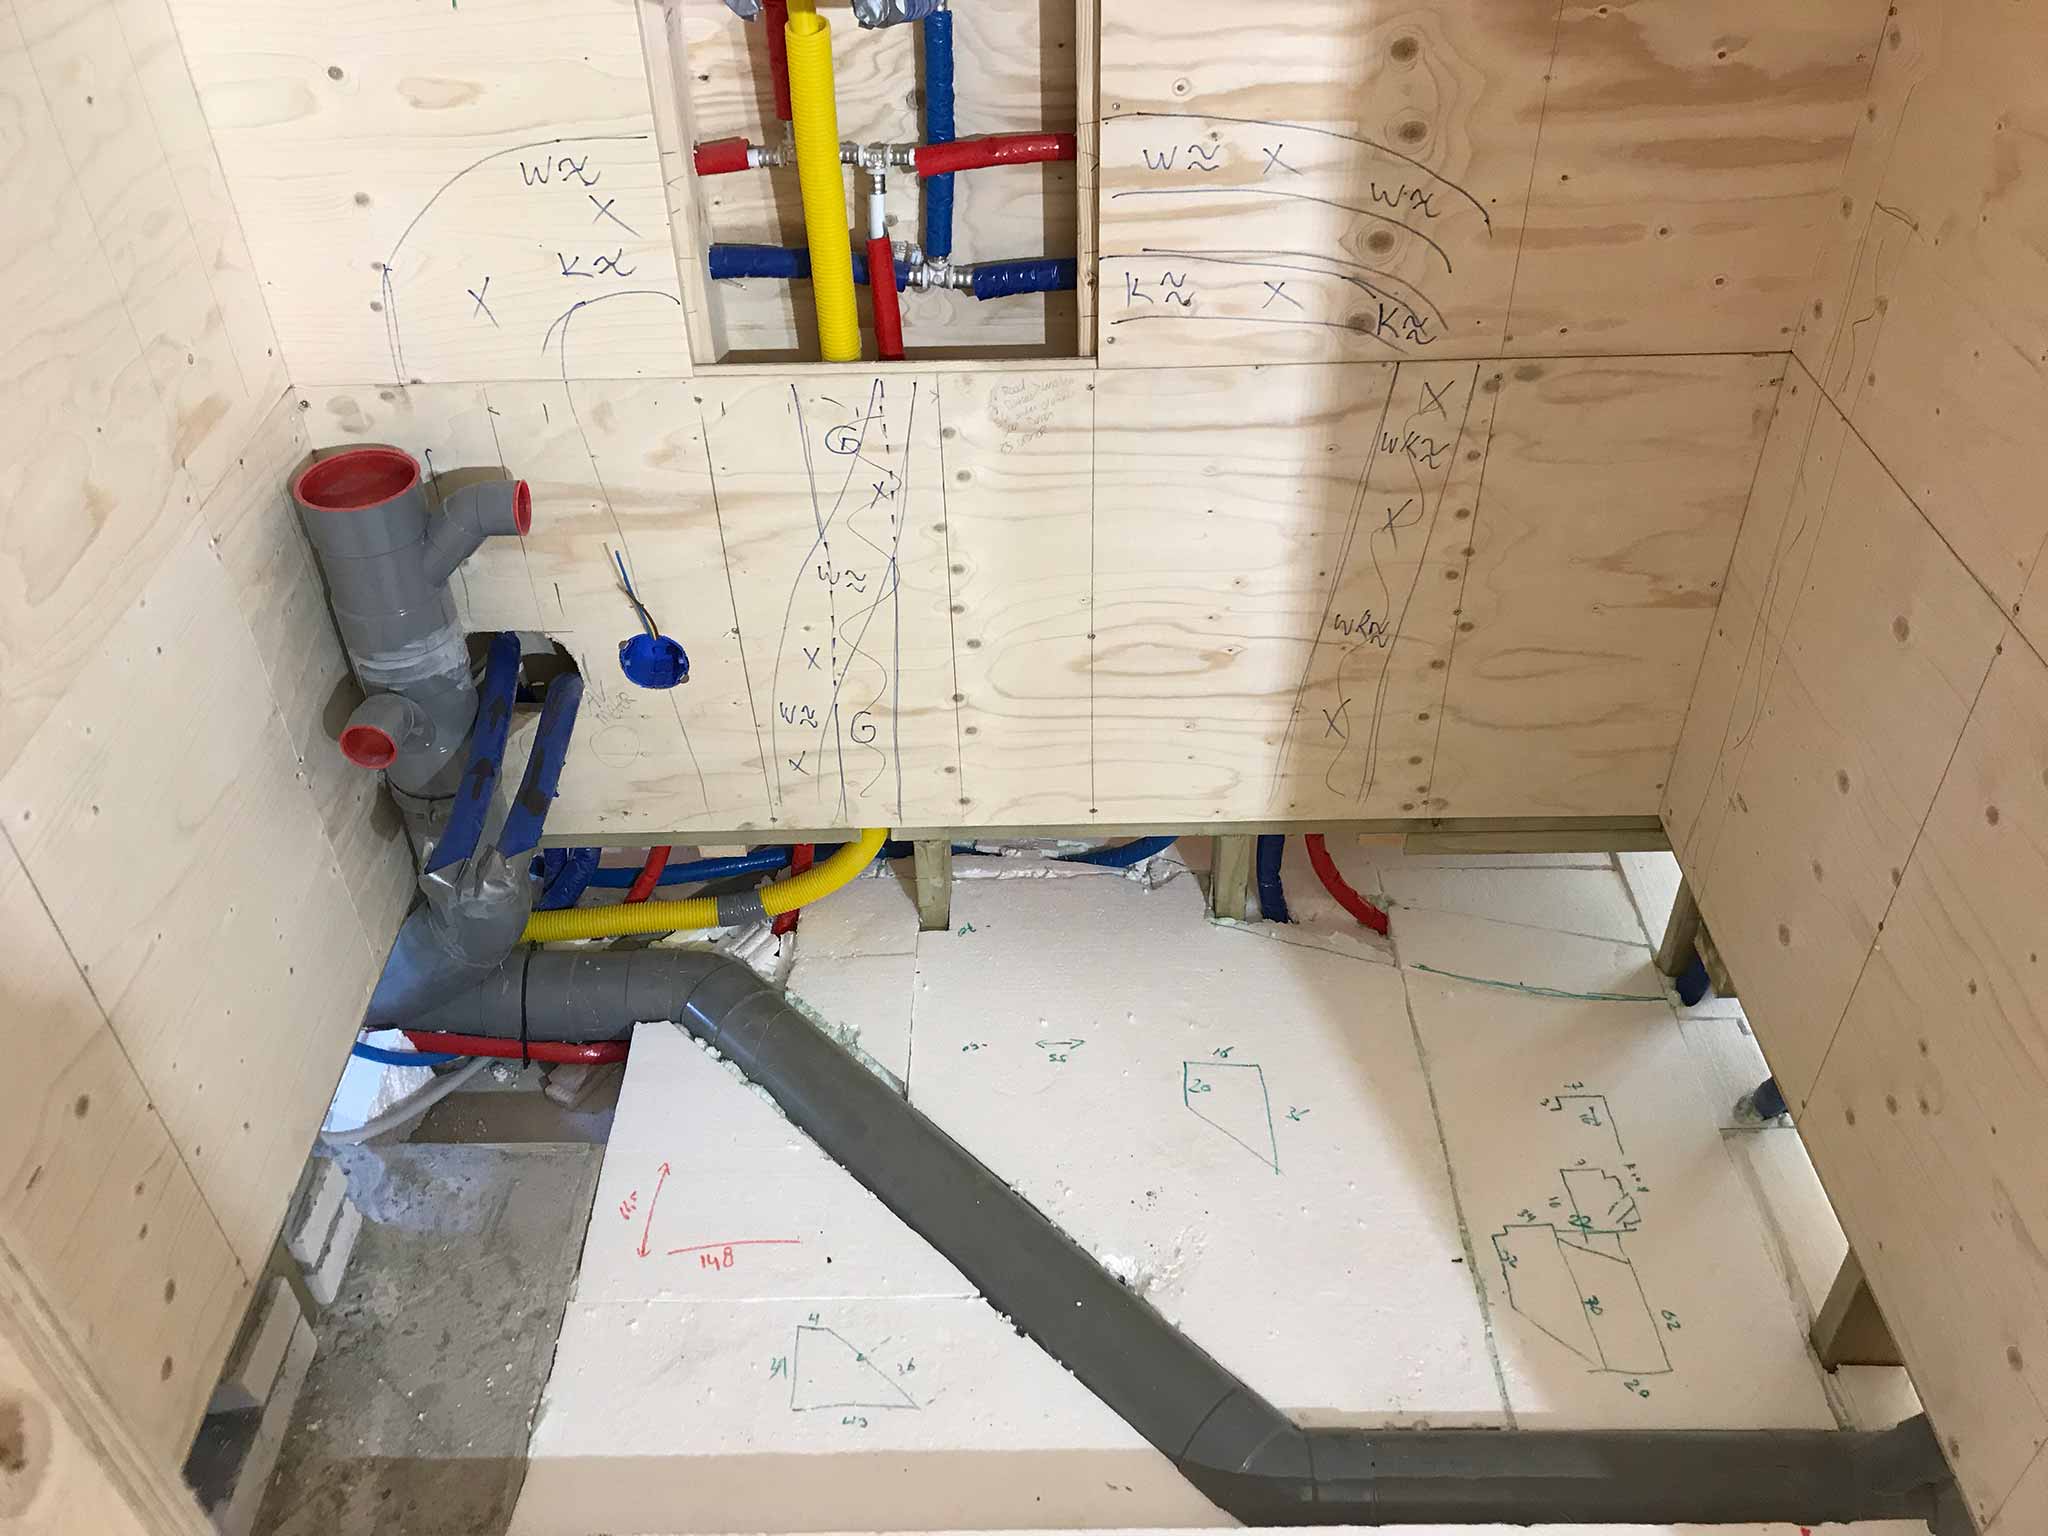
The most annoying pieces actually were where the styrofoam needed to be carved. The hot-knife was running so hot it was impossible to hold it with bare hands. And often it took more than a few attempts before it would actually fit.
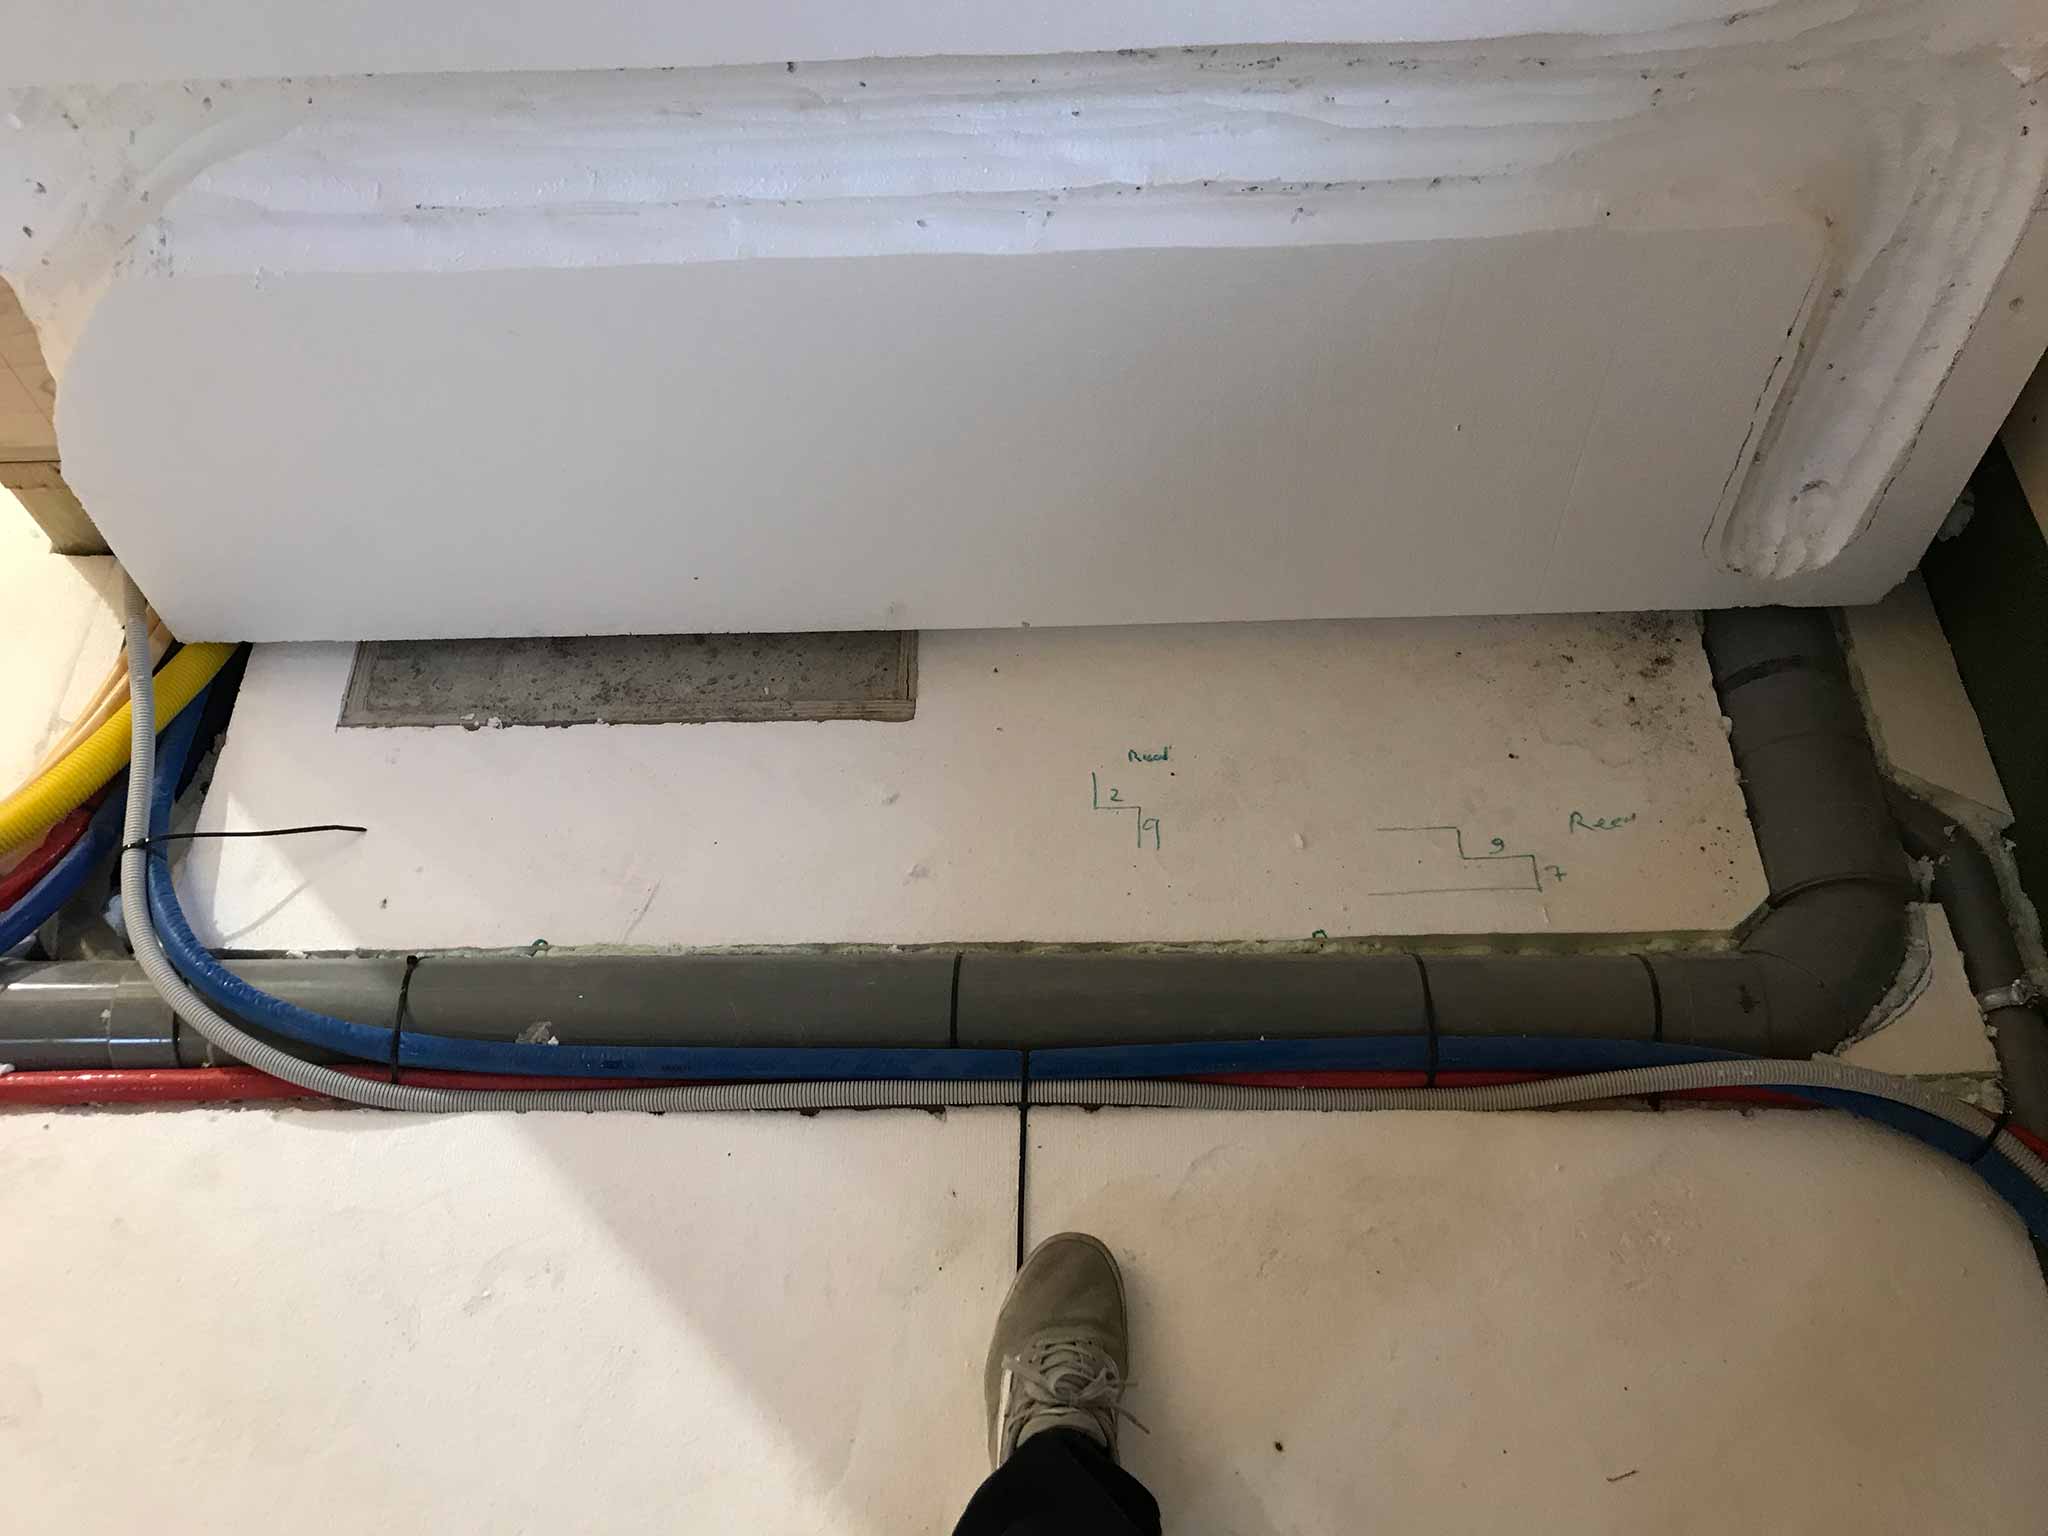
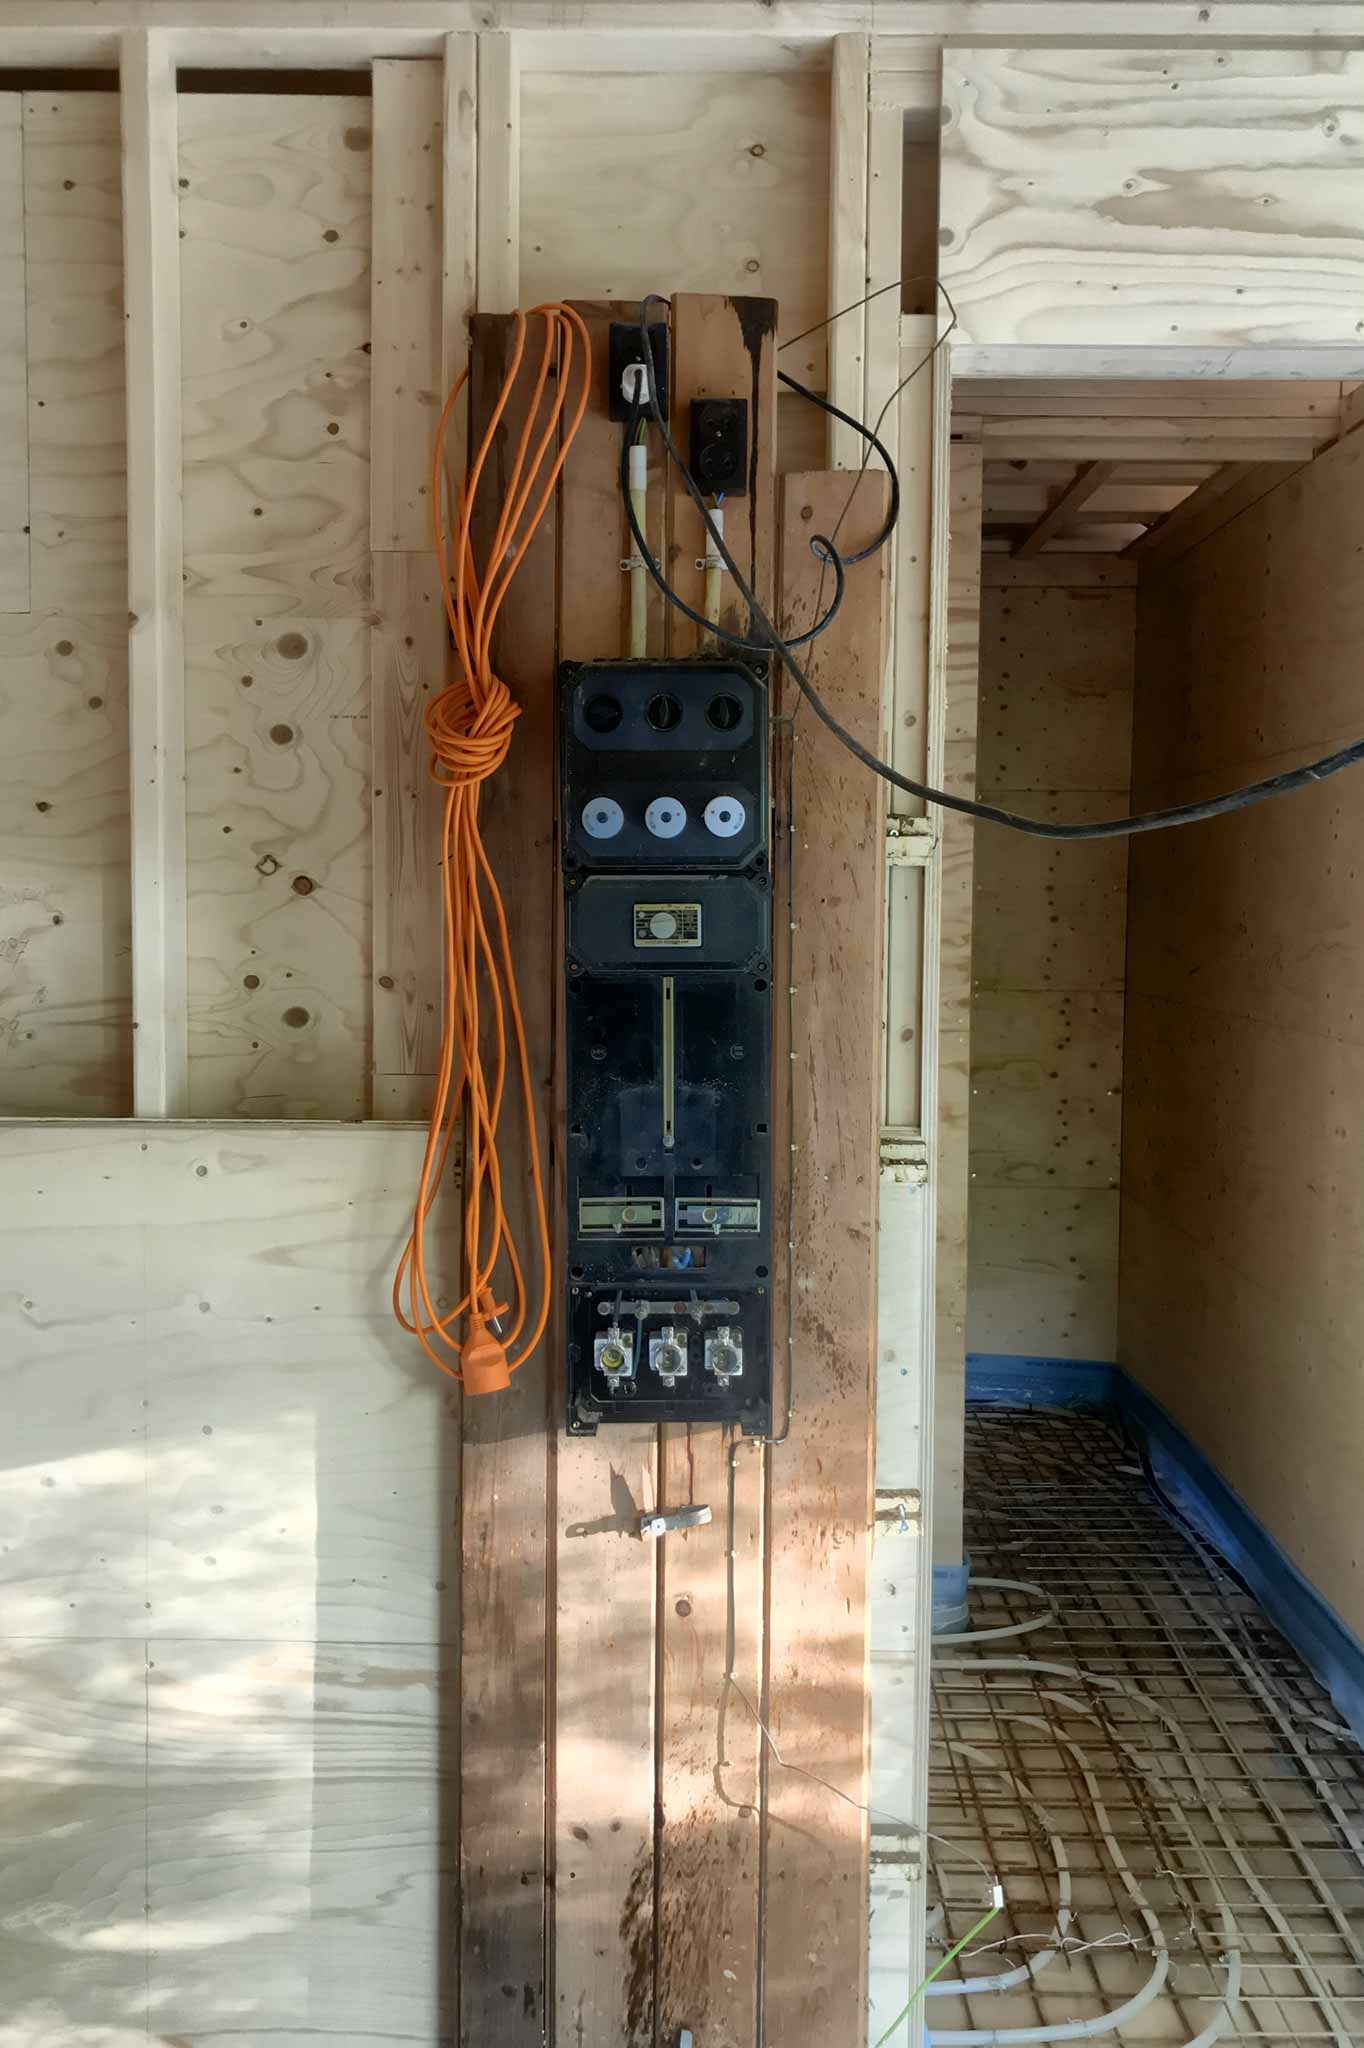
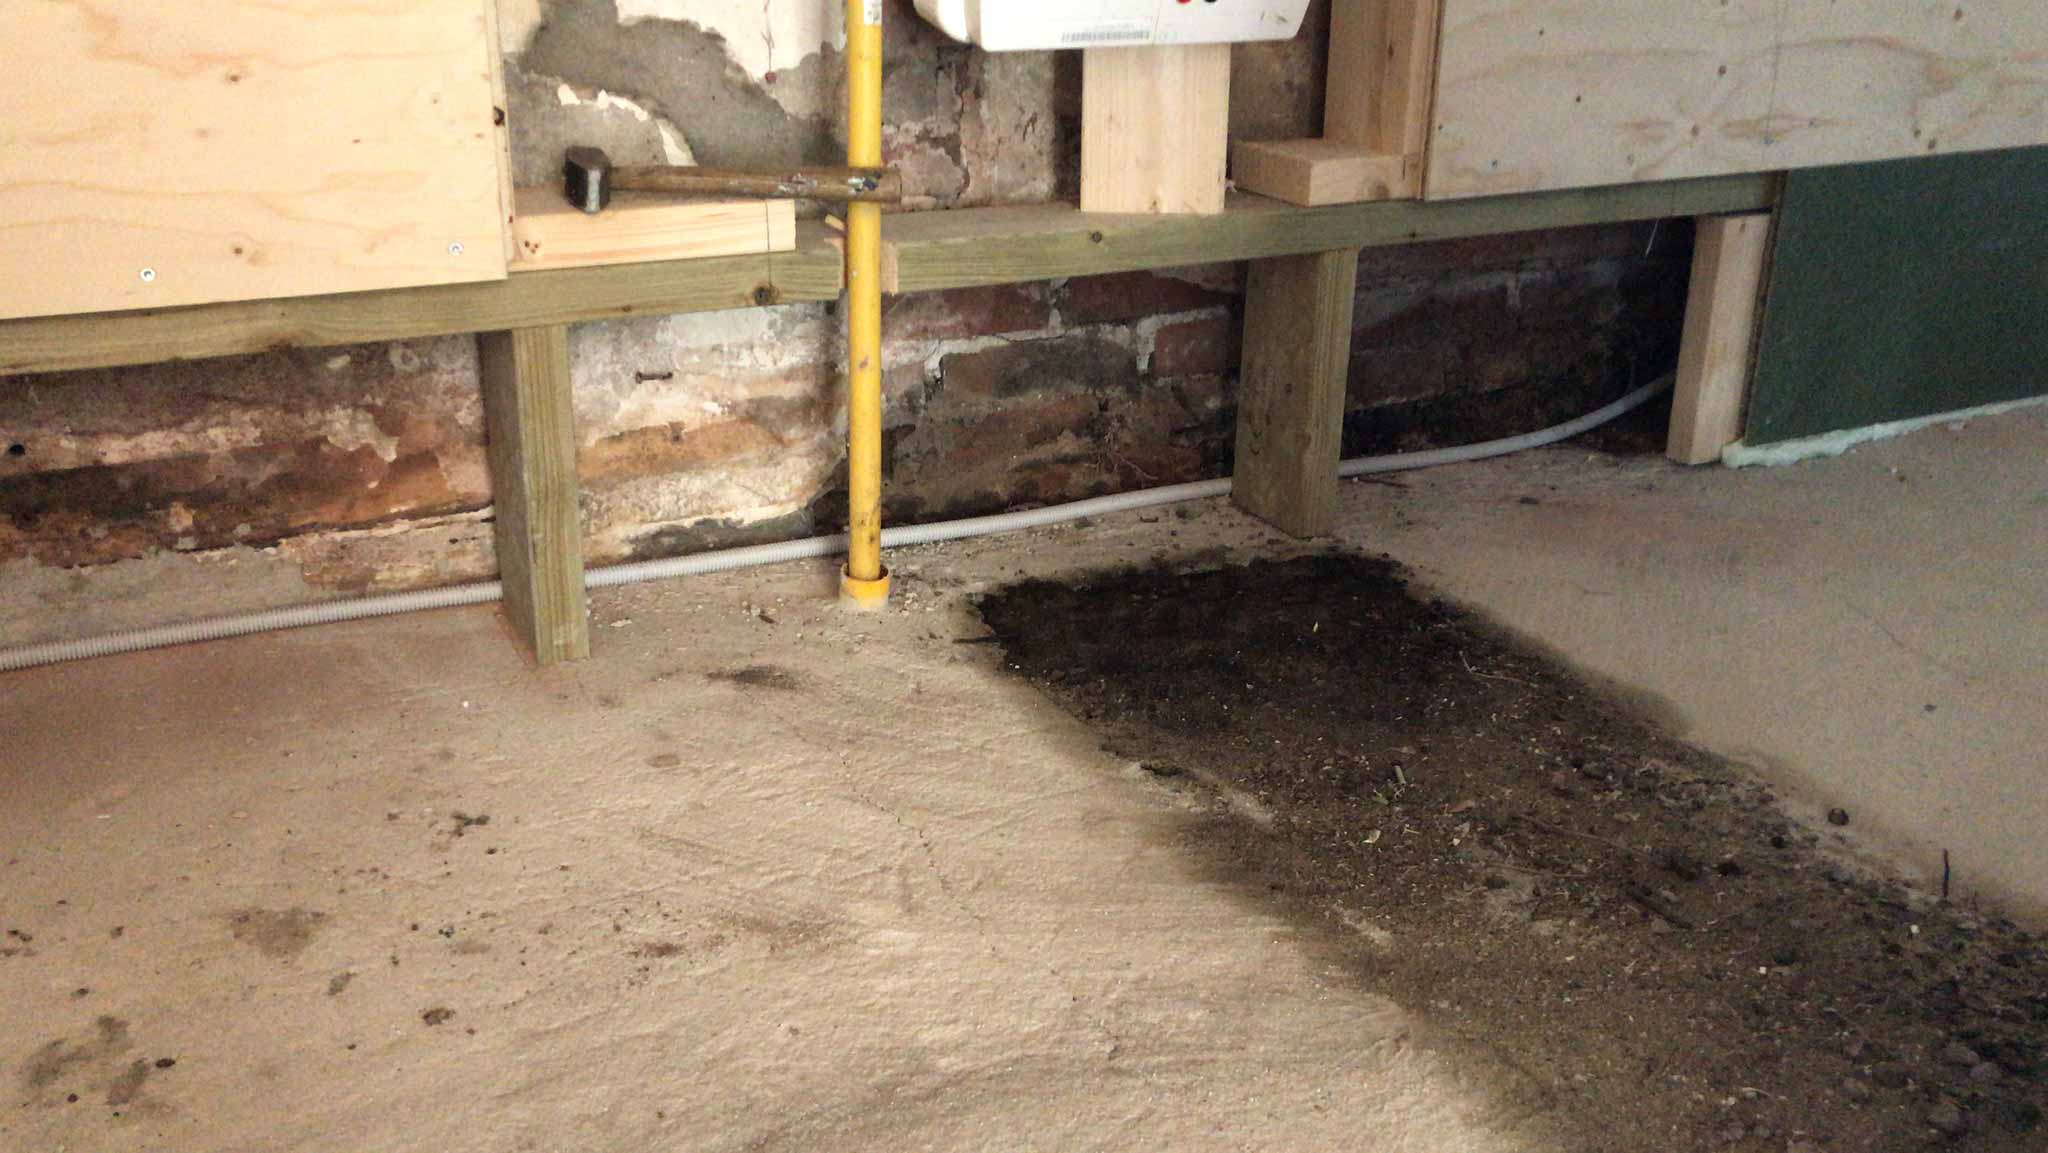
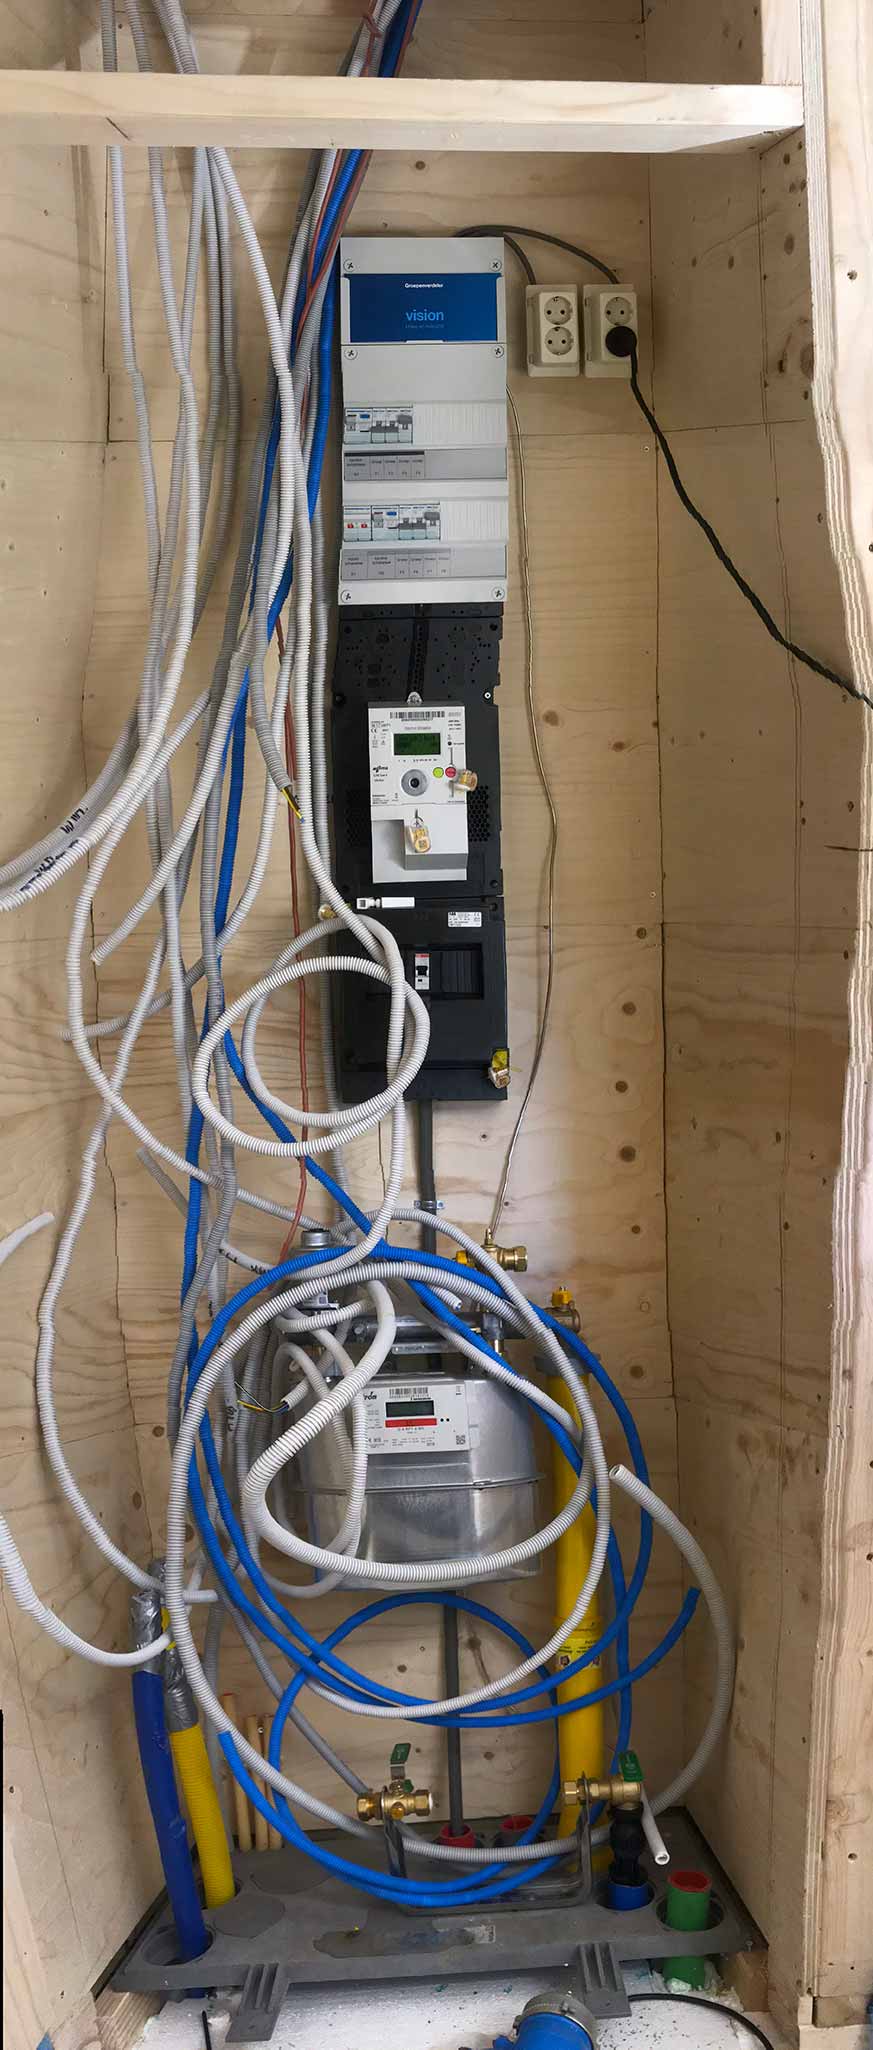
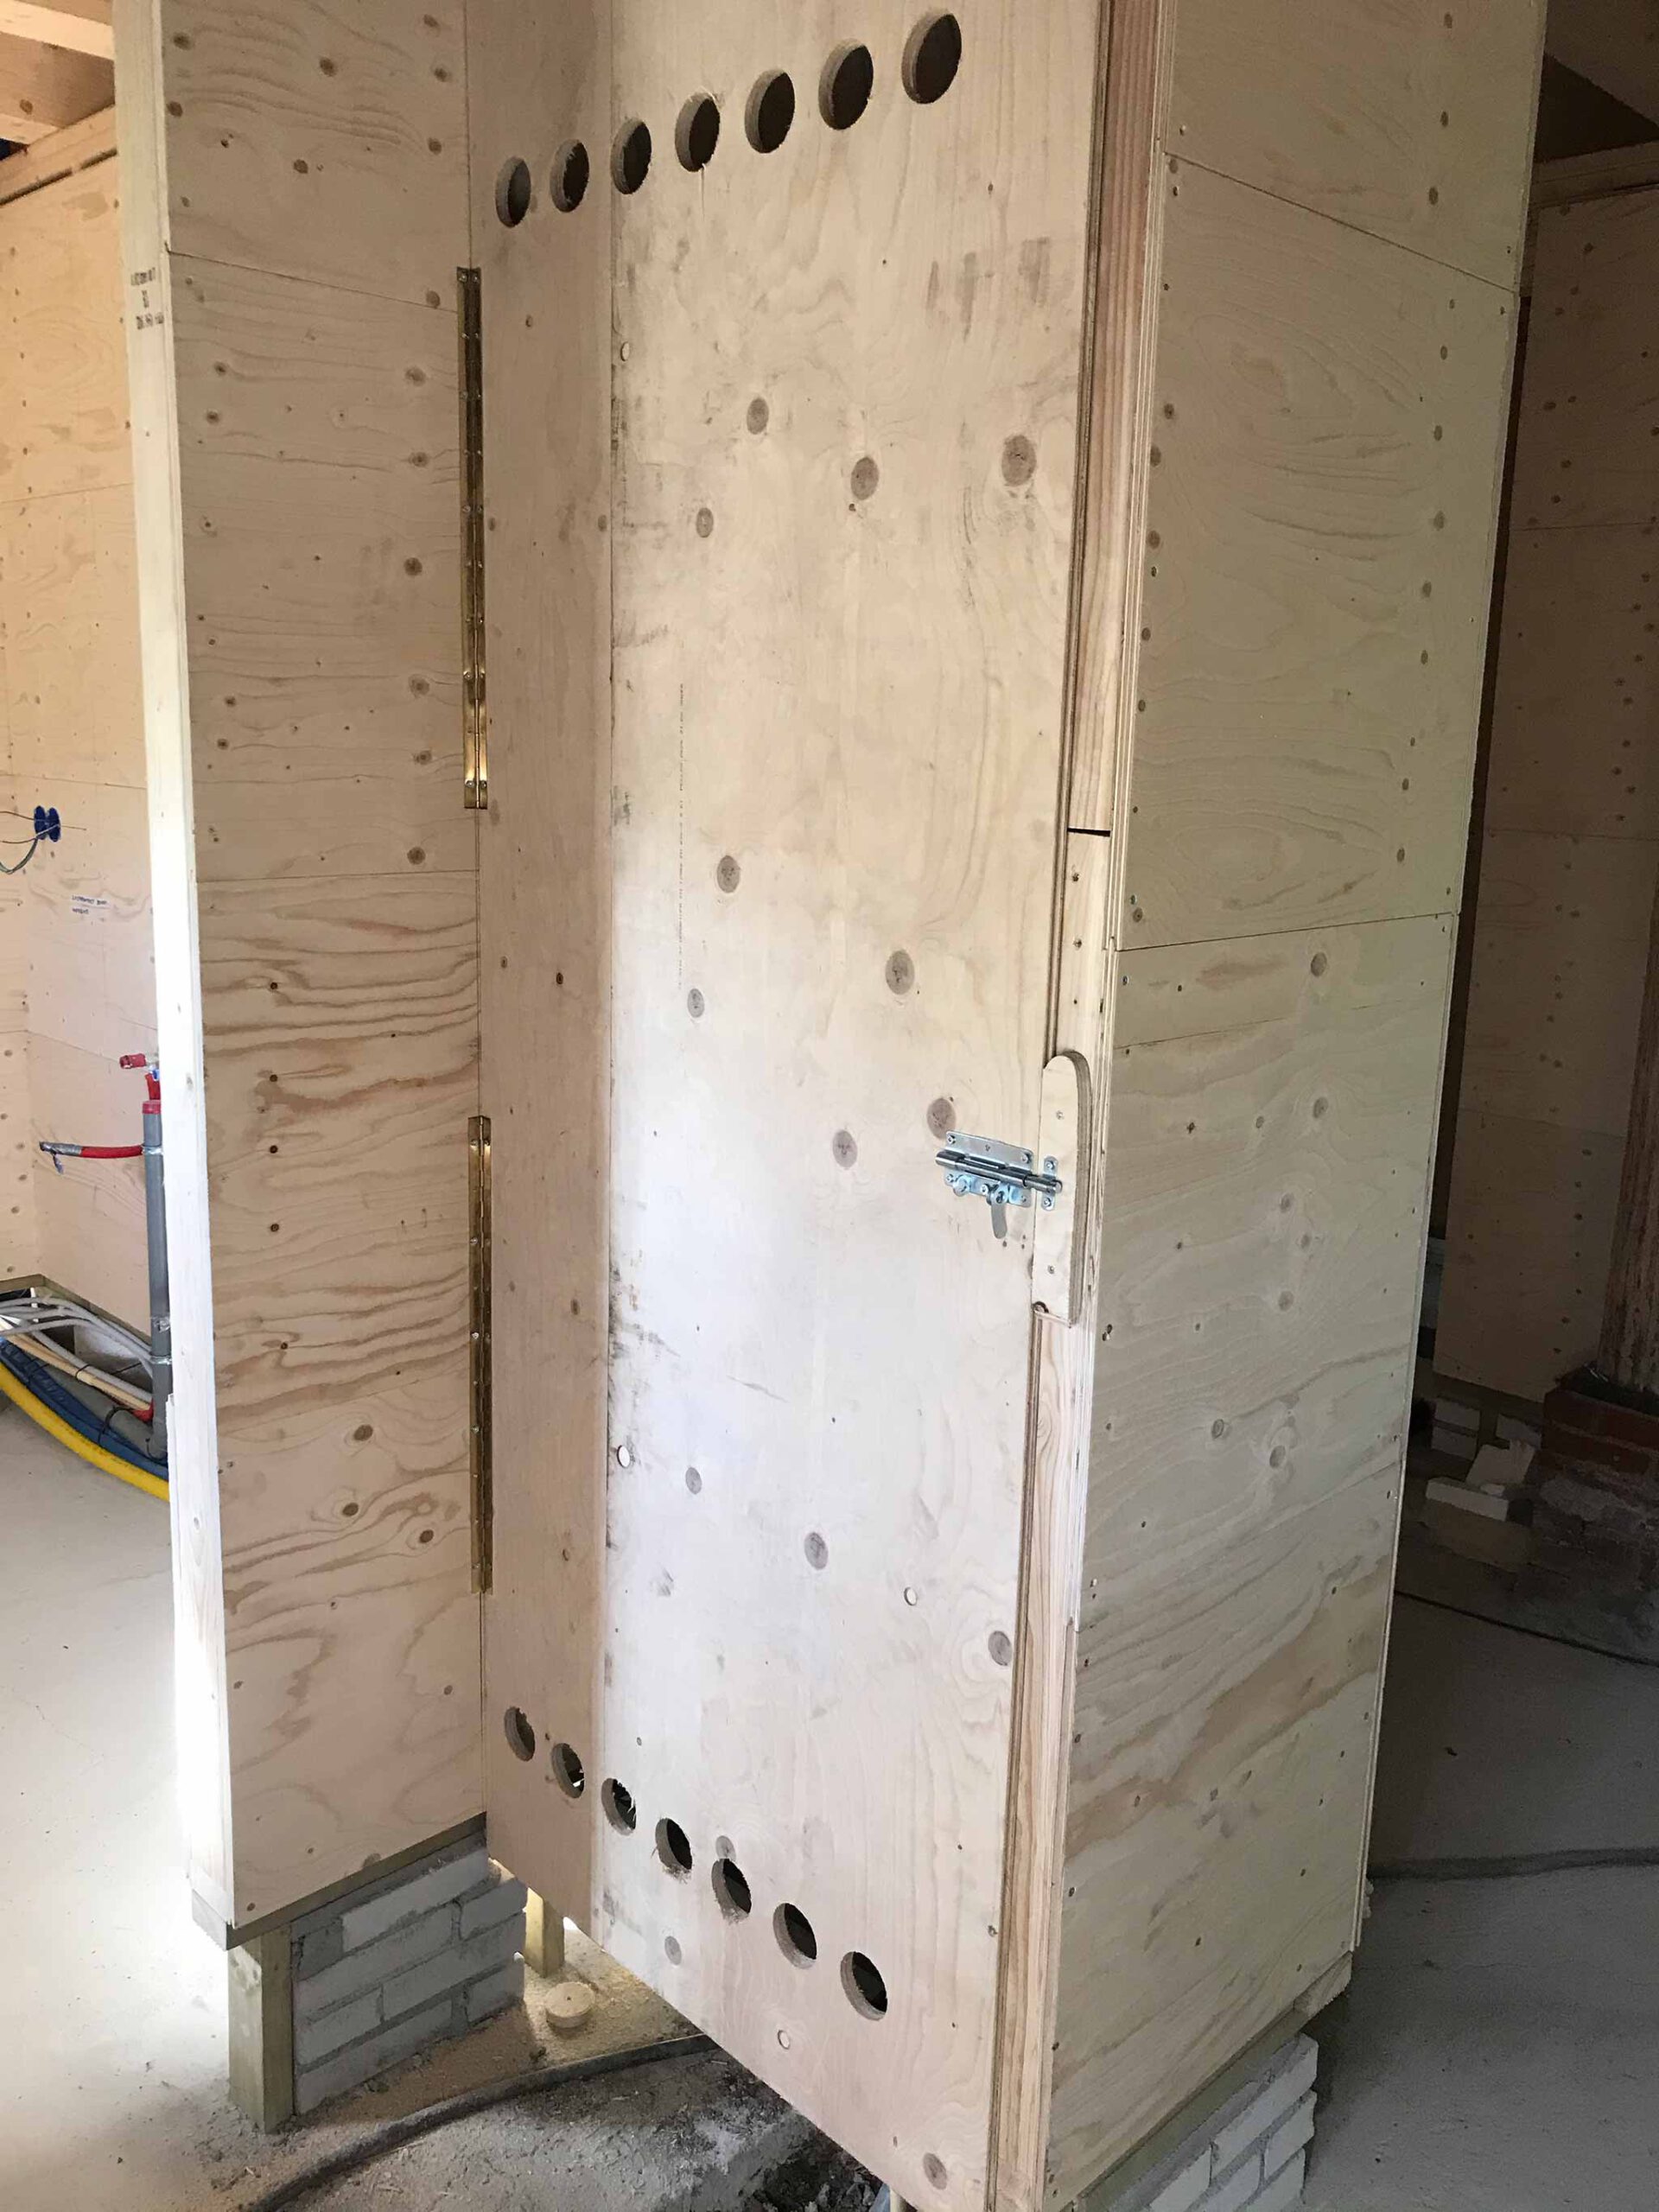
After an initial disapproval on two points, the new utilities pipes got connected through the earlier dug ditch. The missing points were that there needed to be a door closing the meter cupboard. One with holes in it so gas would be able to get out of there in case of a leak. The second thing was that there needed to be a foundation blocking gas from potential gas leaks to run onder the house. There needed to be some concrete. for the pipes to run through. Things people did not really care about 50 years ago.
The whole process is fairly easy. Create a request for all utilities at one website, get a quote from one company that you have no choice but to accept and then wait until they com ’round. Only the water is a bit of a problem apparently. The pipes needed a longer detour than expected apparently and ‘they’ are thinking of what the best way will be.