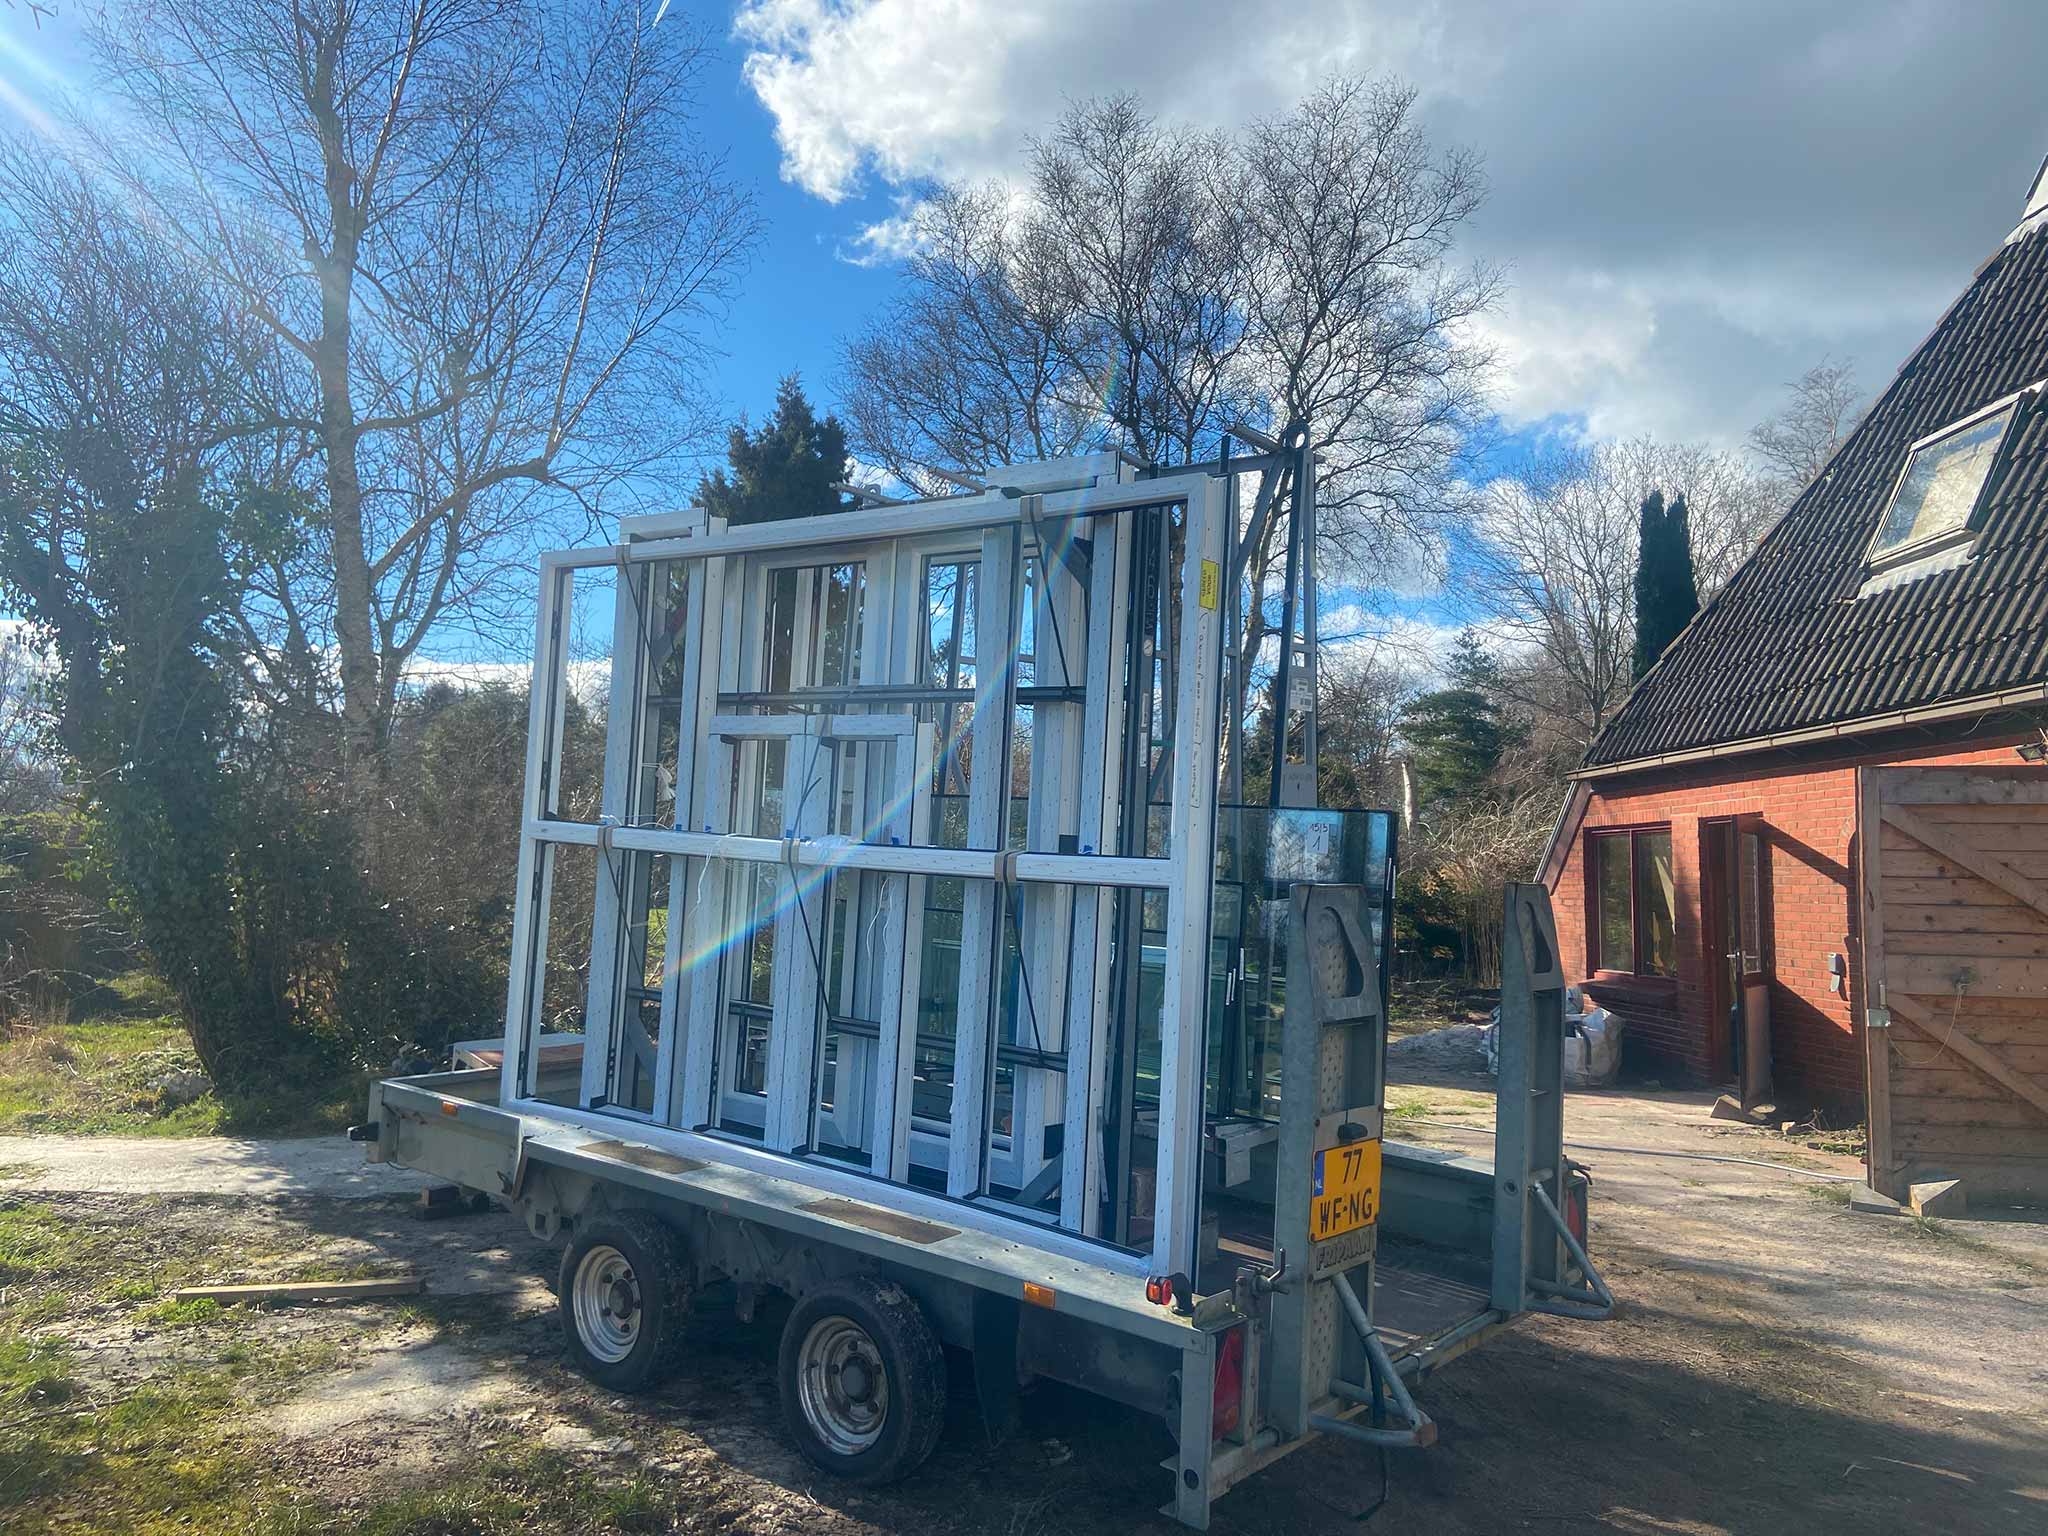
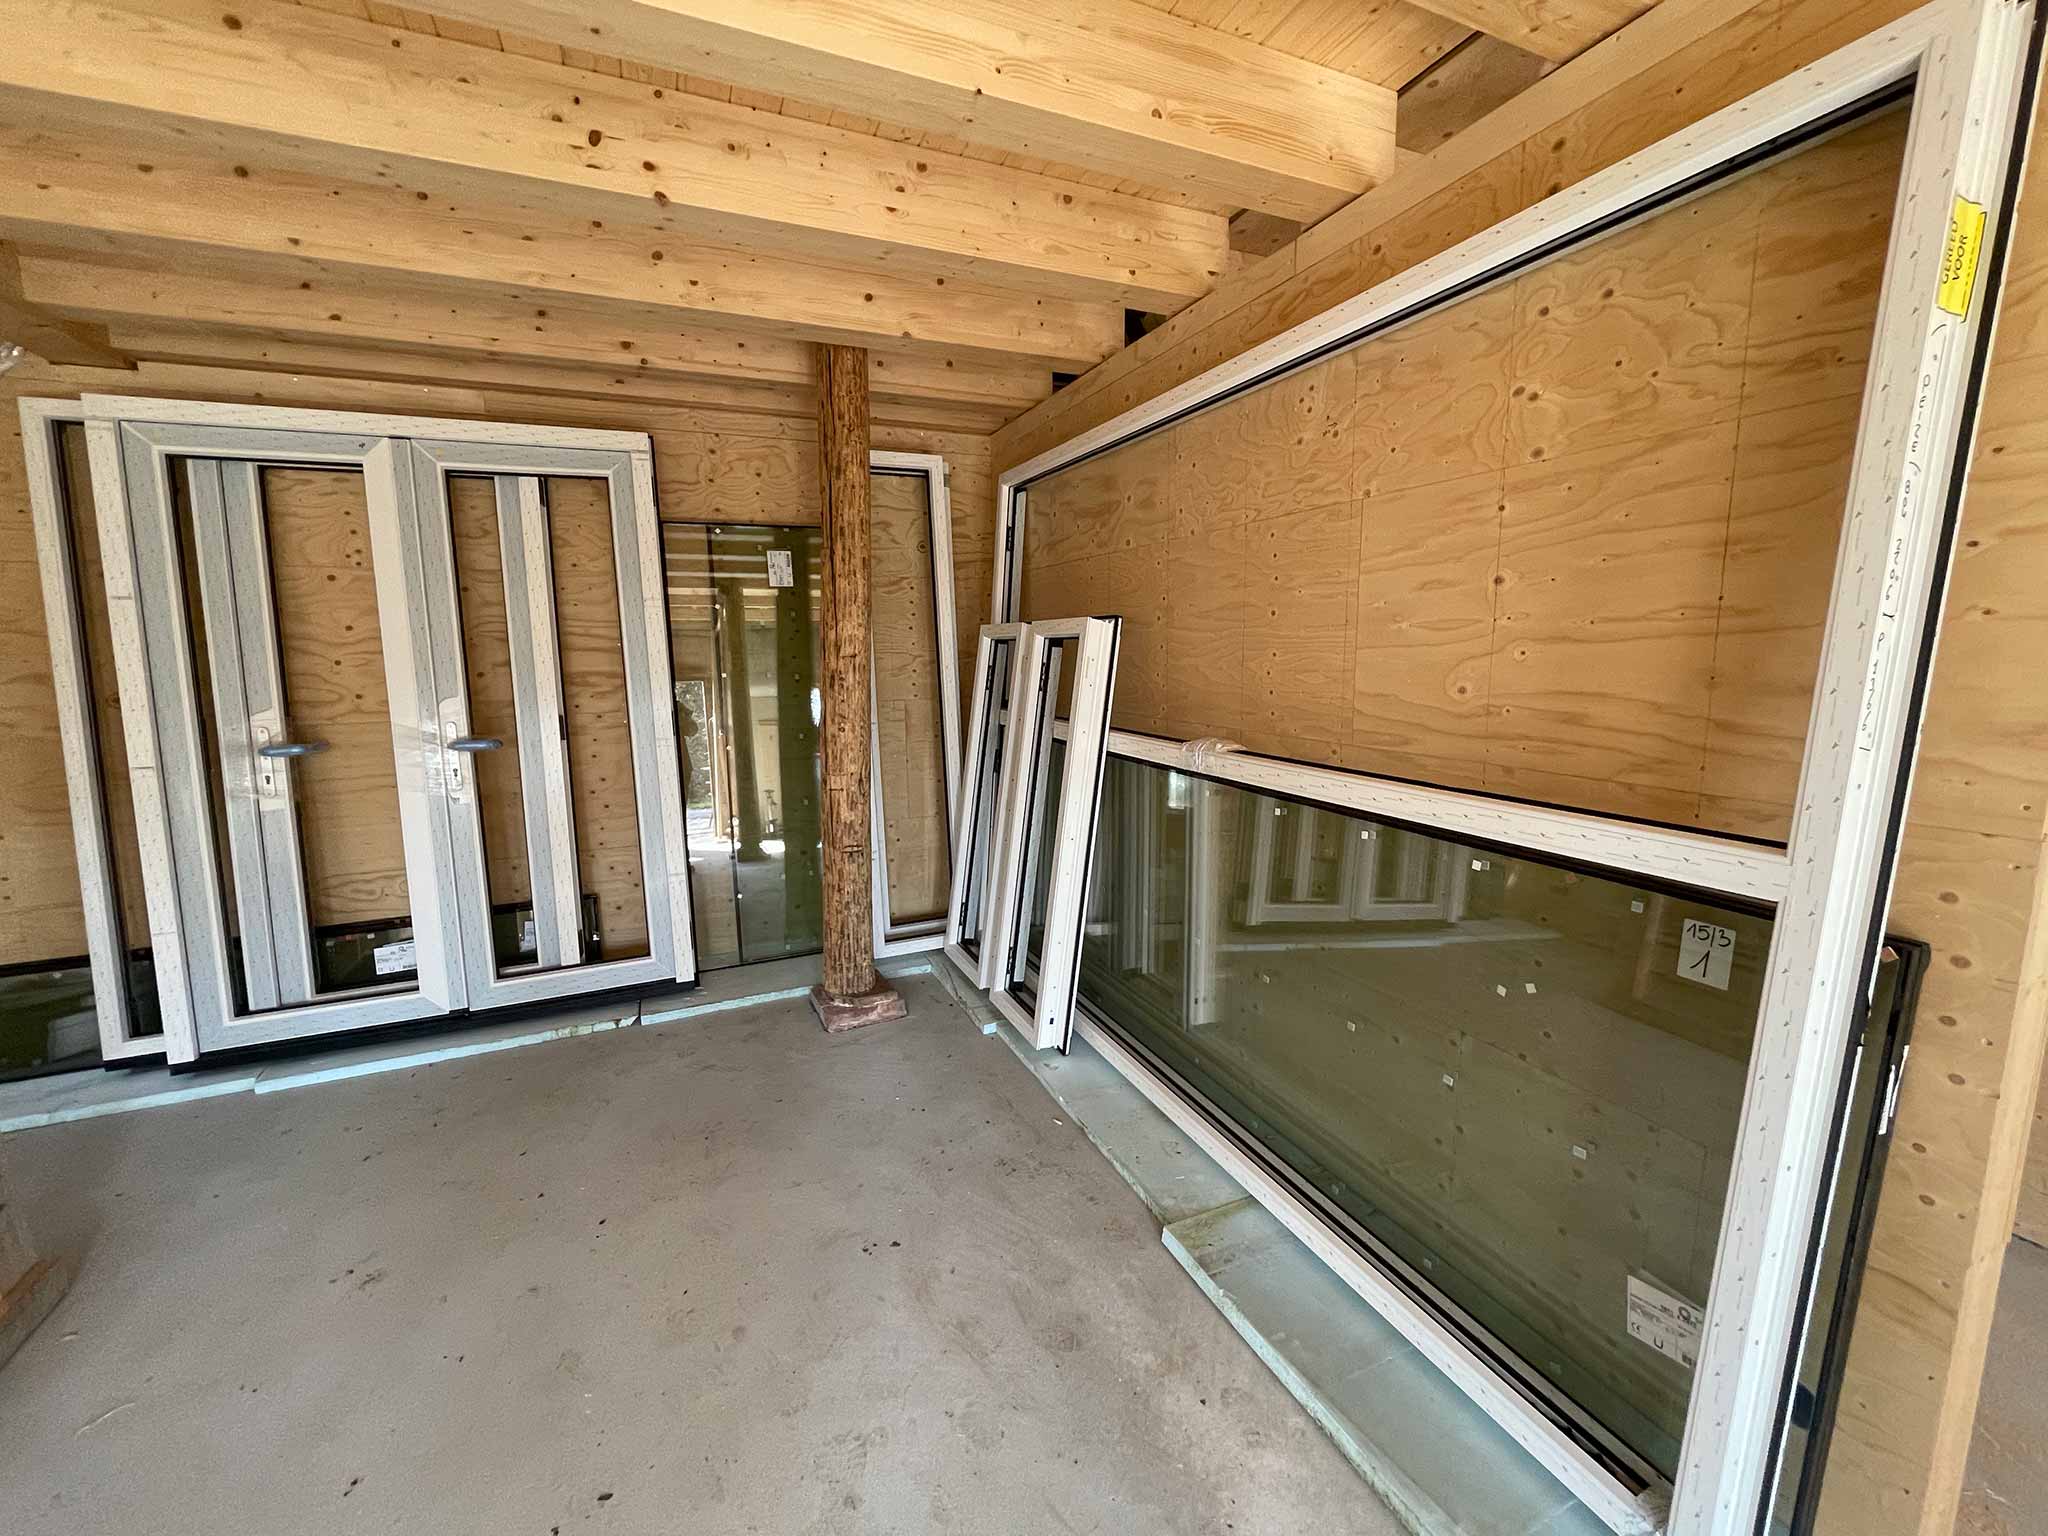
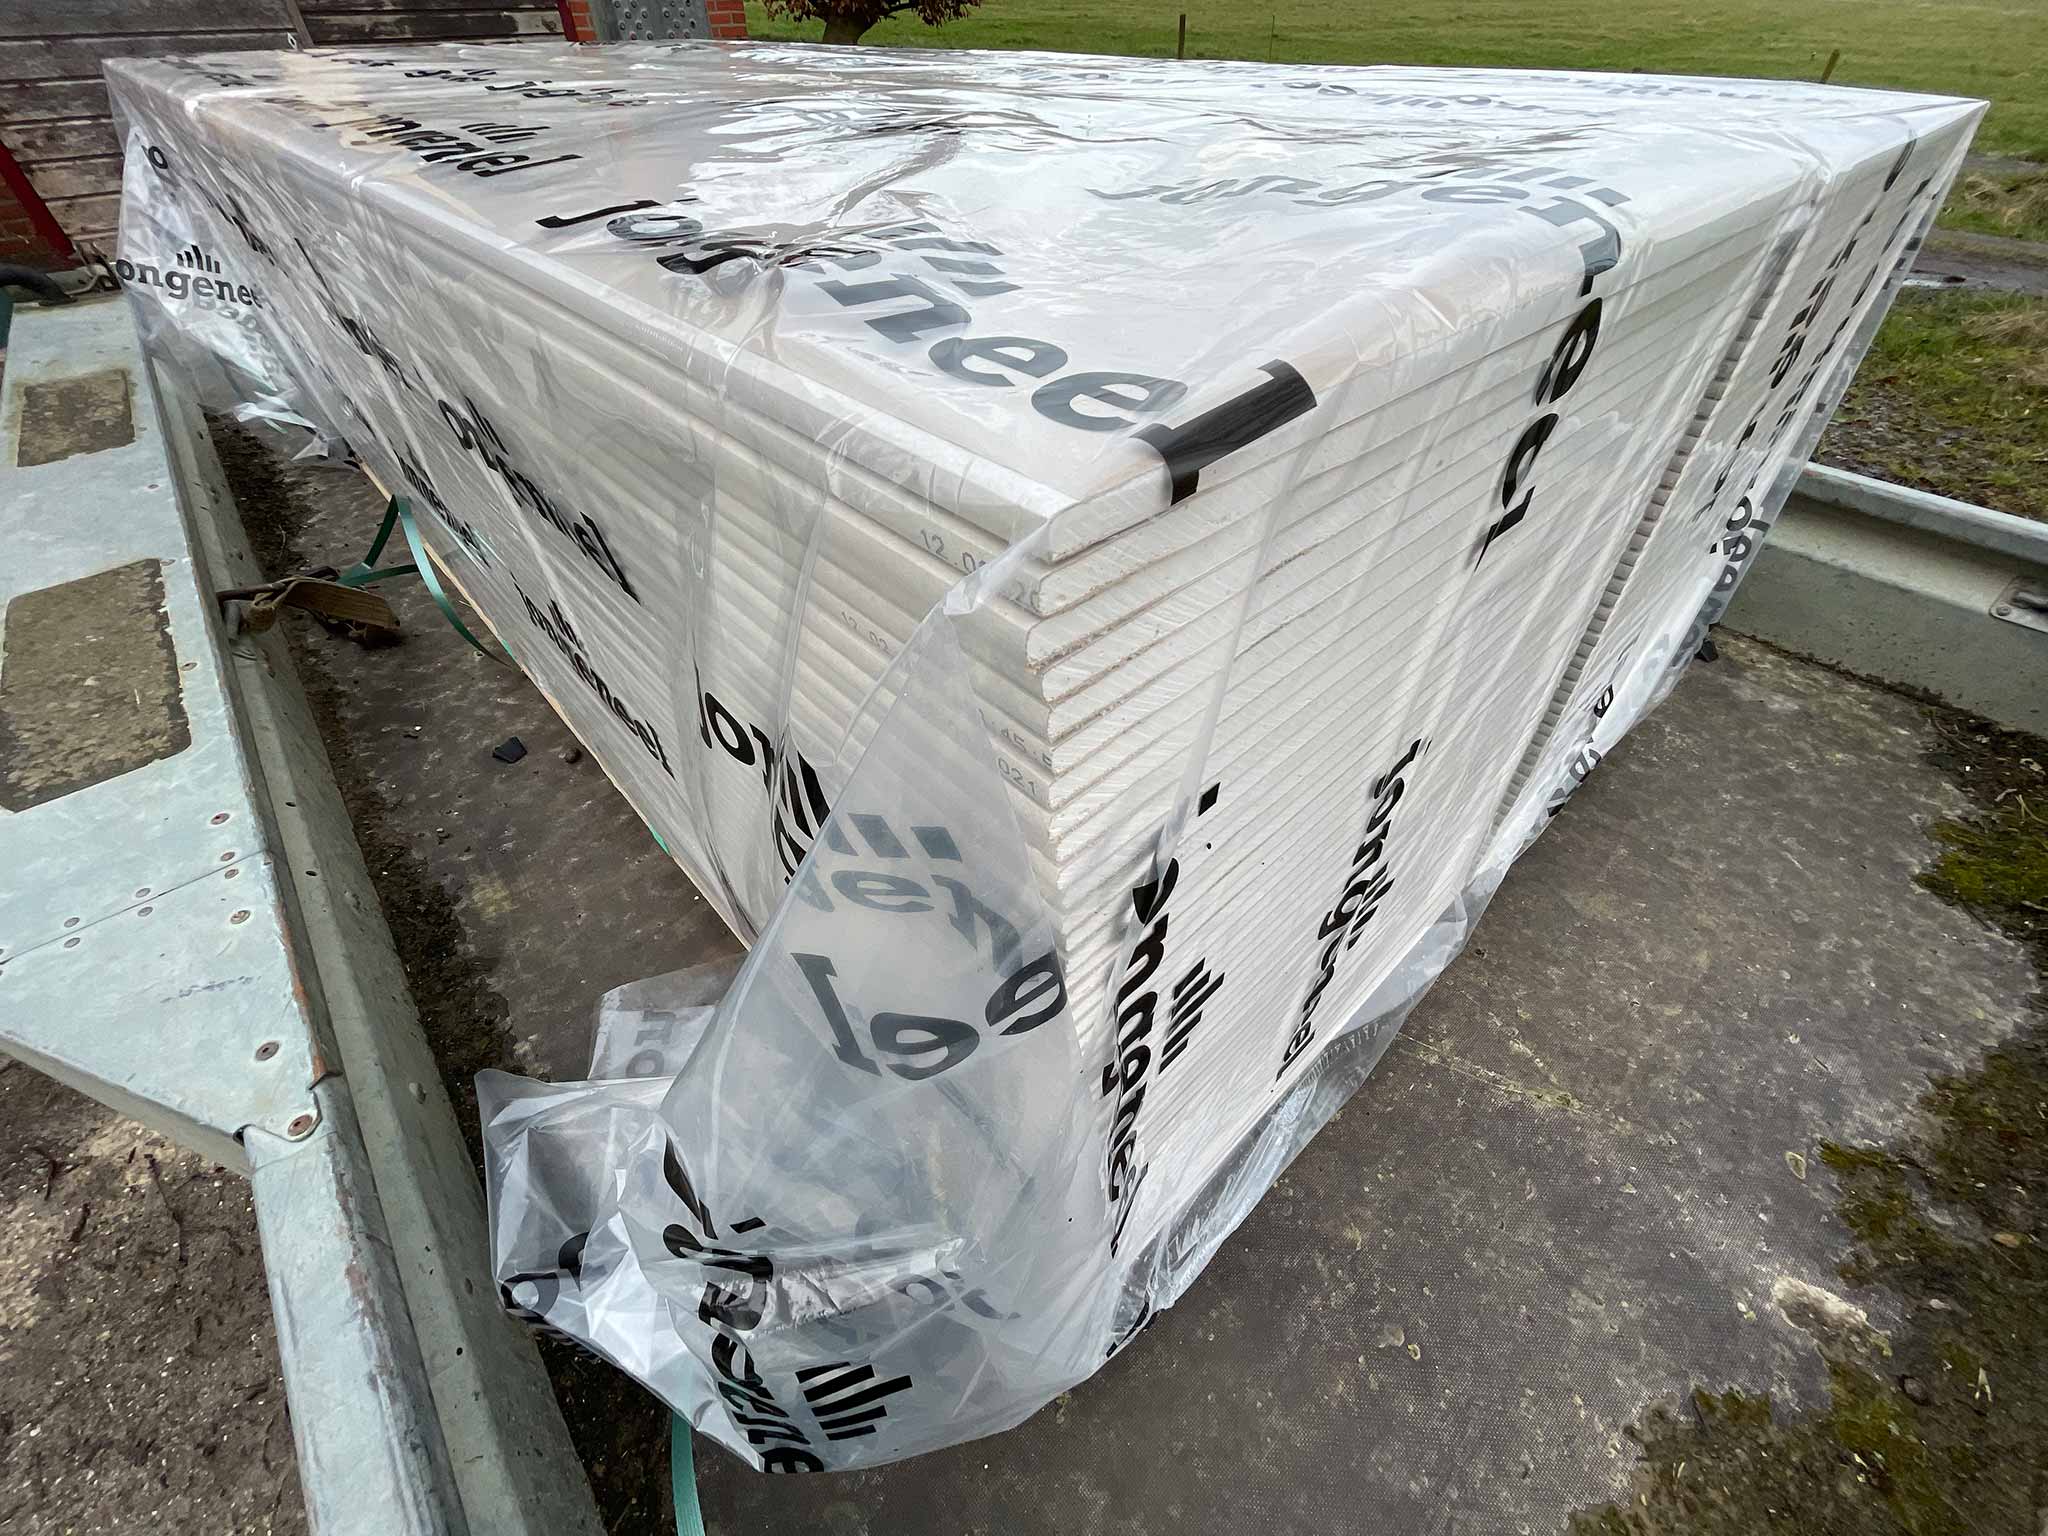
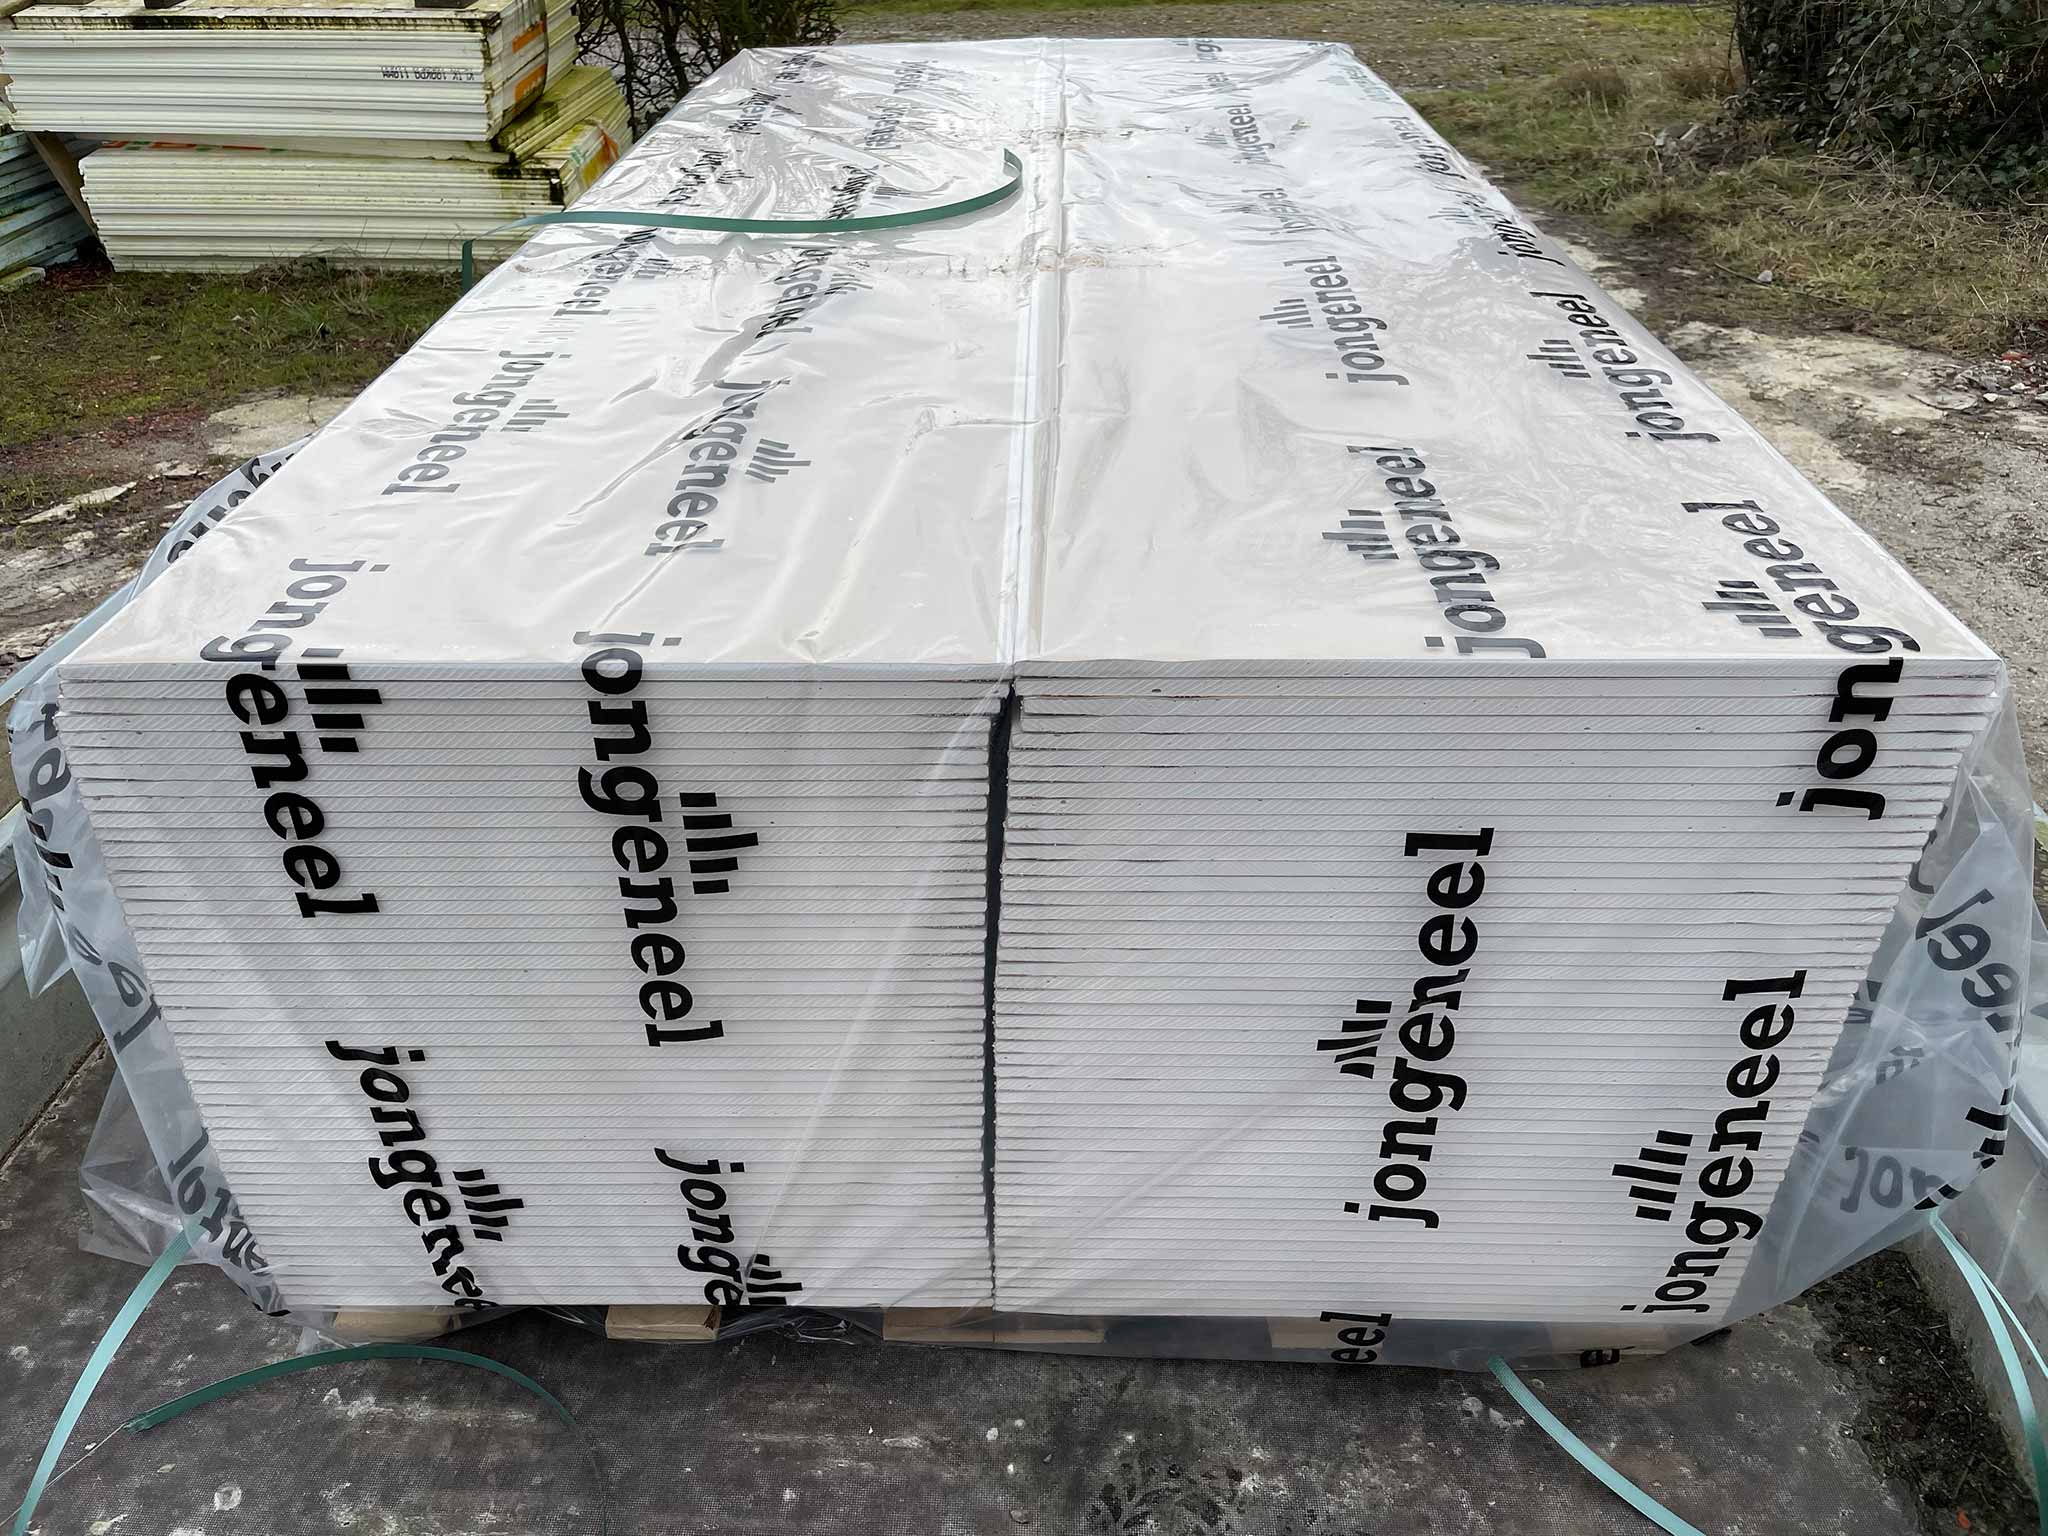
385.2 kg of glass and then some for the frames. Hauling it in…
Renovating a home
385.2 kg of glass and then some for the frames. Hauling it in…
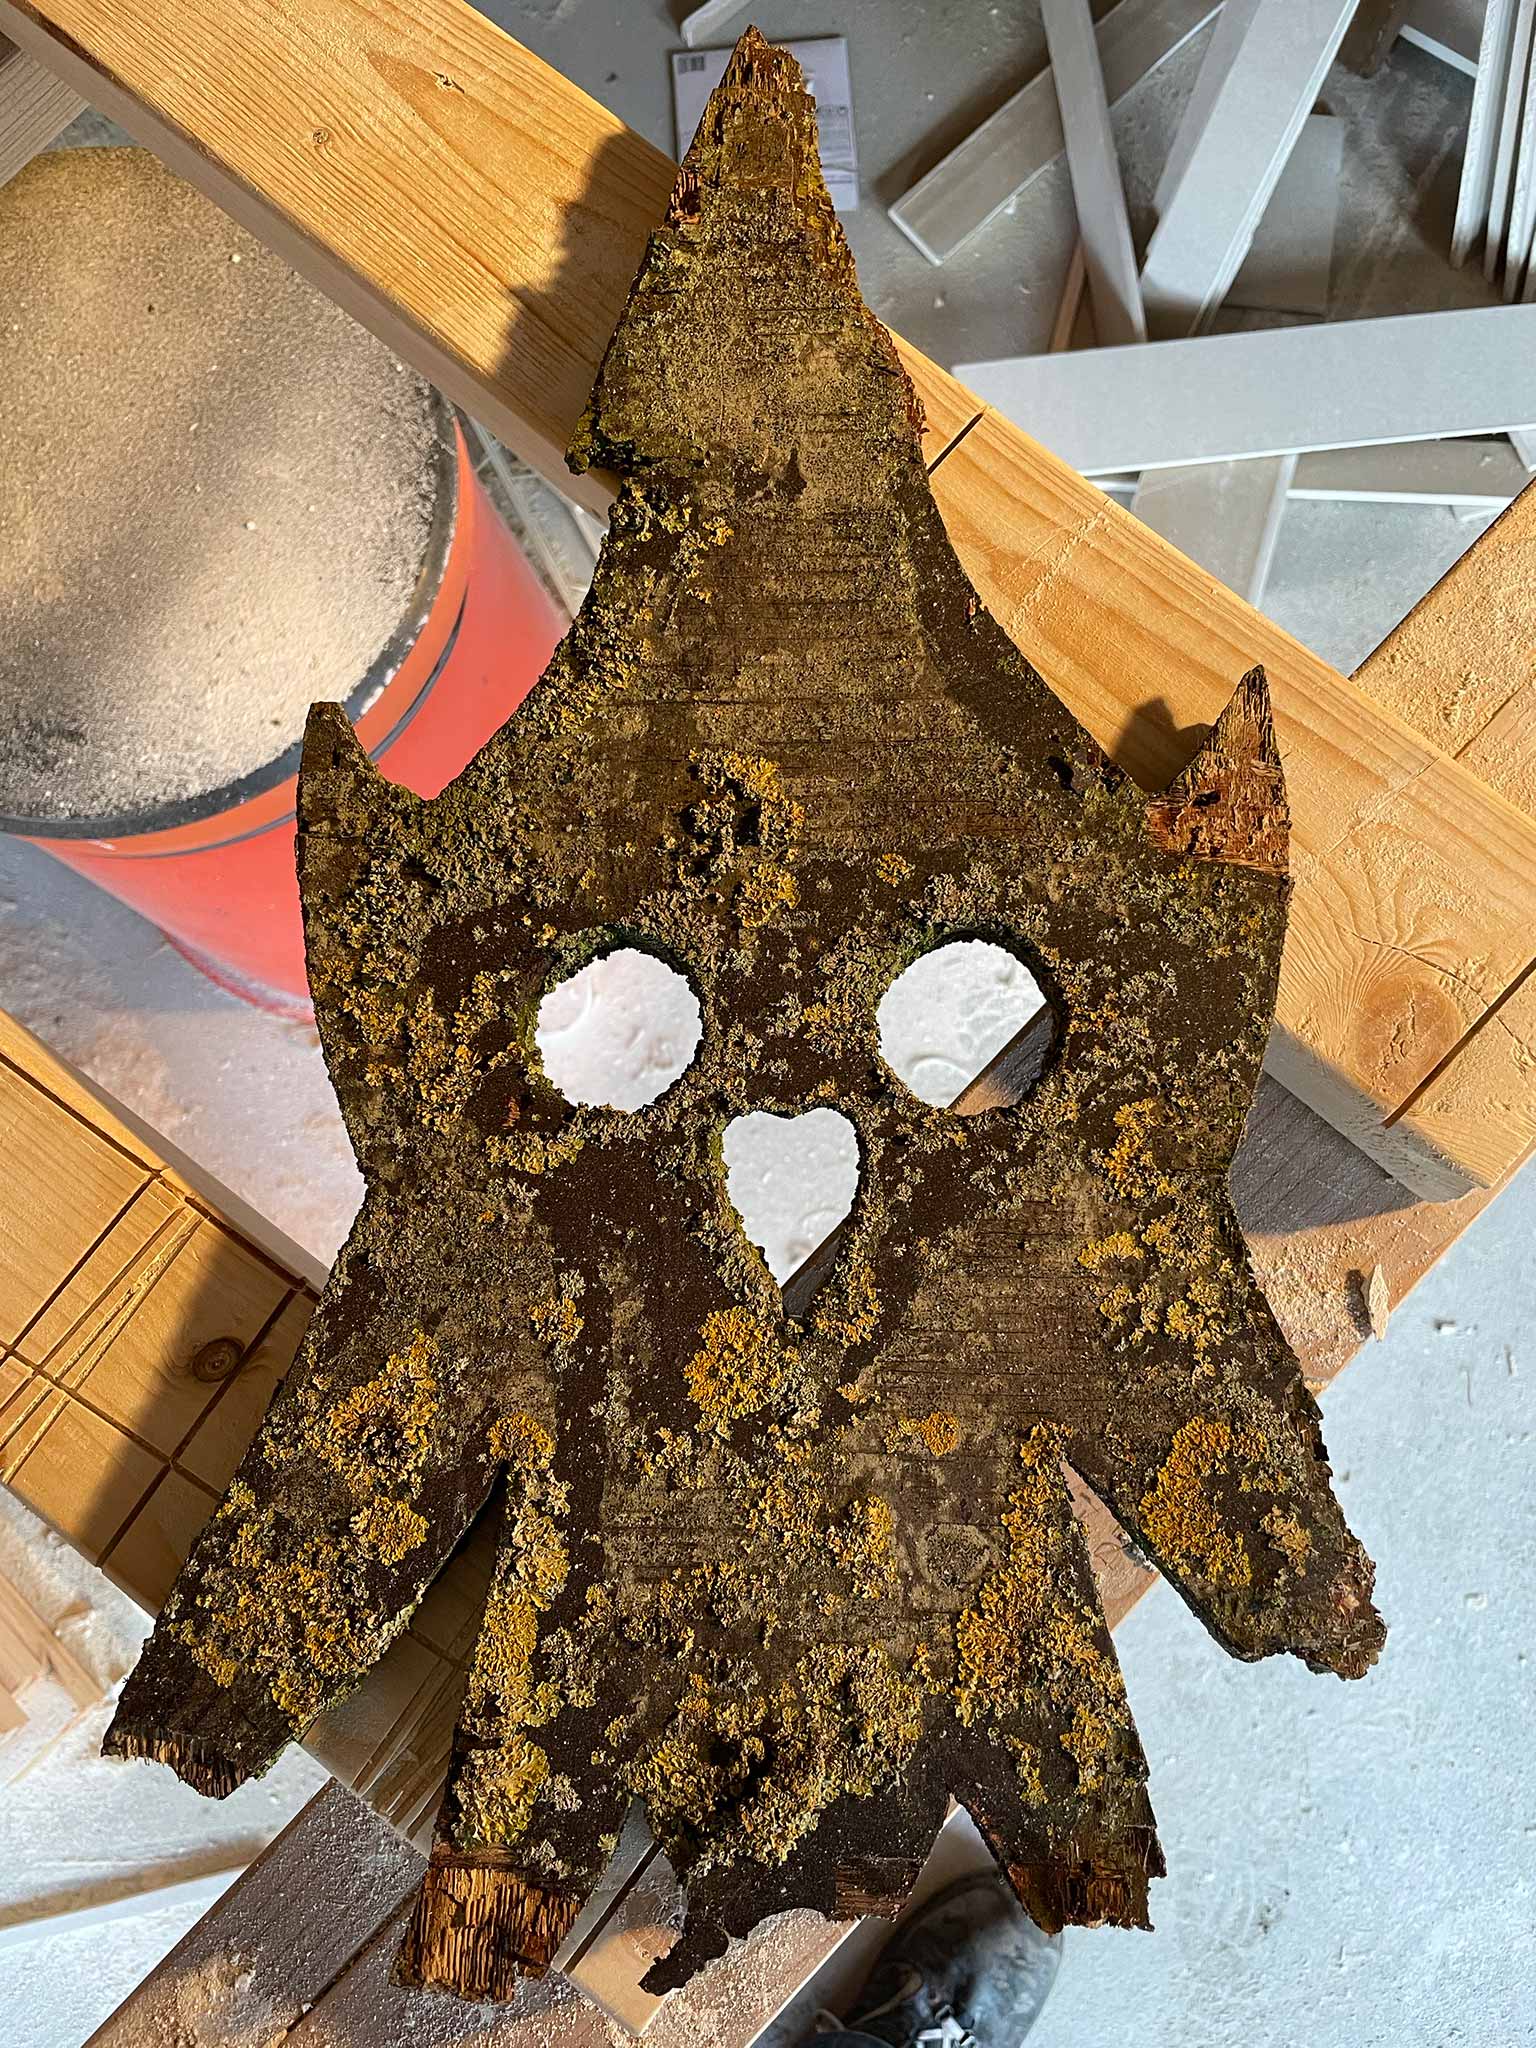
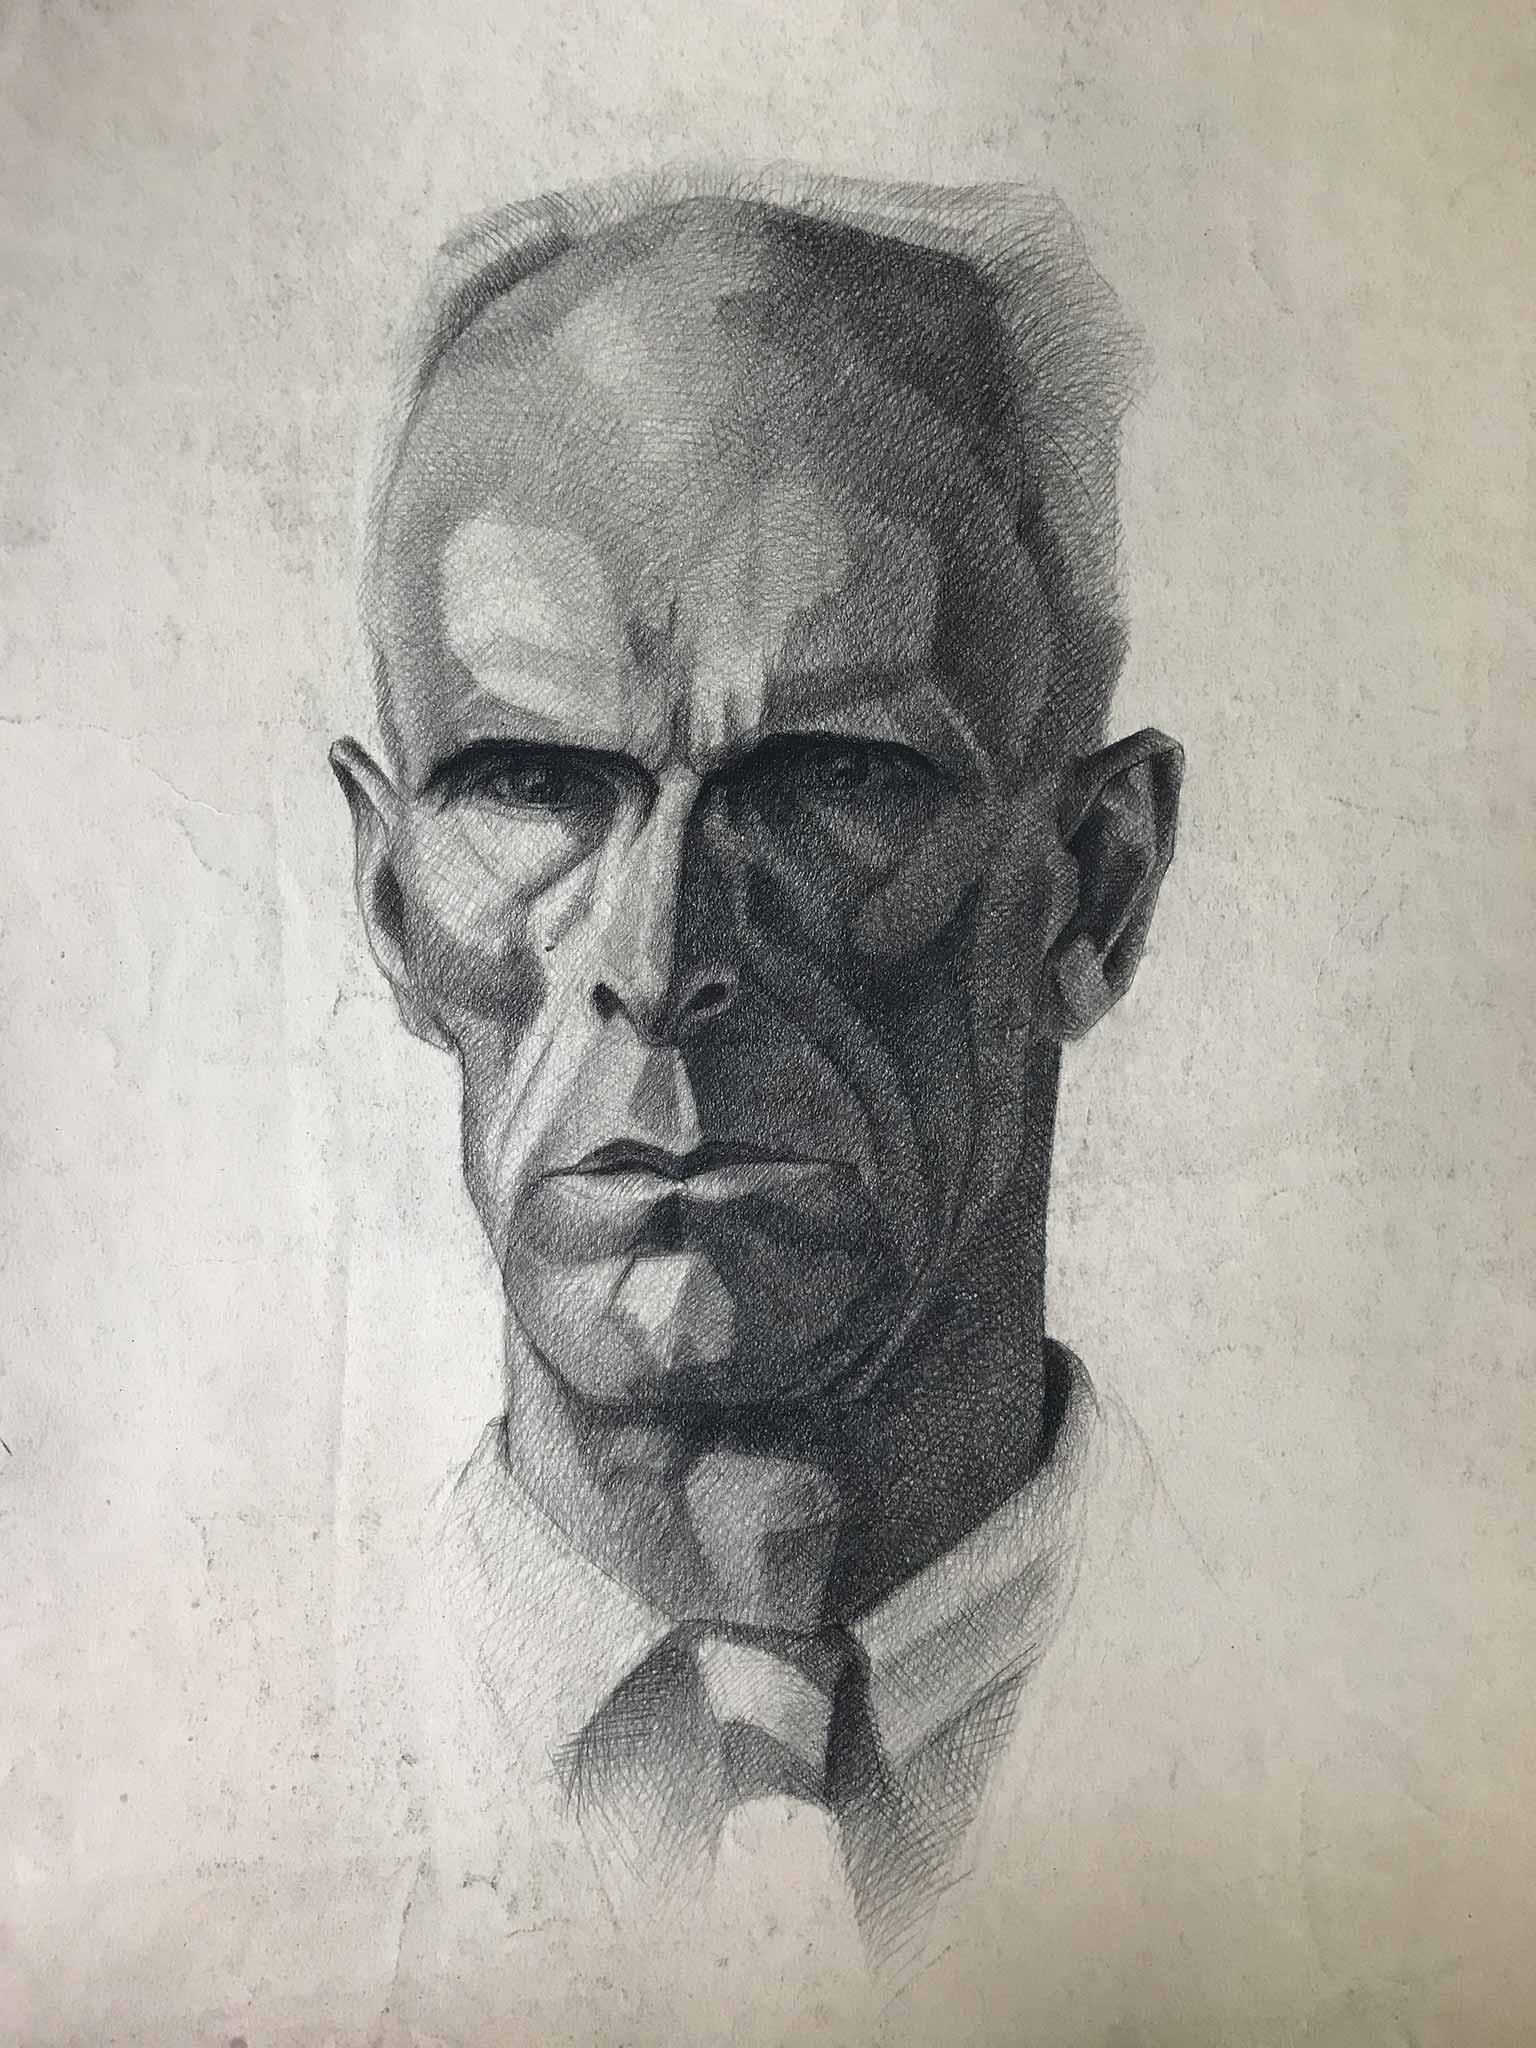
With the first(?) storm of 2021 the oelnbret finally gave in. It was designed by my father (who in my opinion was a pretty good artist, see portrait at the bottom) to little critical acclaim according to my mom. OK, it was a bit out of the ordinary without the usual swans etc. but It was an owl (which is what ‘oel’ means in Dutch dialect) and therefore fitting :).
Anyways. It had been up there for about 40, if not almost 50 years and decided to come down. This triggered a long due action to mend a hole in the roof there and thoughts about replacing the original with a fresh copy. The old one will become decoration in the house when the time is there. Maybe next to my dad’s drawings.
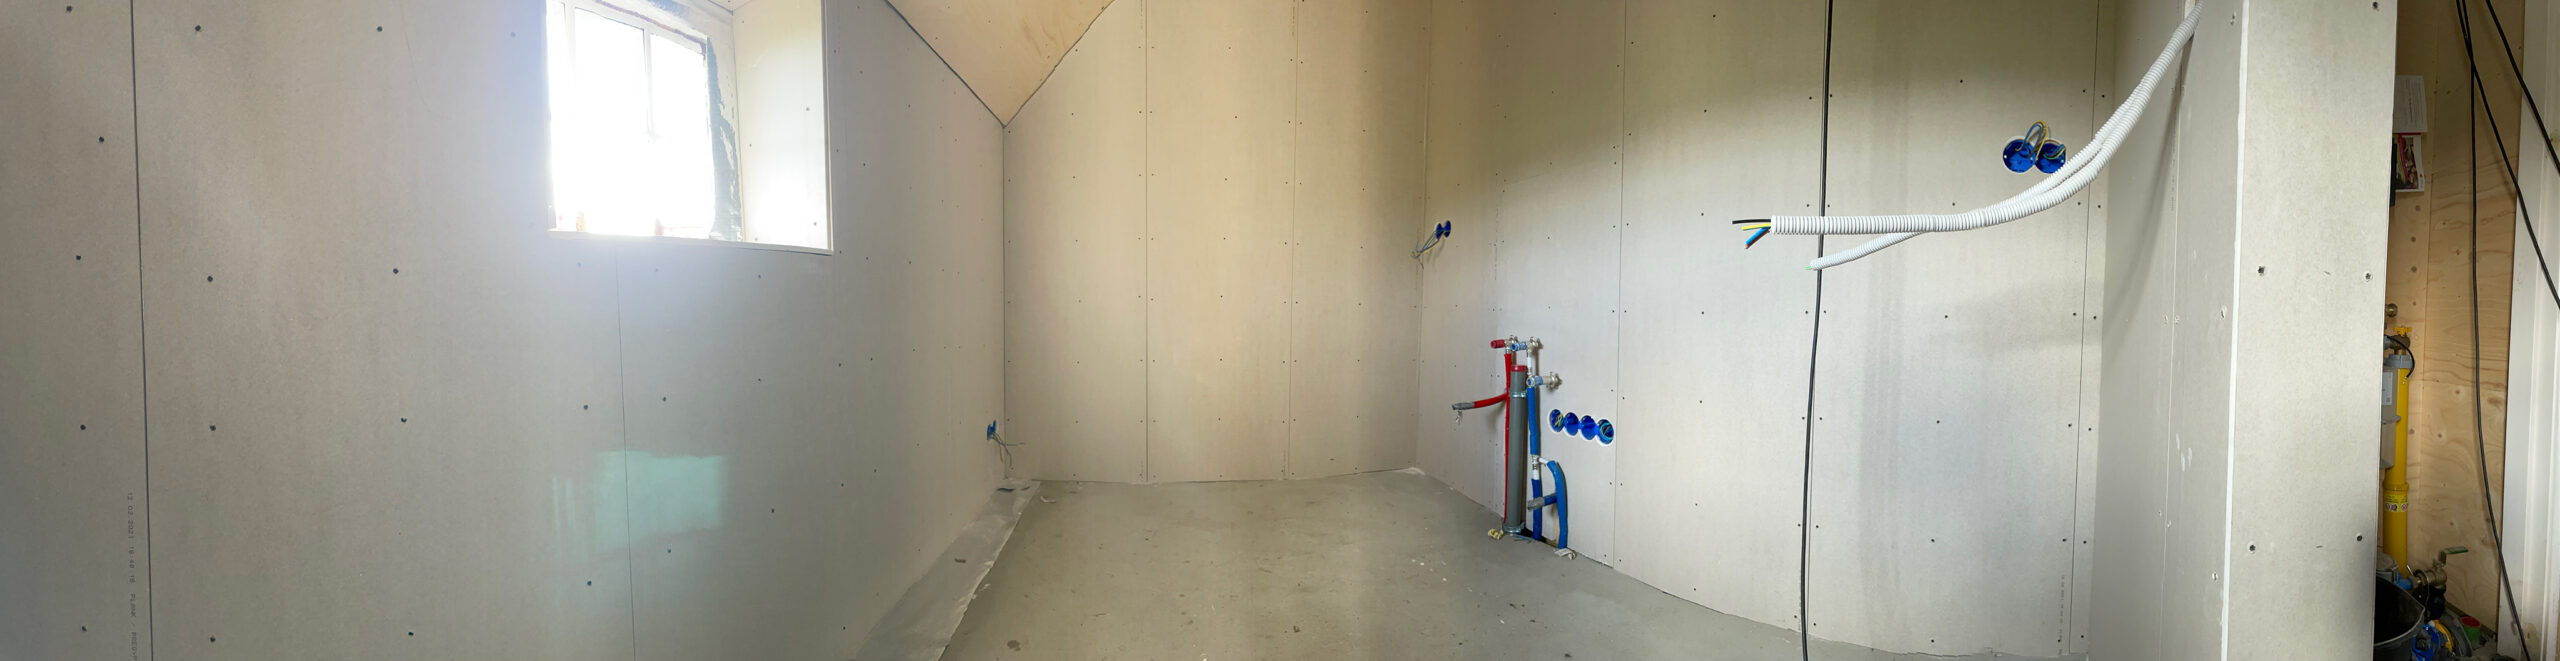
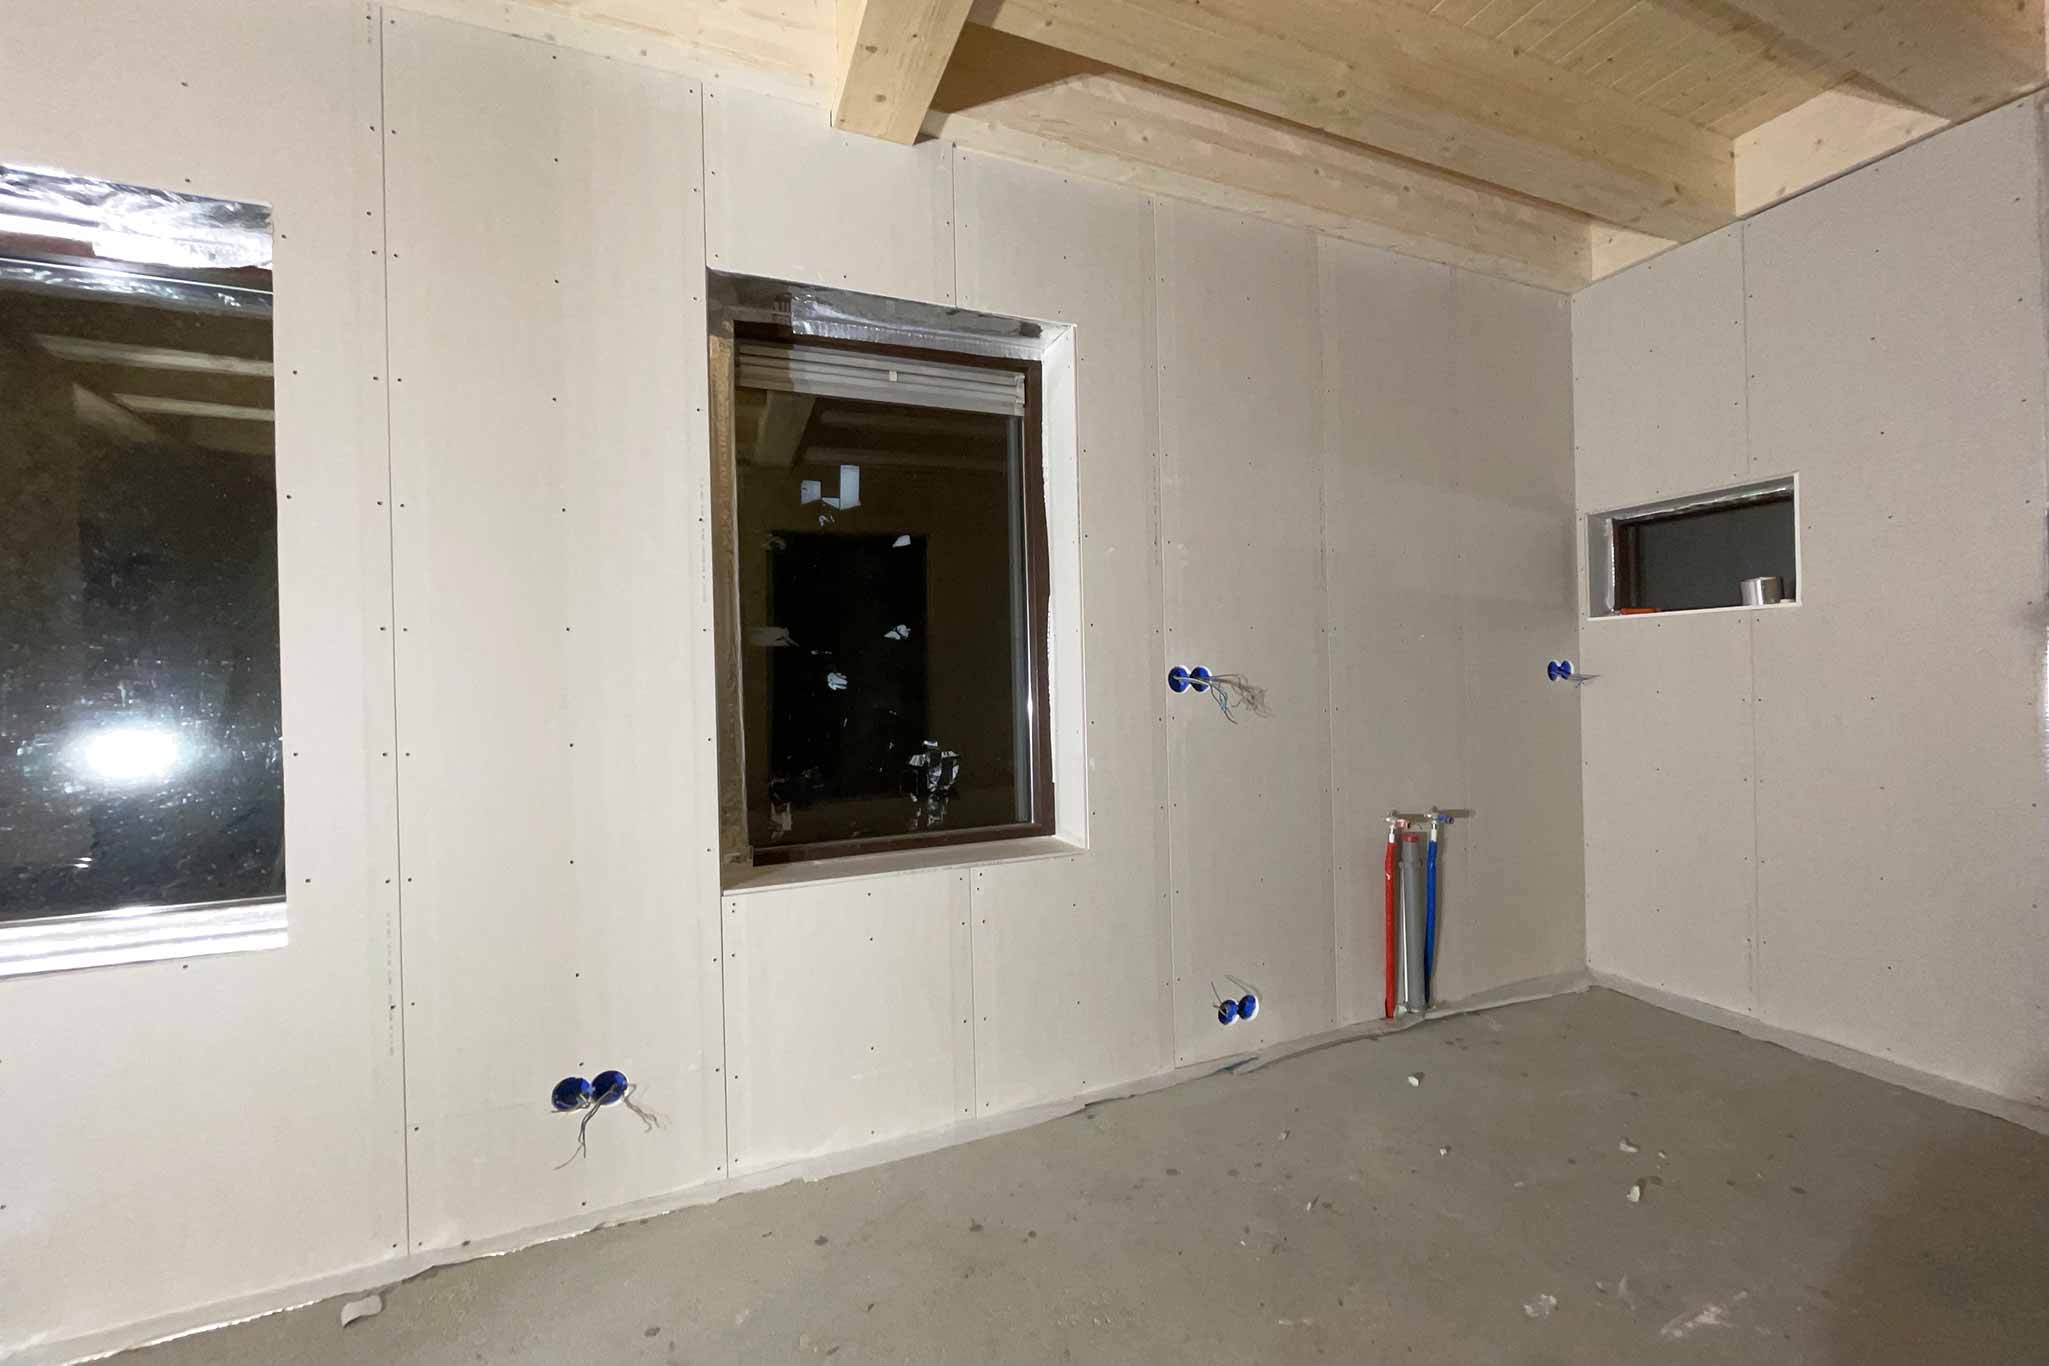
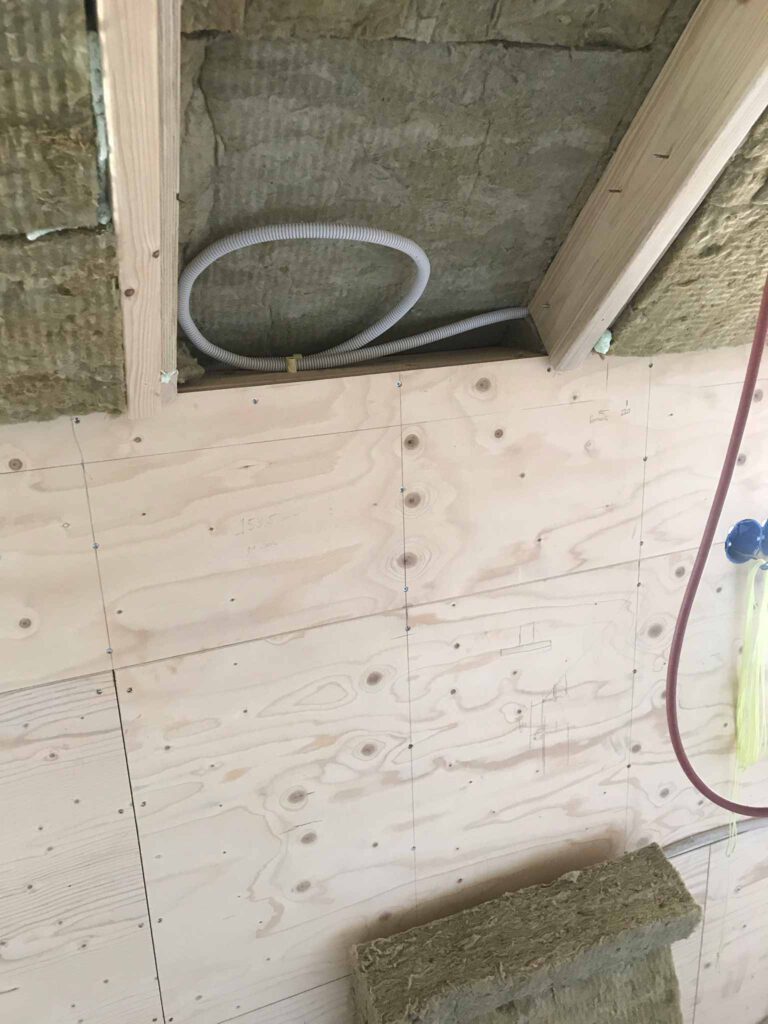
All the walls need to be paneled with plaster boards. After this, people with actual skills can finish them with stucco (after which we will finish that with paint).
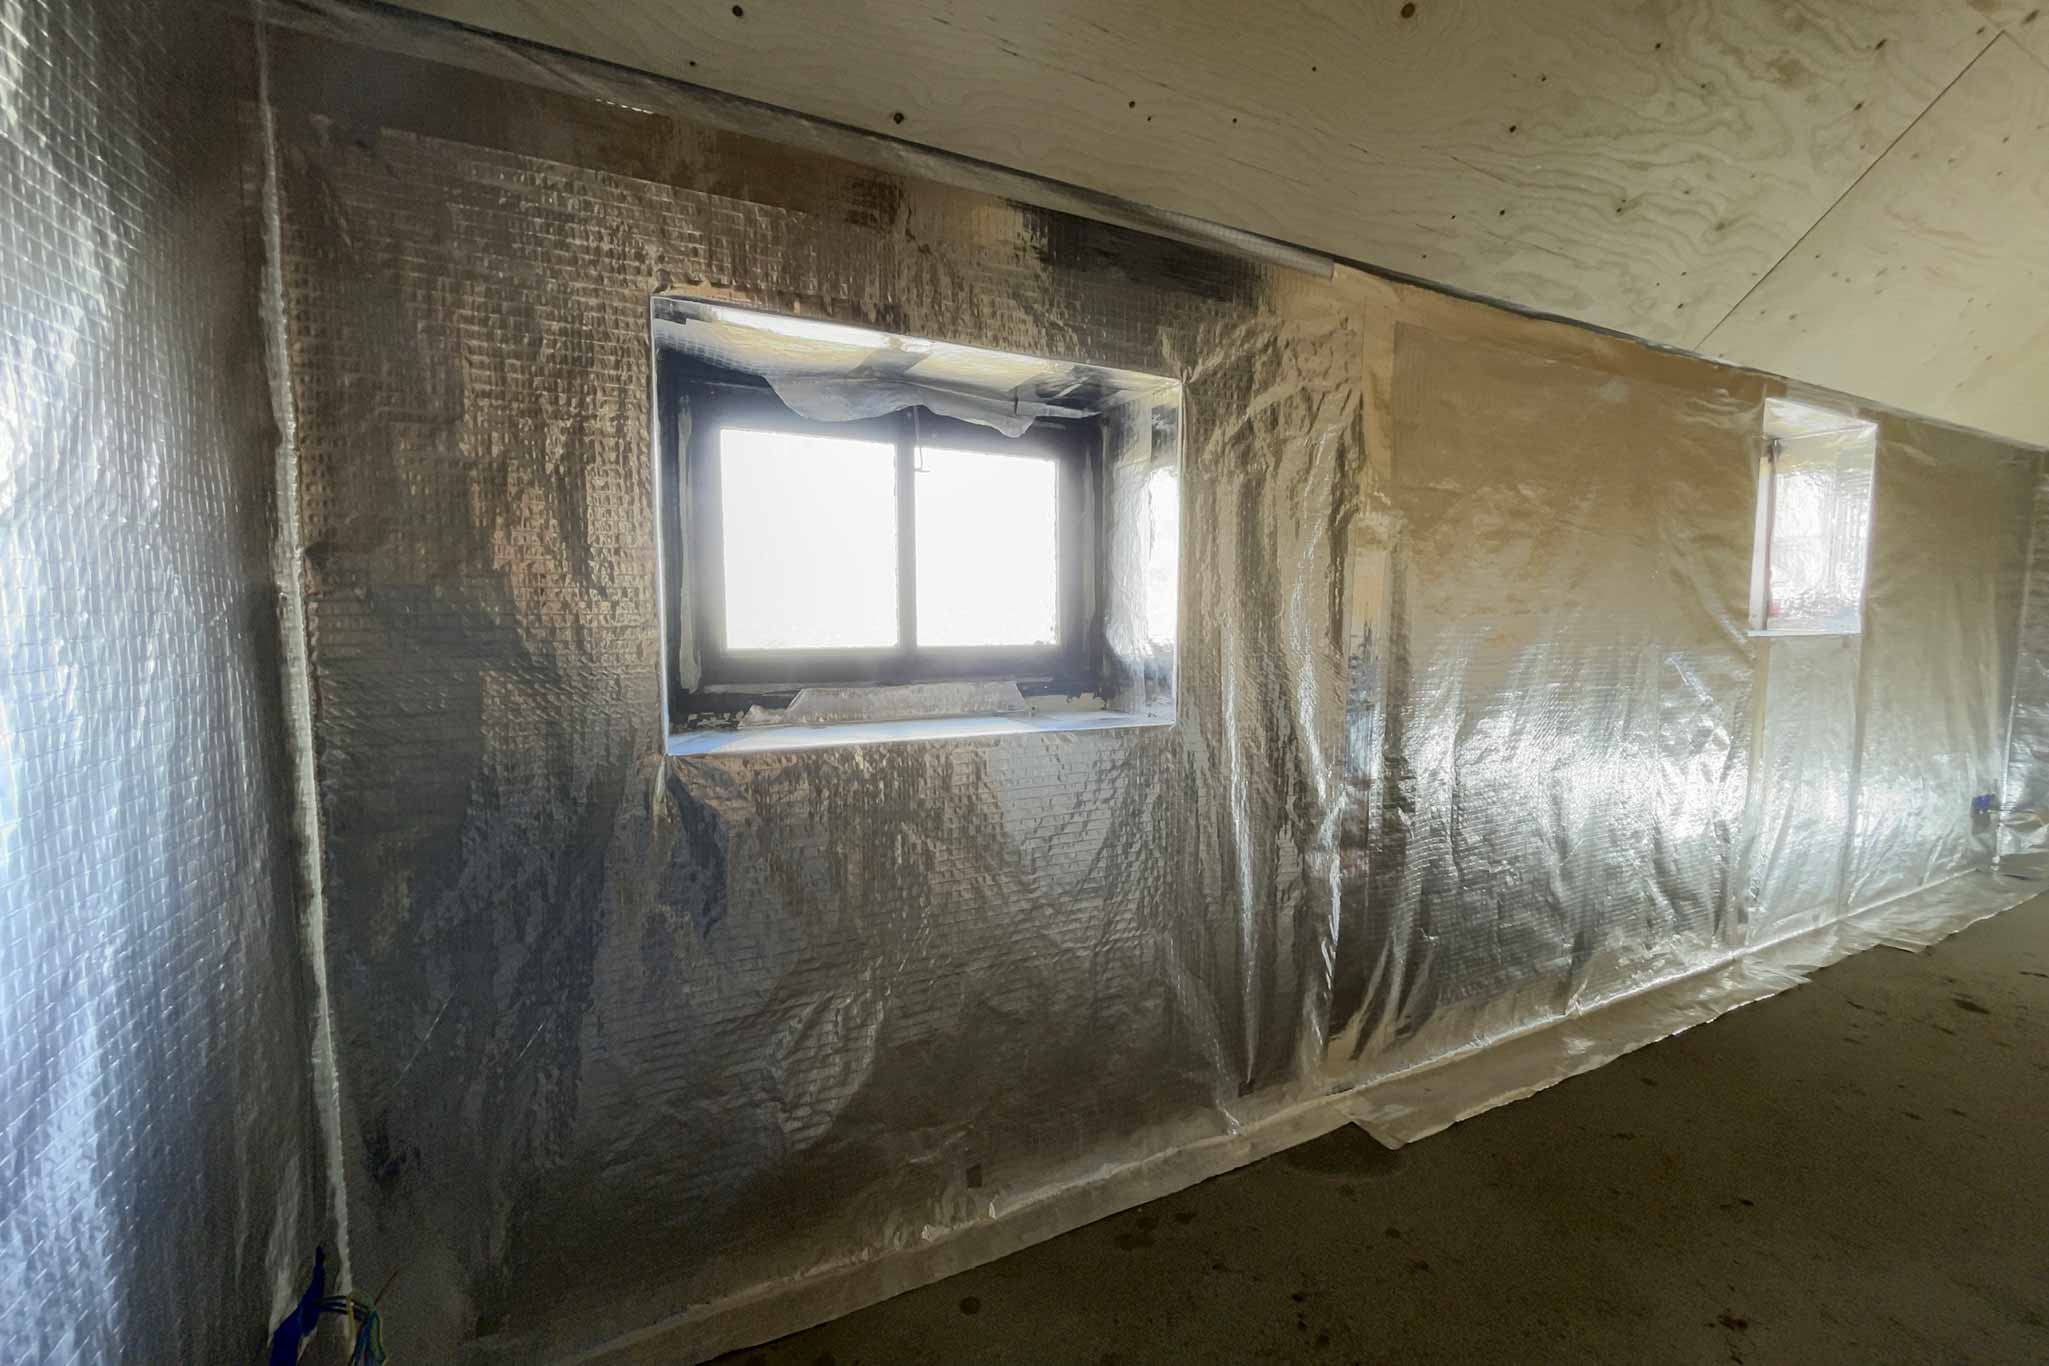
And if there was not enough foil yet, the outside walls need to be sealed with that too.
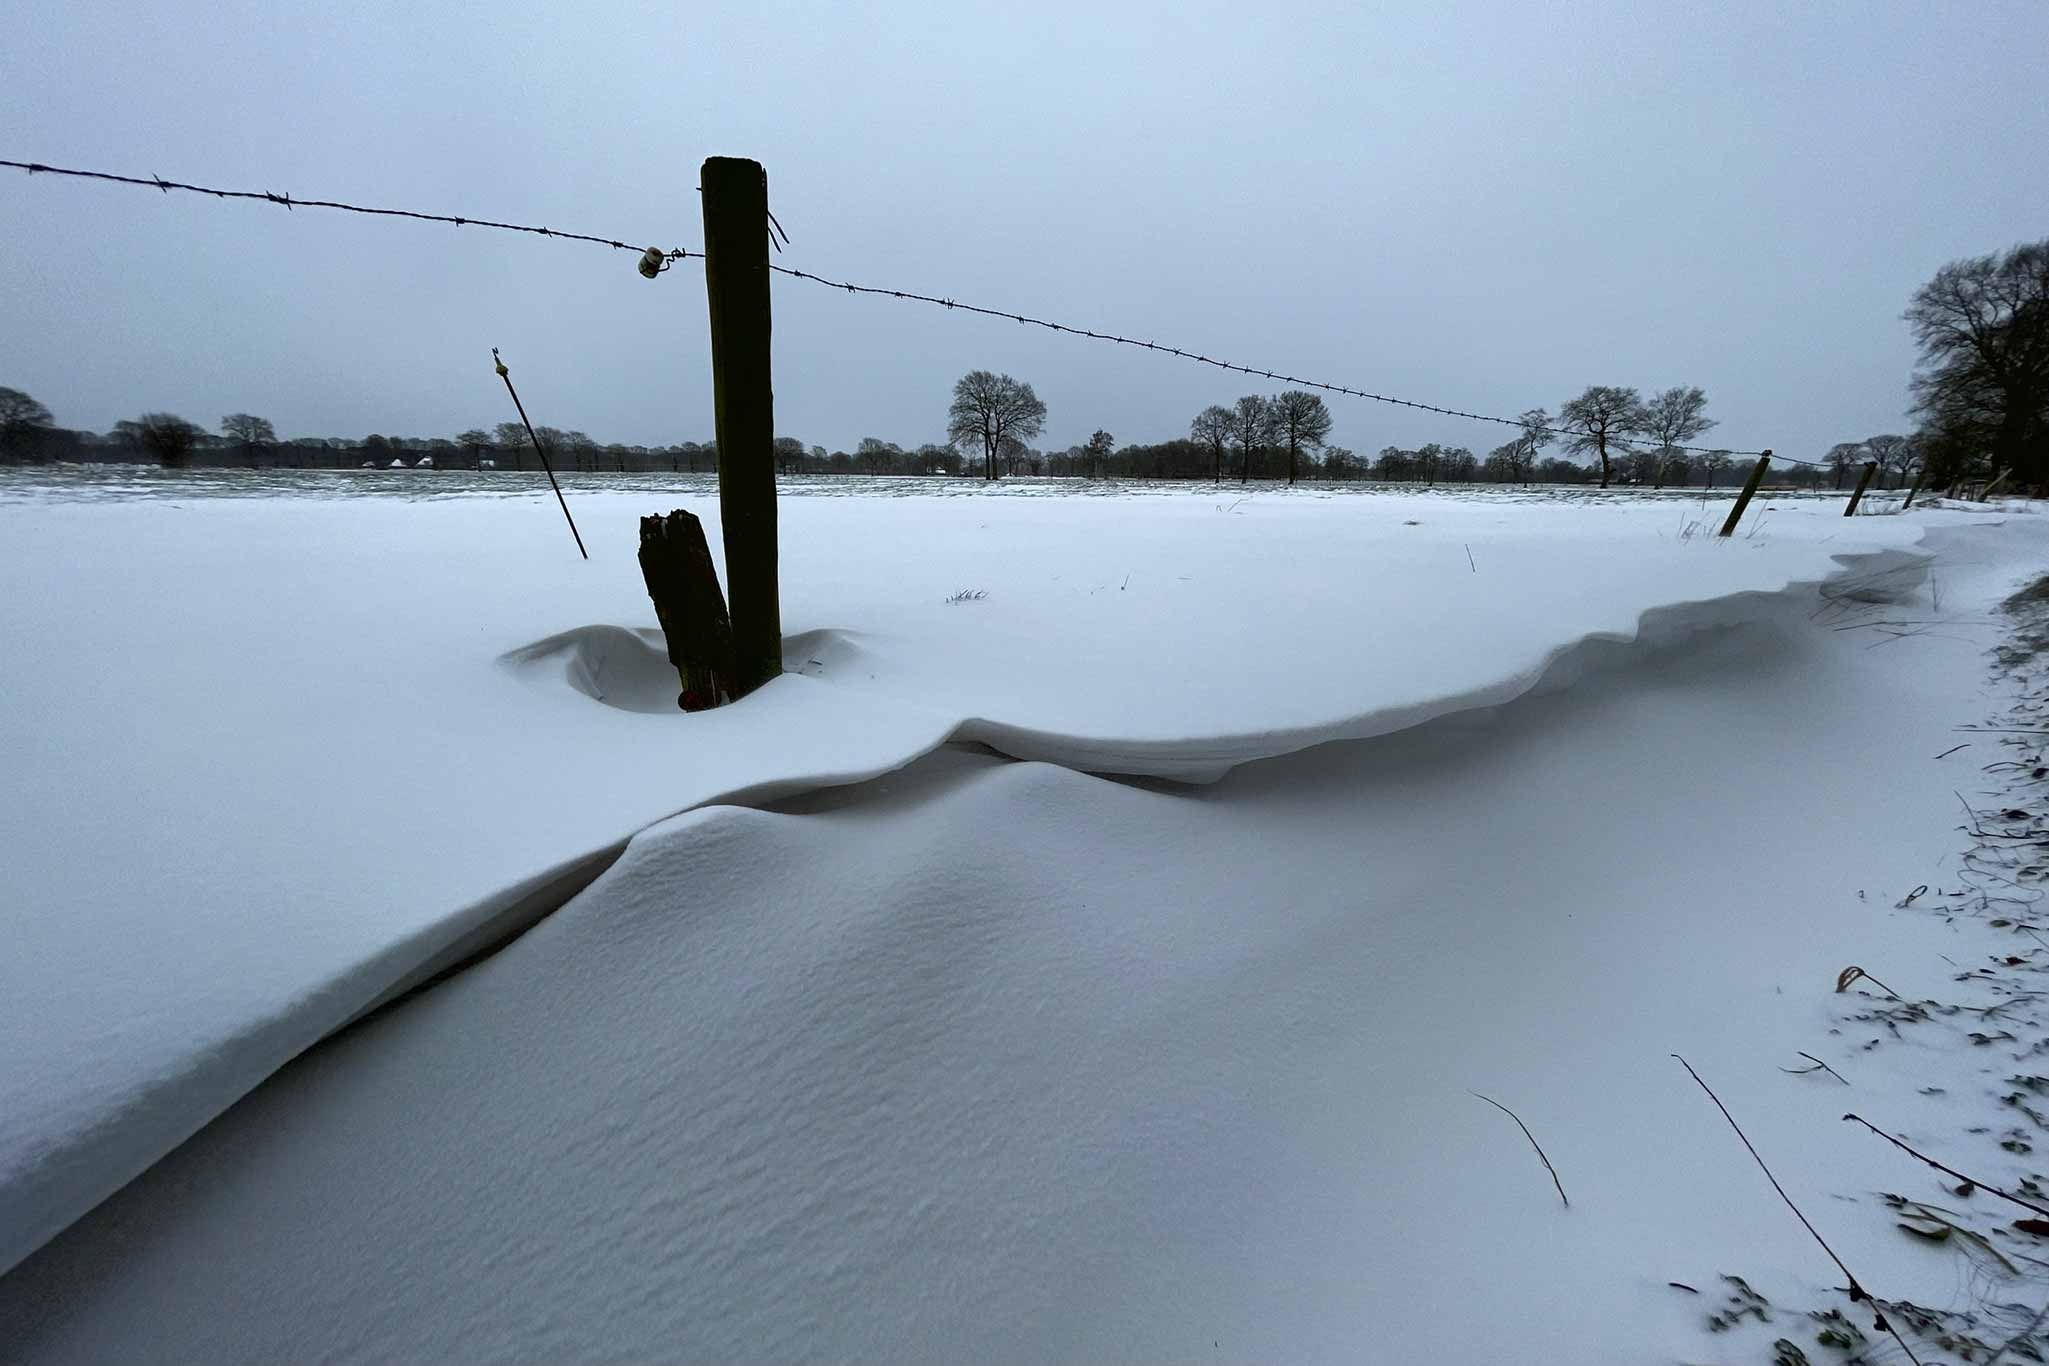
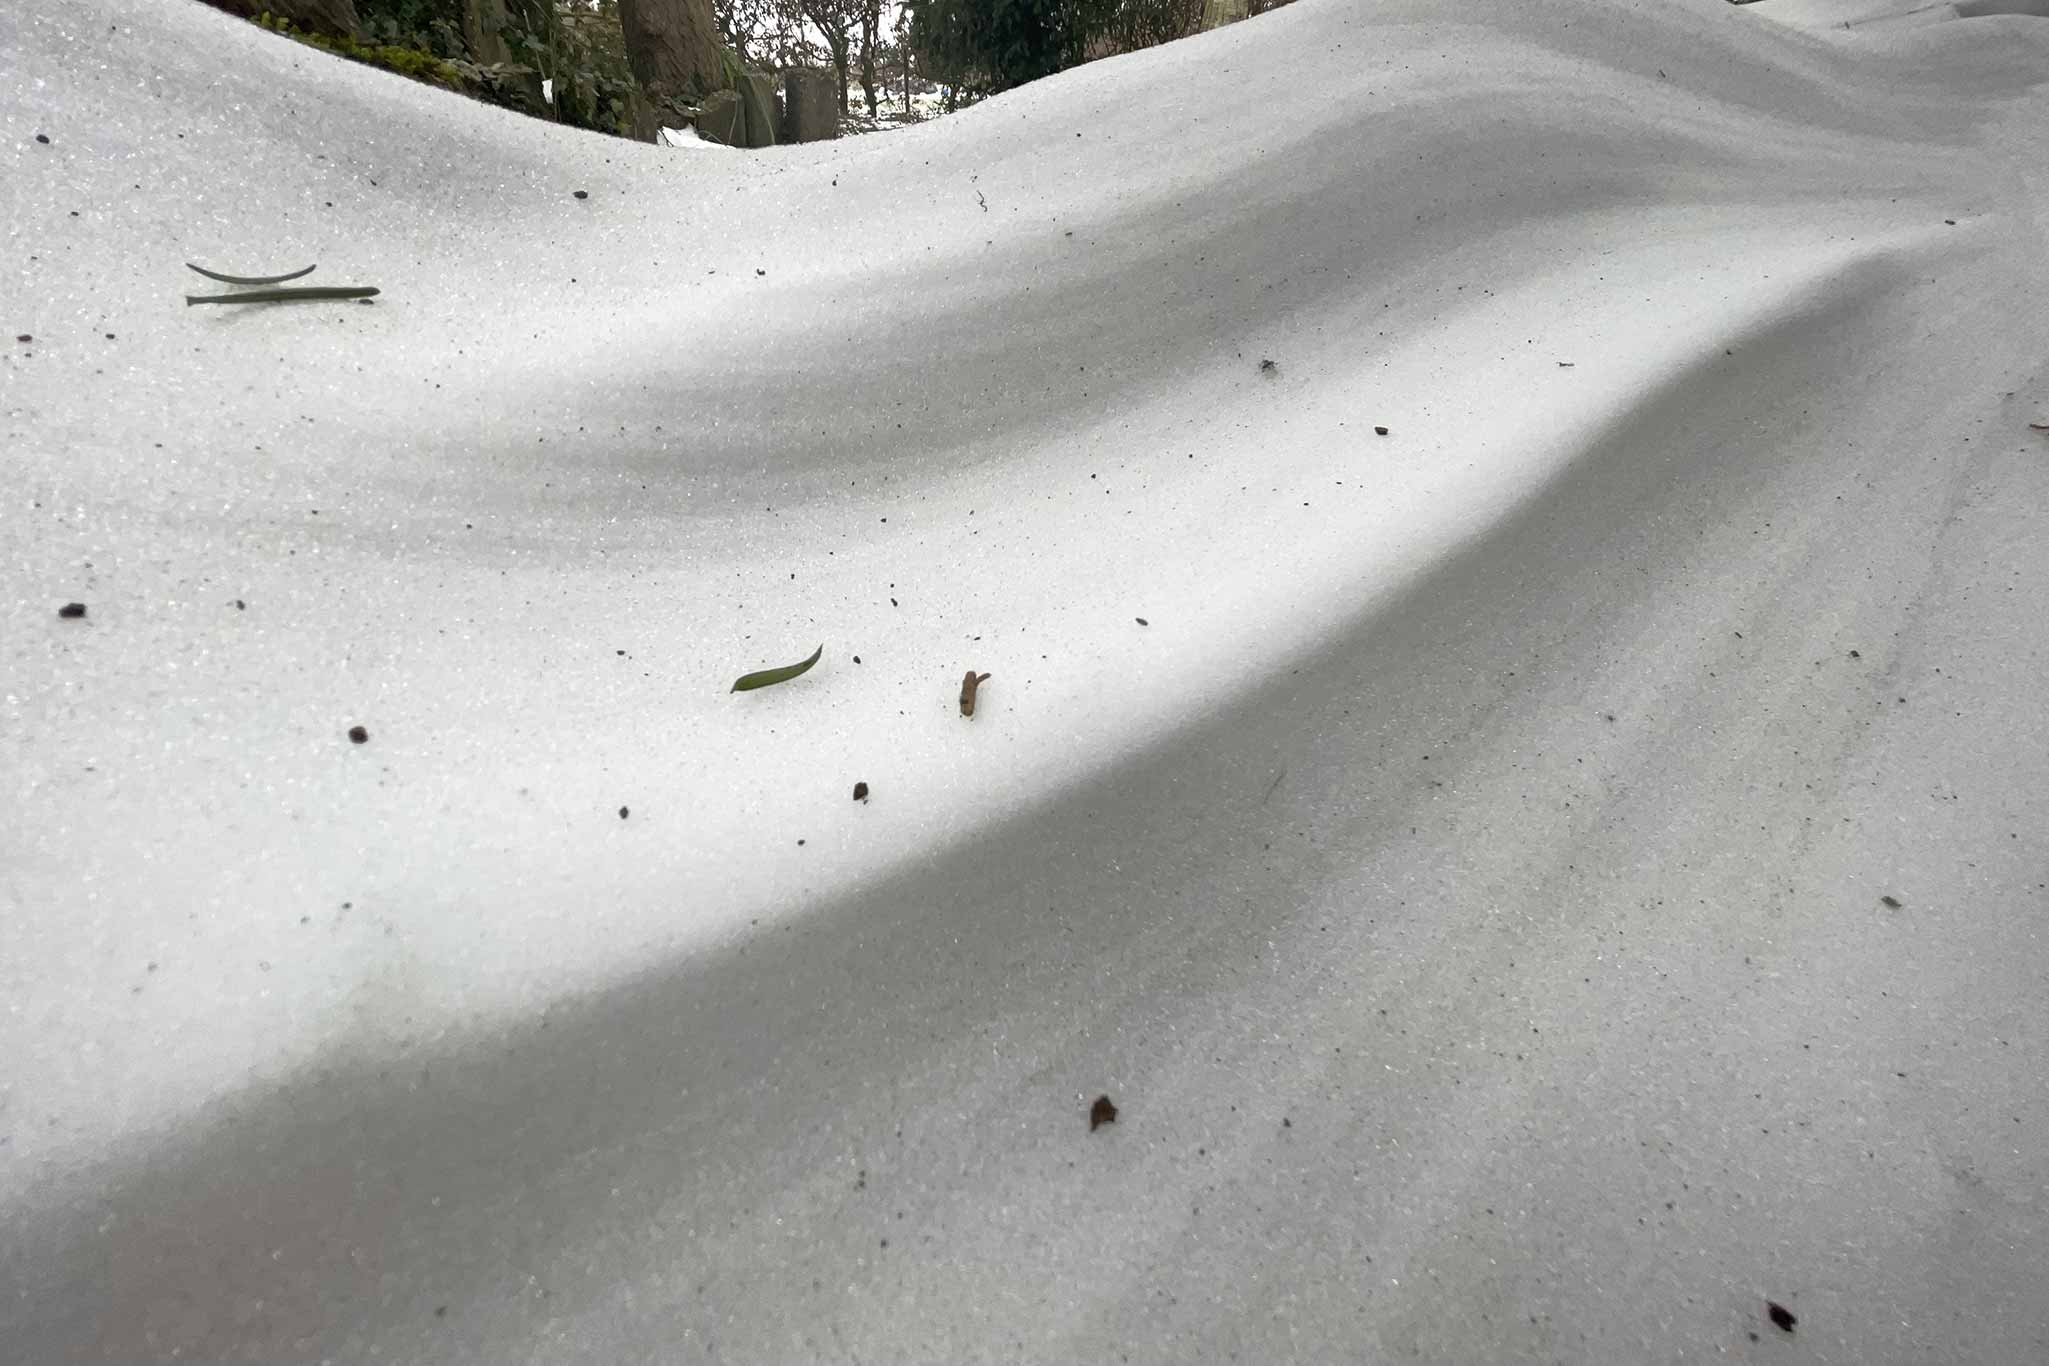
Yes, really! It can be winter here in the Netherlands. There was a snowstorm and a fair amount of frost over a week’s period. Pretty!
Downside was that the snow actually was blown under the (black) roof tiles. Once the sun heated that up, it started leaking here and there near the edges of all the foils placed earlier. No damage done, but another thing that needs attention, just in case…
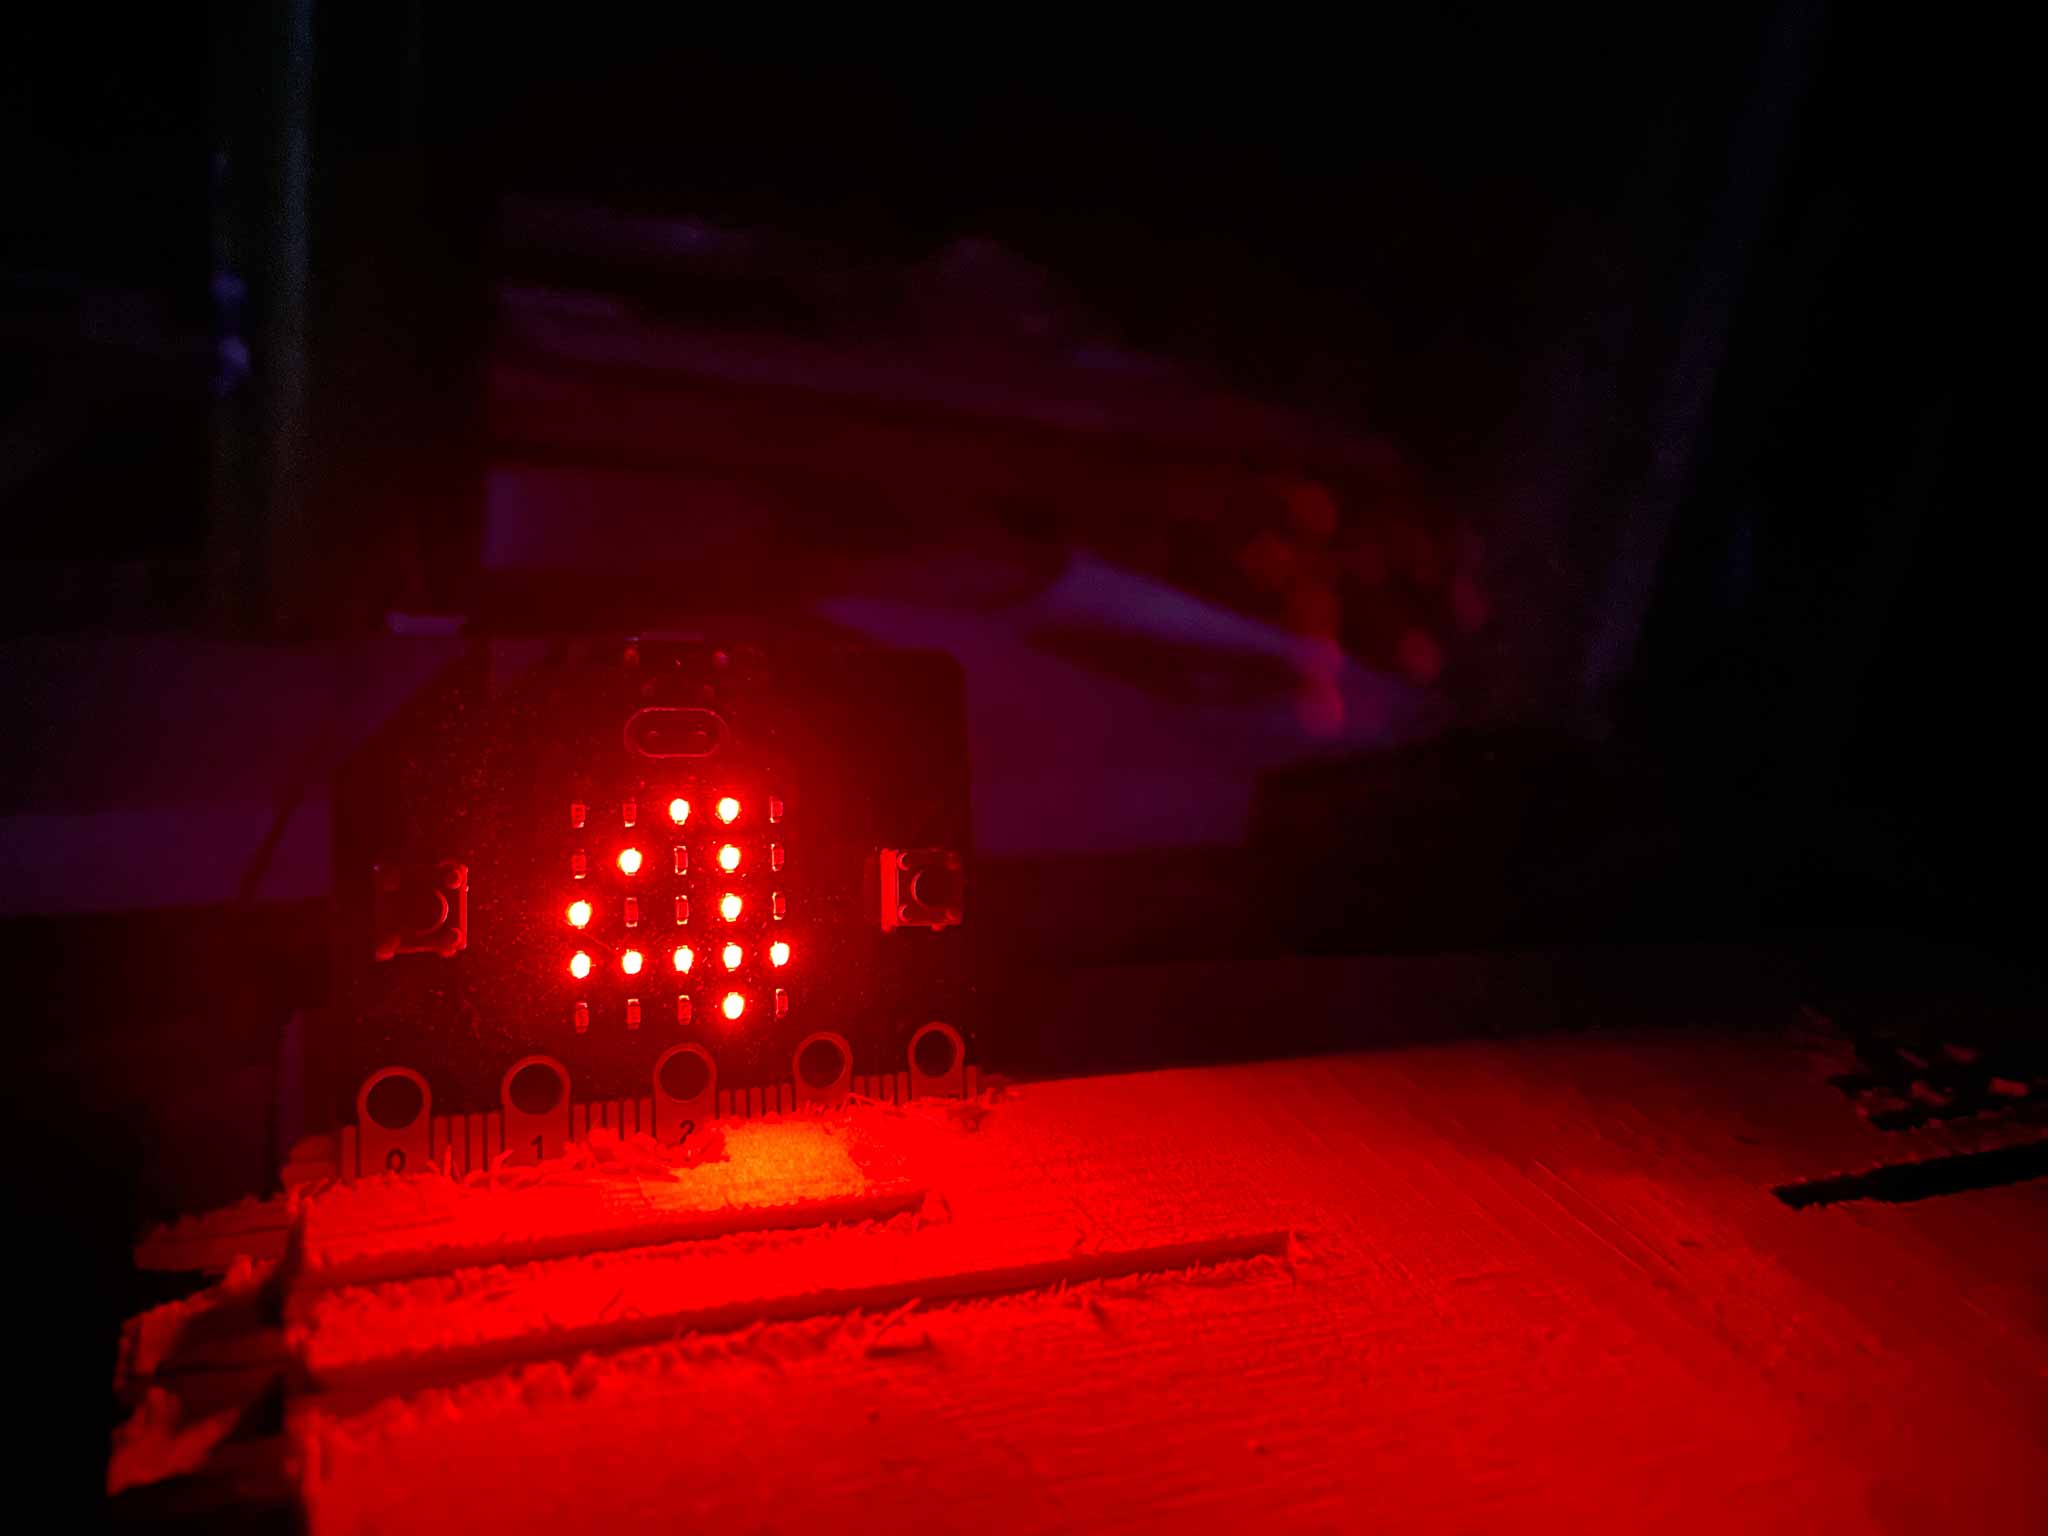
During the course of the one-week-winter we had 7 to 3 kW of heaters to be sure the liquids in the floor heating’s pipes would not freeze. A trusty Microbit was used to measure the temperature.
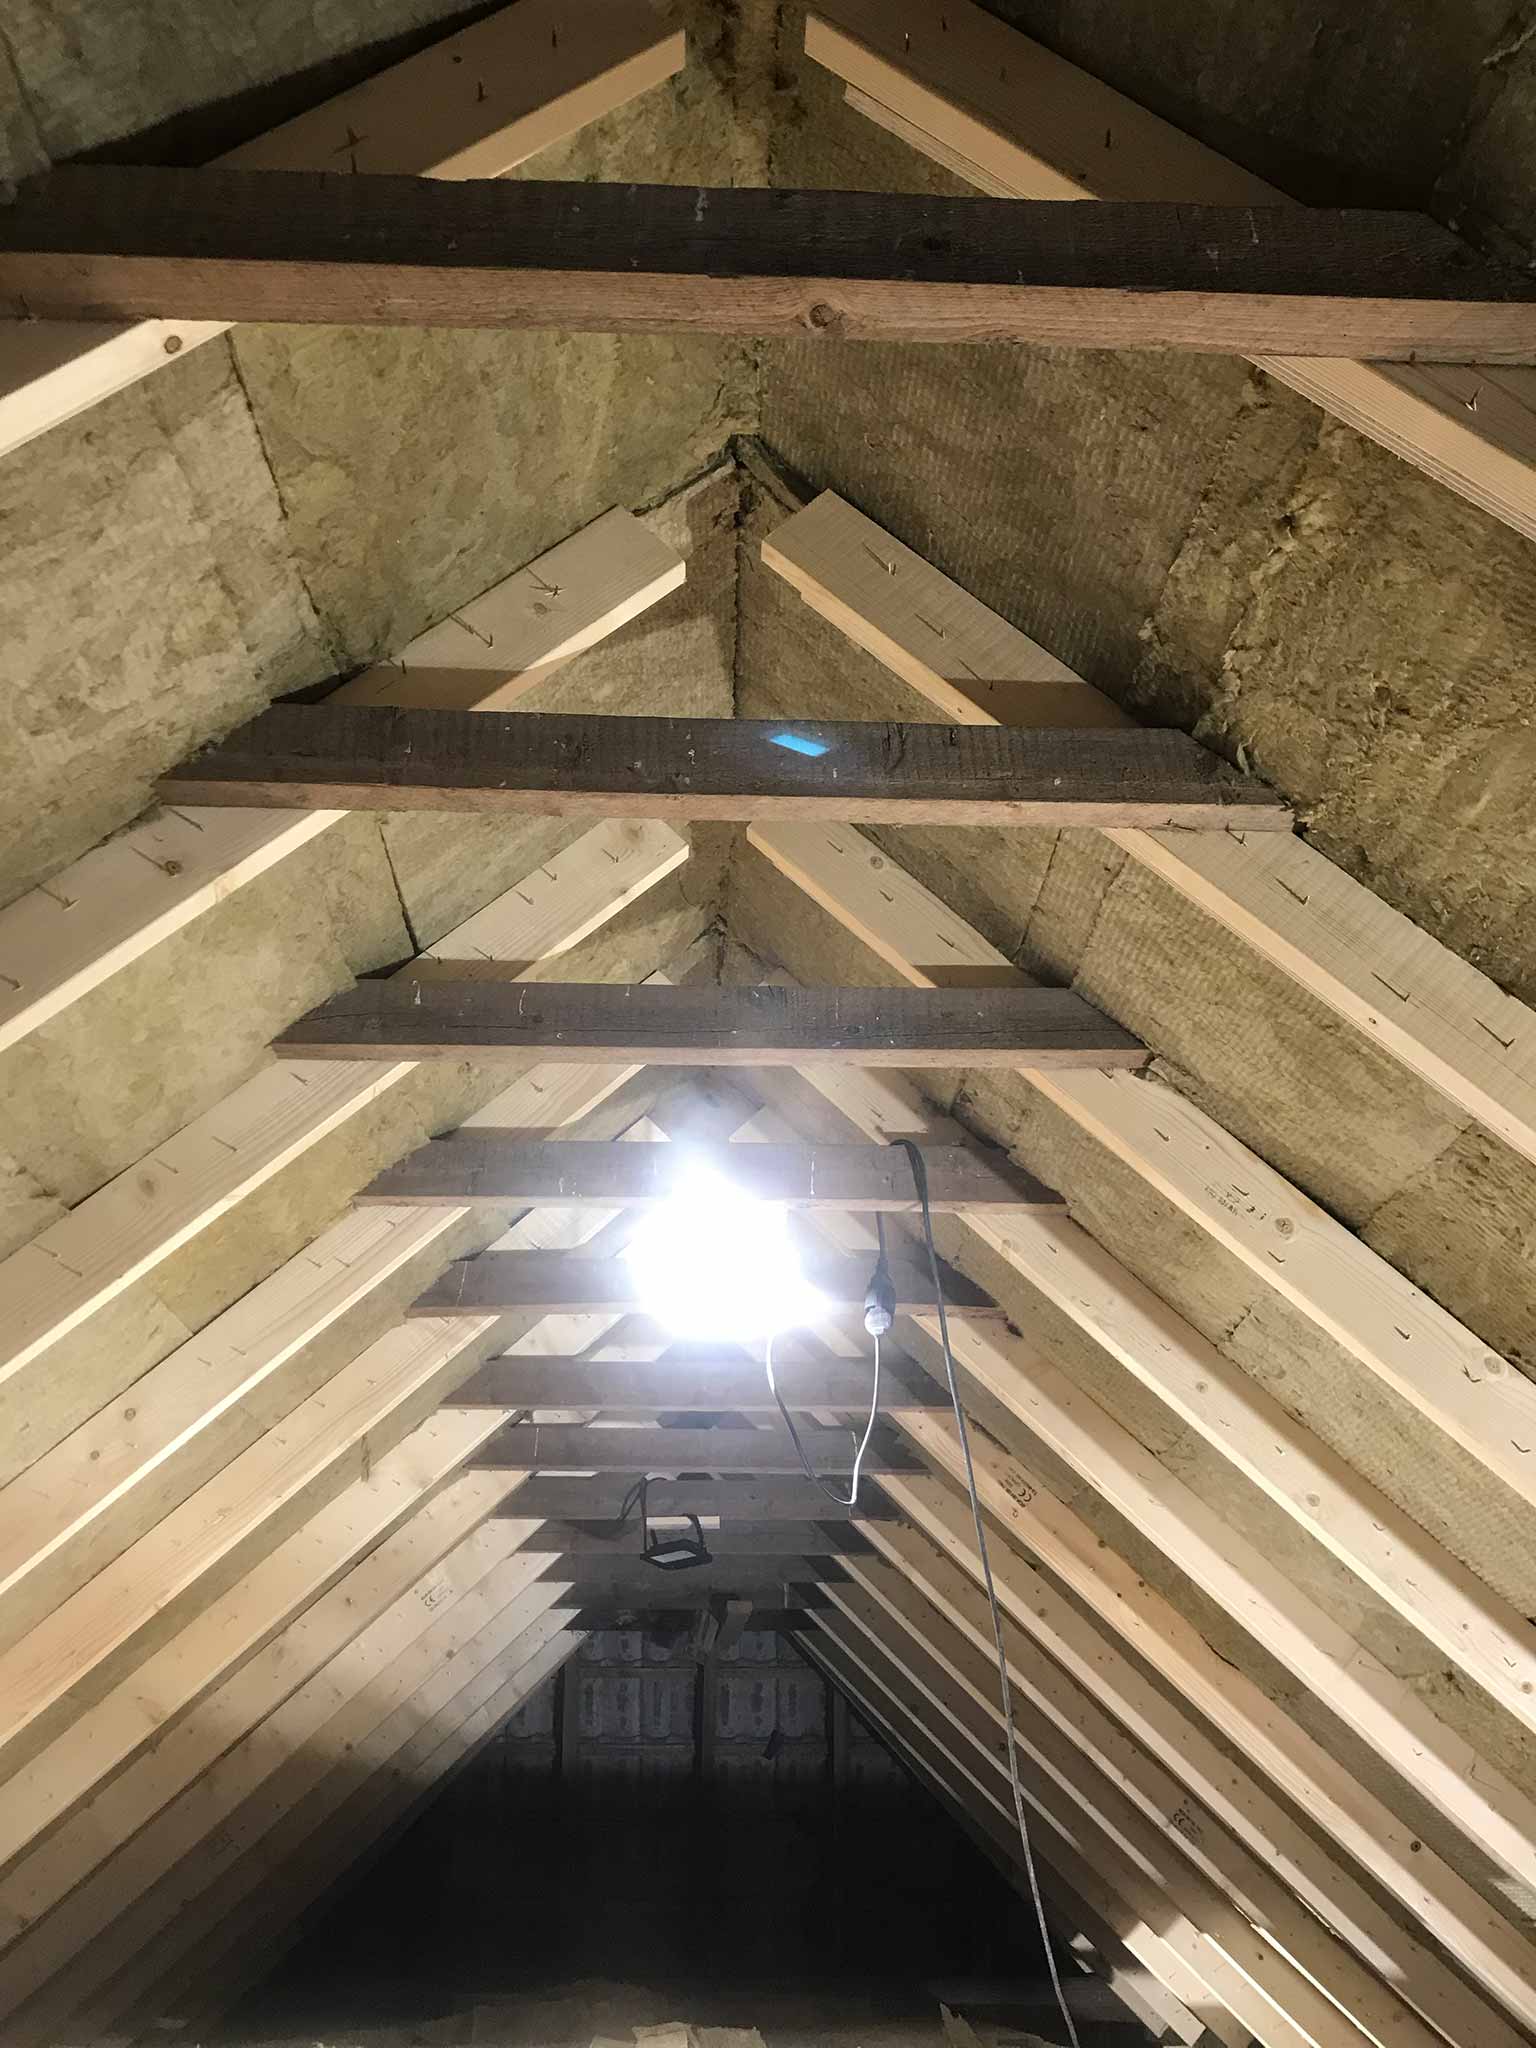
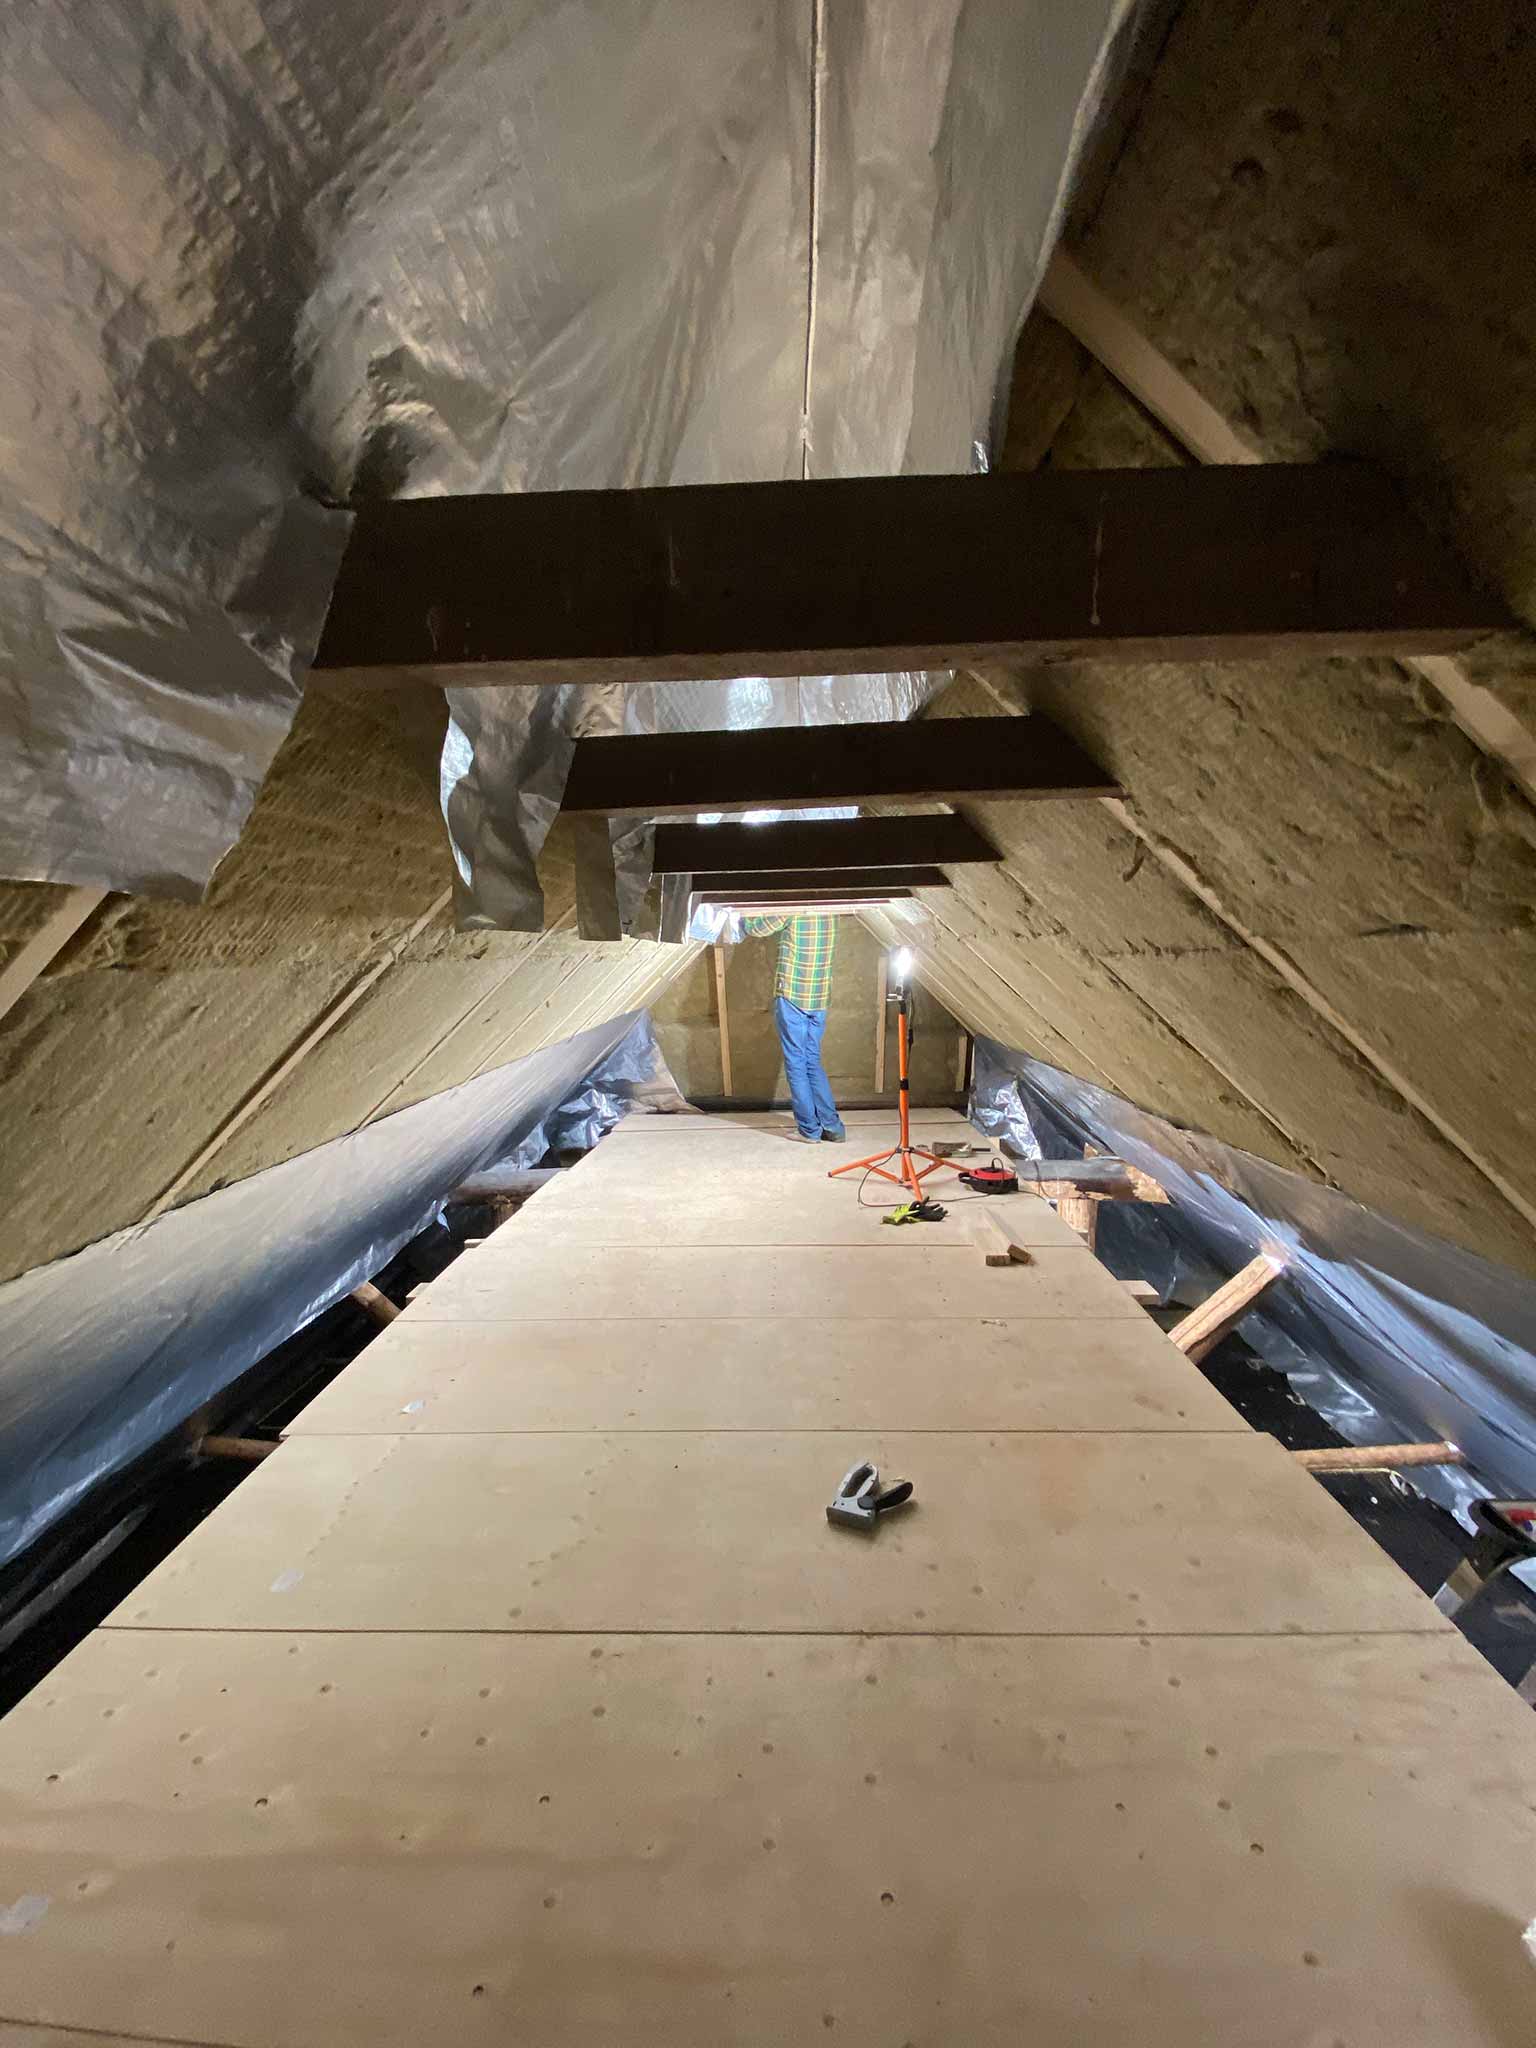
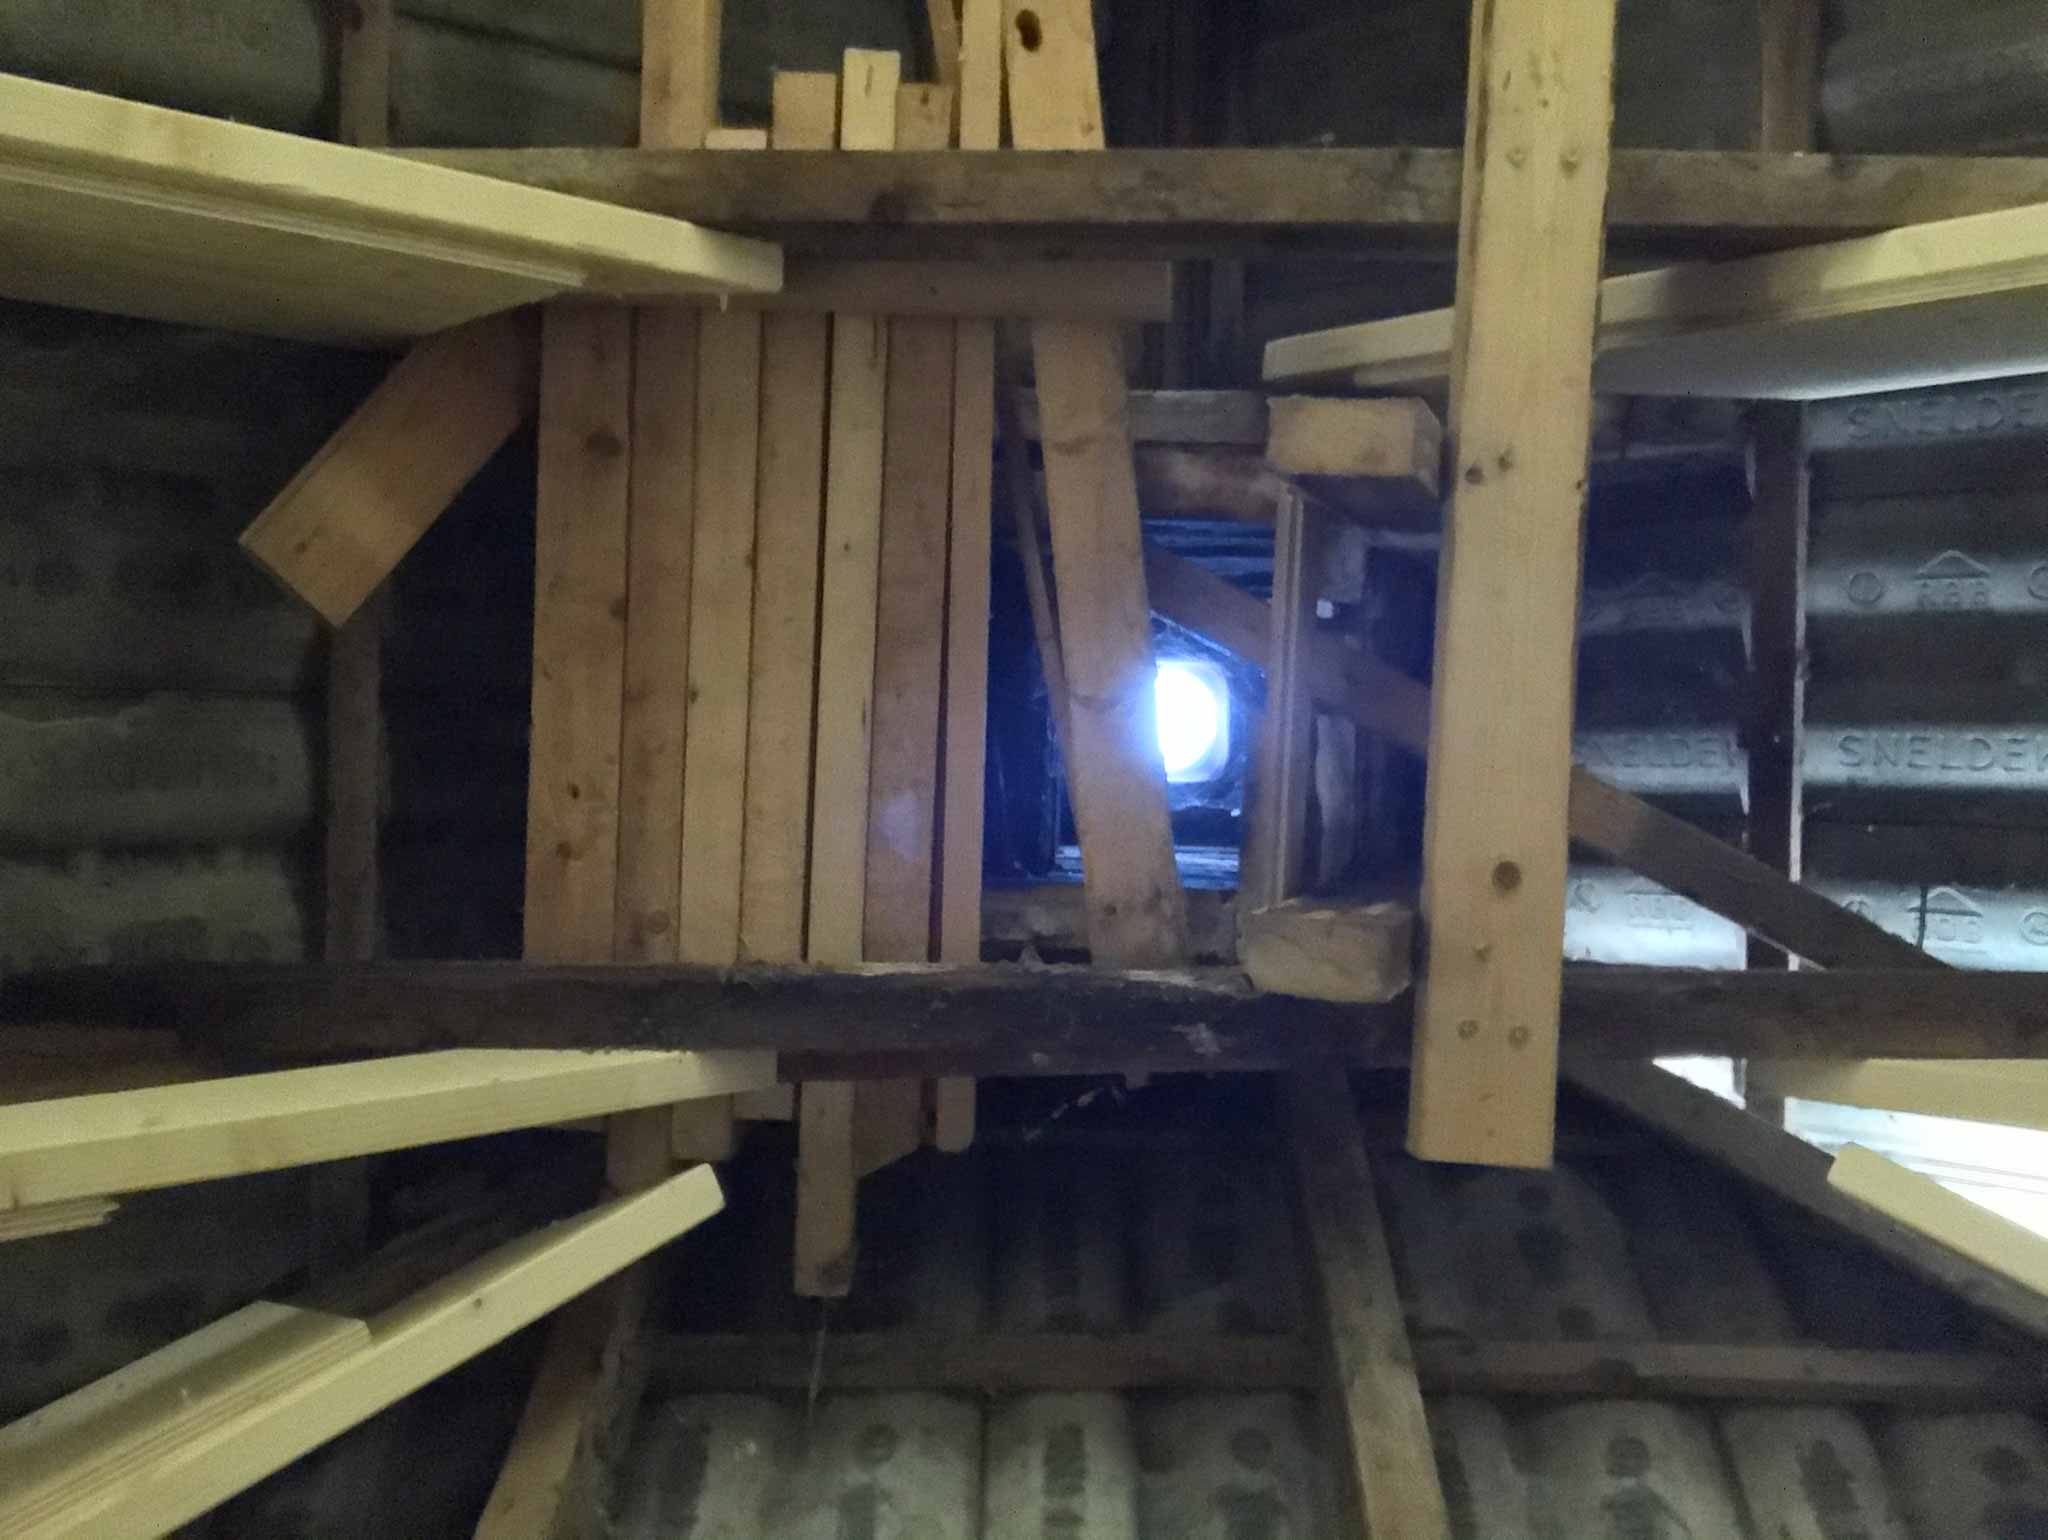
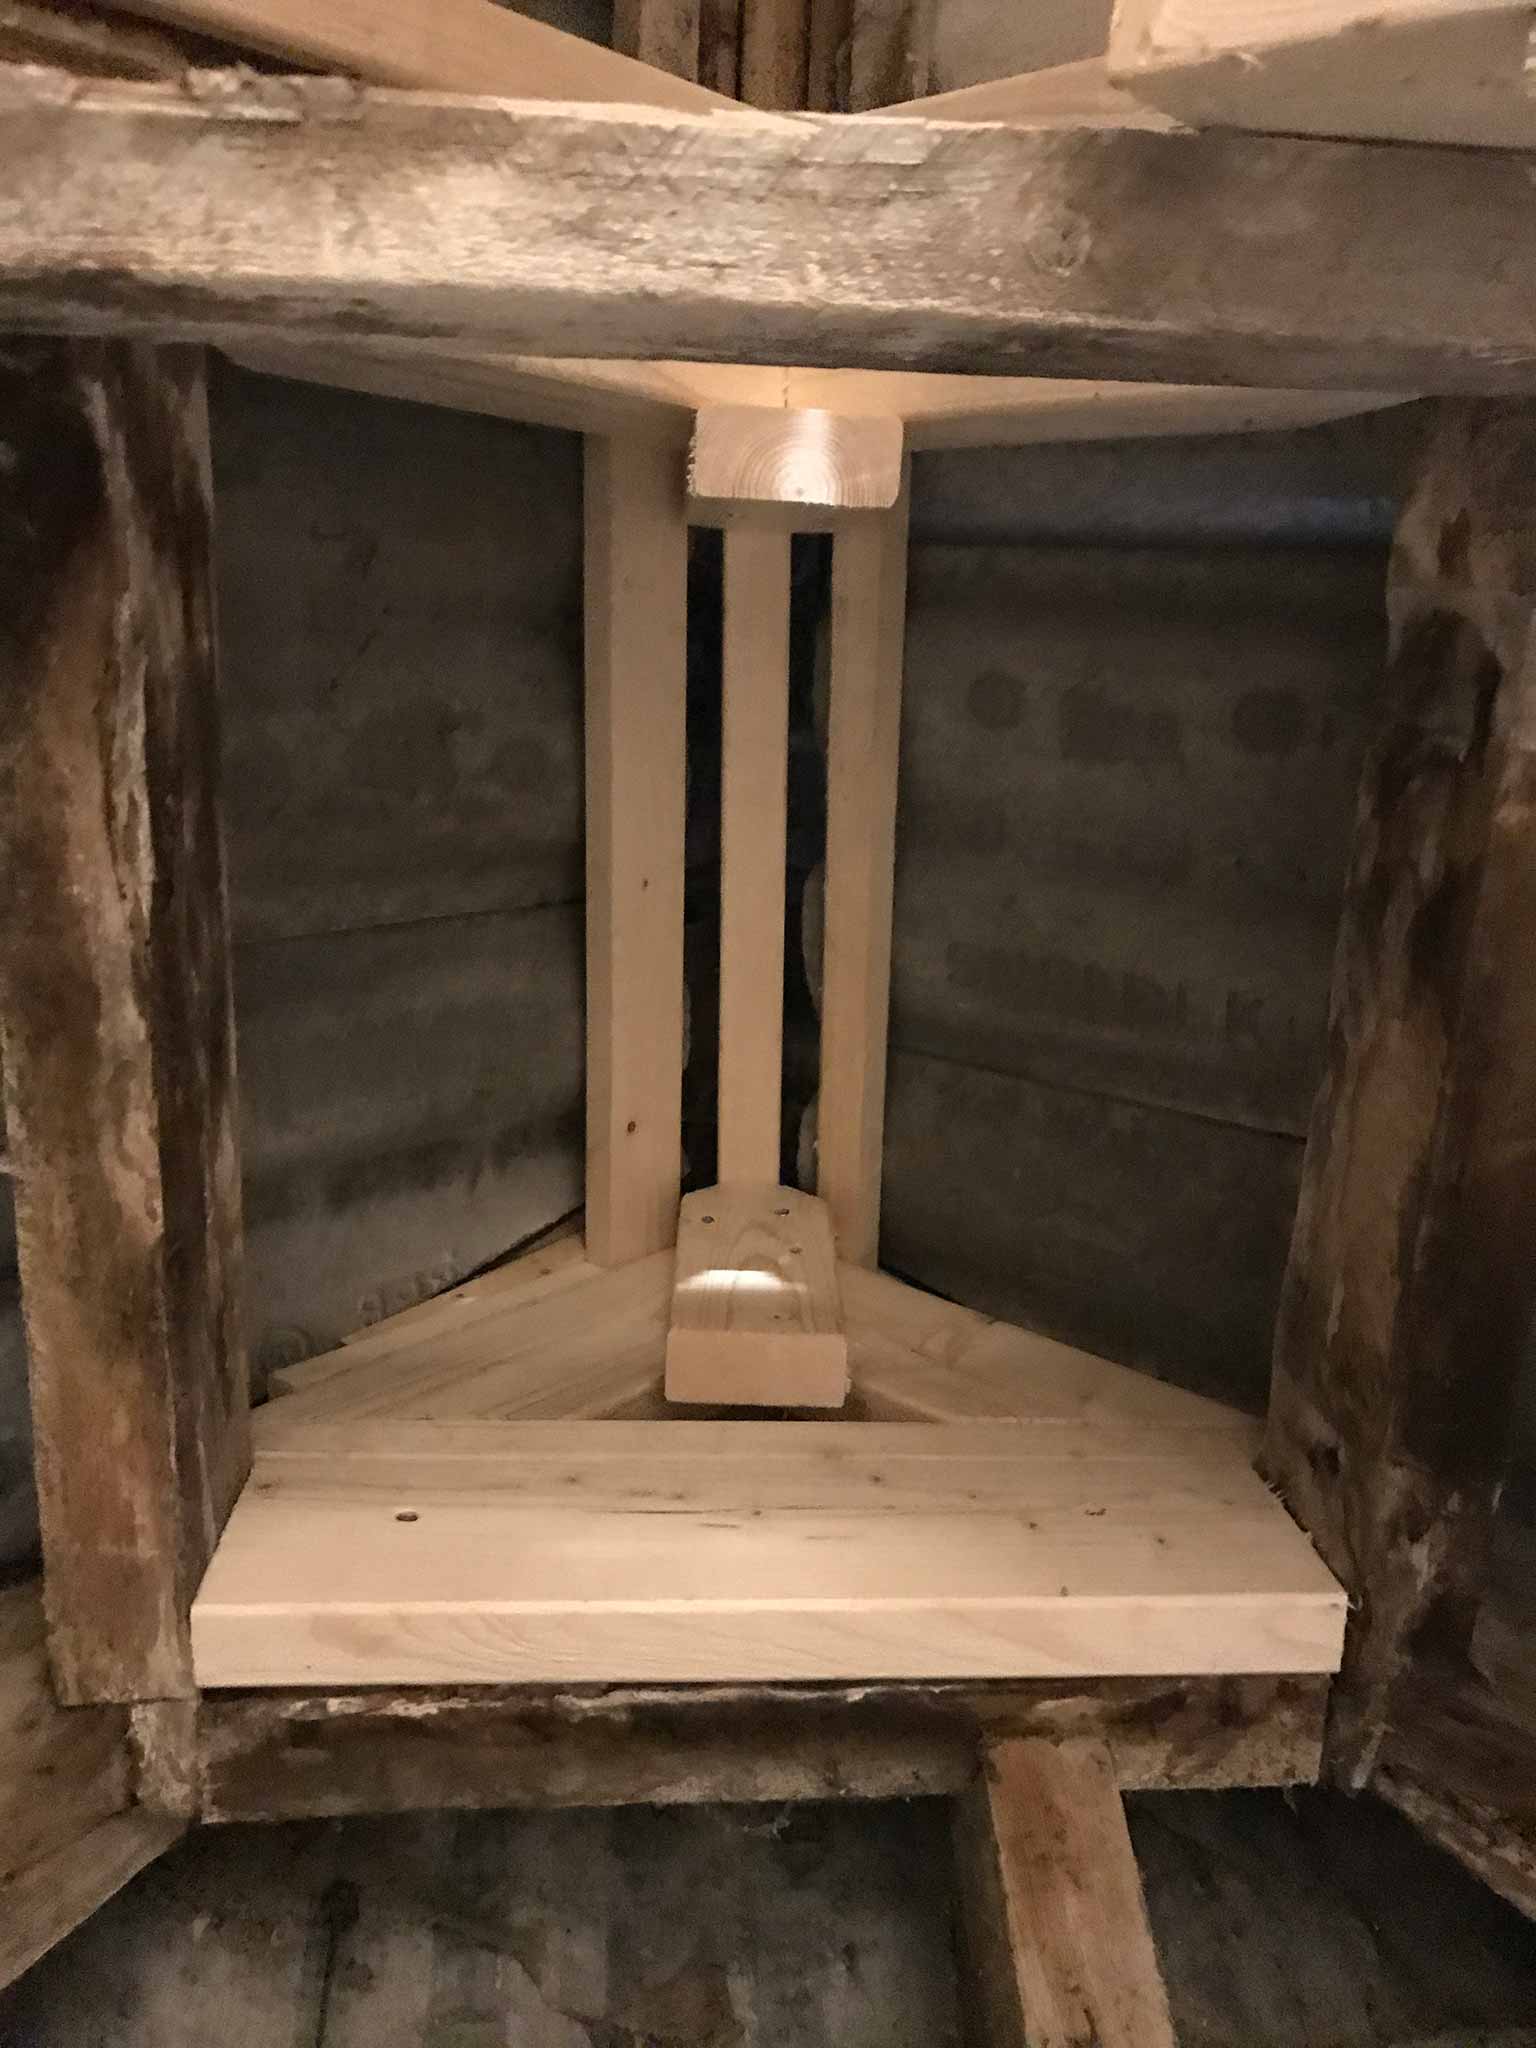
The hardes part of the roof’s paneling is done. All the panels around the trusses are done. Only hard thing left if to fill the cut outs done in order to slide the panels around the trusses. A task left for later… Just as the remaining parts (which are pretty straight forward). First we’ll busy ourselves with the walls of the ground floor so we can finish that part first.
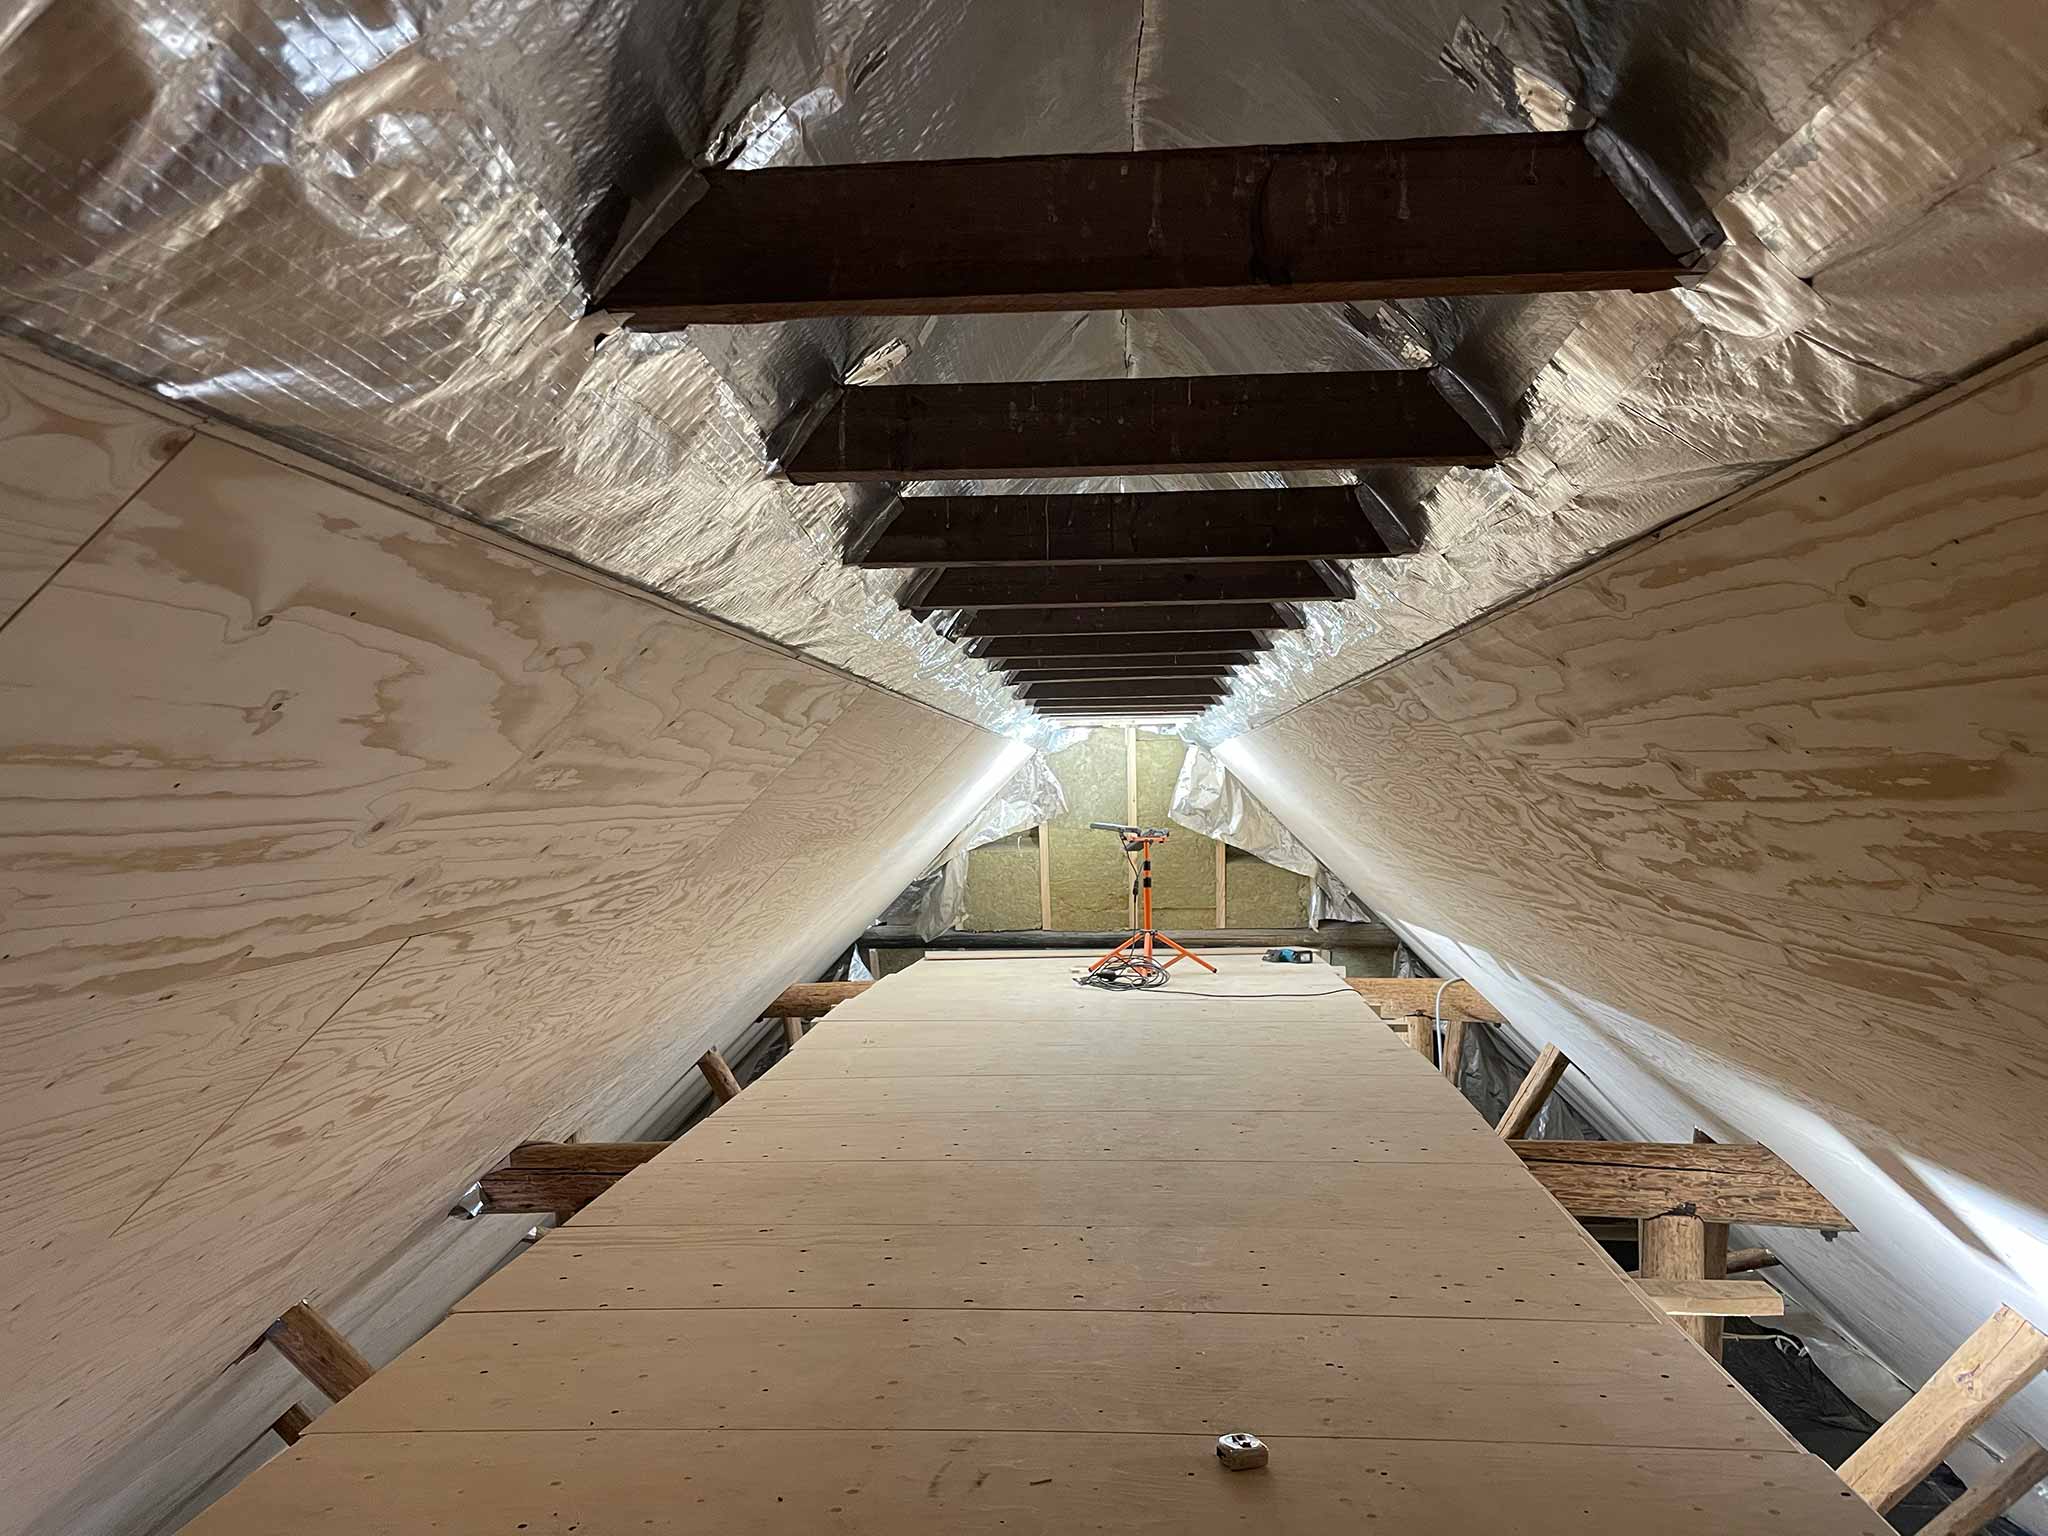
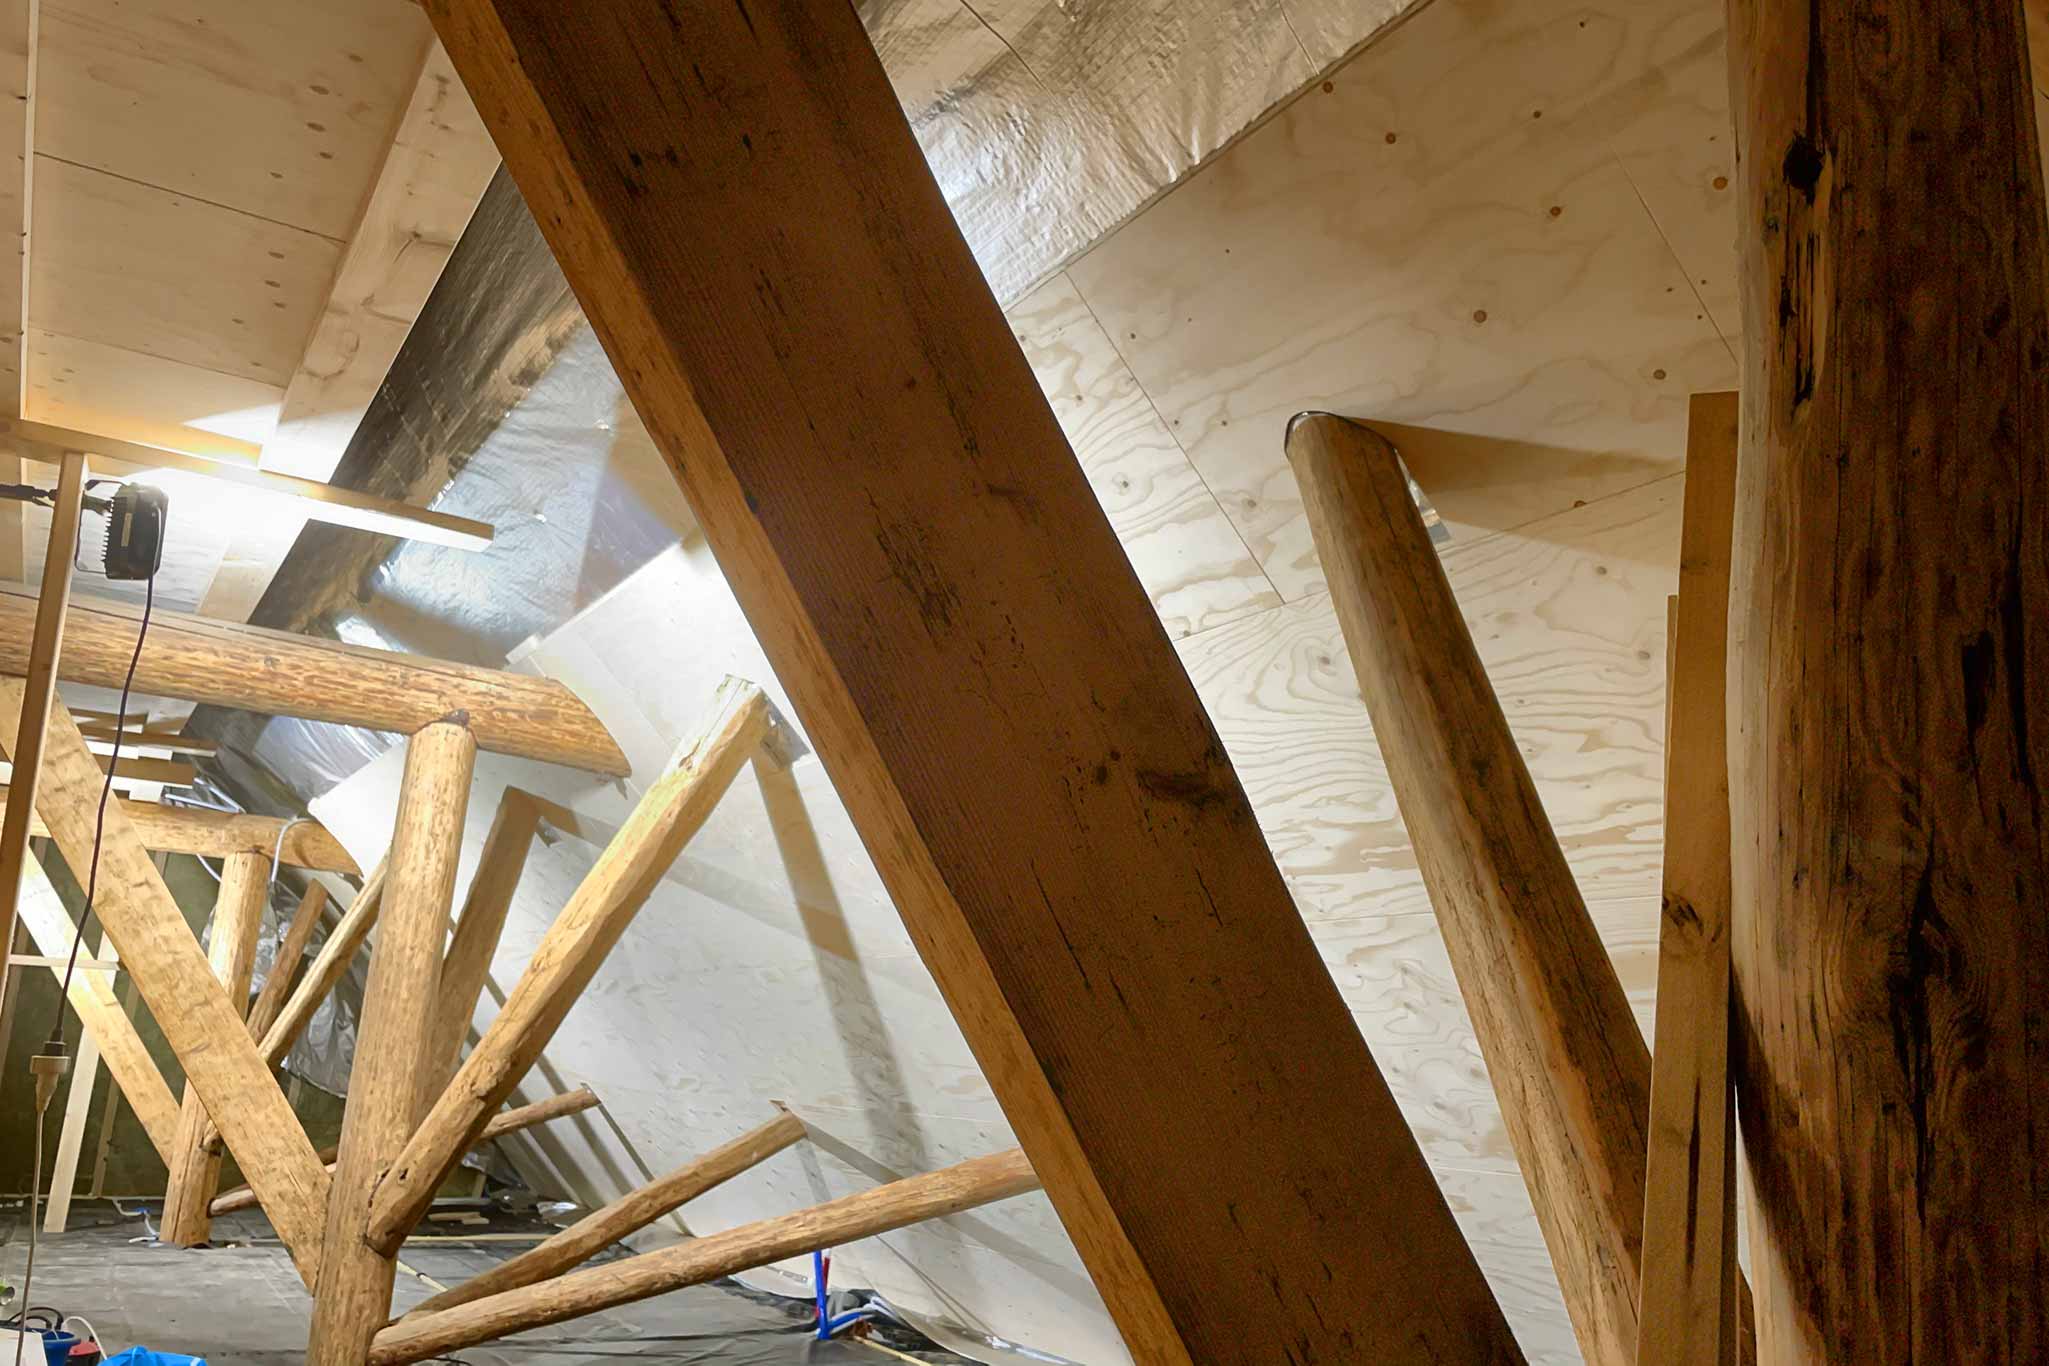
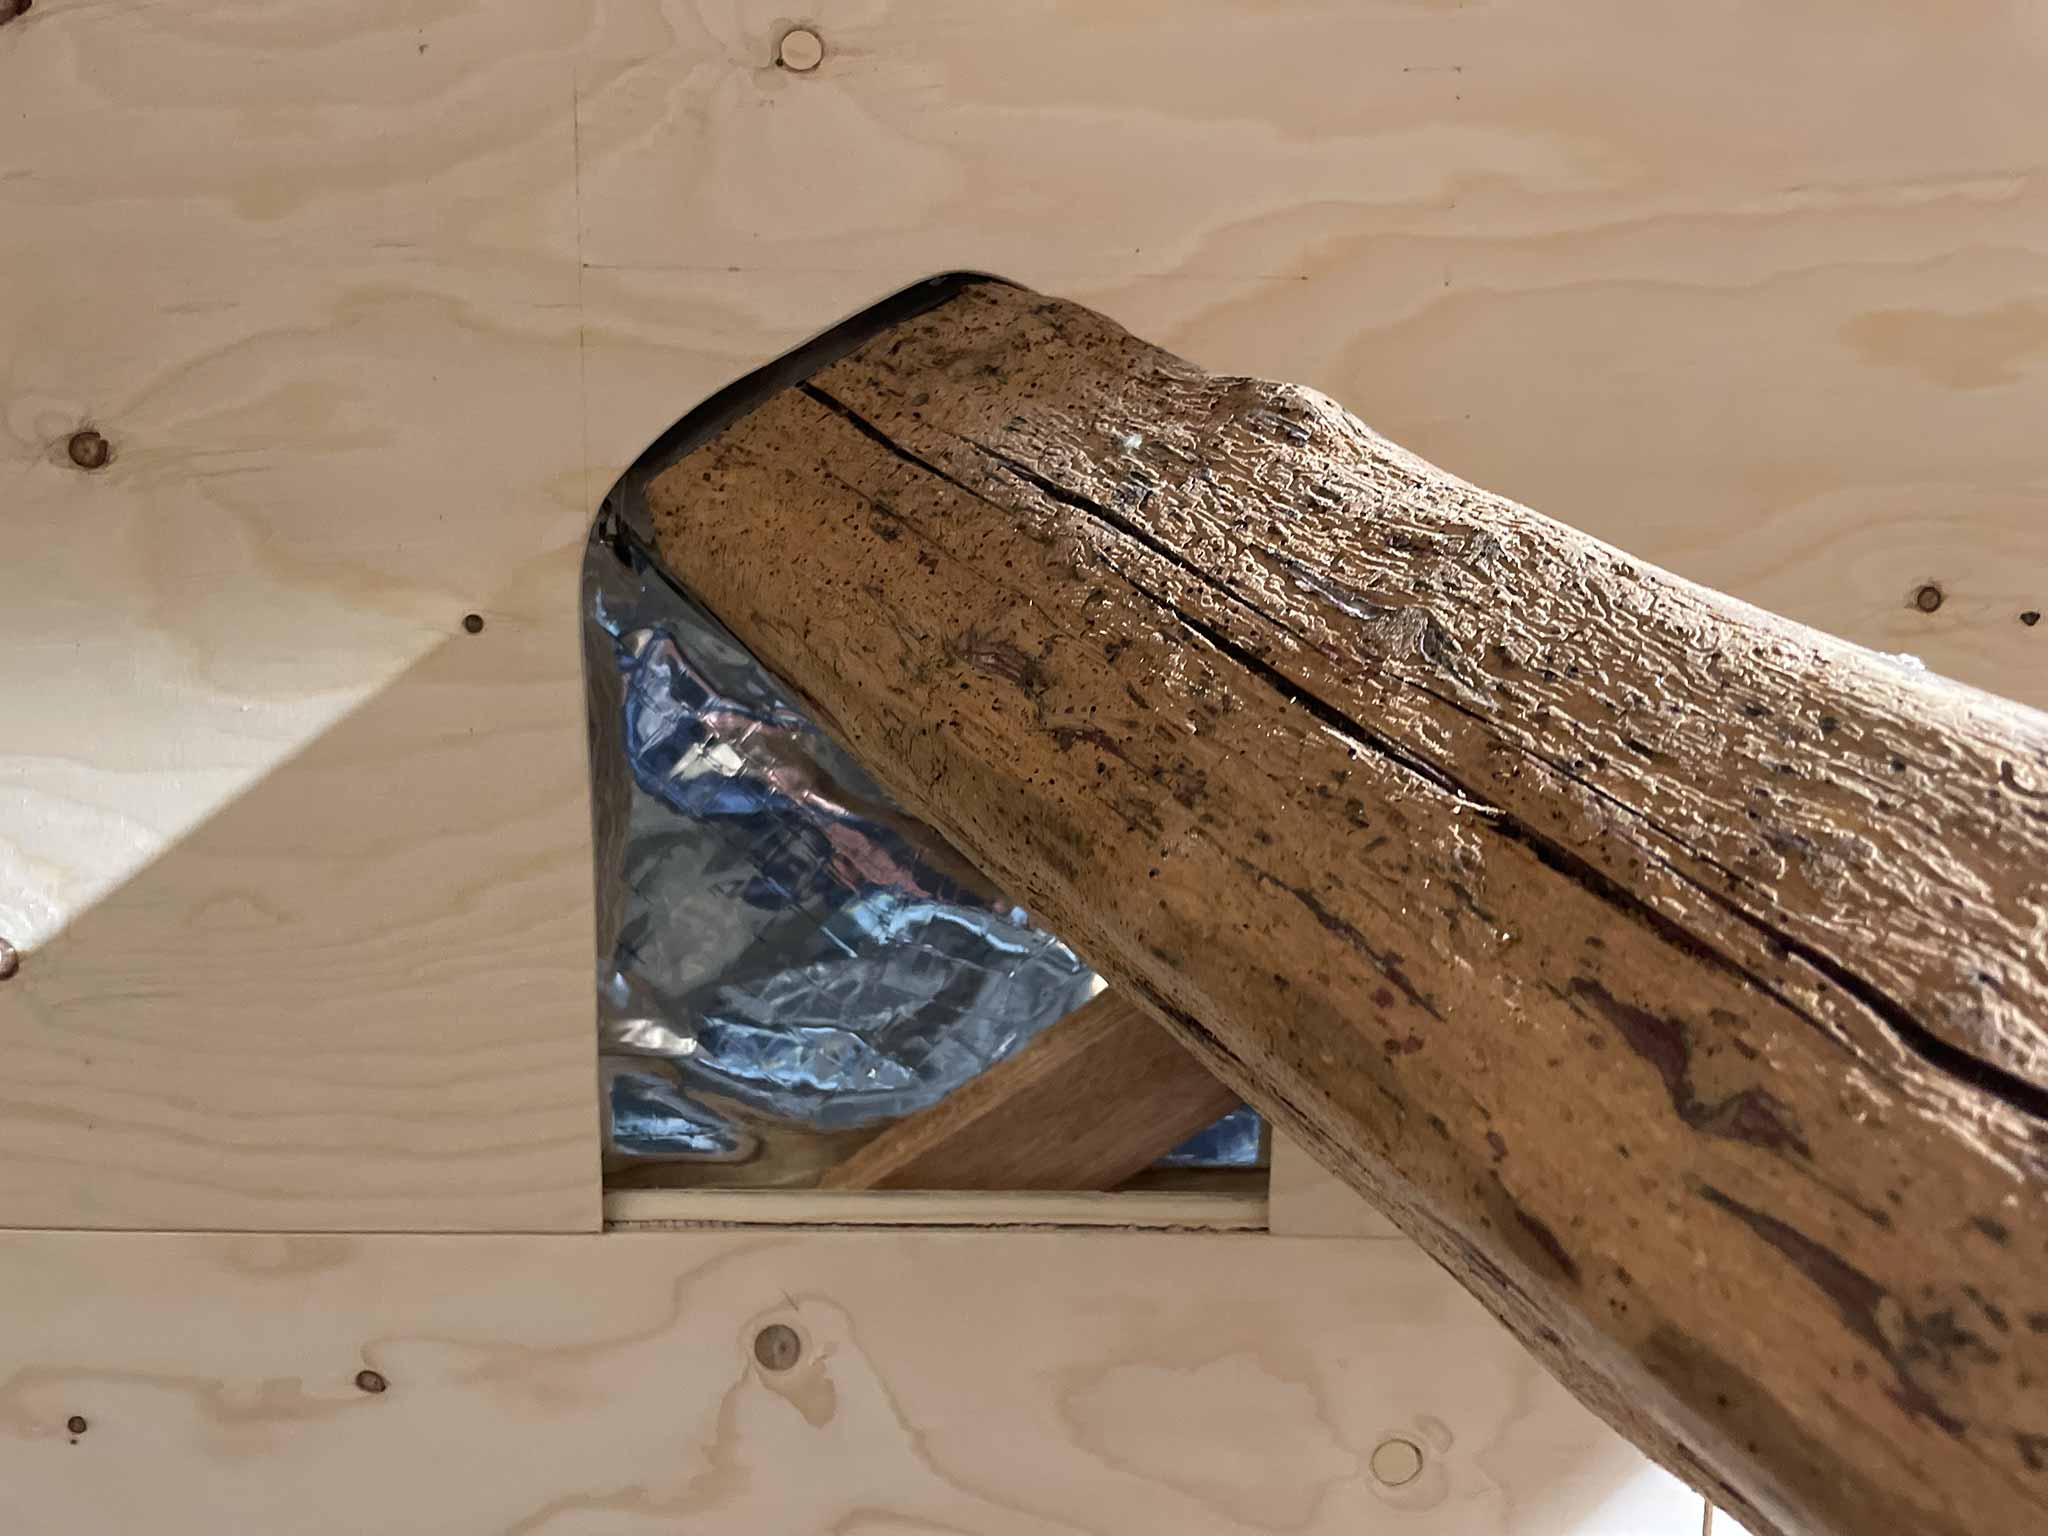
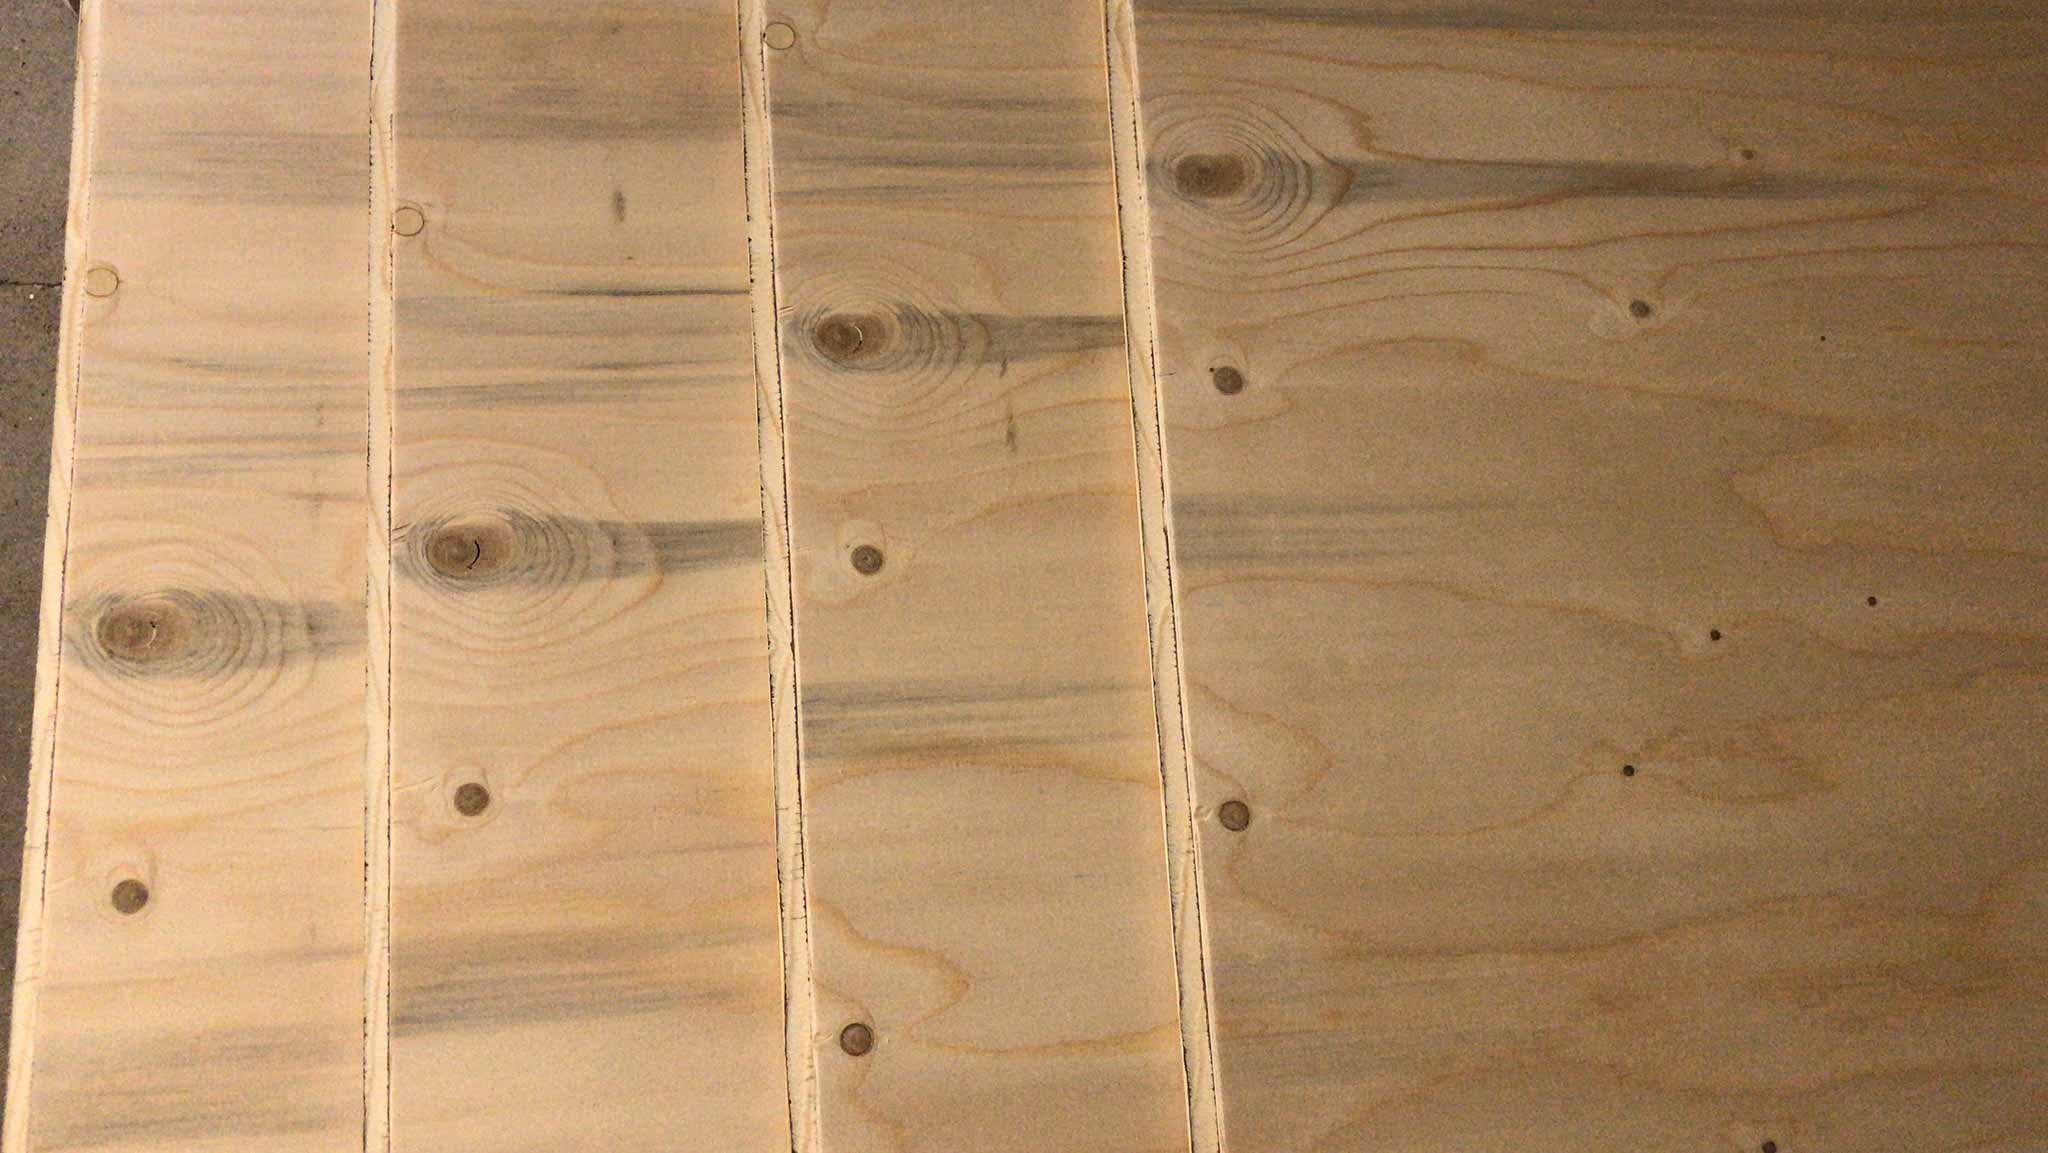
The paneling of the ceiling has started. Approximately 150 panels of 244cm x 60cm. The panels have tongue and groove around it to connect easily. Works perfect until you need to slide them in around beams and such. Bottom line, some are placed easily (just screw ‘m to the beams), and some are hard (fitted in between two angular beams.
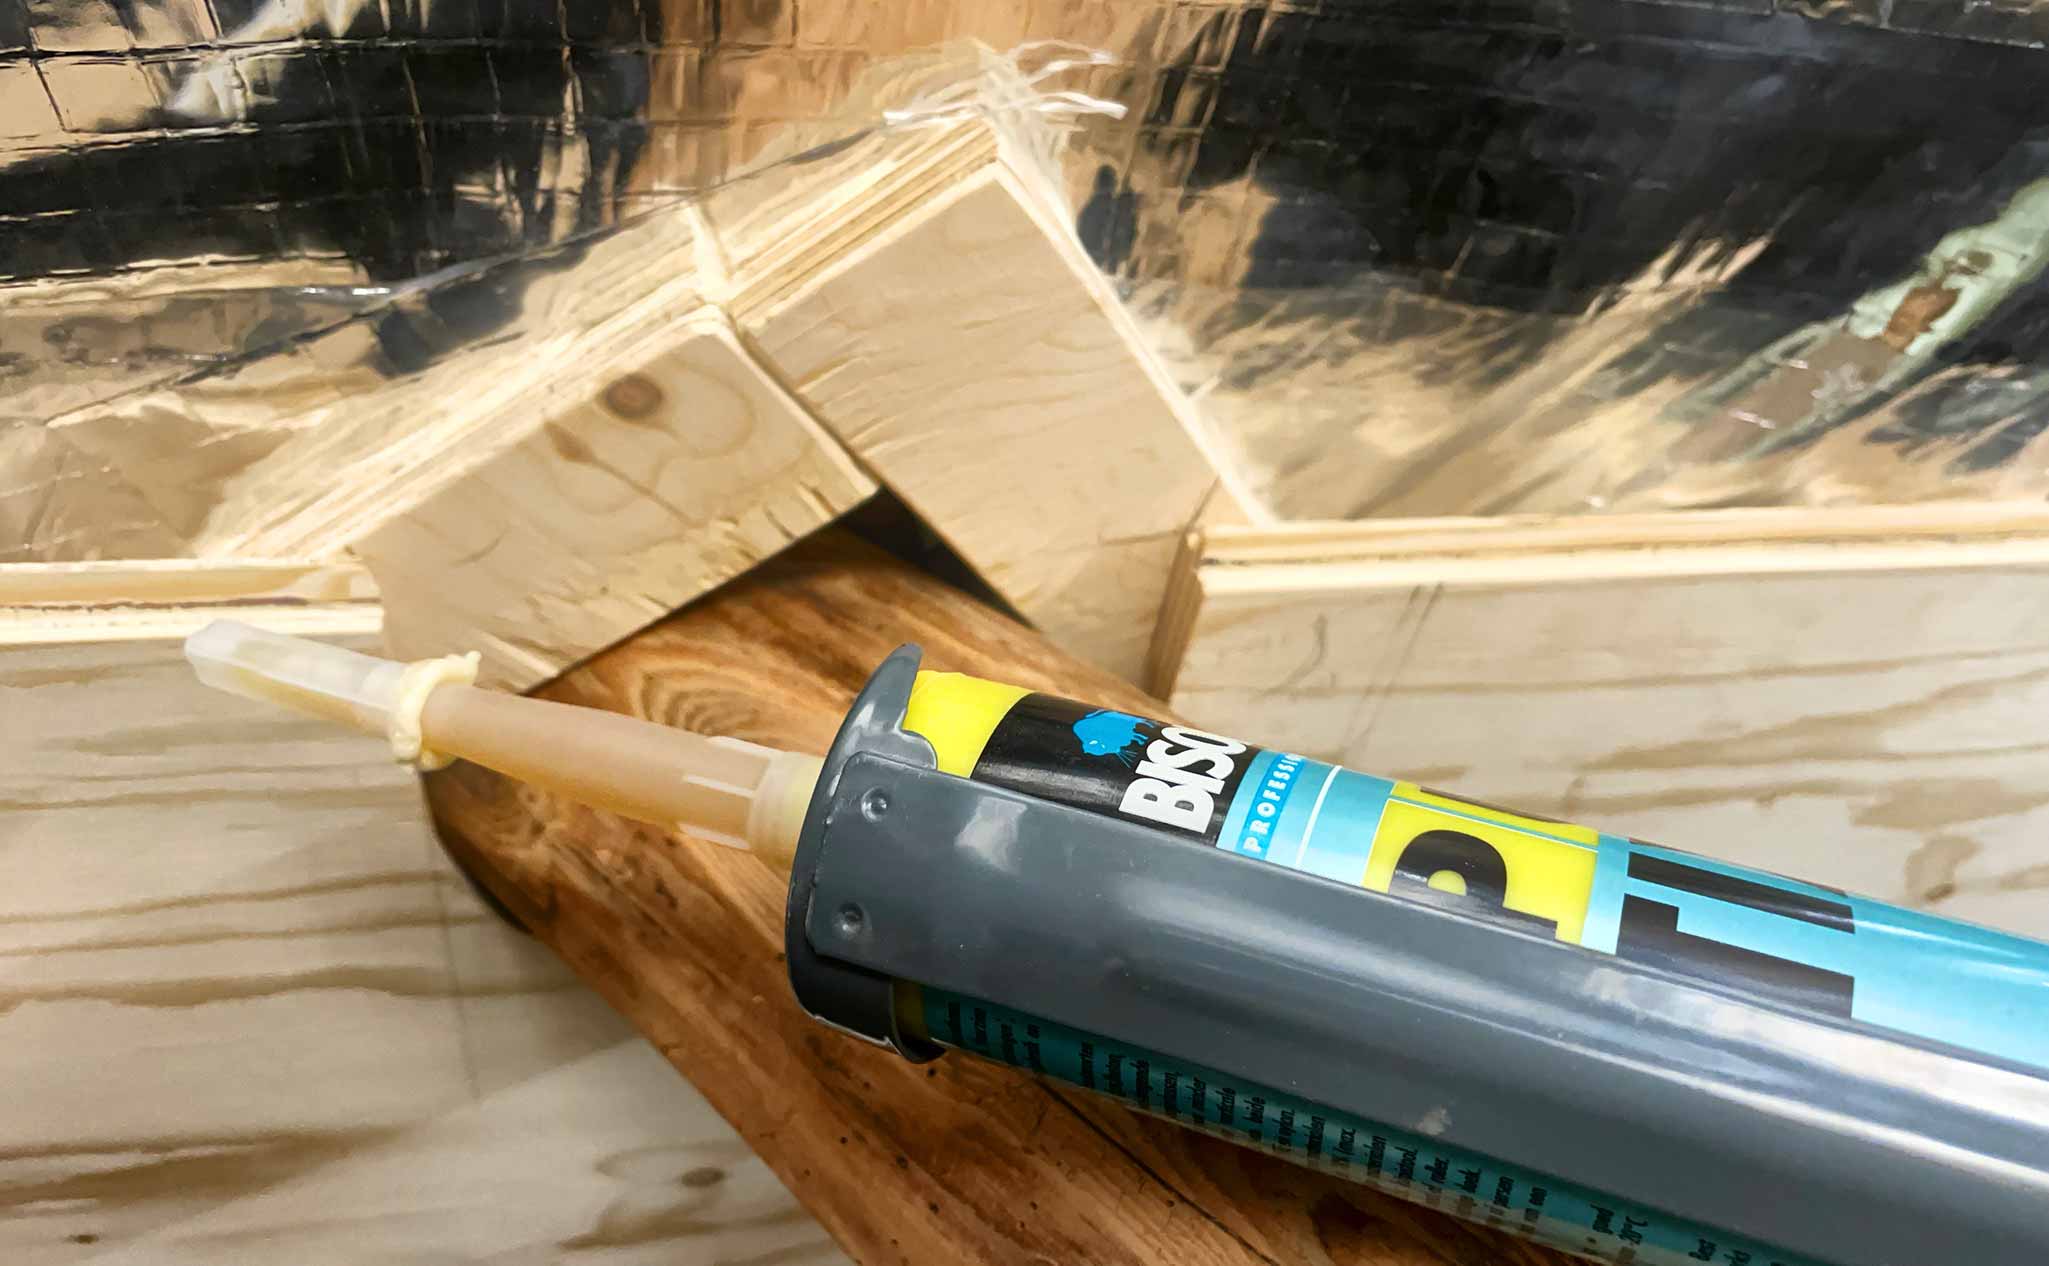
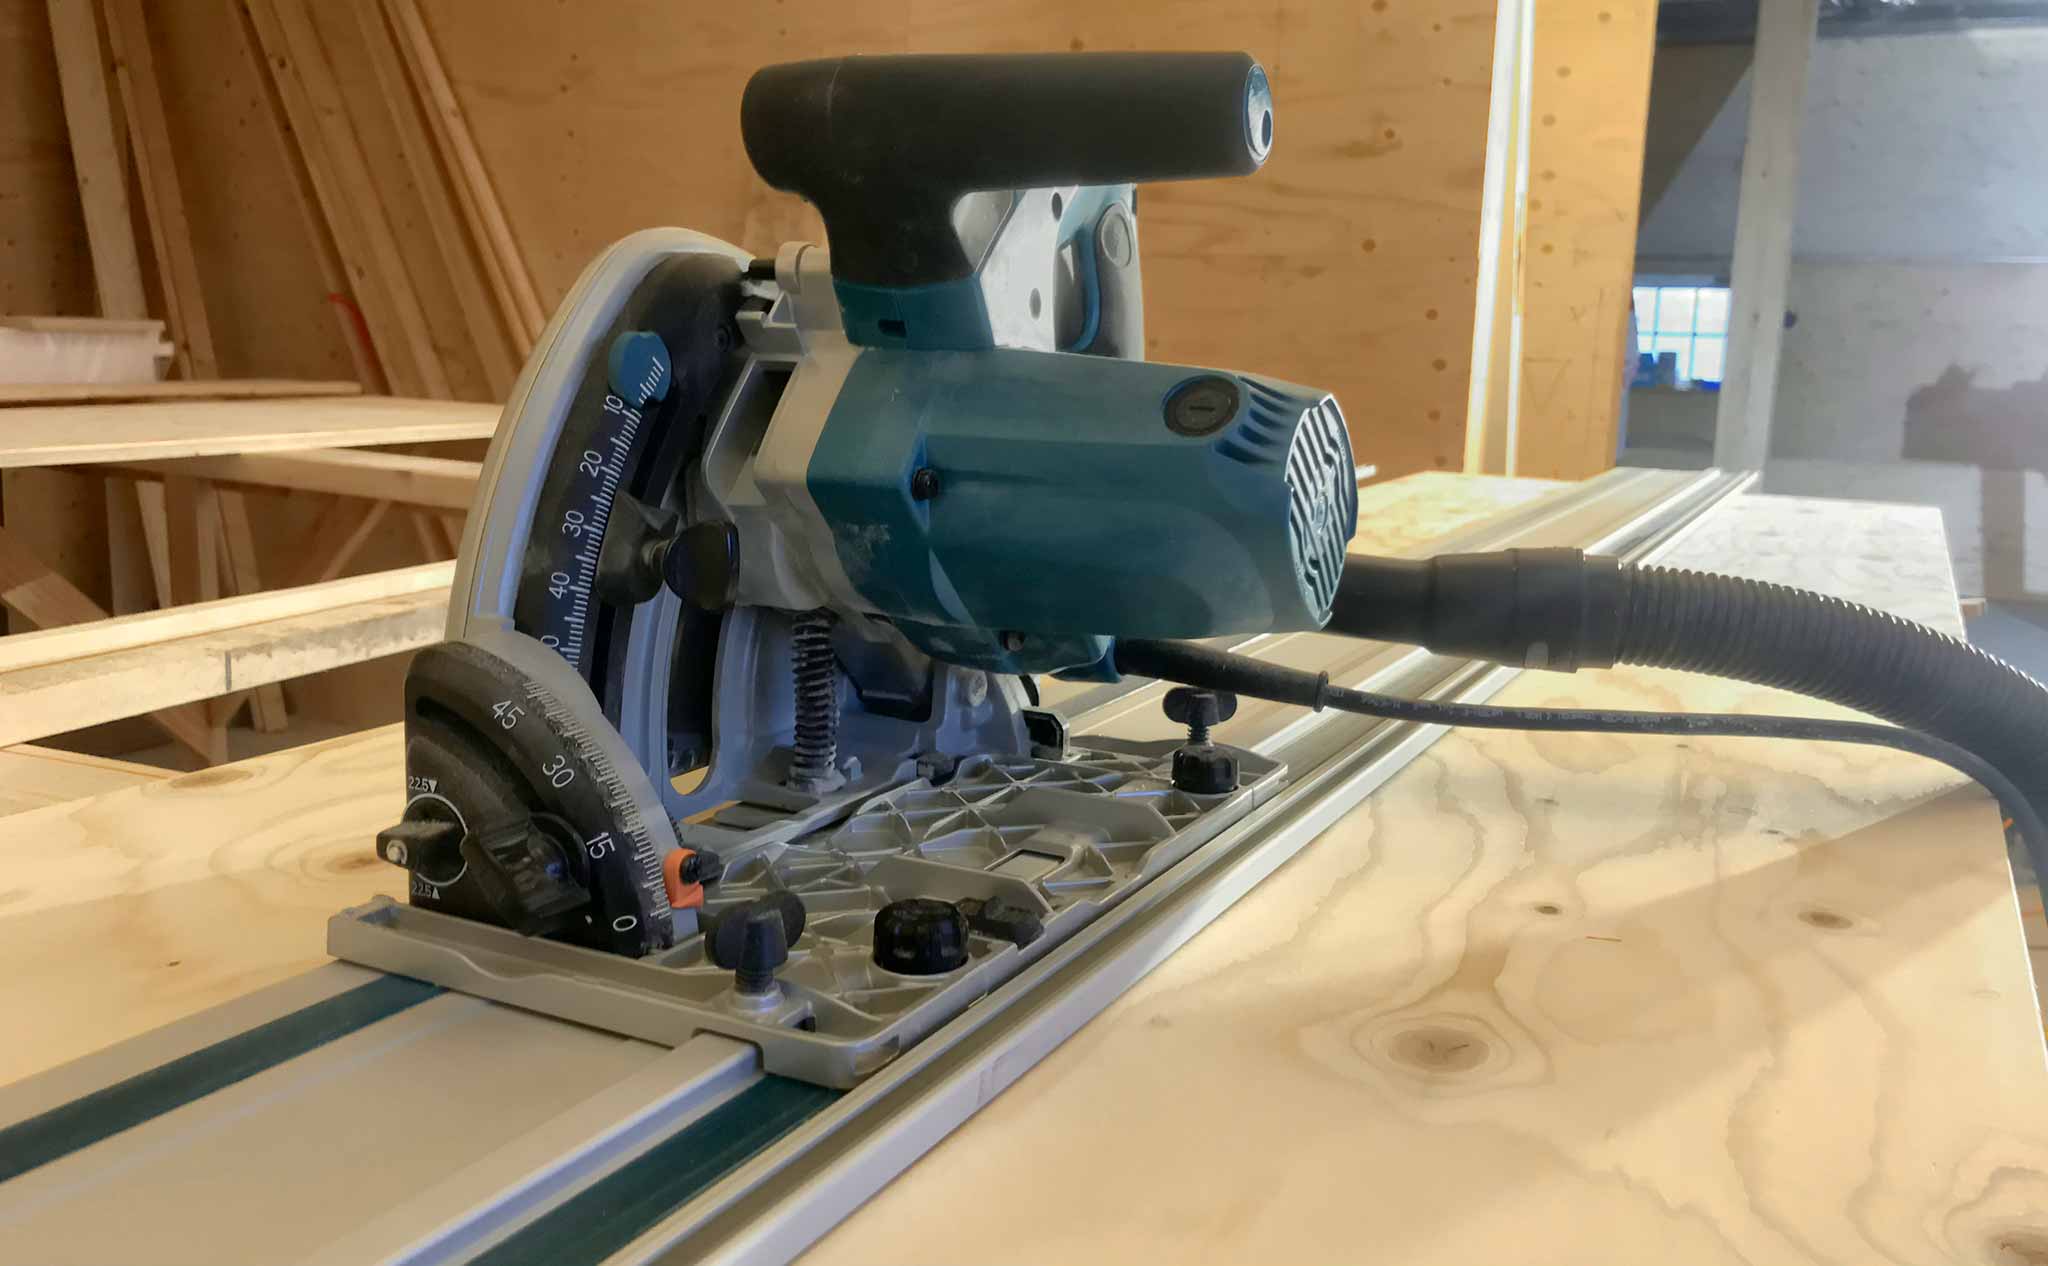
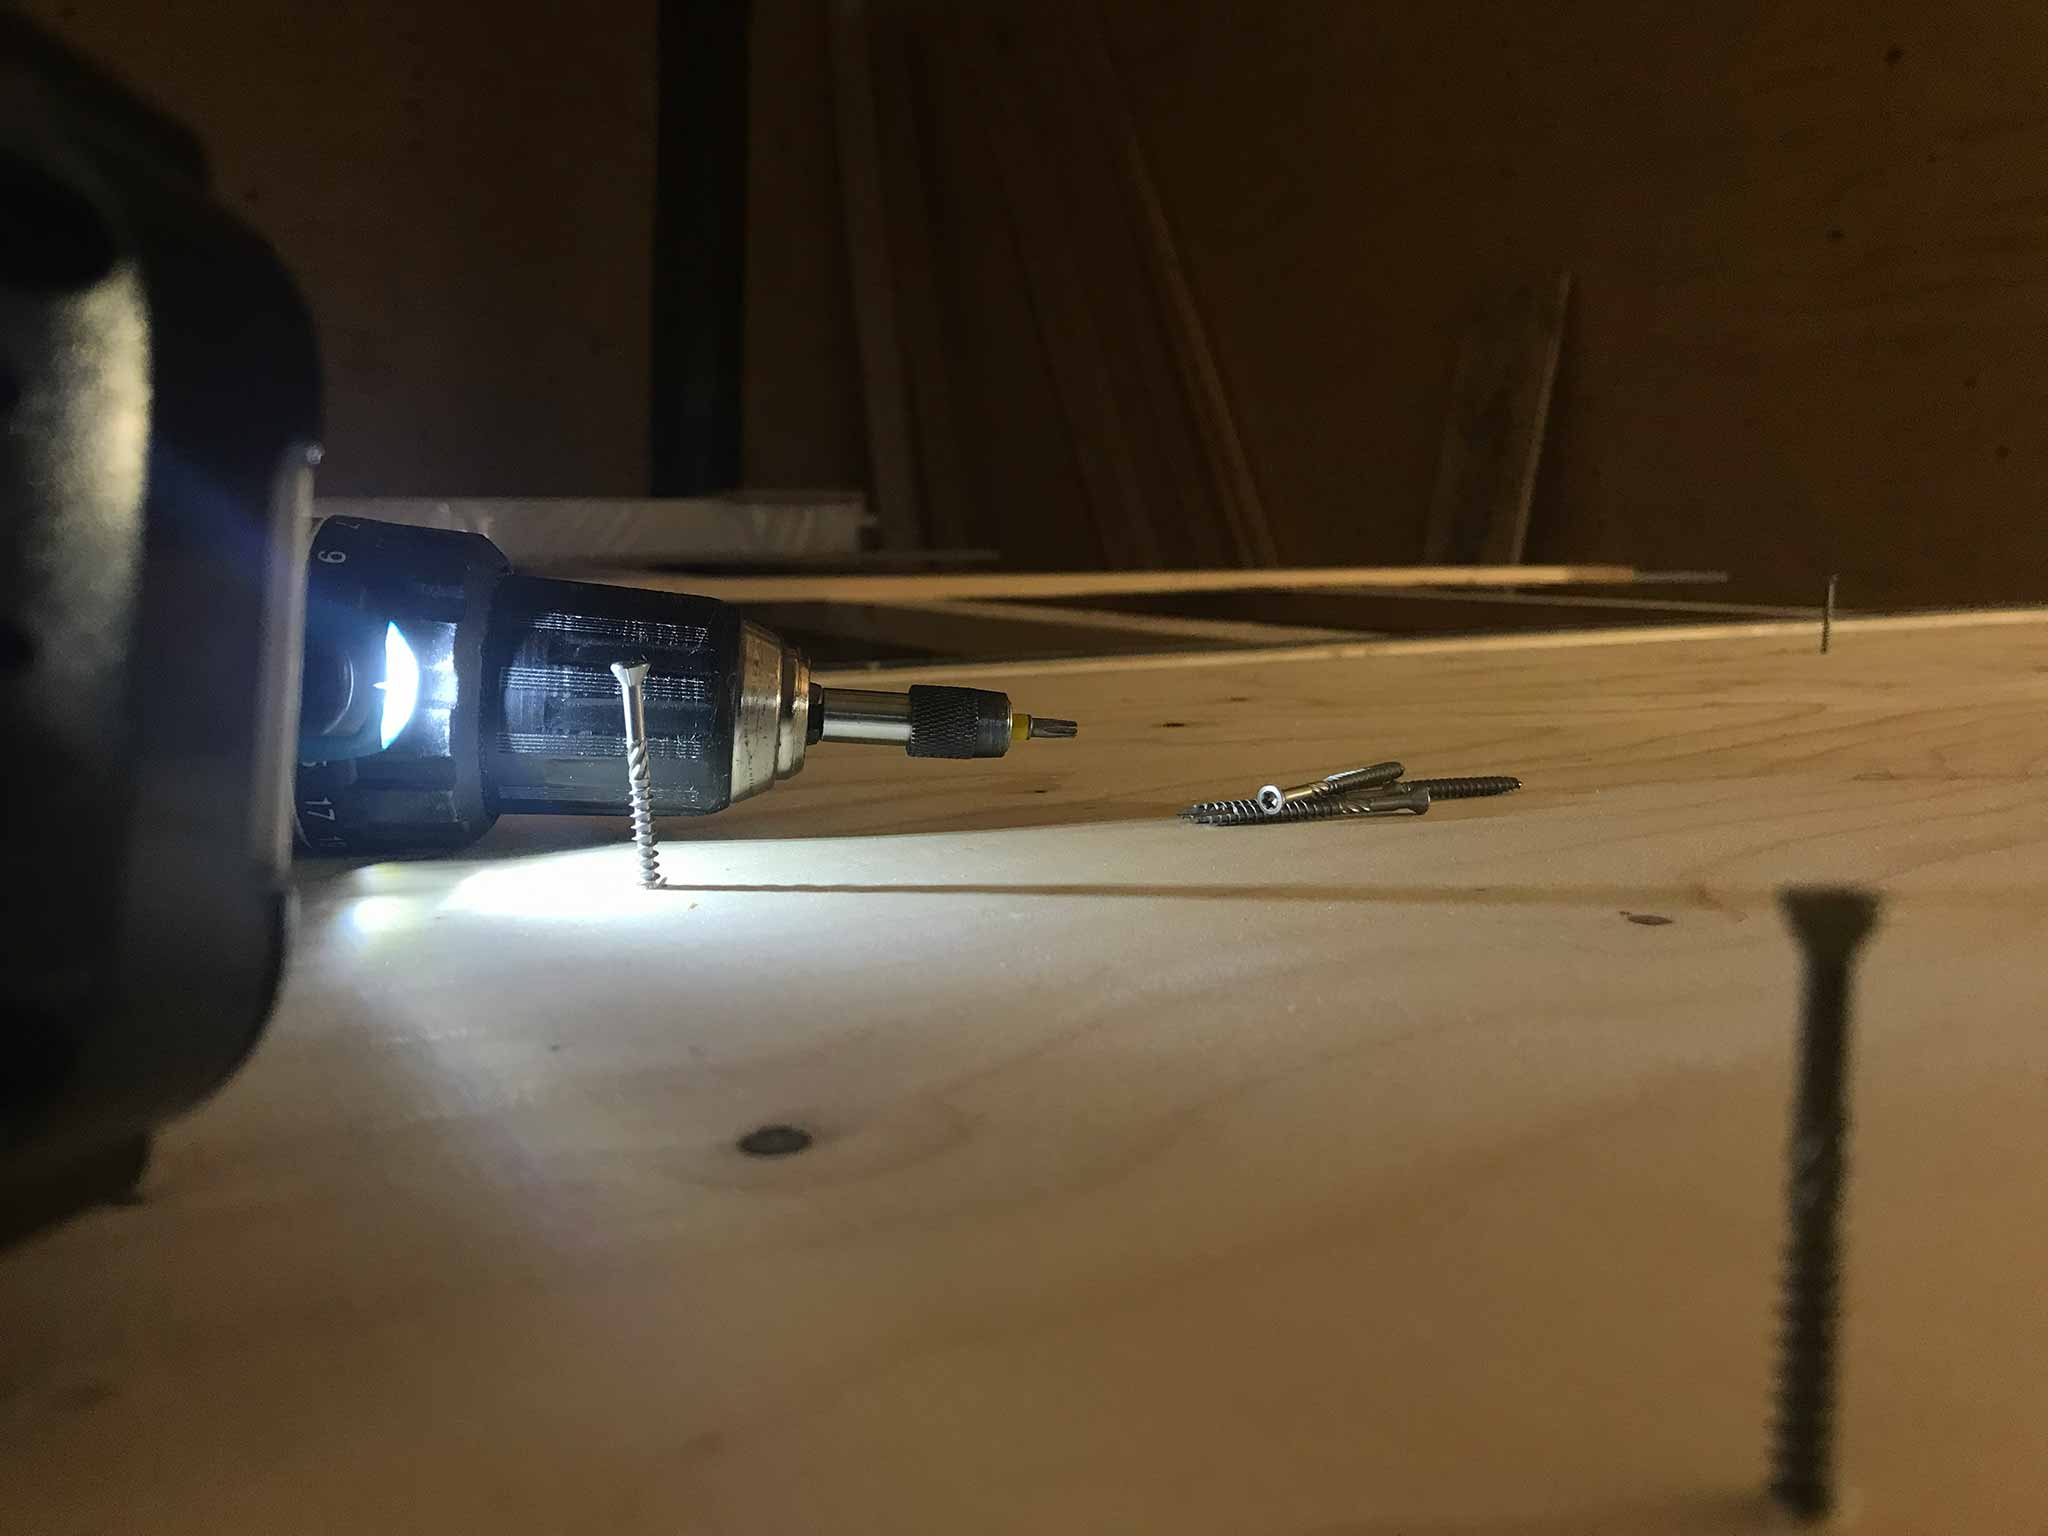
So, power tools are at it again: track saw for the course work and adjusting tongue and groove where needed, jigsaw for the parts around beams, and drill to screw it to the beams with nice stainless steel screws.

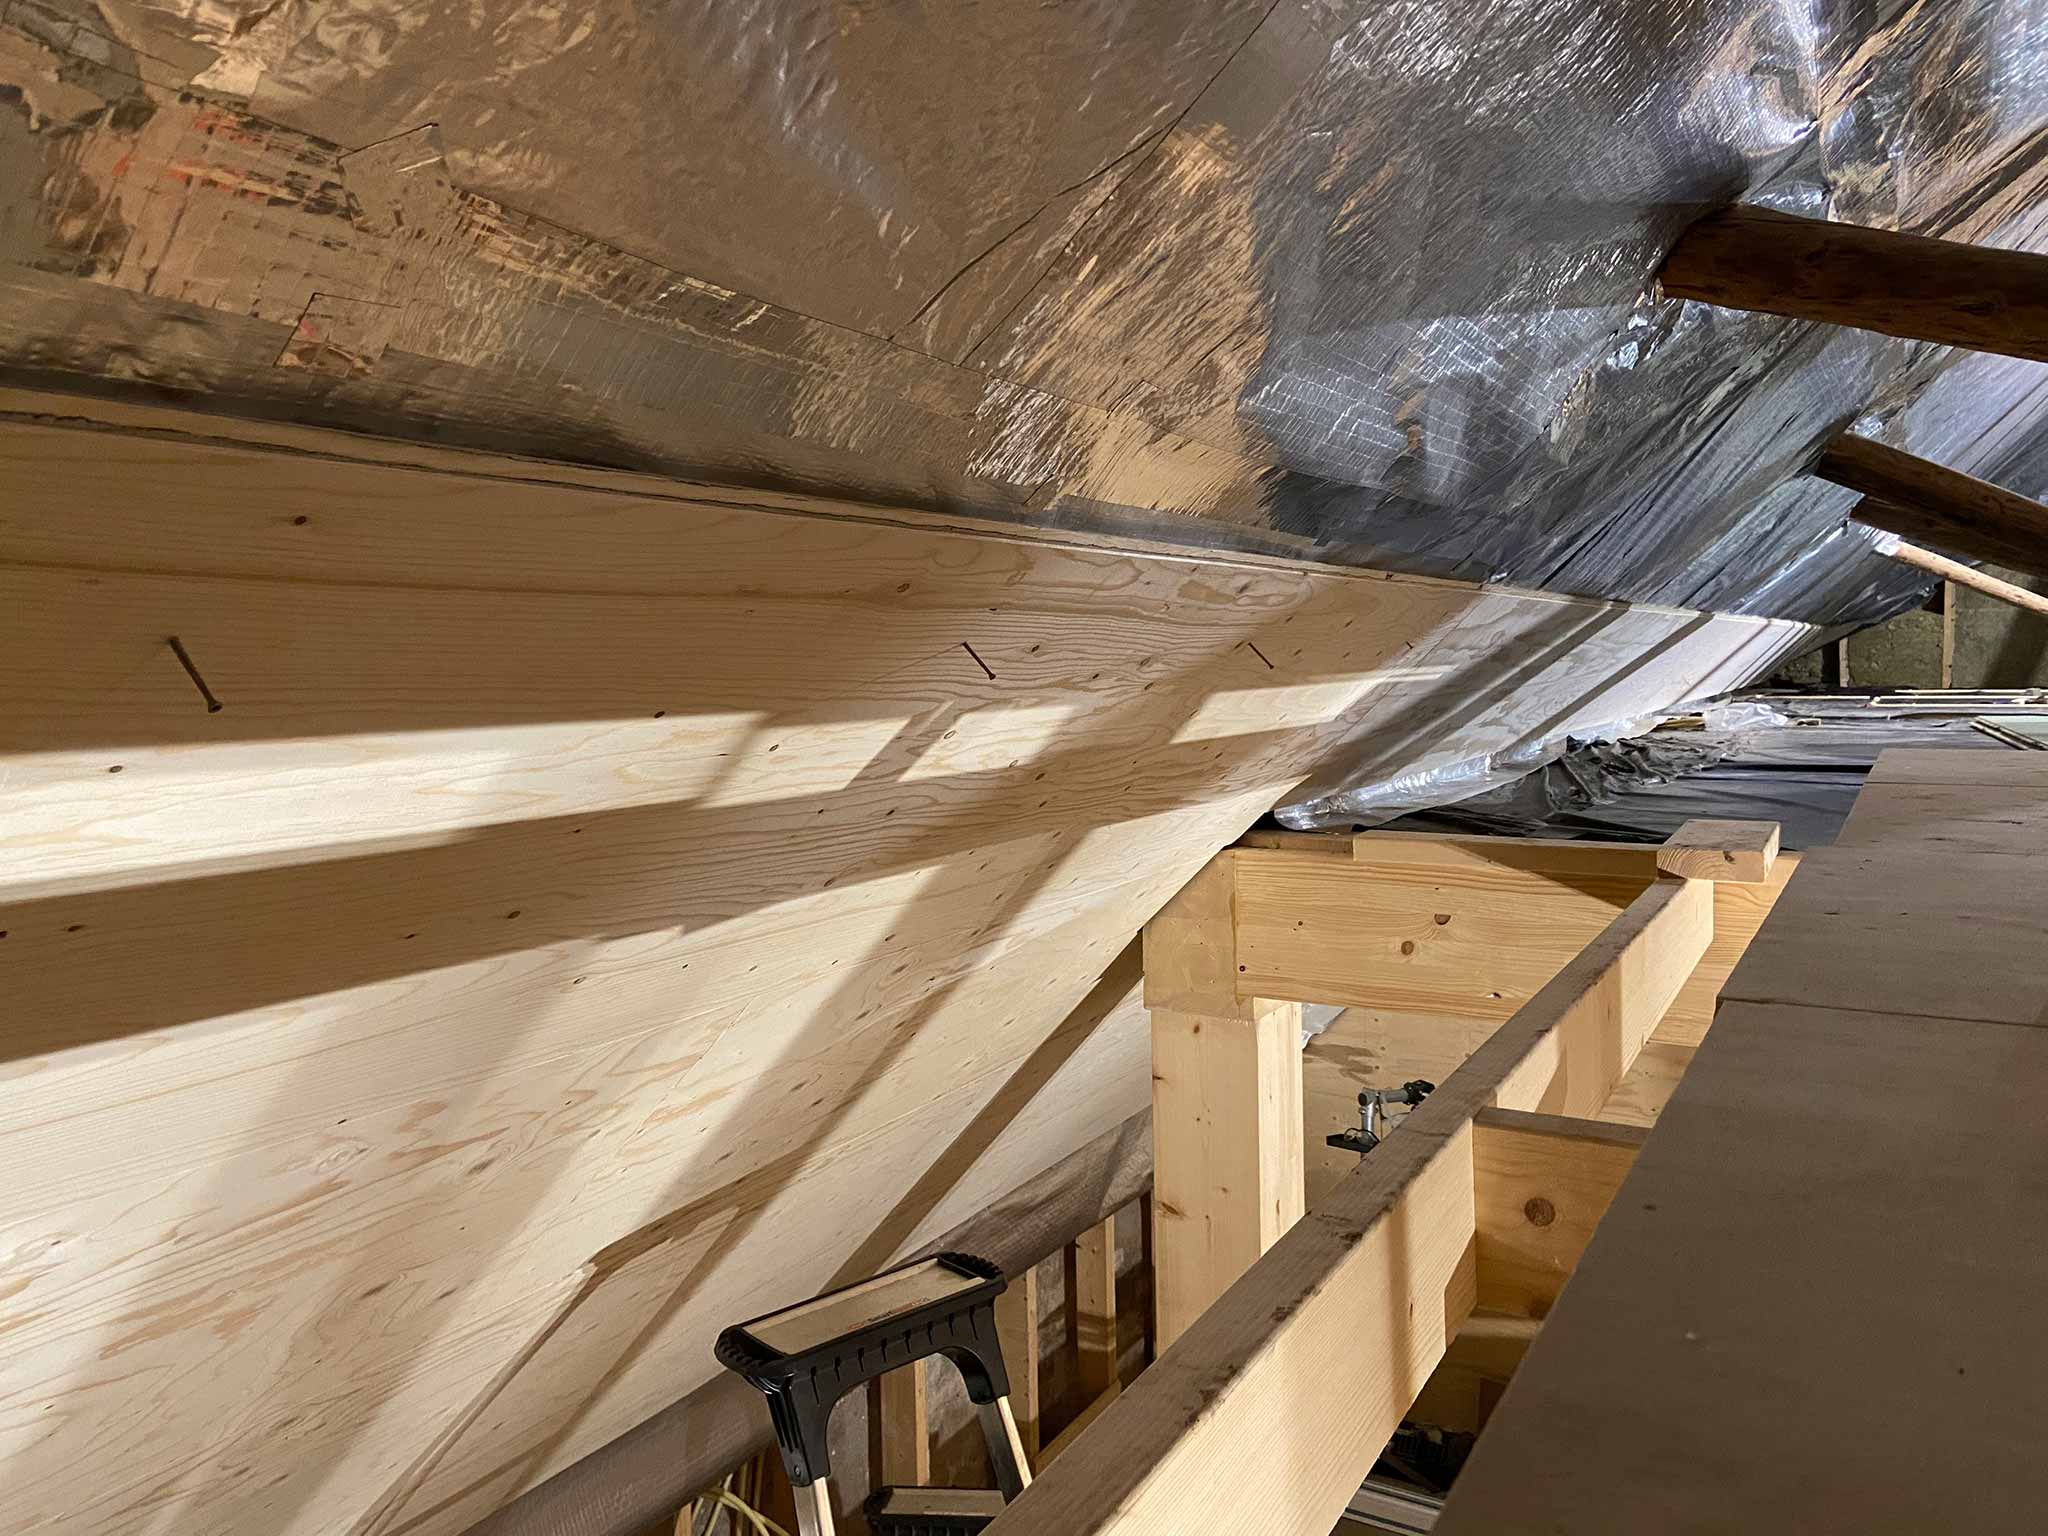
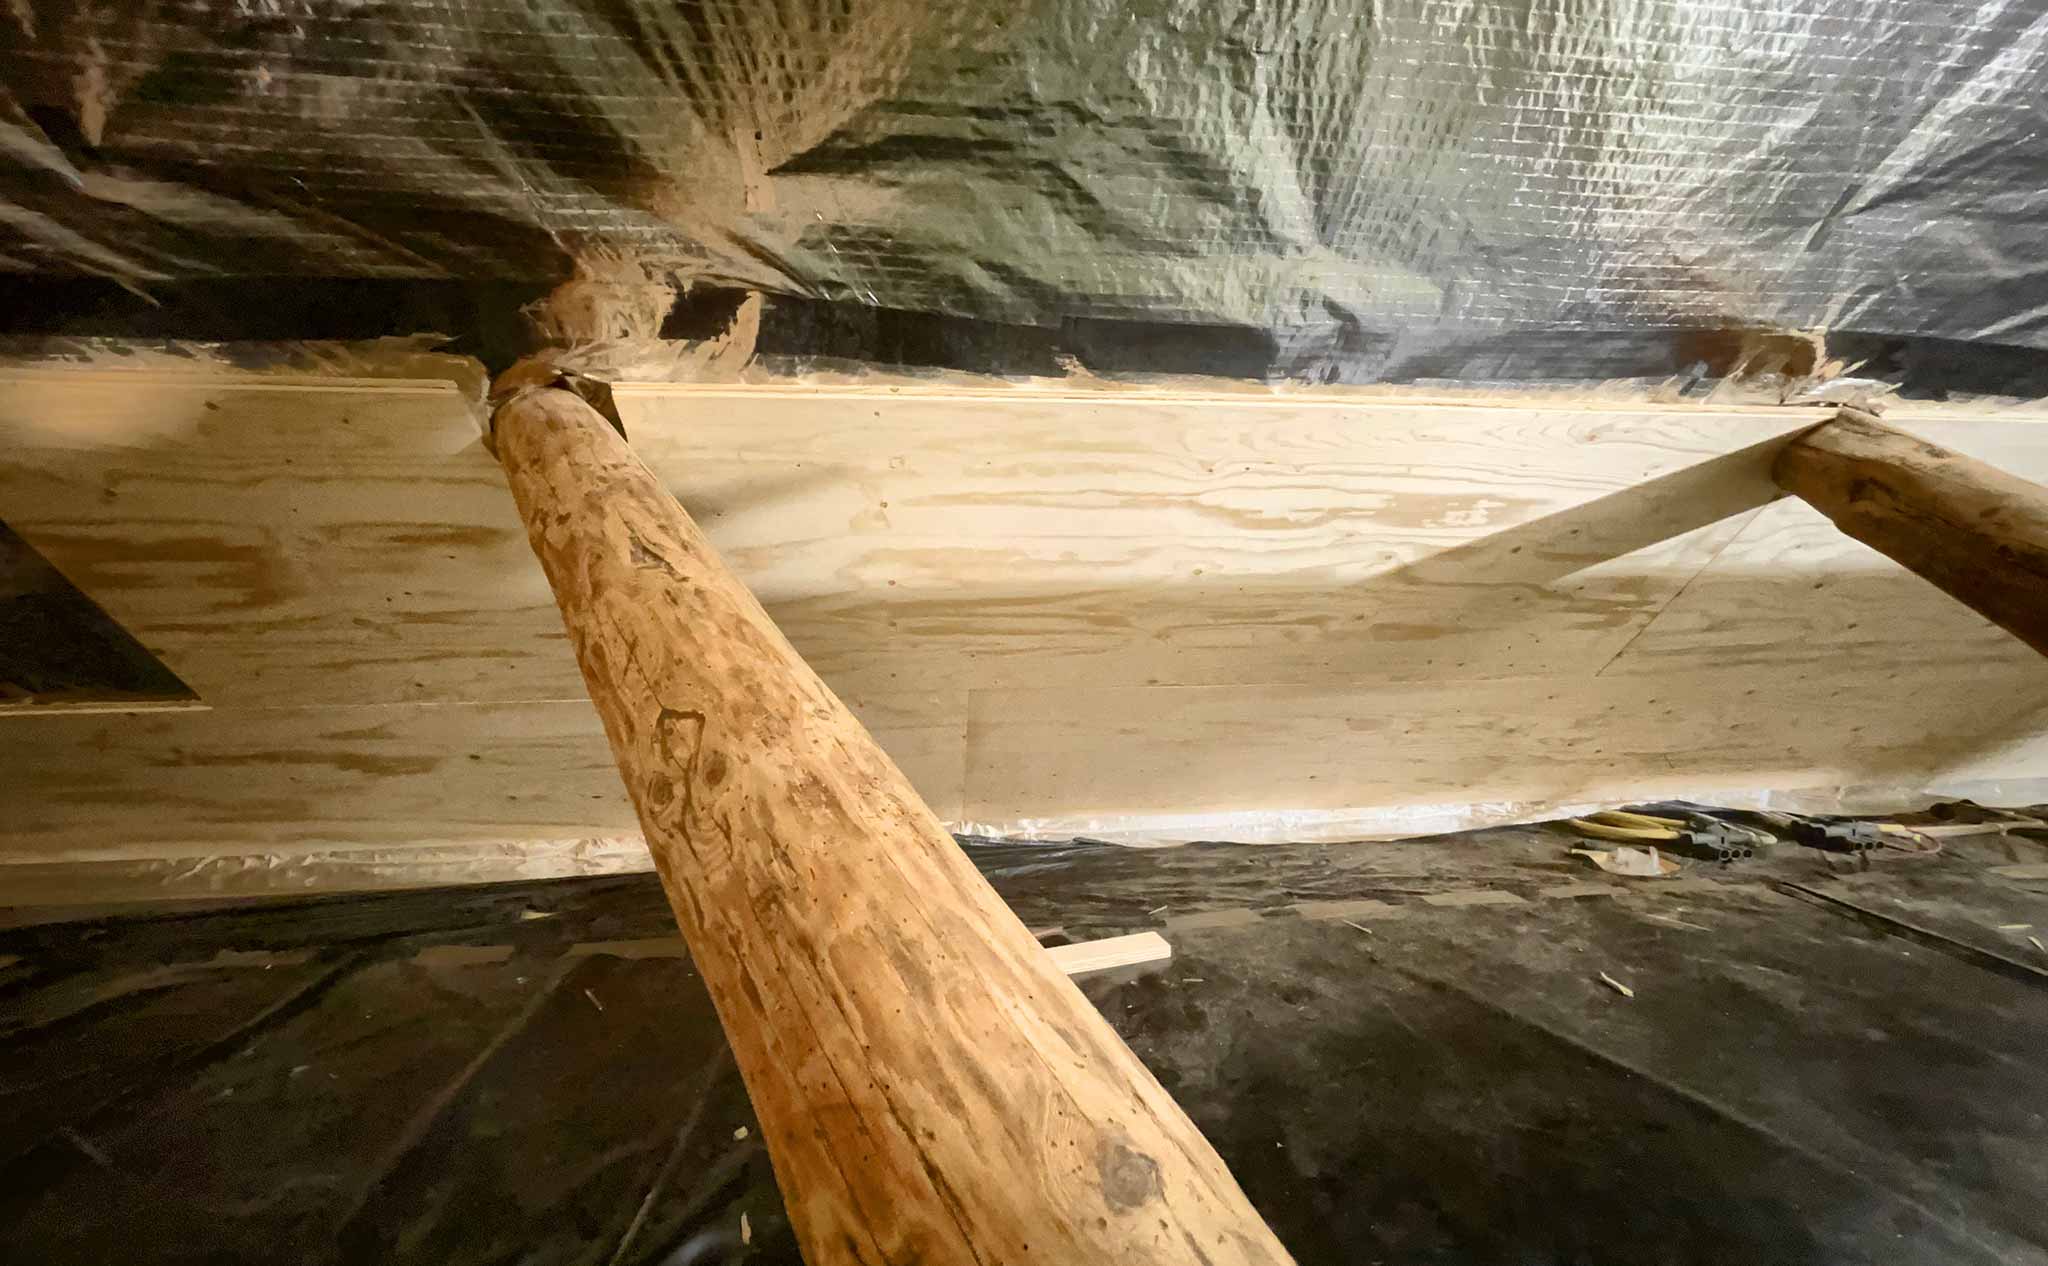
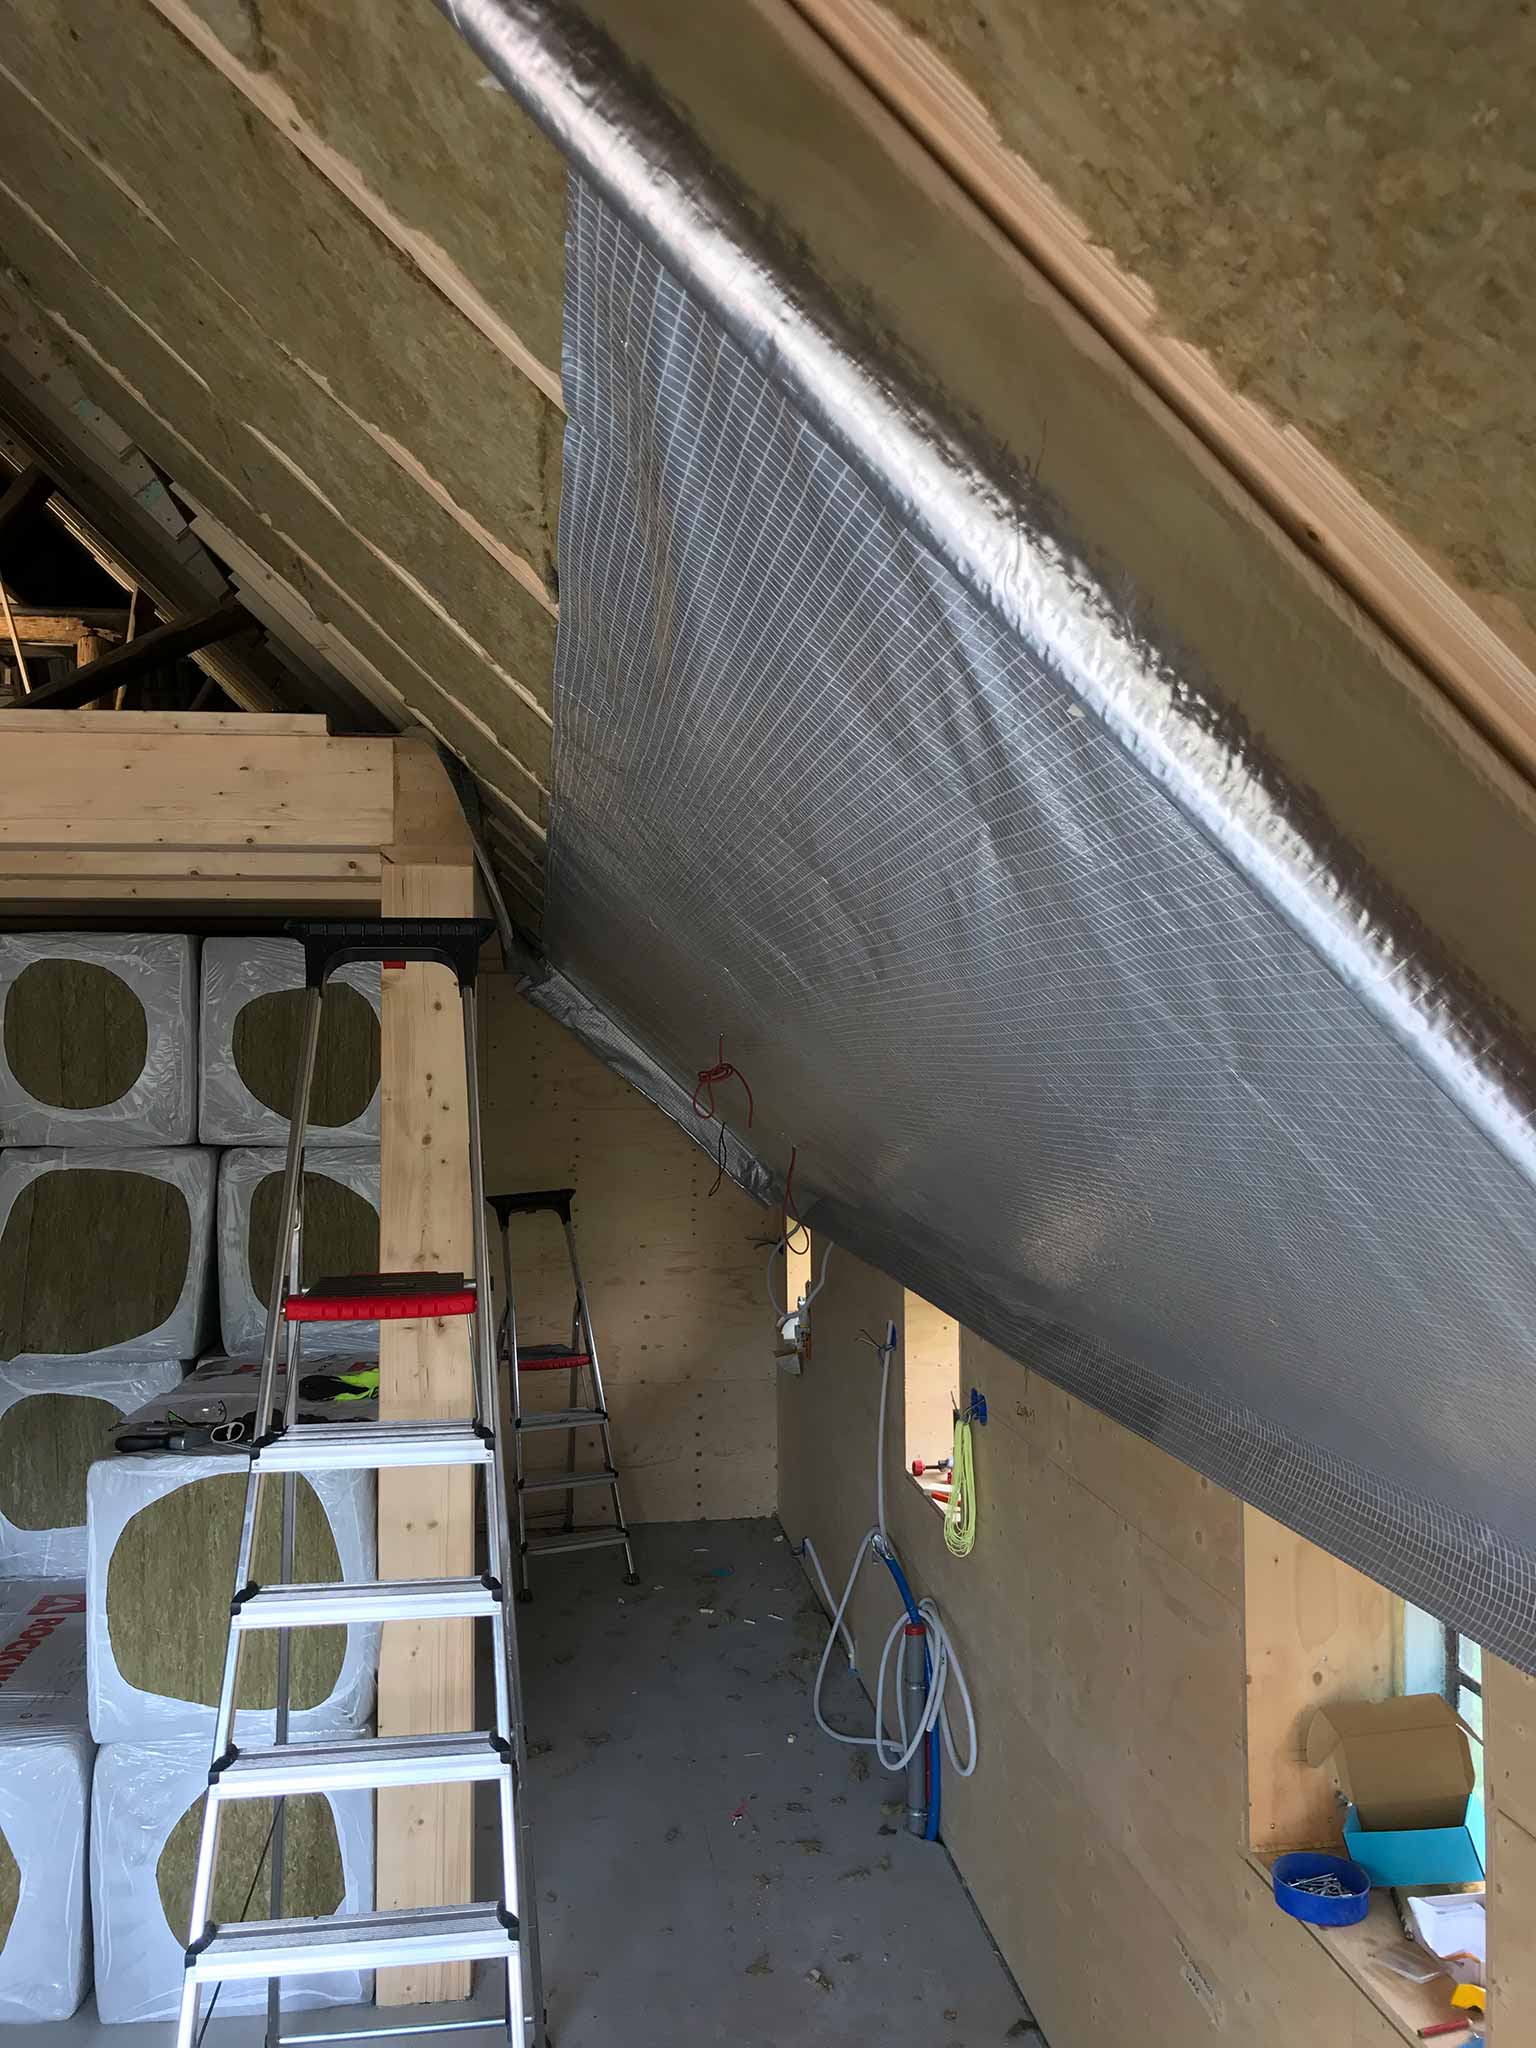
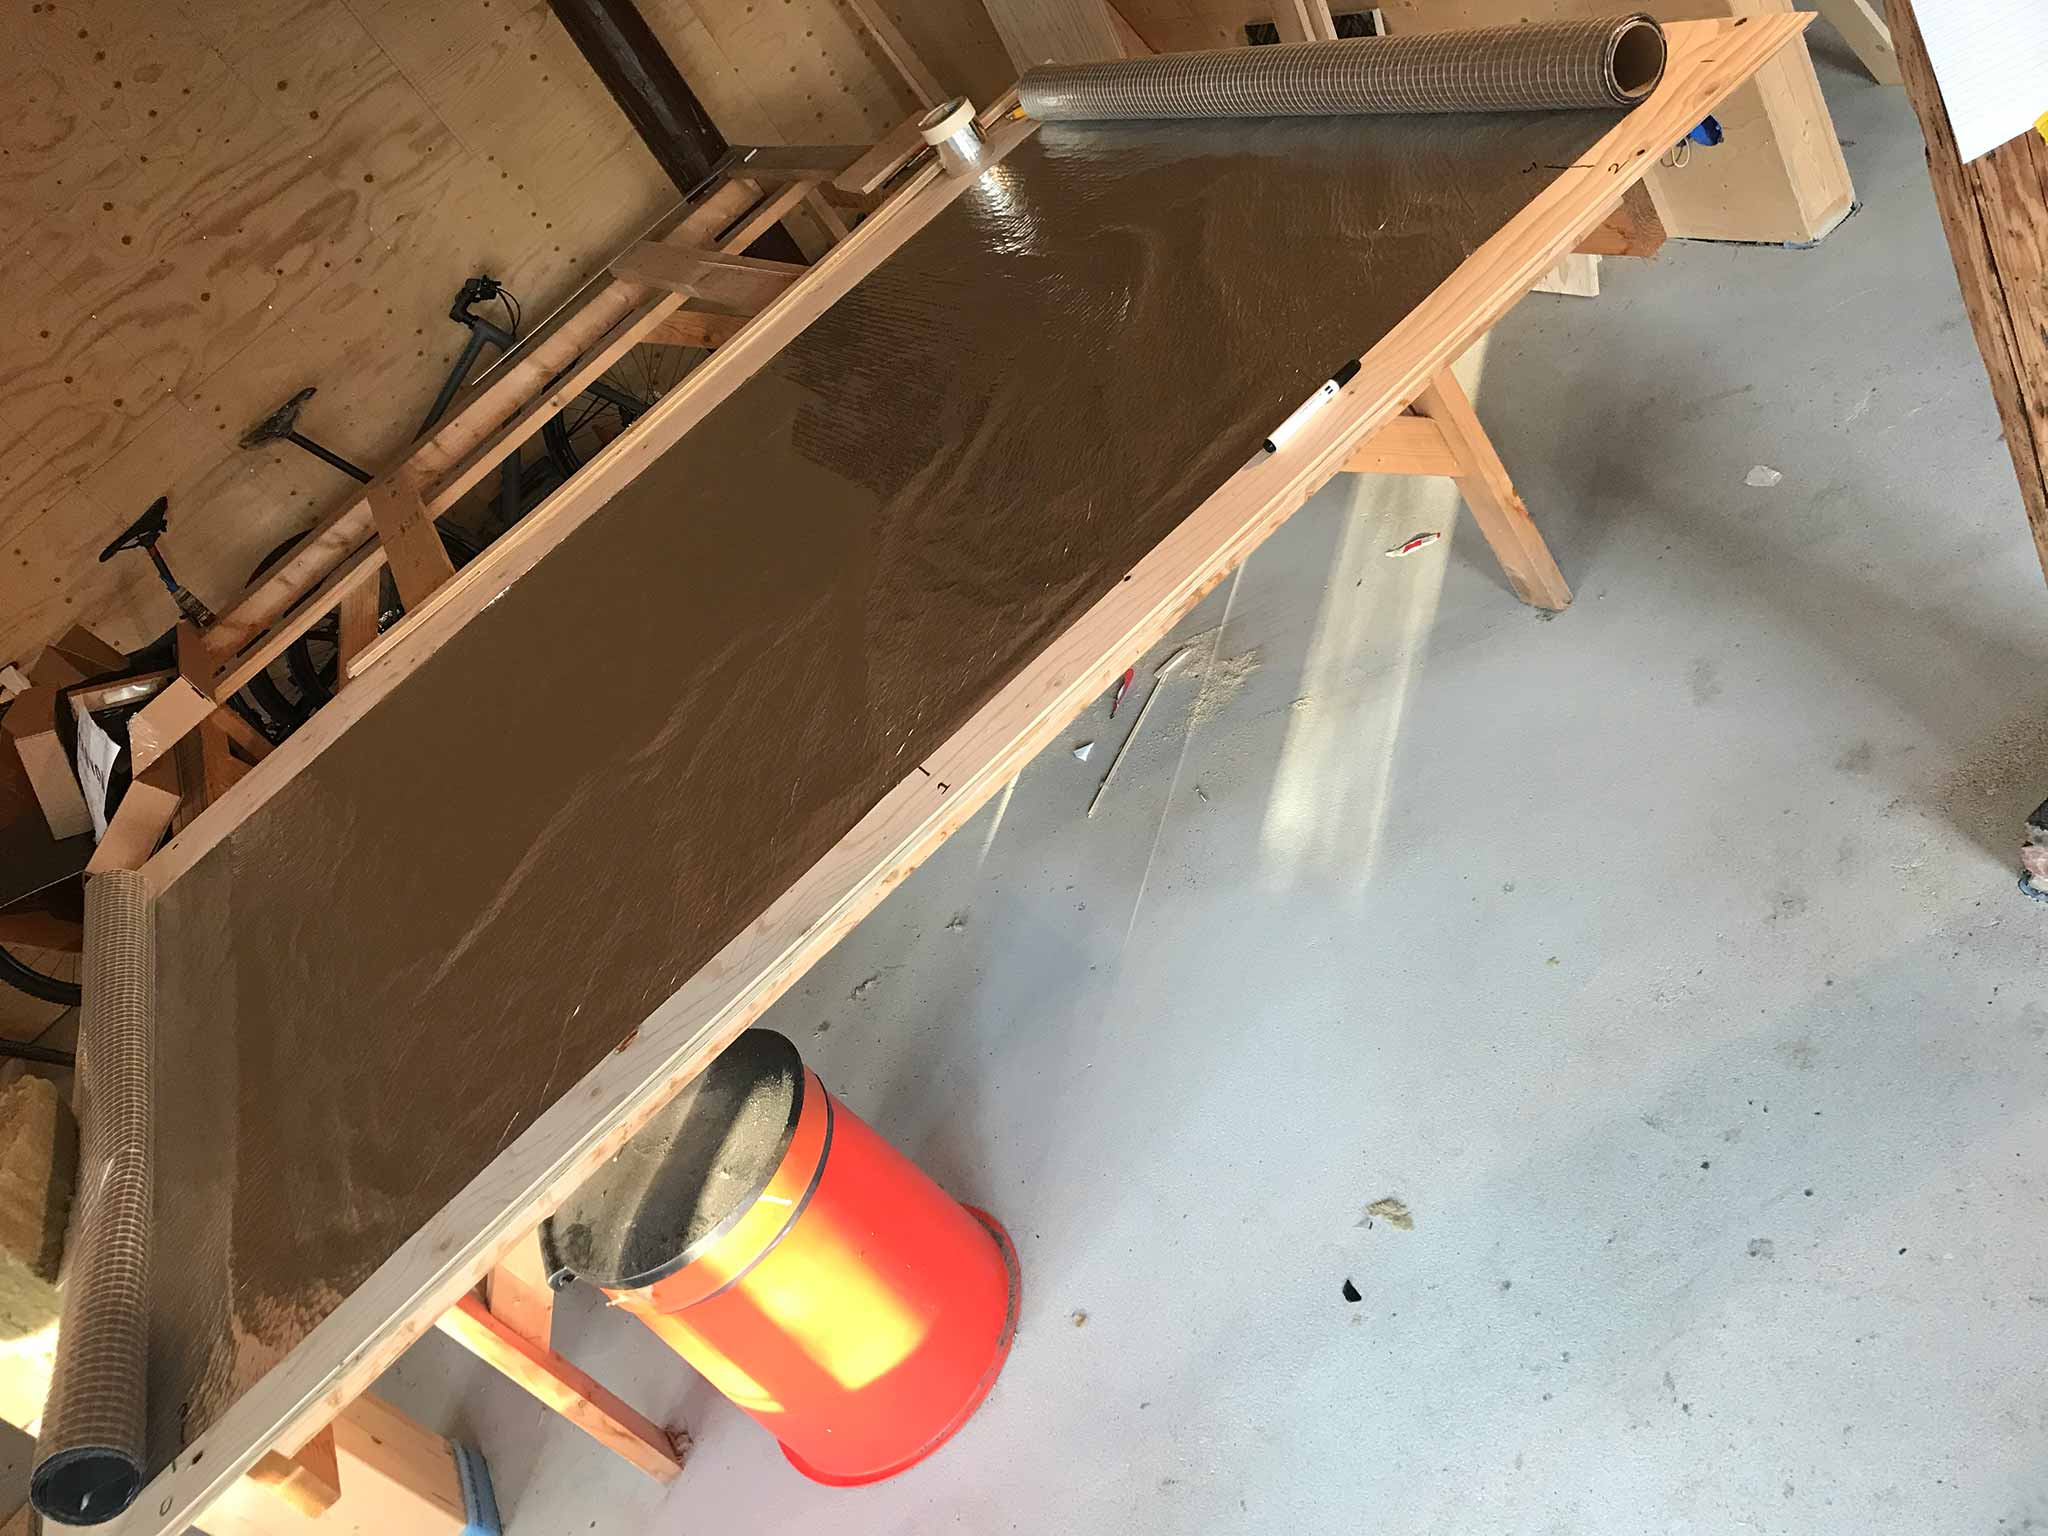
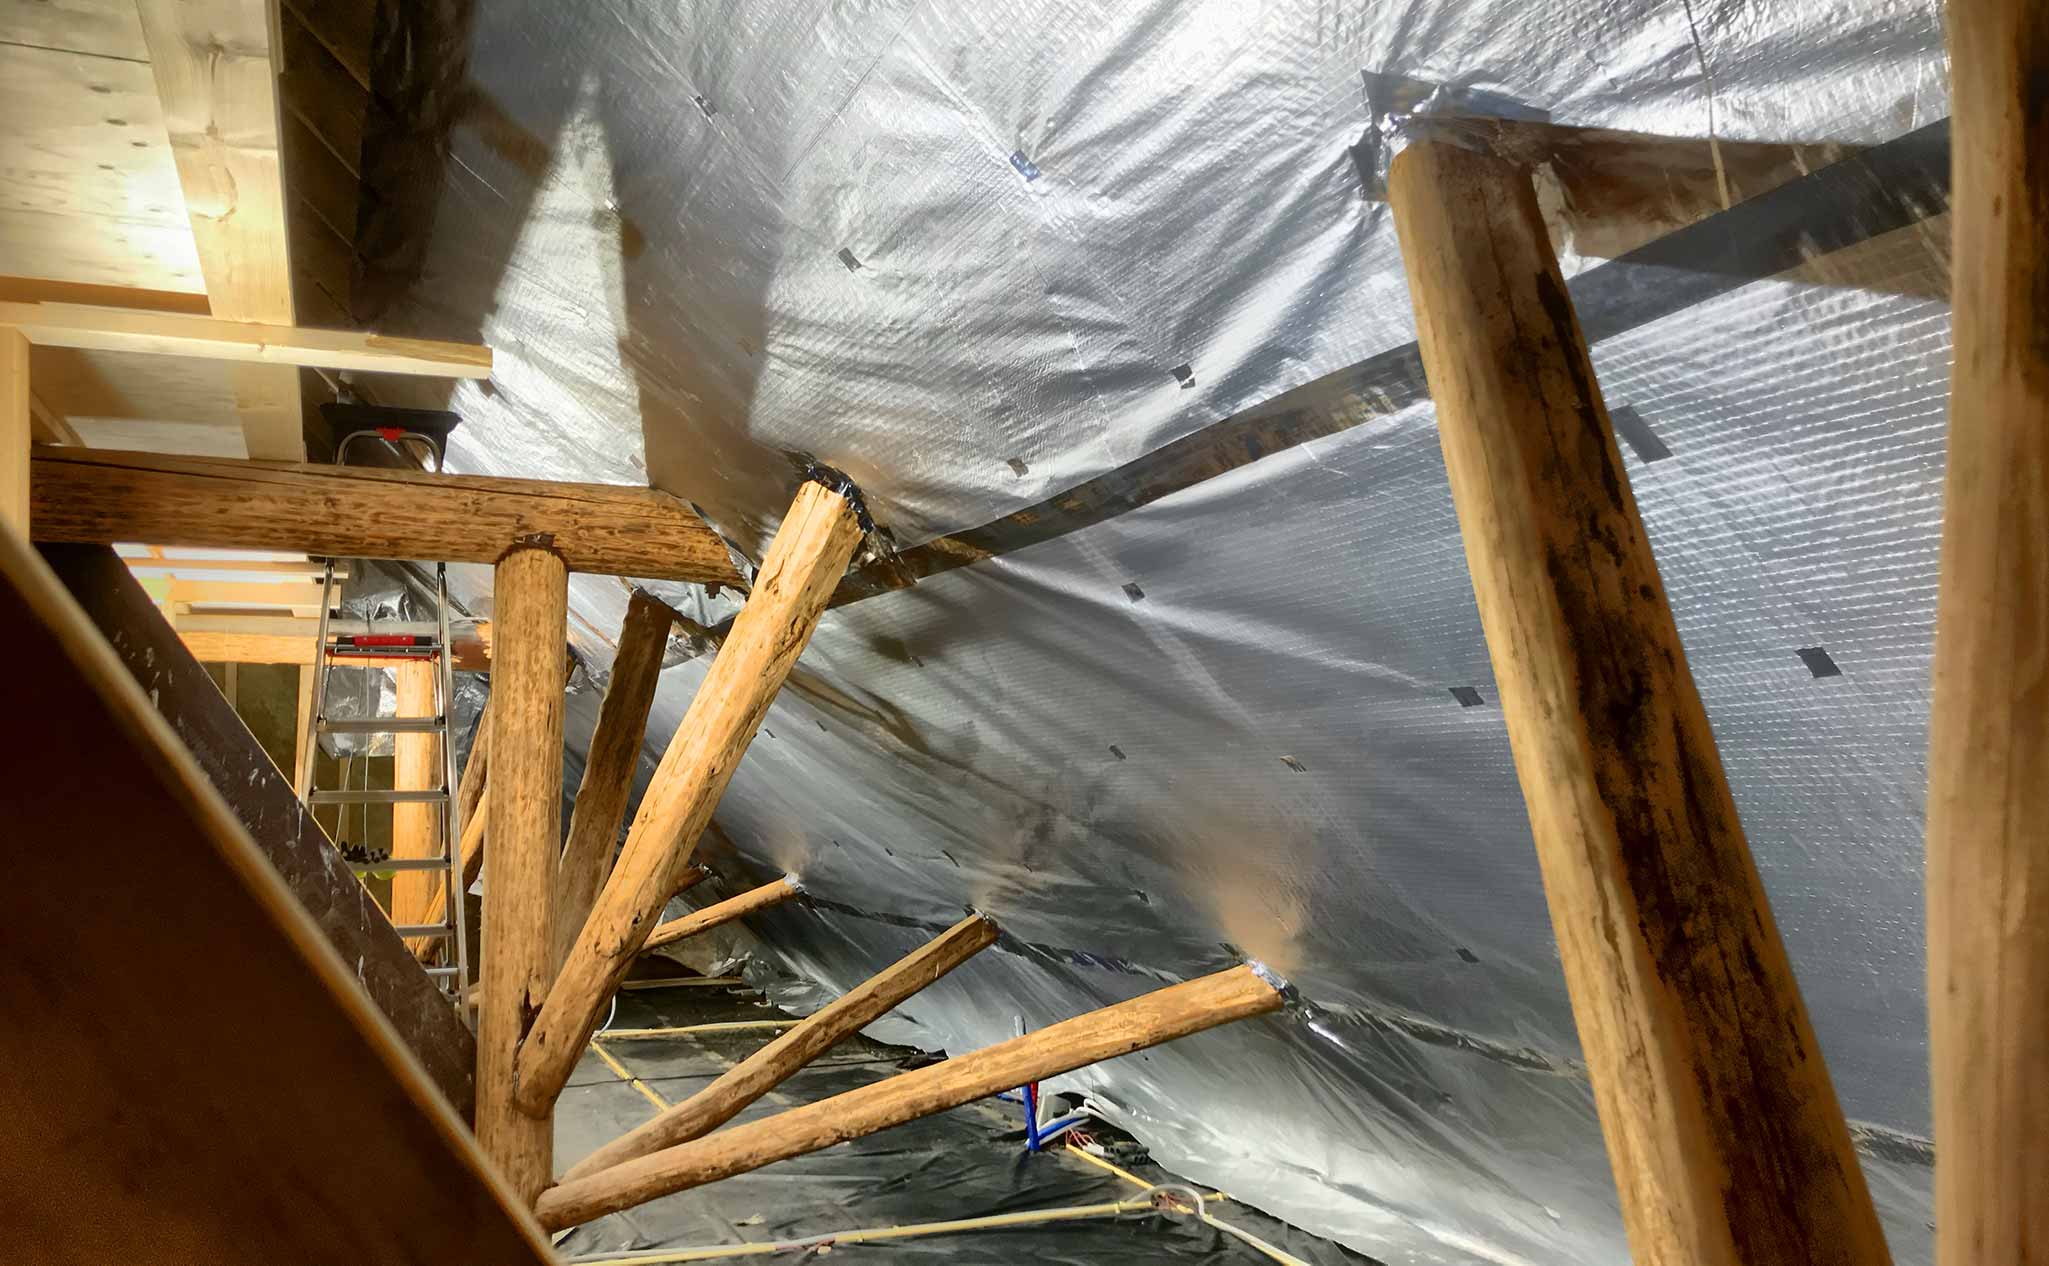
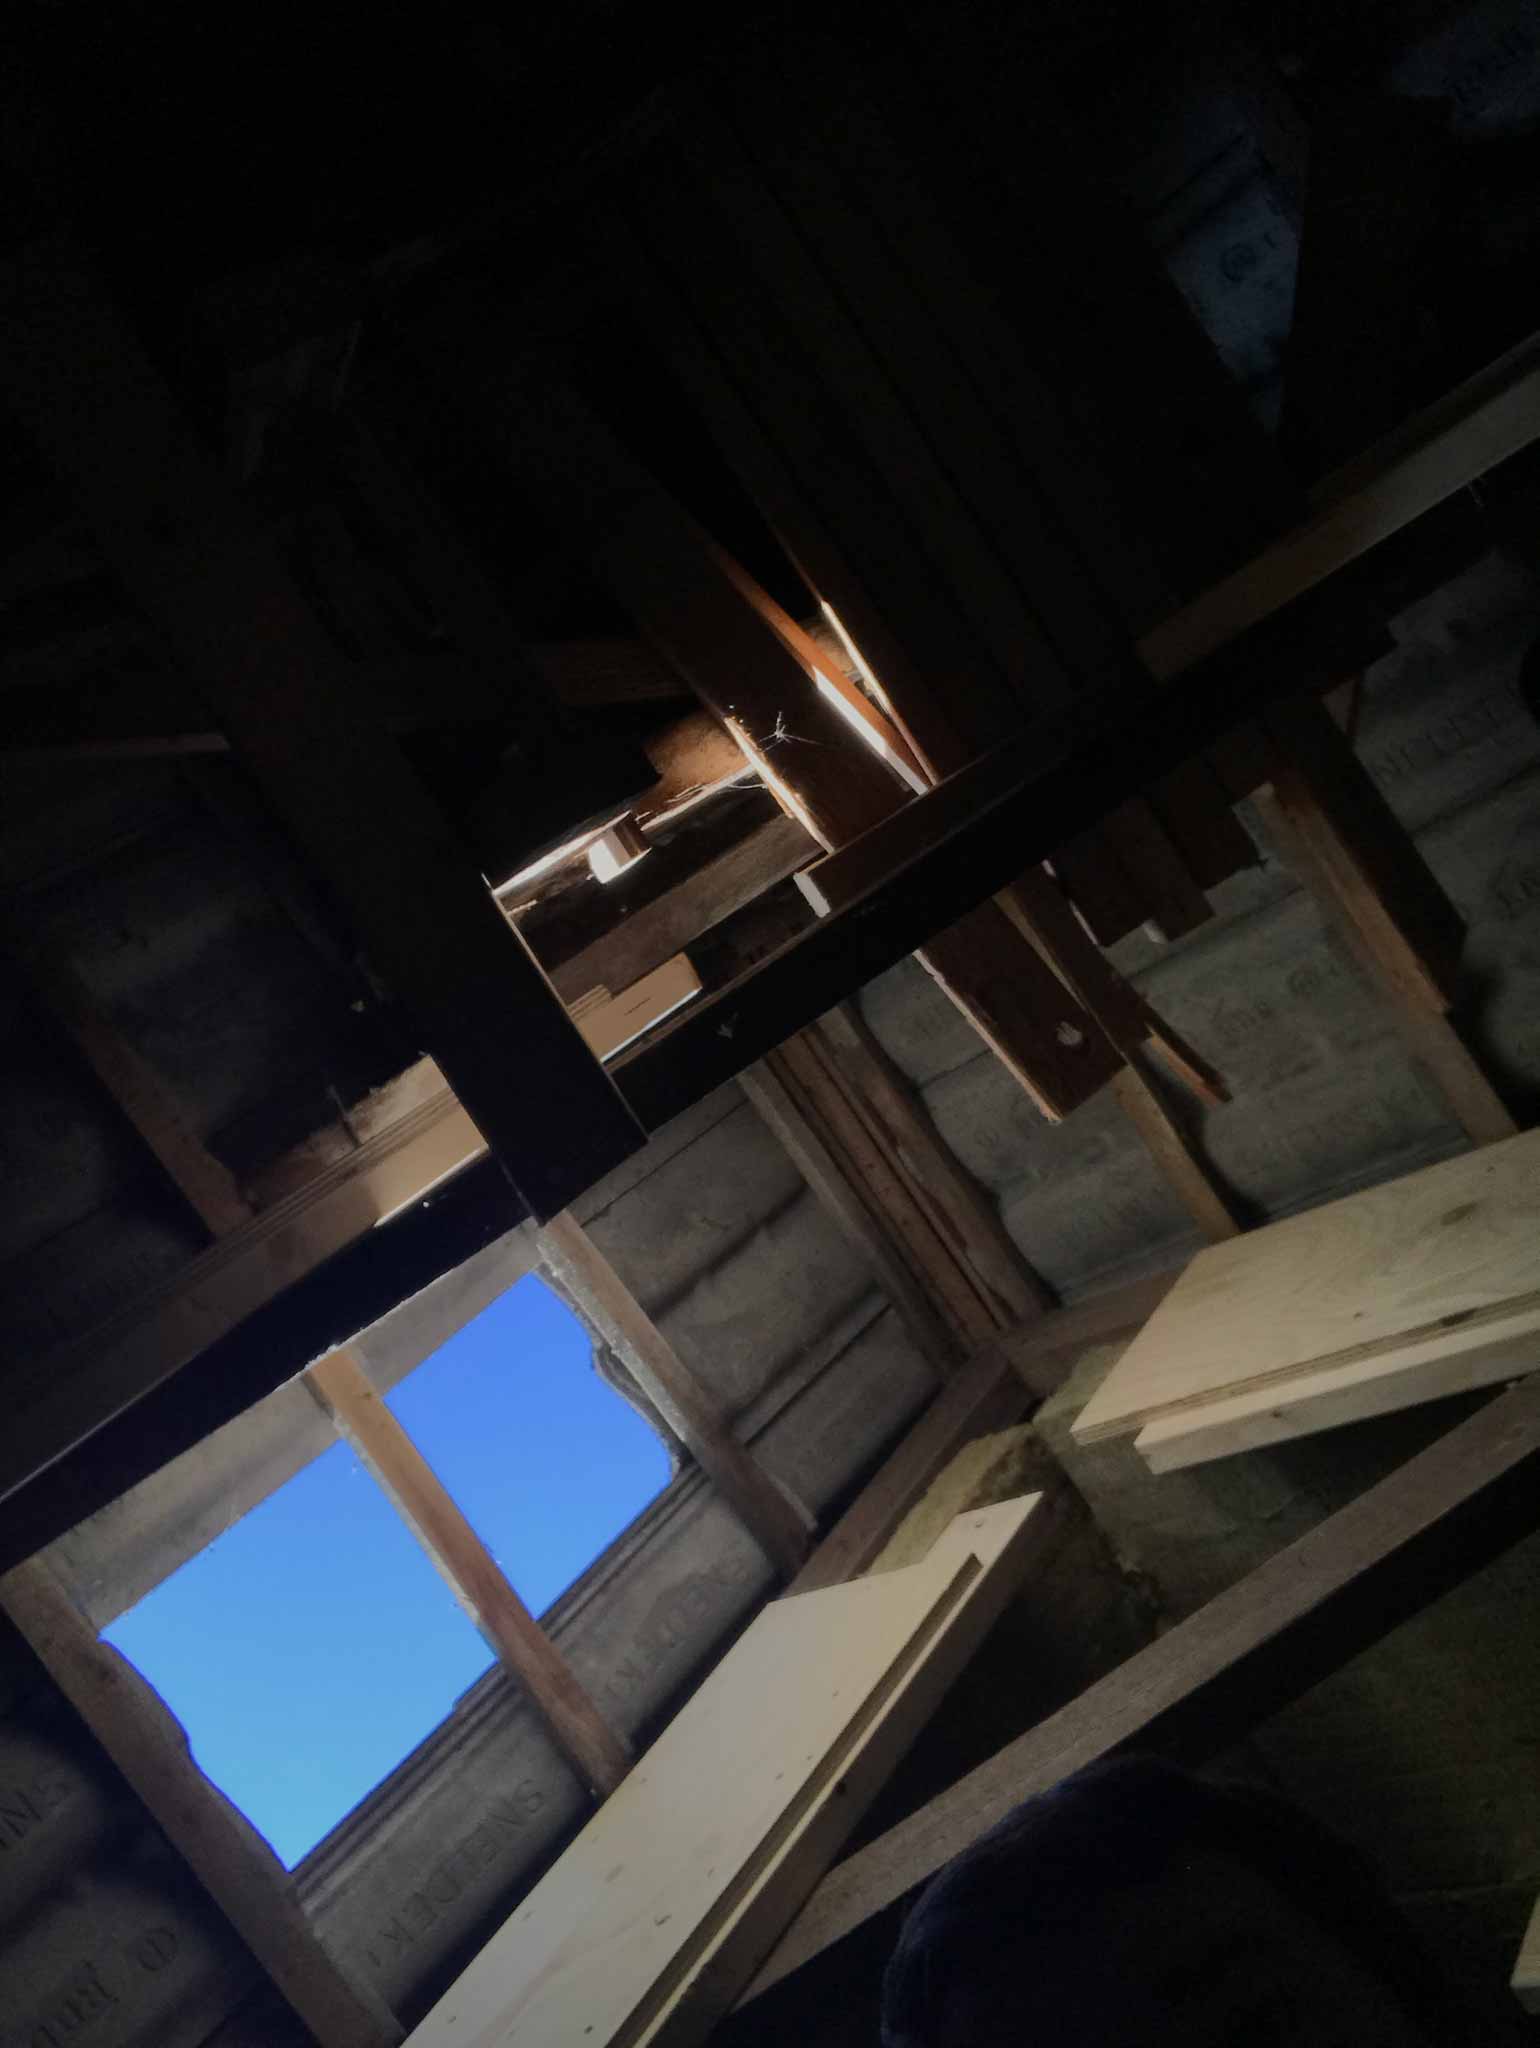
To prevent moisture from getting into the roof isolation (as much as possible) the inside of the roof needs to be covered in foil. It looks a bit like Chuck McGill‘s house in his worst periods. Pretty hard to get totally airtight, but hopefully the outside of the roof will let any trespassing moisture evaporate easy enough…
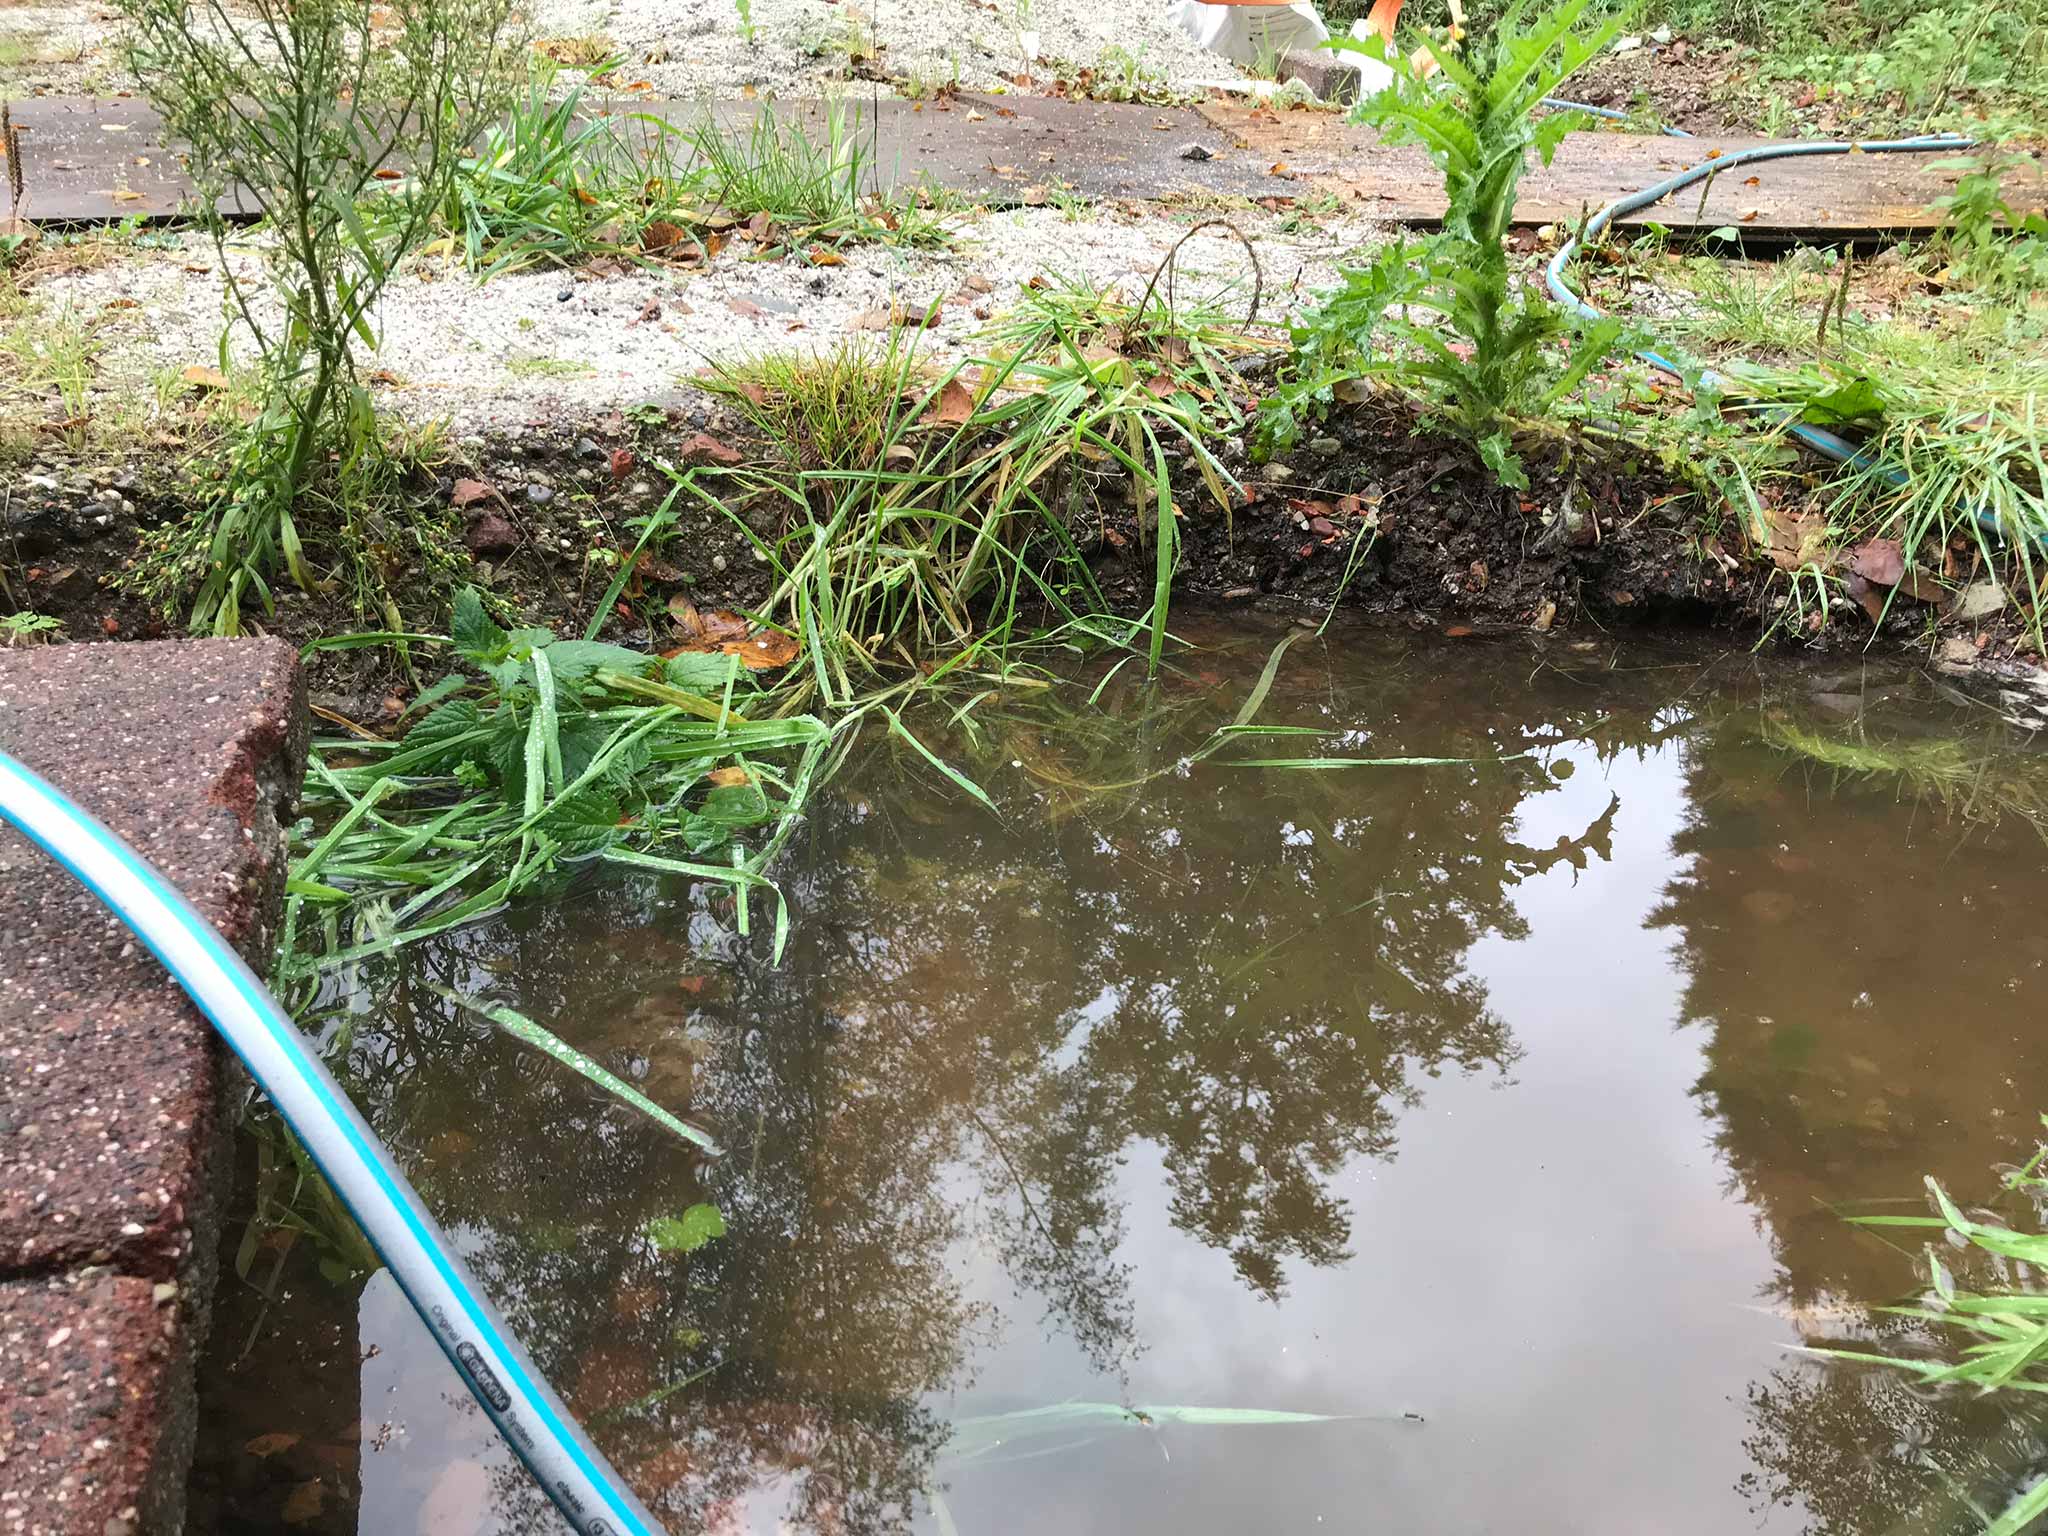
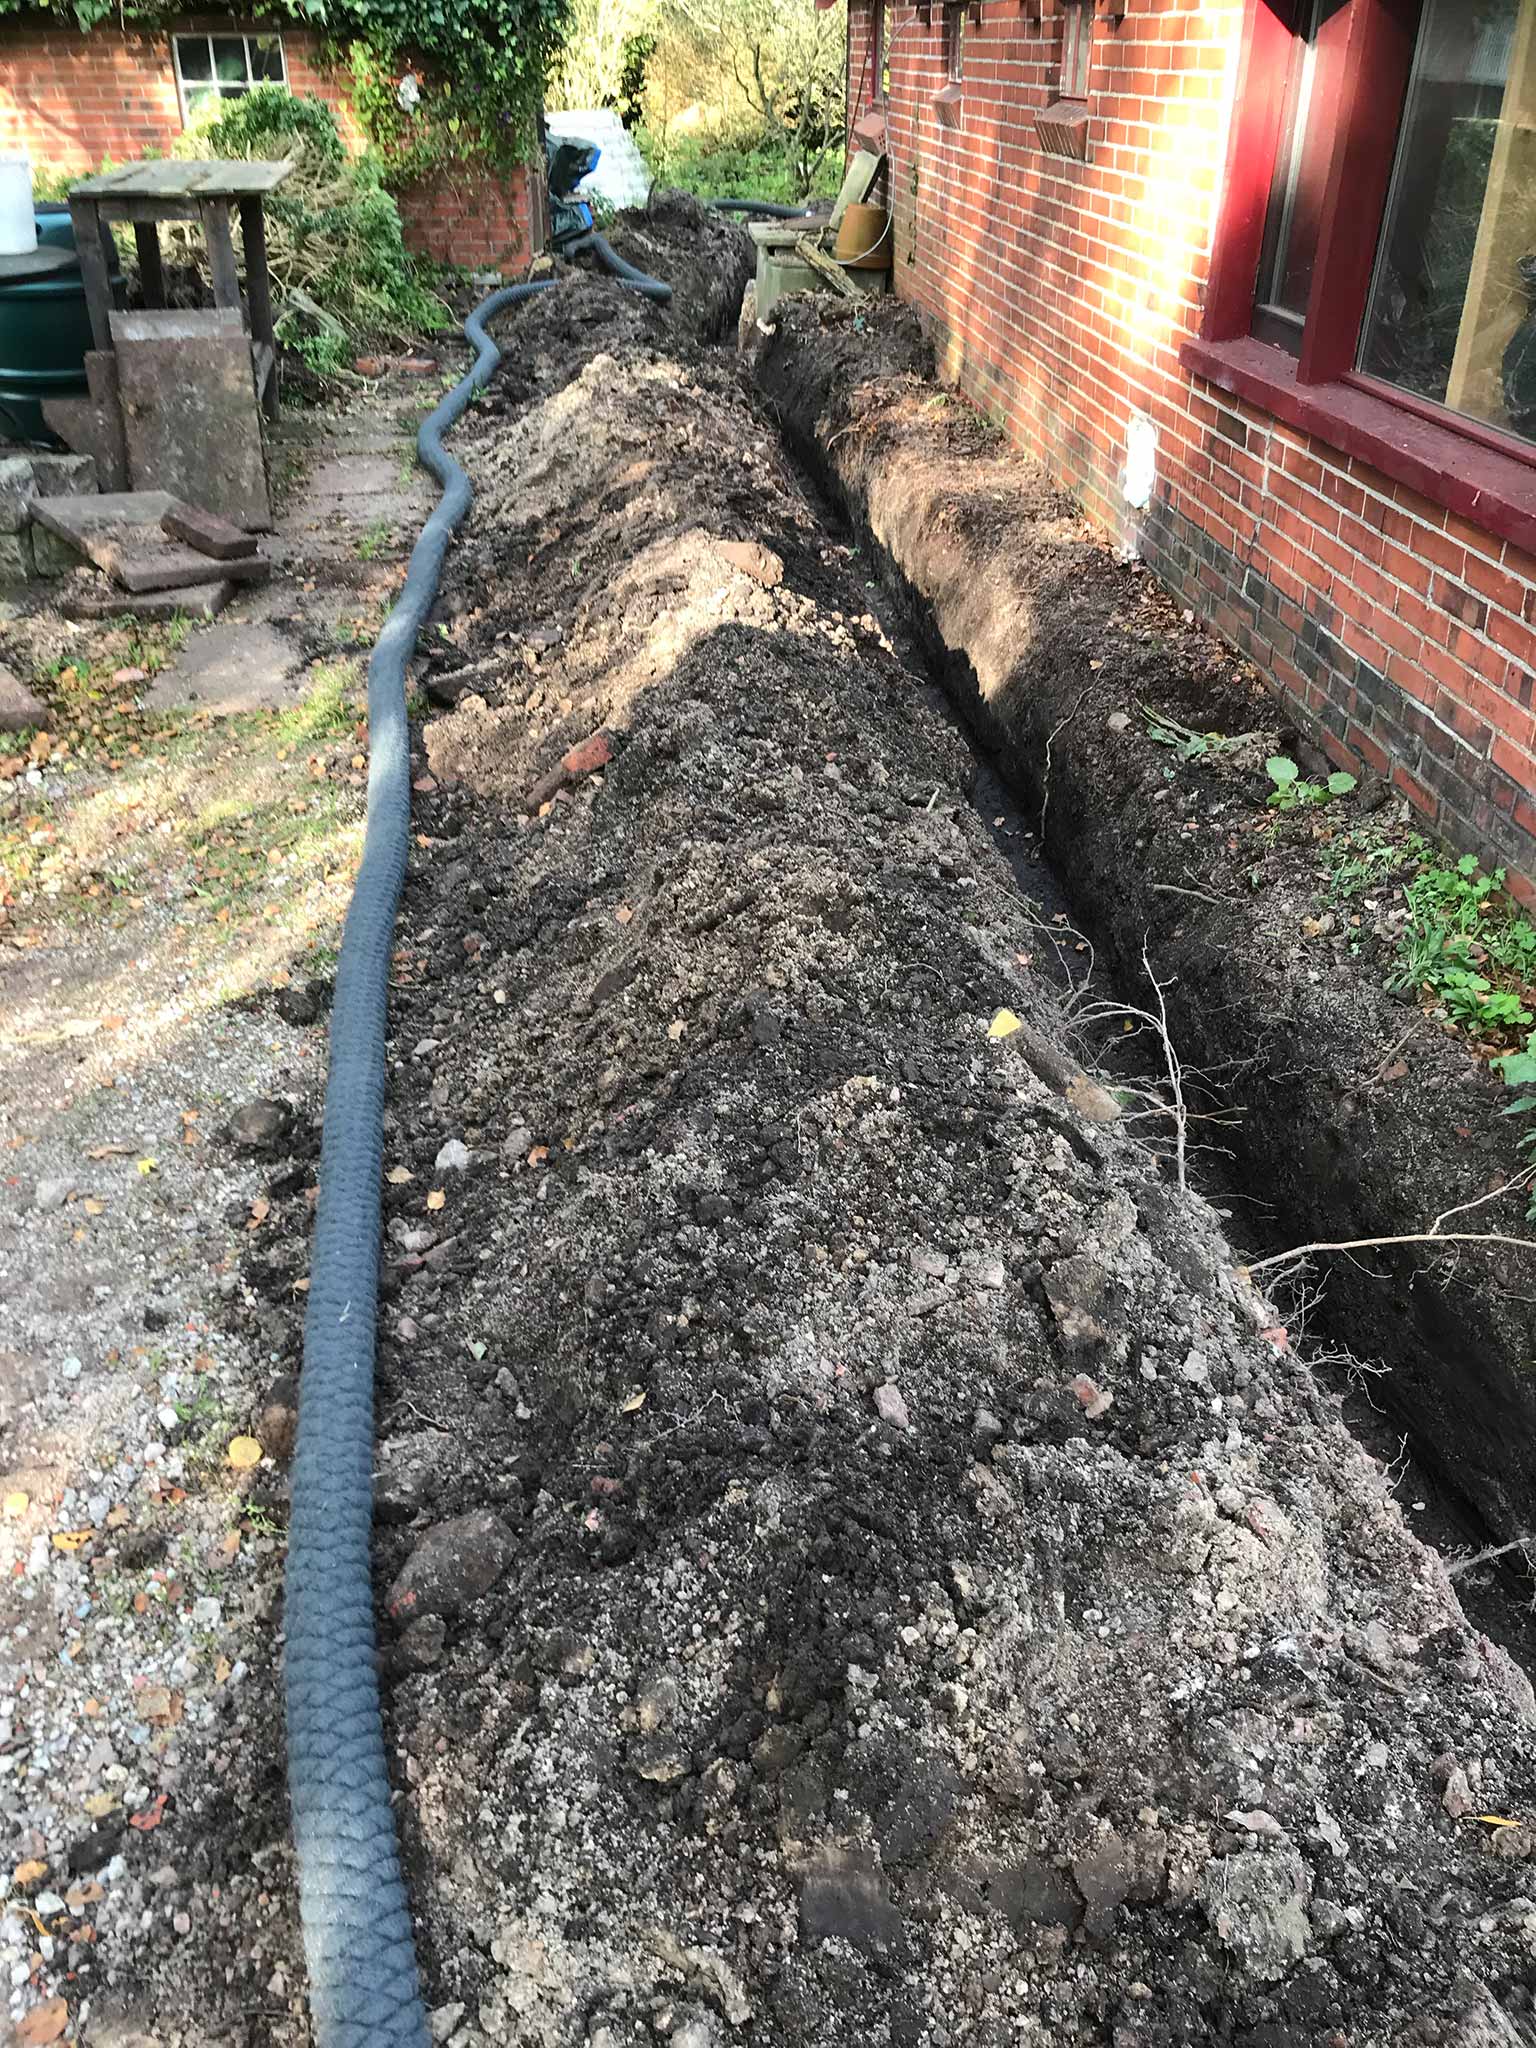
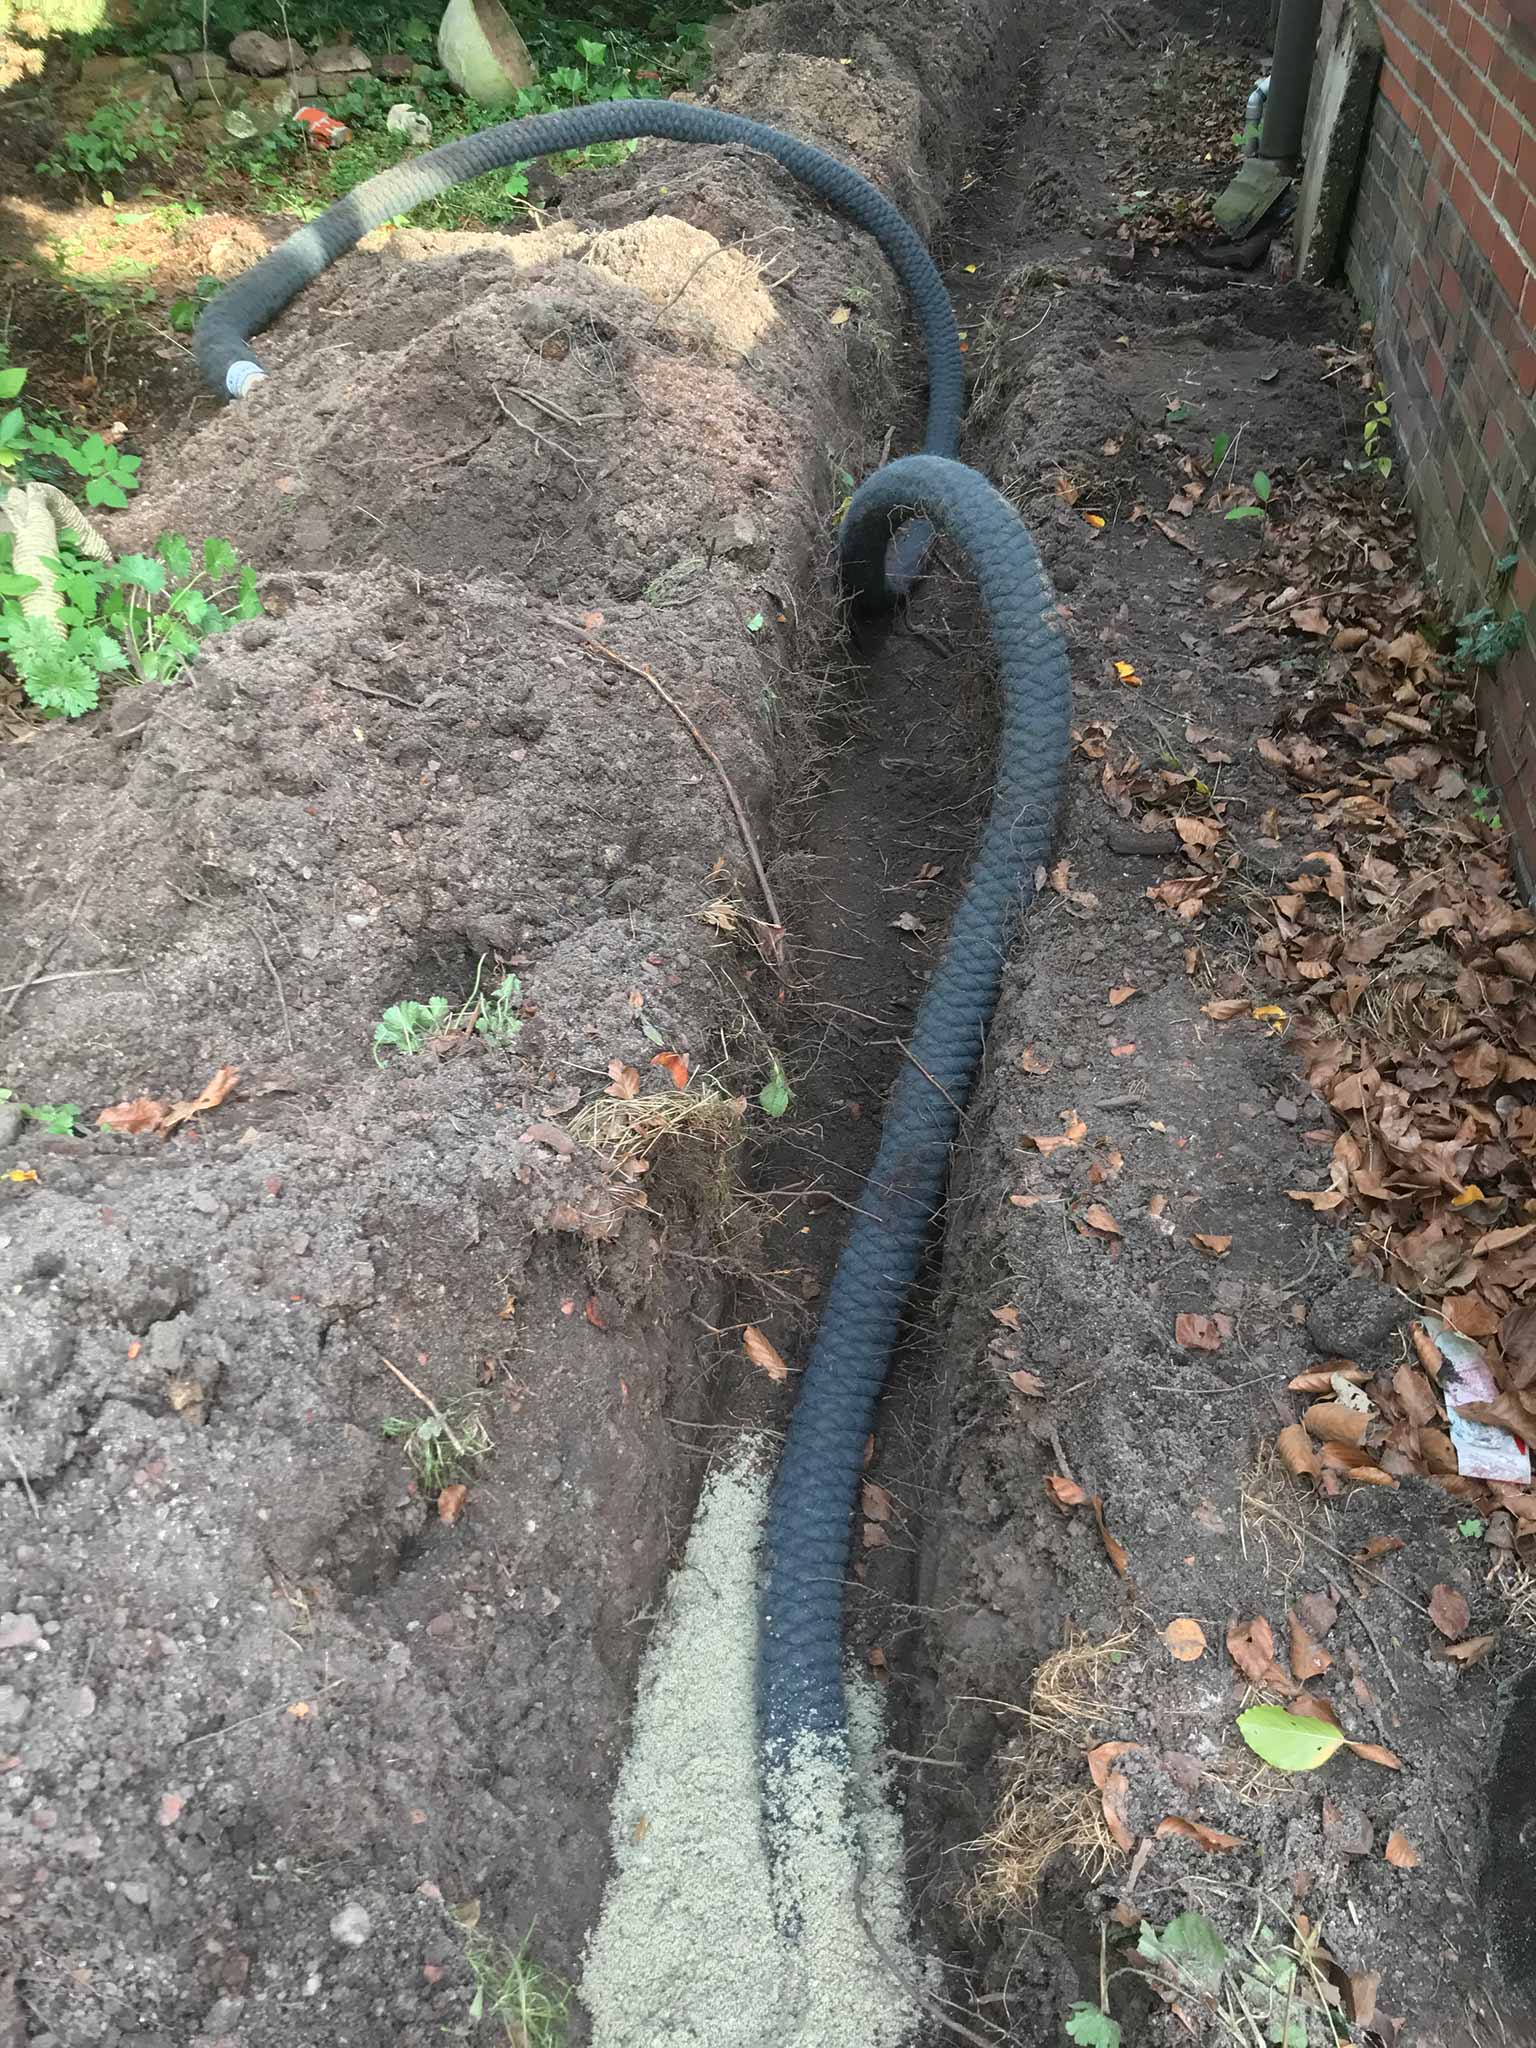
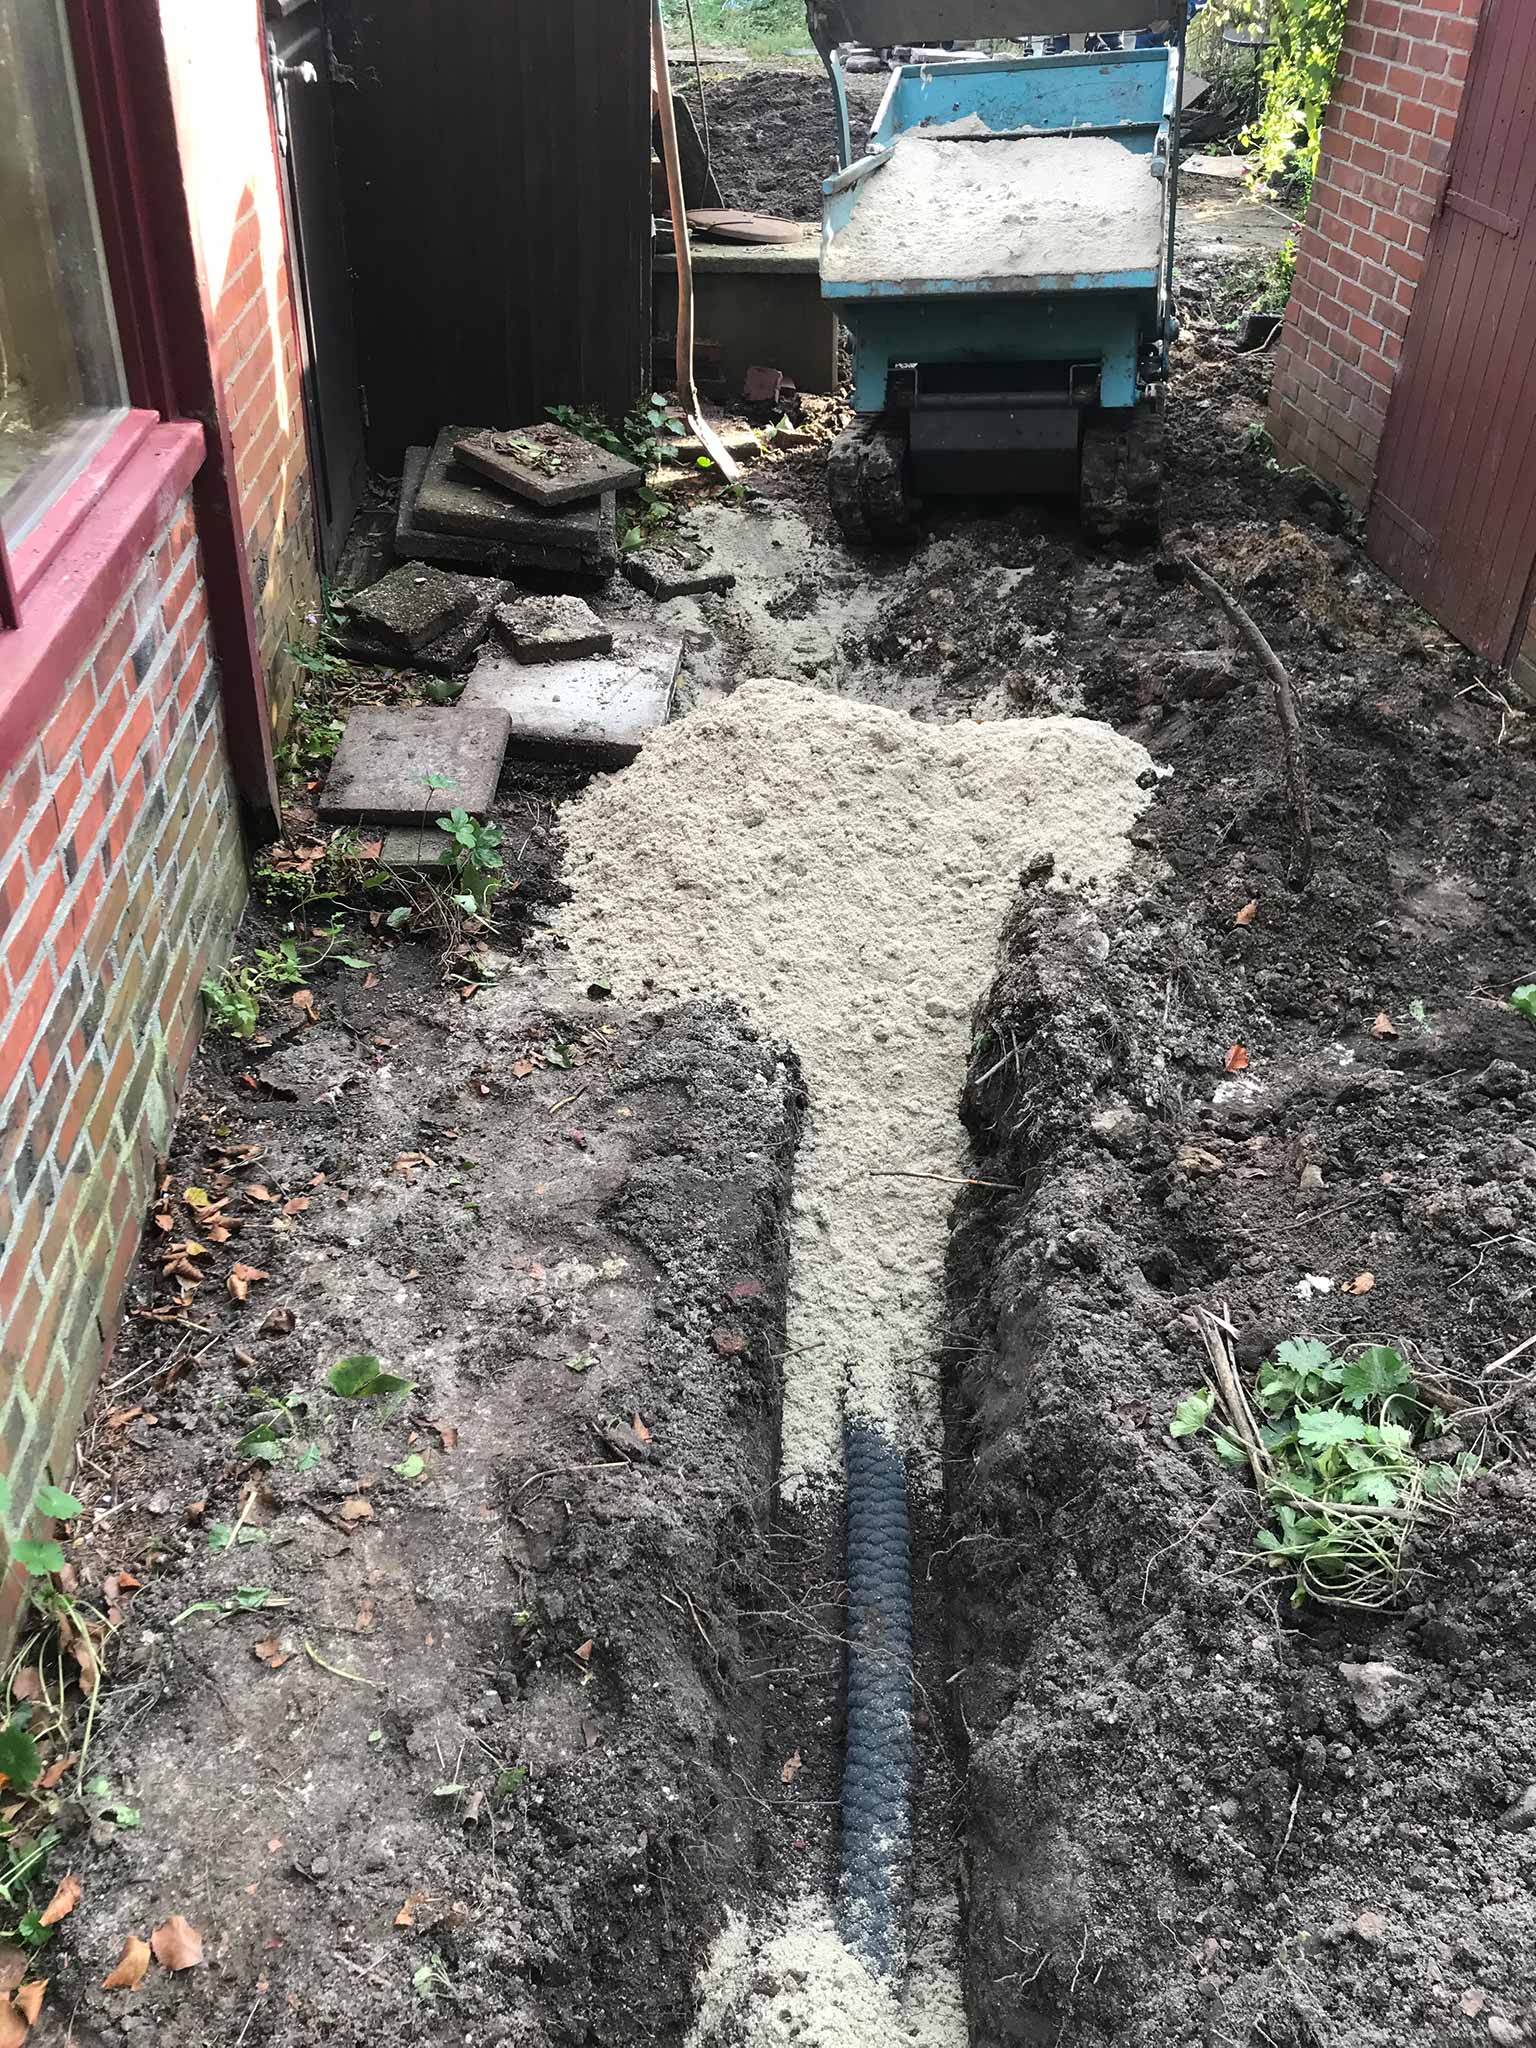
To prevent this and let the old sink pit location drain, there will be drain pipes around the house.

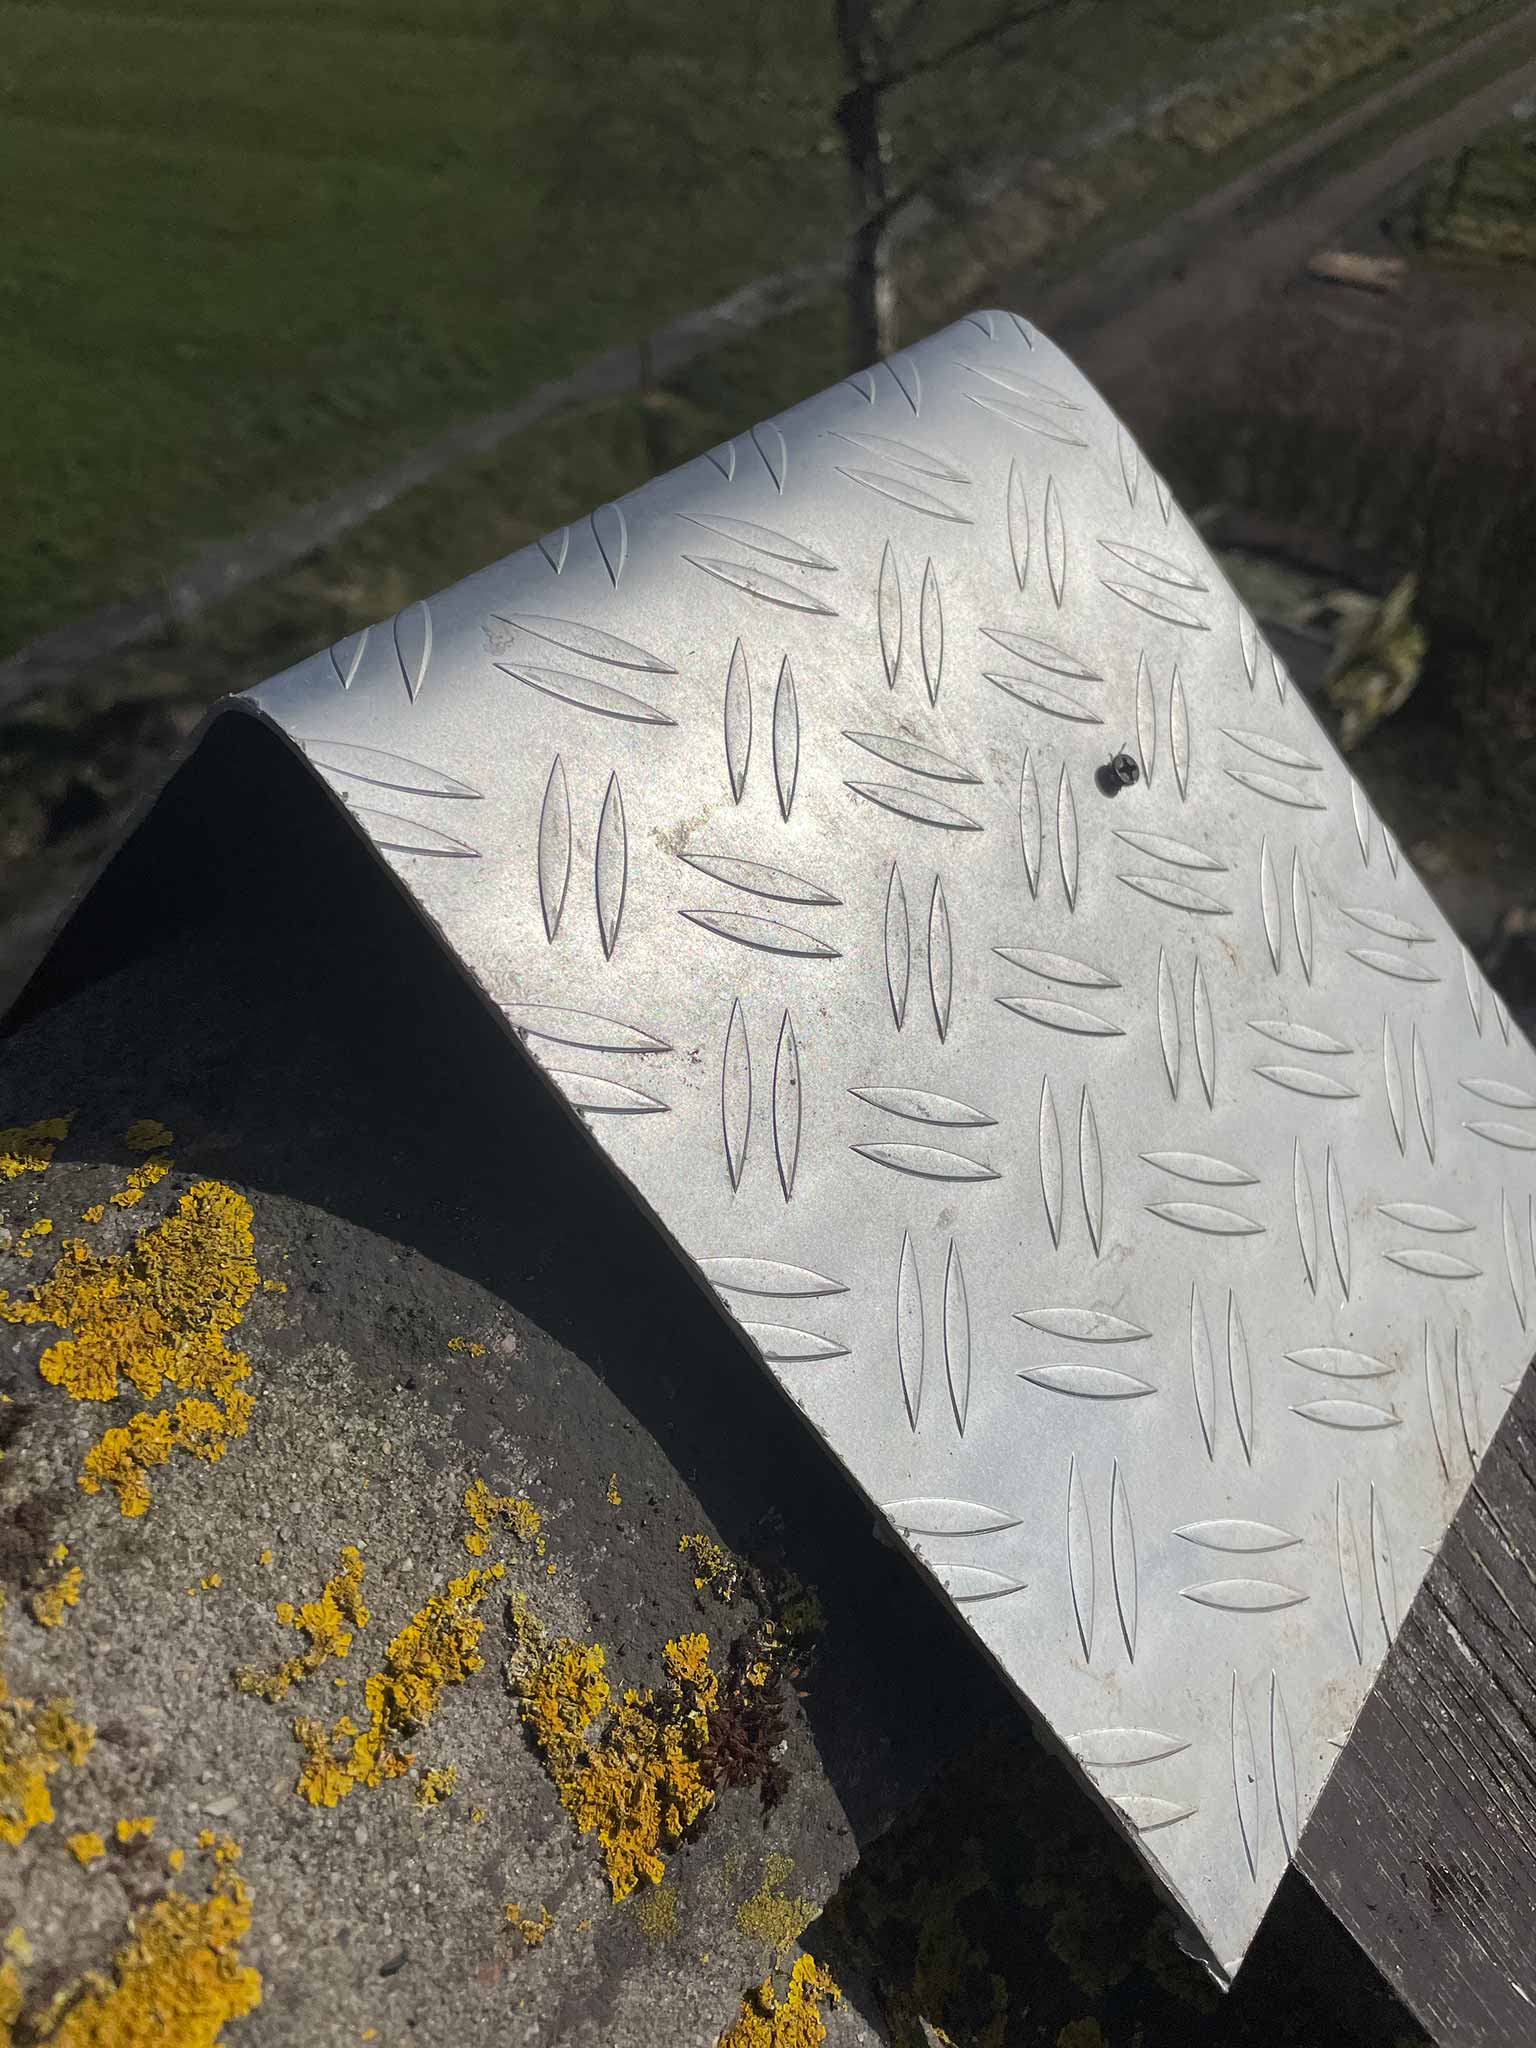
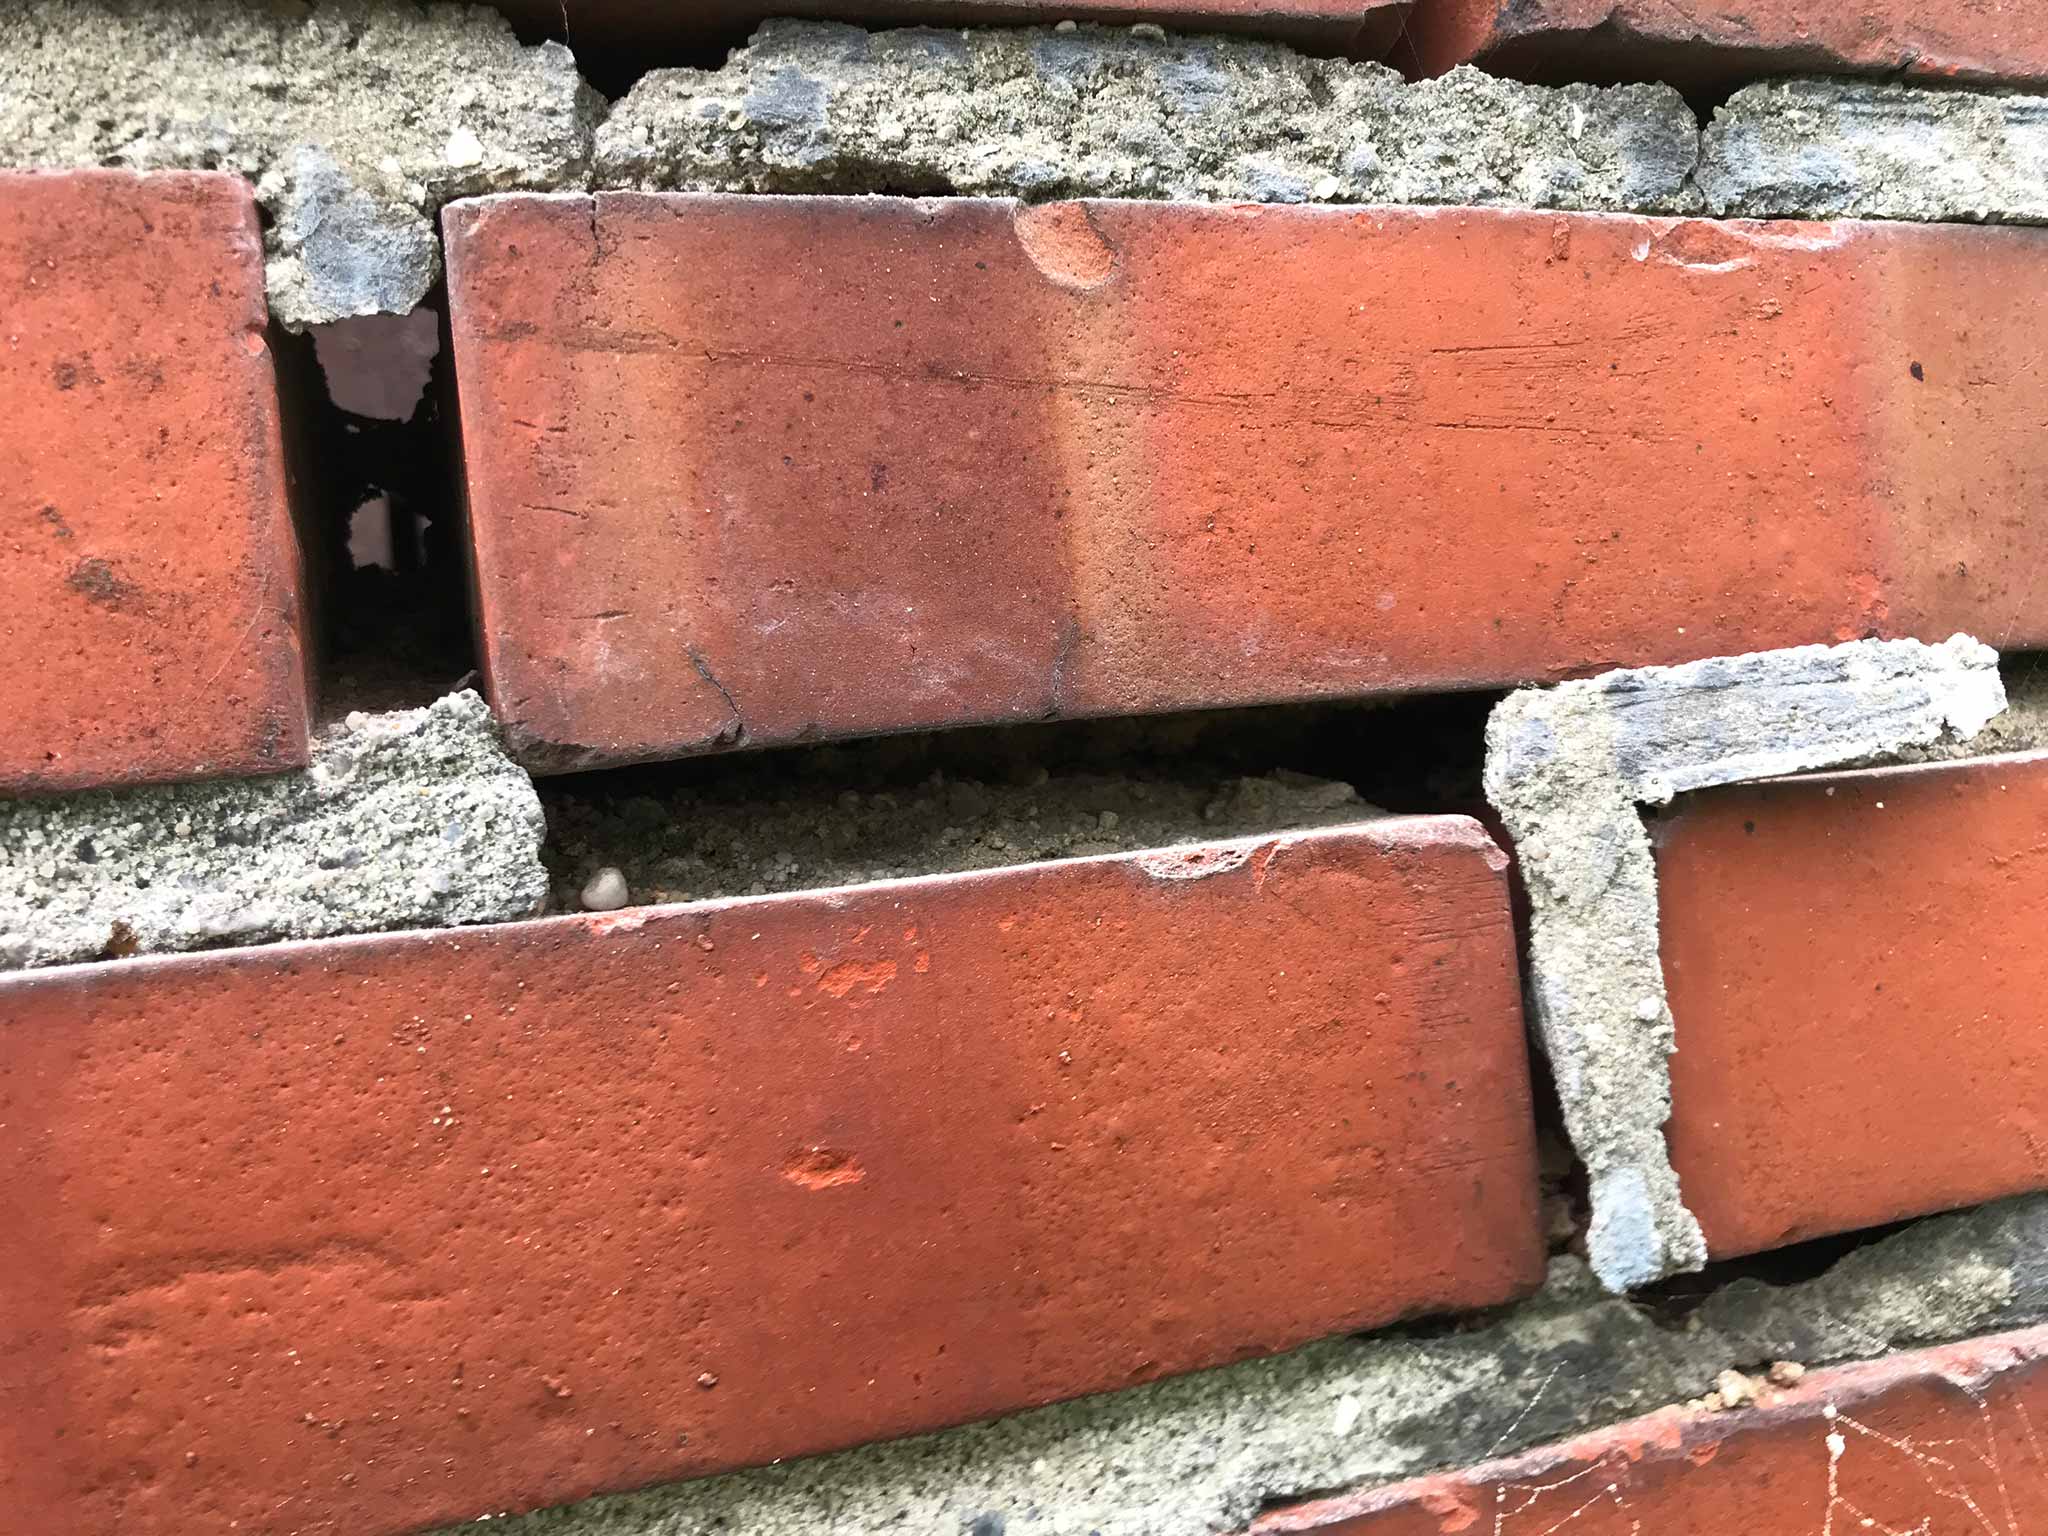
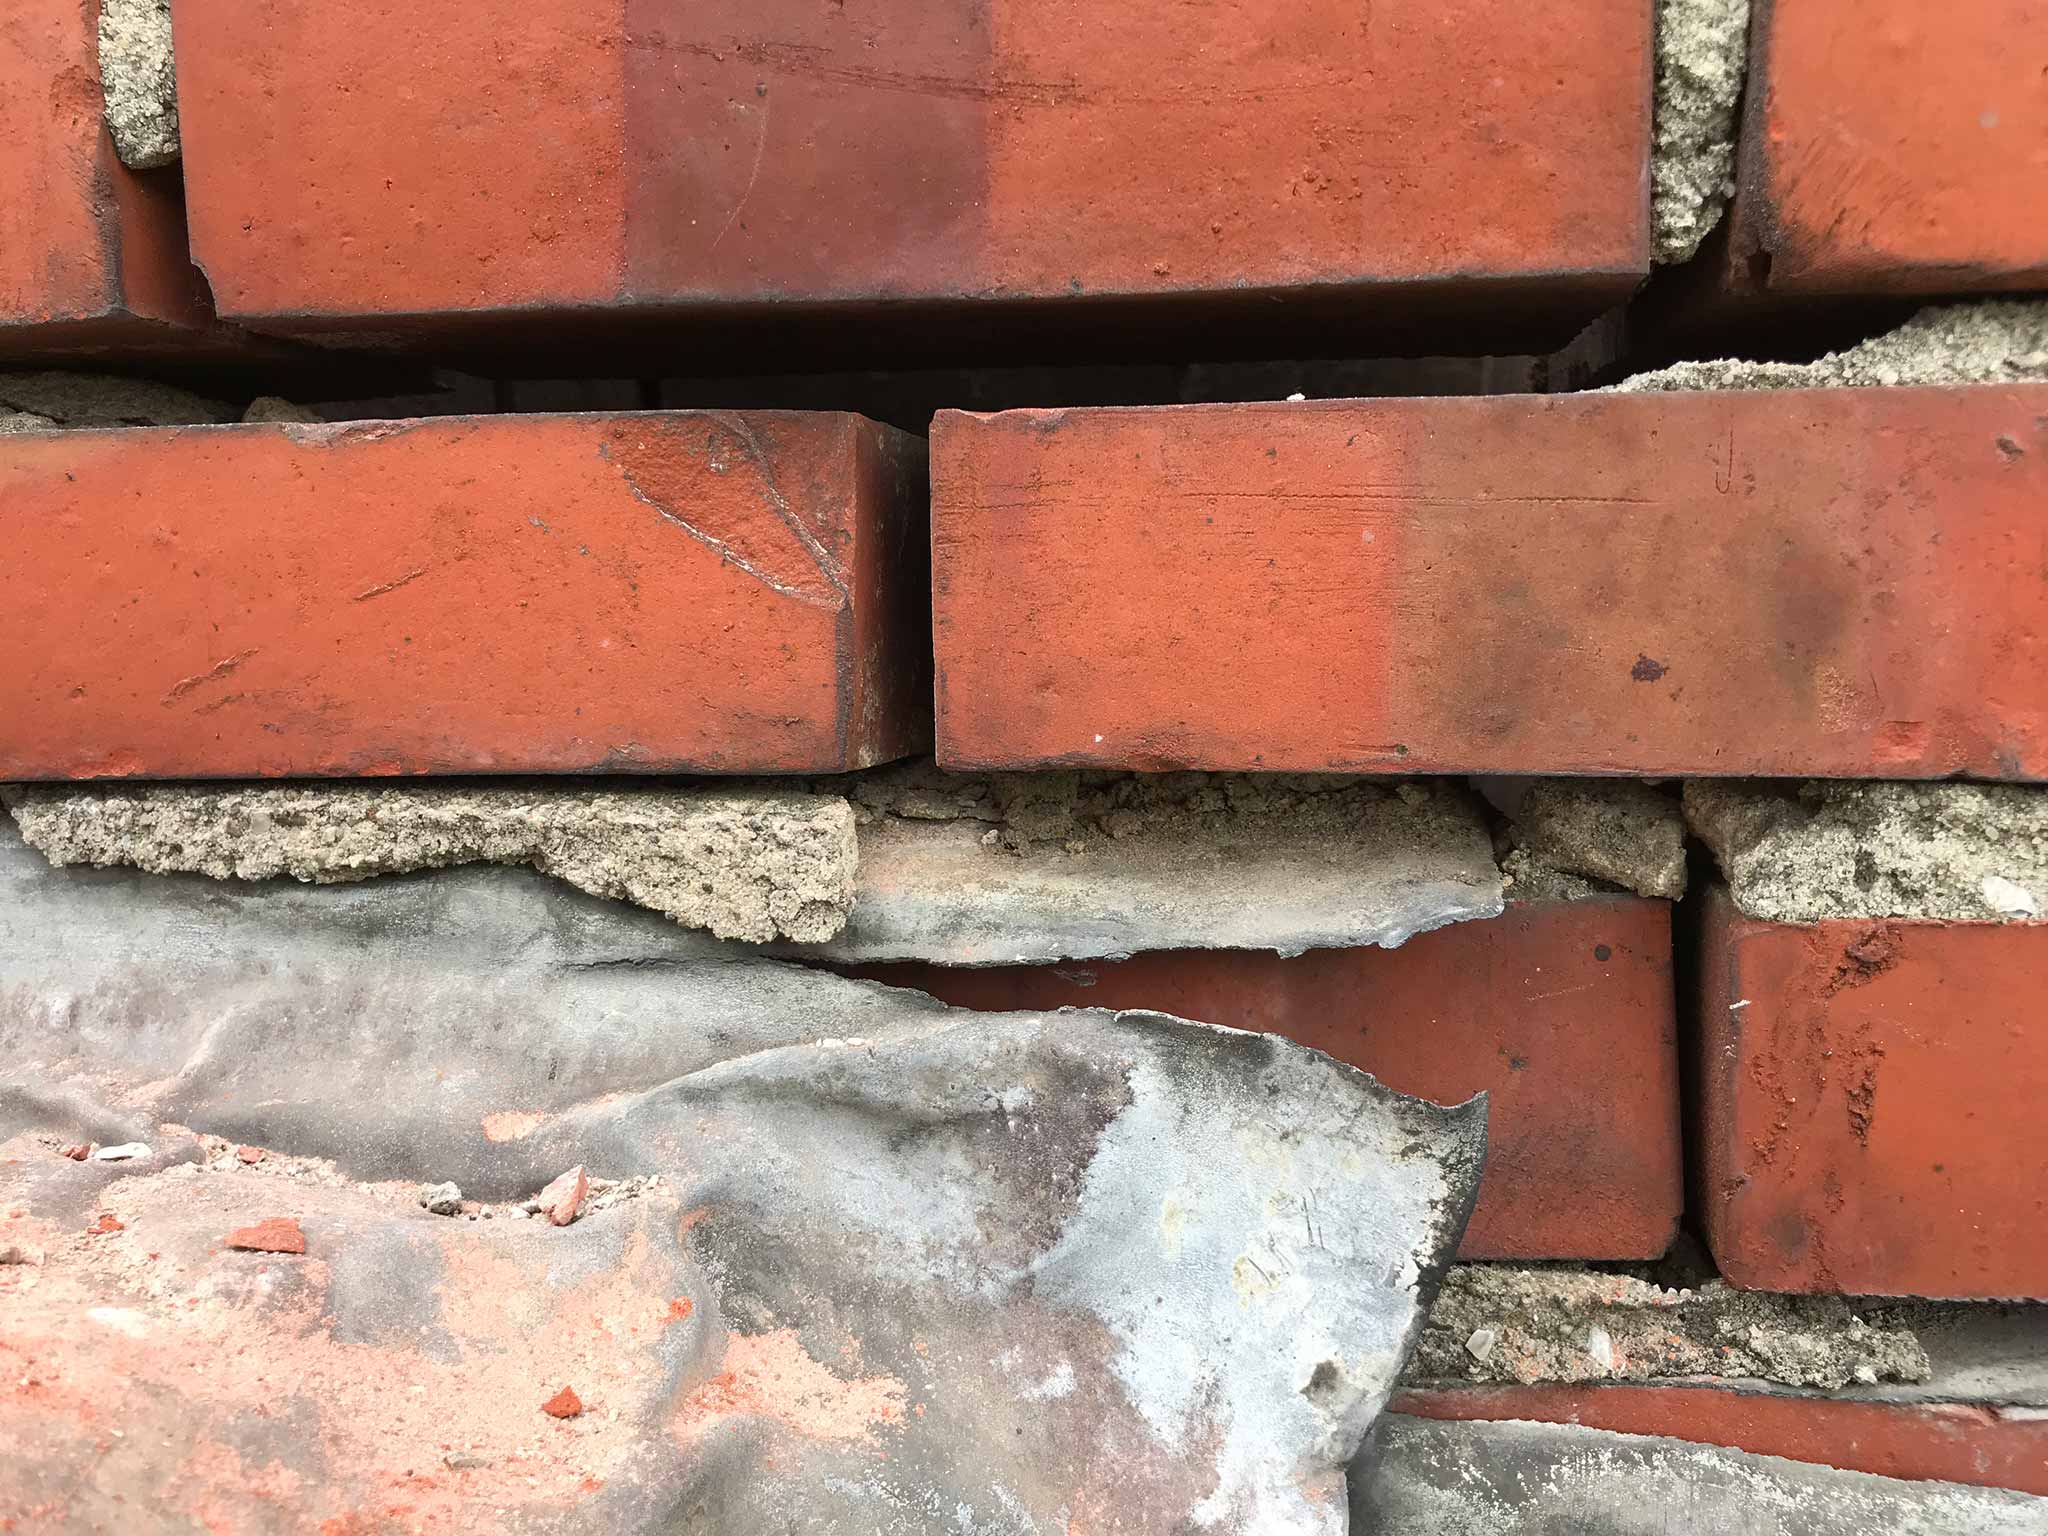
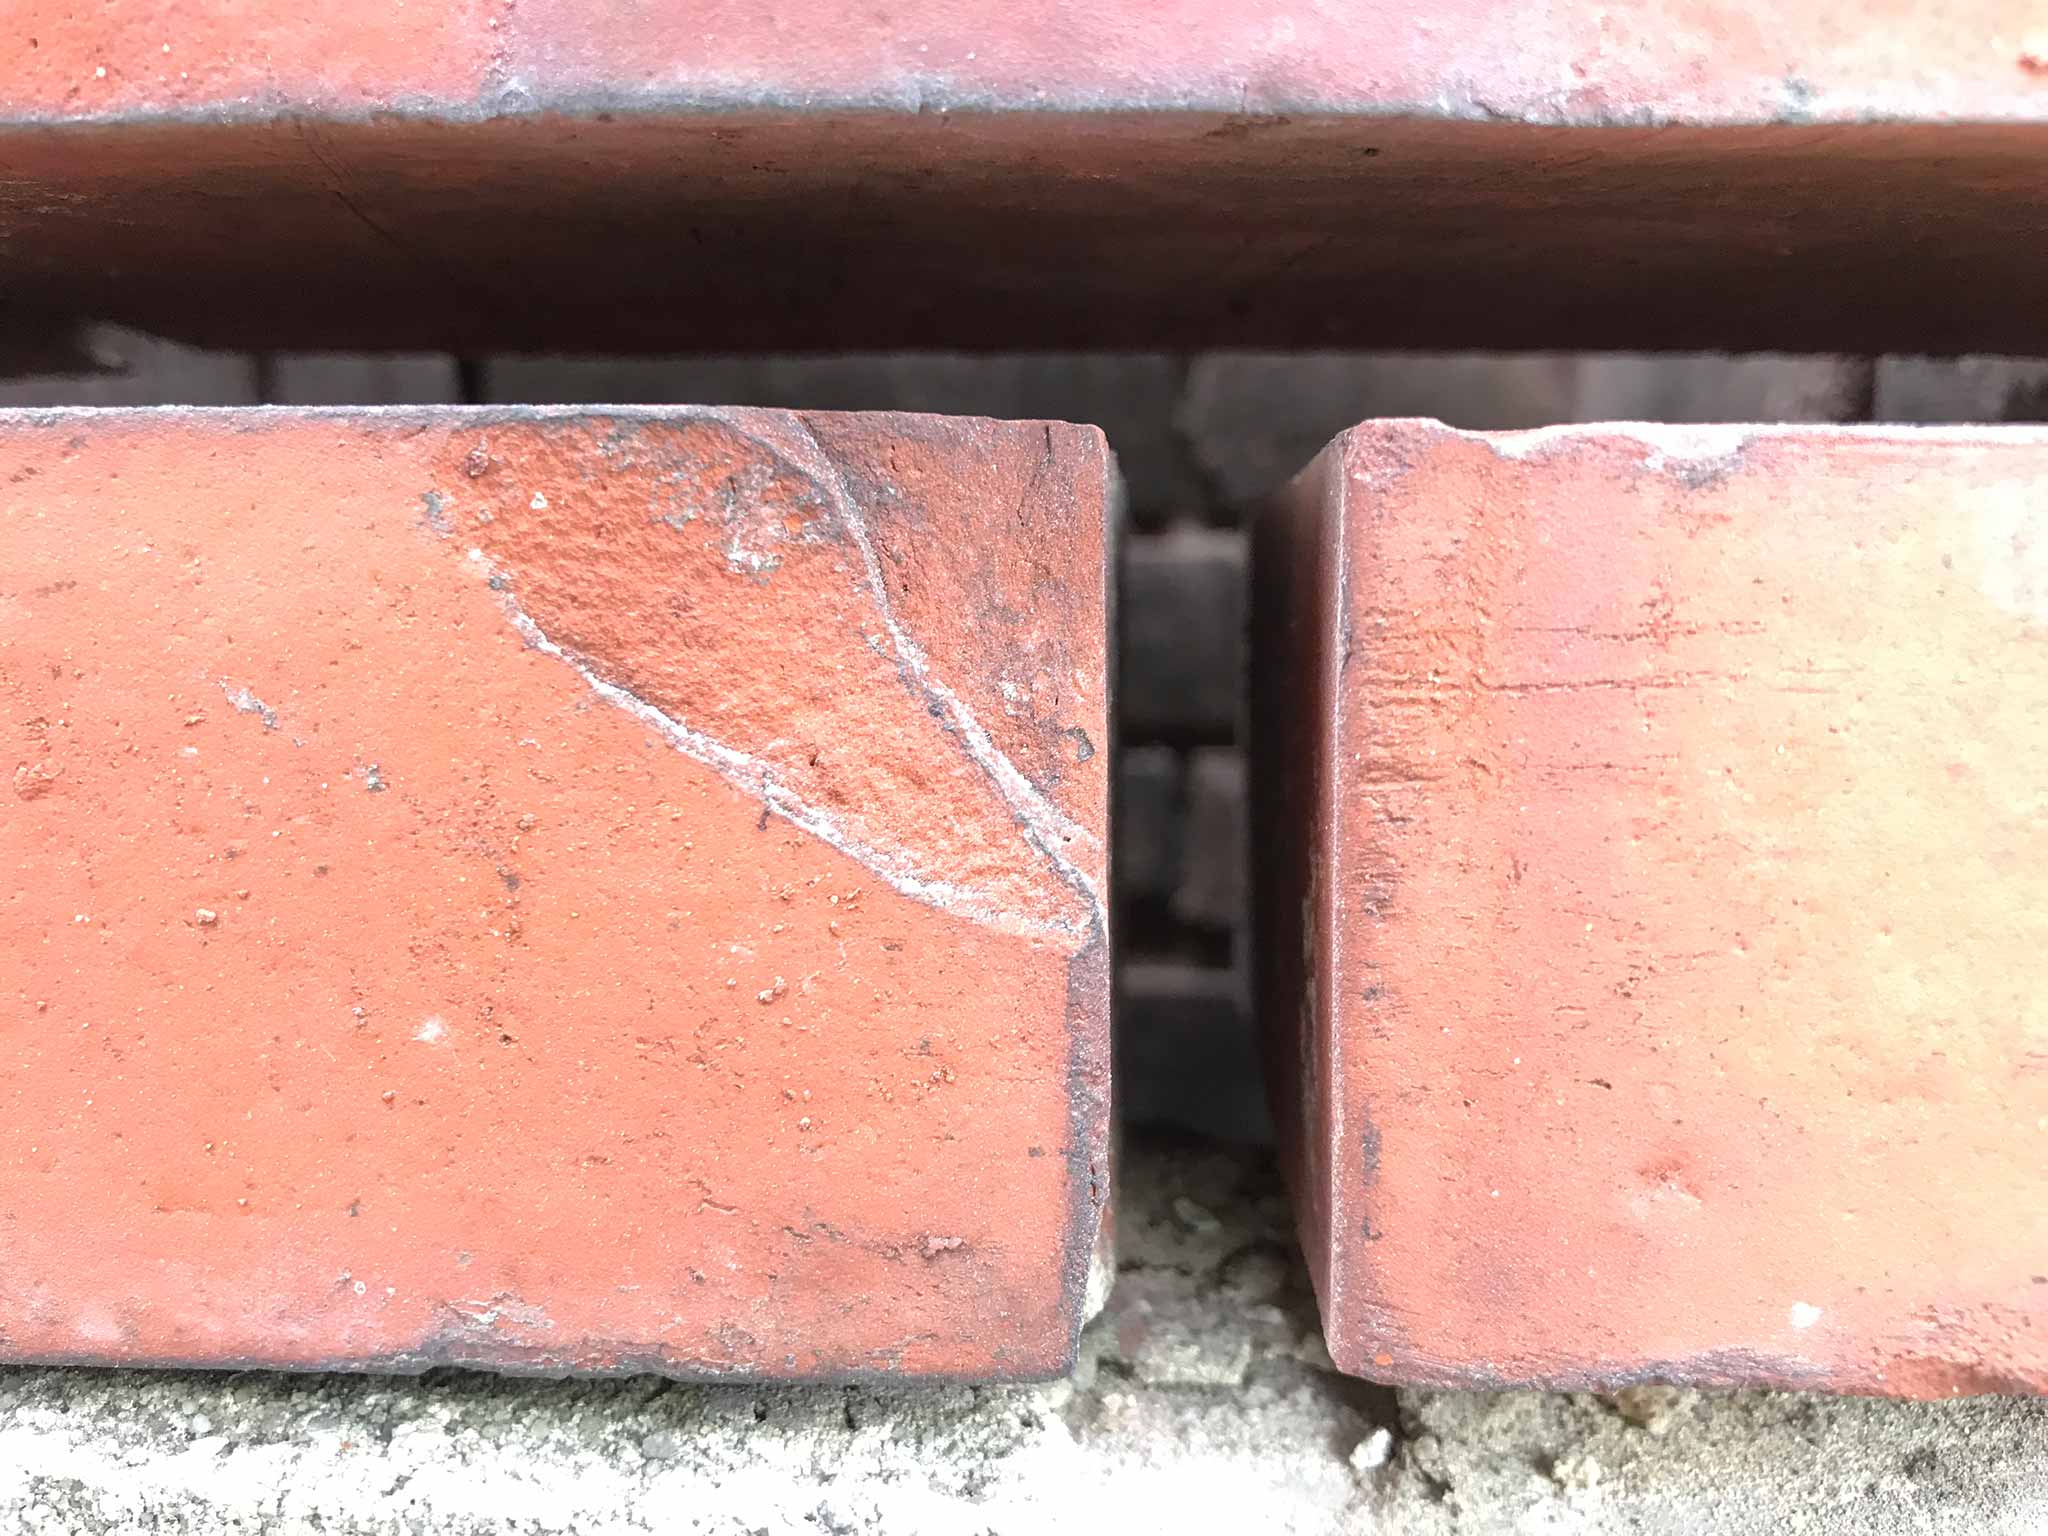
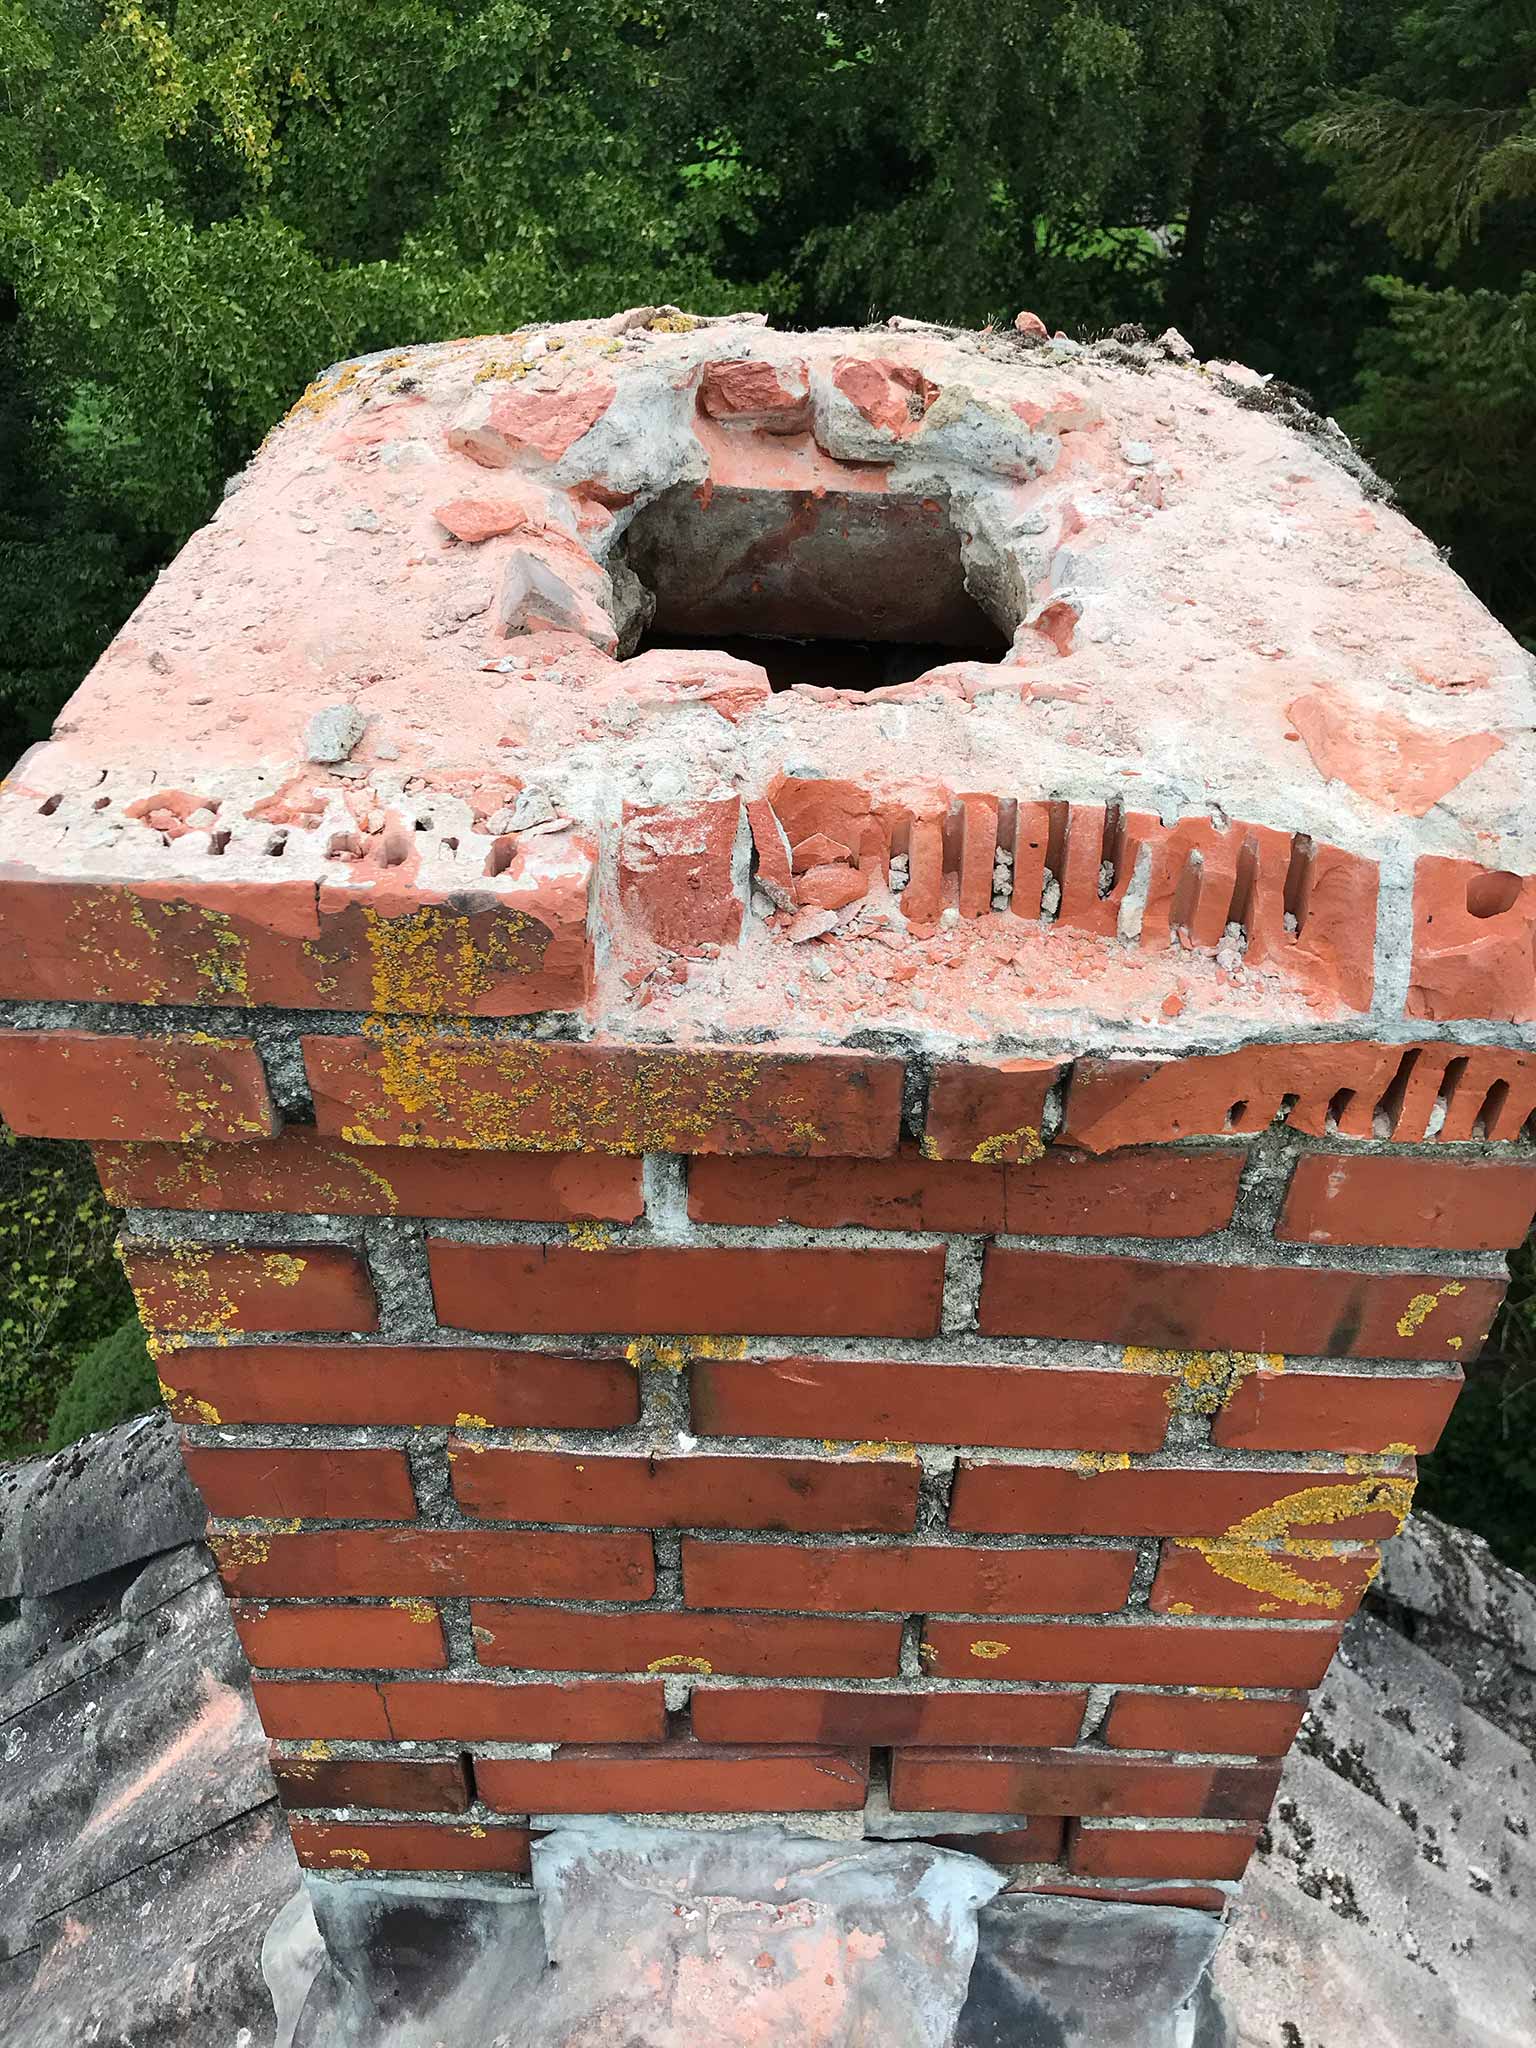
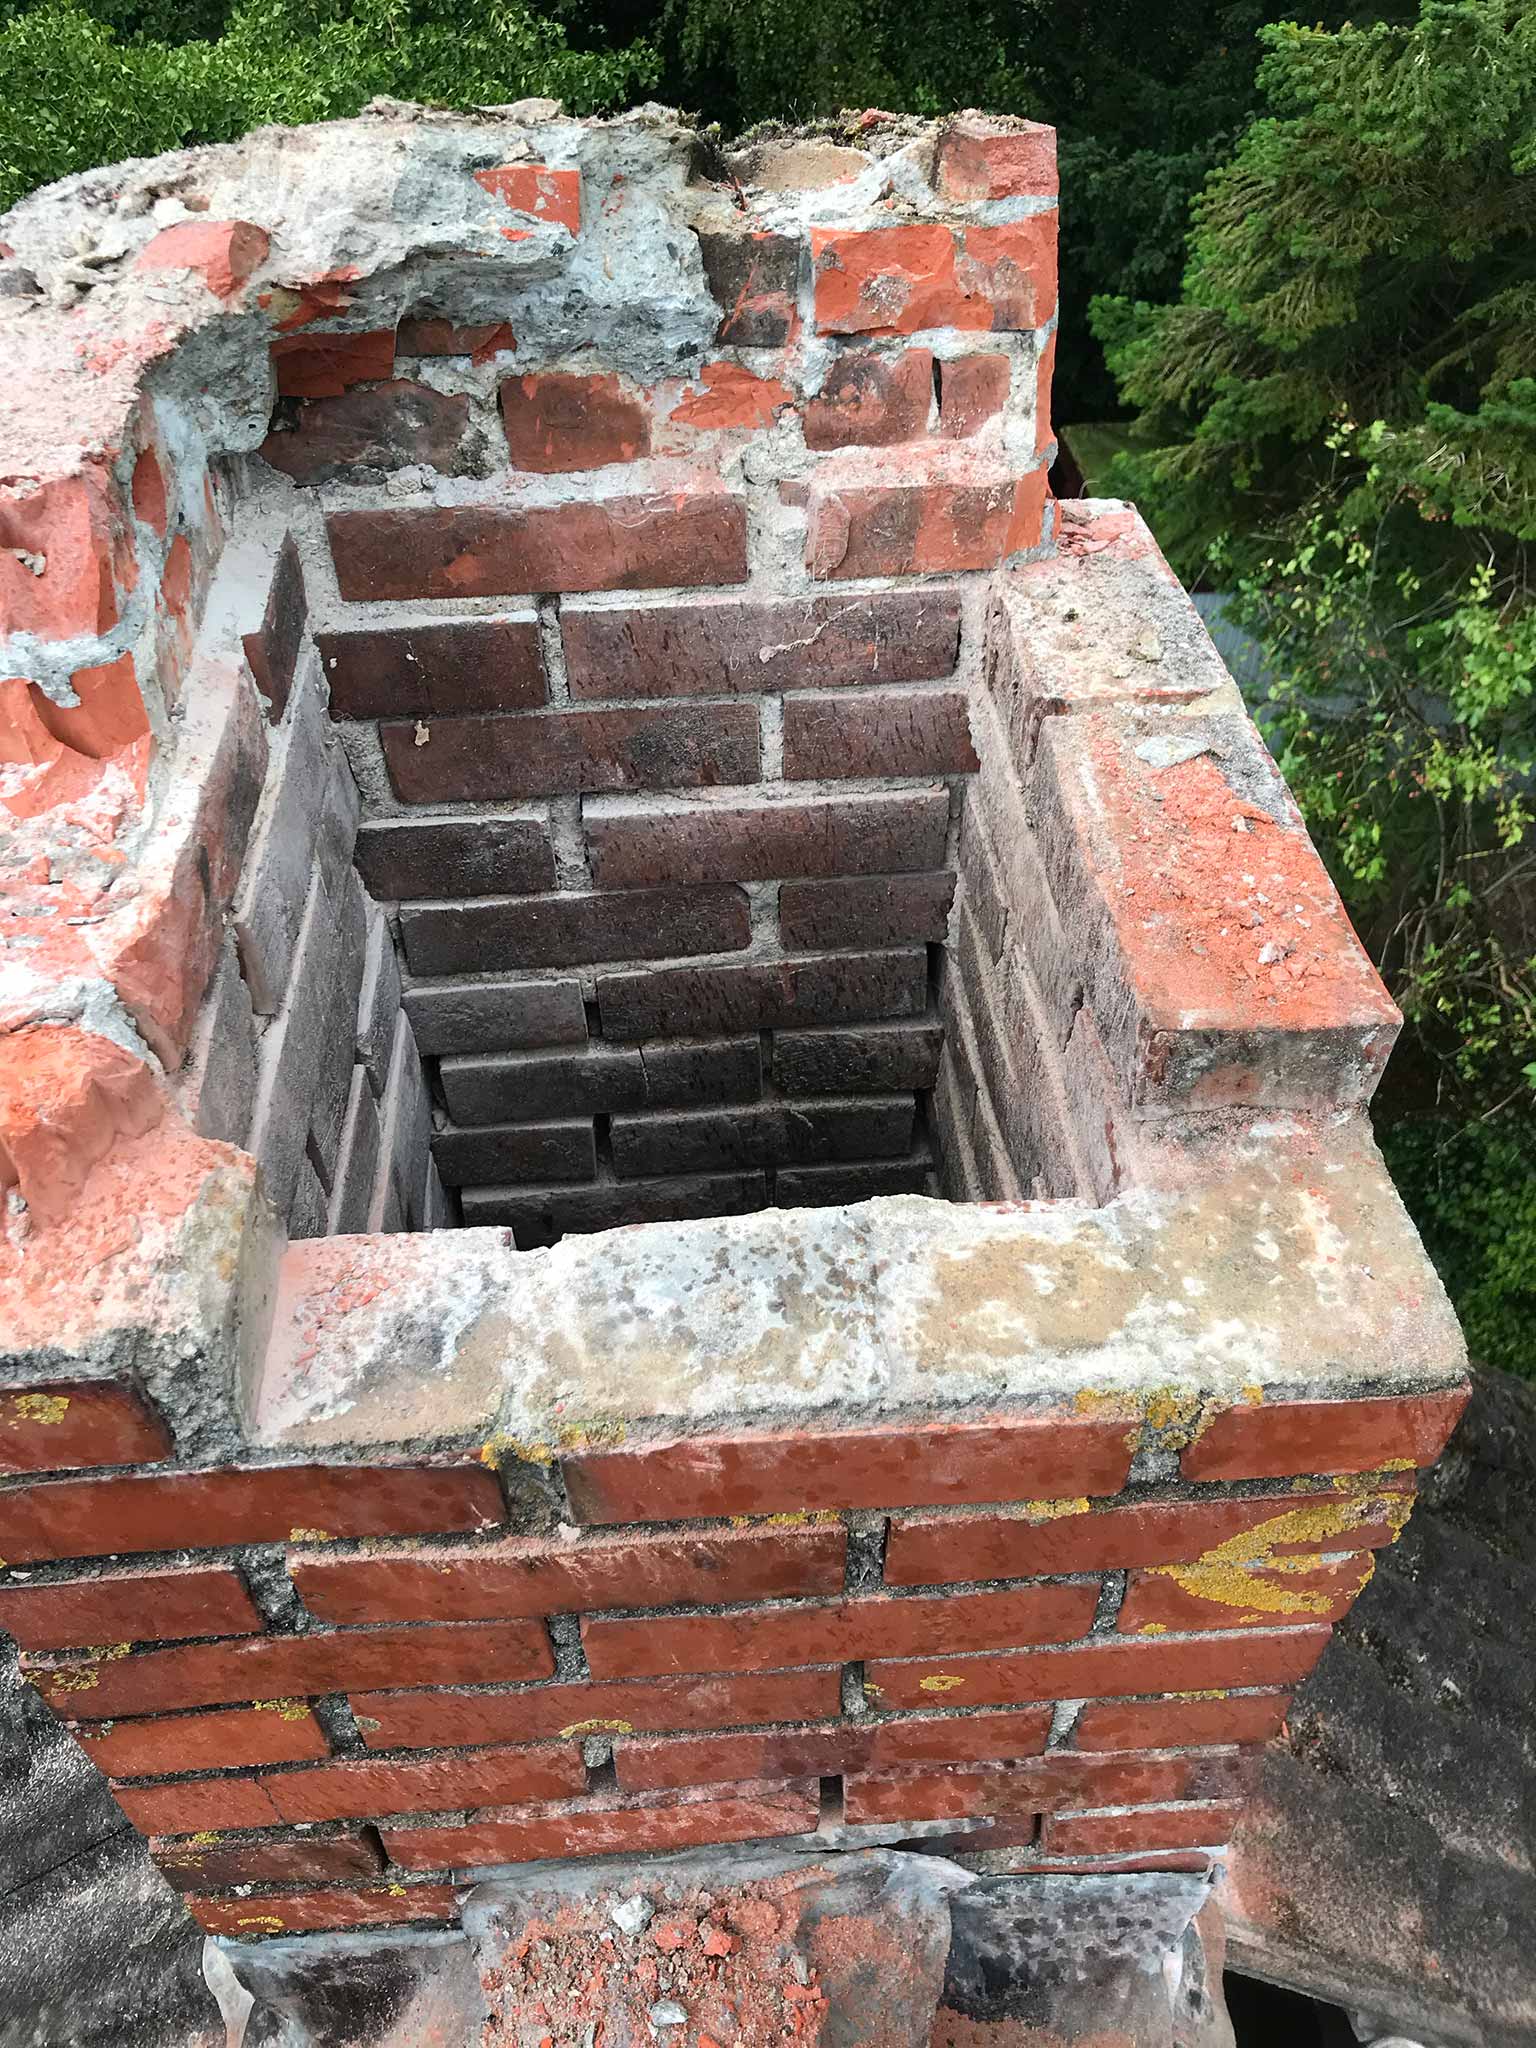
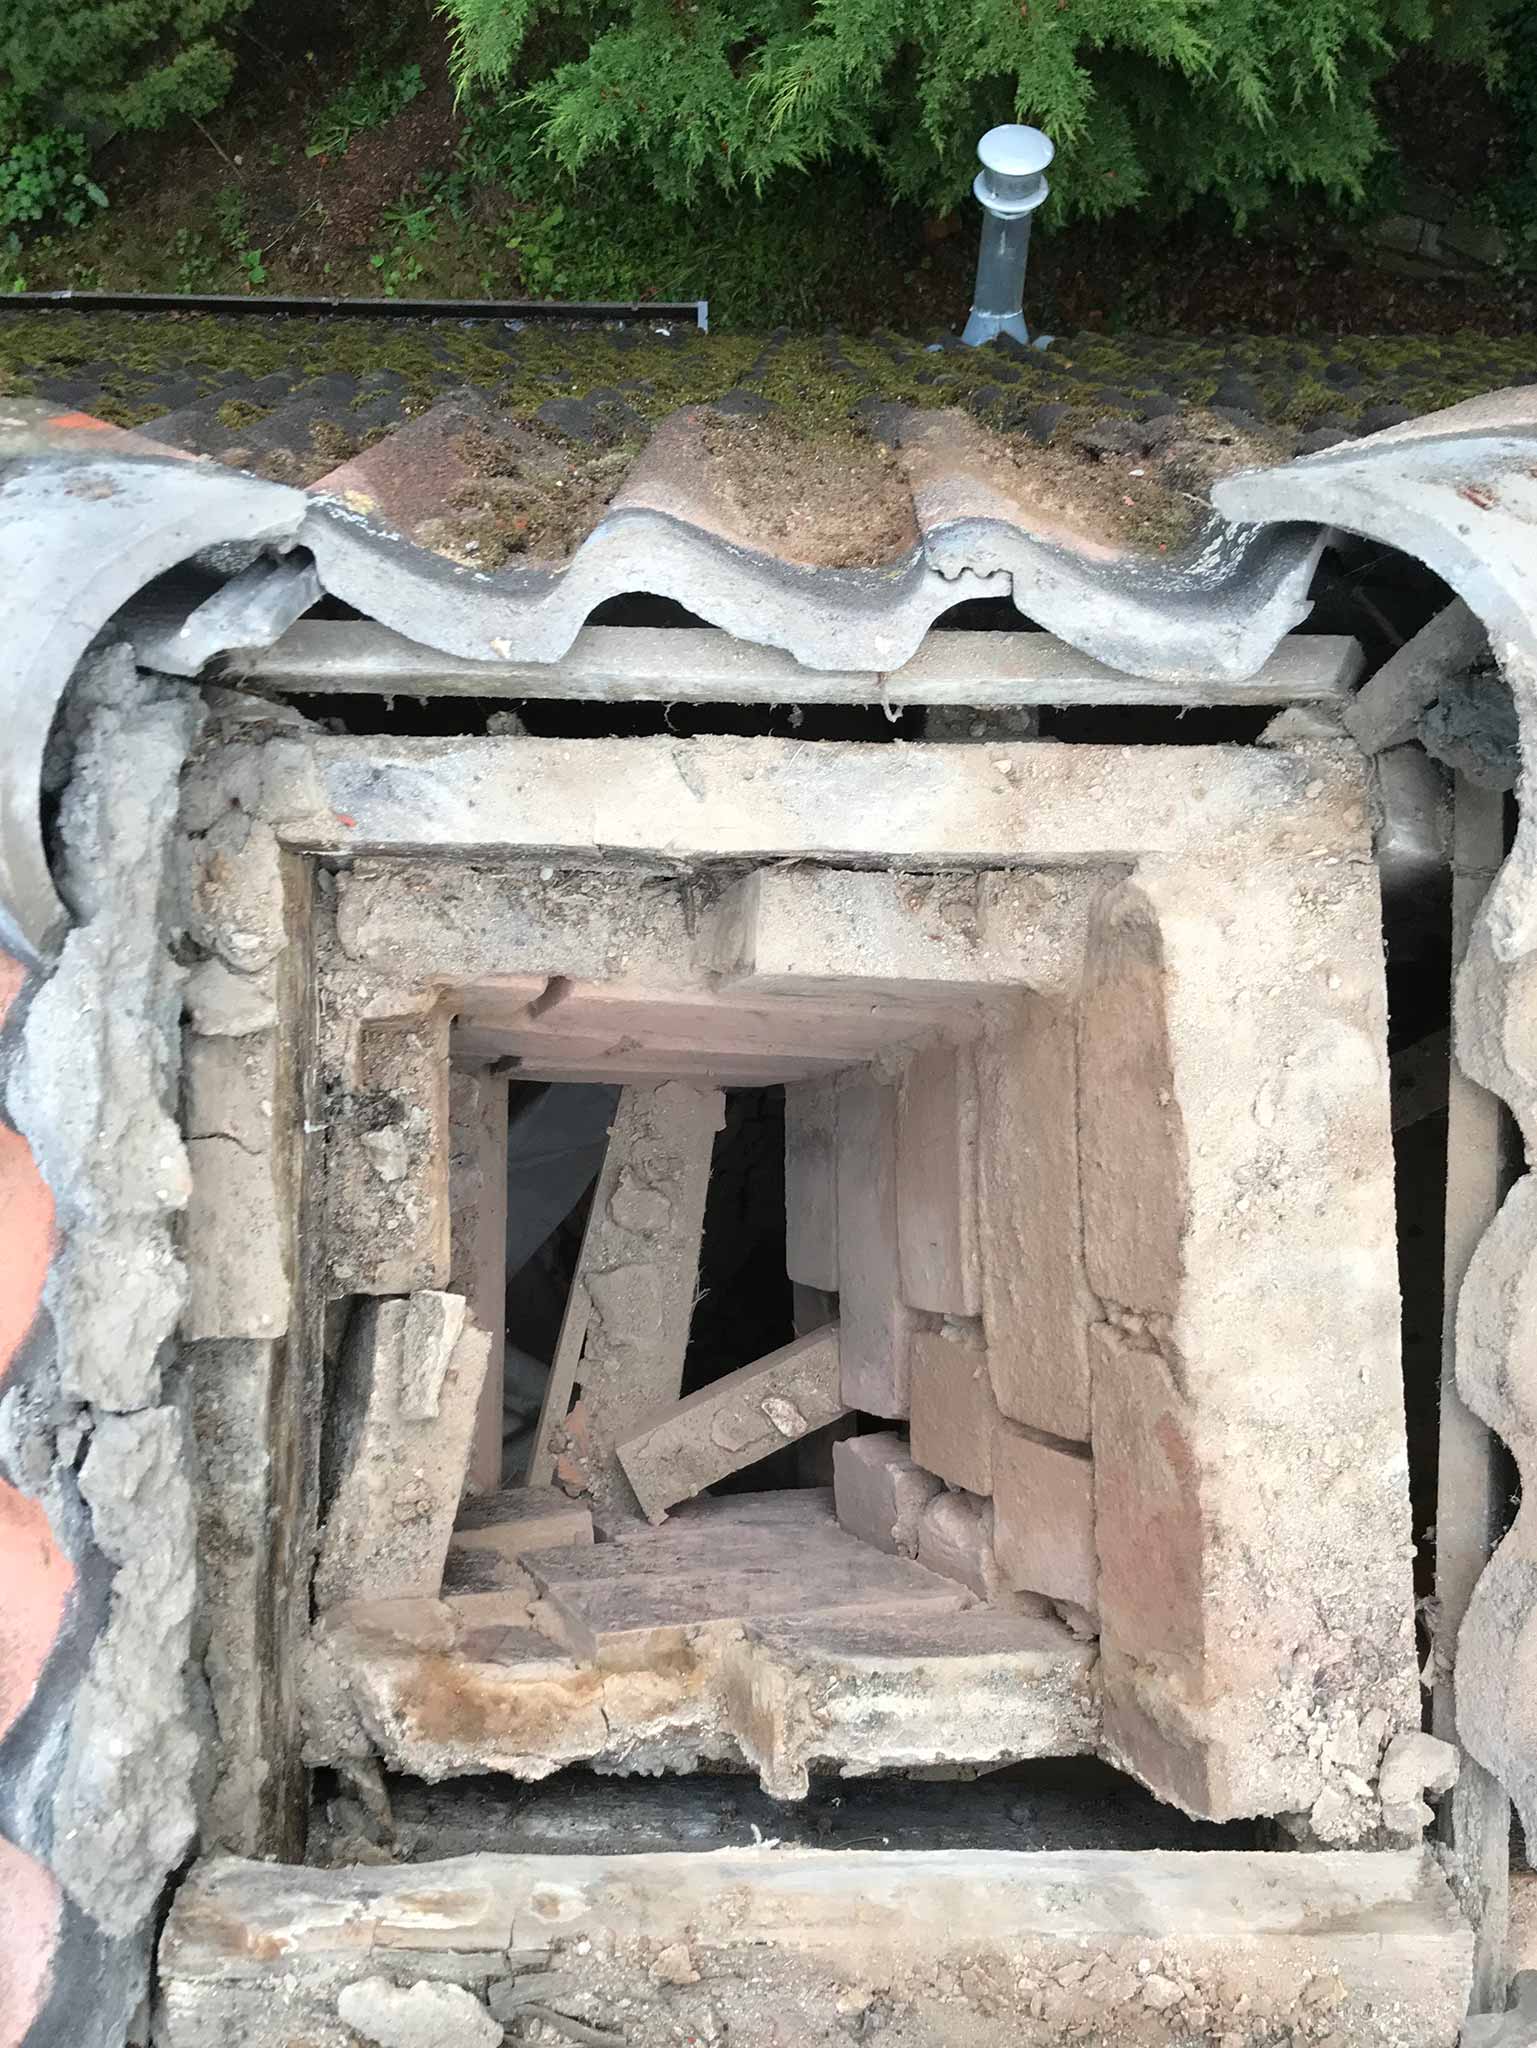
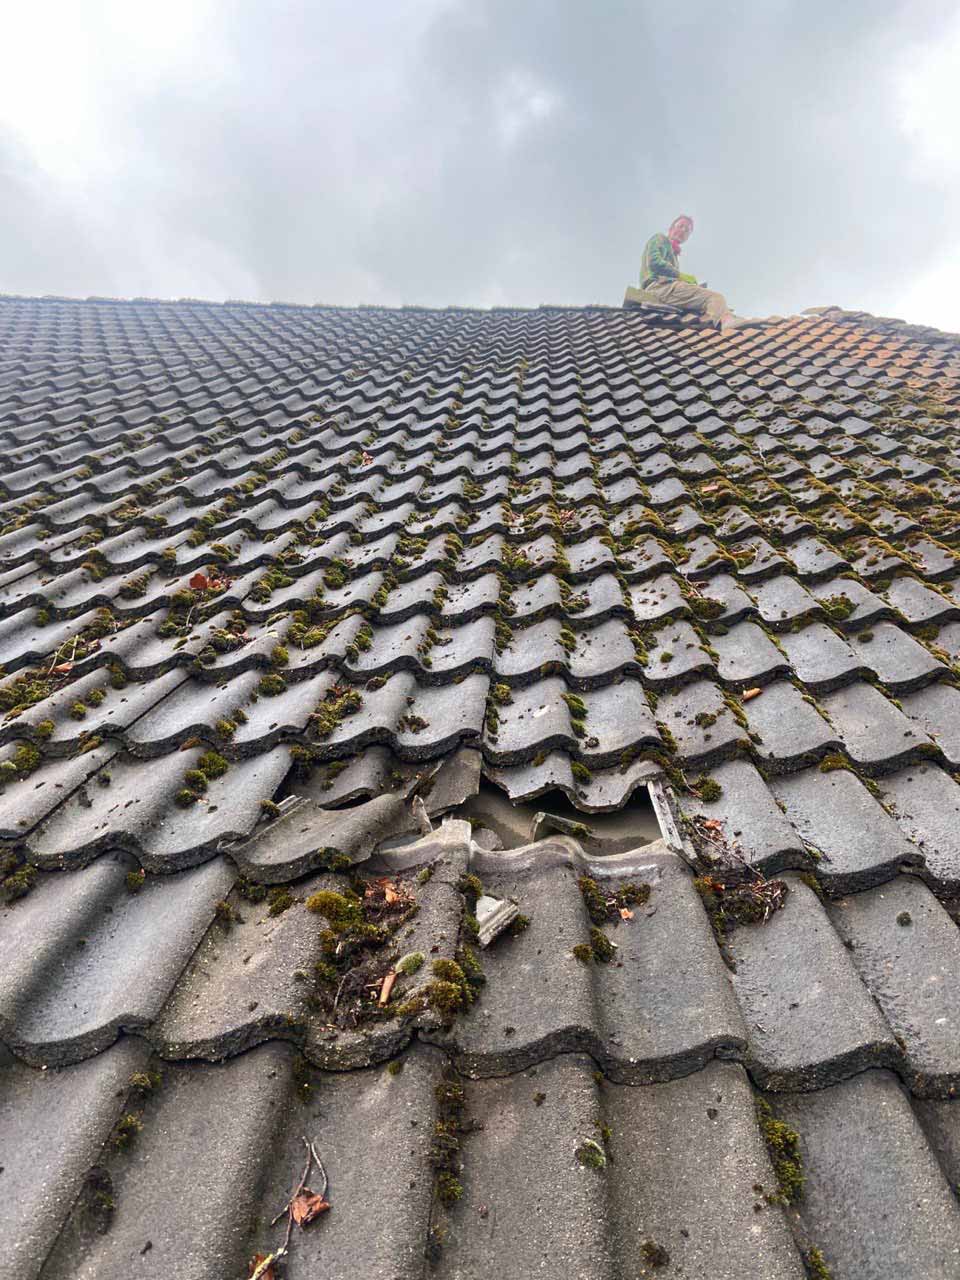
A closer look at the chimney revealed it was not in the best condition. From down below, grouting appeared to be partially gone but from above, it was clear you could inspect the inside of the chimney from the outside…
So, time to get up there with the chisel small demolition hamer. We don’t have ladders that long, so we had to go through the roof.
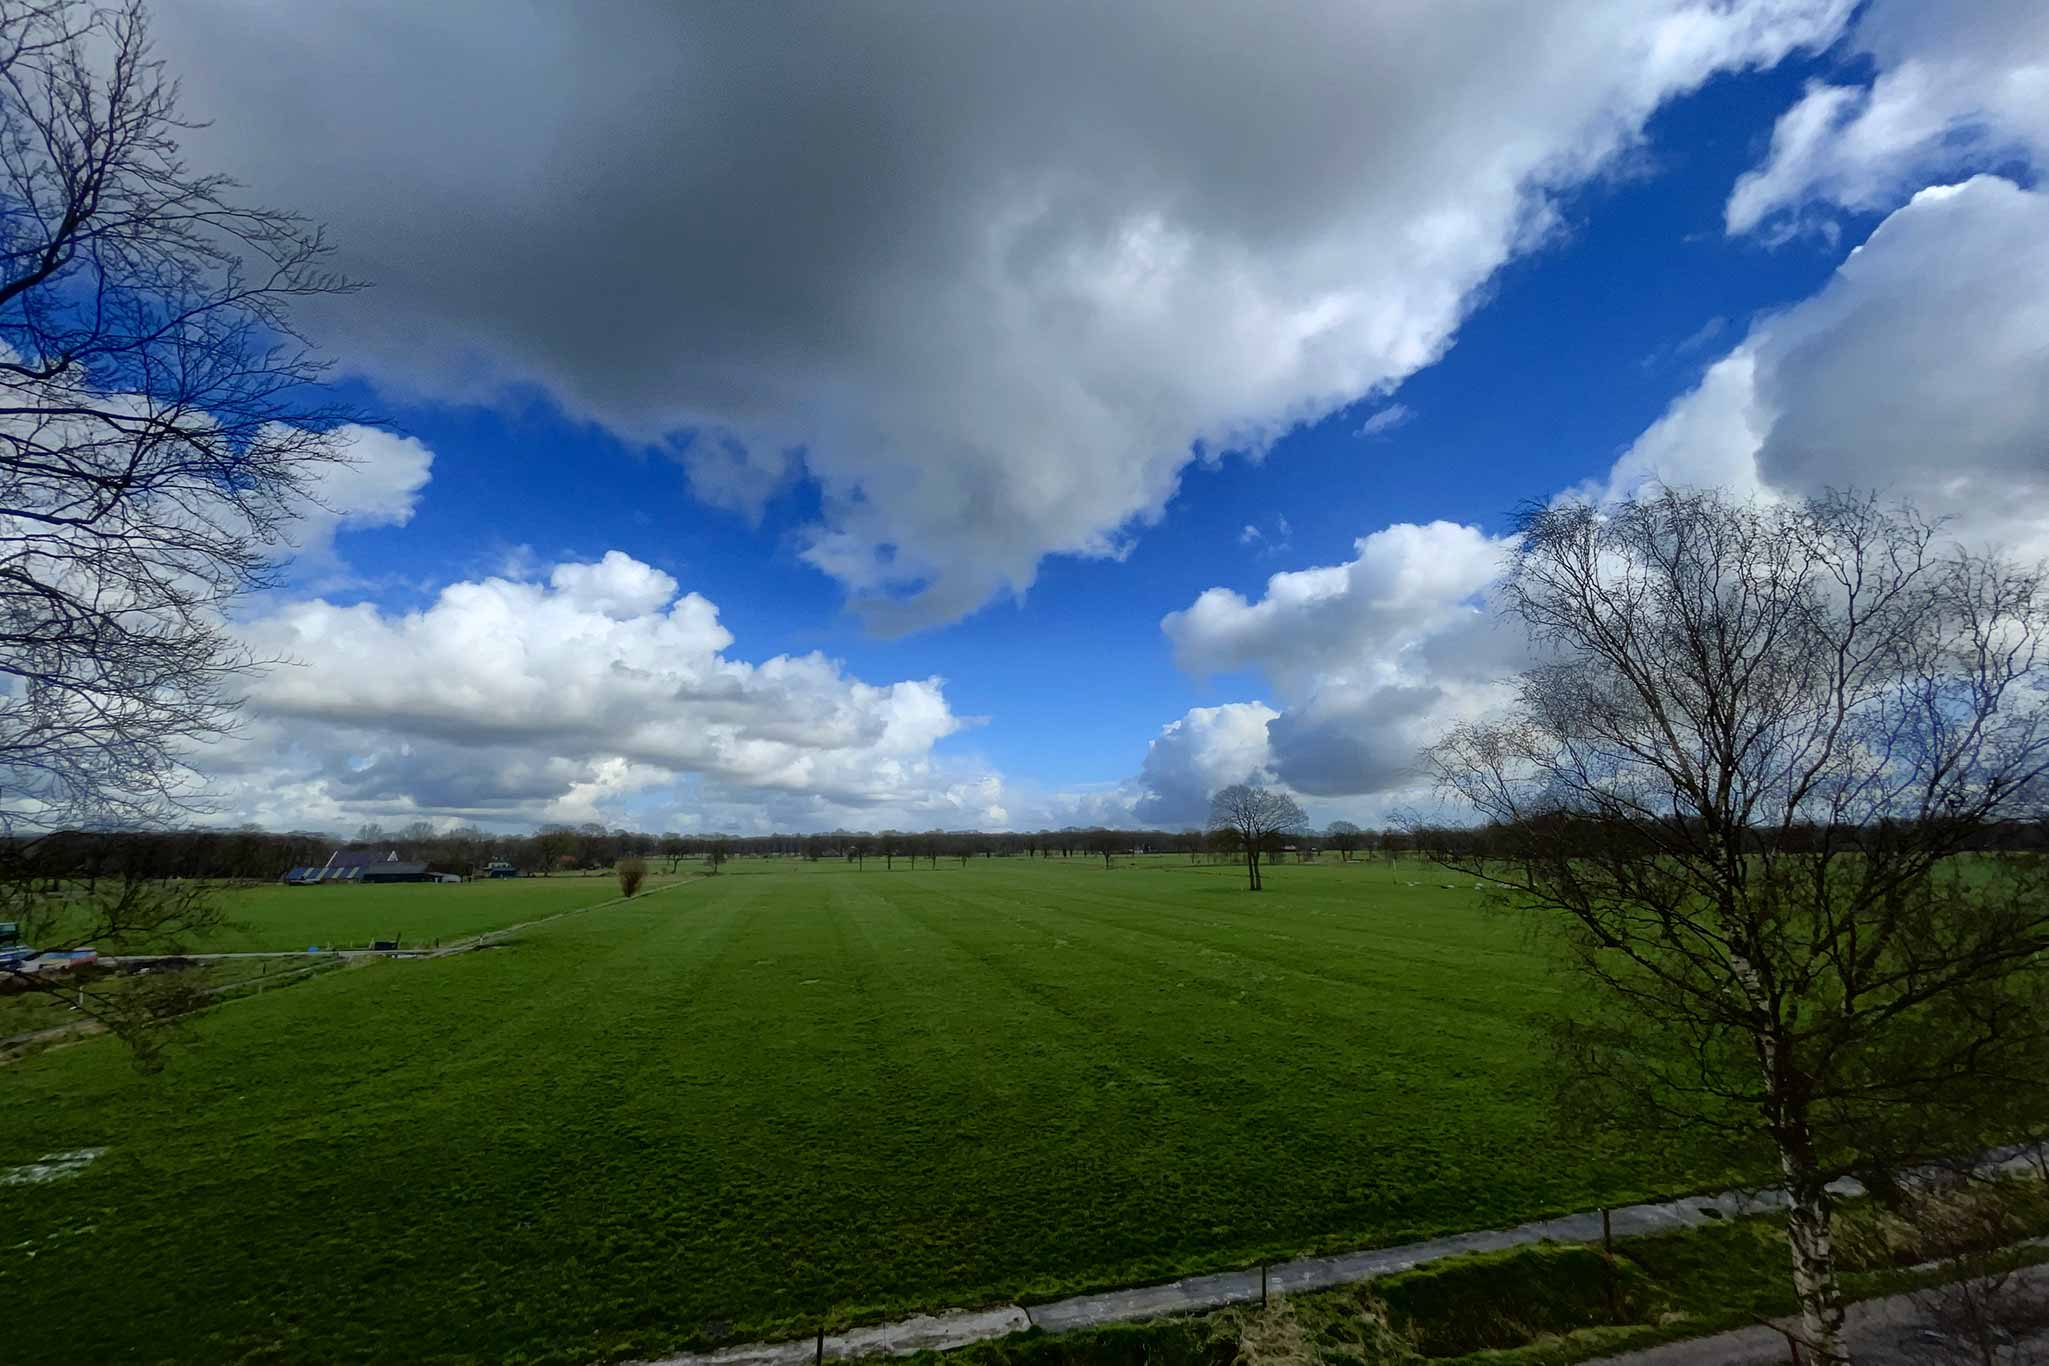
Sitting on the rooftop like riding a horse turned out to be an unpleasant experience. Having to exert force at 7 meter high with a 300kg pile of brick next to you that must come down and accepted that fate all too eager did not feel good.
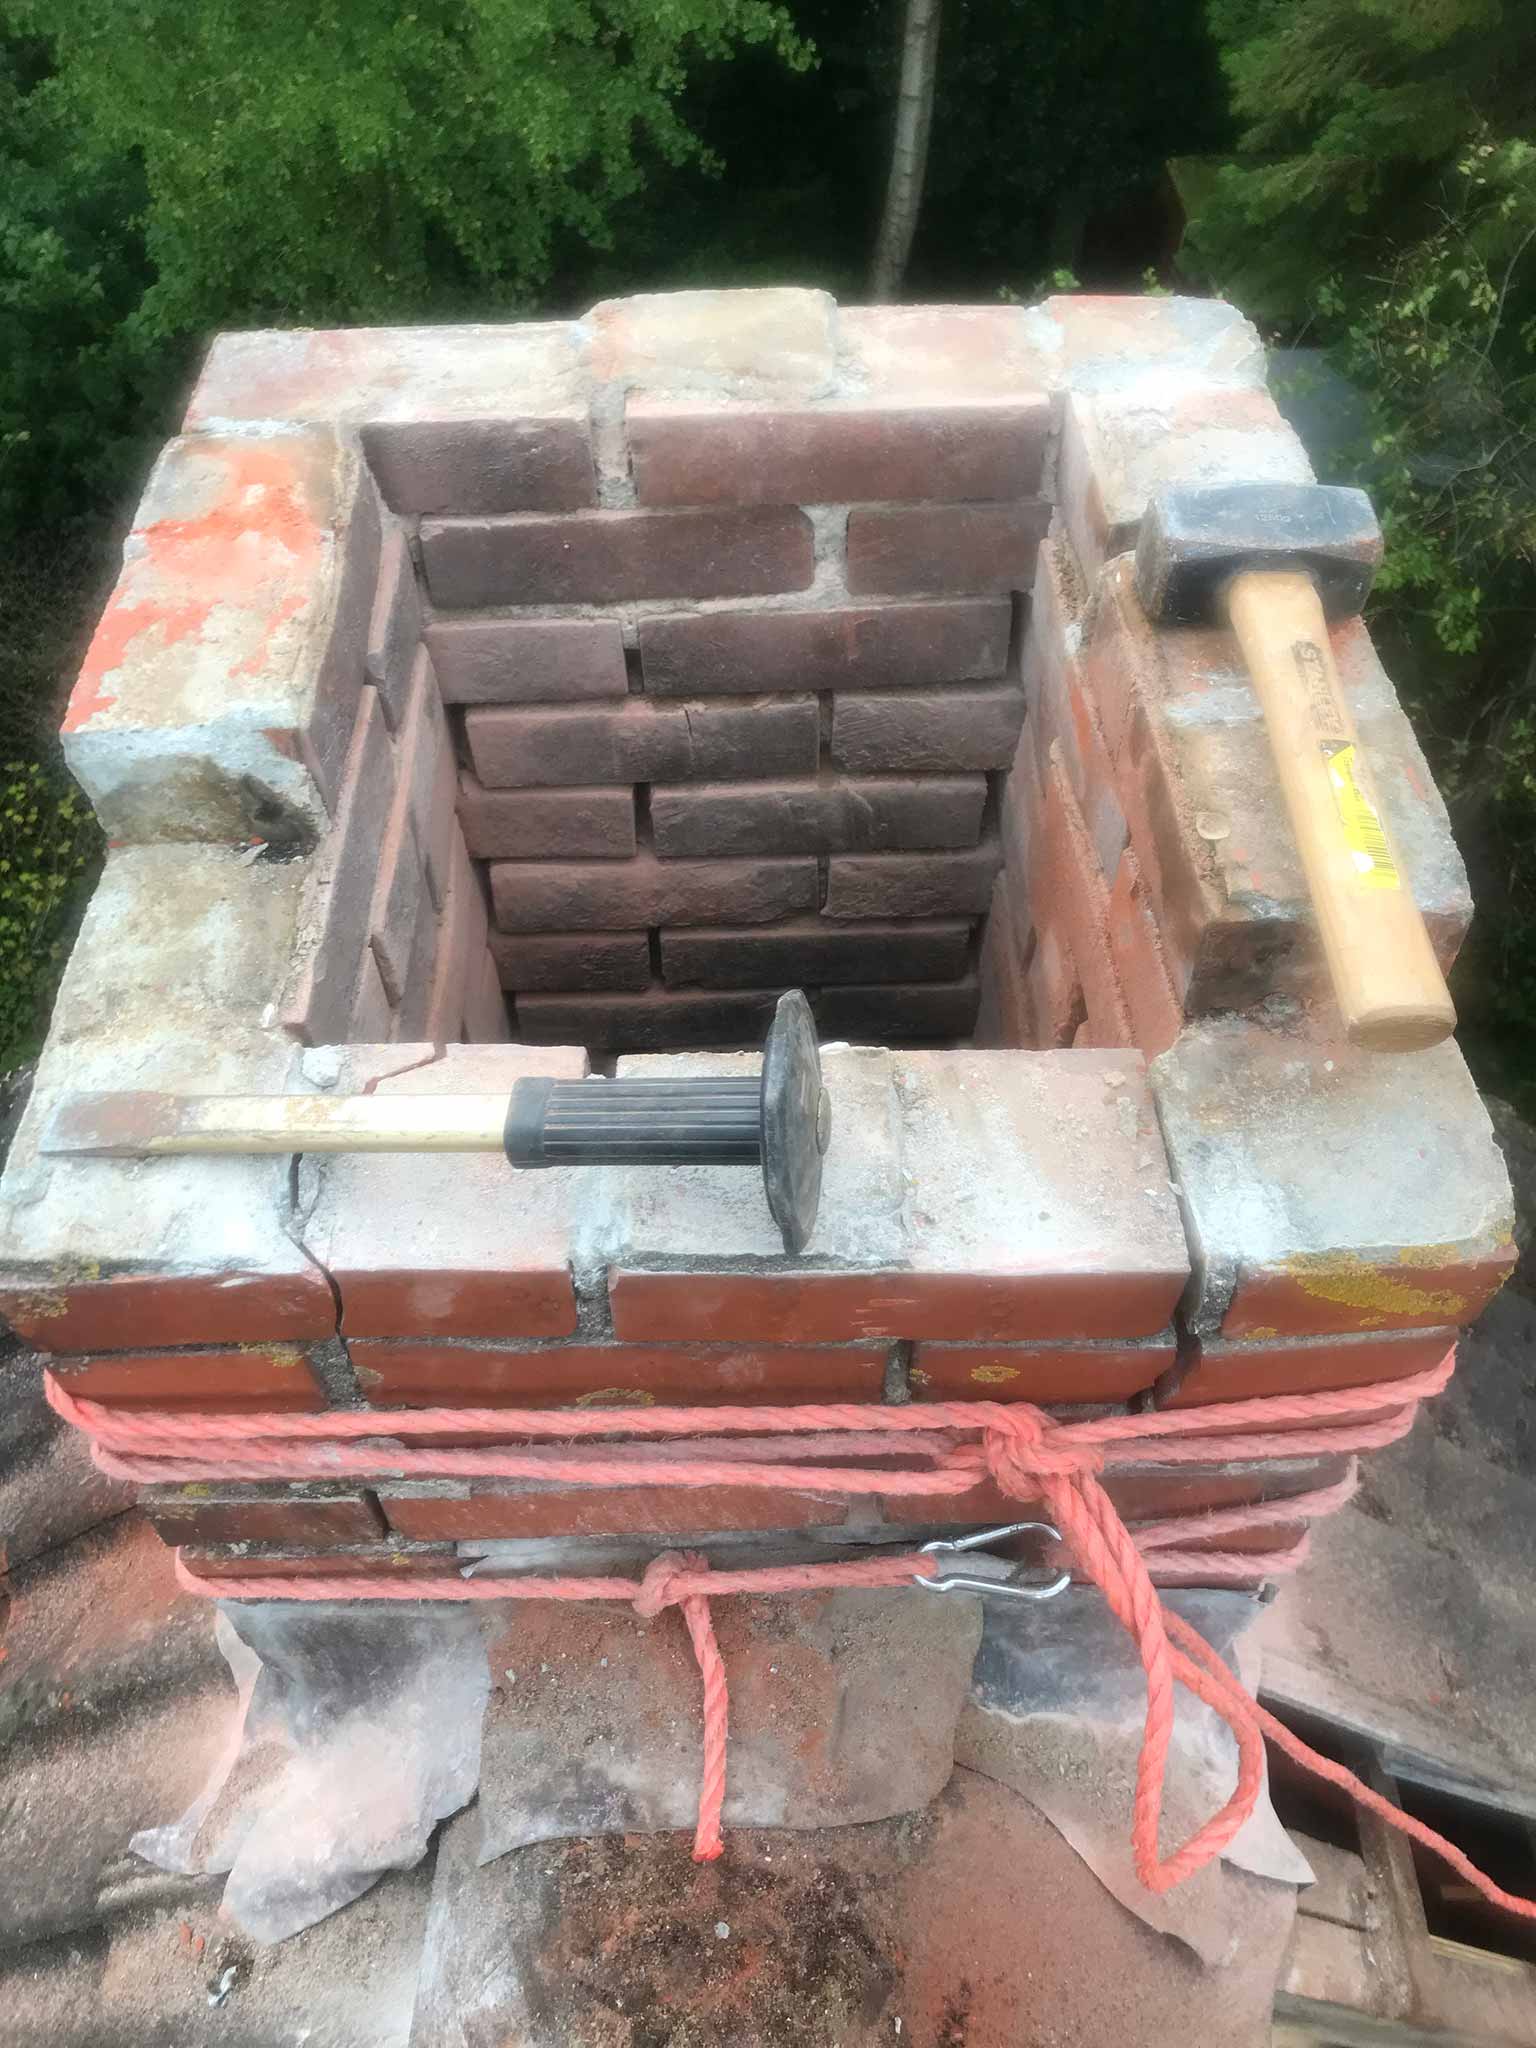
I started with a hammer and big chisel. Surprisingly, the top of the chimney was as if it was built yesterday. After one hour chiseling away, I decided to go for the power tools and three more hours later, the top 2 to 3 layers of brick were gone.

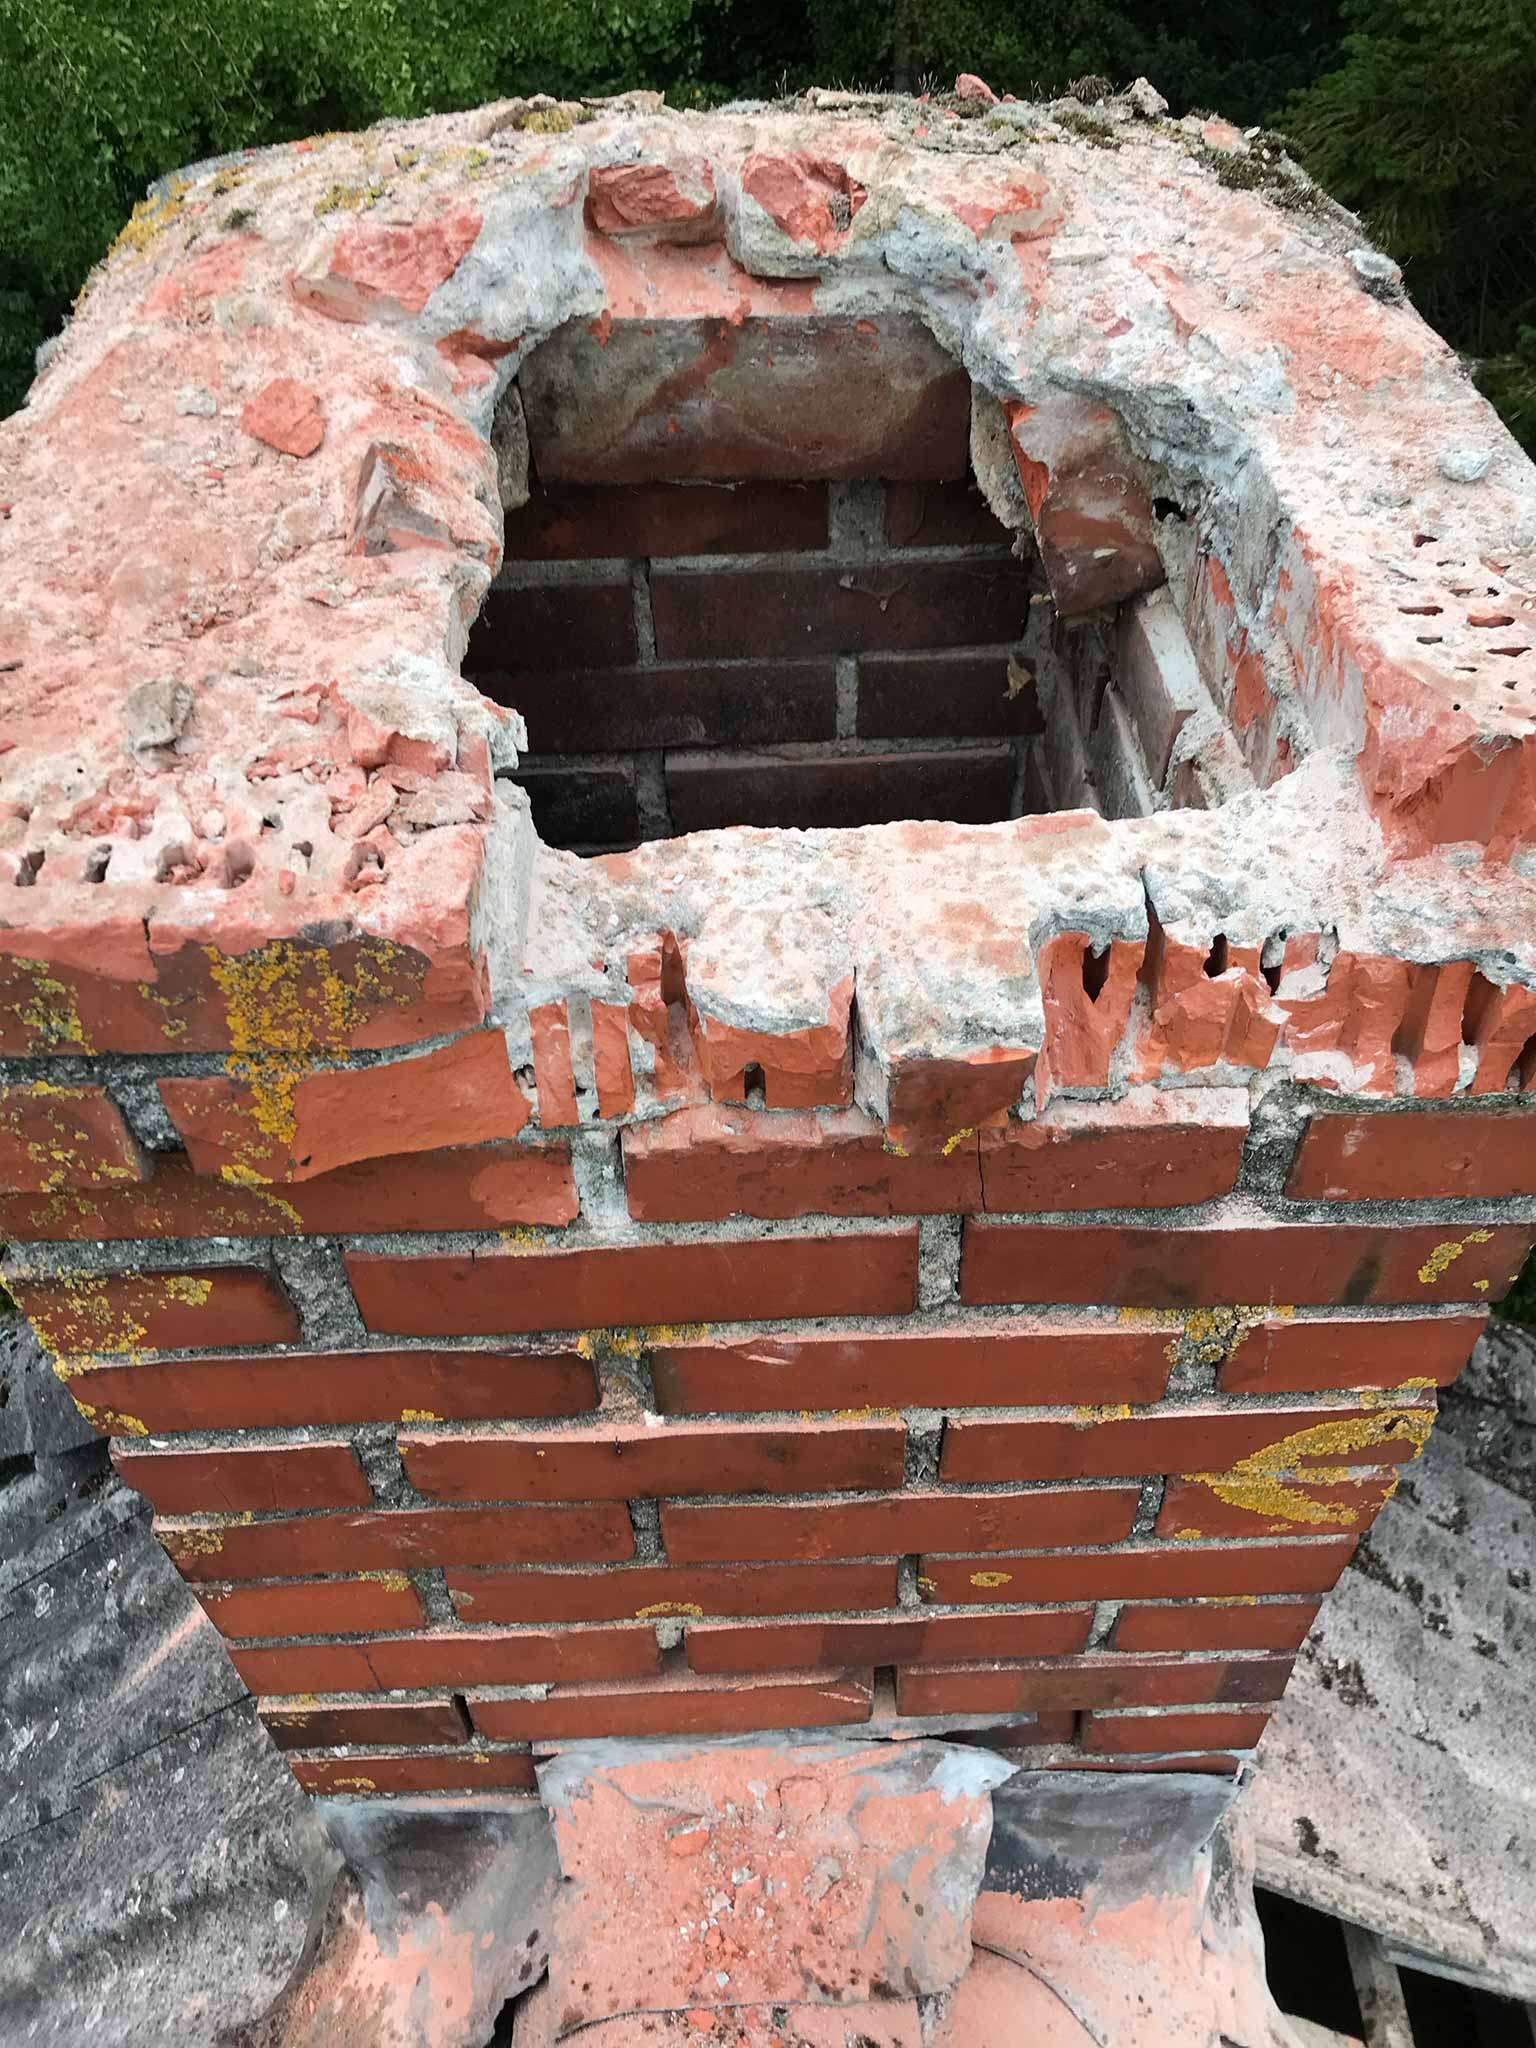
When that was done, cracks started to appear ‘everywhere’. Things were getting a bit unstable and I did not want a bunch of bricks tumbling down past about 20 rows of roof tiles (by that time I had already shattered three roof tiles by throwing down a single brick and the remaining ones were gently passed through the hole in the roof).
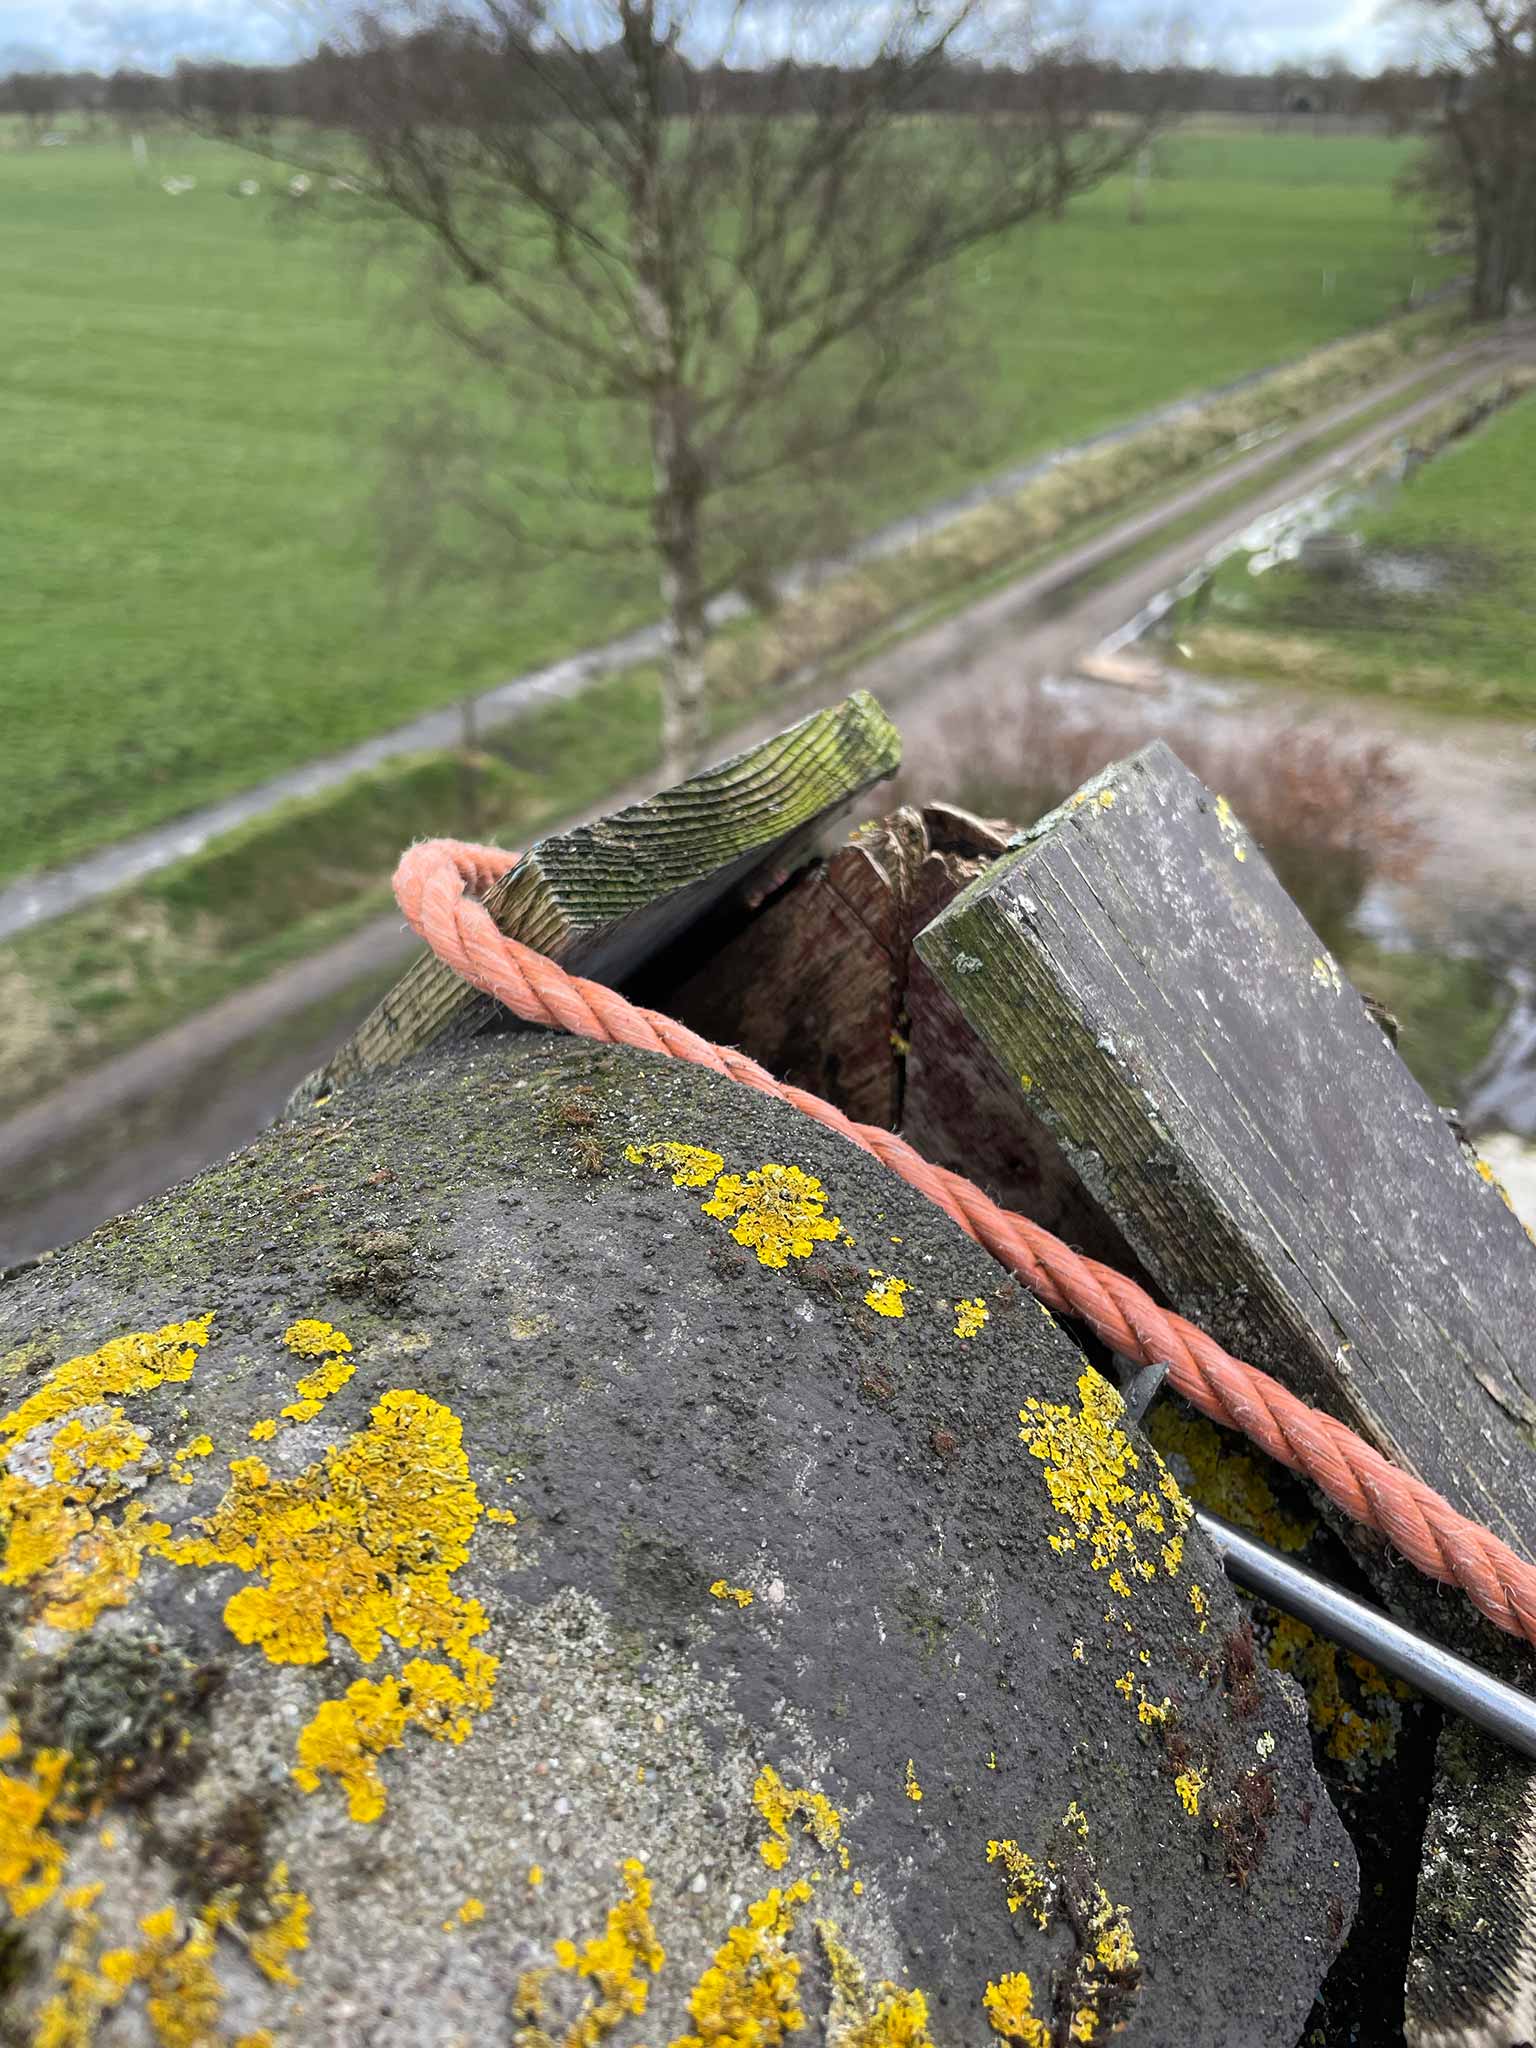
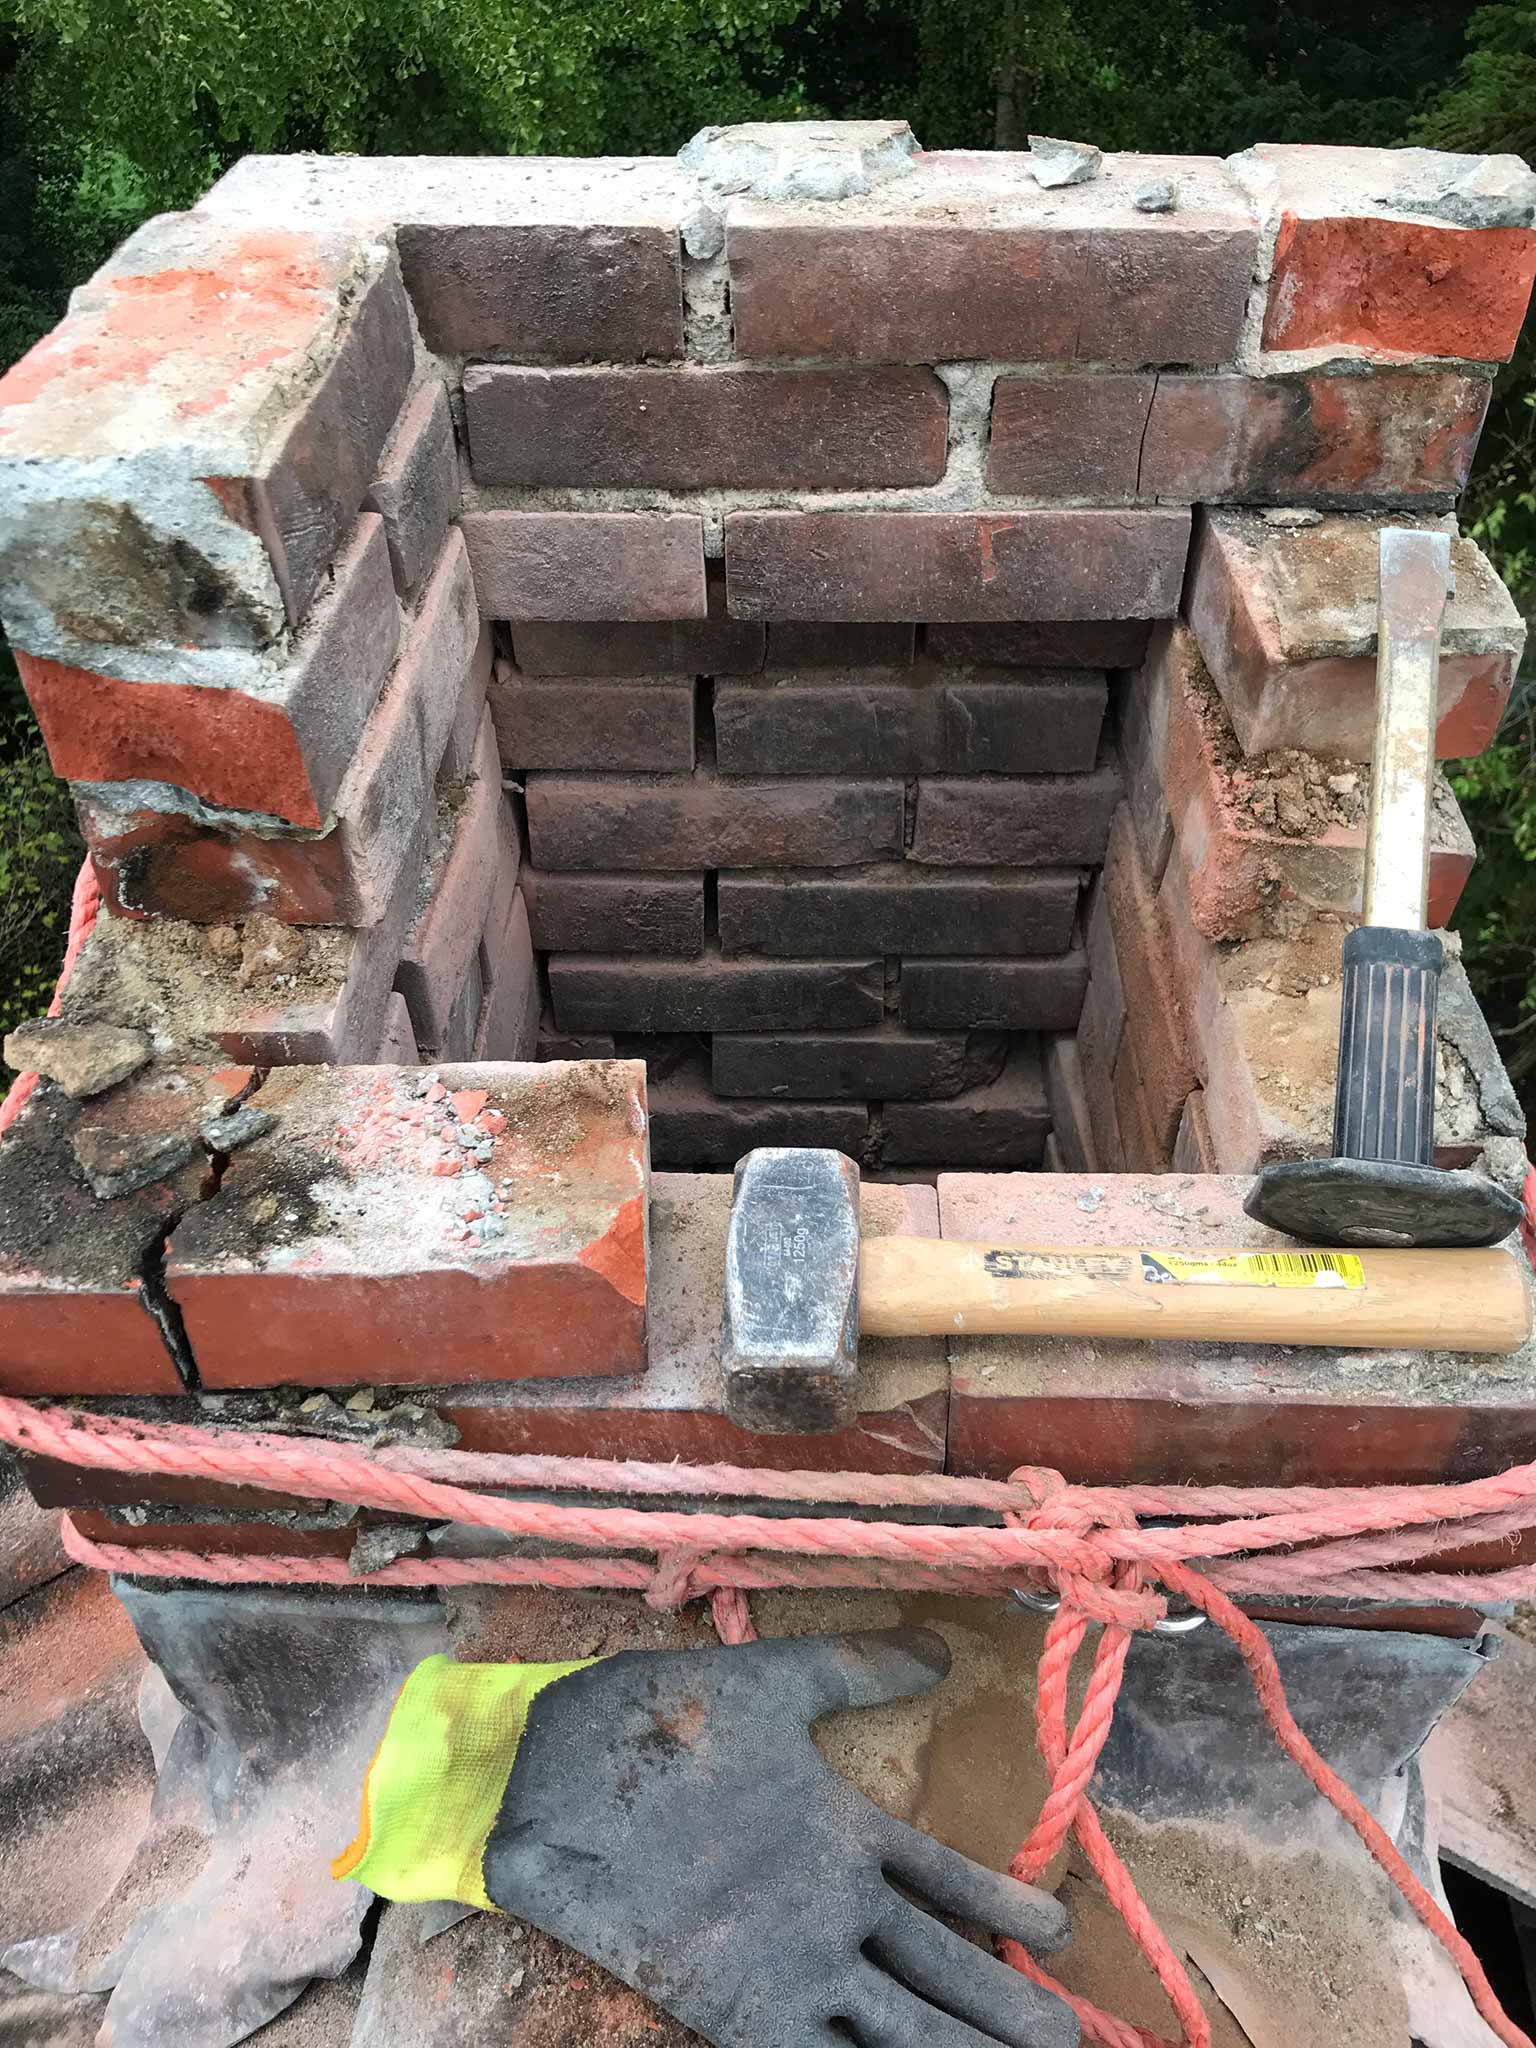
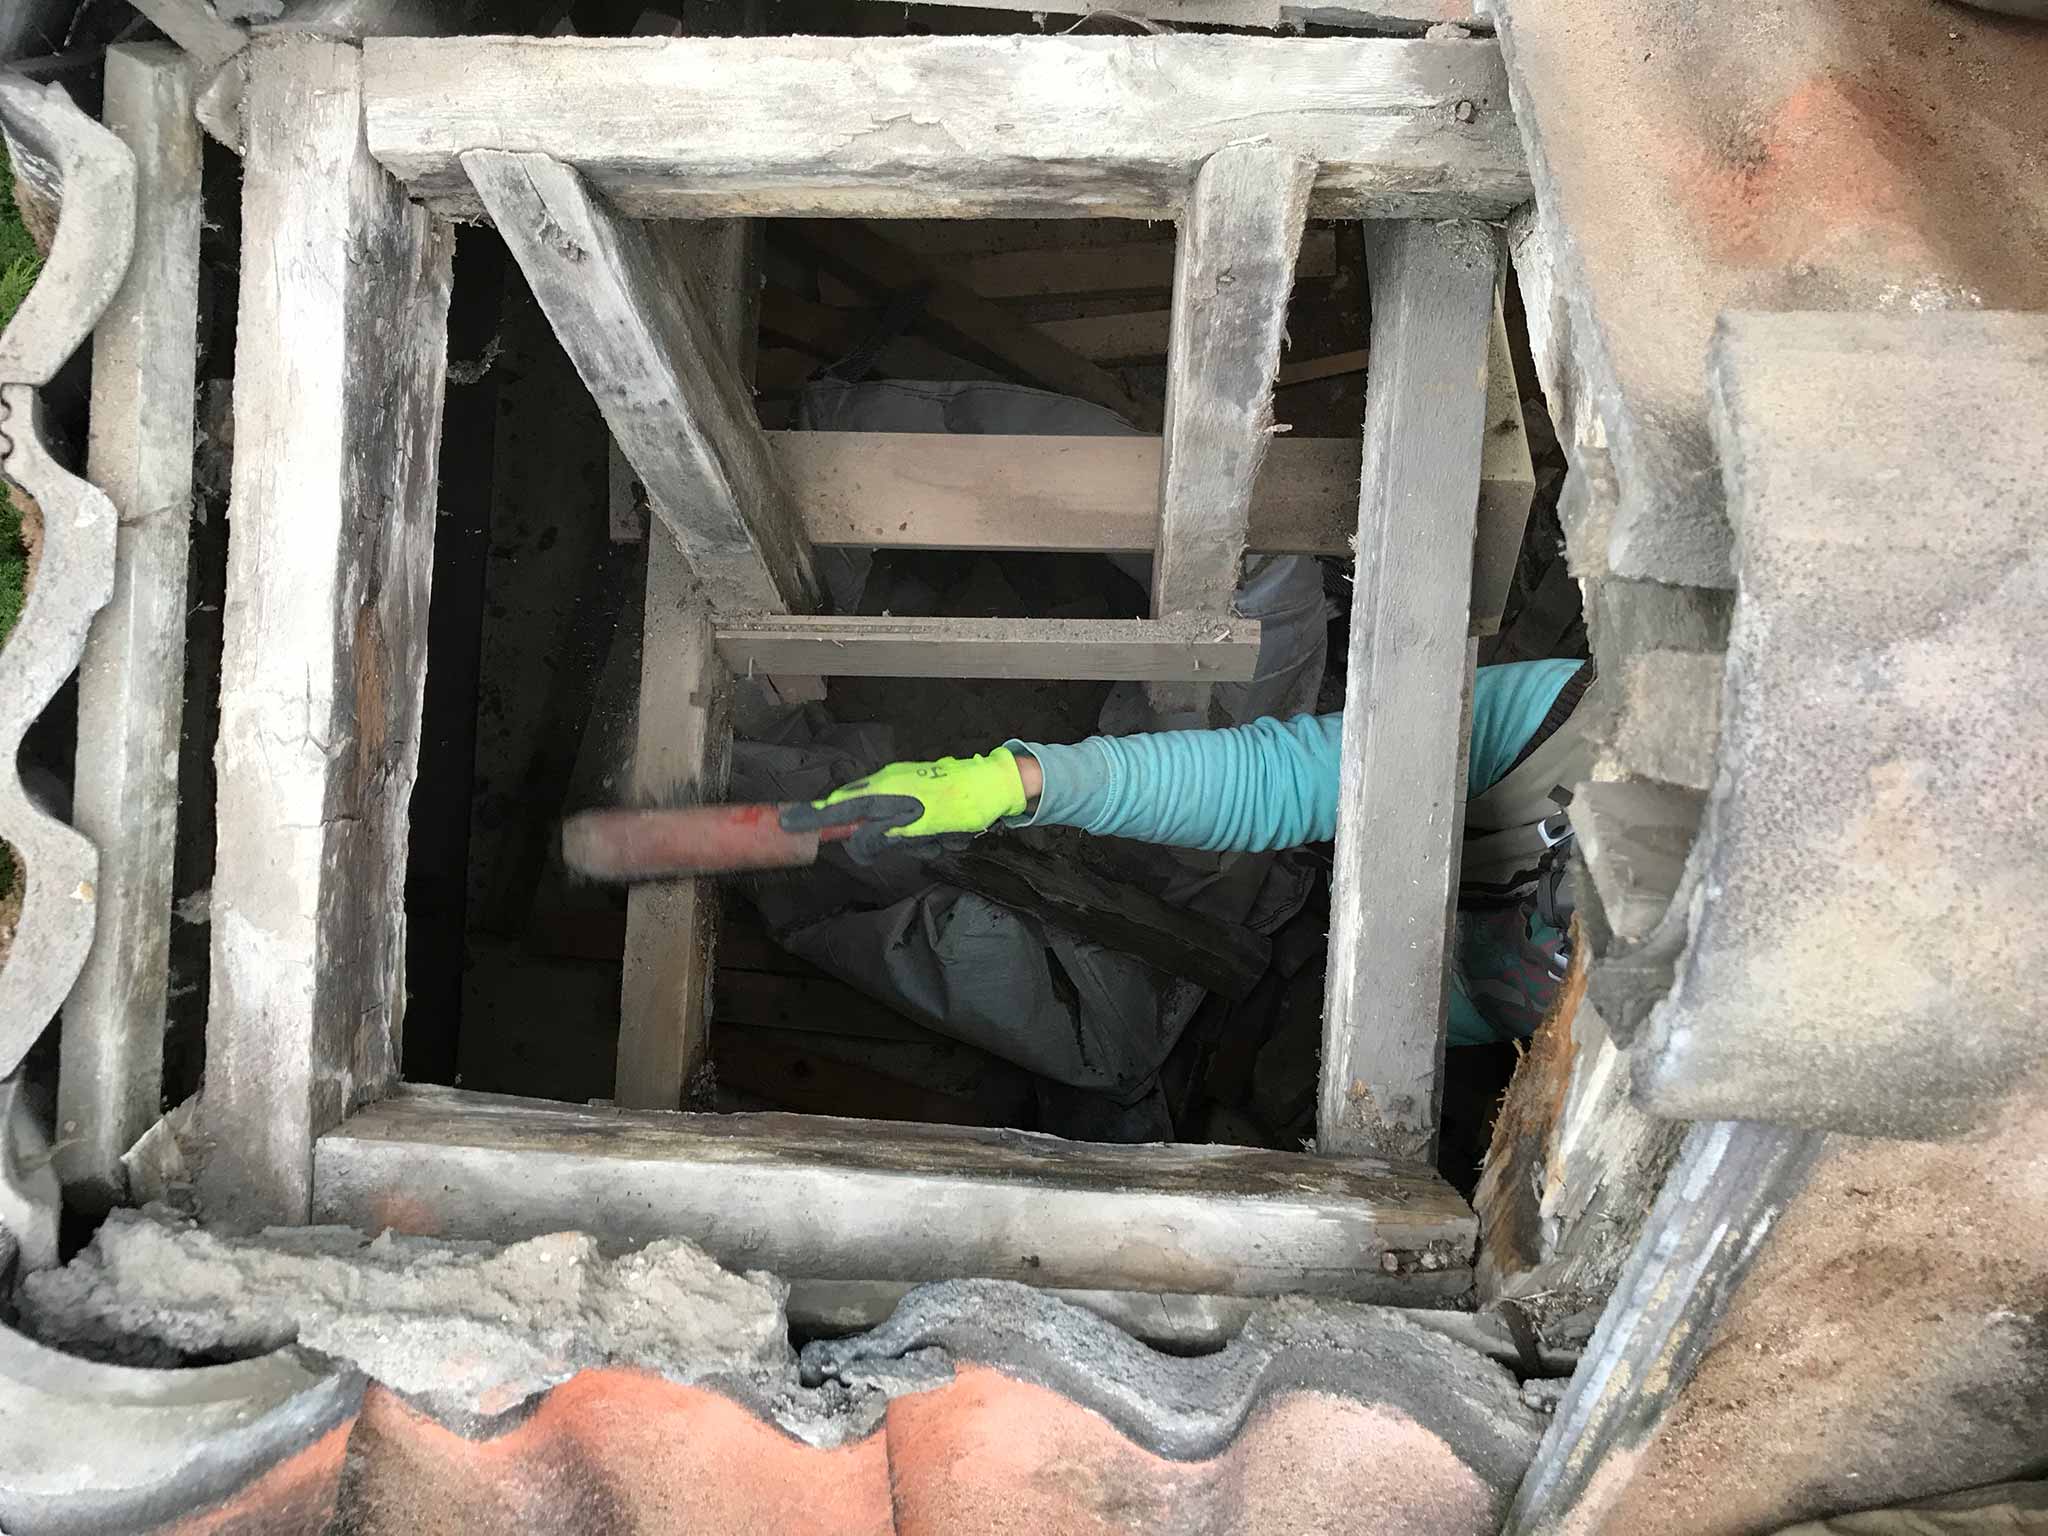
I ‘wrapped’ the rest of the chimney in a rope to keep it together while breaking the last fairly connected bricks. The bottom about 3 layers were that bad that I could just pick off the individual bricks without any tools.
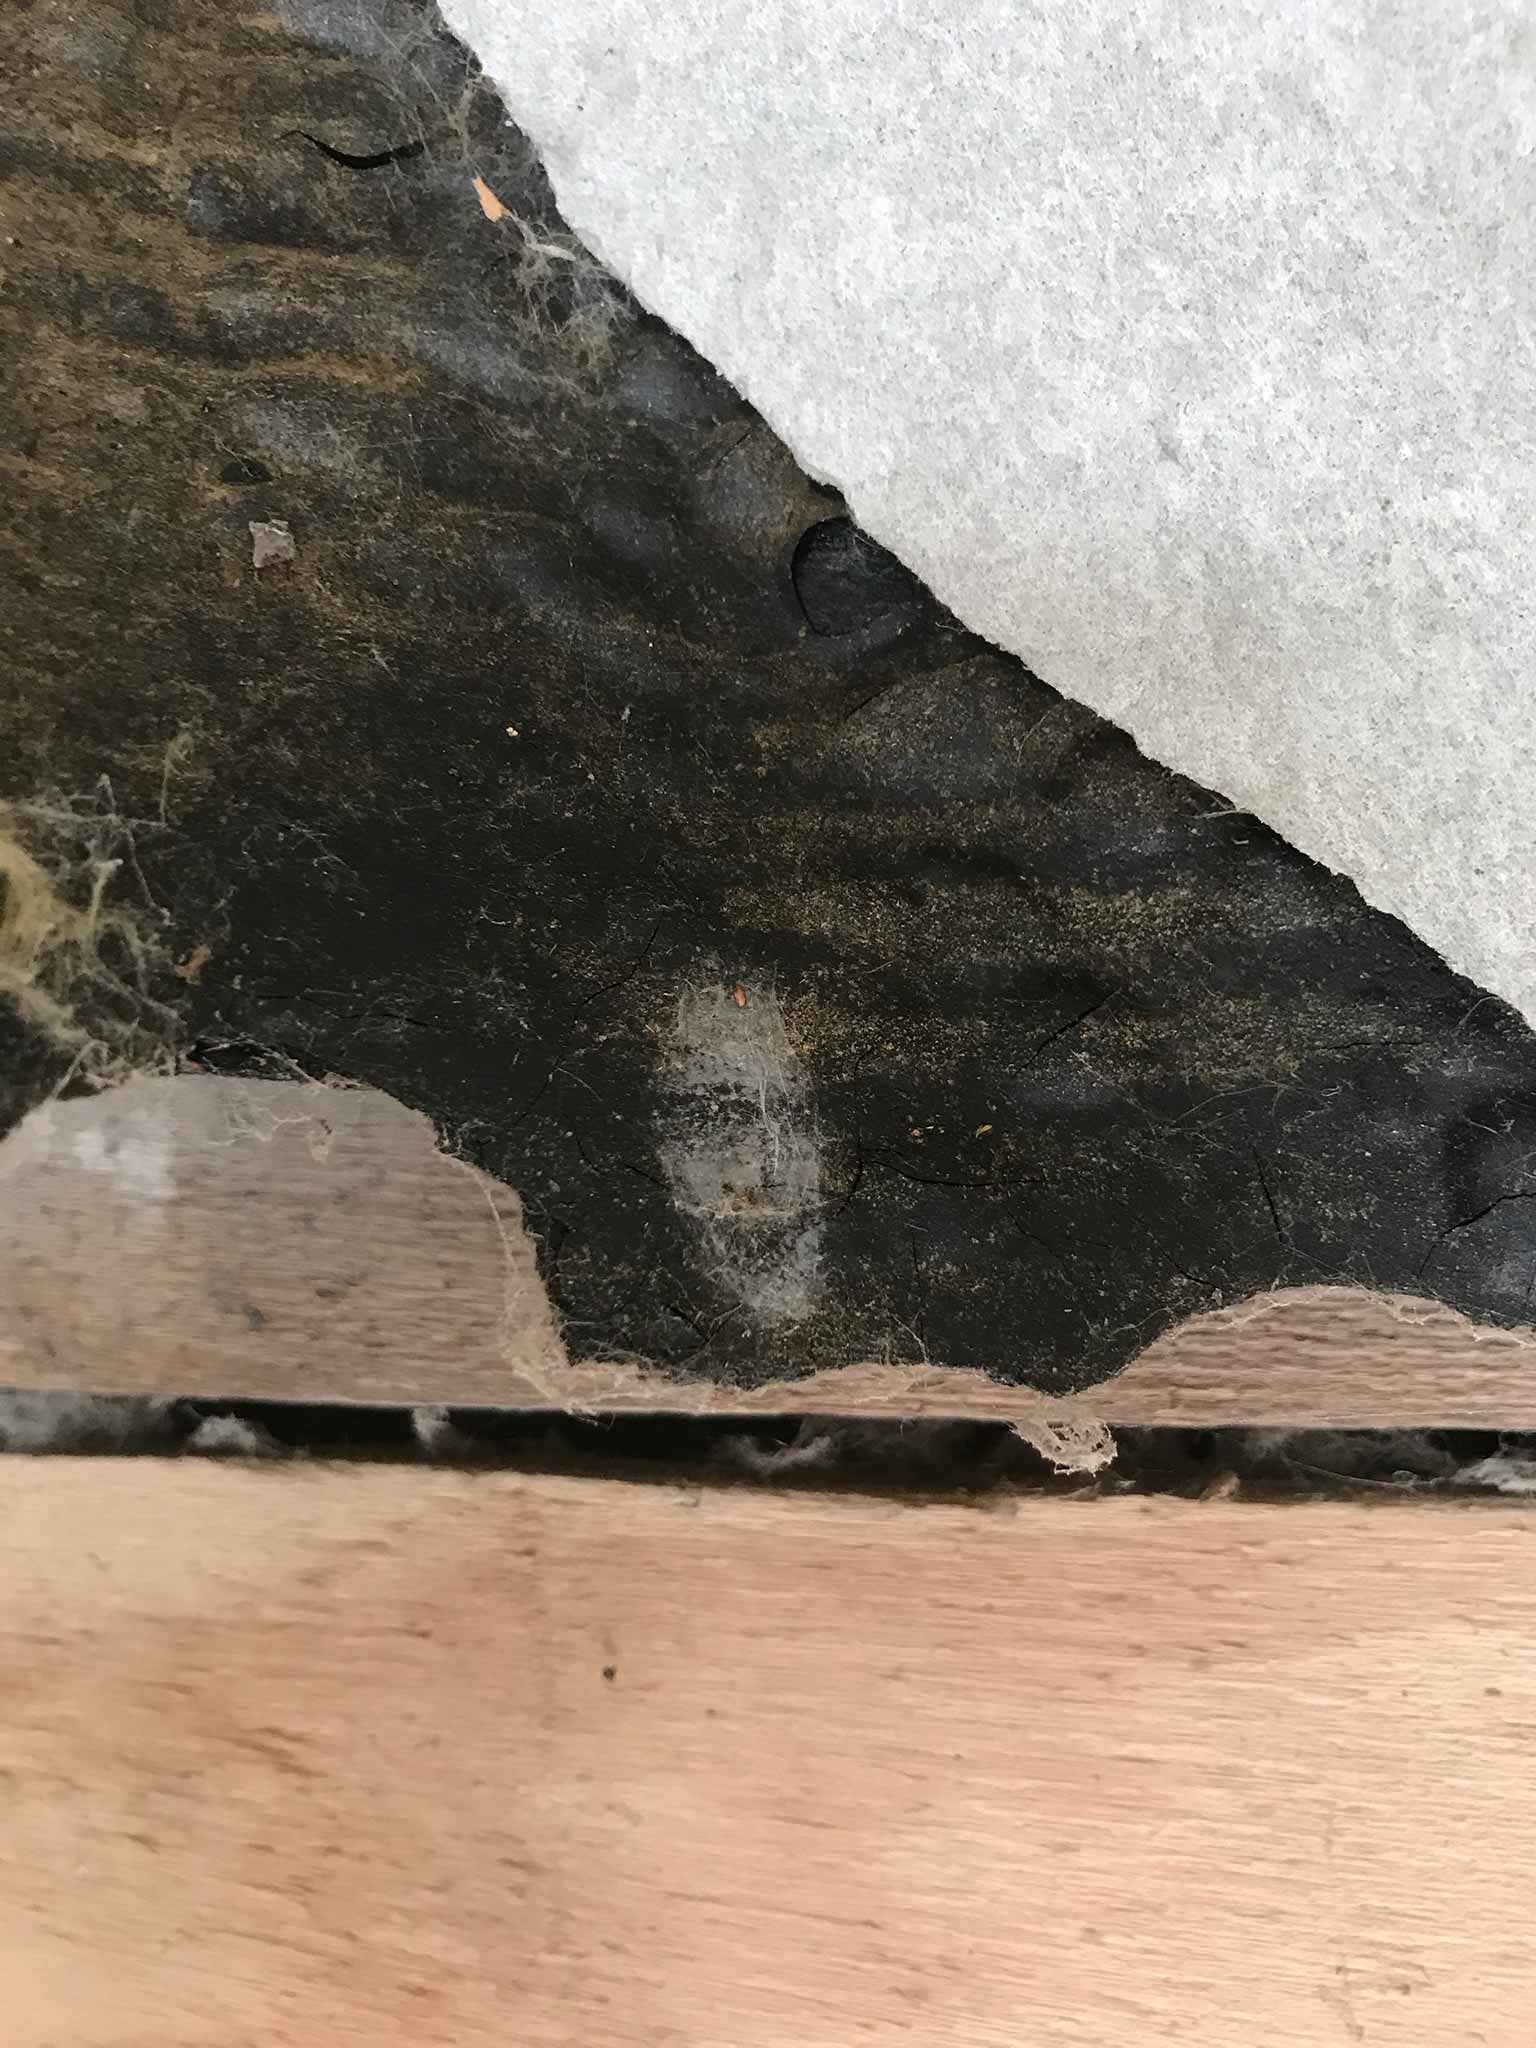
In the picture below with the glove you can see the final section that had any significant coherence come loose as one piece. Also does it show the sand like structure of the cement.
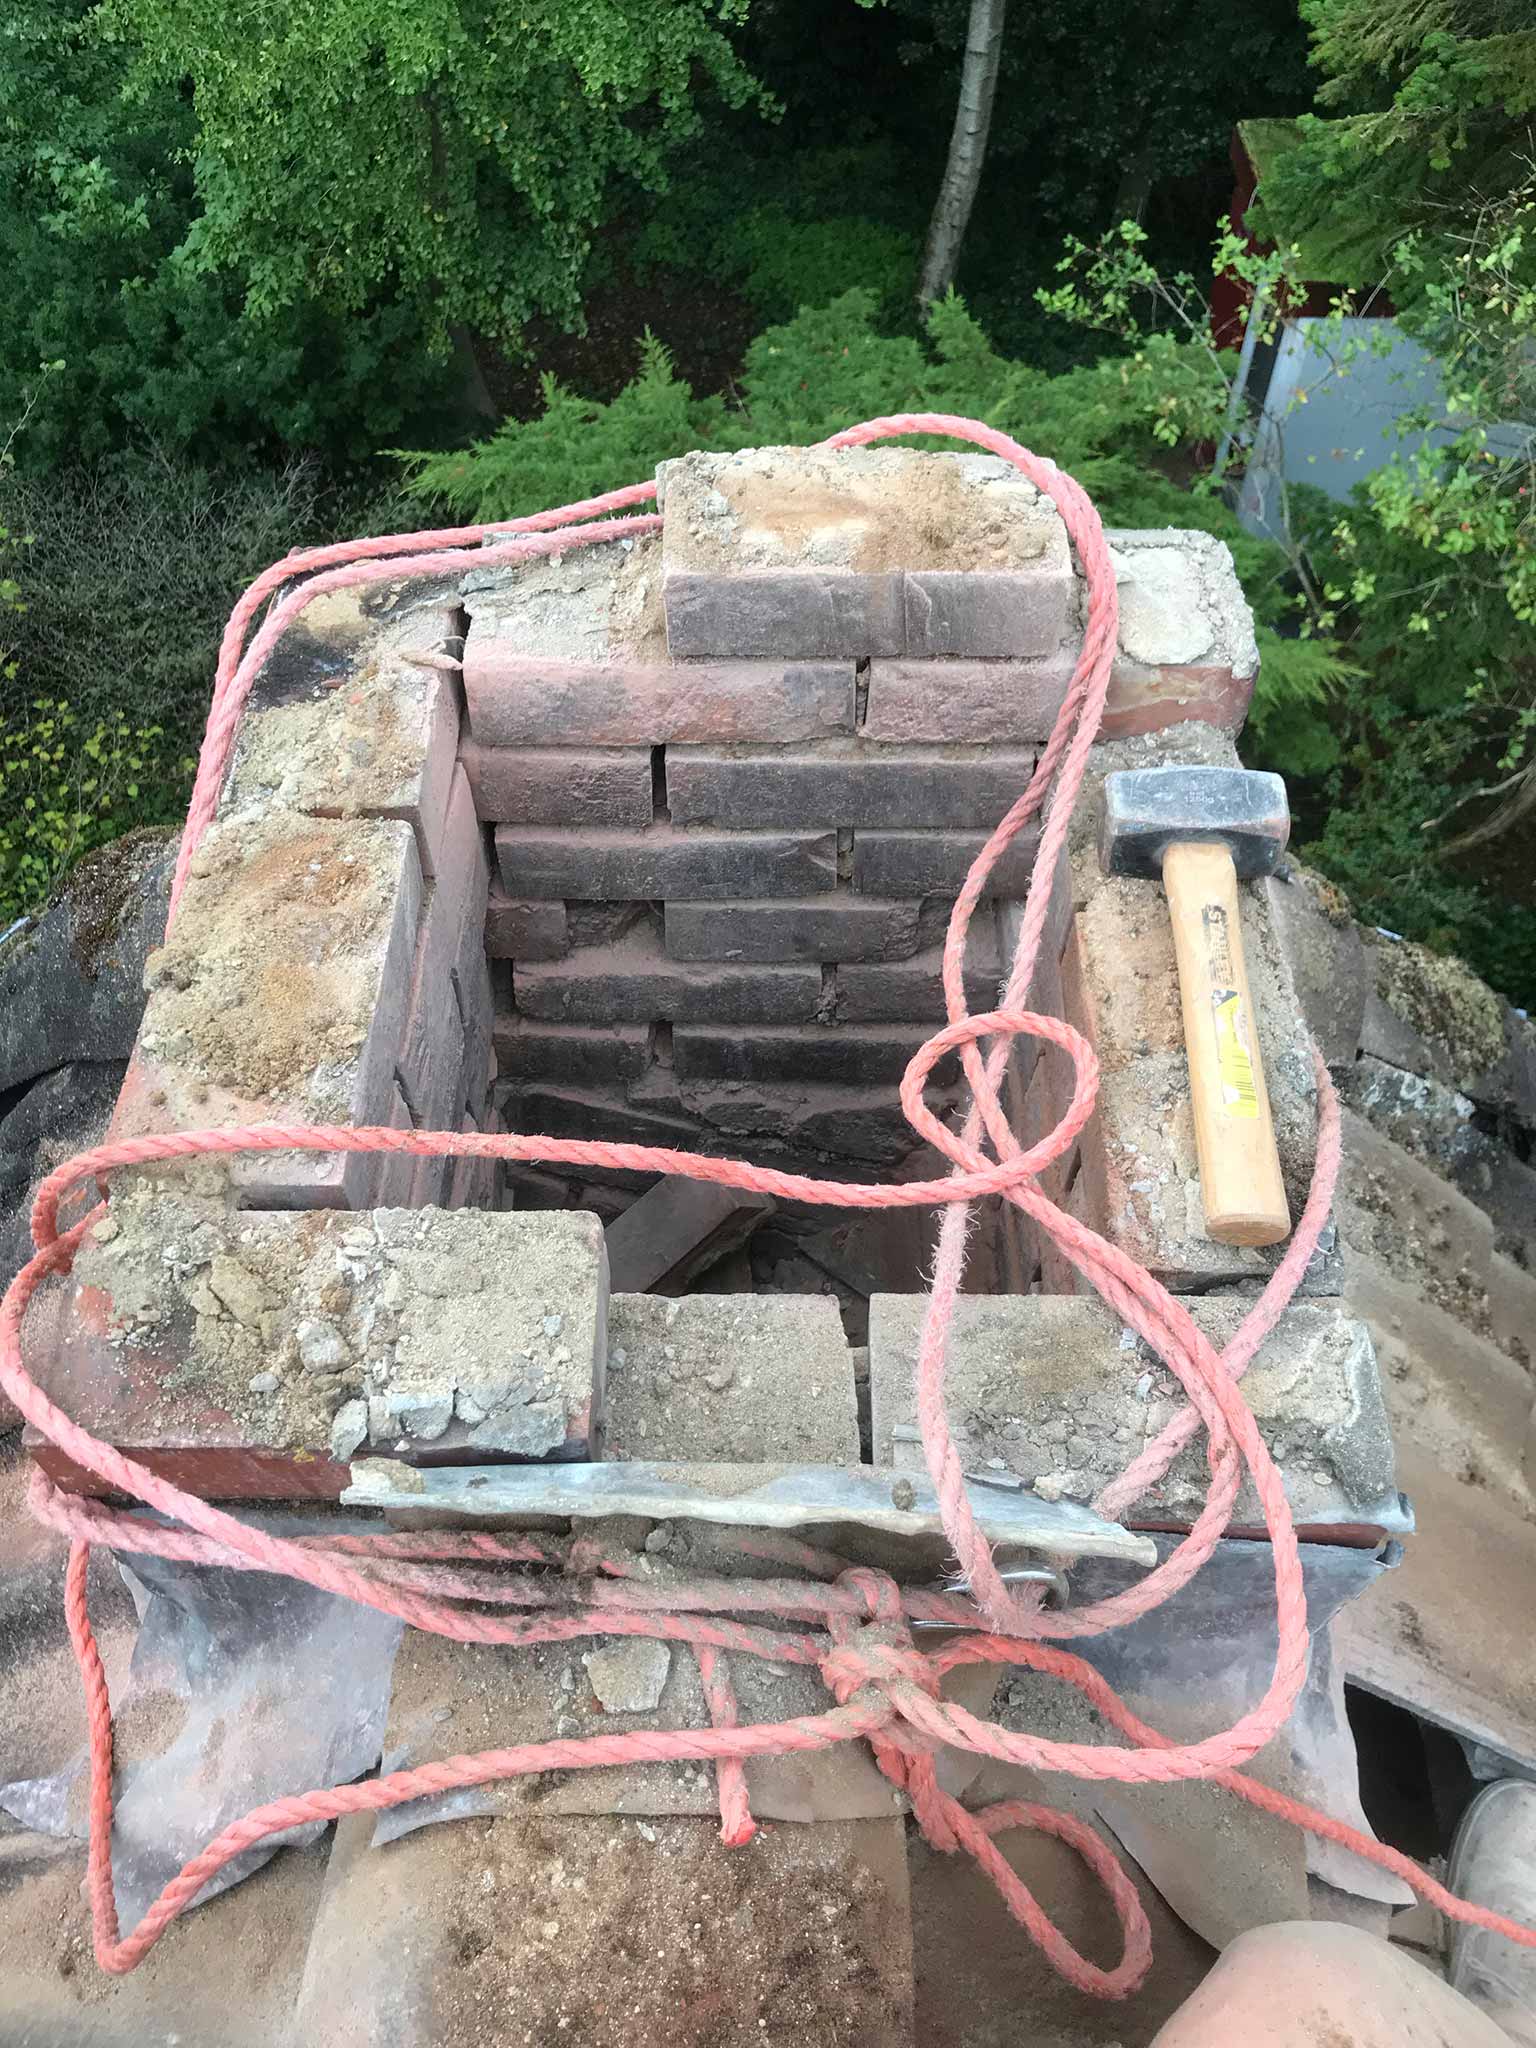
The reconstruction of the roof was done by creators. Our task was done…
Oh yeah, and my brick throwing capabilities? I can hit roof tiles with ‘m…
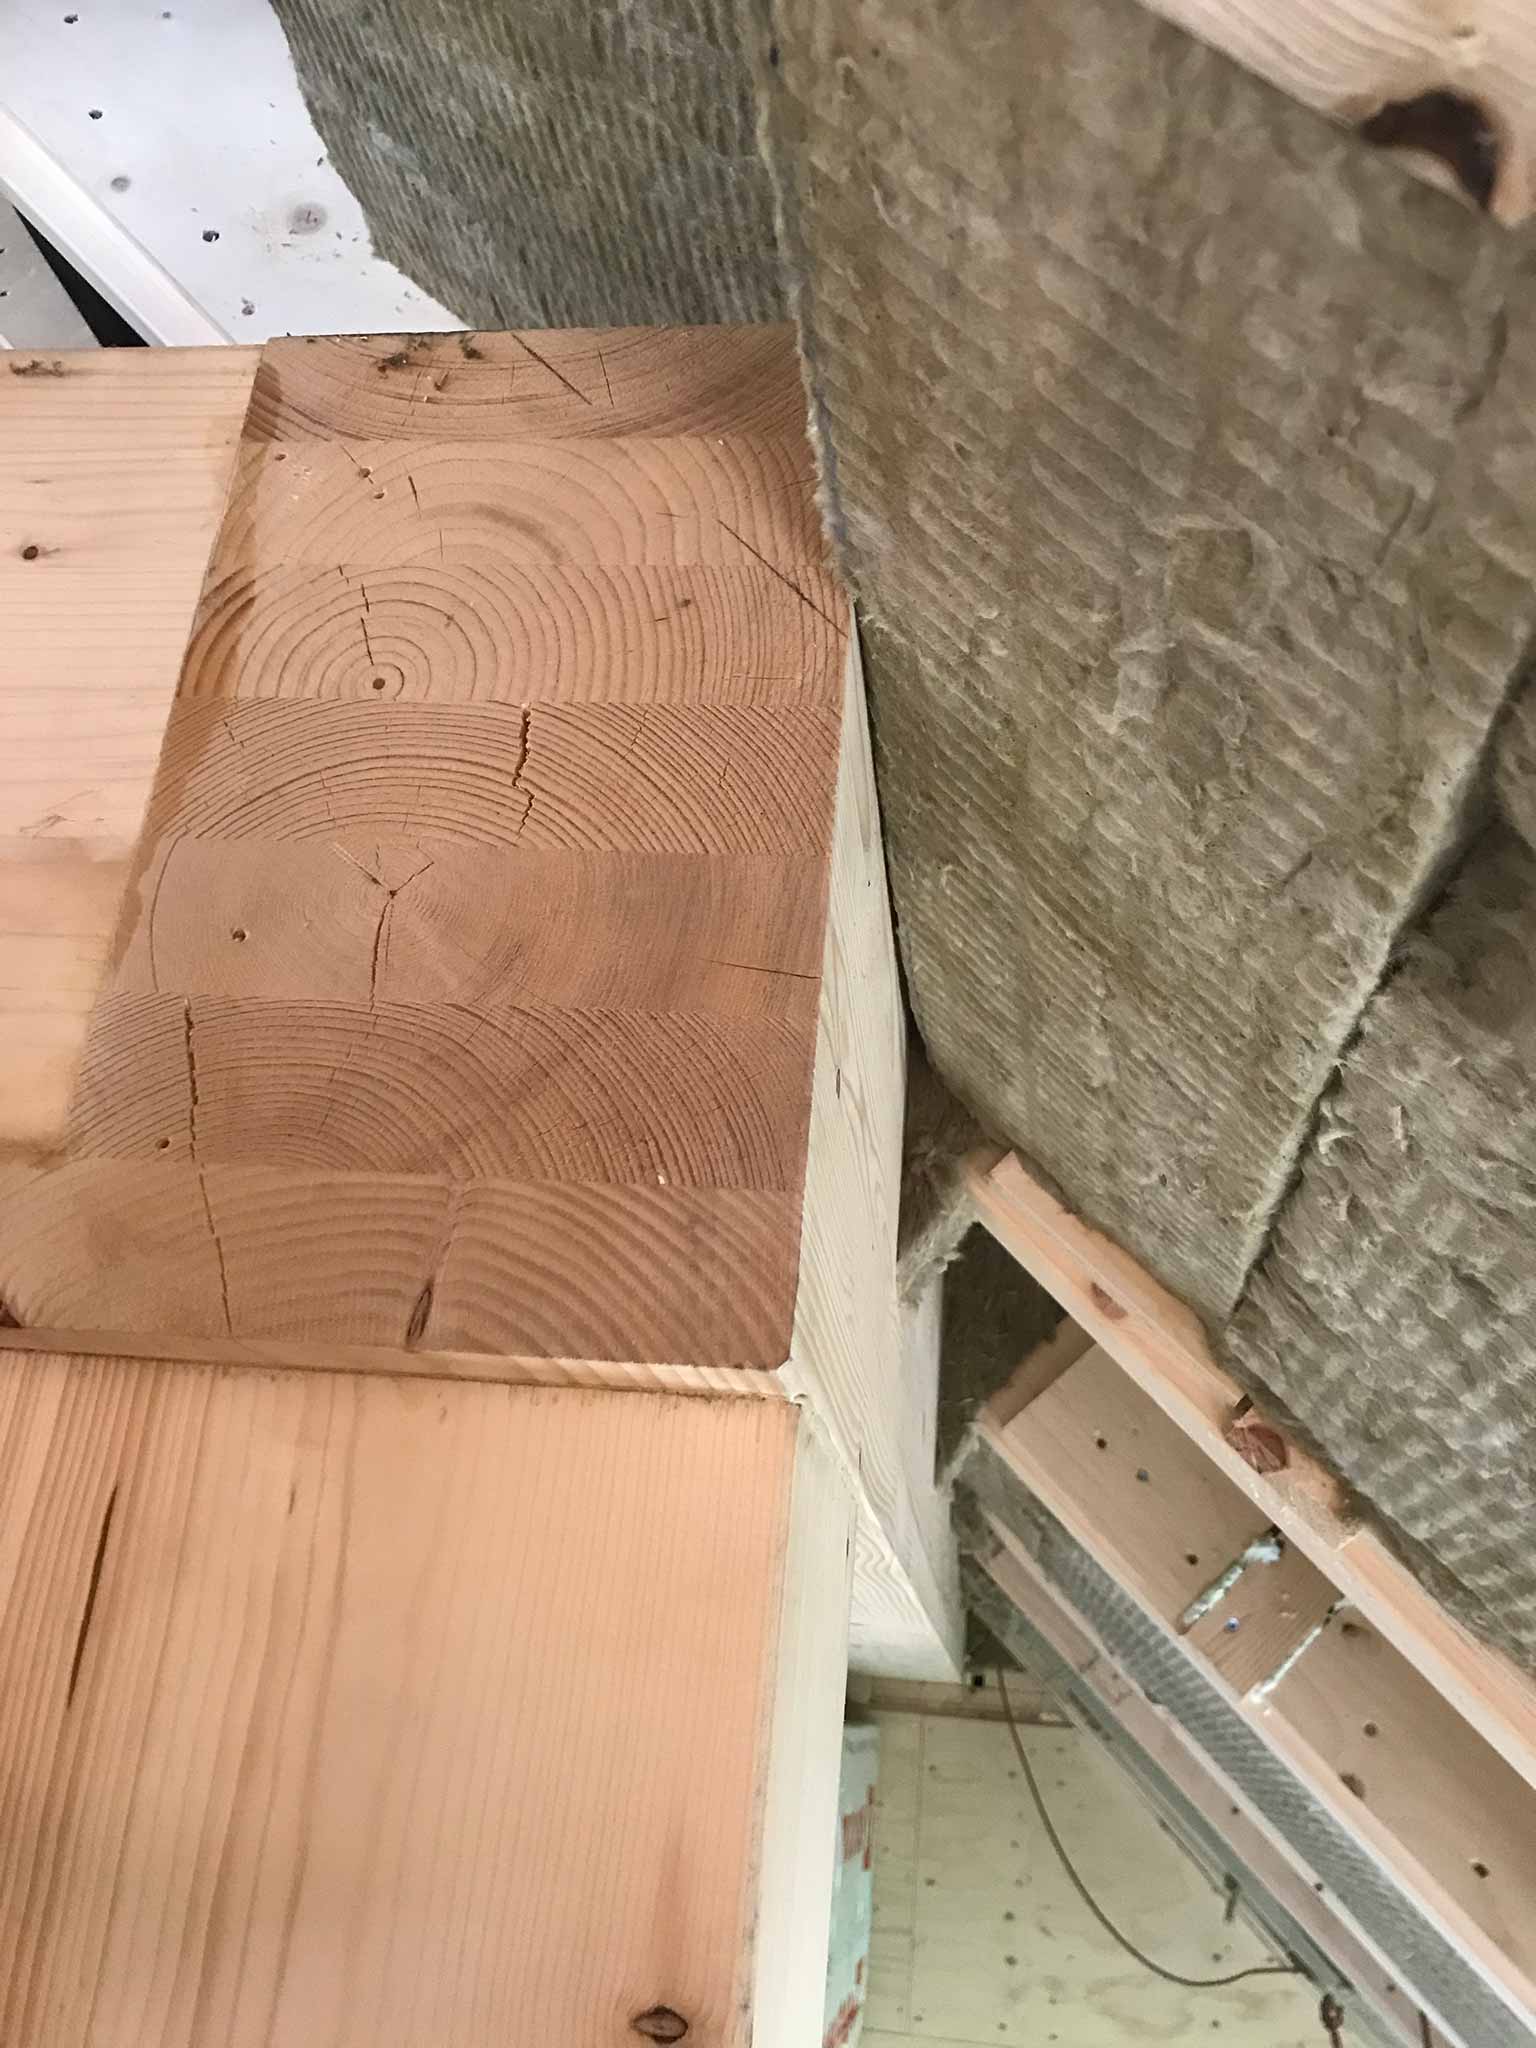
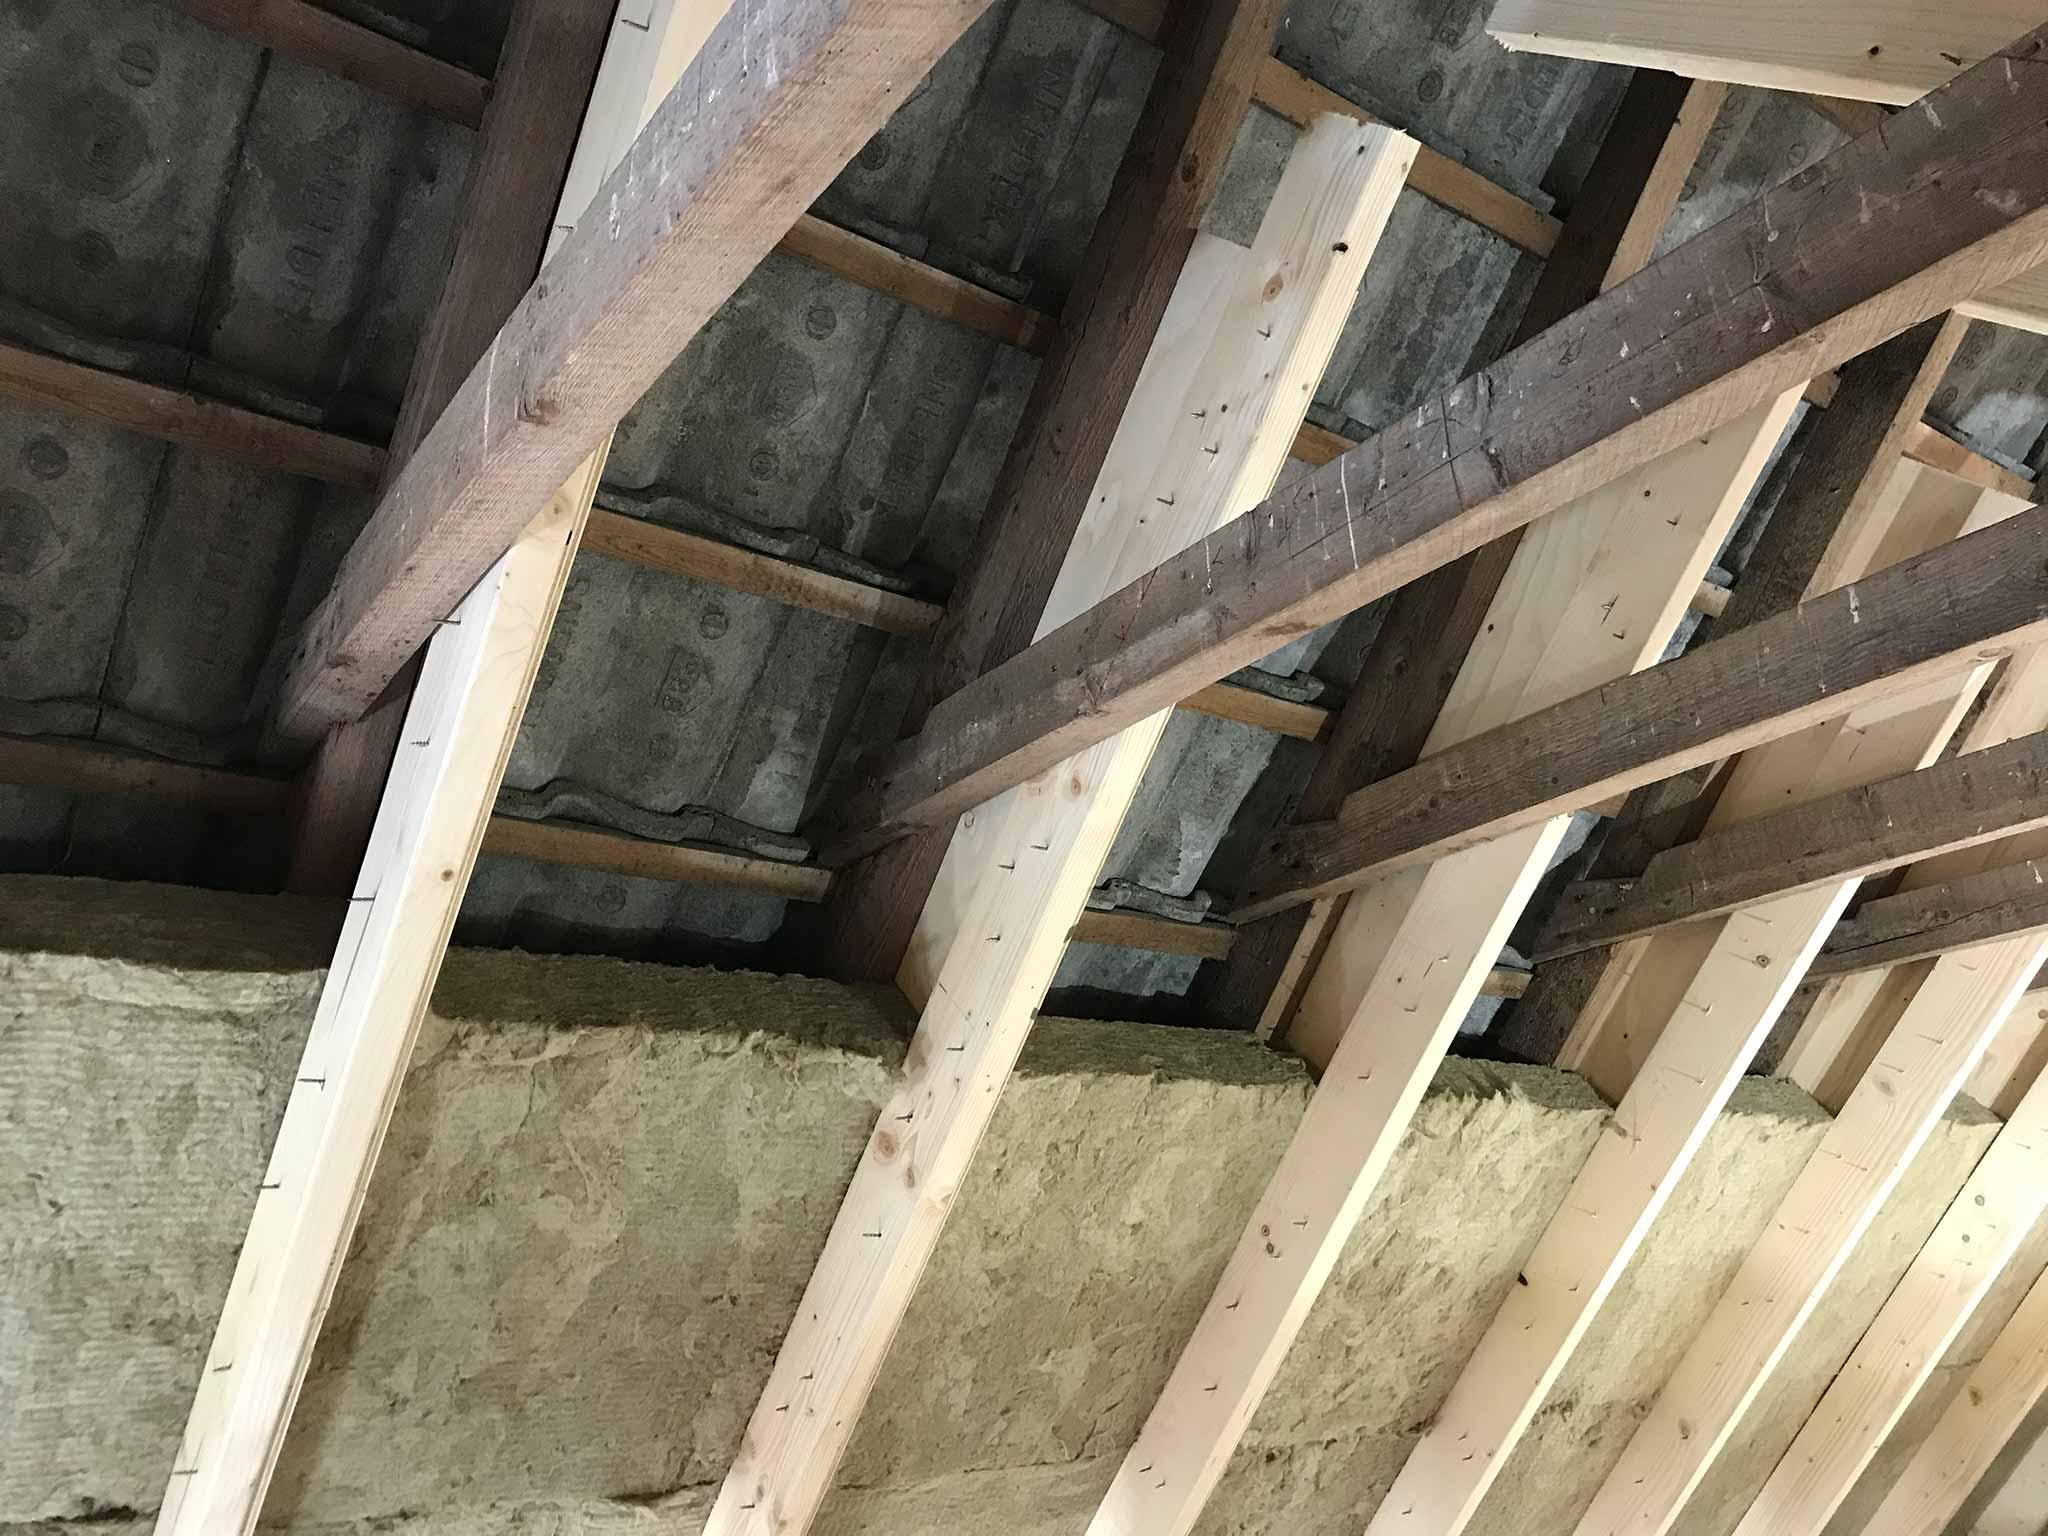
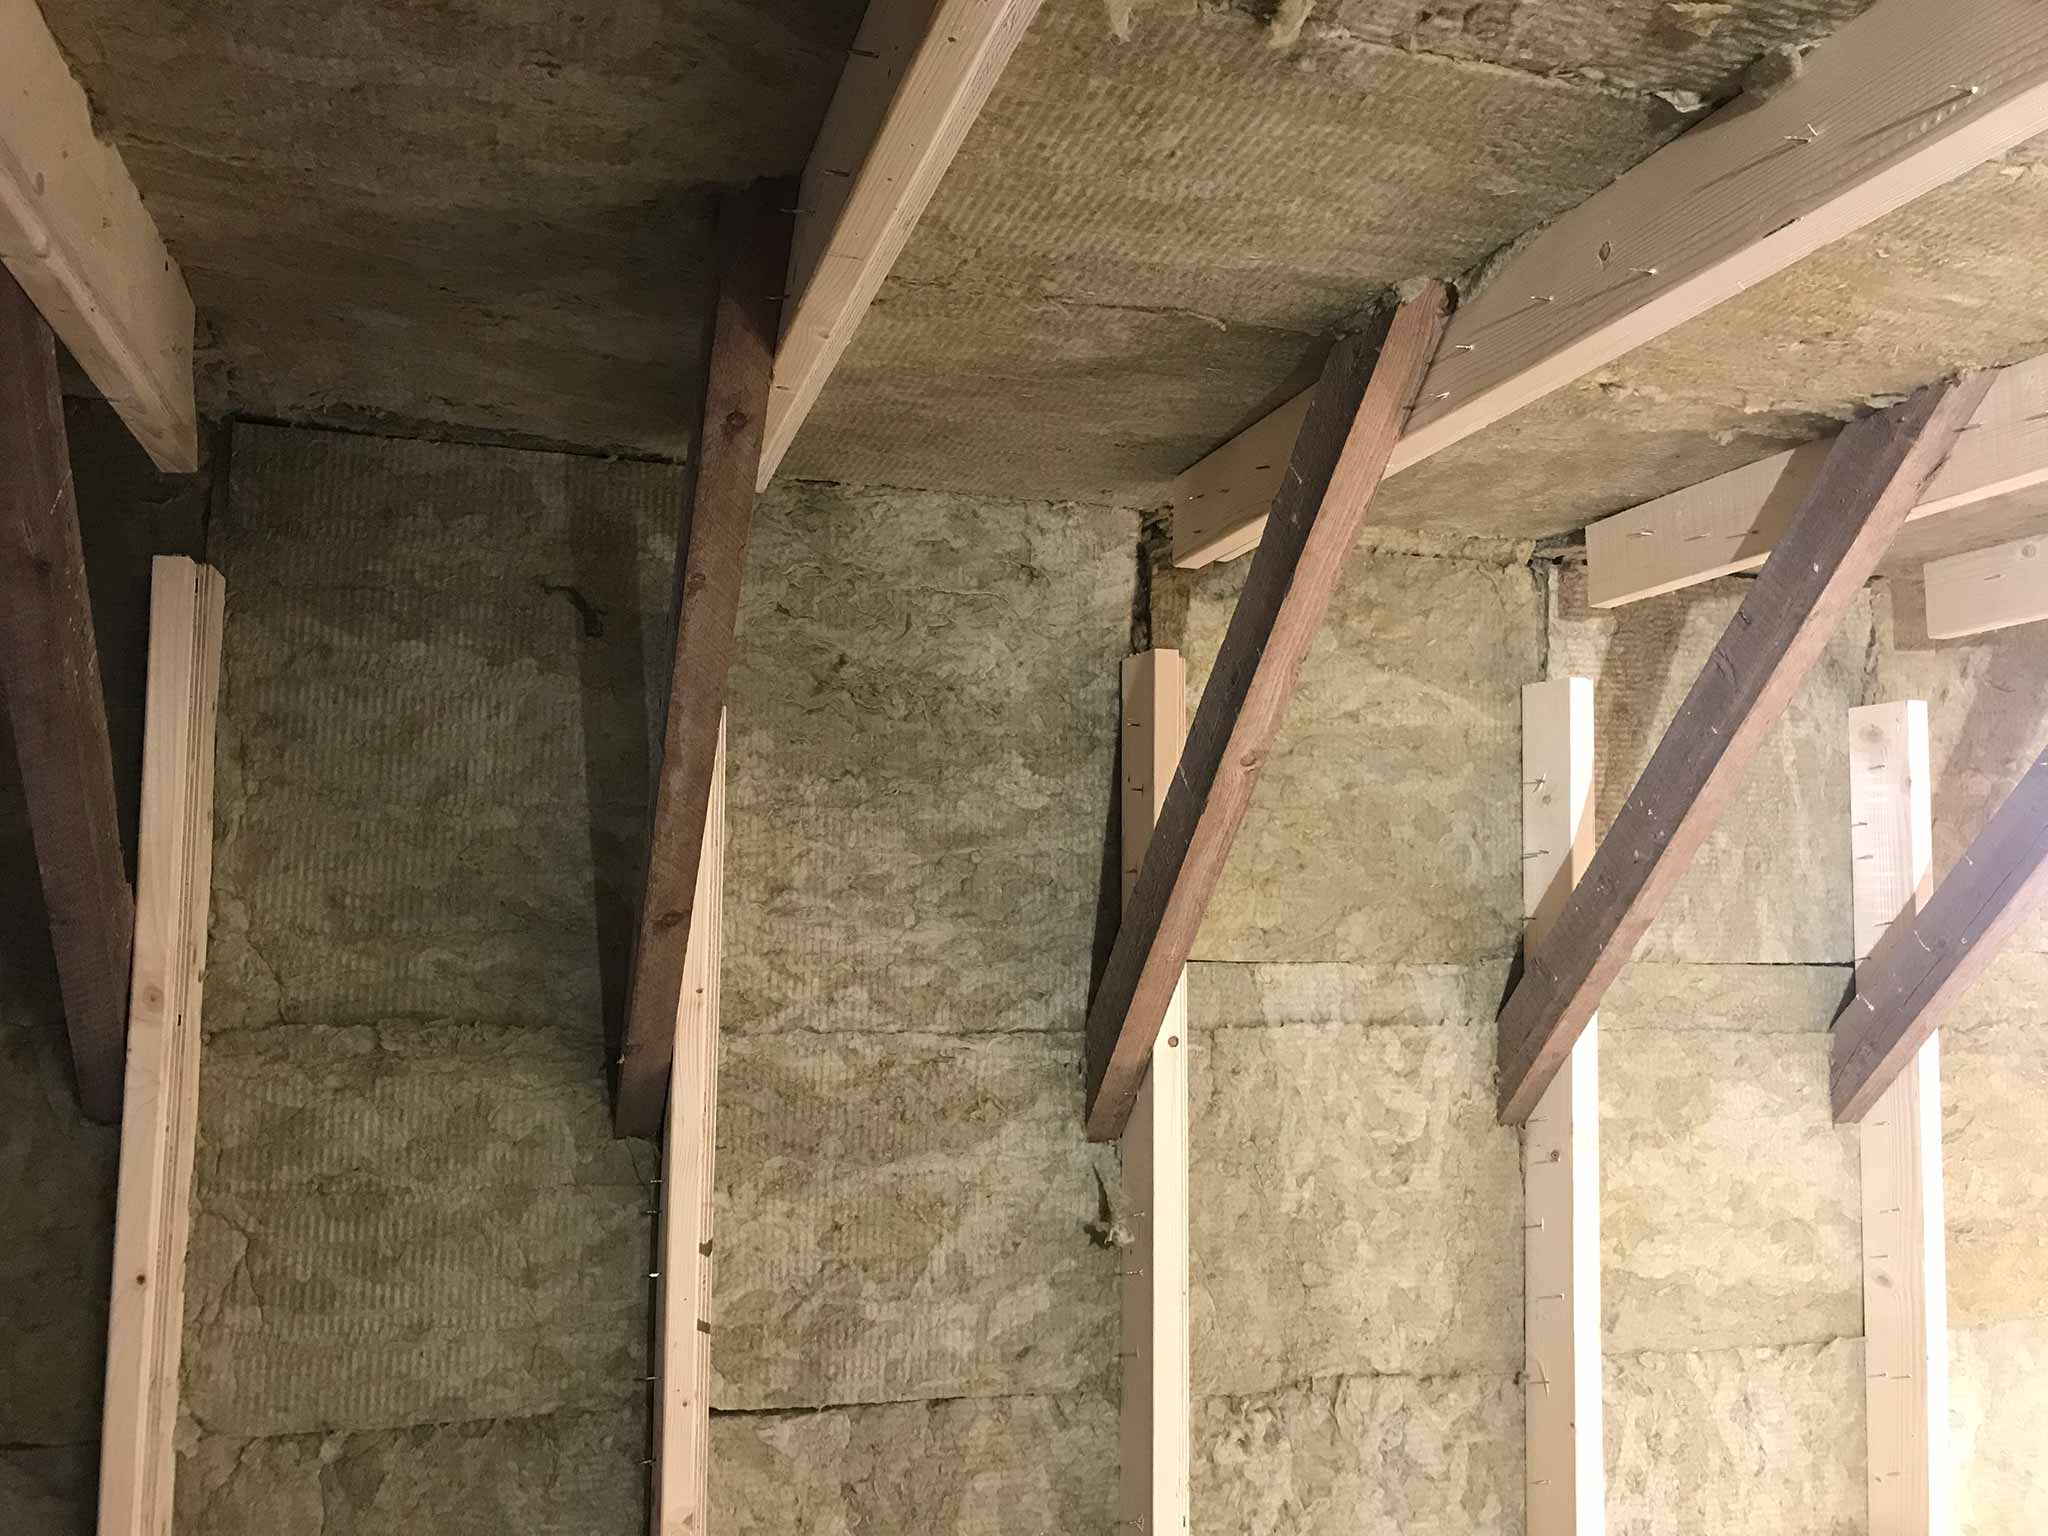
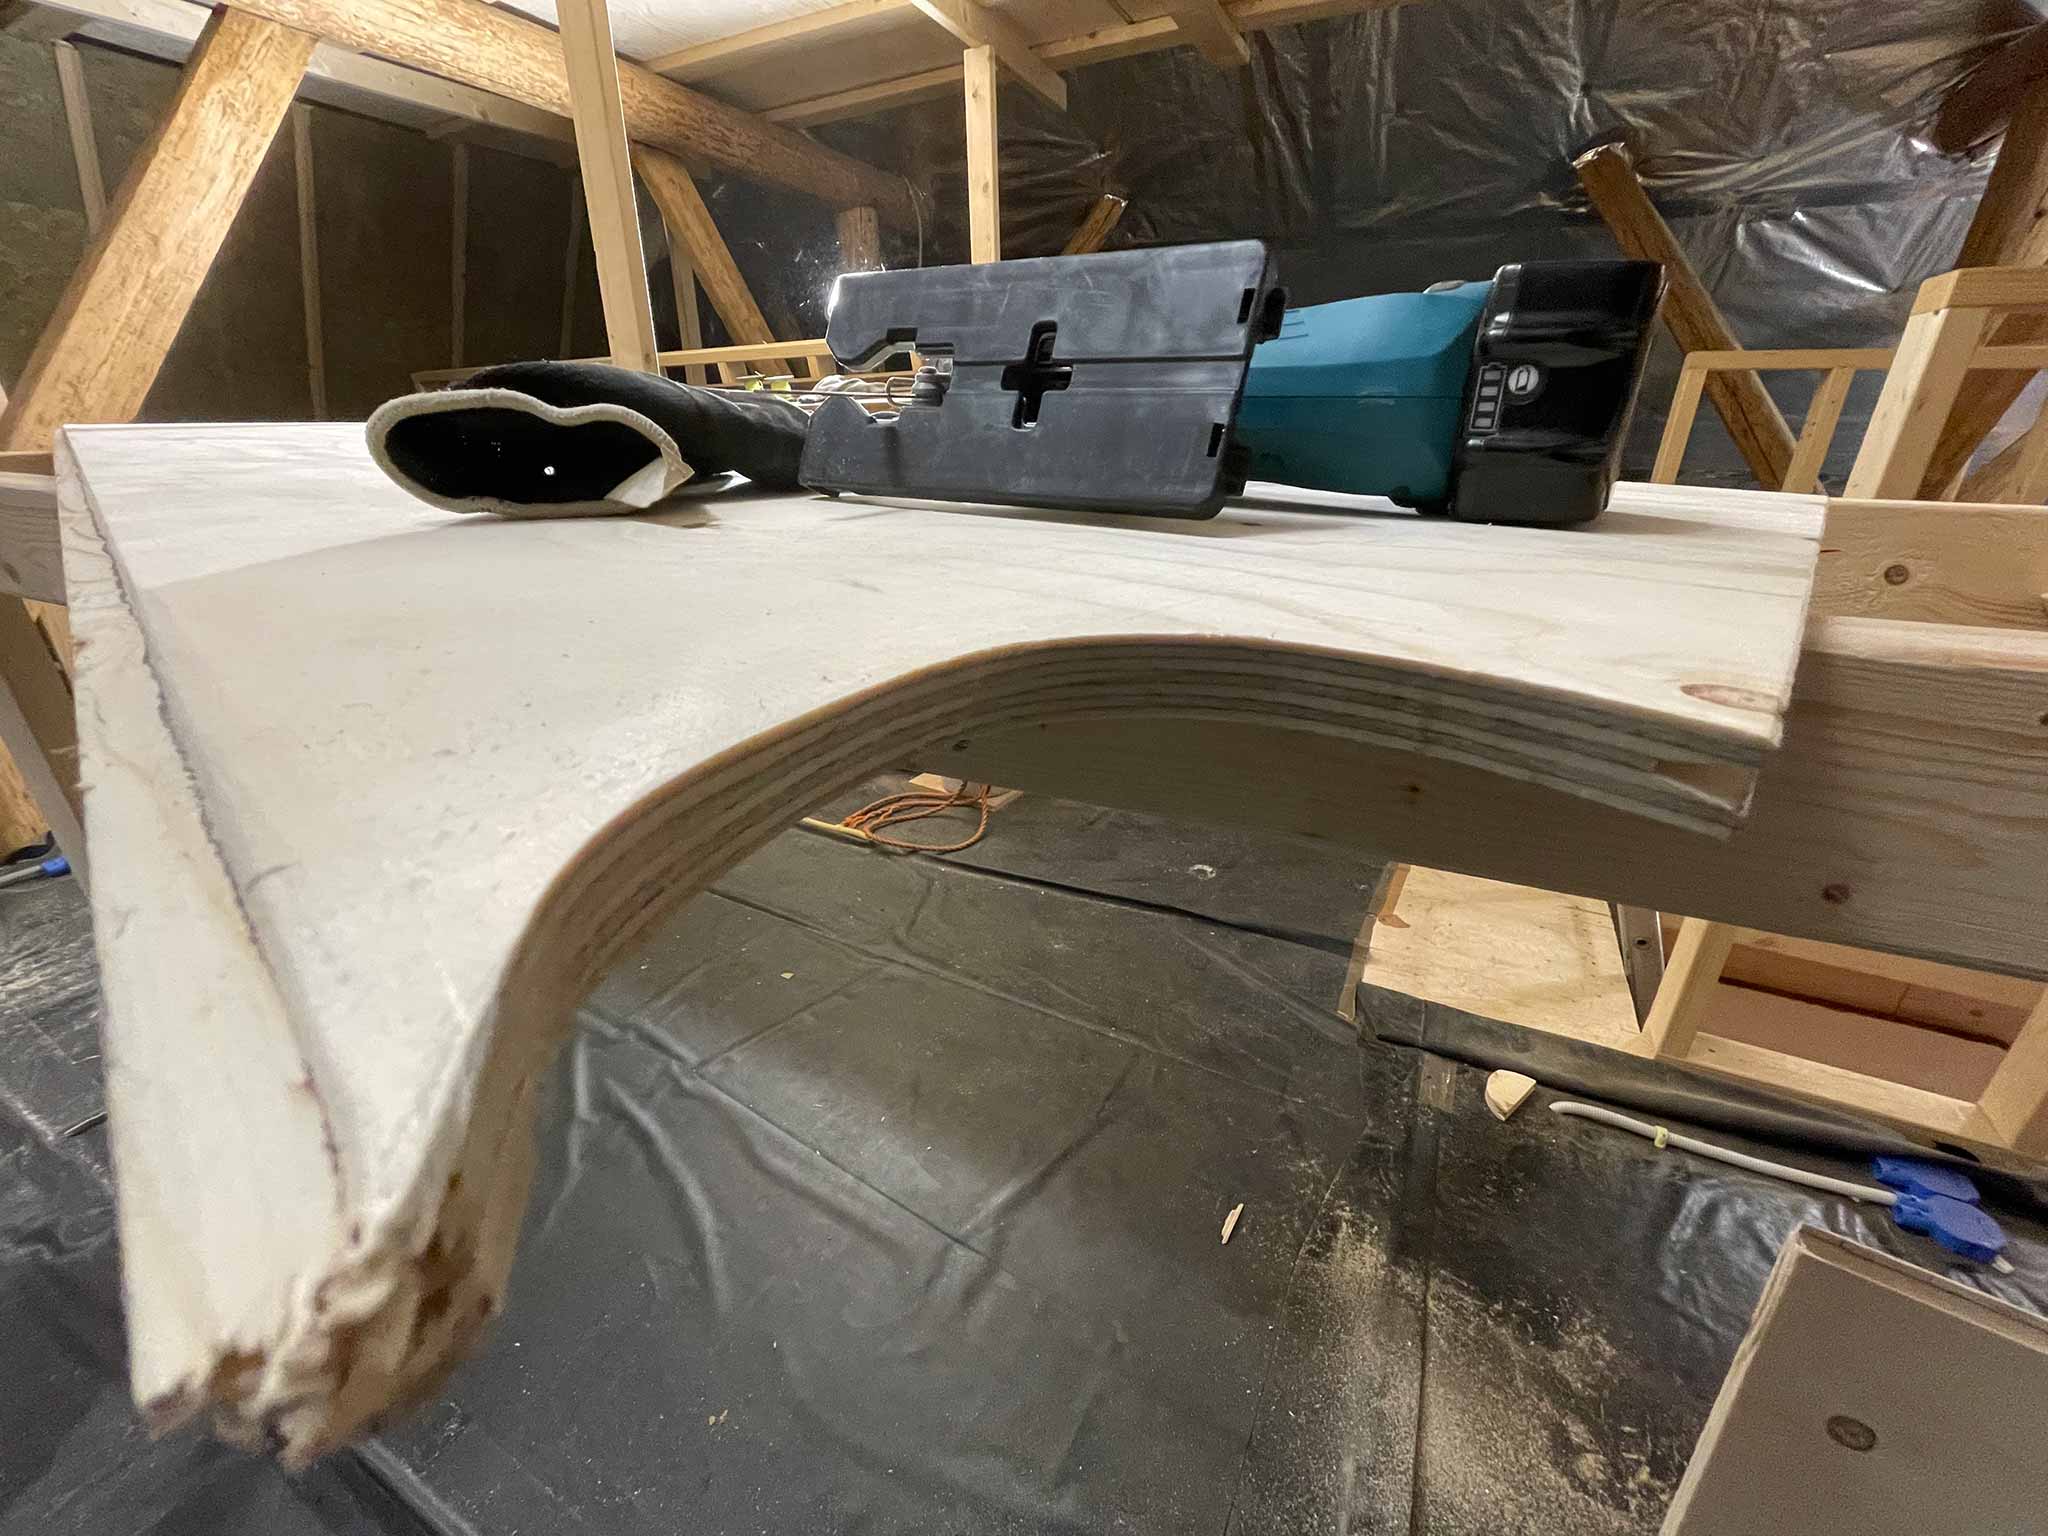
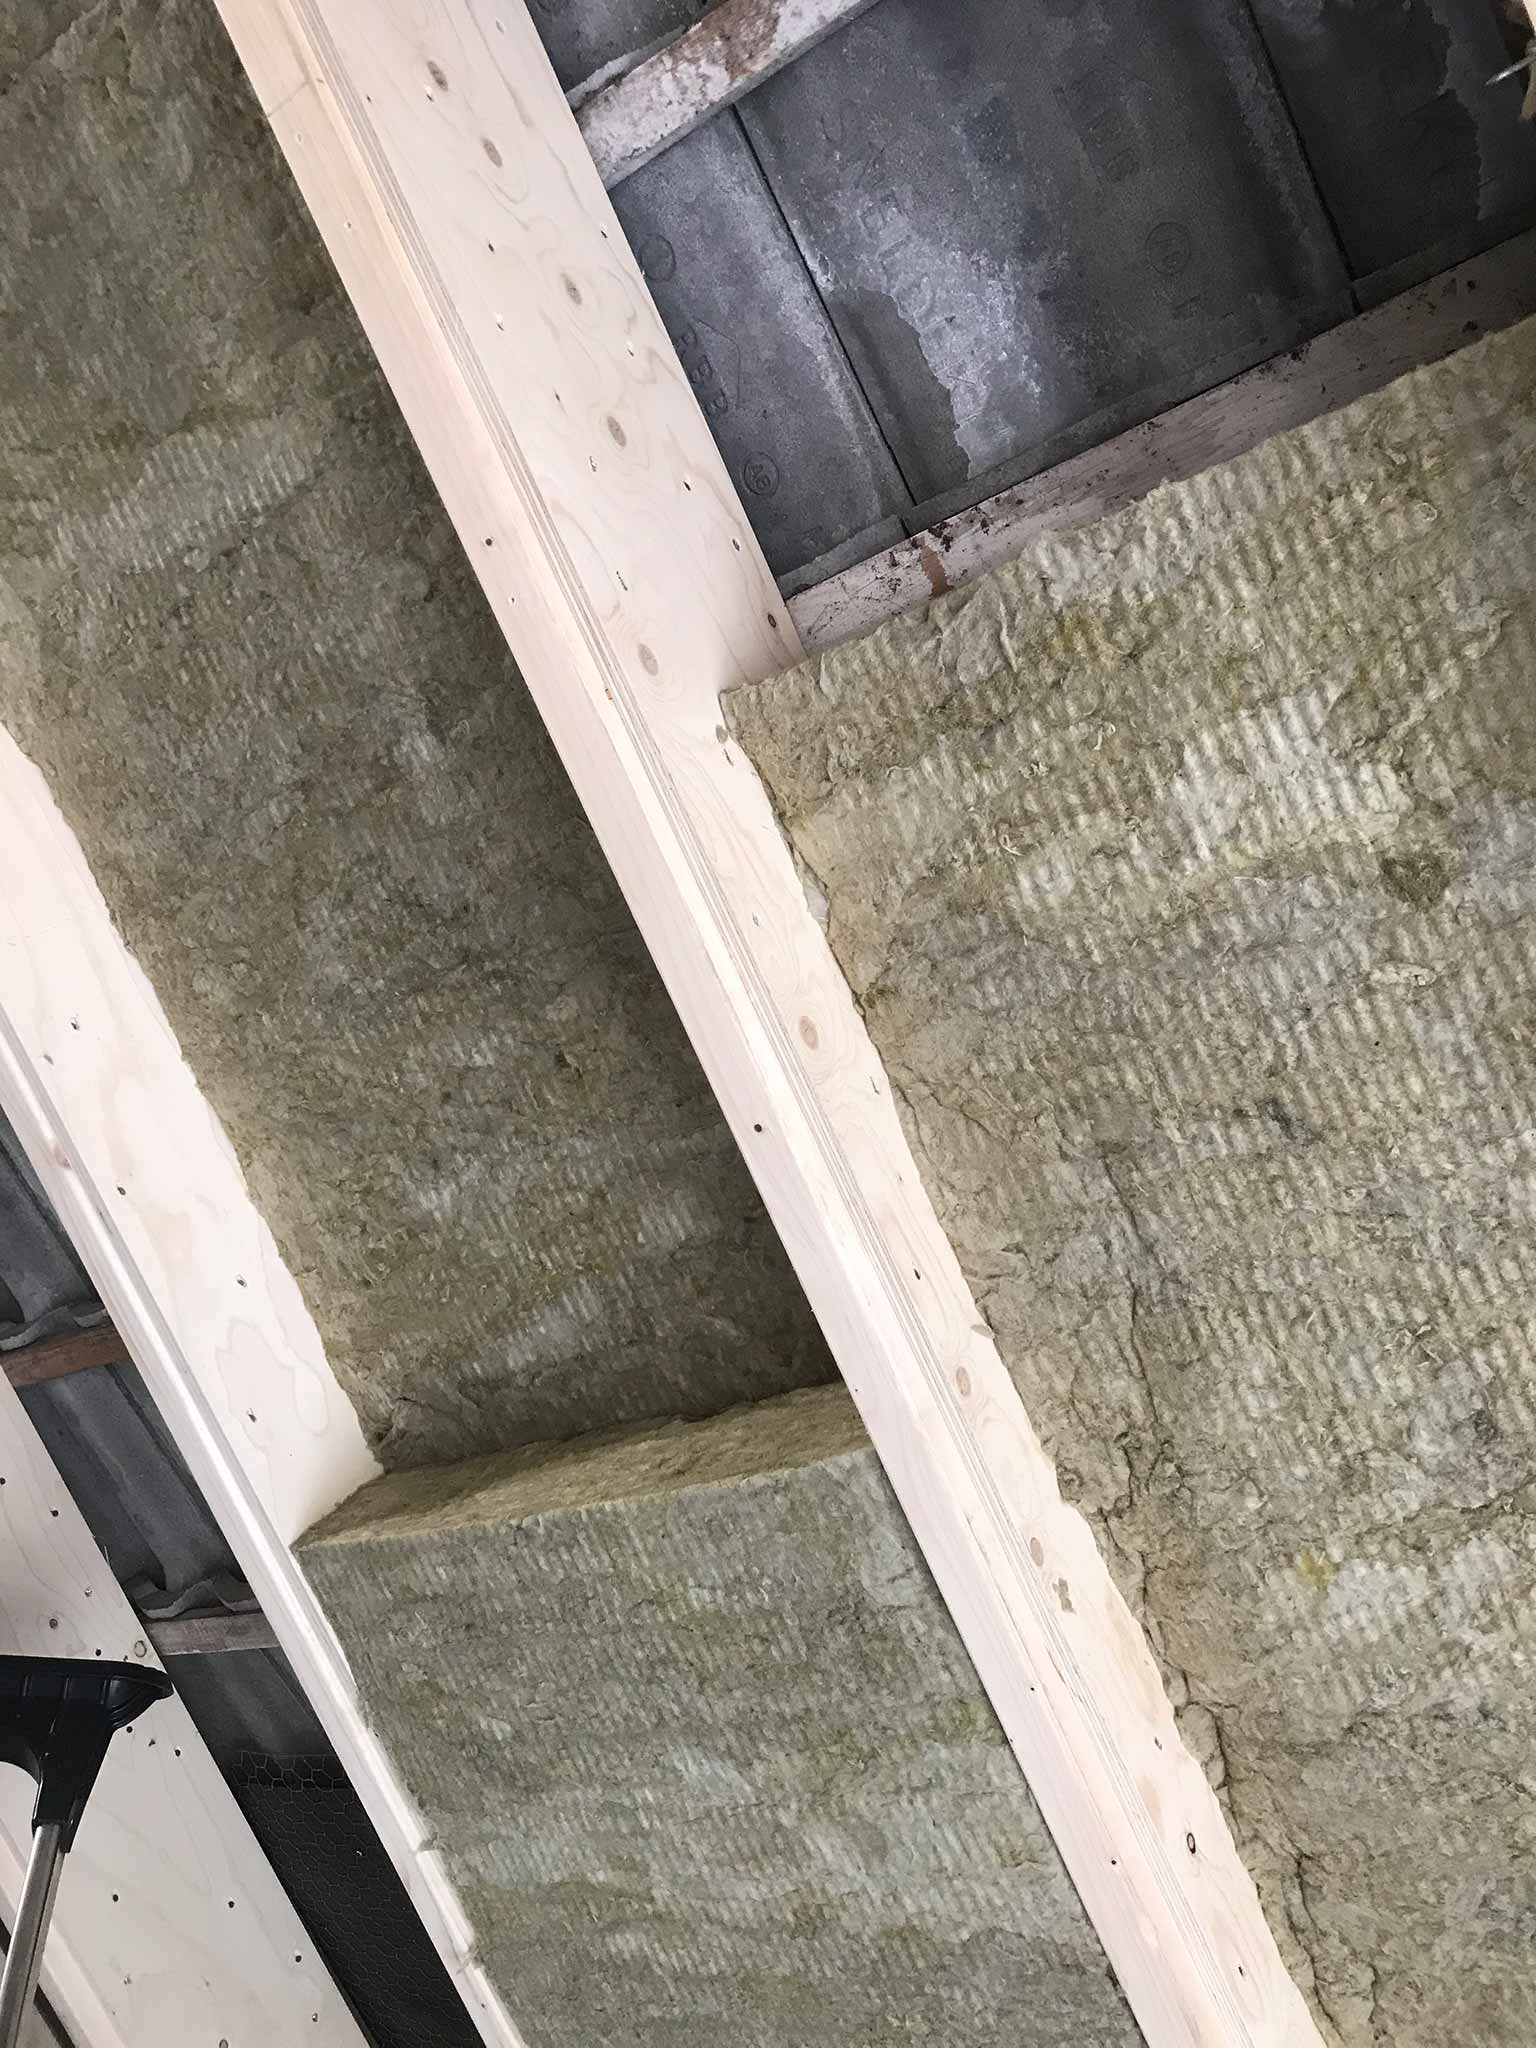
Isolating the roof is quite a job. We have 144 packs of rockwool that, in total can cover 518^m. The layers are 12cm thick and we’ll use a double layer. In total that should make the volume of the house decrease by about 31 cubic meter. So, not only is there less volume to keep warm, there also is an impressive 24cm layer of isolation on (nearly) the entire roof. At a few spots there is not enough room the fit in the entire 24cm.
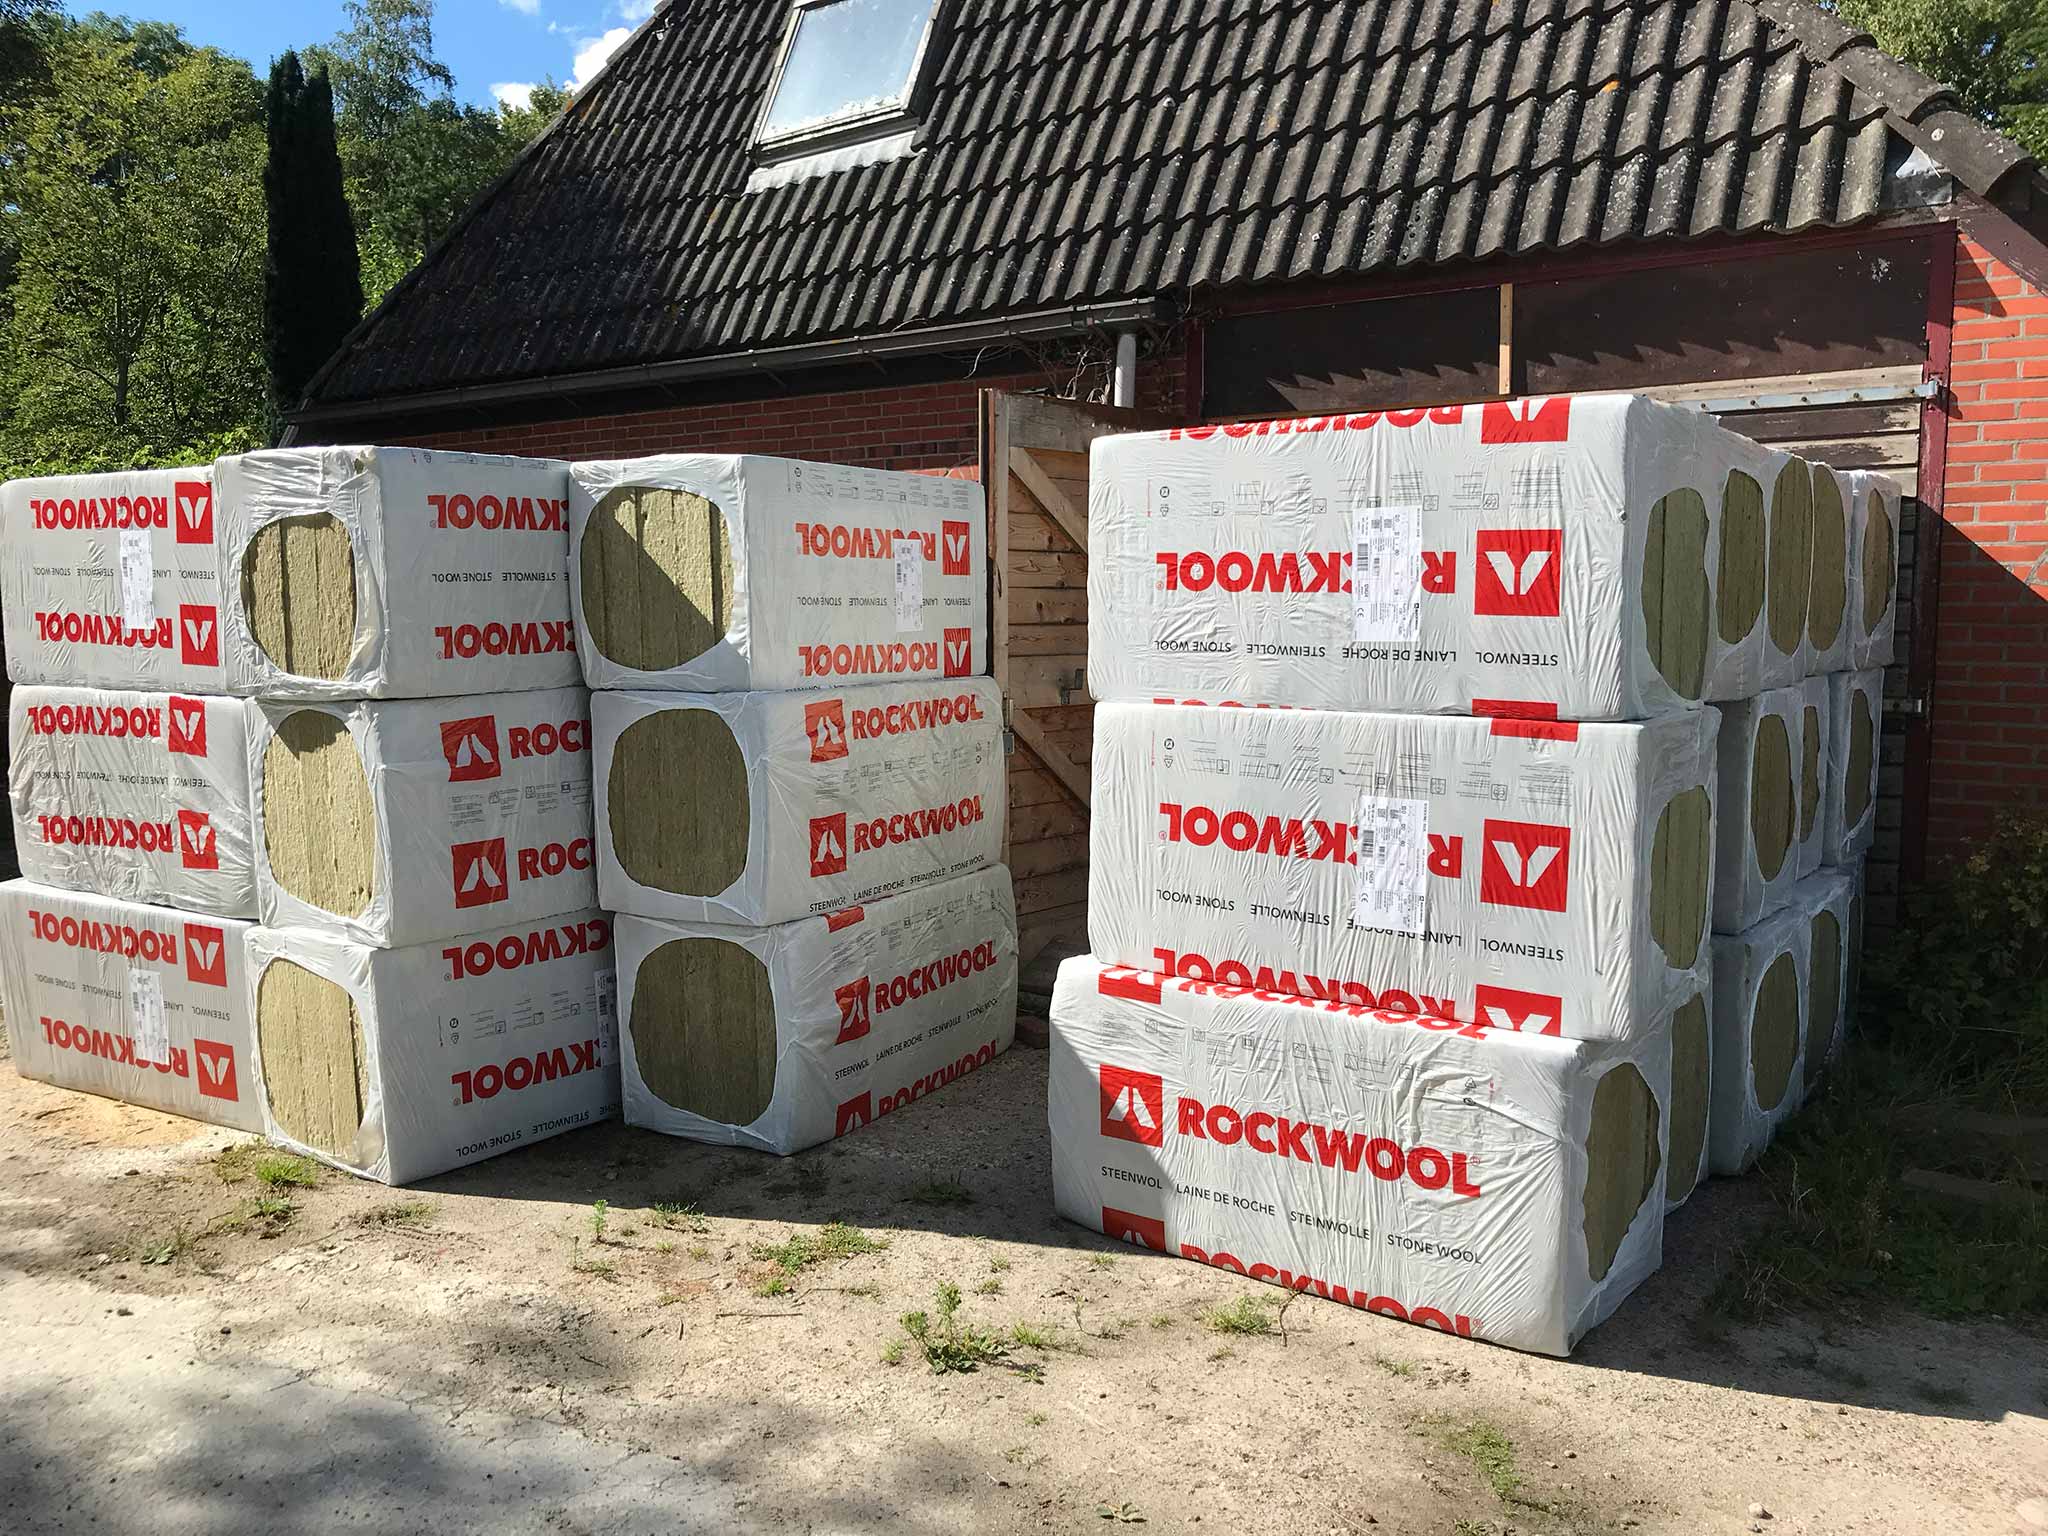
With the isolation, the house becomes more homely. Less ‘hall-like-sounding’ and less direct temperature influence from the heat radiating, black roof tiles (obviously).
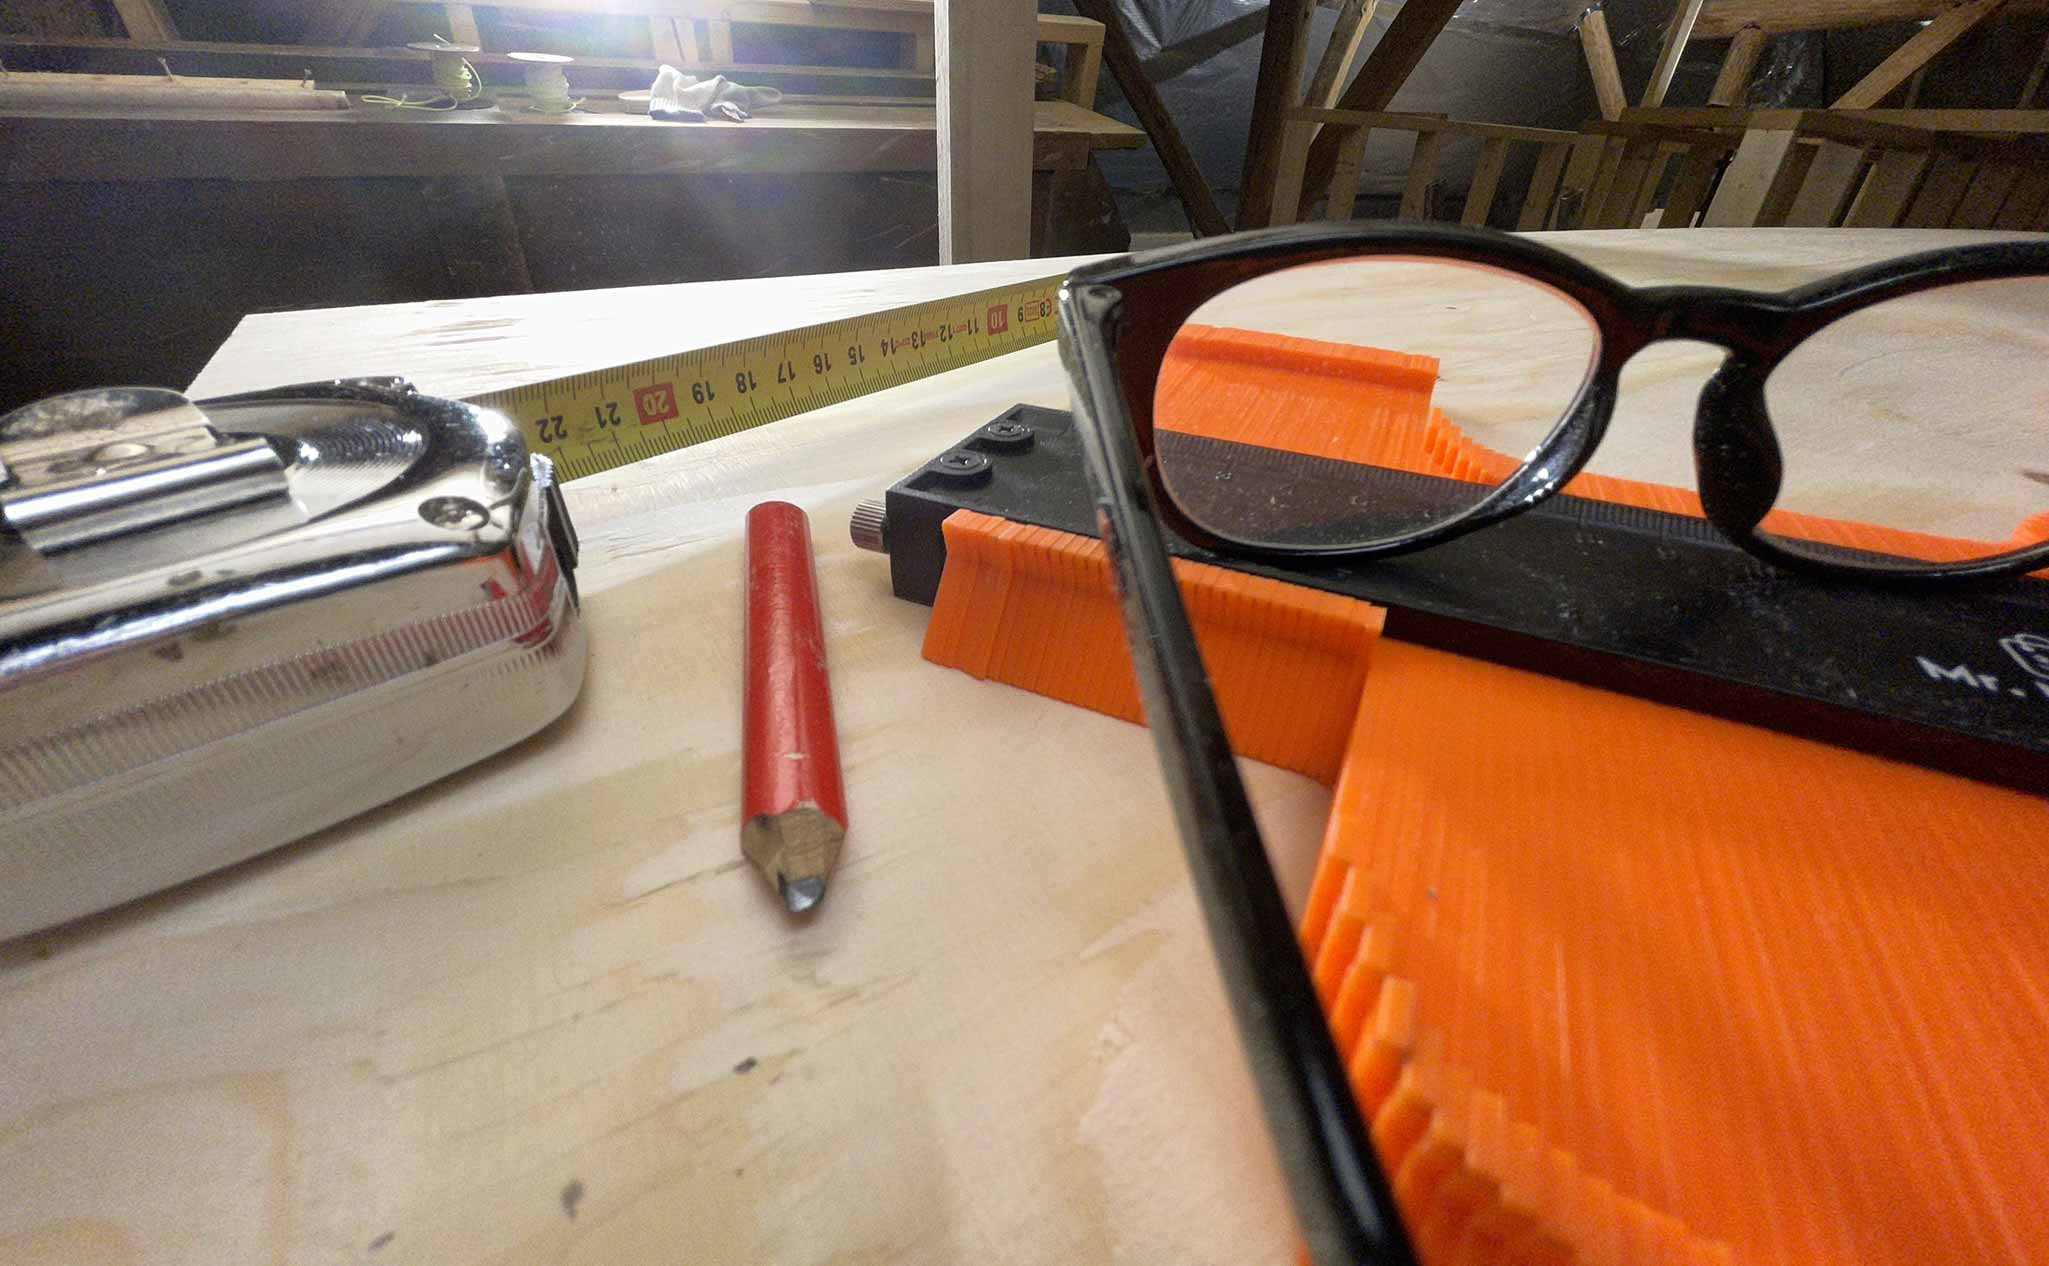
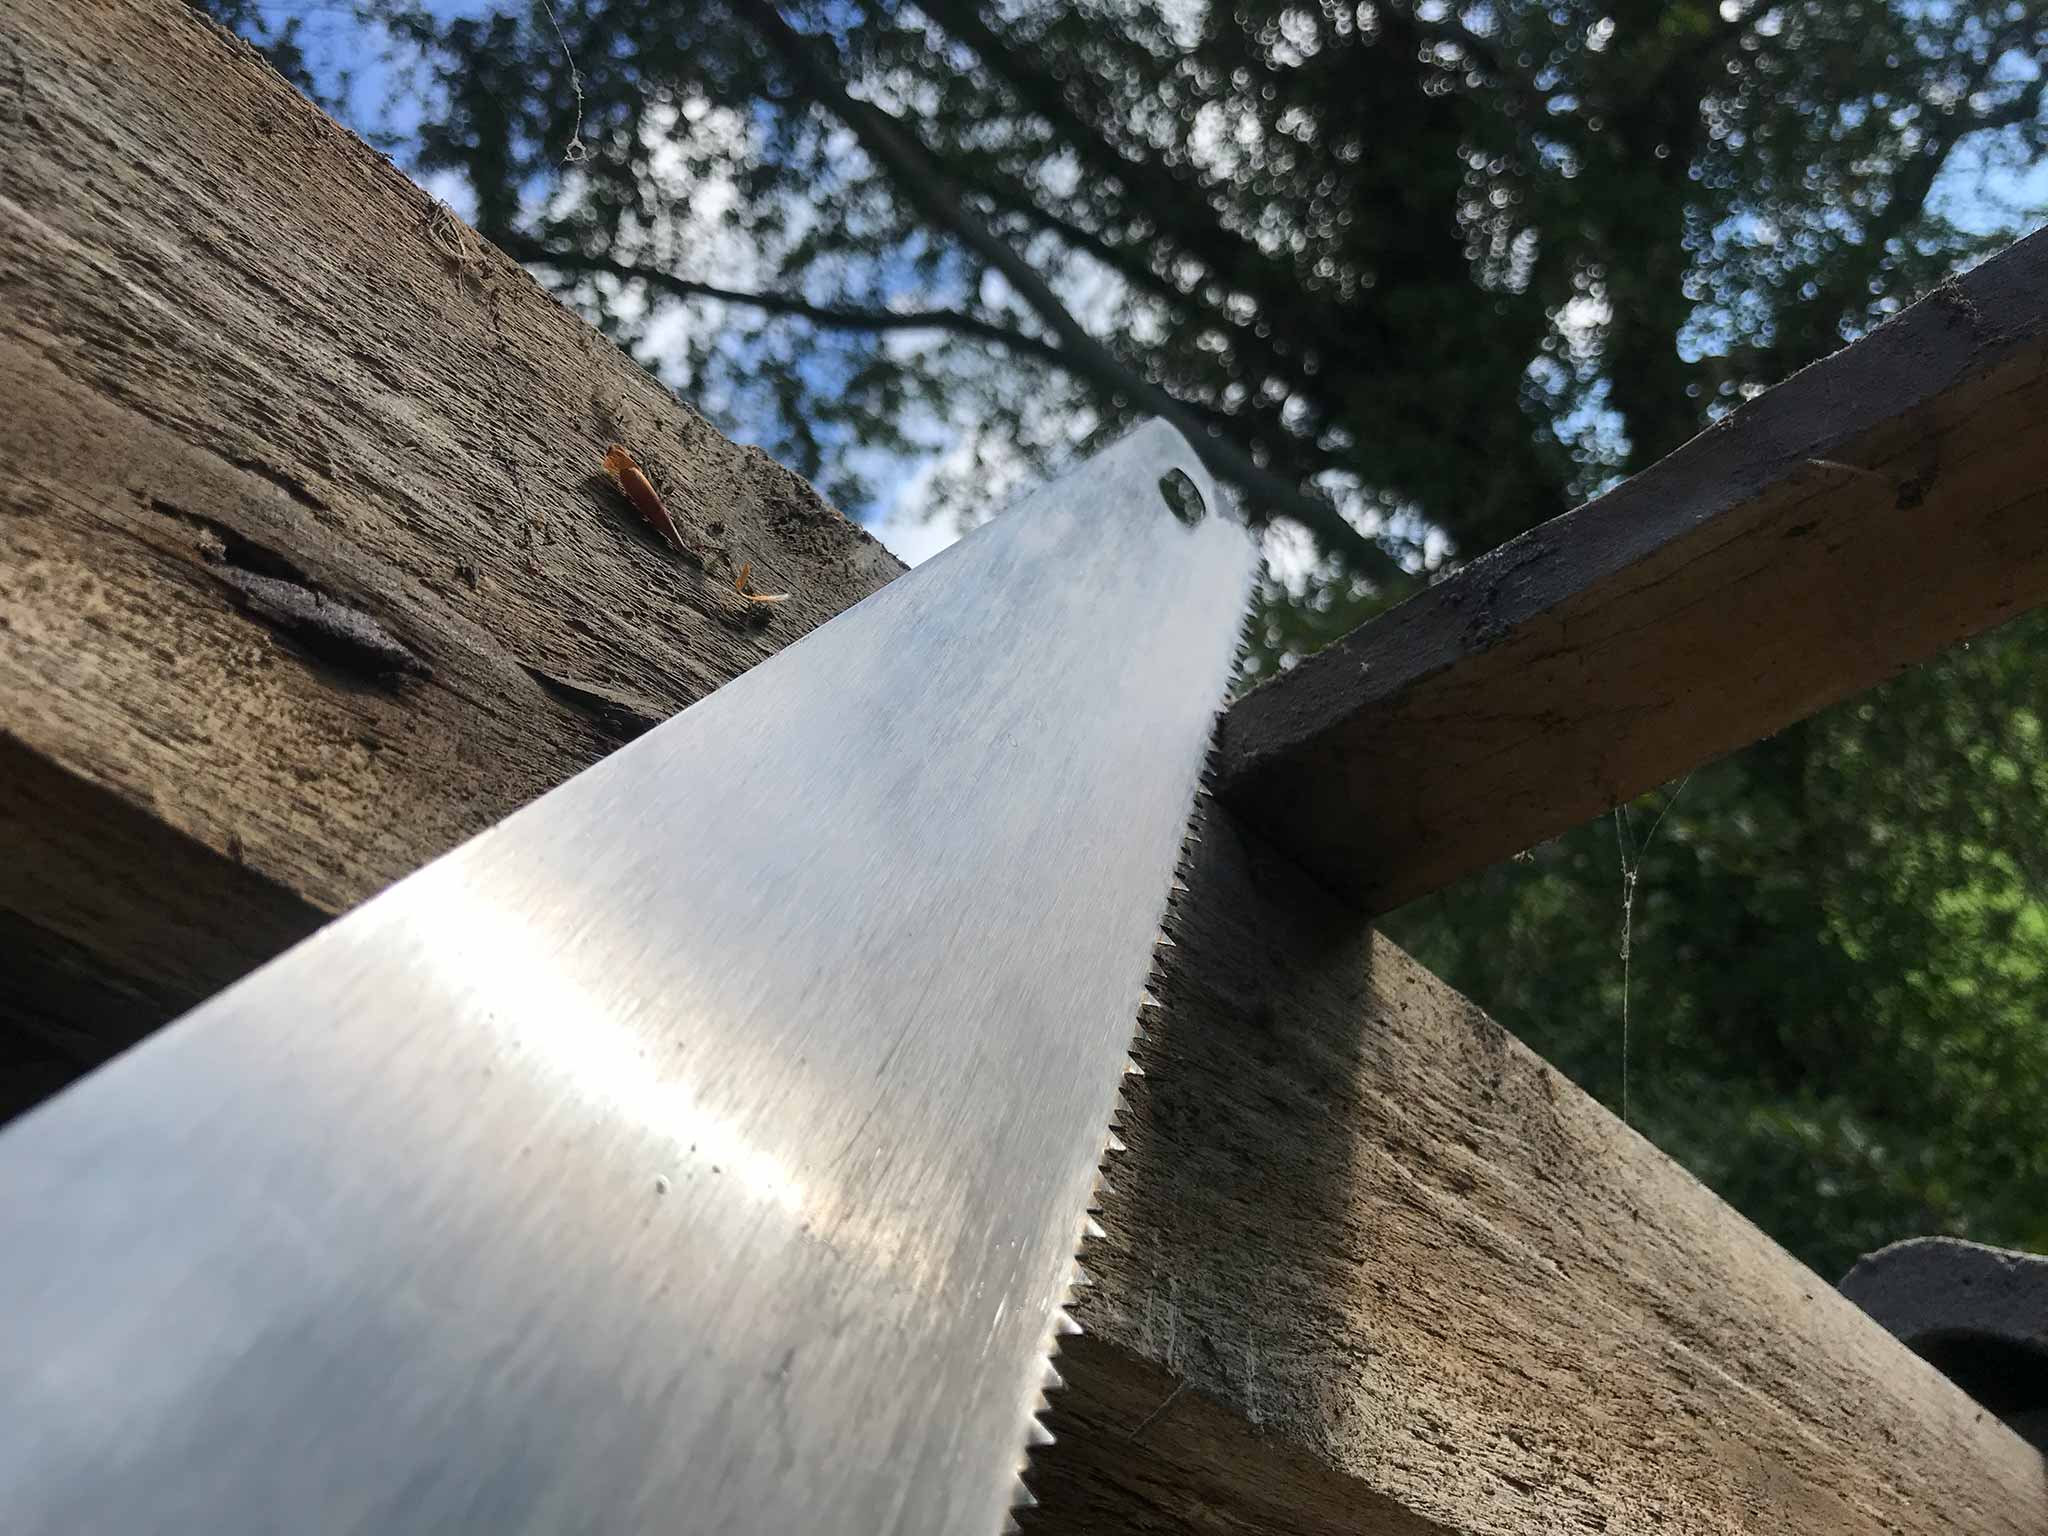
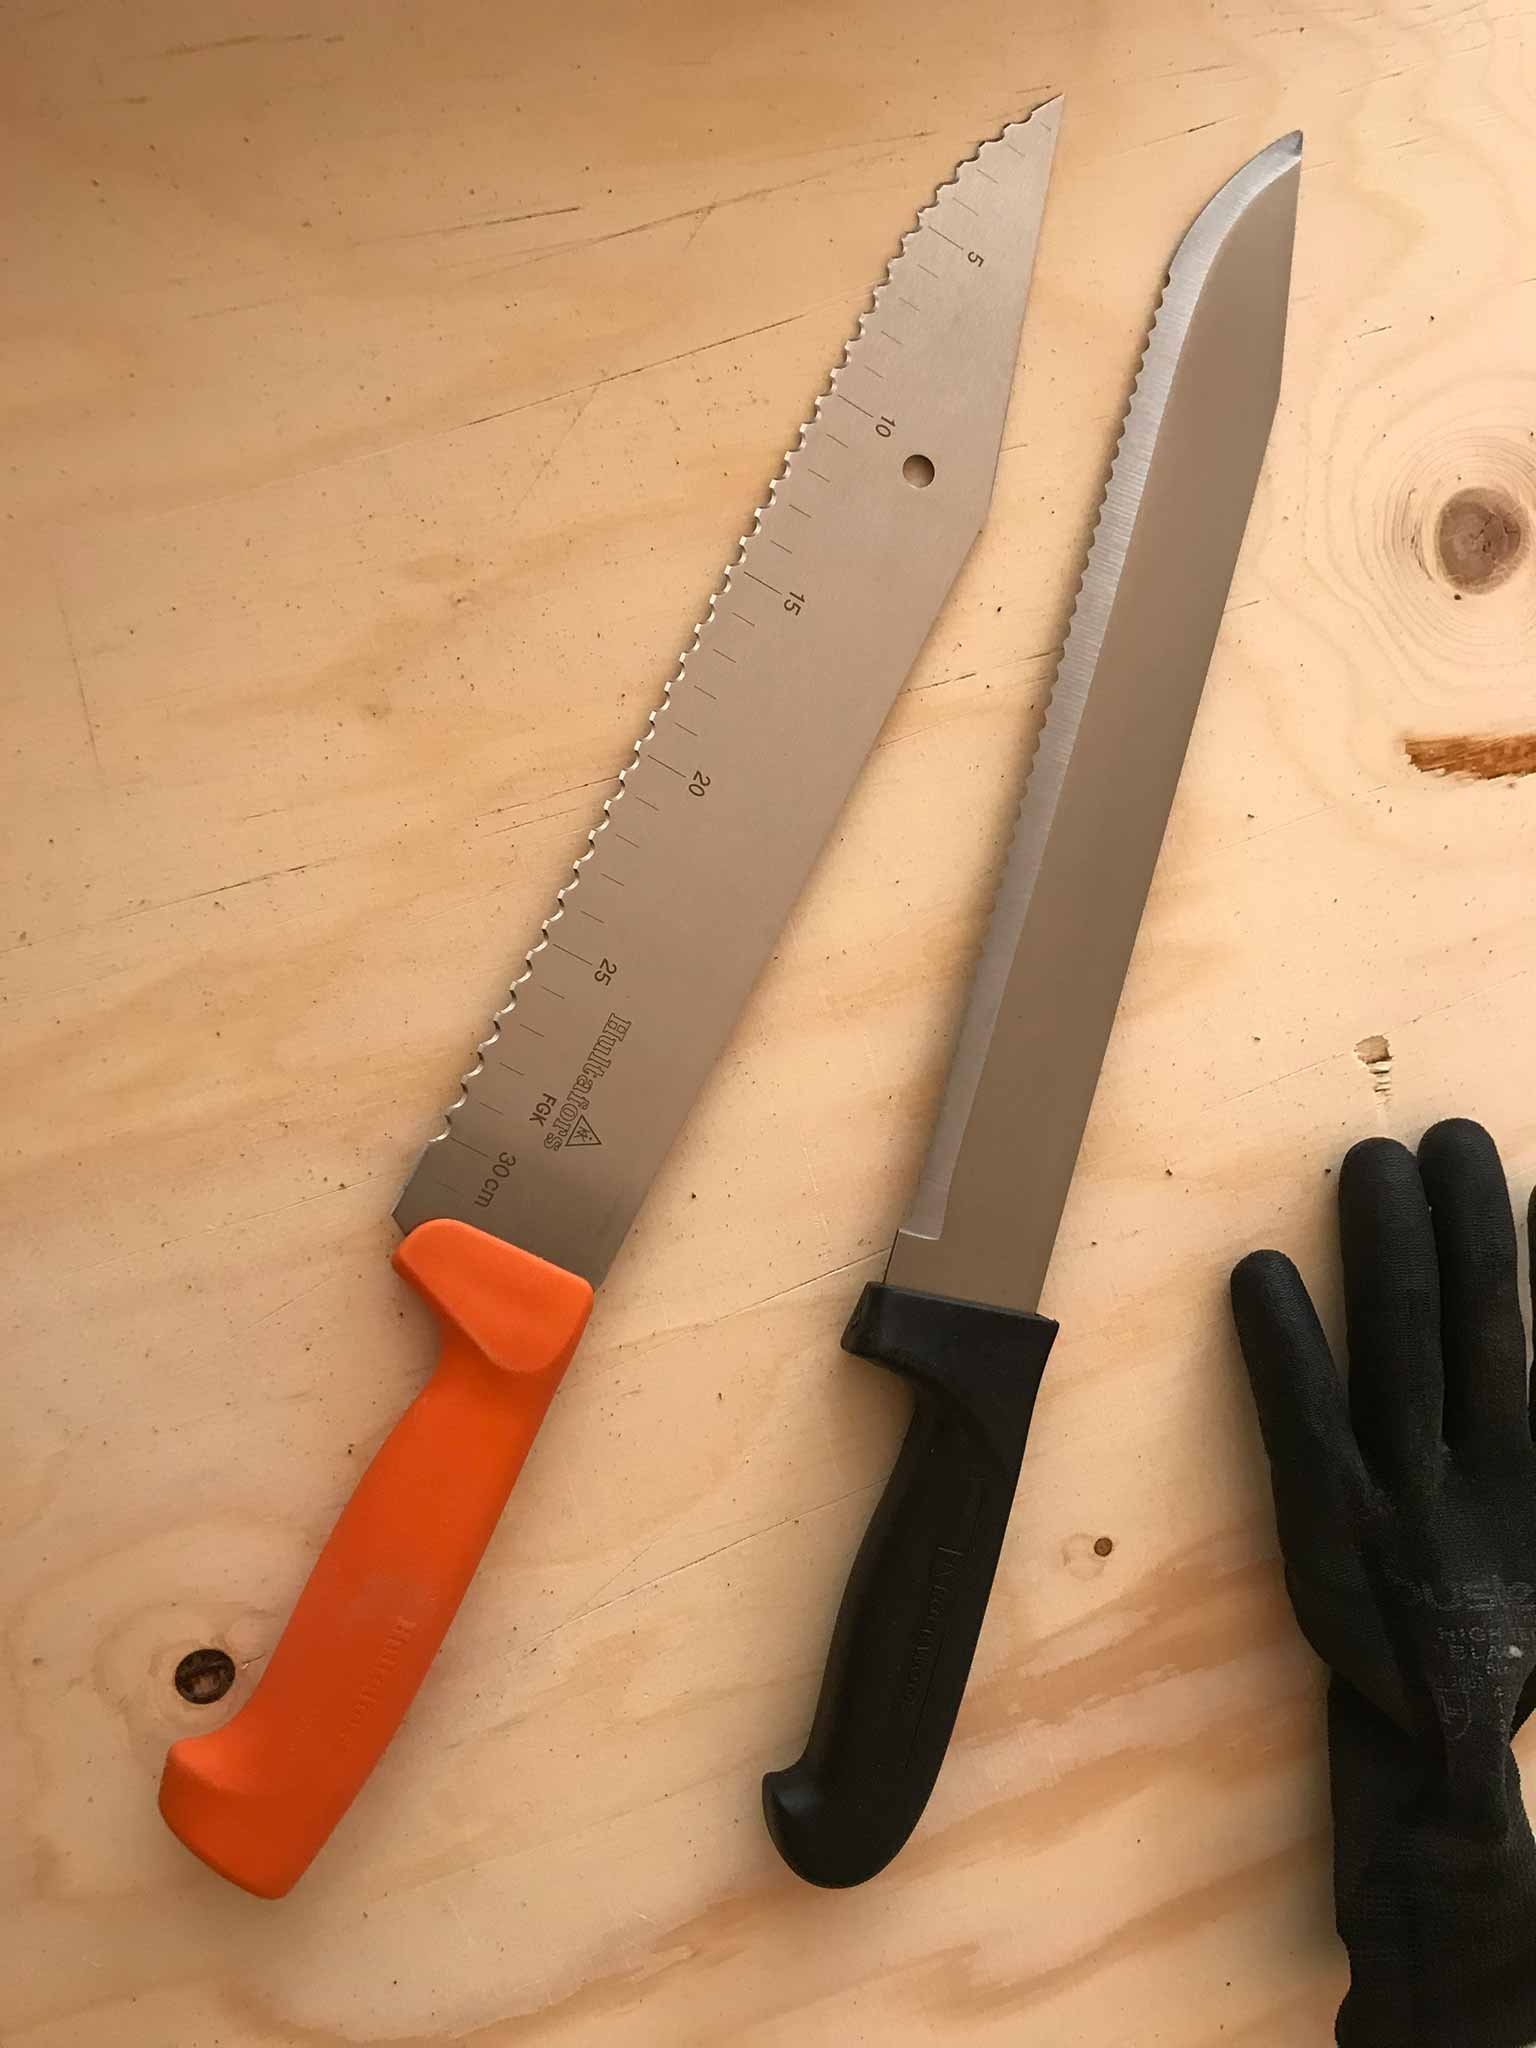
The tools with which you work are impressive. The orange (Hultafors) one is thinner and feels slightly flimsy. The black one (official Rockwool issue) is thicker but lacks the teeth at the curved tip. That makes it cut less well because when you cut on a table, the curved tip is what cuts the few millimeters that are on the table and the teeth cut a lot better than just a sharp edge. So, in case you ever need one: the orange one. We’re told the knifes can be sharpened with a right angled grider, but we have not been there yet.
With the isolation, a bunch of things are hidden ‘forever’ (or until we start working on the outside part of the roof). Ghostly faces, asbestos, electrical wires. A bit scary: “what if we need to get to it again?”
Once the two layers are on there, it will be finished with damp-proof membrane. Trying to get it around all the obstacles as good as possible…