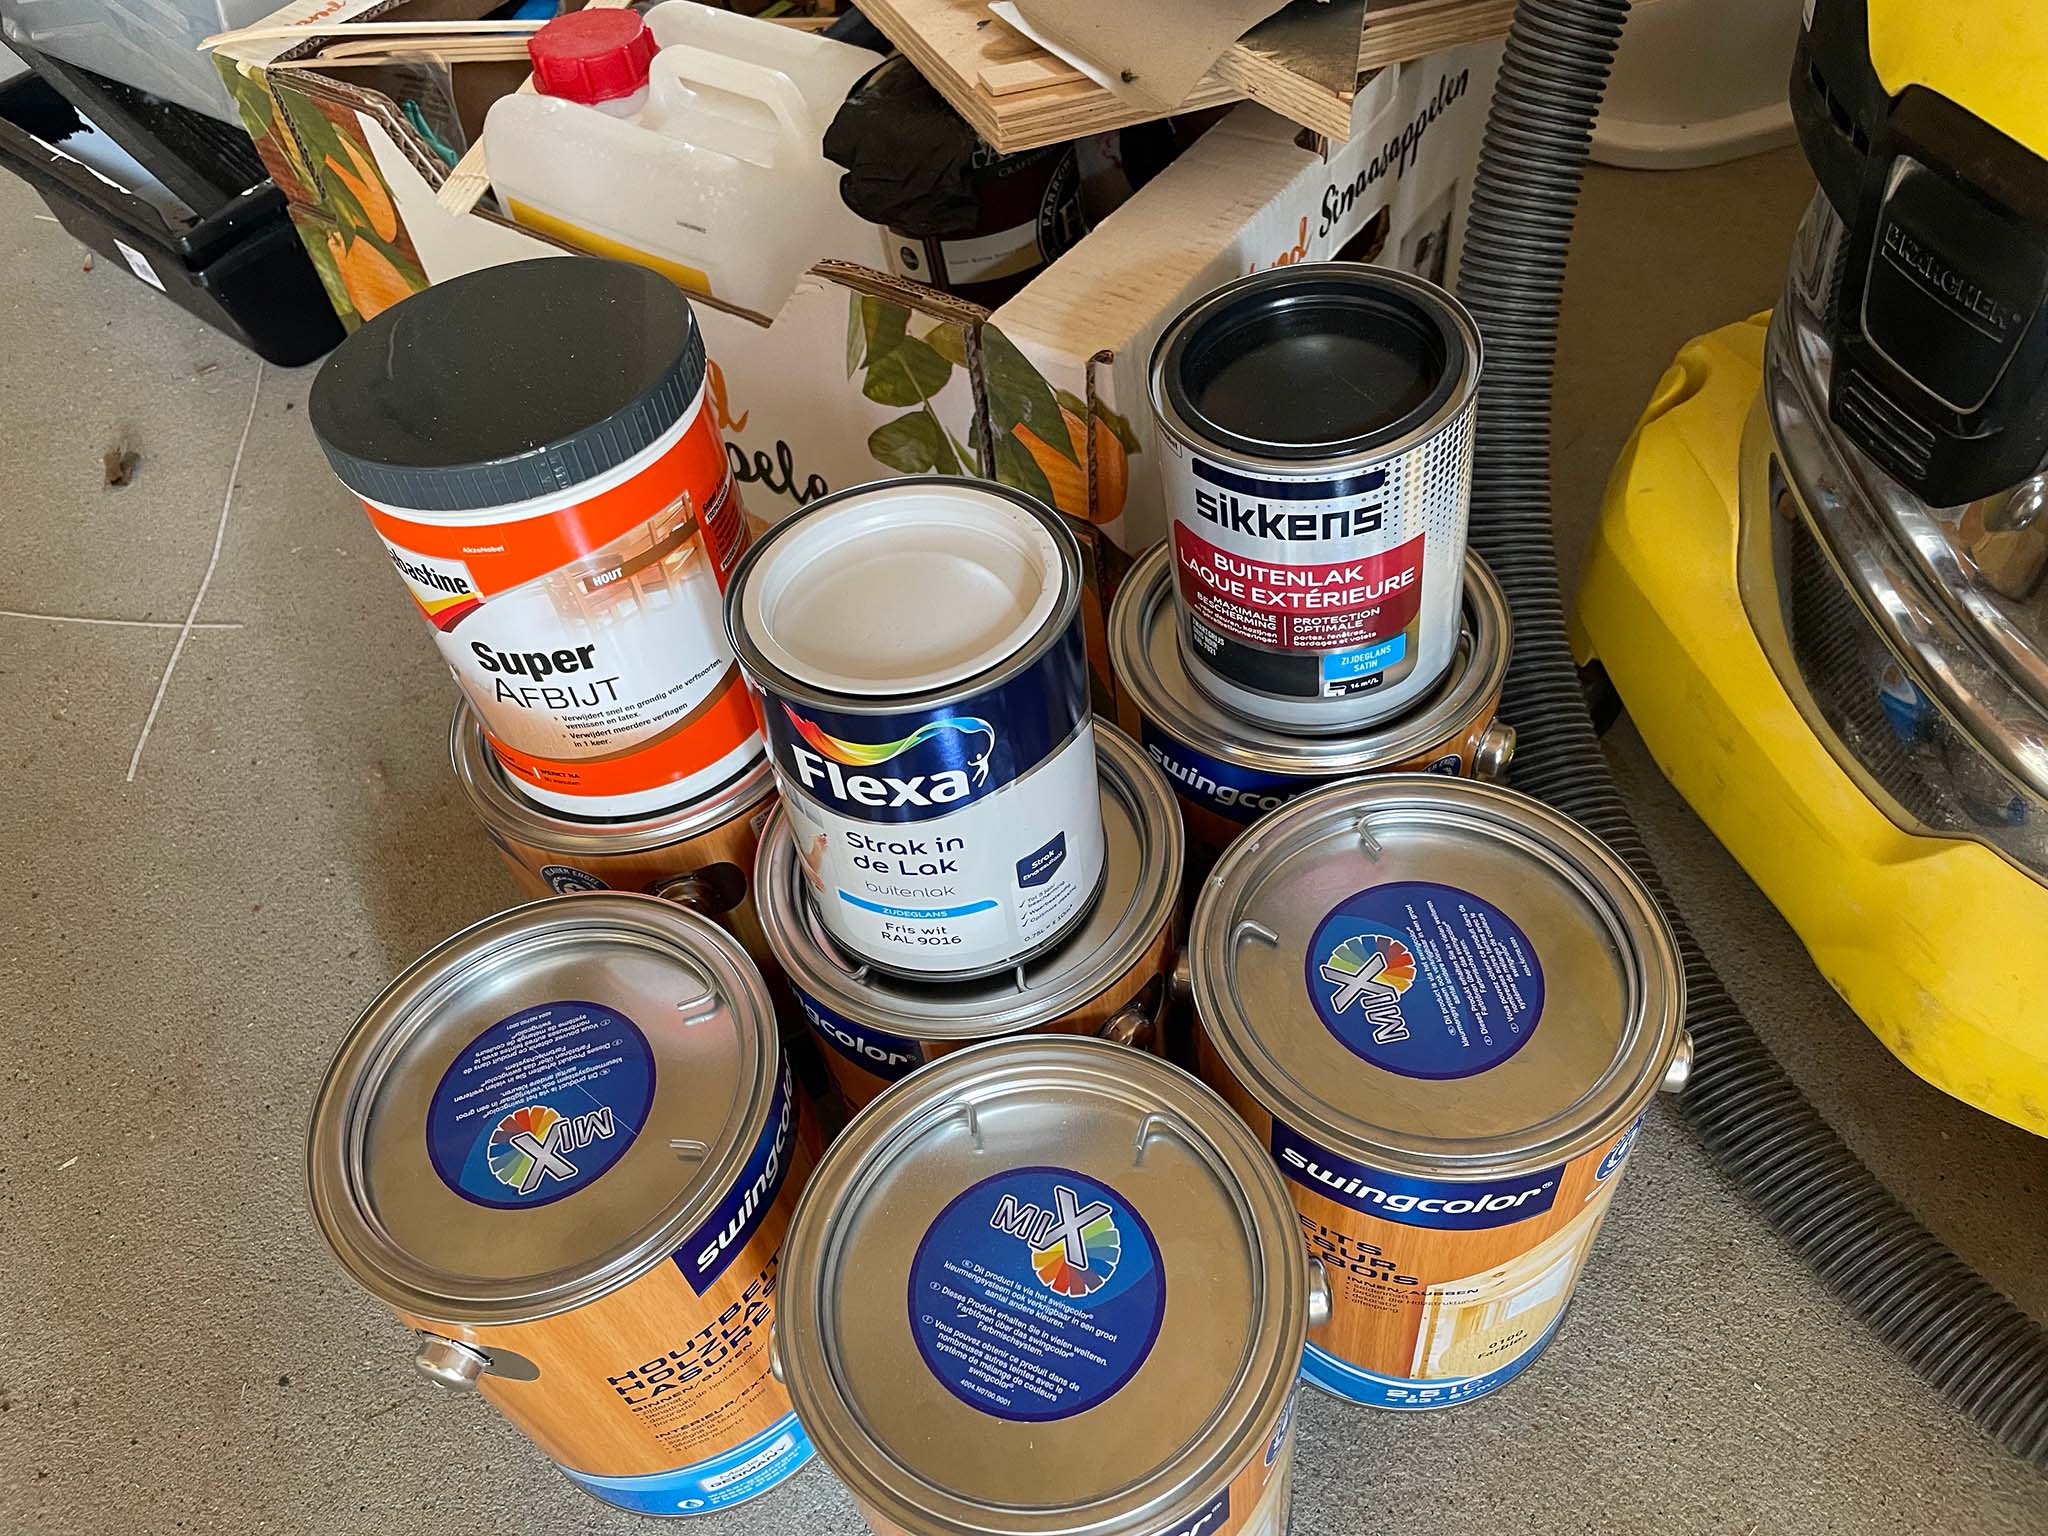
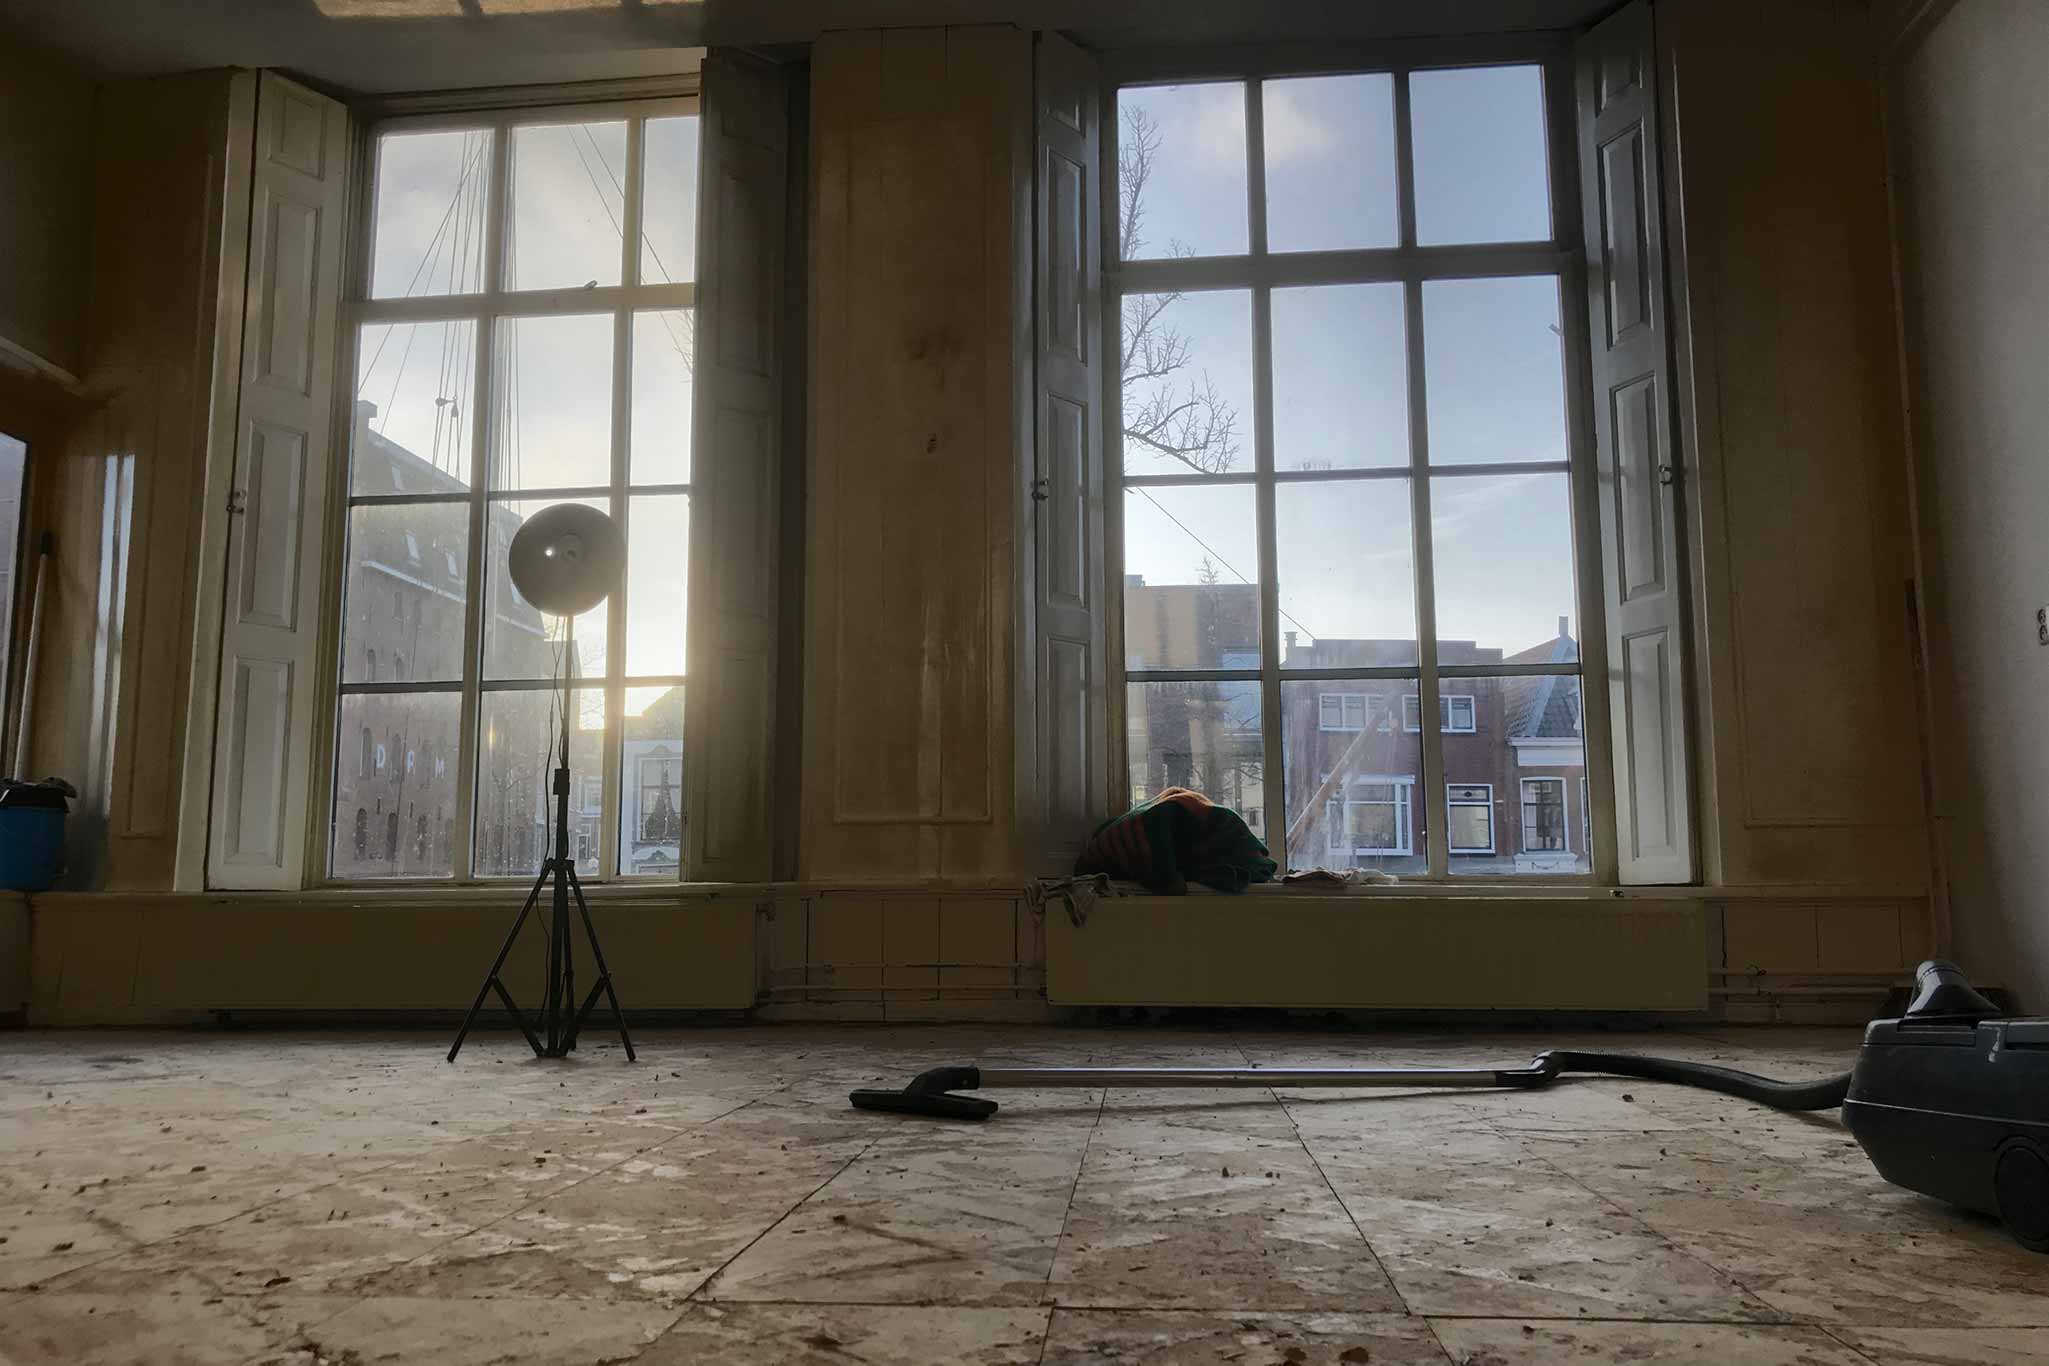
The ceiling needed staining. In total near 250^m and three layers. It took about 12(?) cans. Staining-sanding-staining-sanding-staining. Pfffft…

Renovating a home
The ceiling needed staining. In total near 250^m and three layers. It took about 12(?) cans. Staining-sanding-staining-sanding-staining. Pfffft…
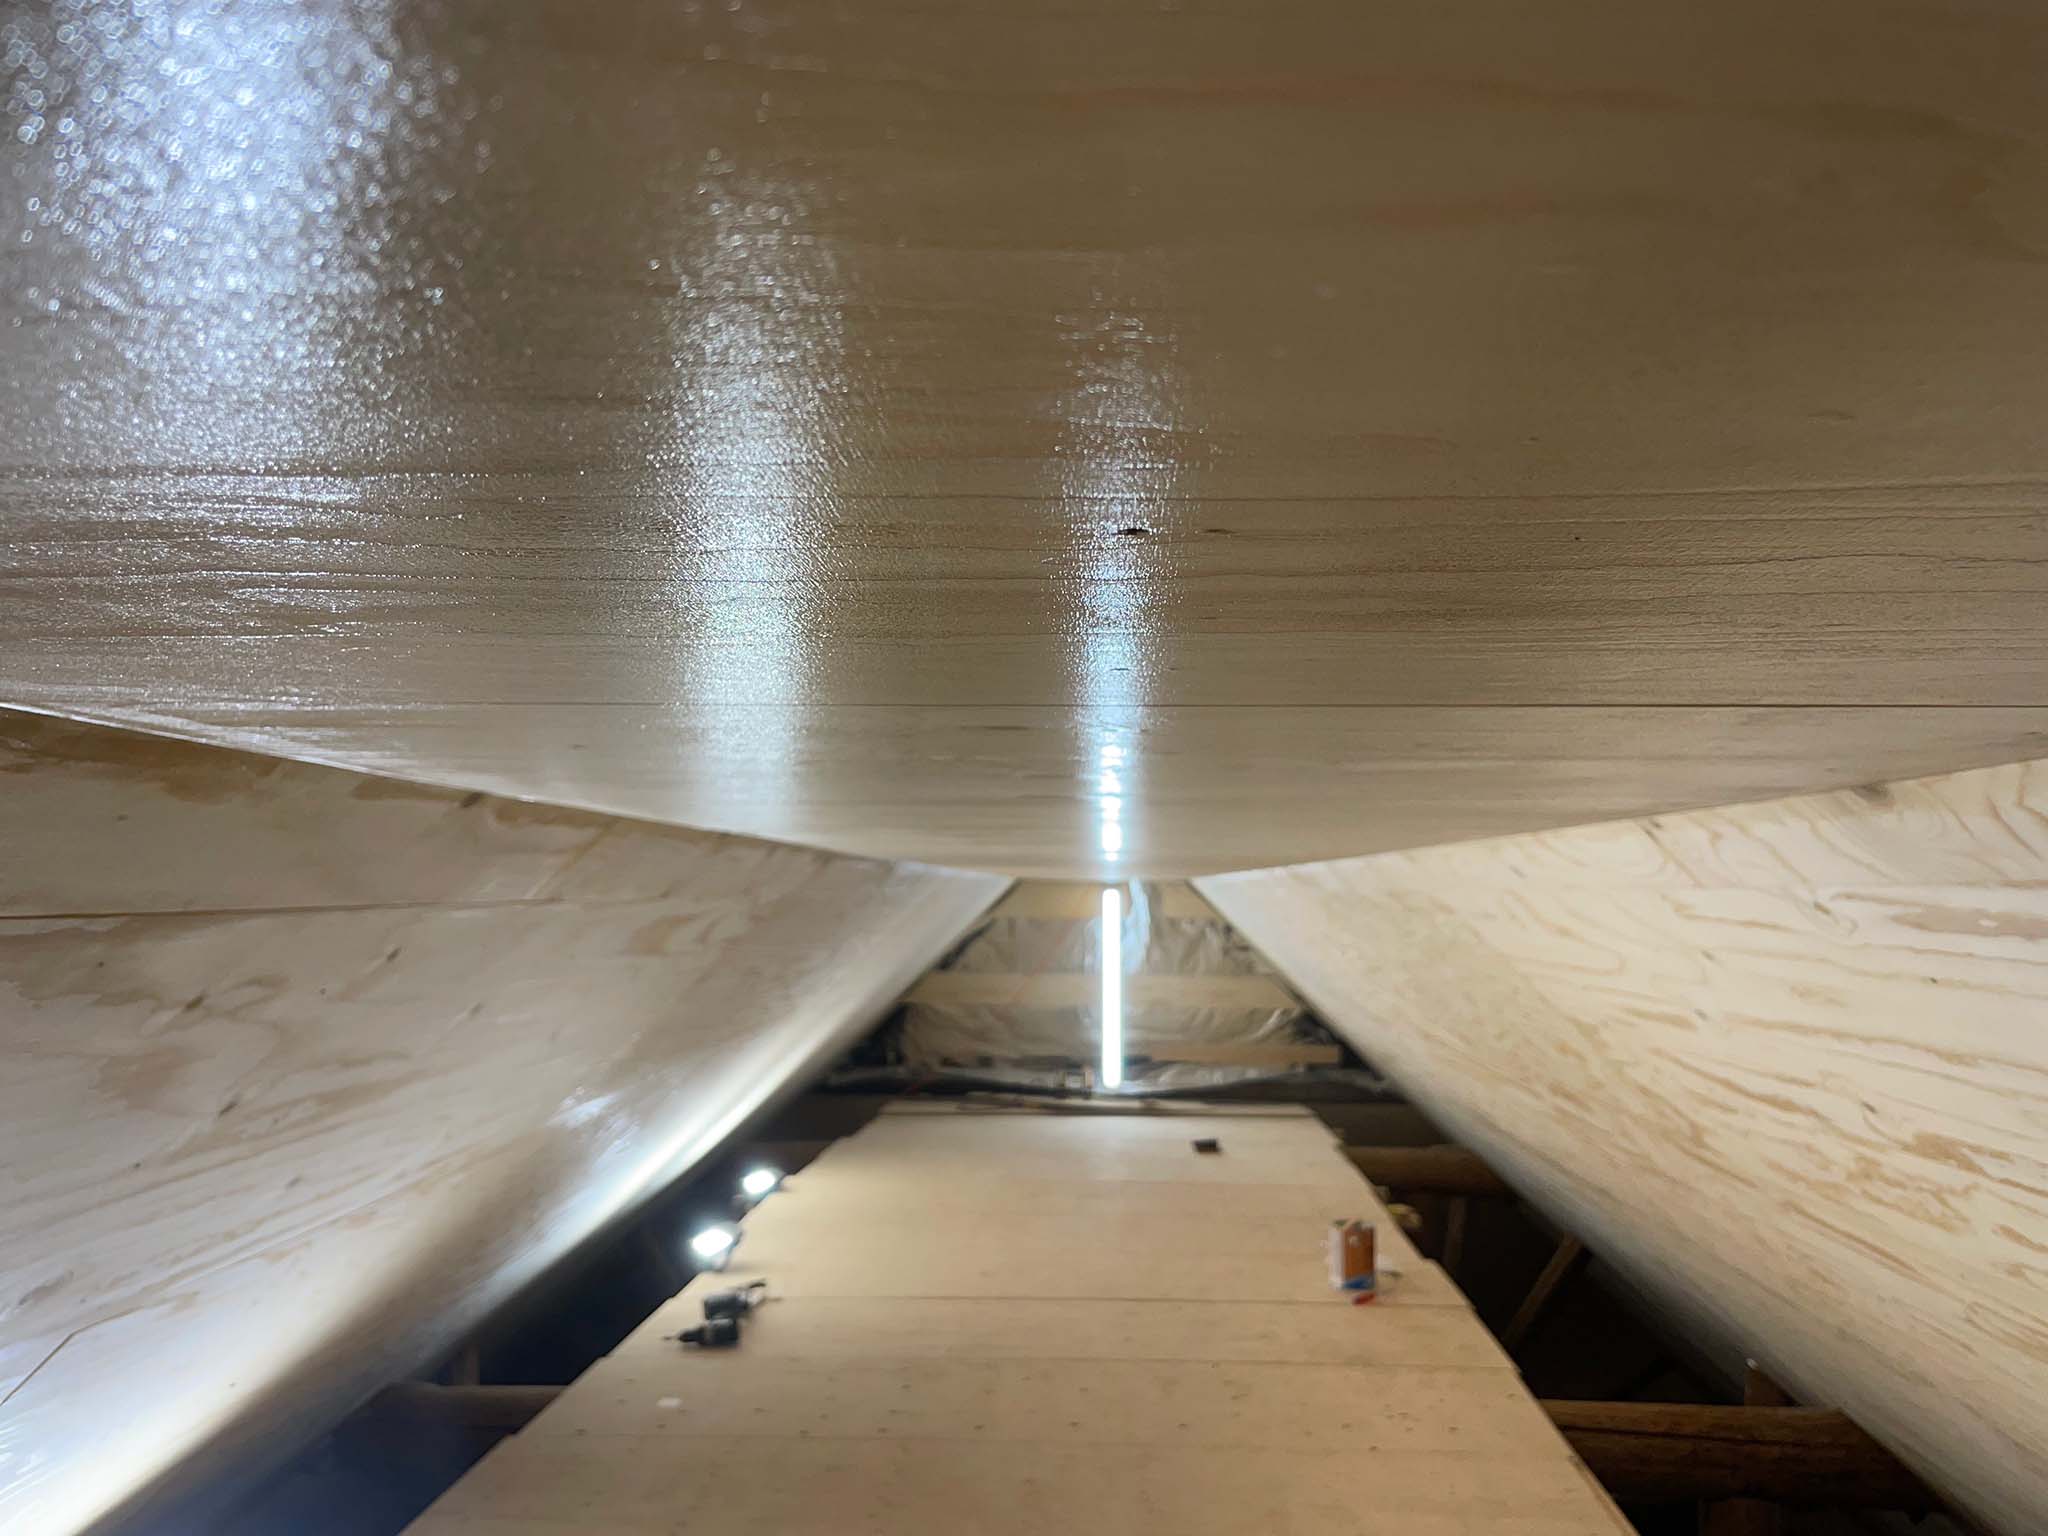
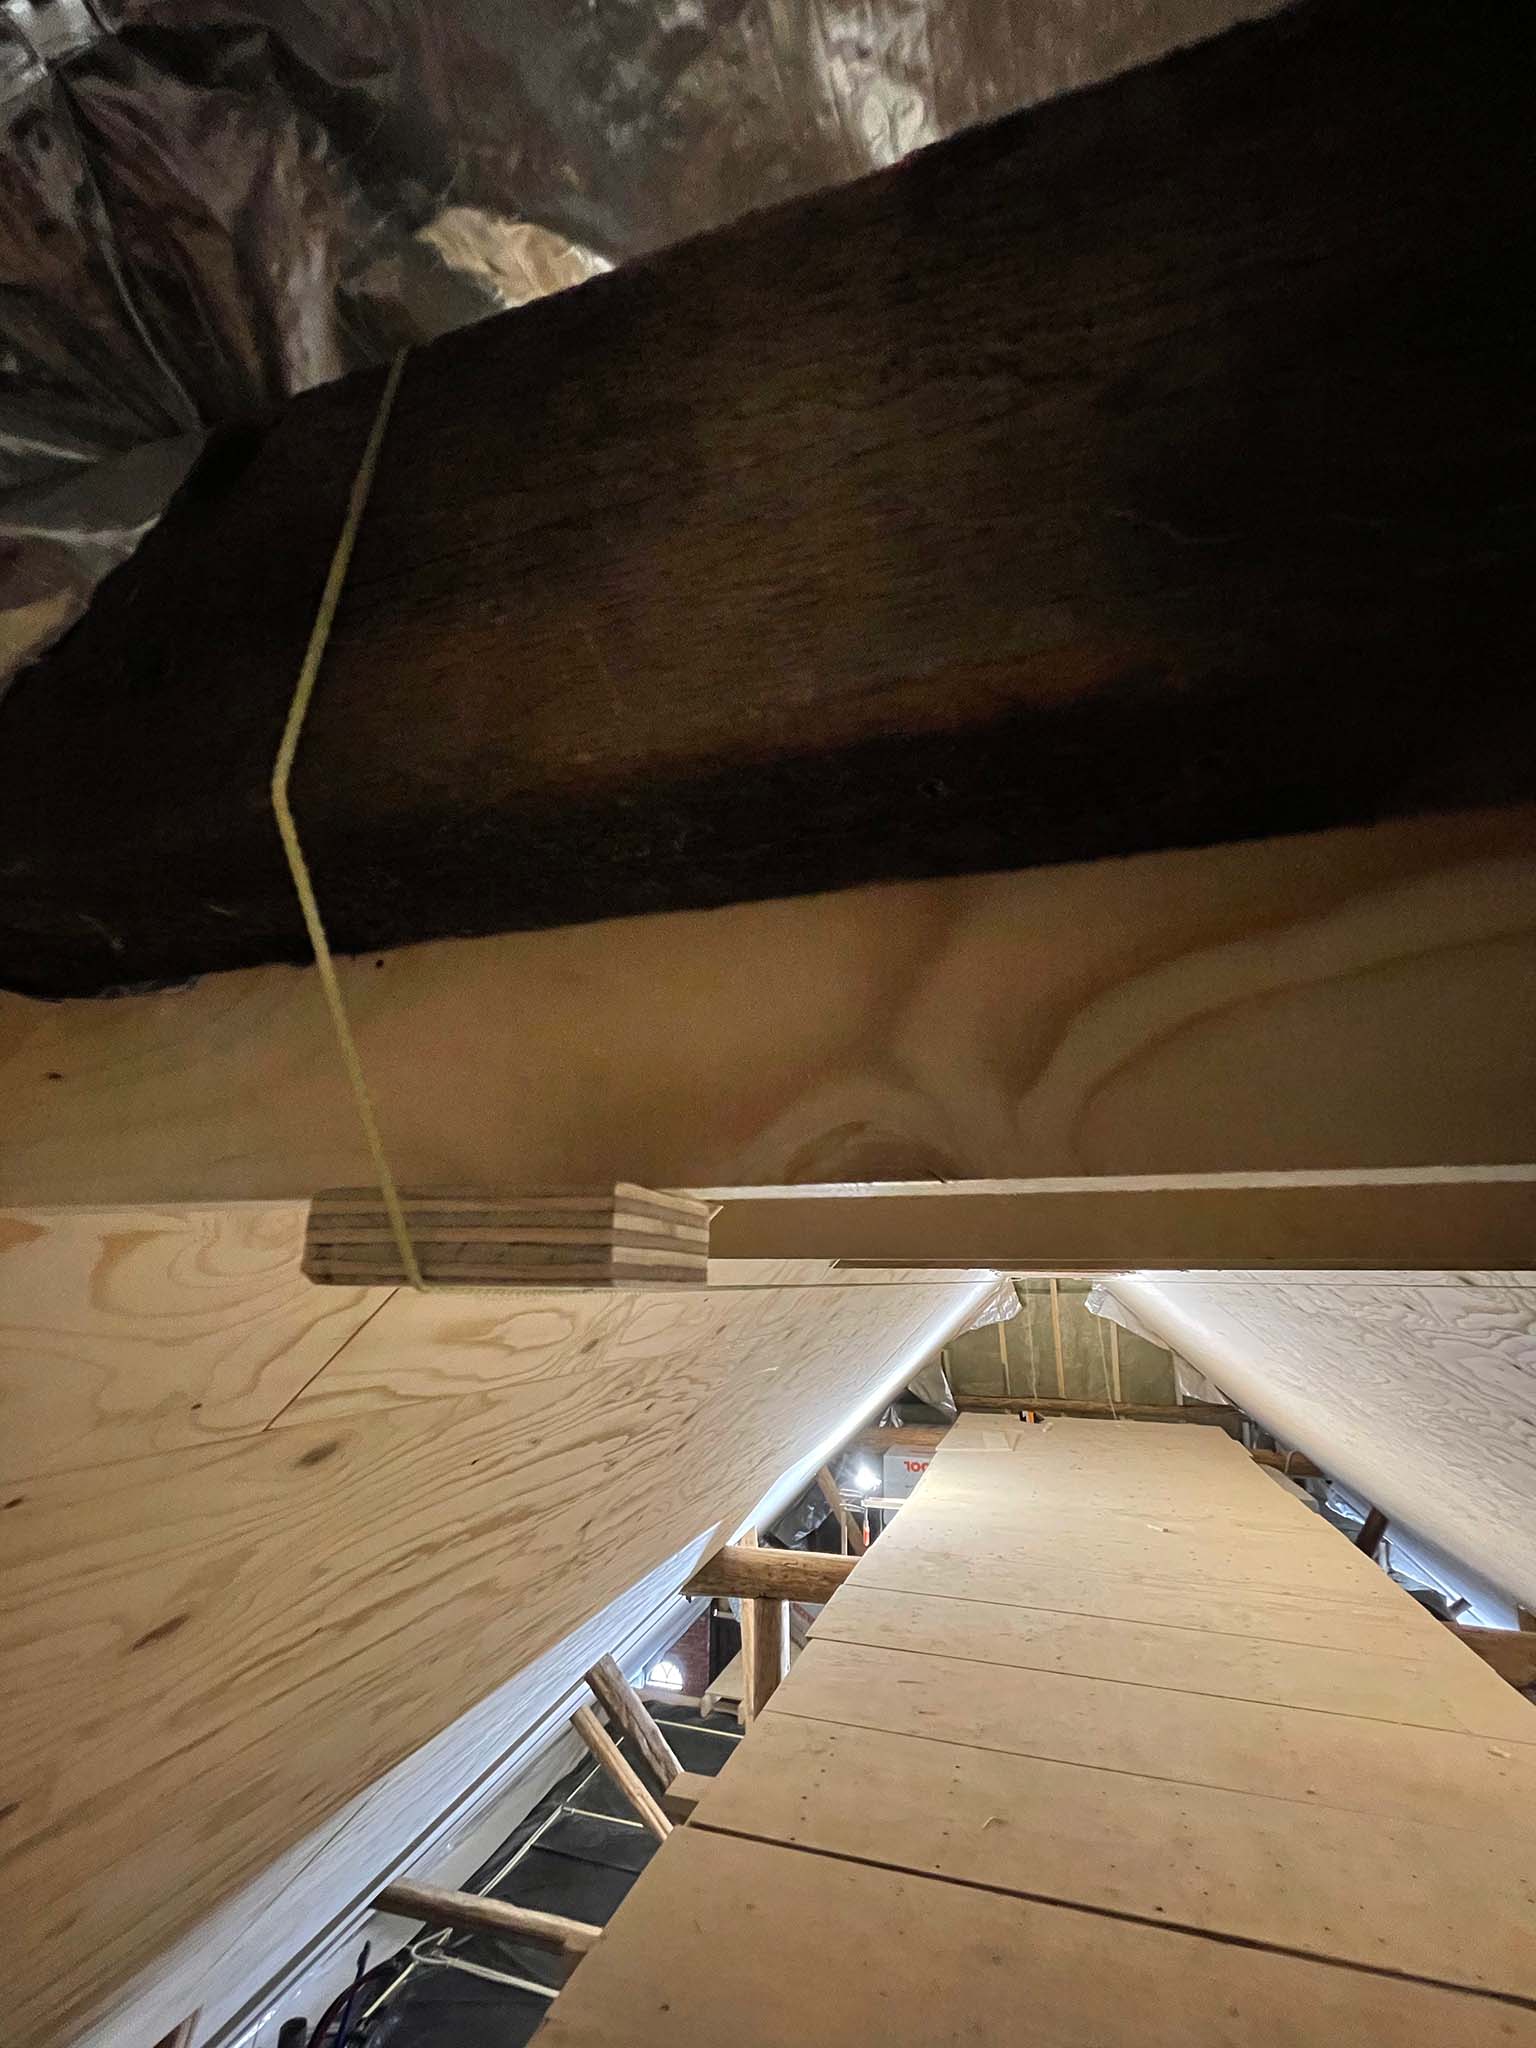
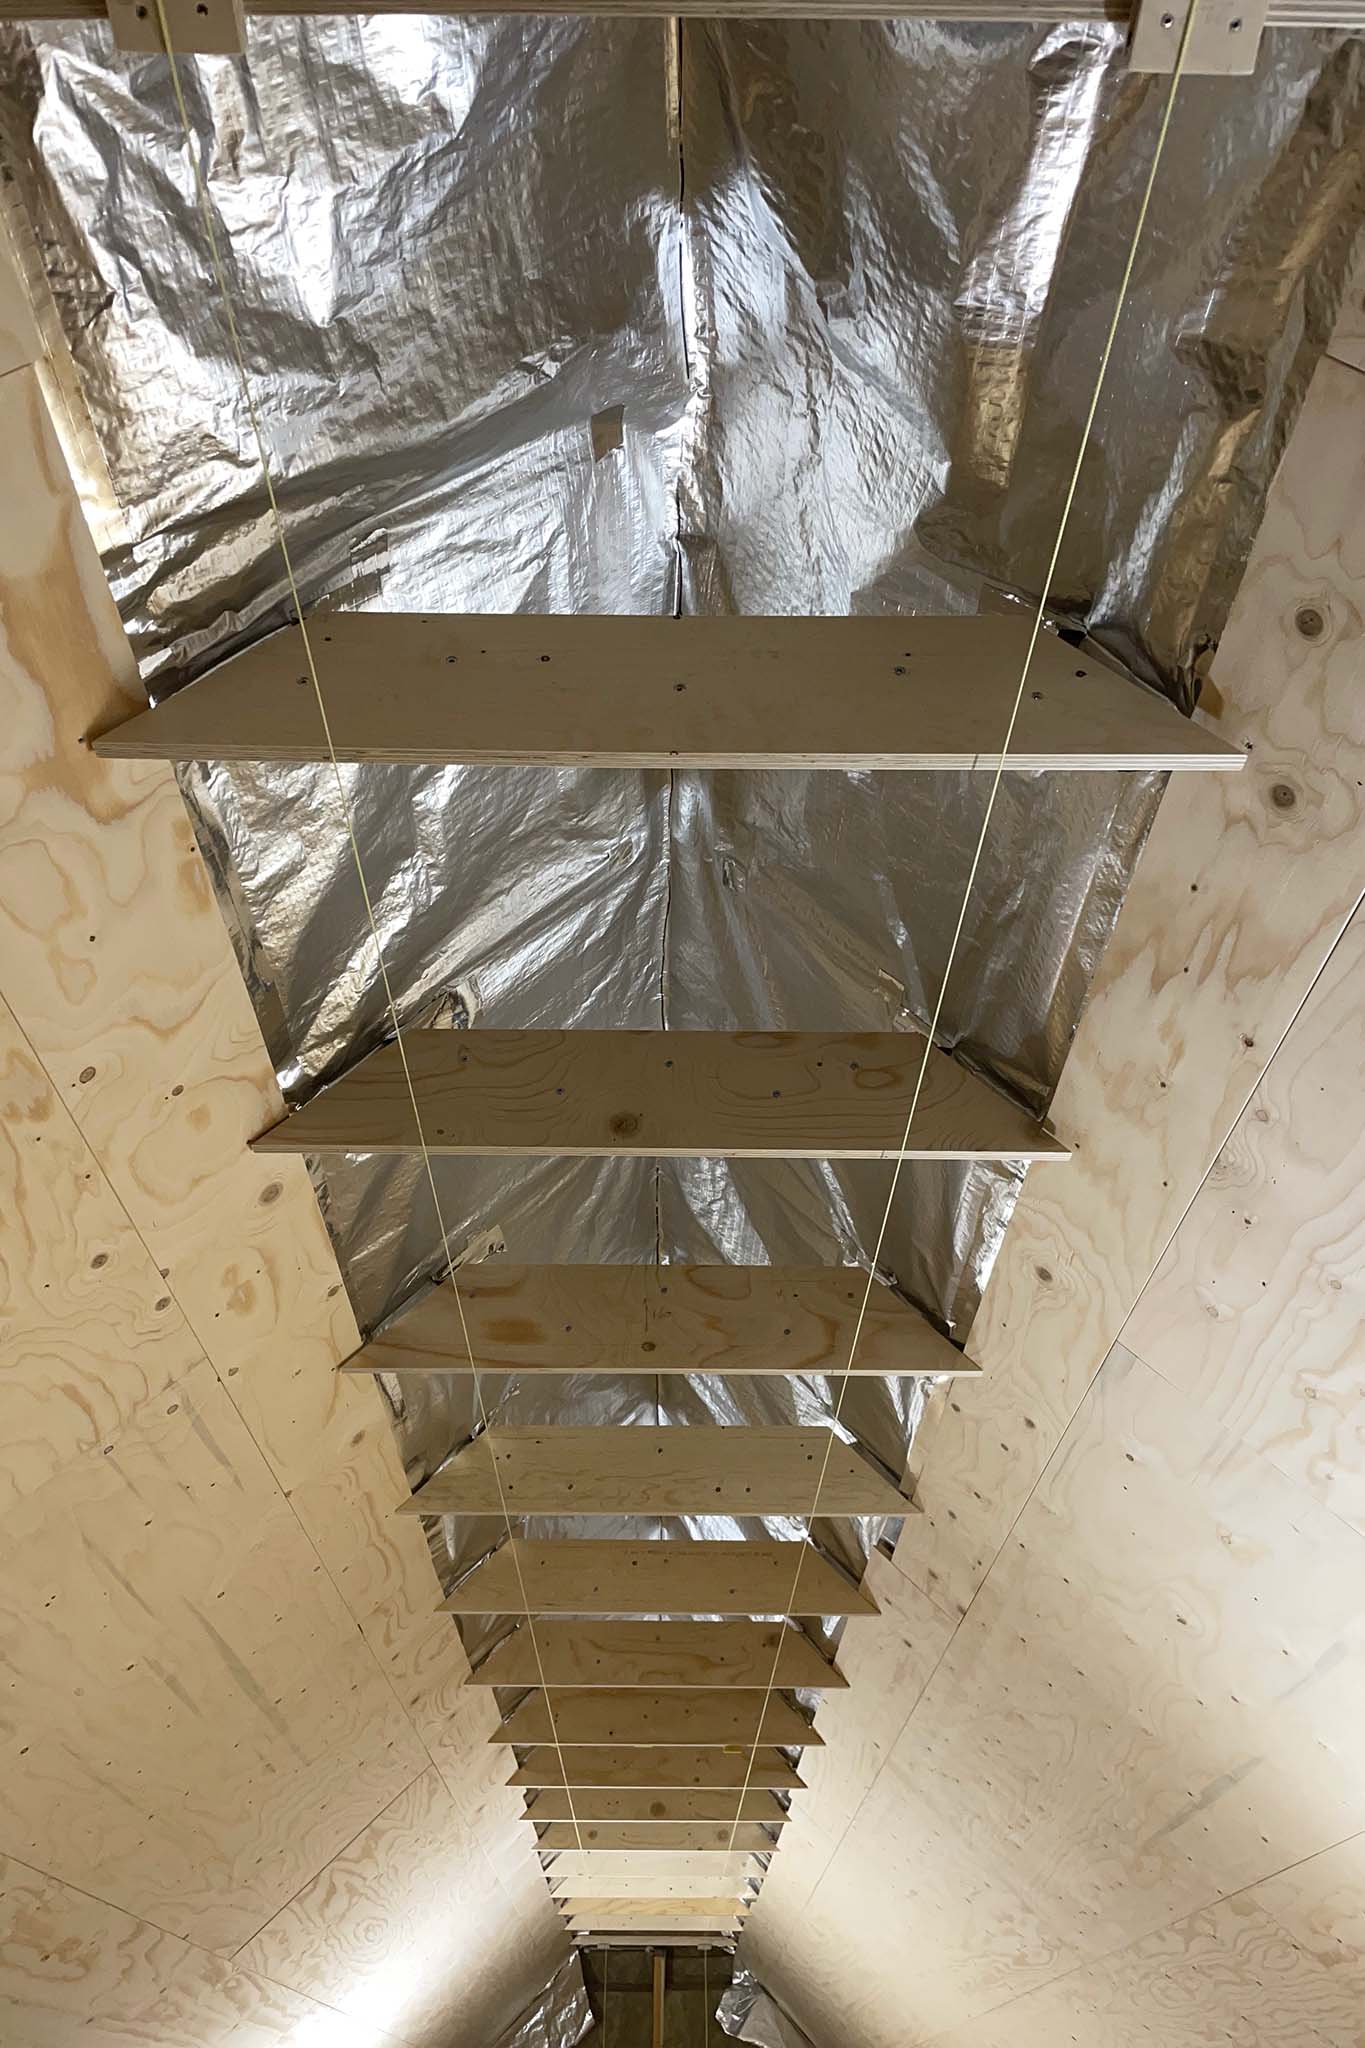
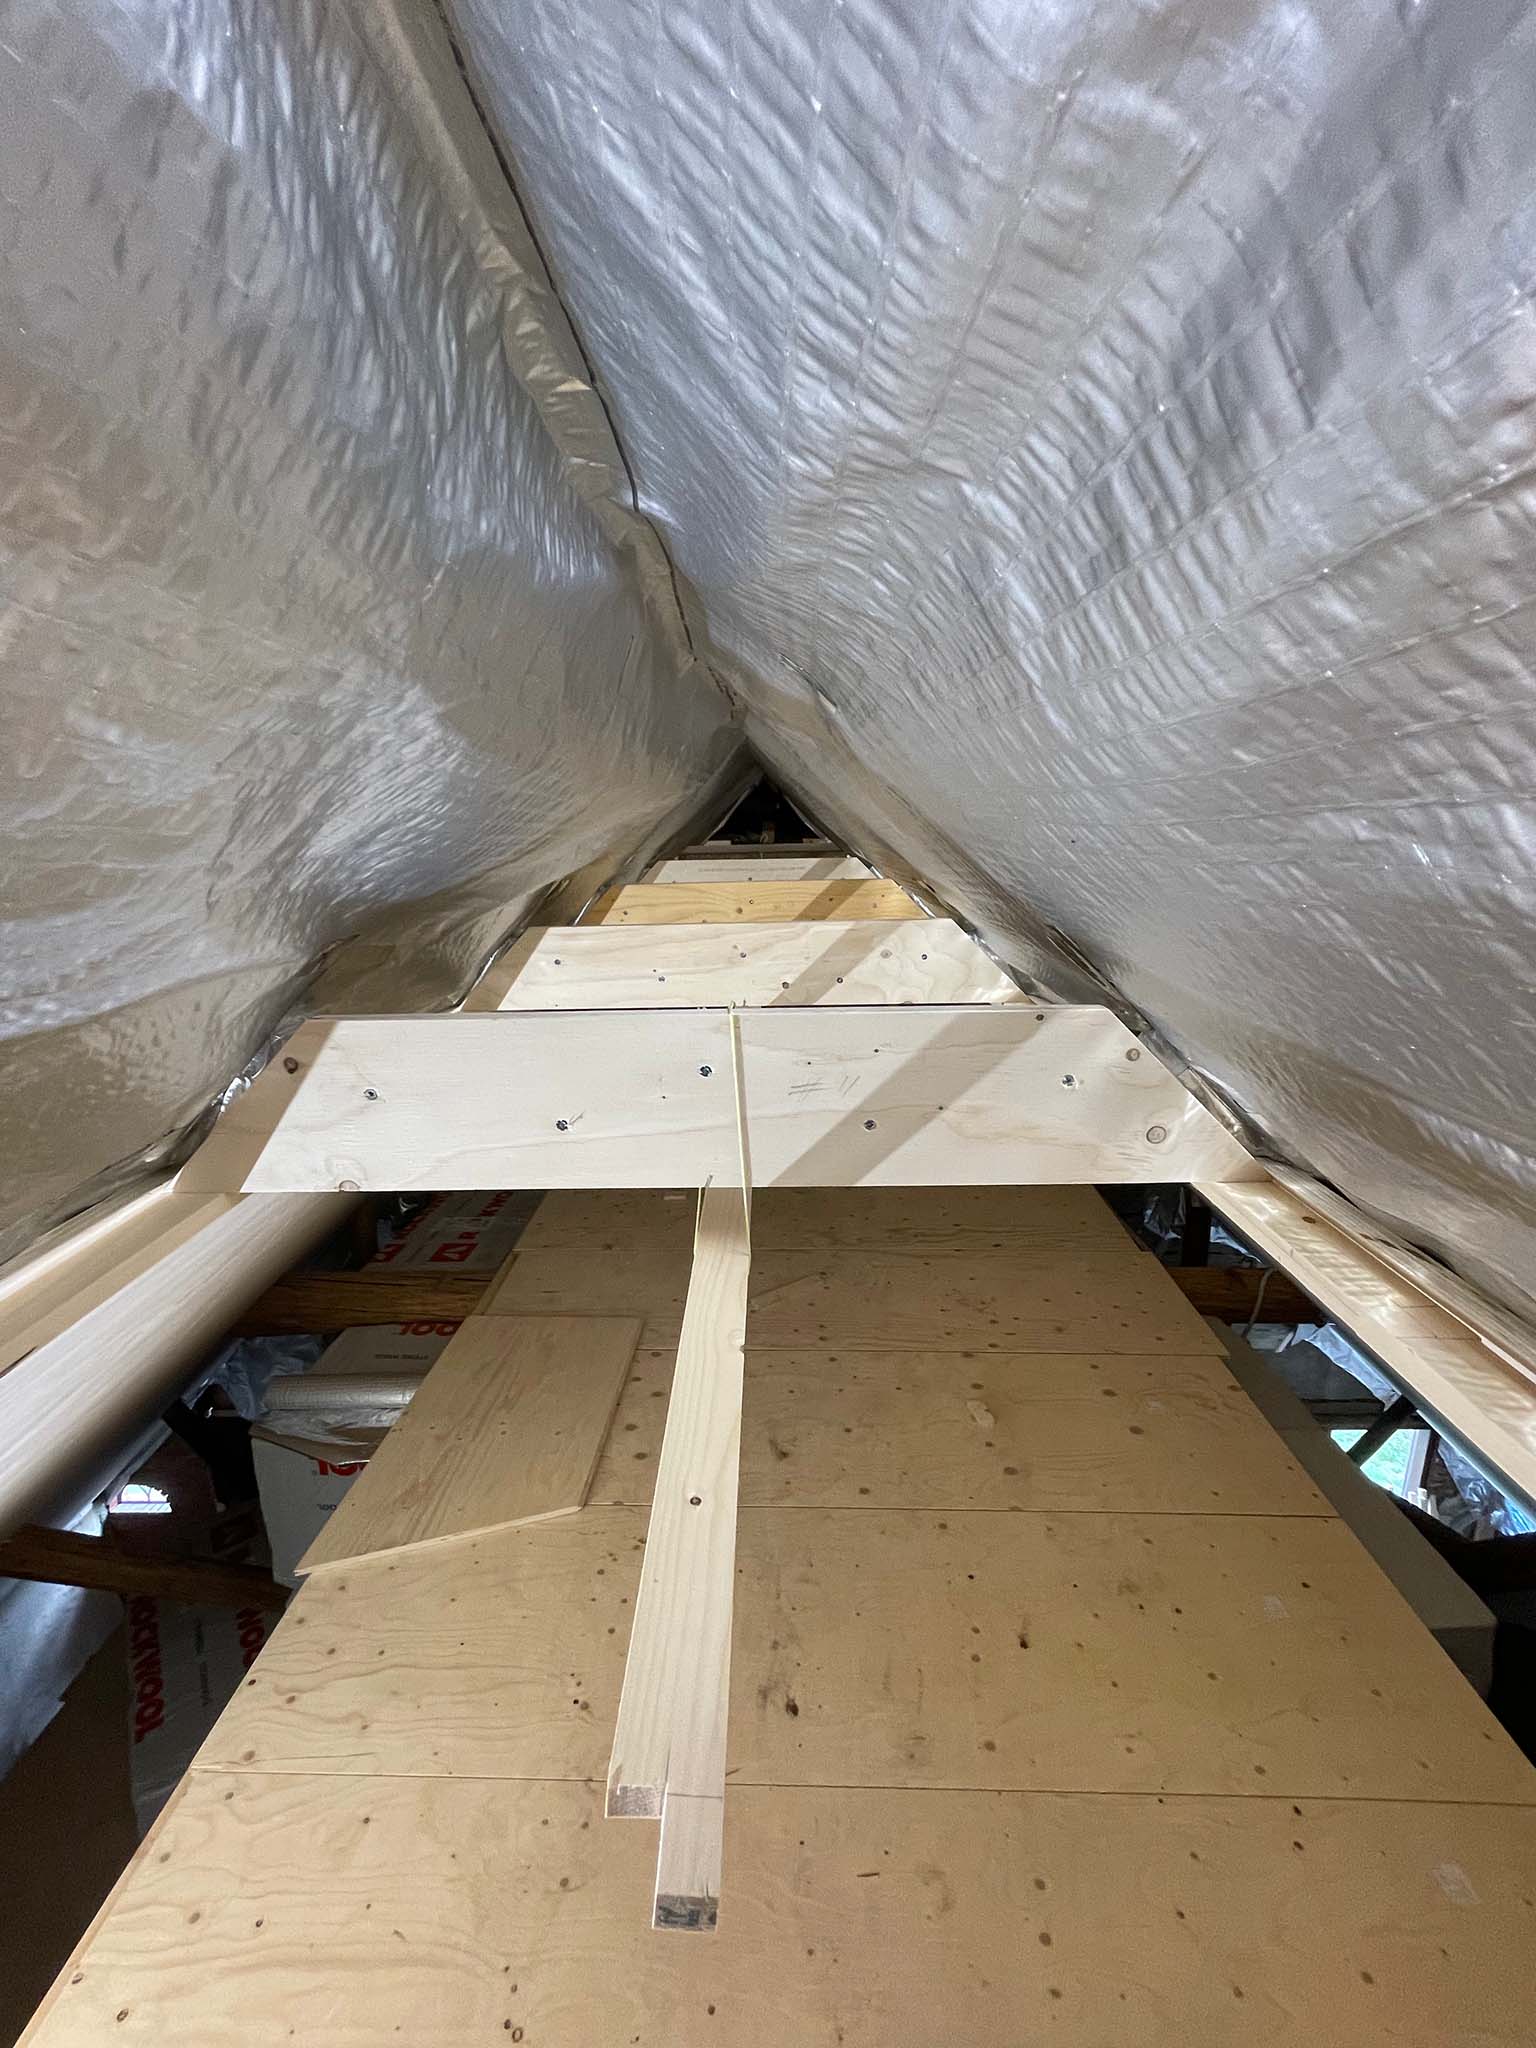
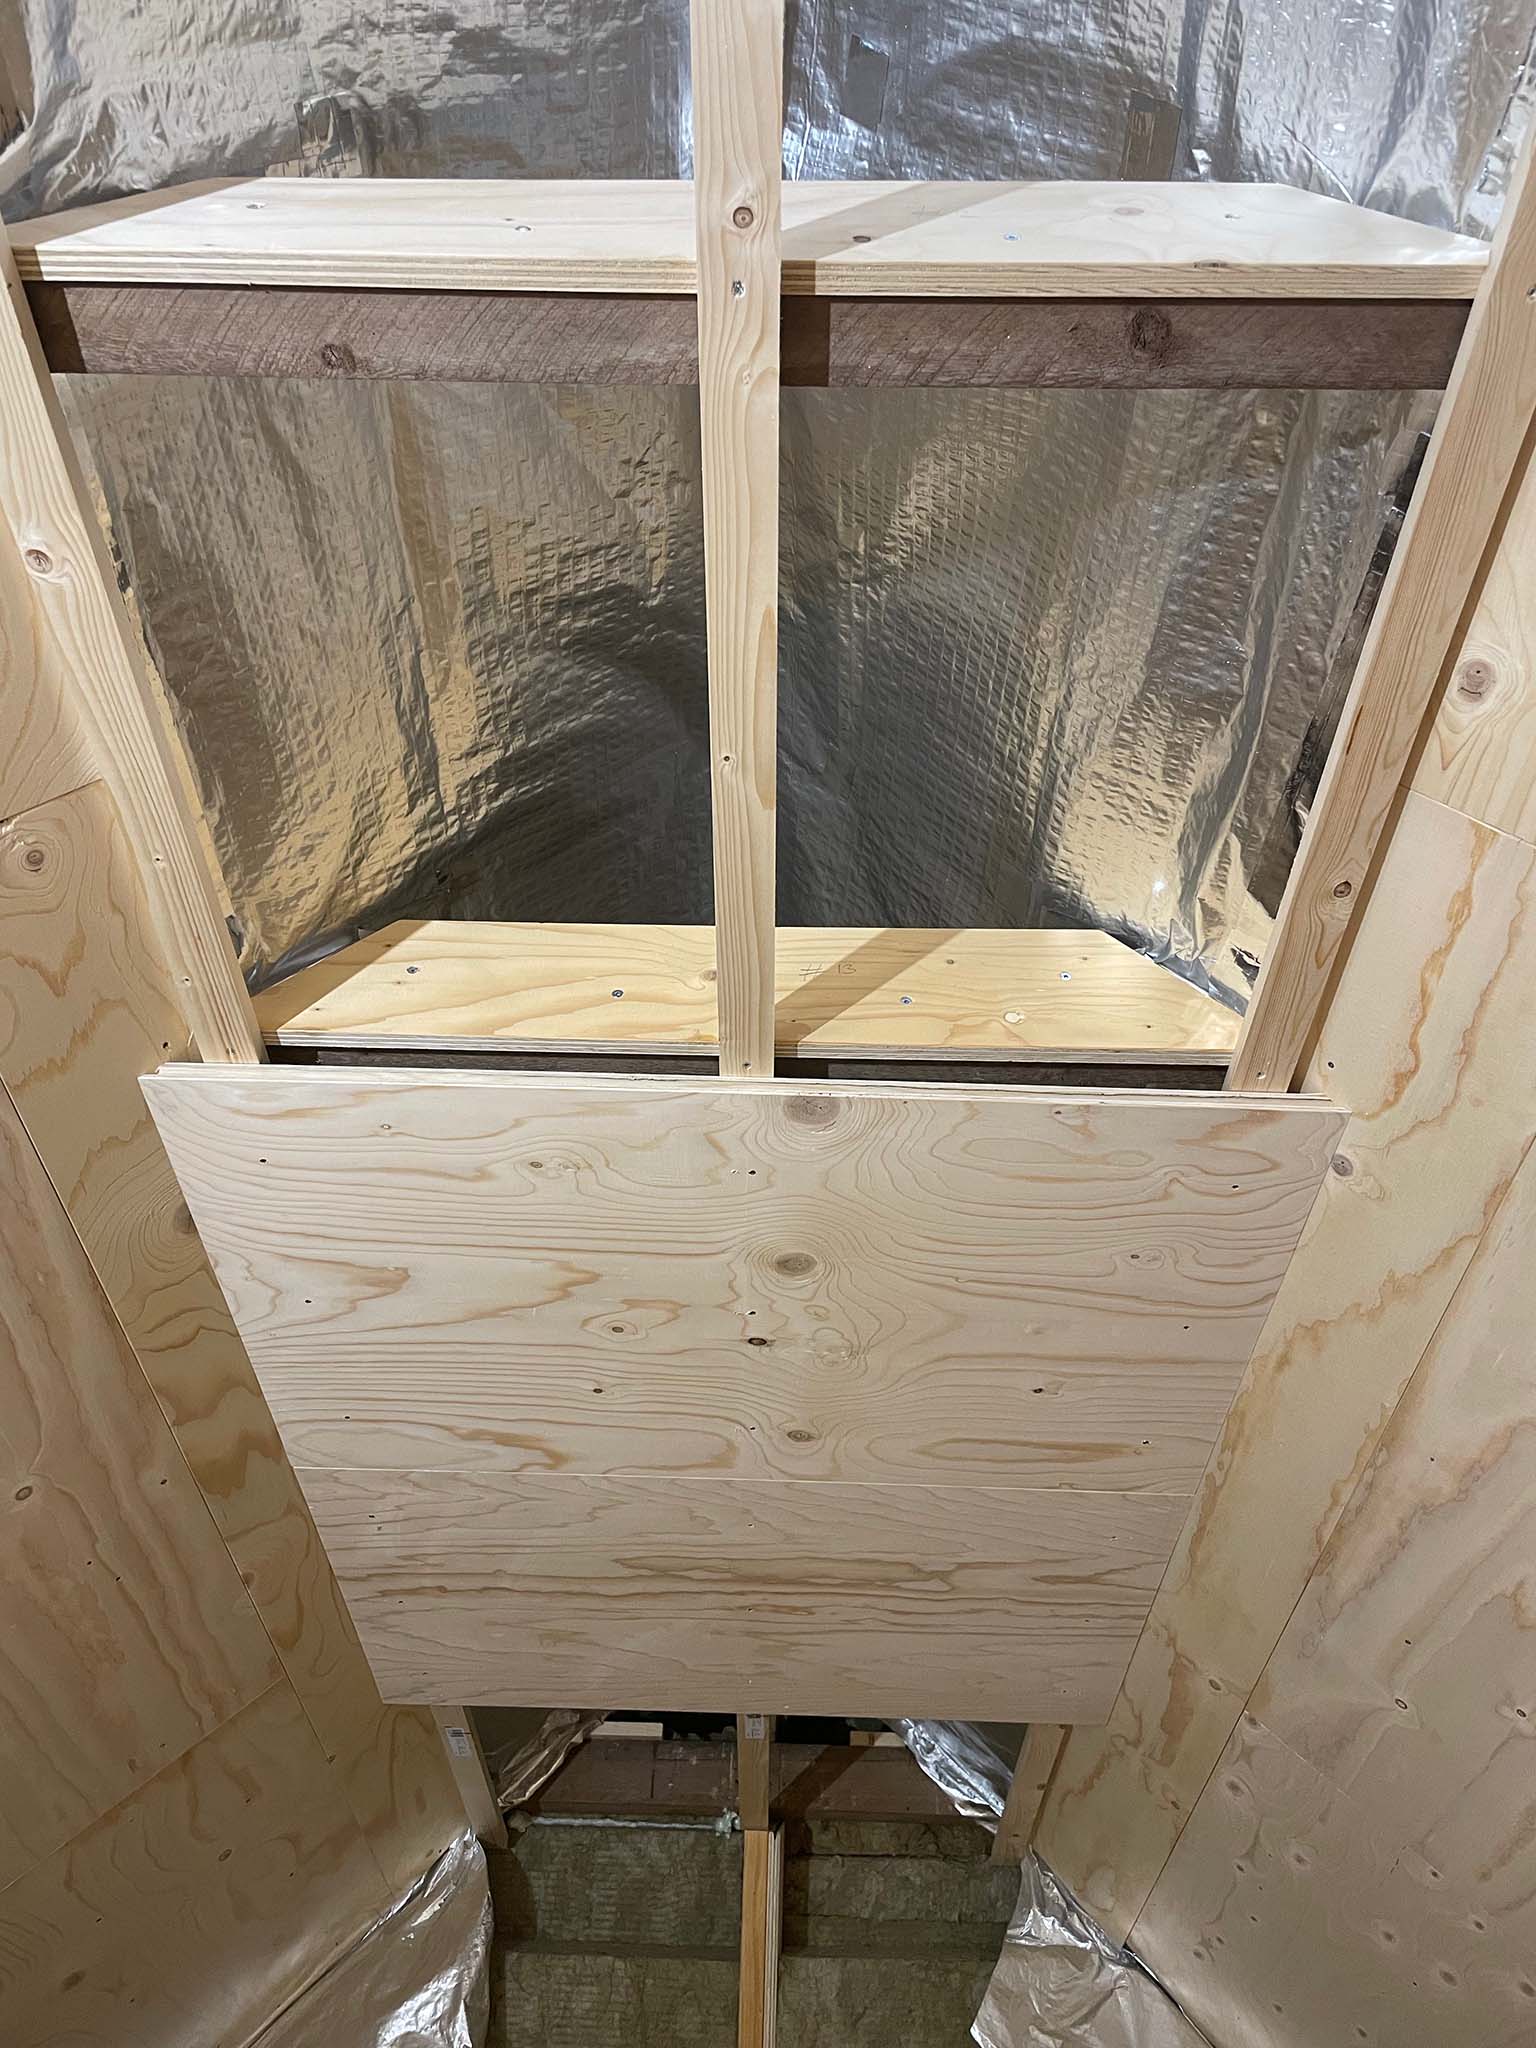
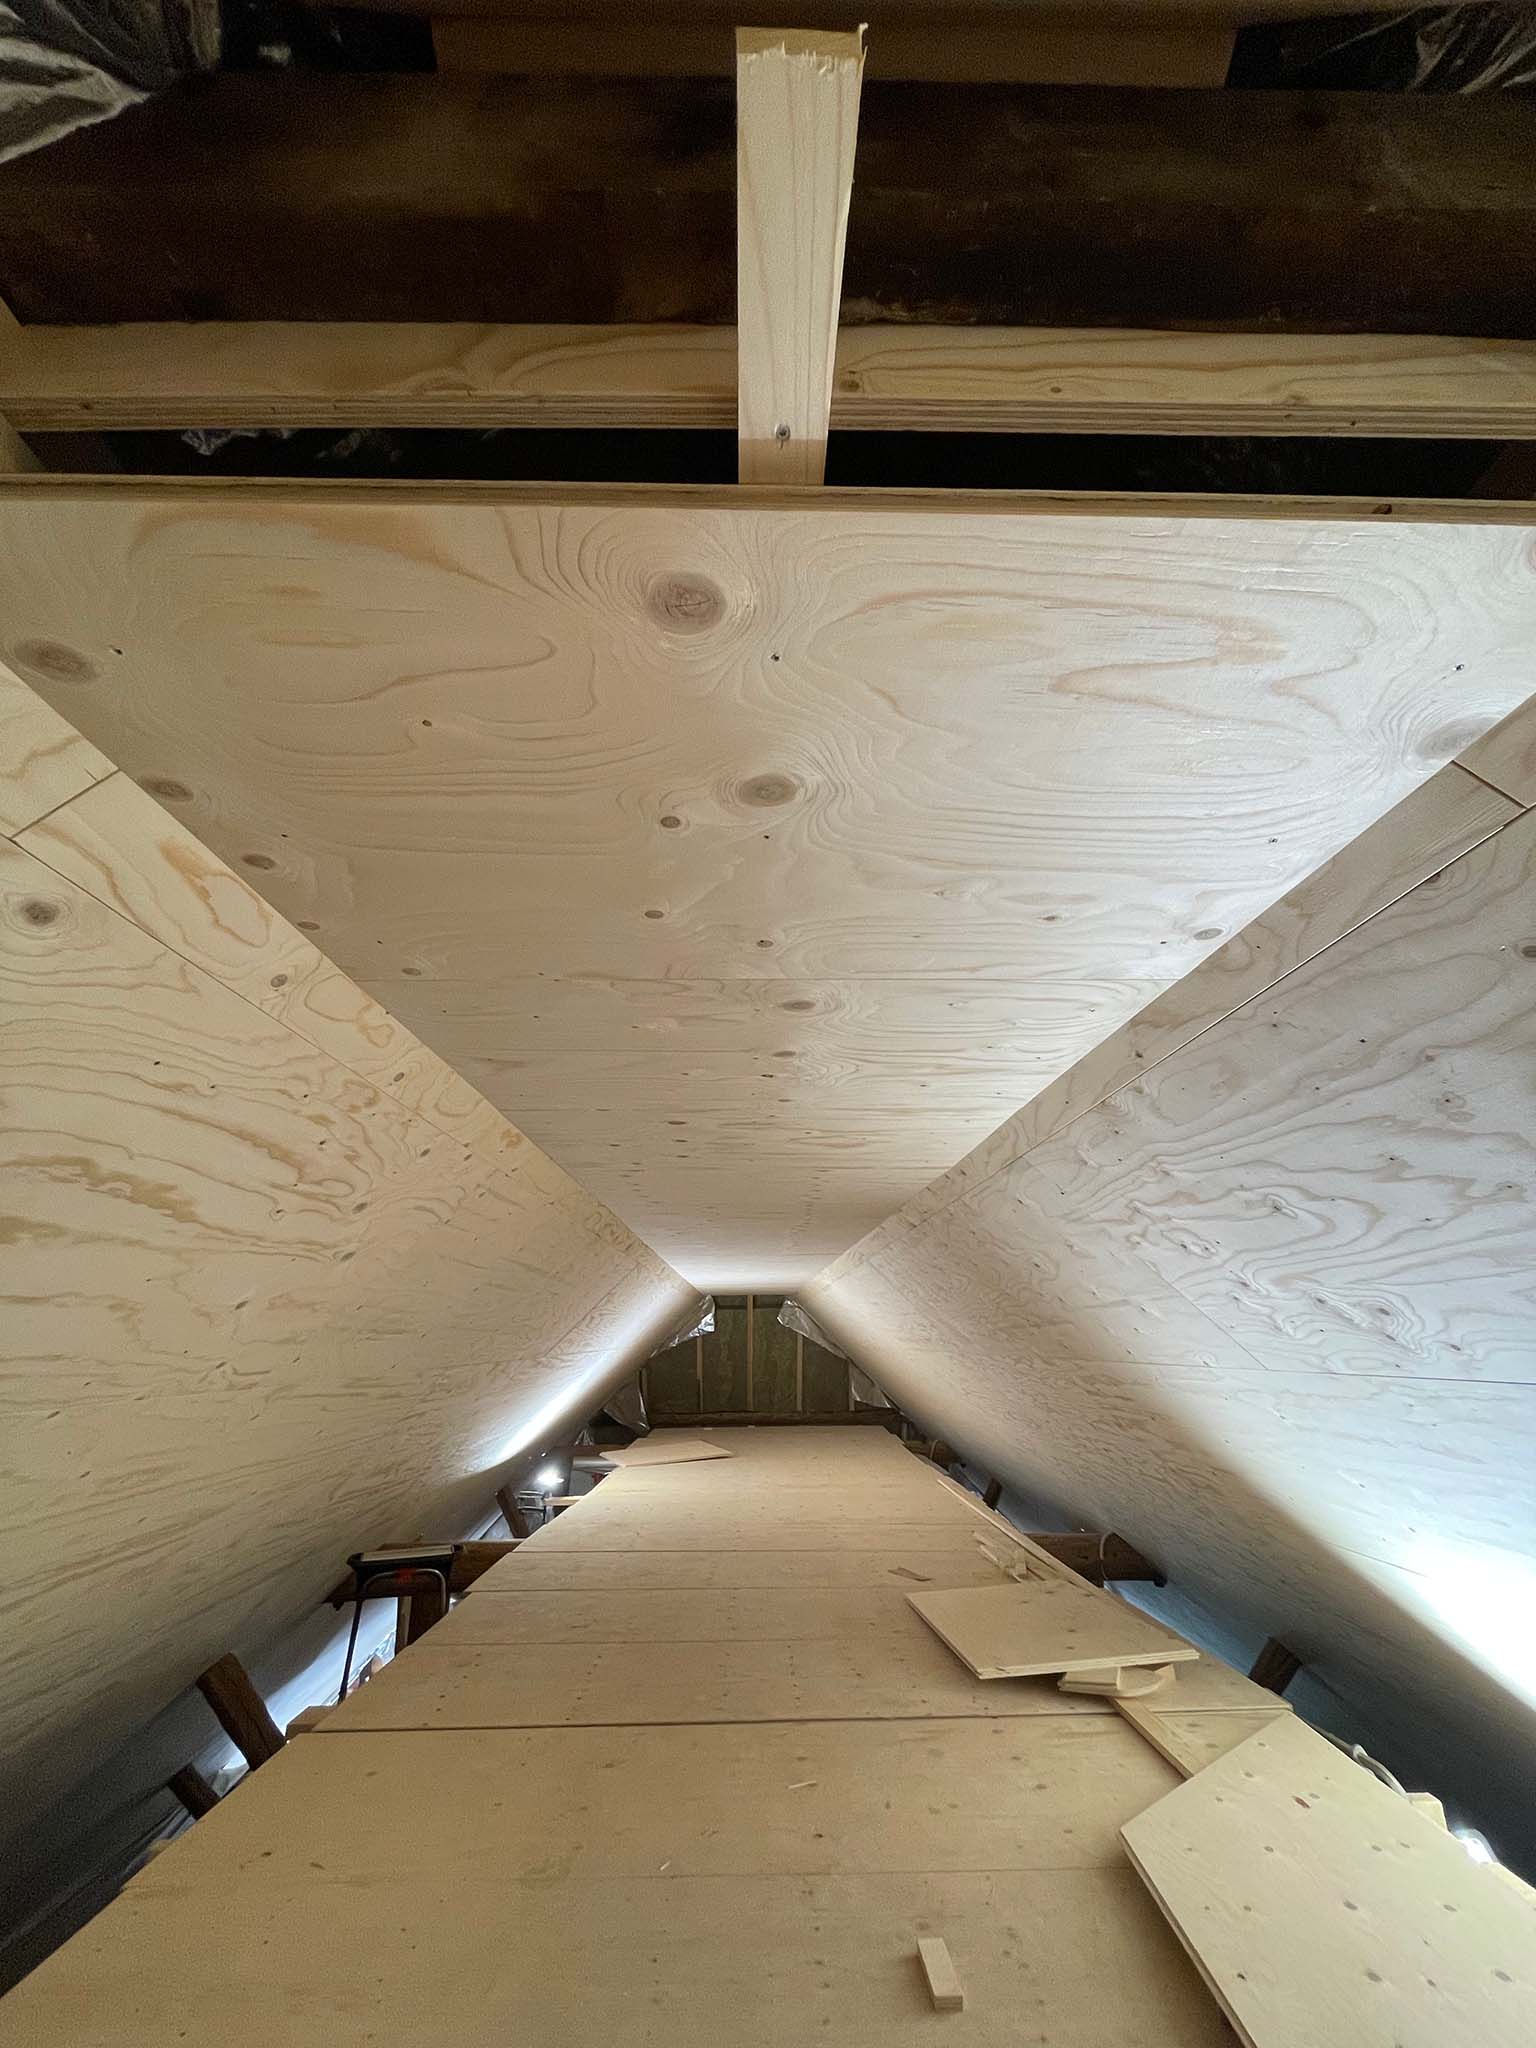
The ceiling underneath the rafters (hanebalken) is about done. the end still need to be done in order to be connected properly to the roof there. But the main thing is ready.
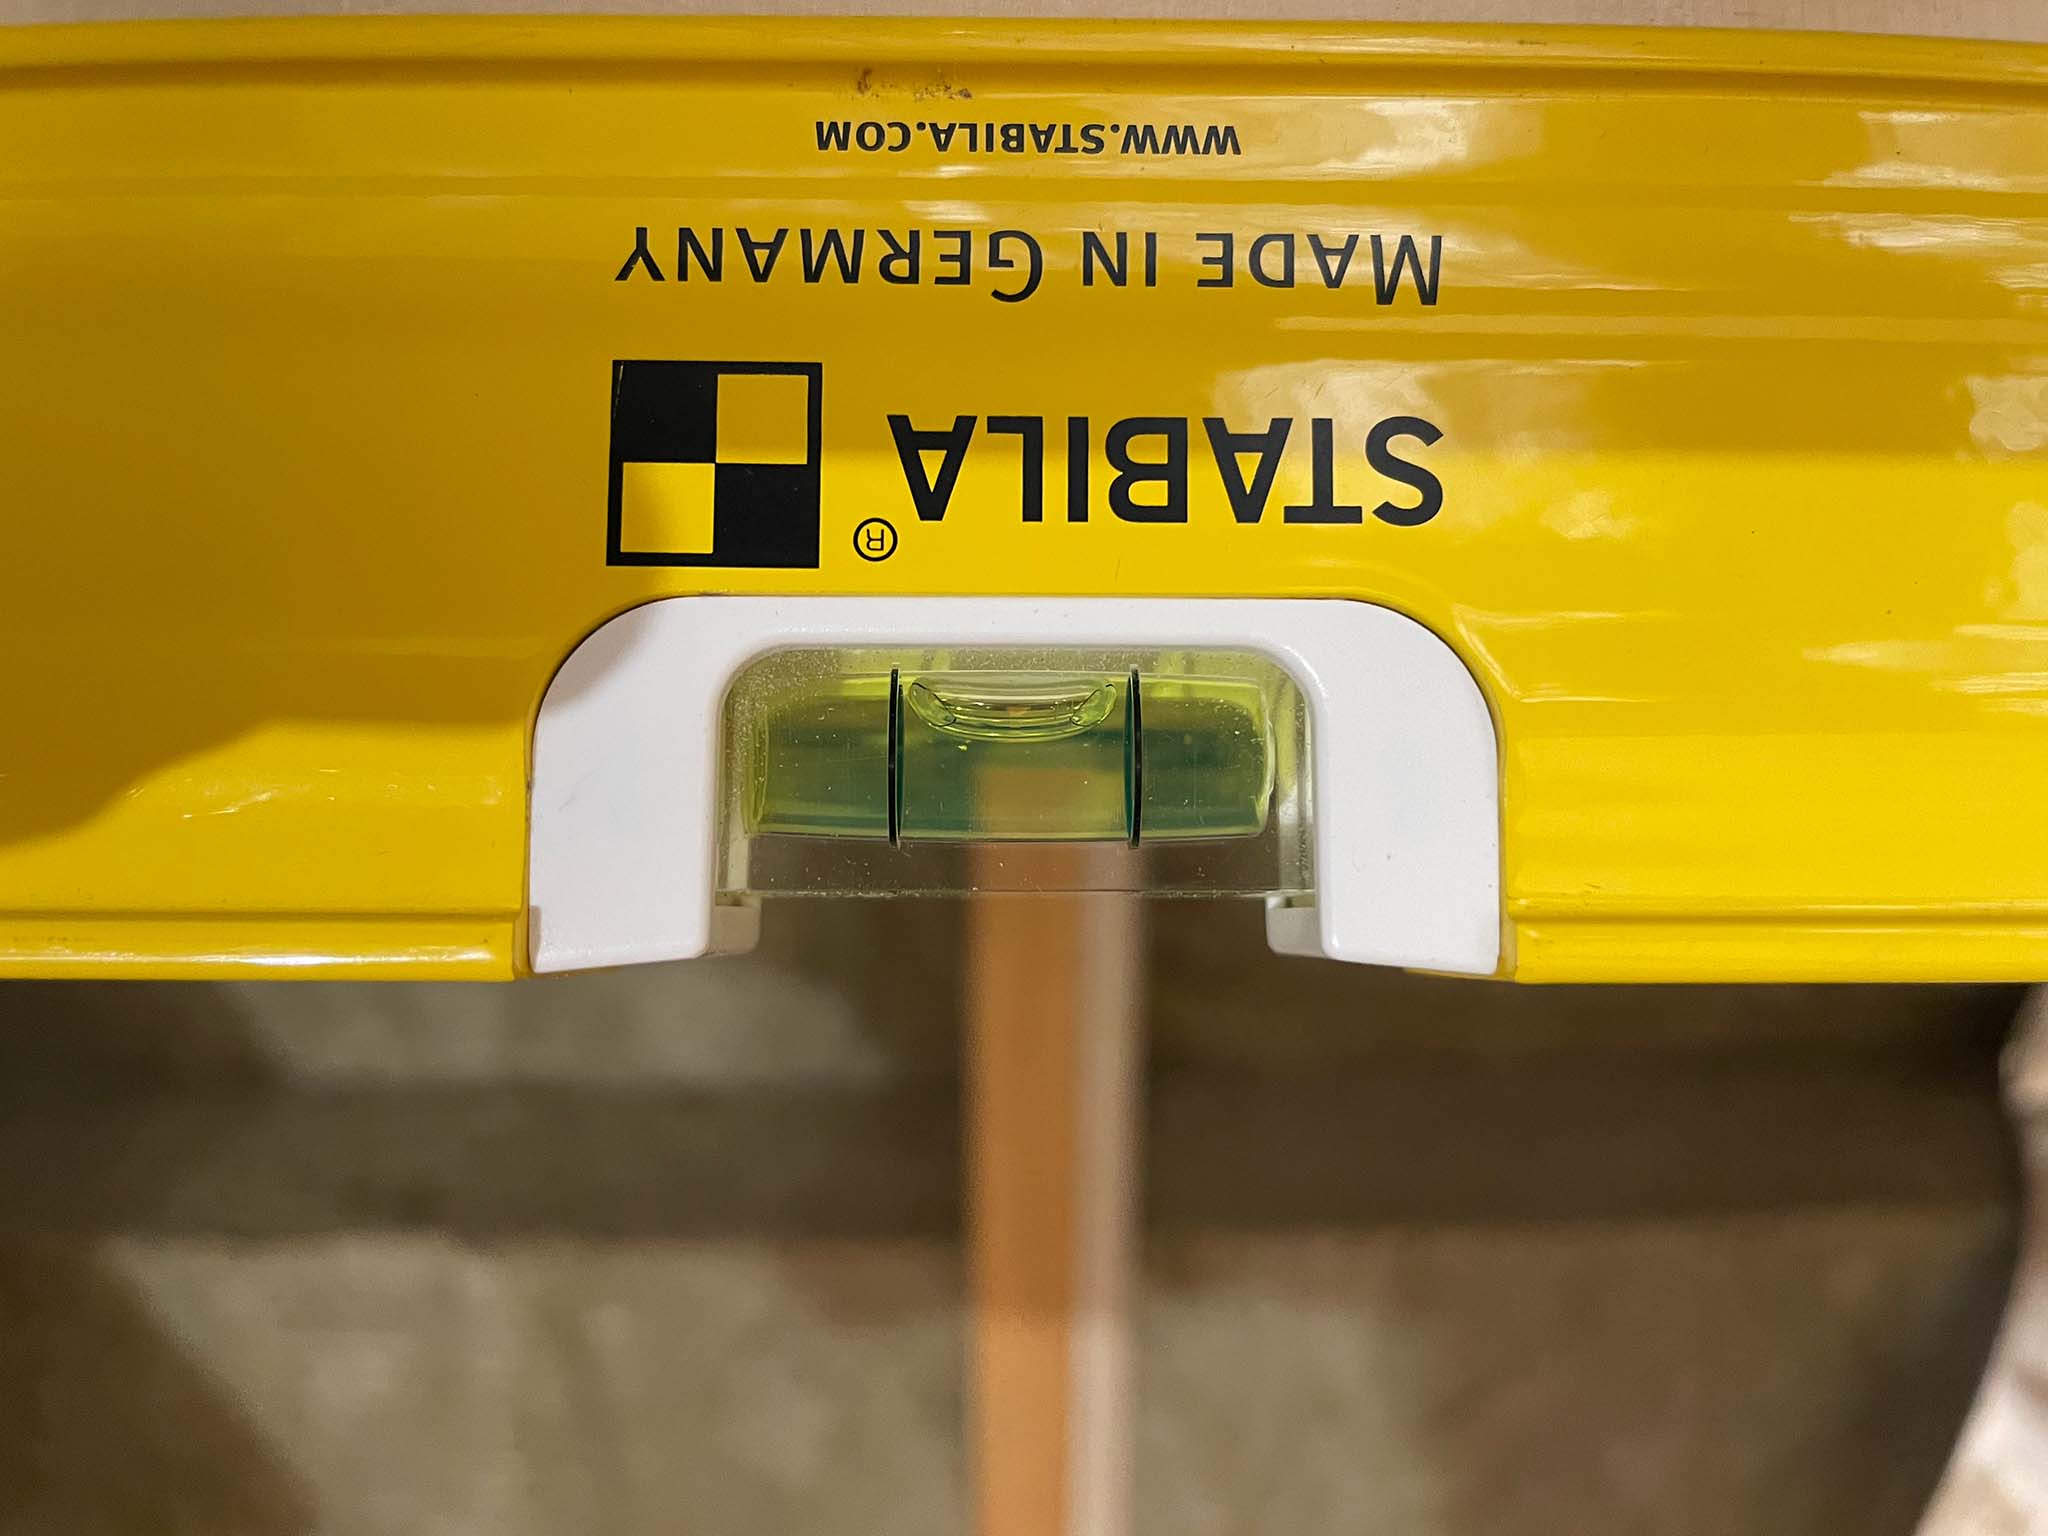
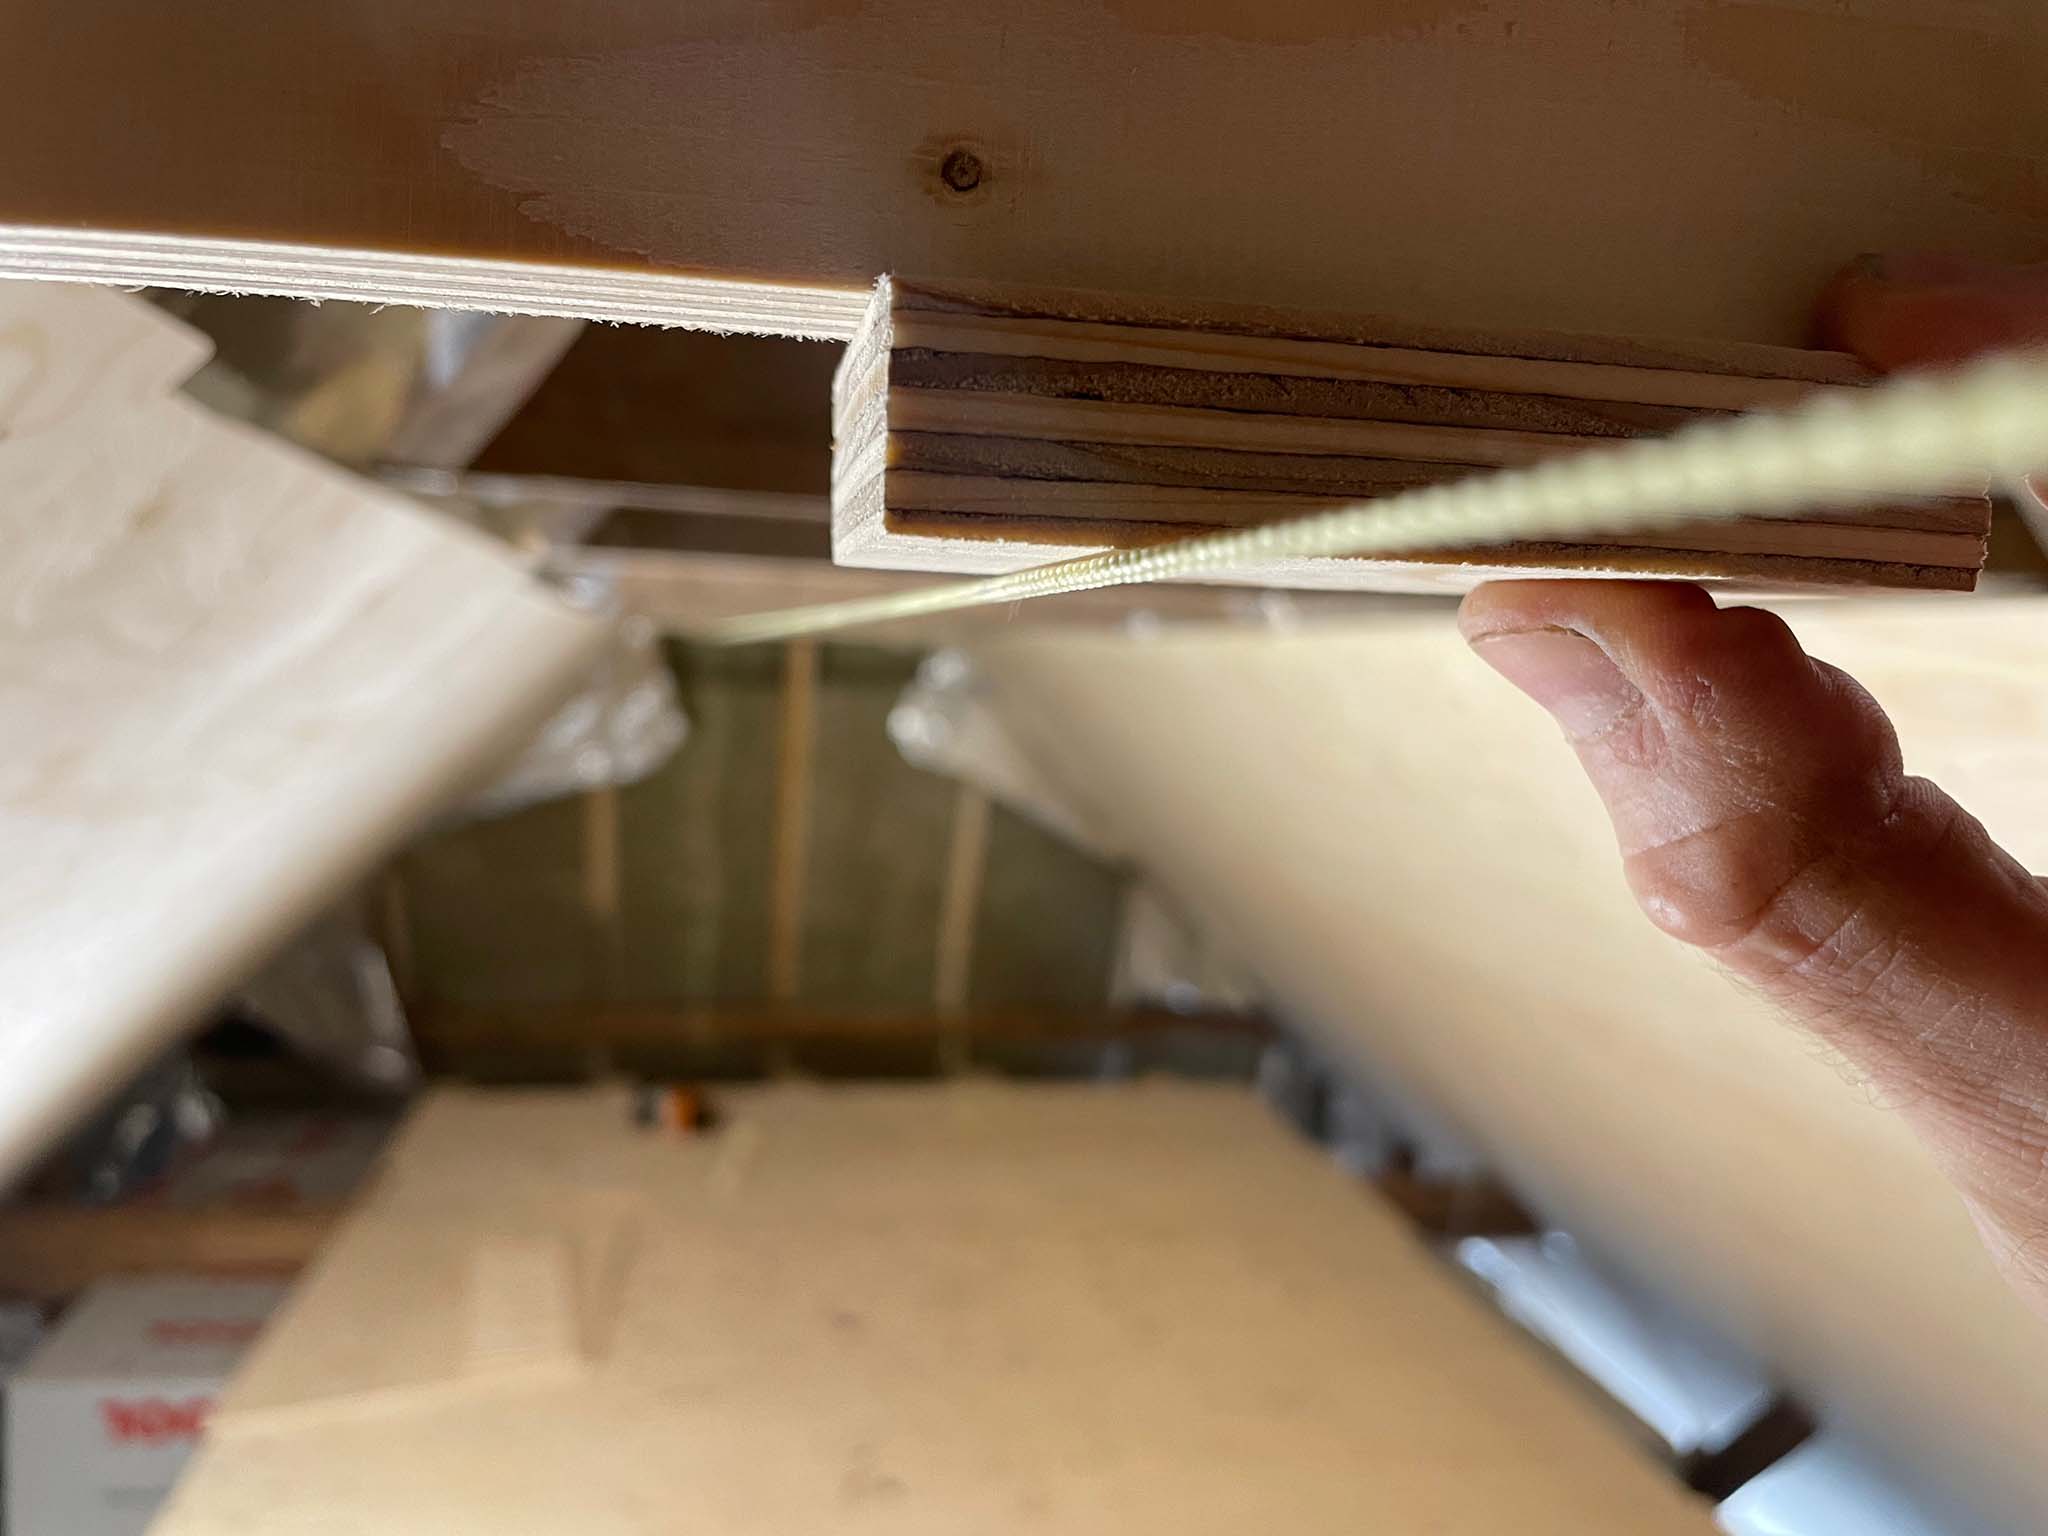
First everything had to be leveled as the rafters were not really at the same height. So with underlayment, a spitit level and some thread the base was laid out. Then laths were fixed to that structure so that finally the underlayment panels could be fixed to them.
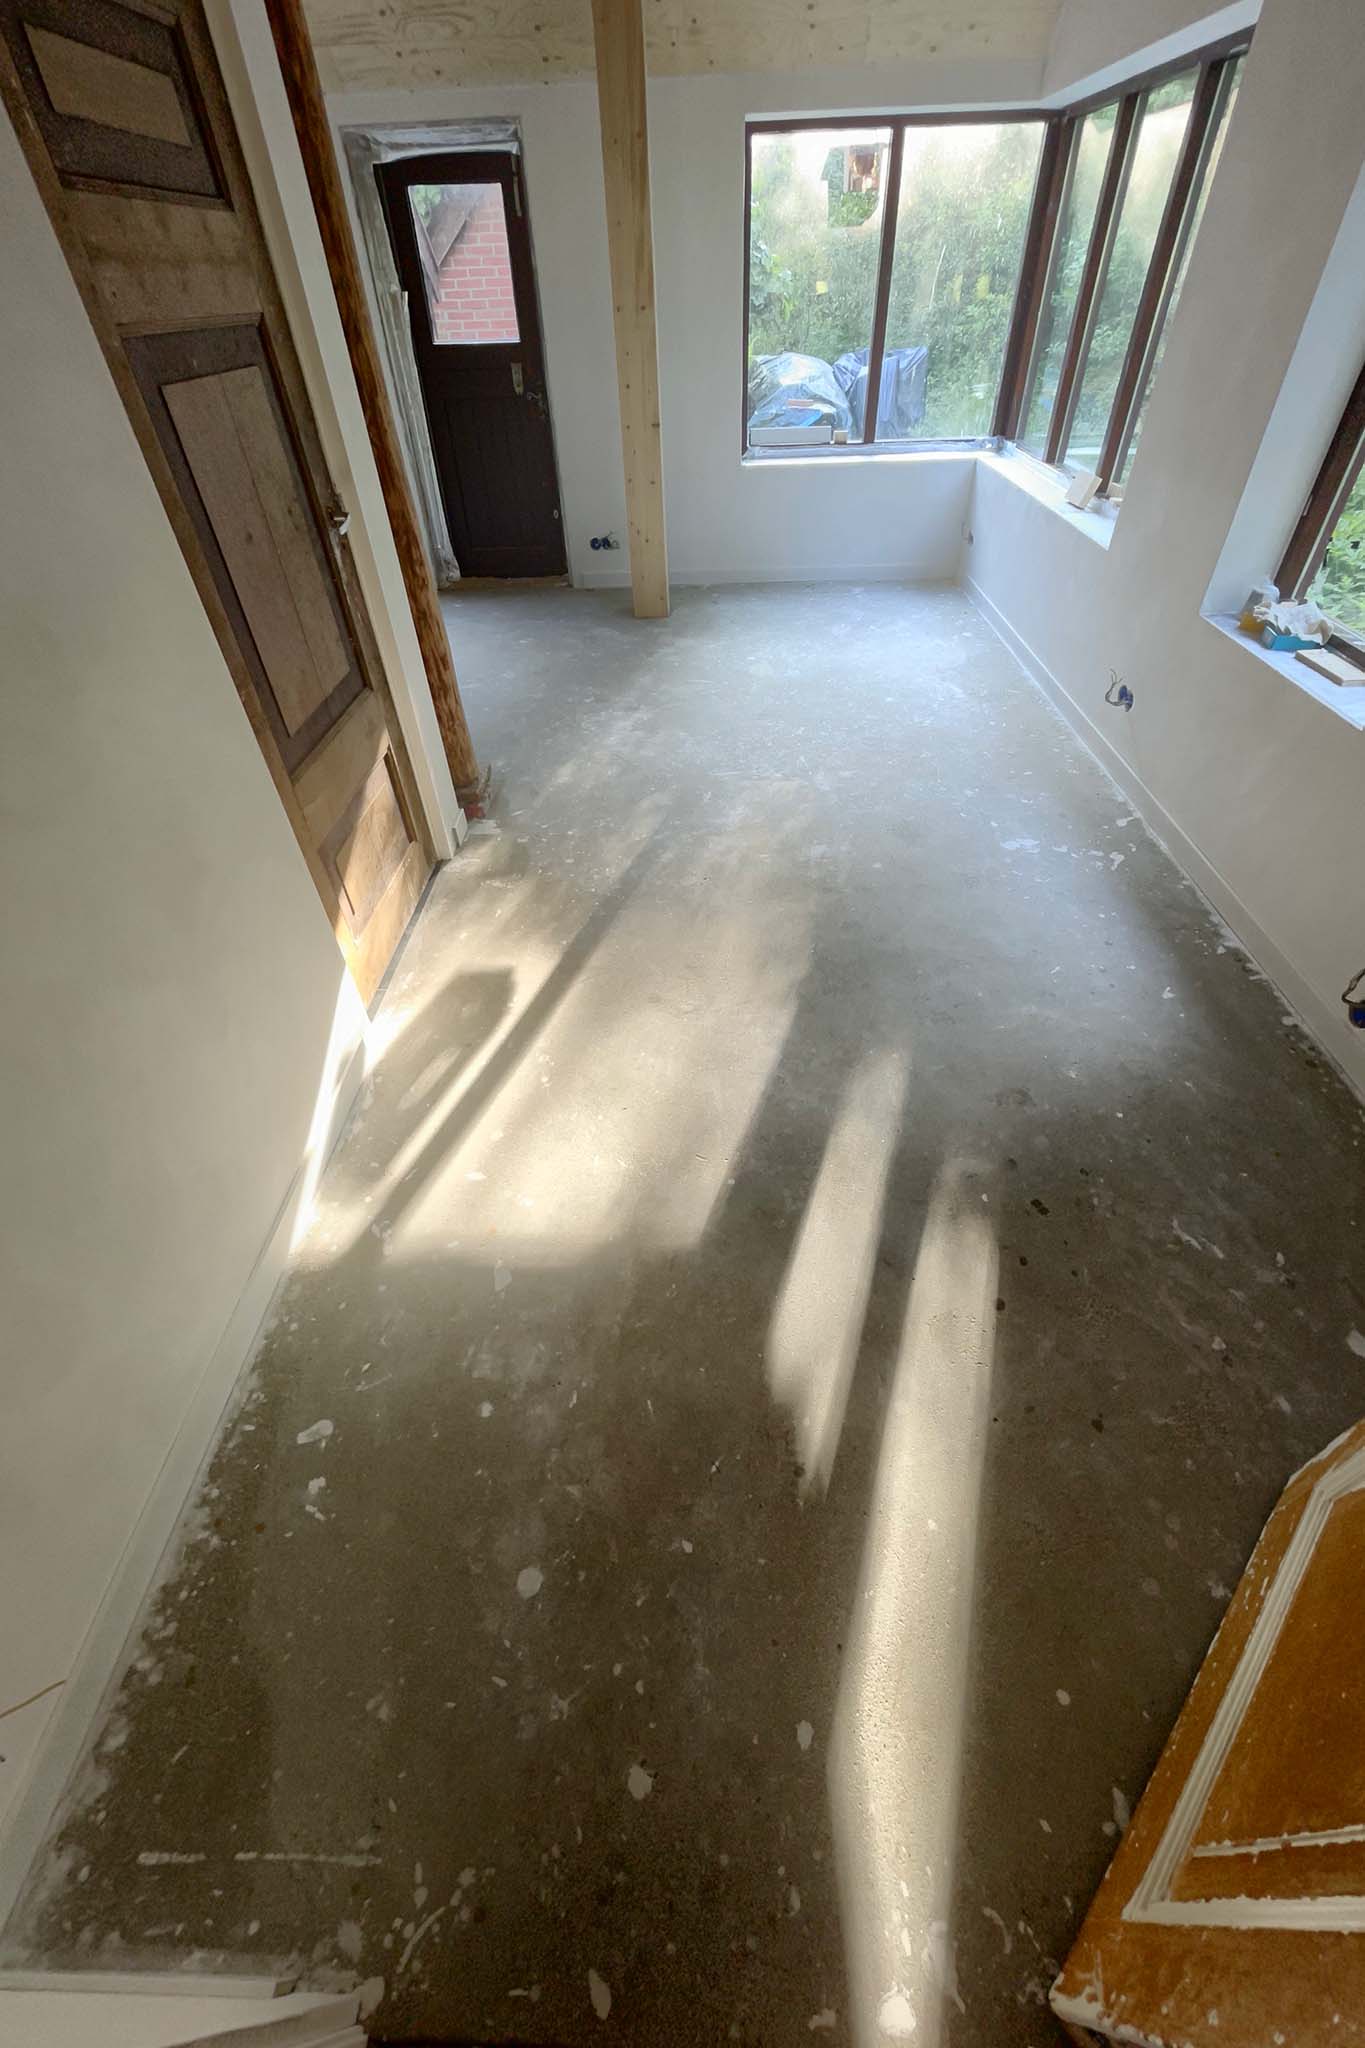
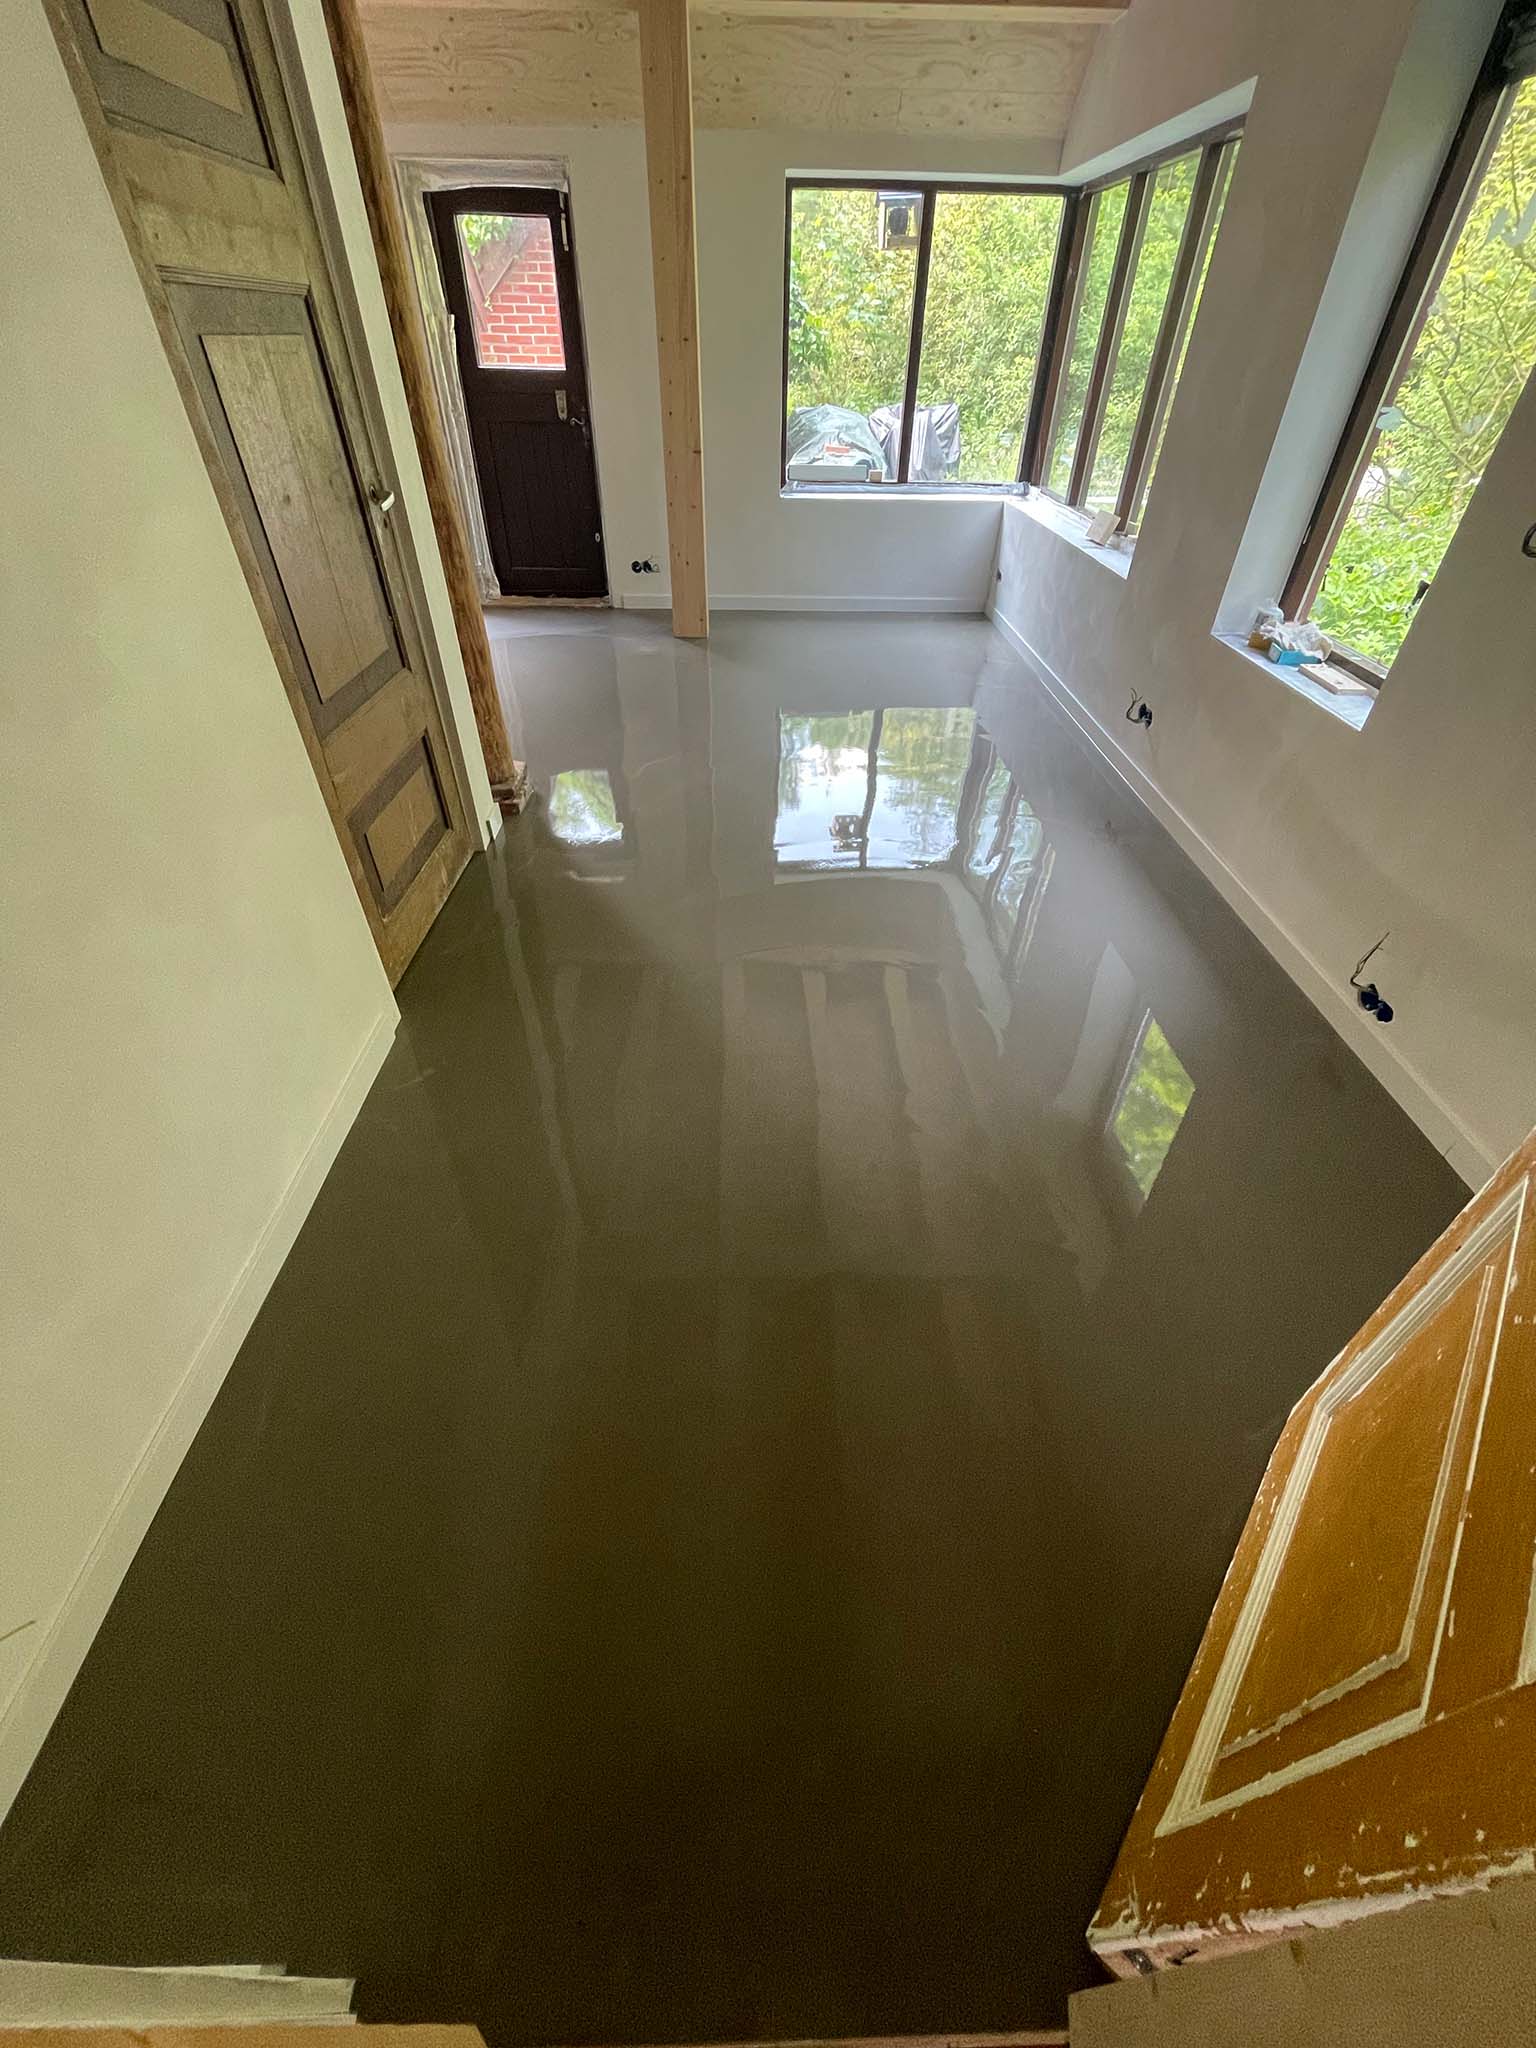
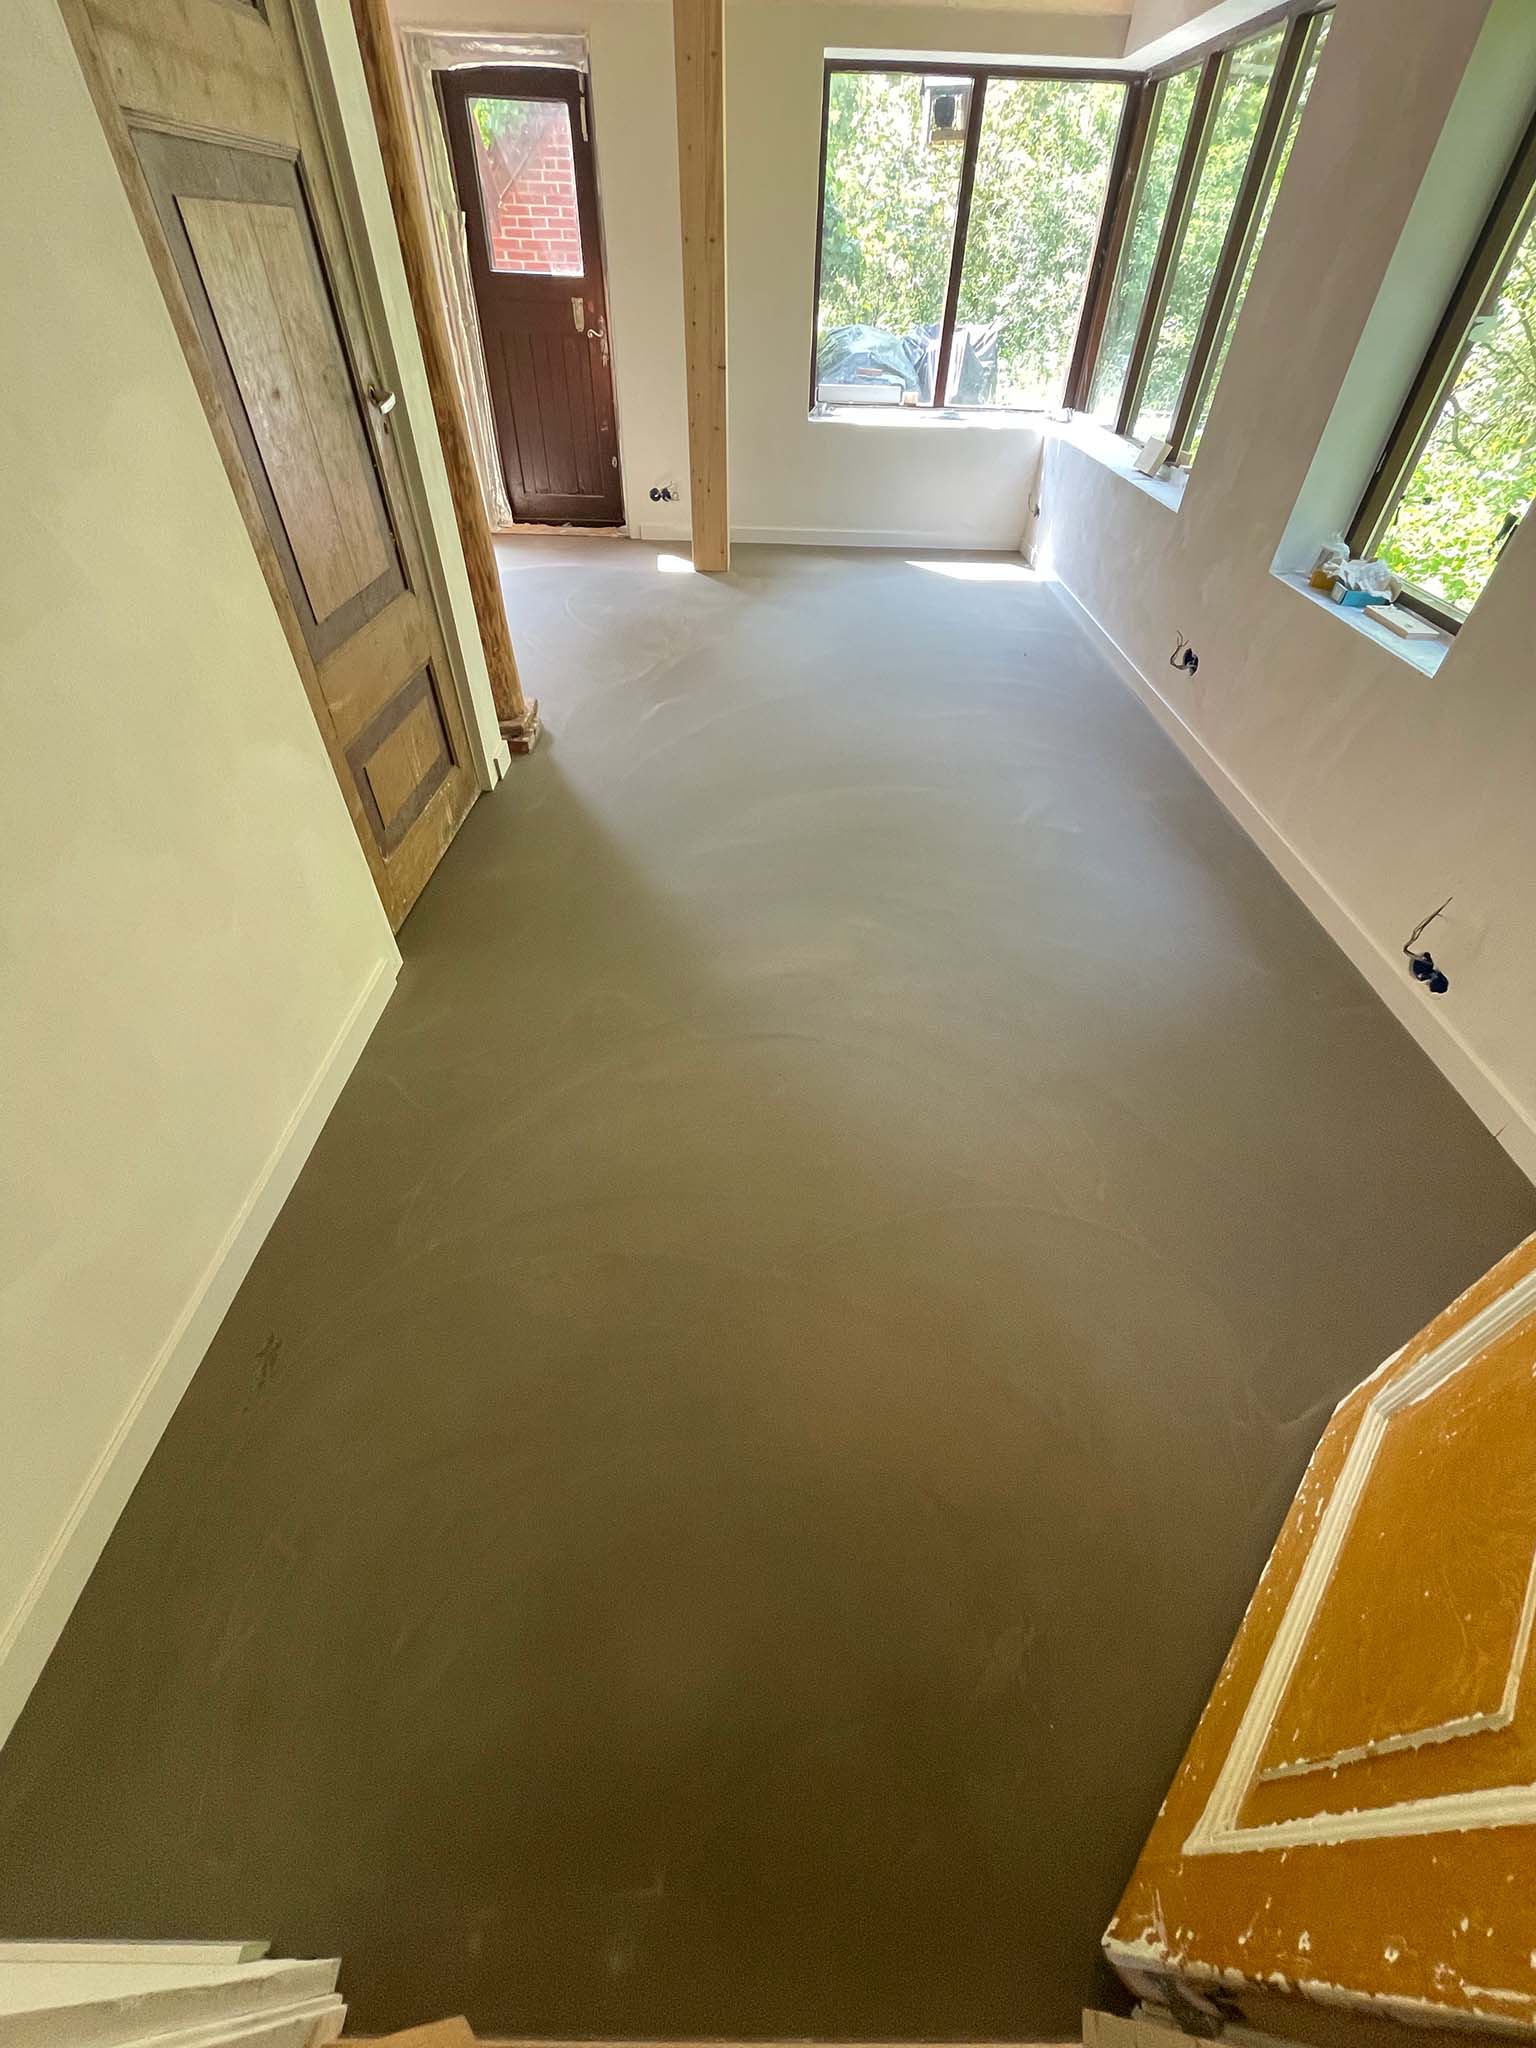
The floor needs a finish too before moving in. The cement floor will get another type of cement finish (egaline) and then some coating layers. Actually this is more meant as a base layer for wooden floors, but everyone seems to like it enough so that the wood is left out of the process…
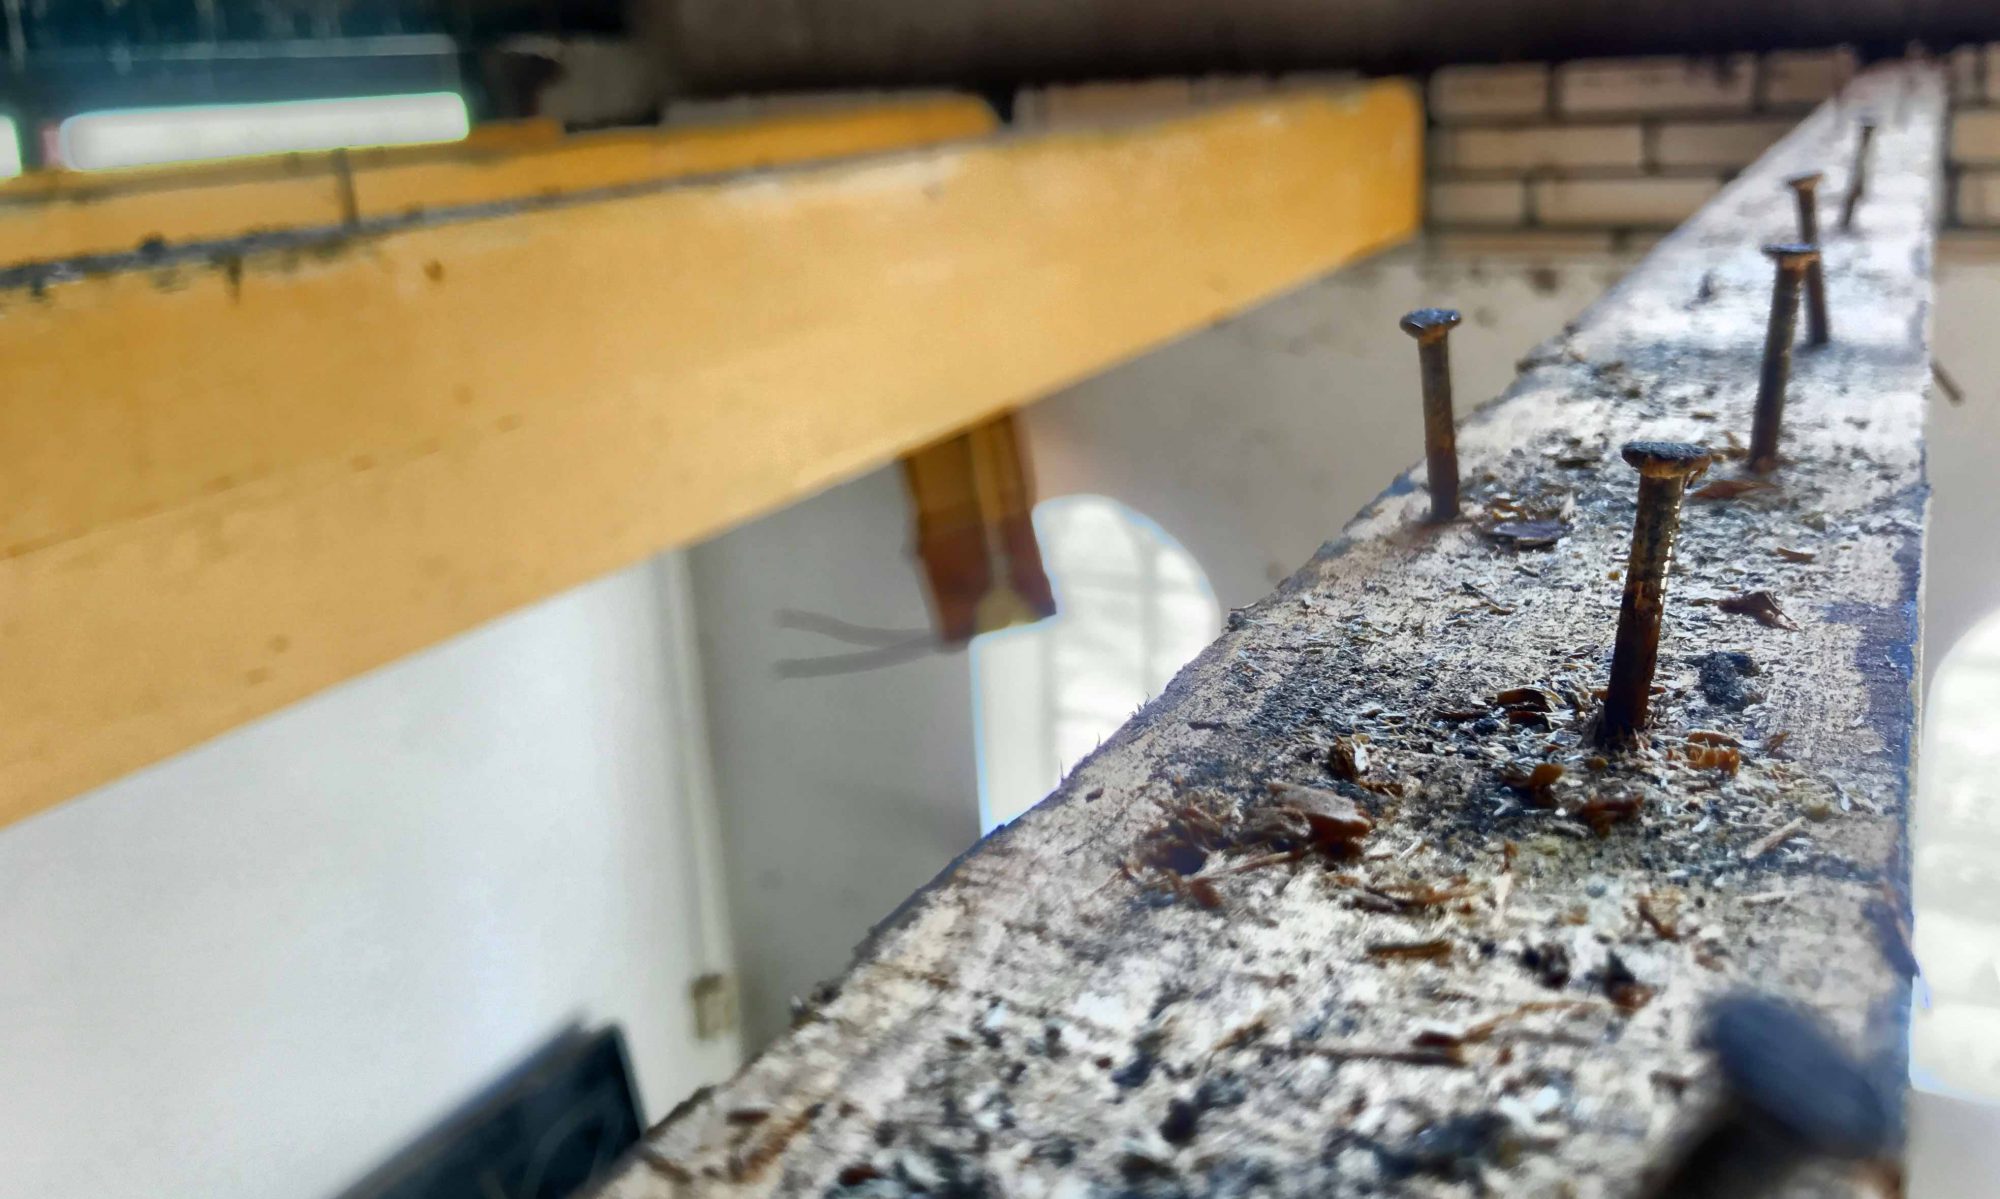
In order to let the stuff not leak into the isolation, some gaps had to be closed first.

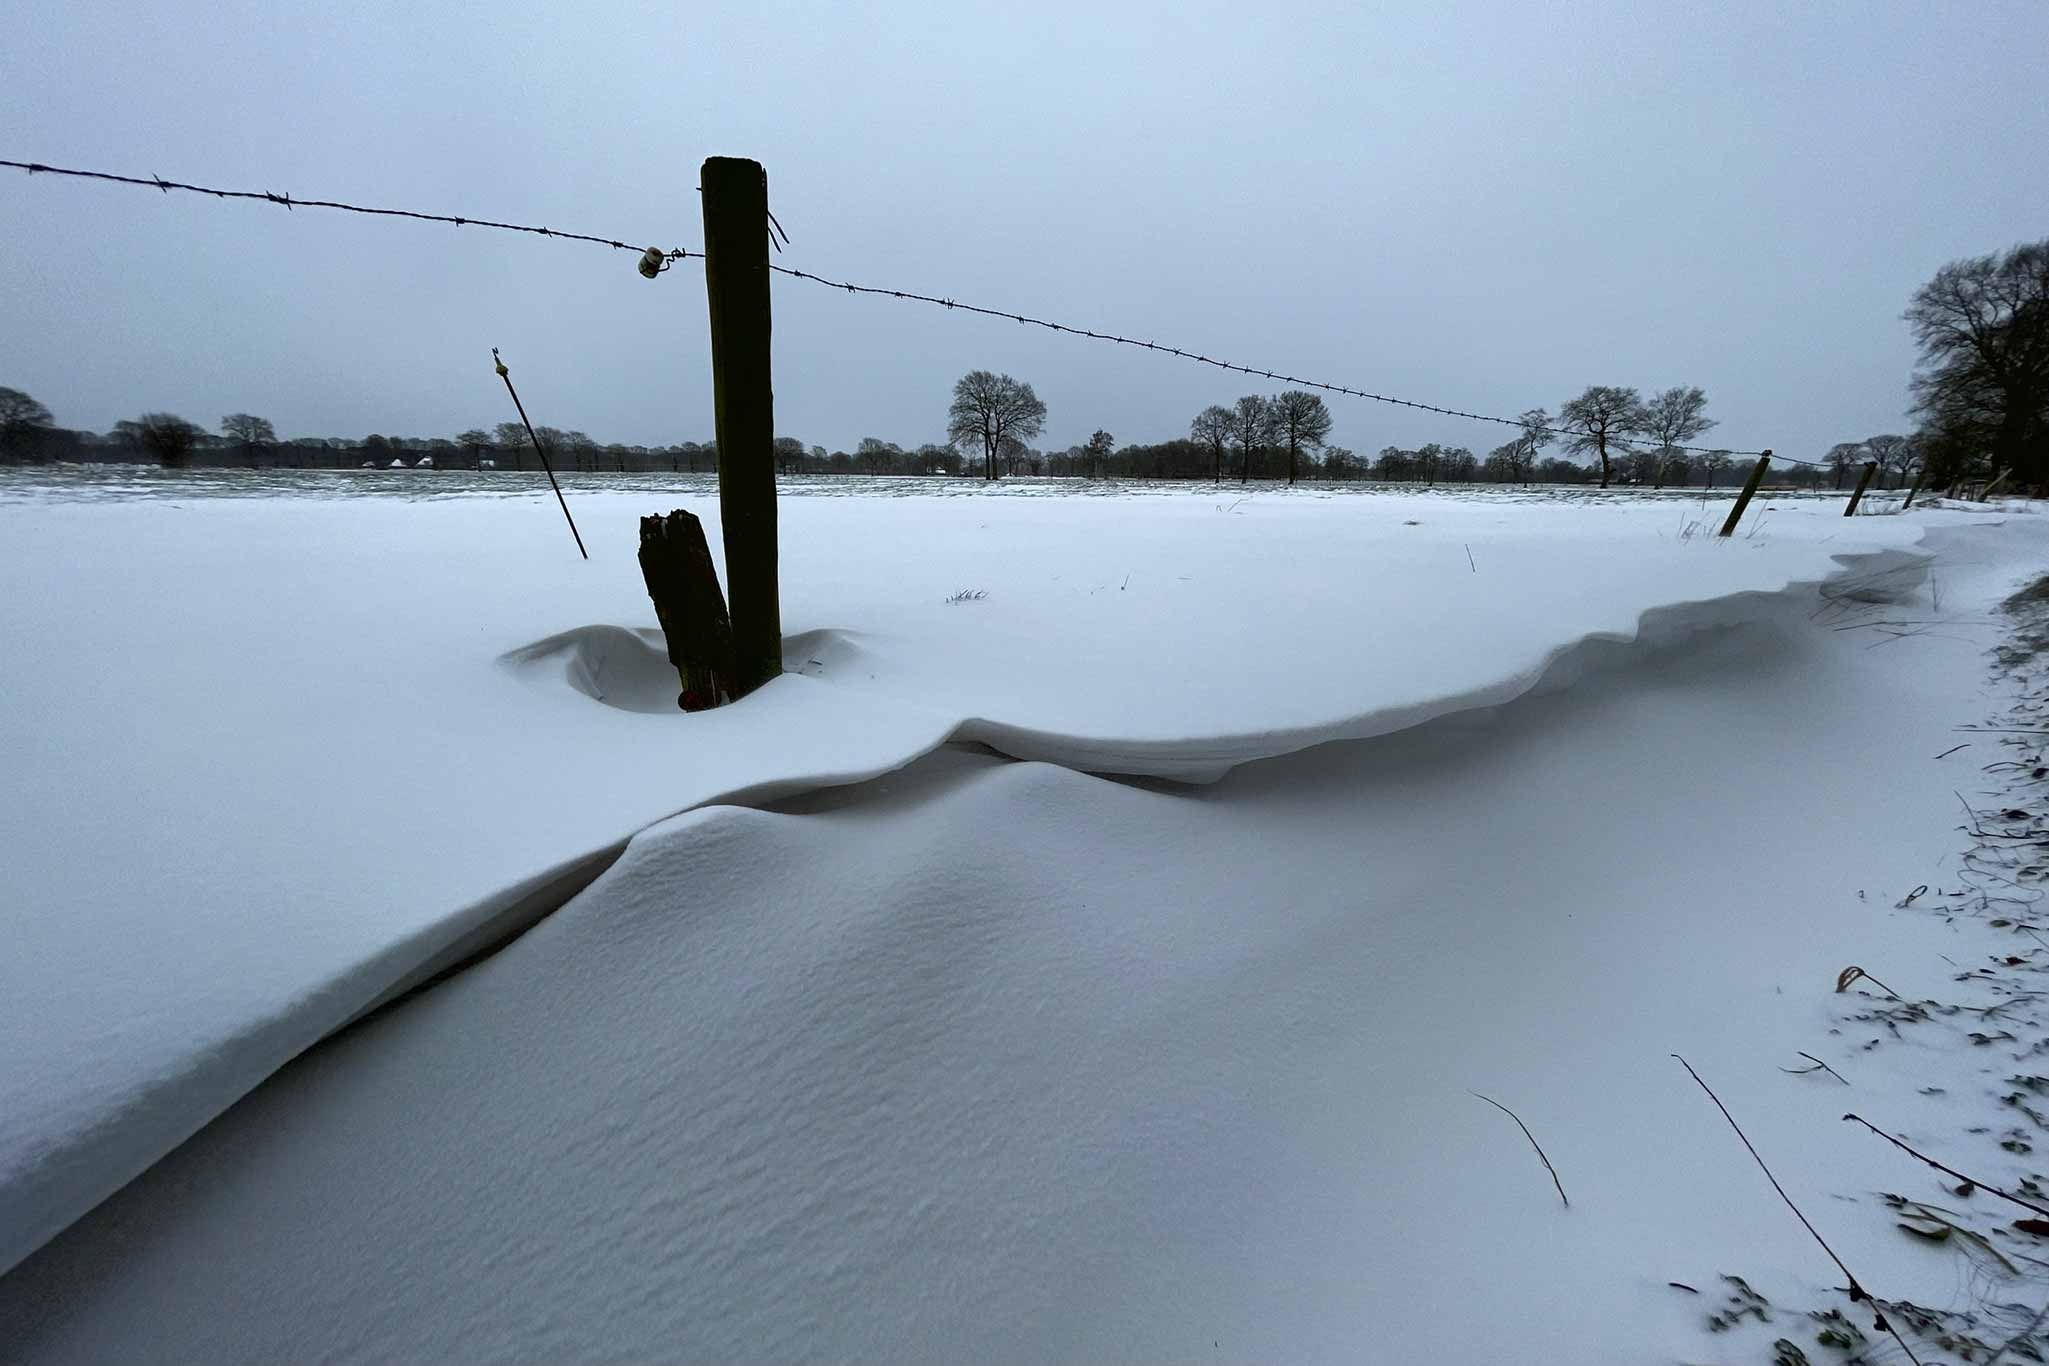
Yes, really! It can be winter here in the Netherlands. There was a snowstorm and a fair amount of frost over a week’s period. Pretty!
Downside was that the snow actually was blown under the (black) roof tiles. Once the sun heated that up, it started leaking here and there near the edges of all the foils placed earlier. No damage done, but another thing that needs attention, just in case…

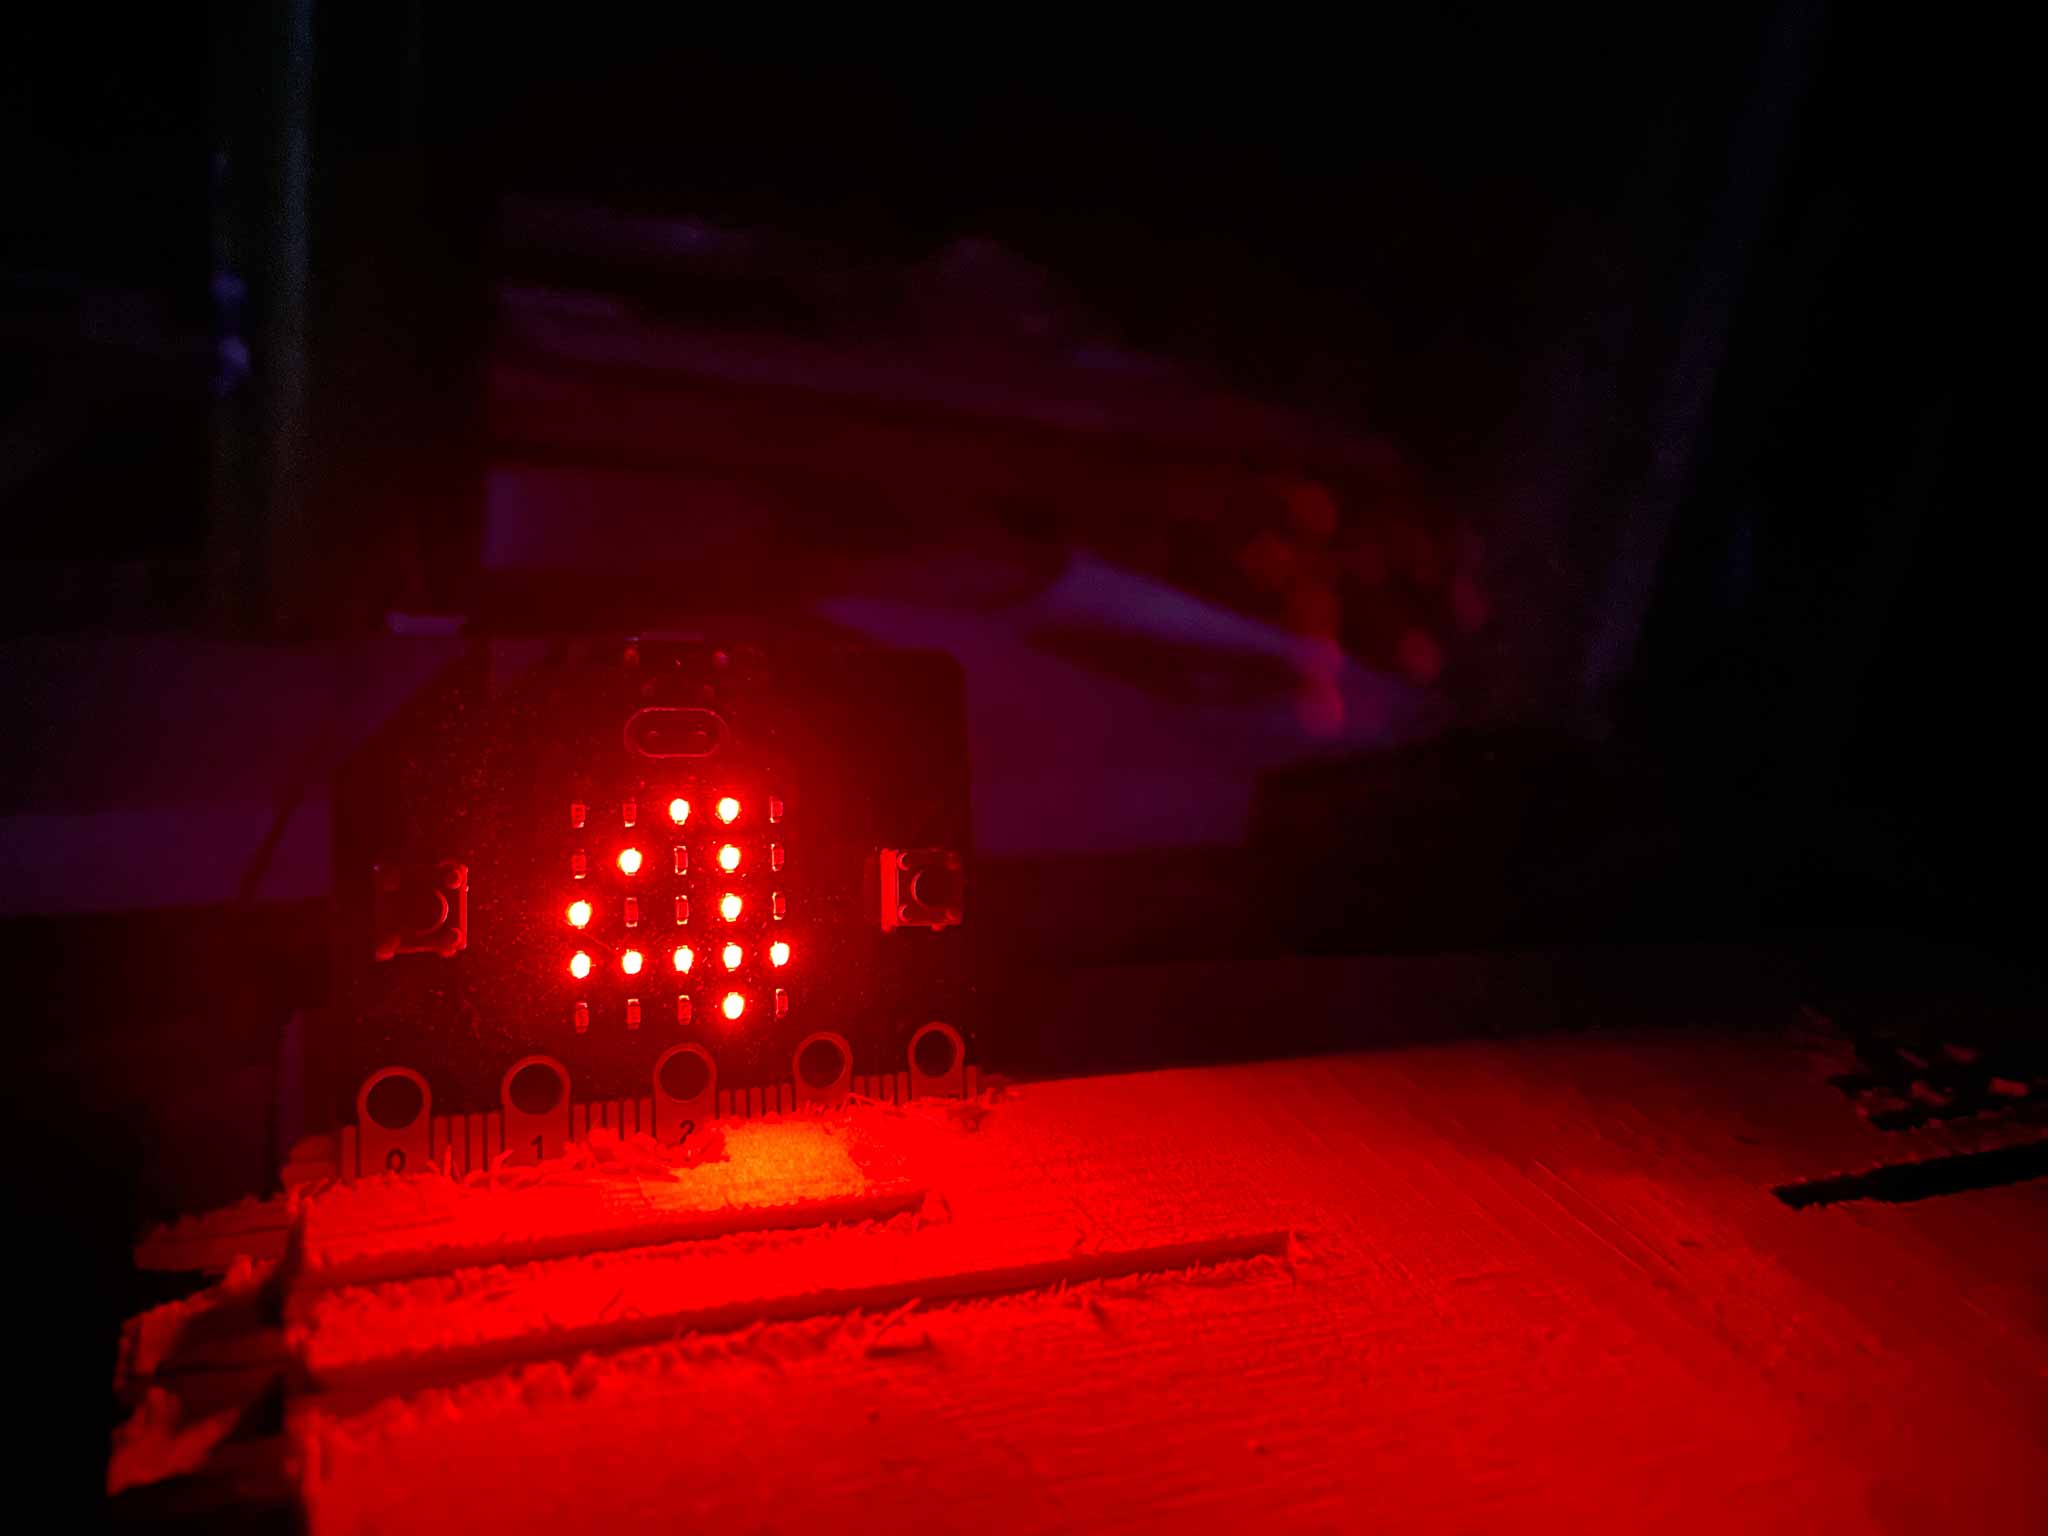
During the course of the one-week-winter we had 7 to 3 kW of heaters to be sure the liquids in the floor heating’s pipes would not freeze. A trusty Microbit was used to measure the temperature.
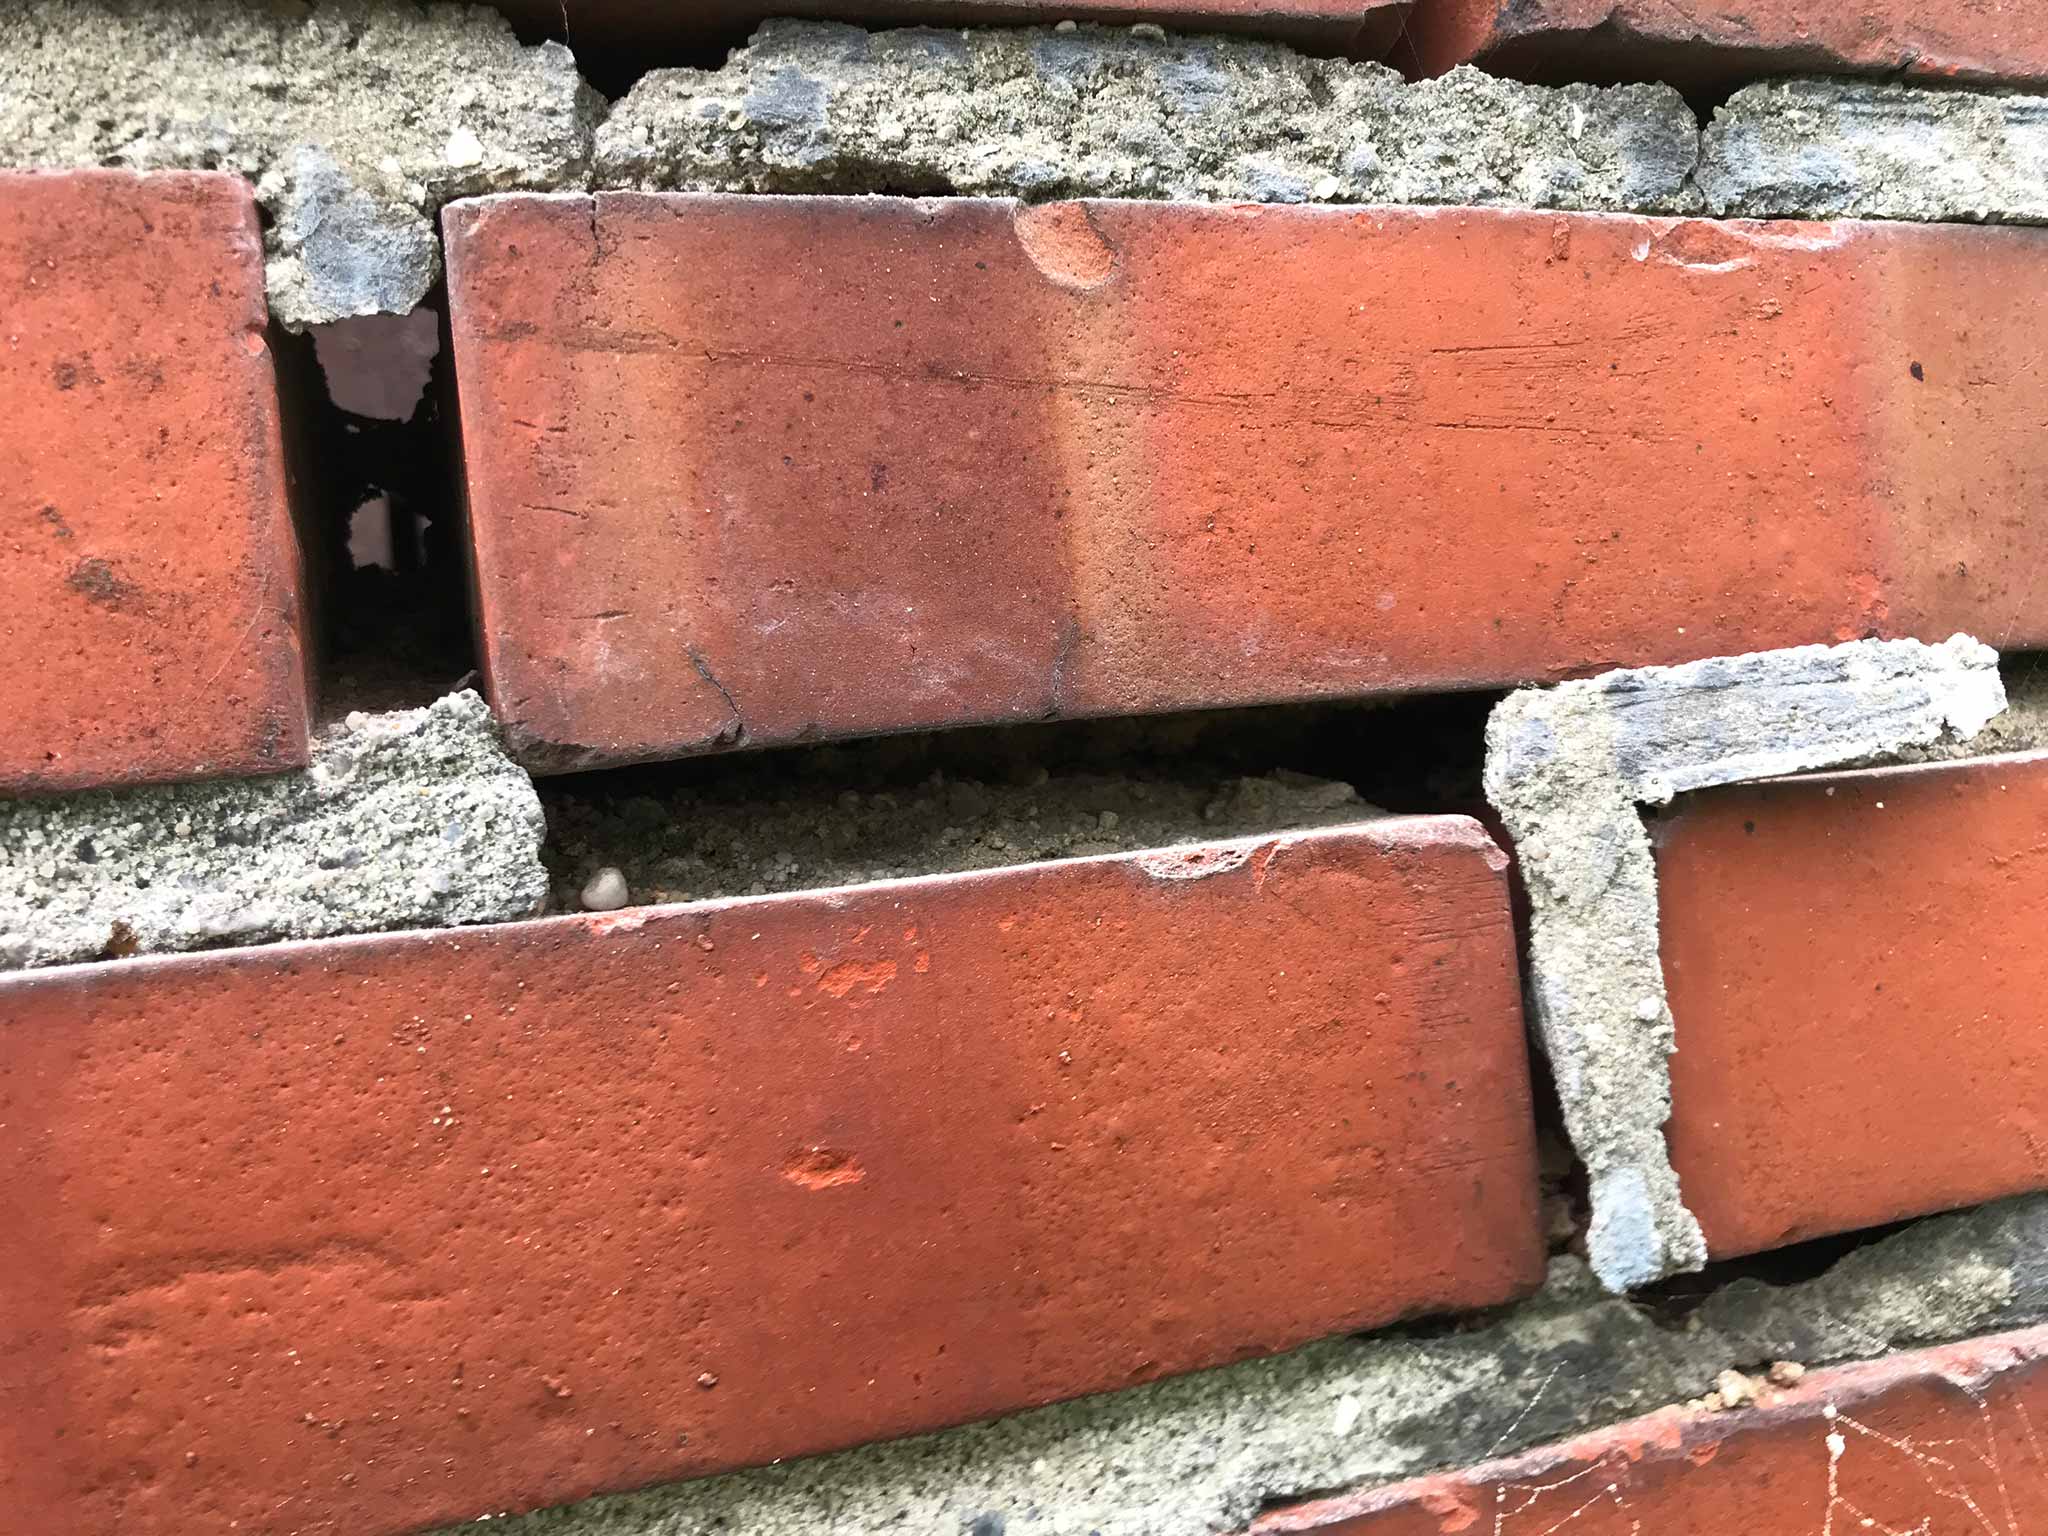
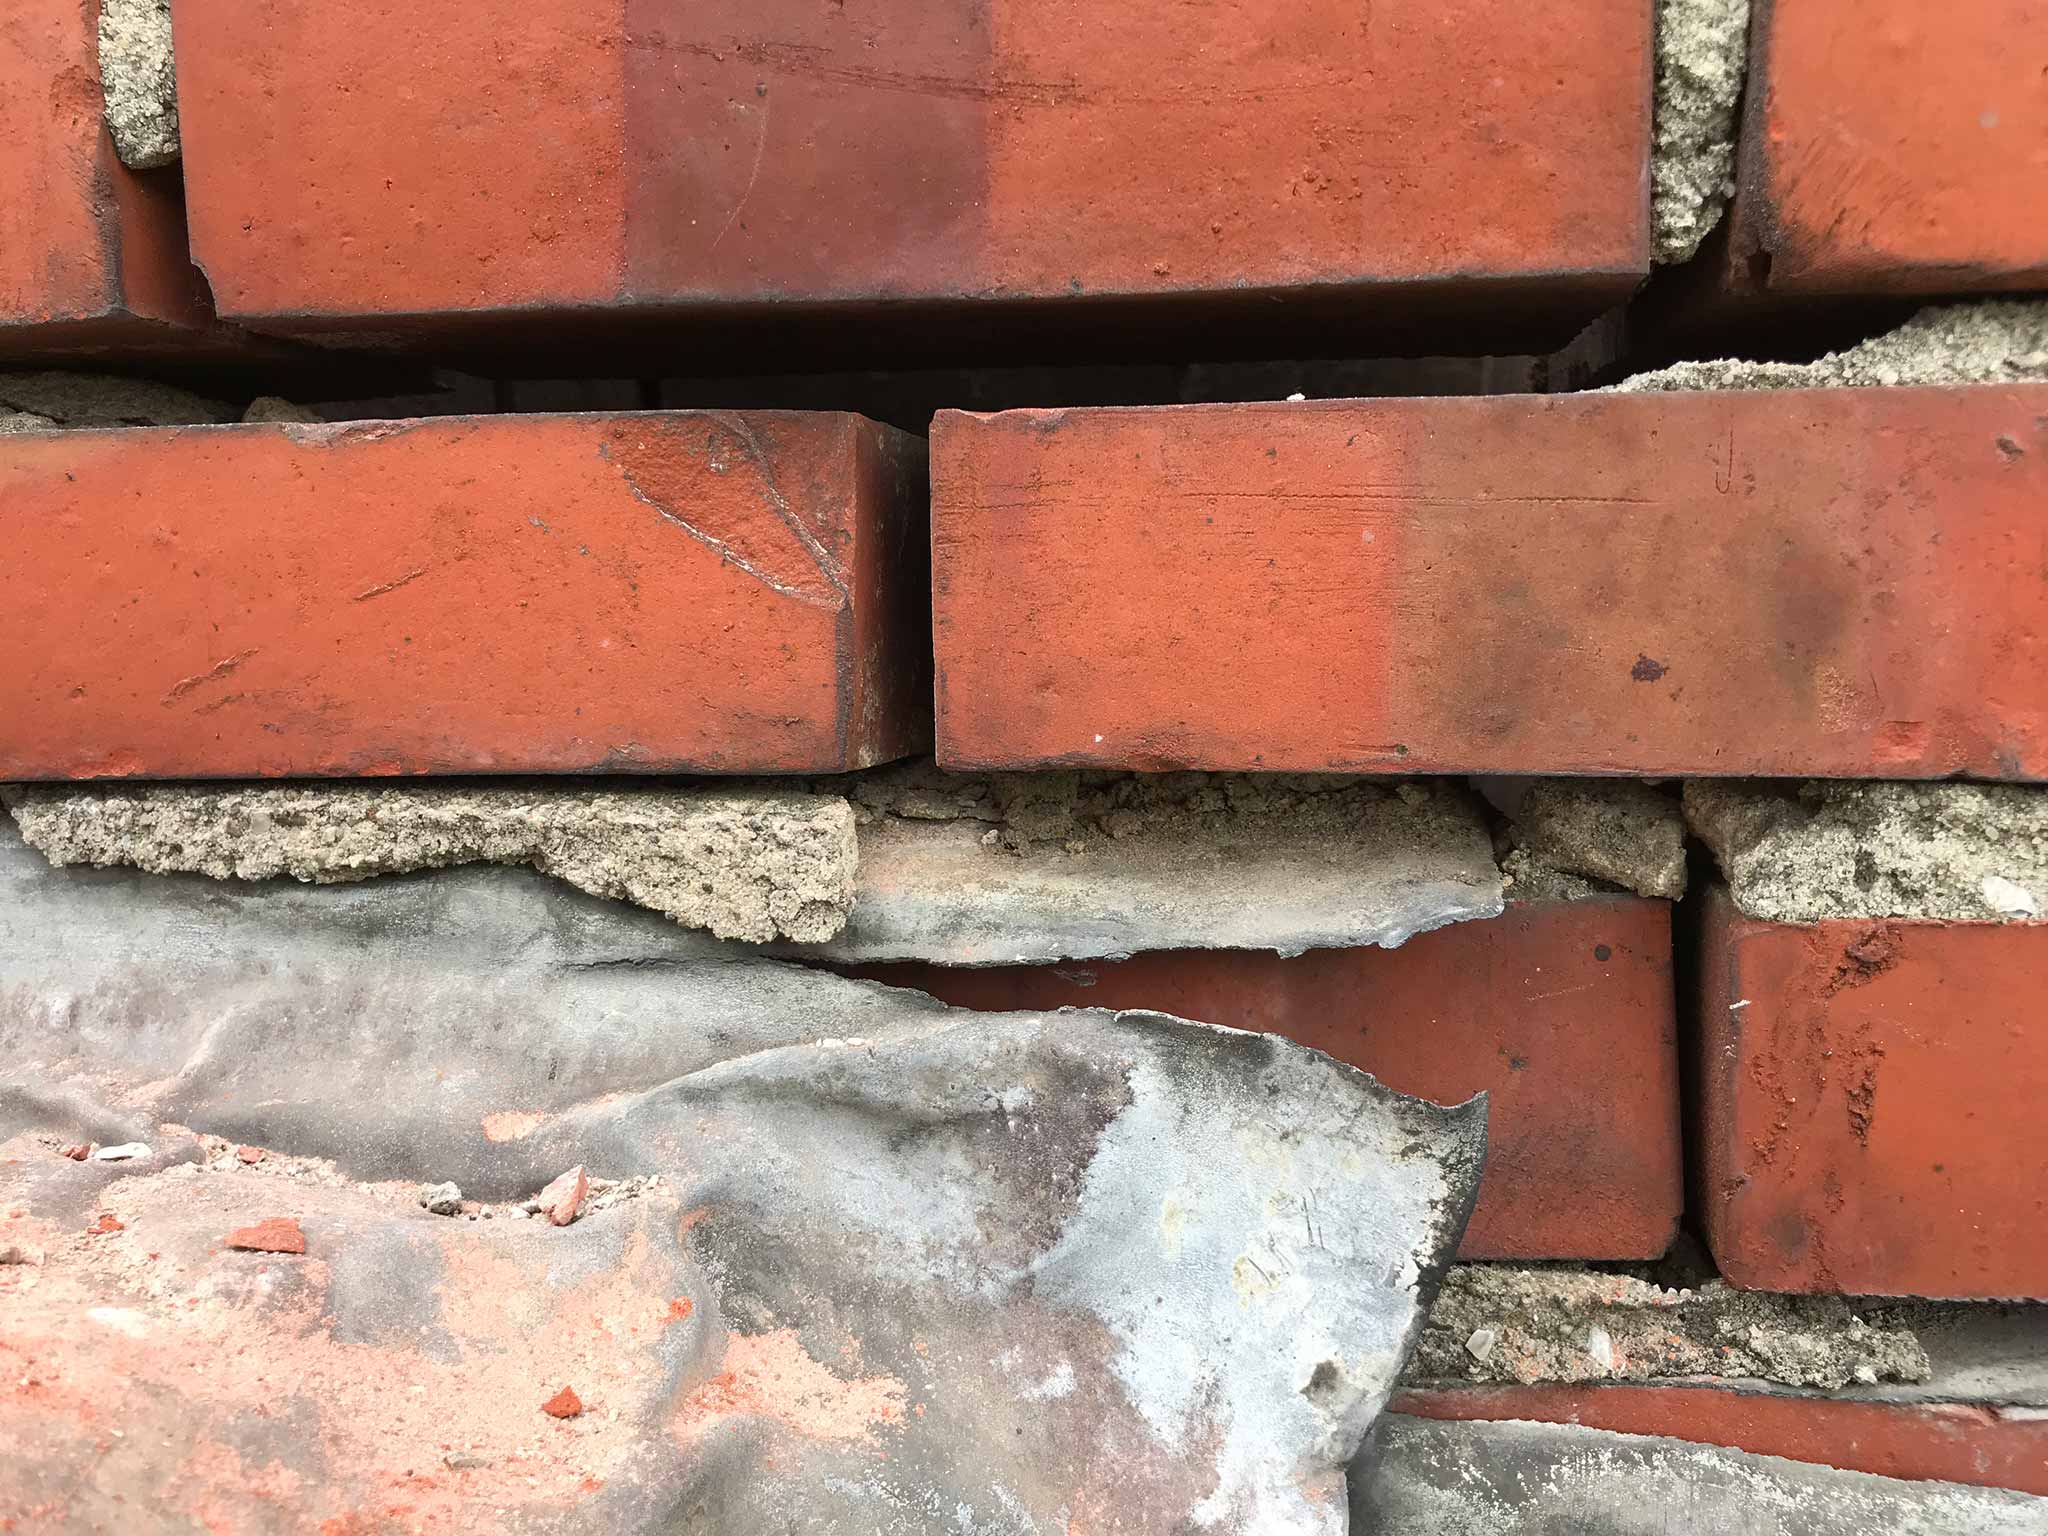
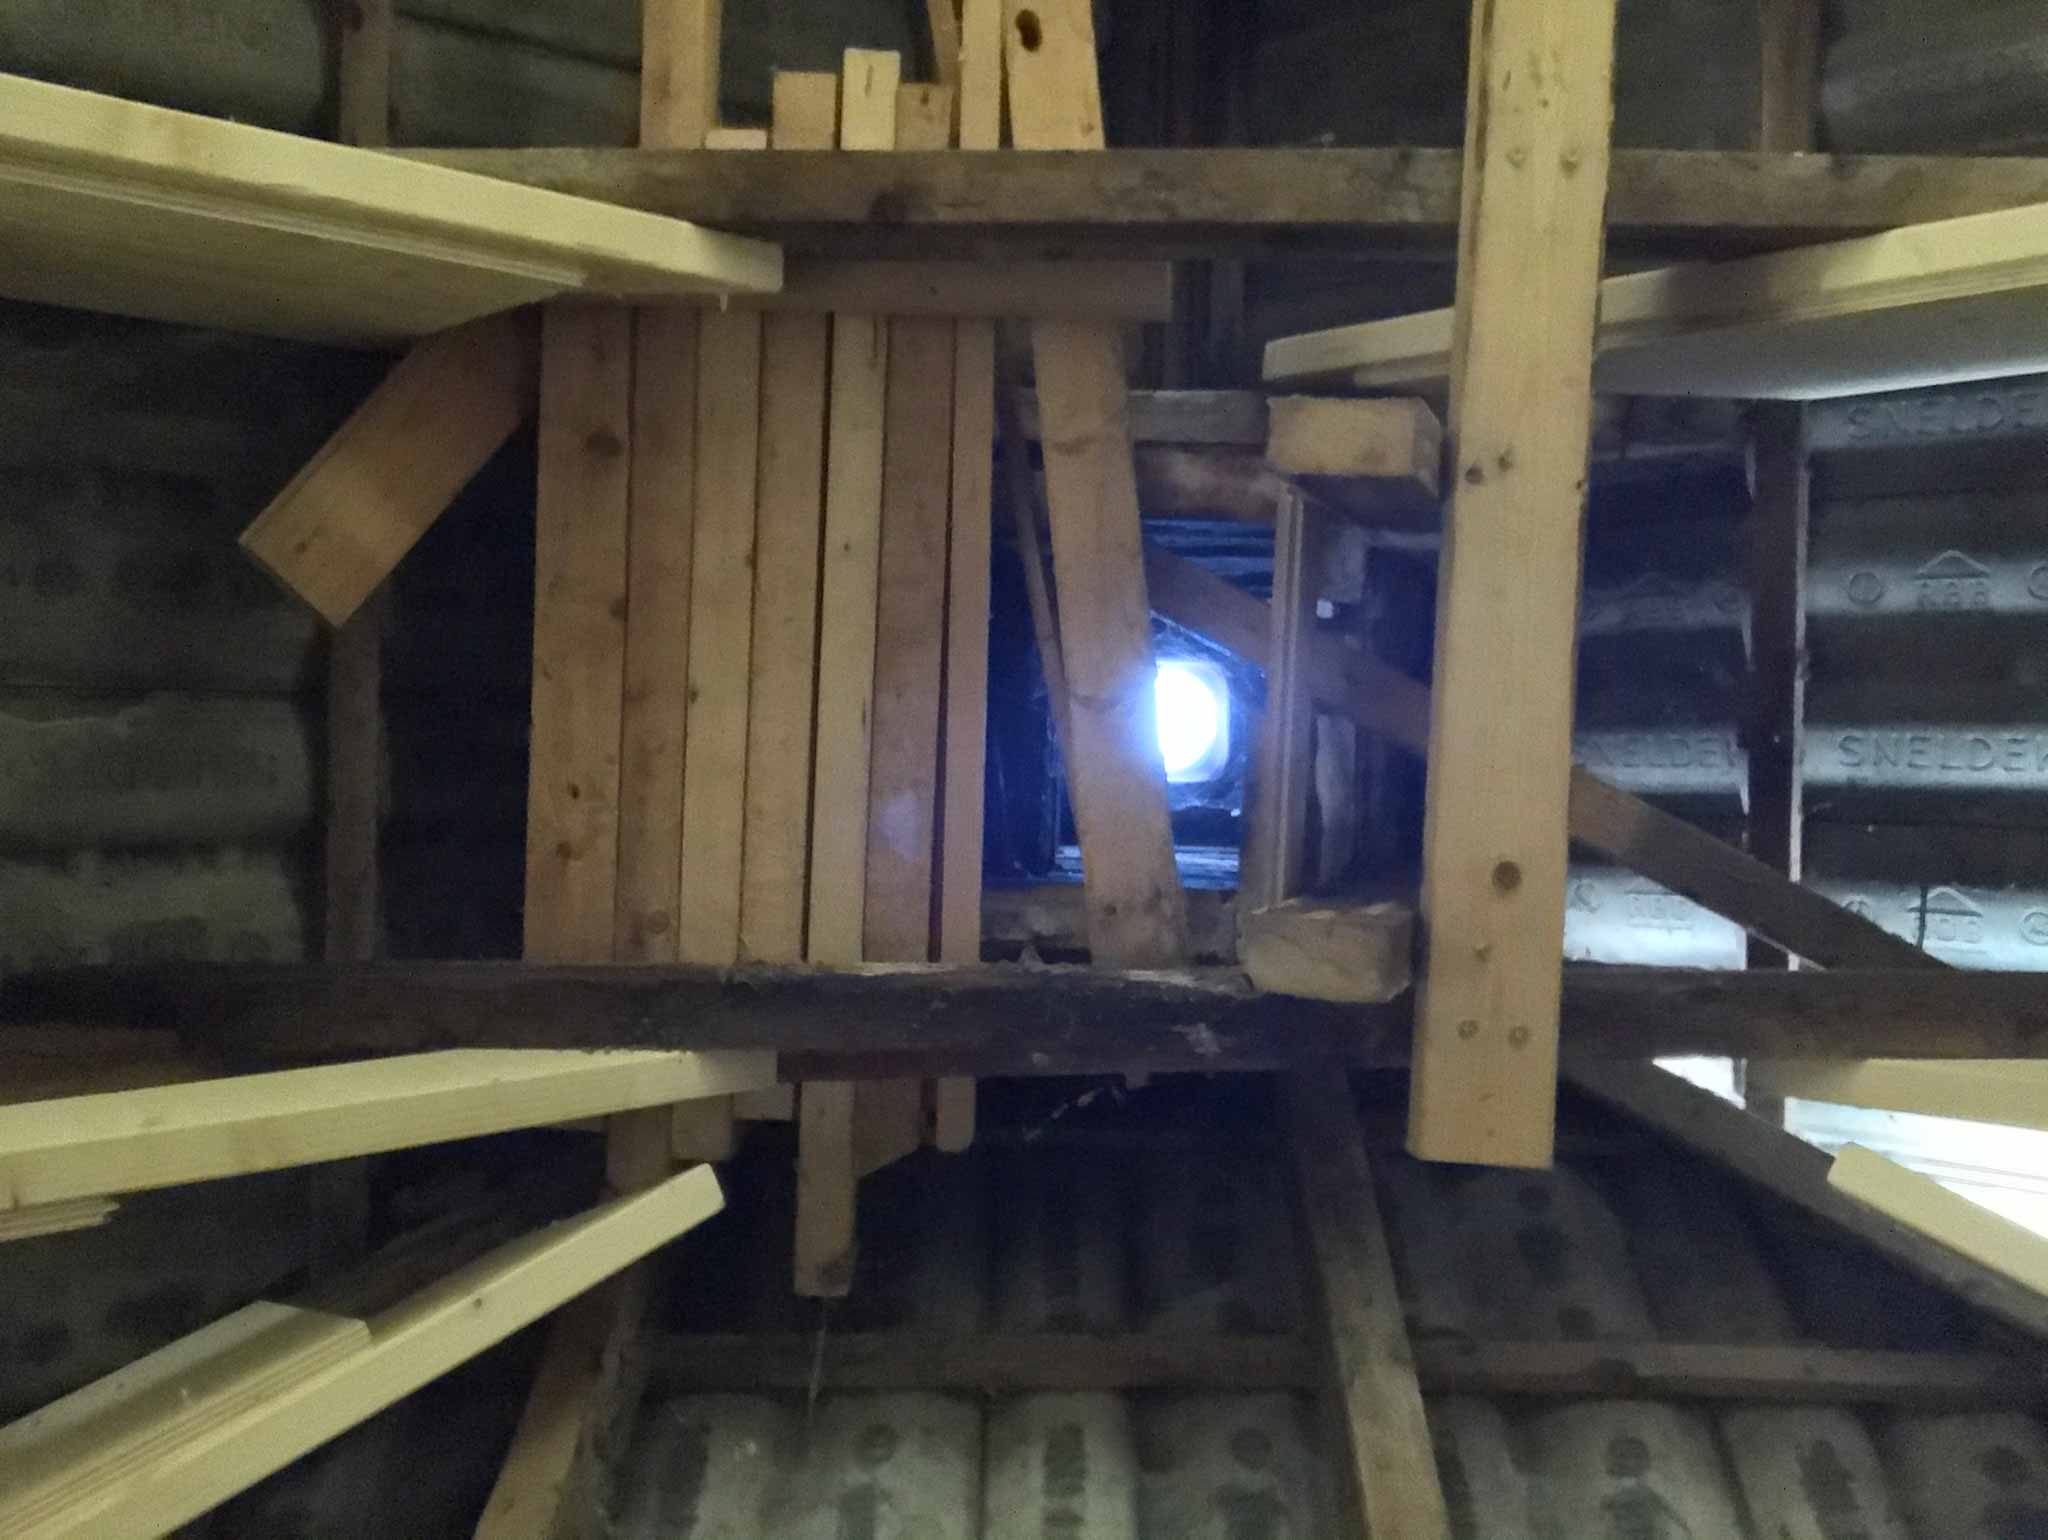
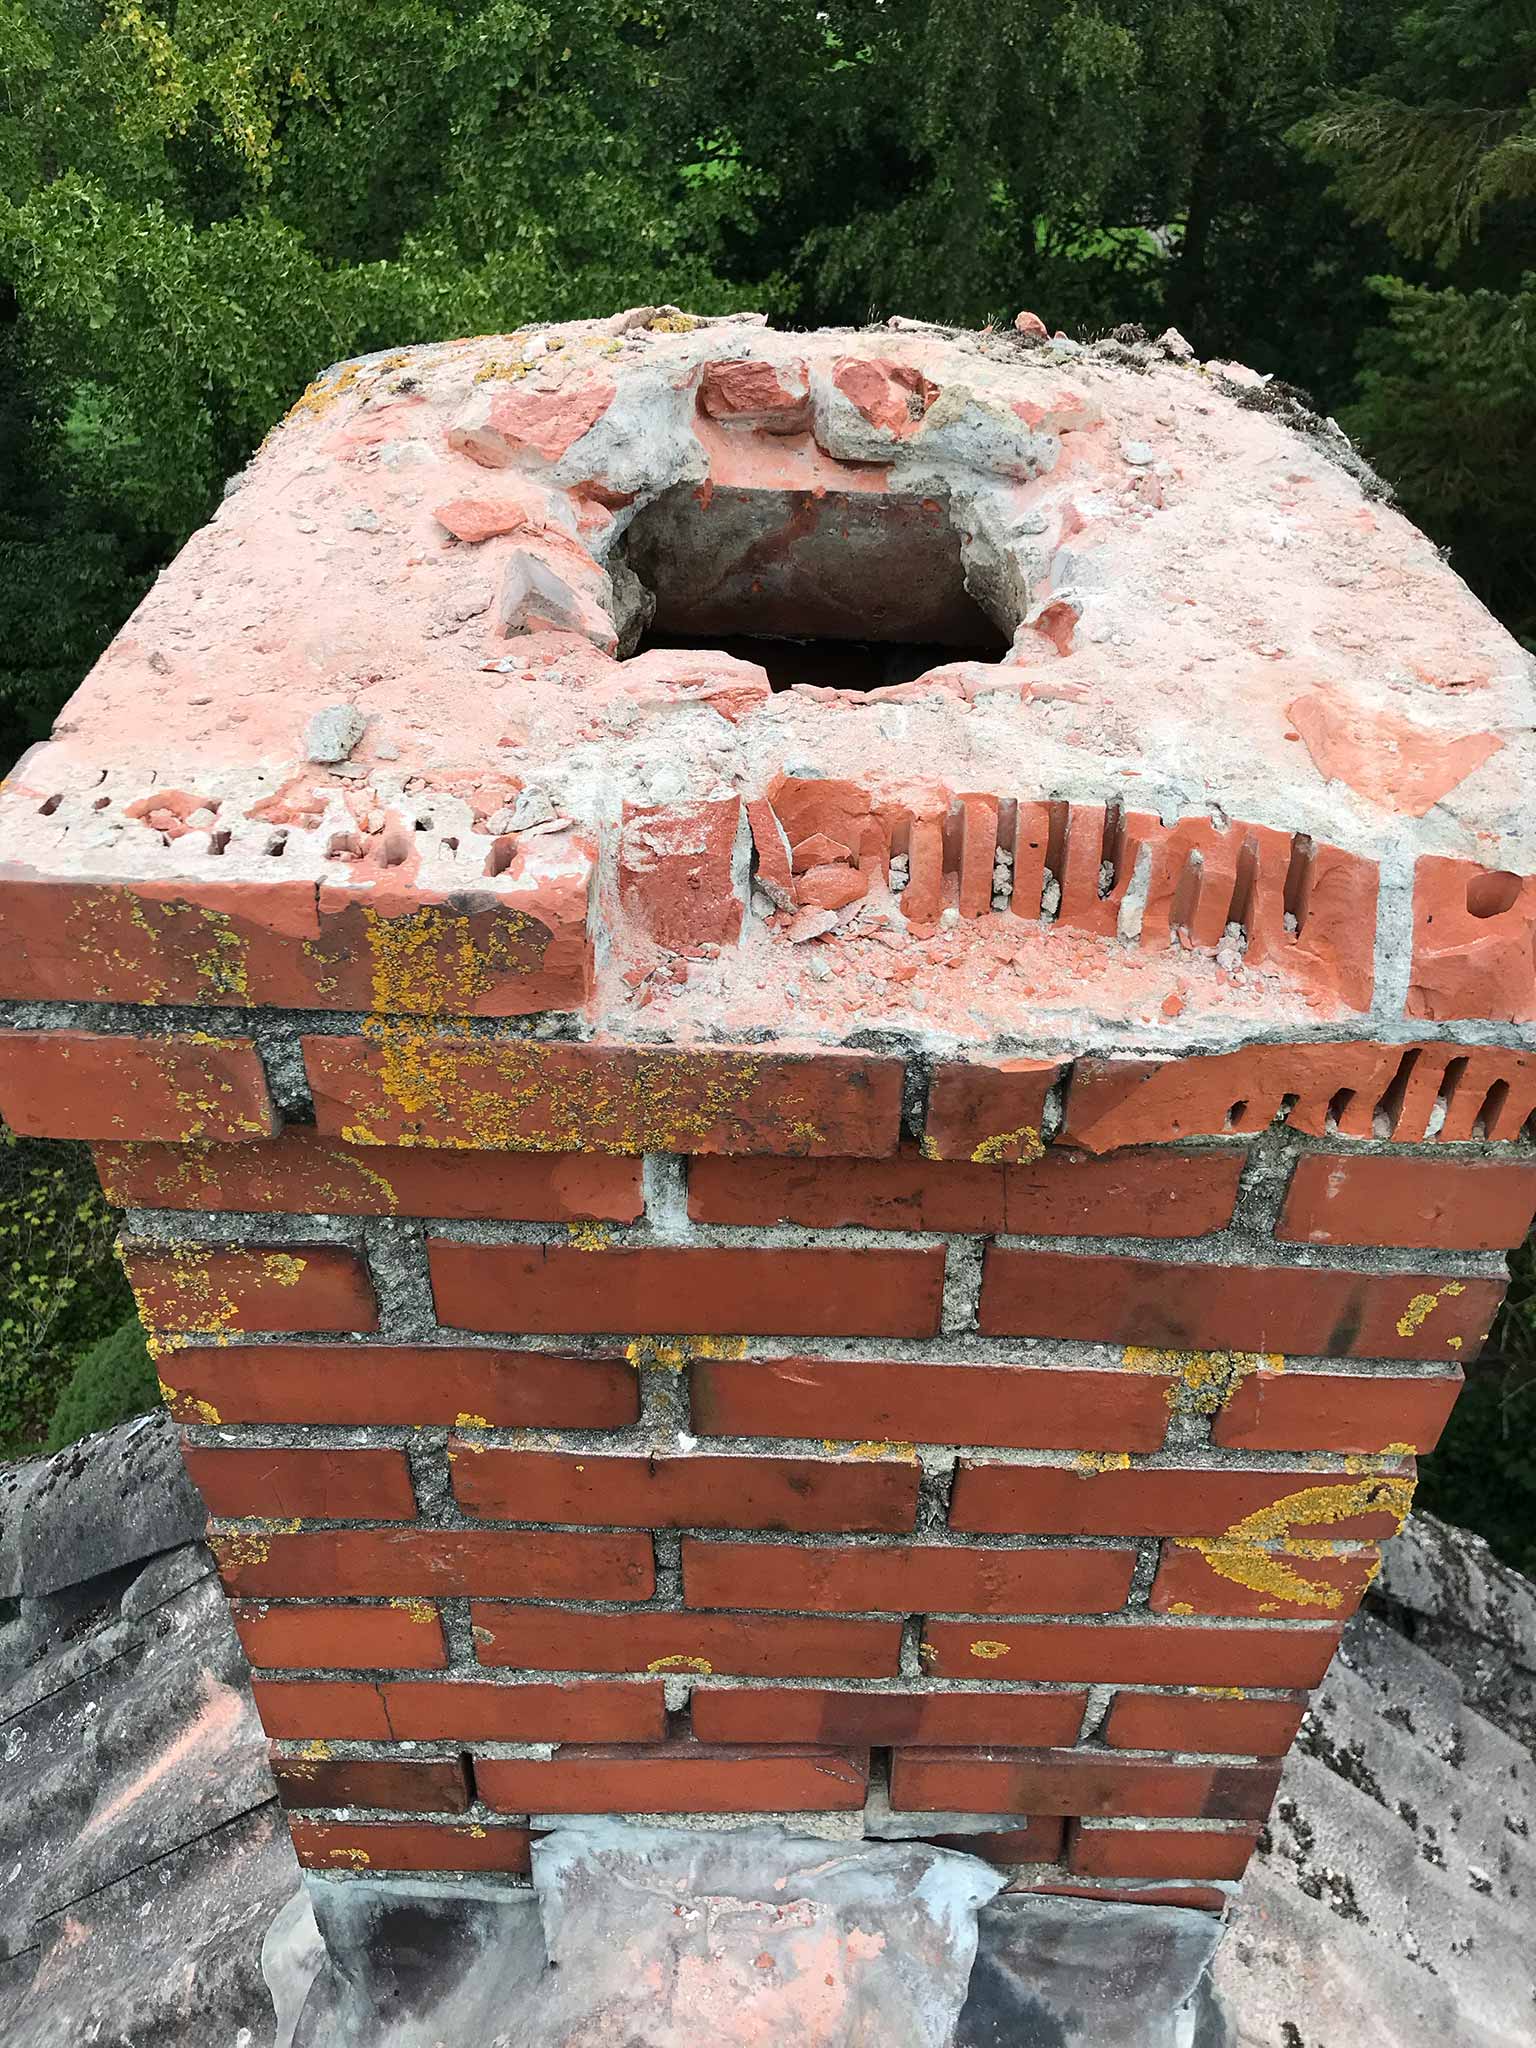
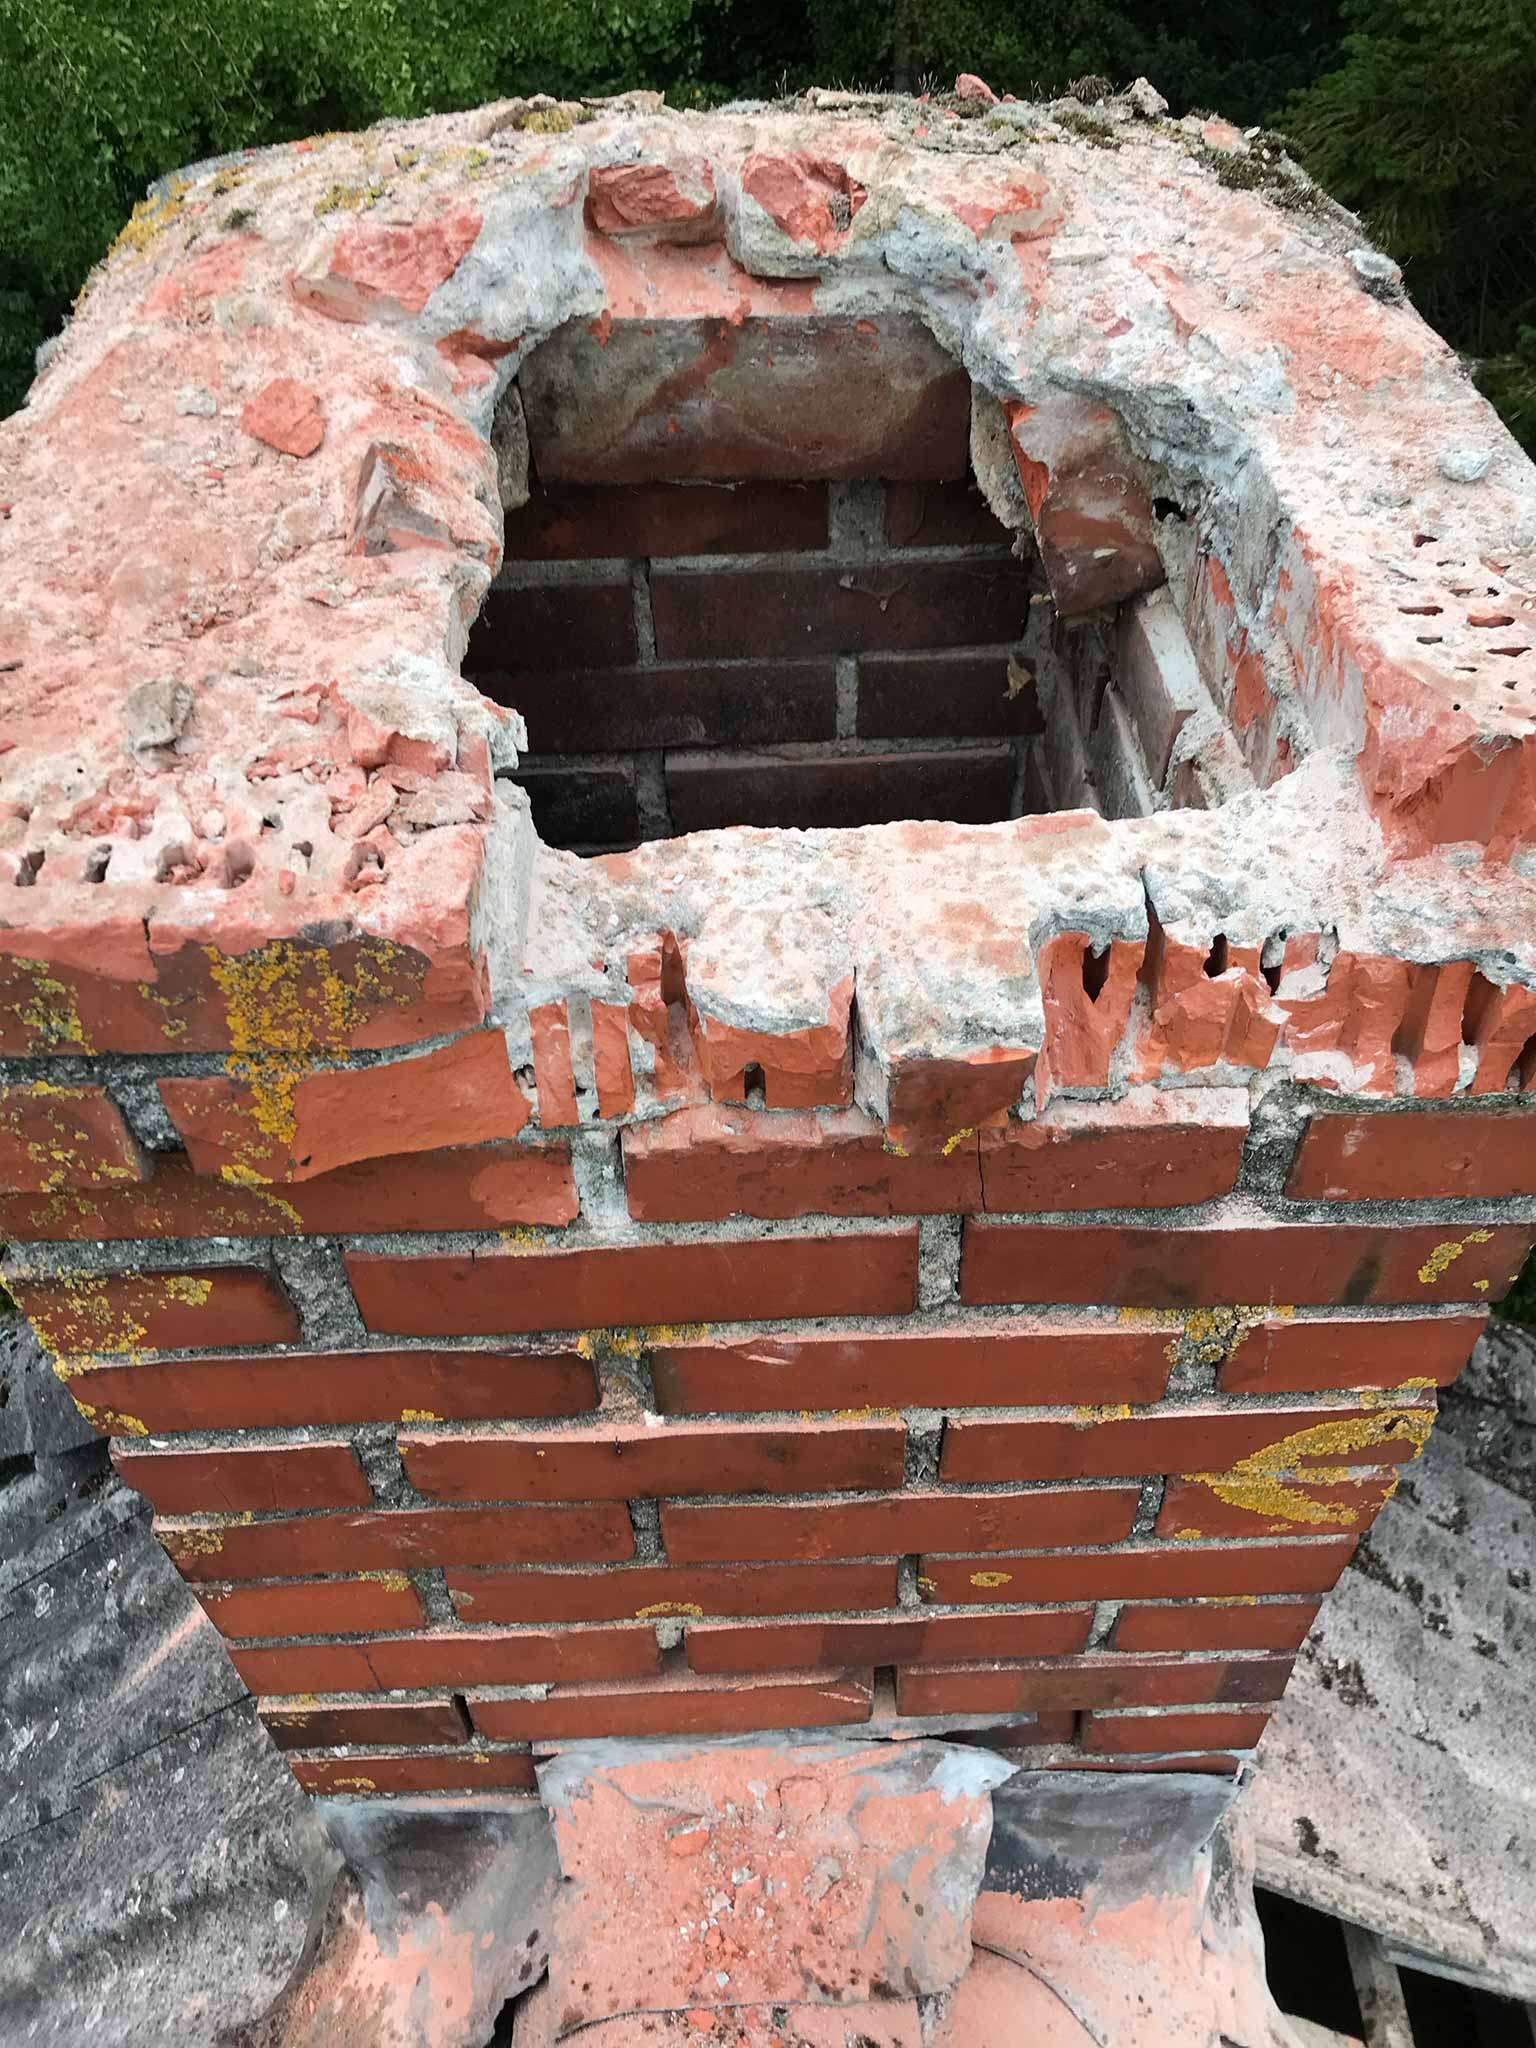
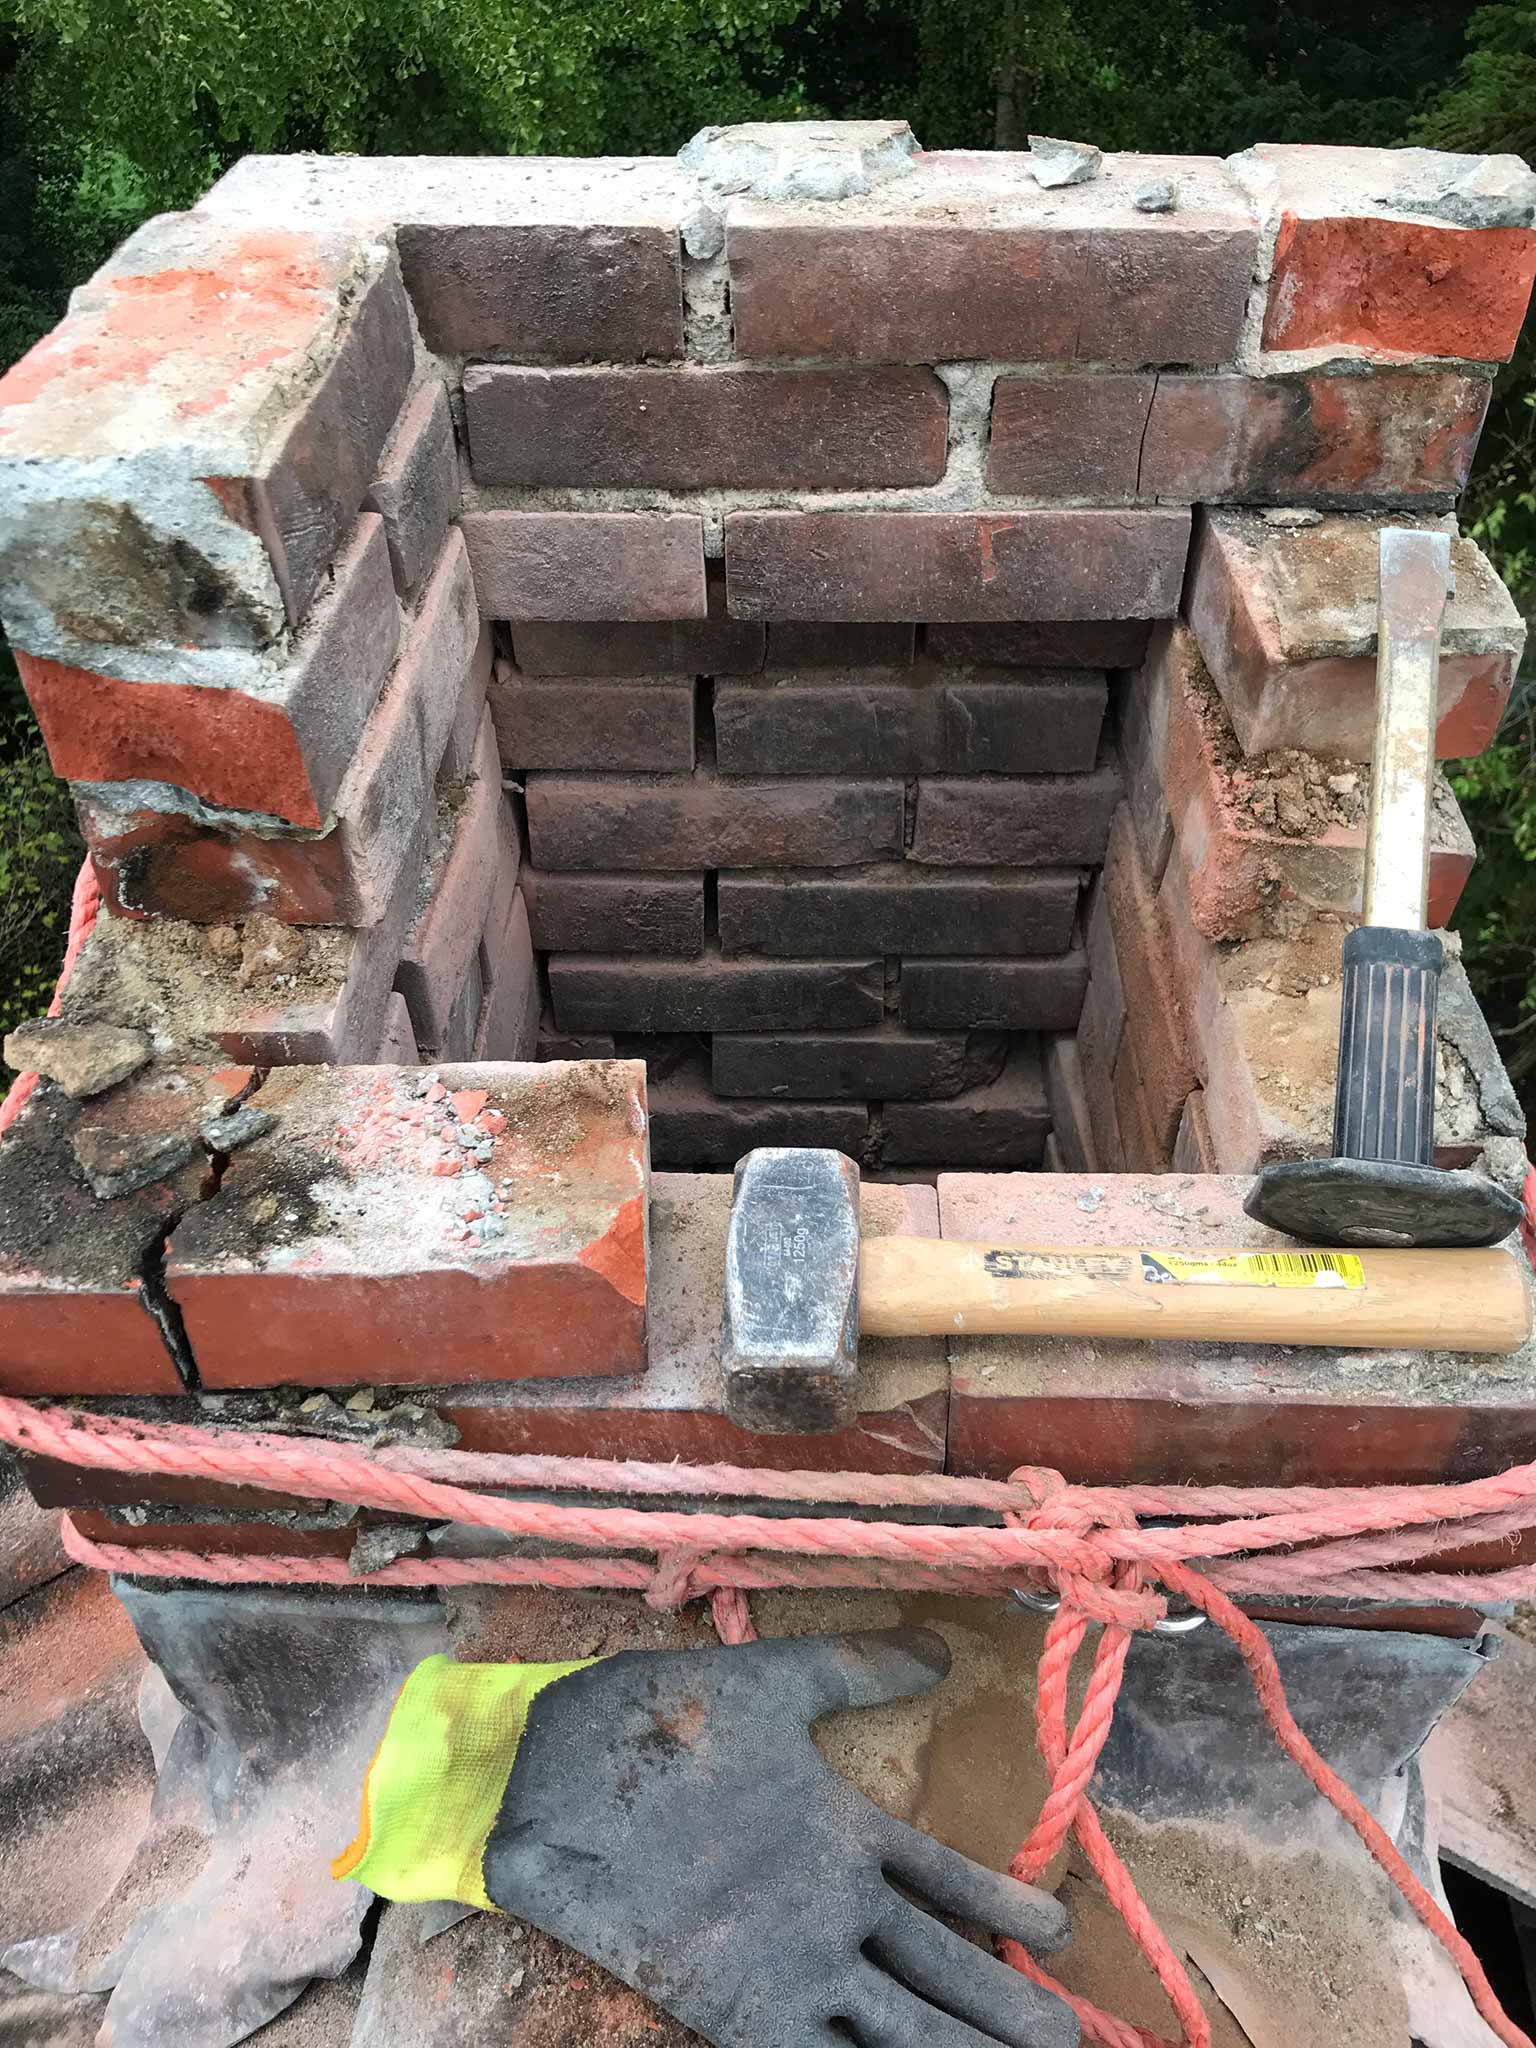
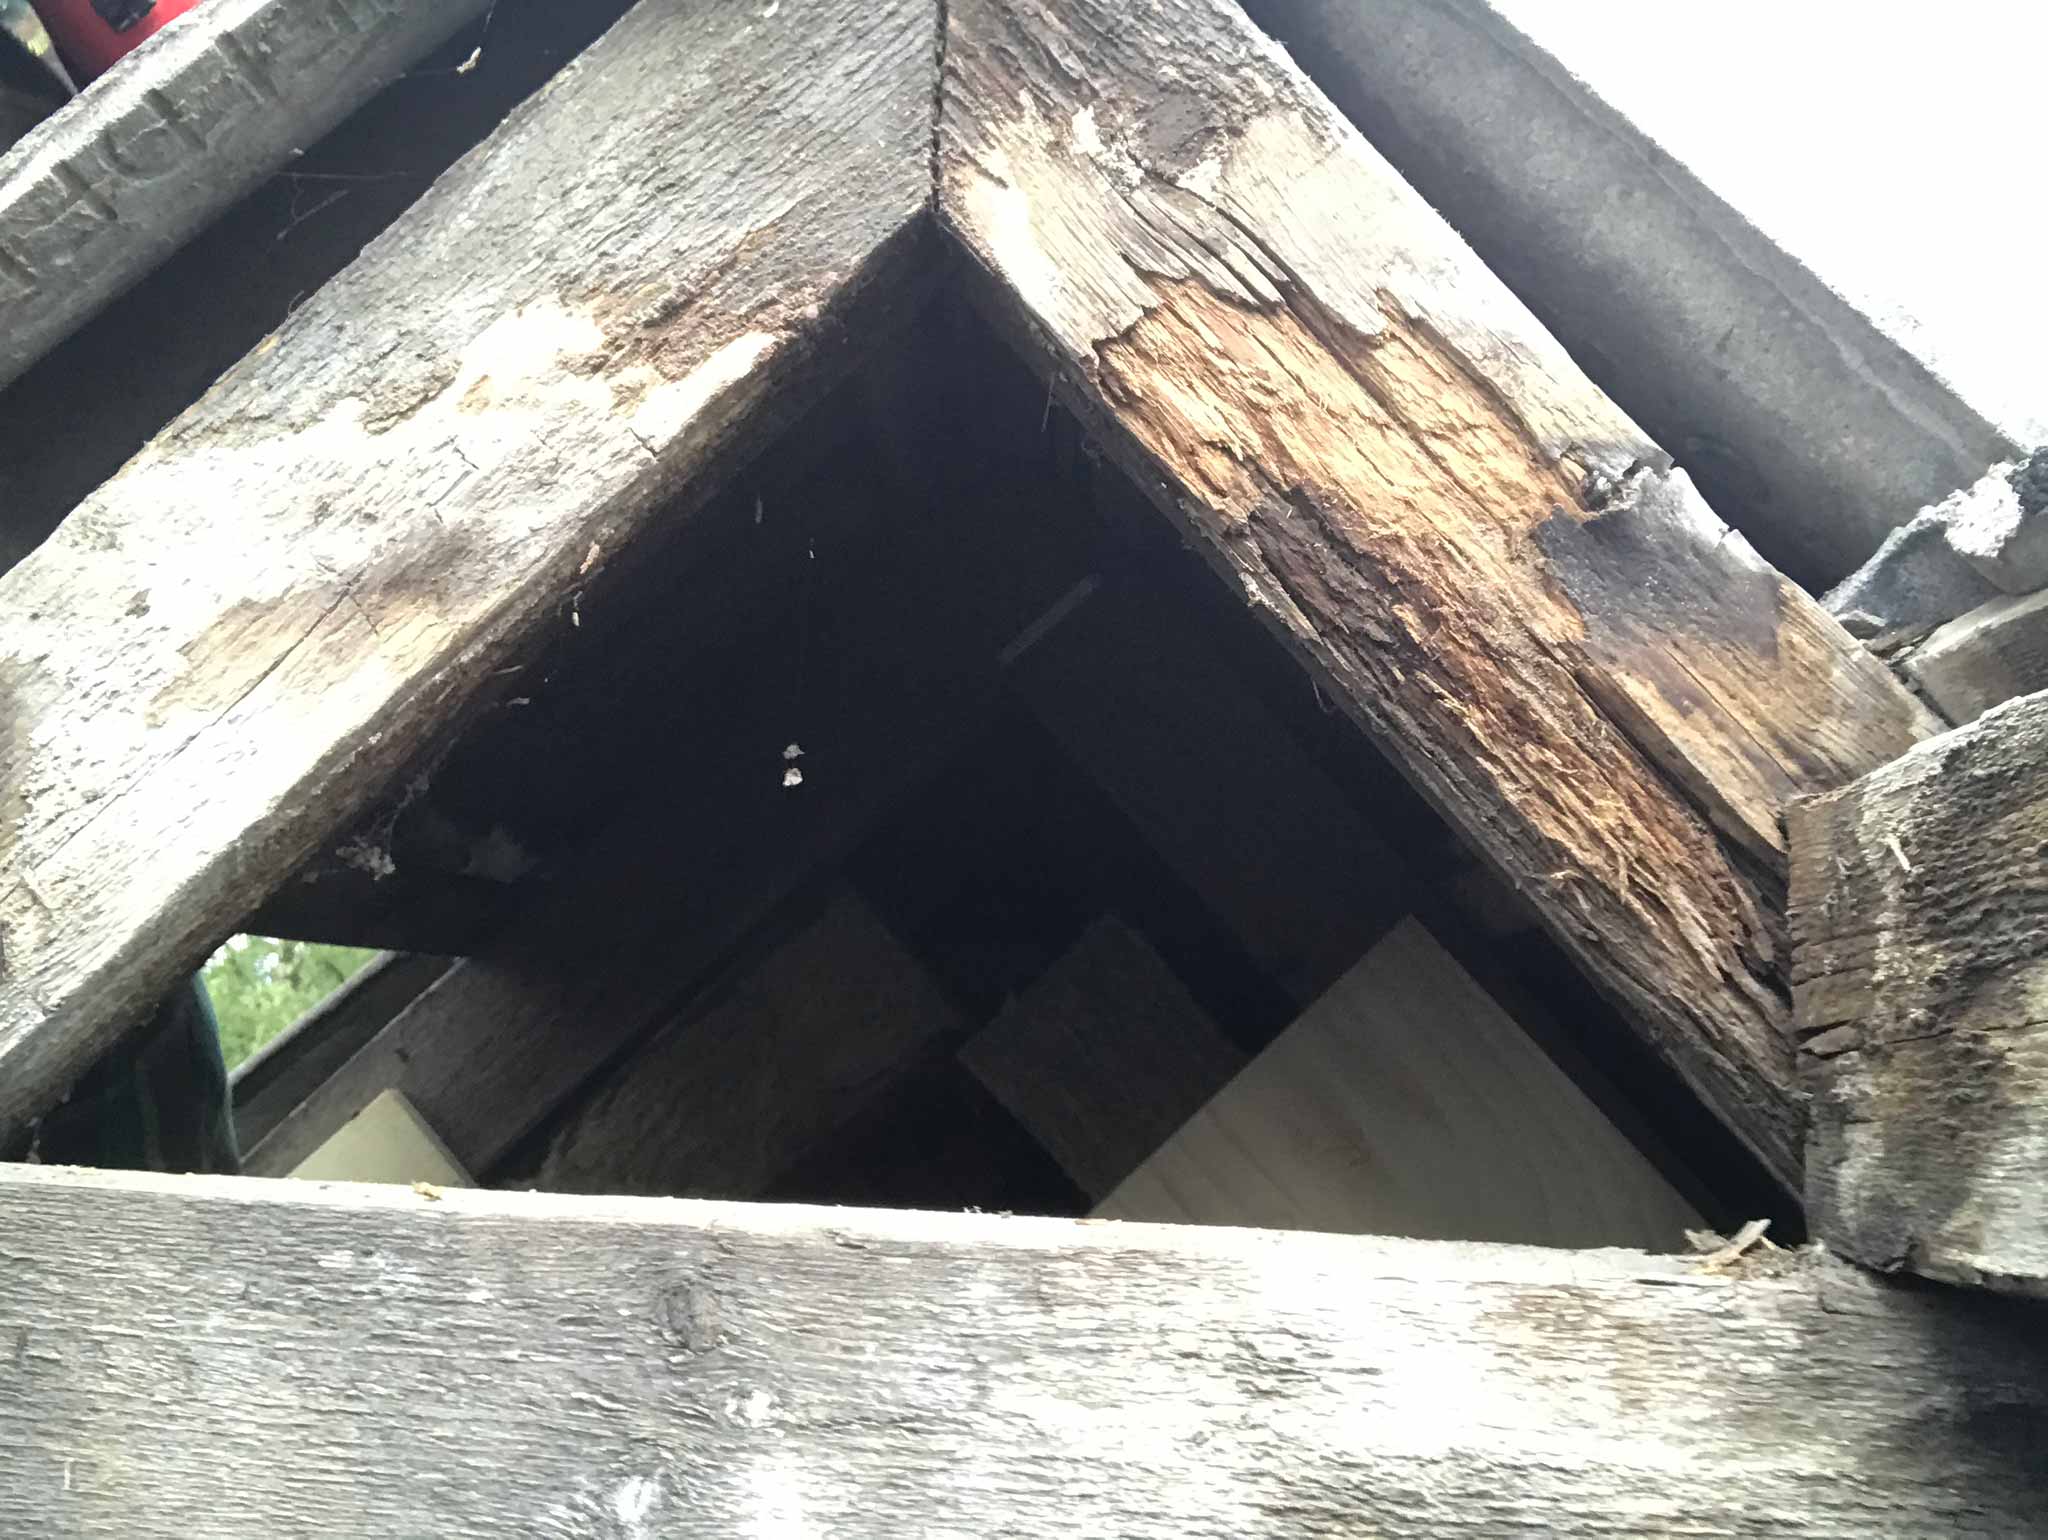
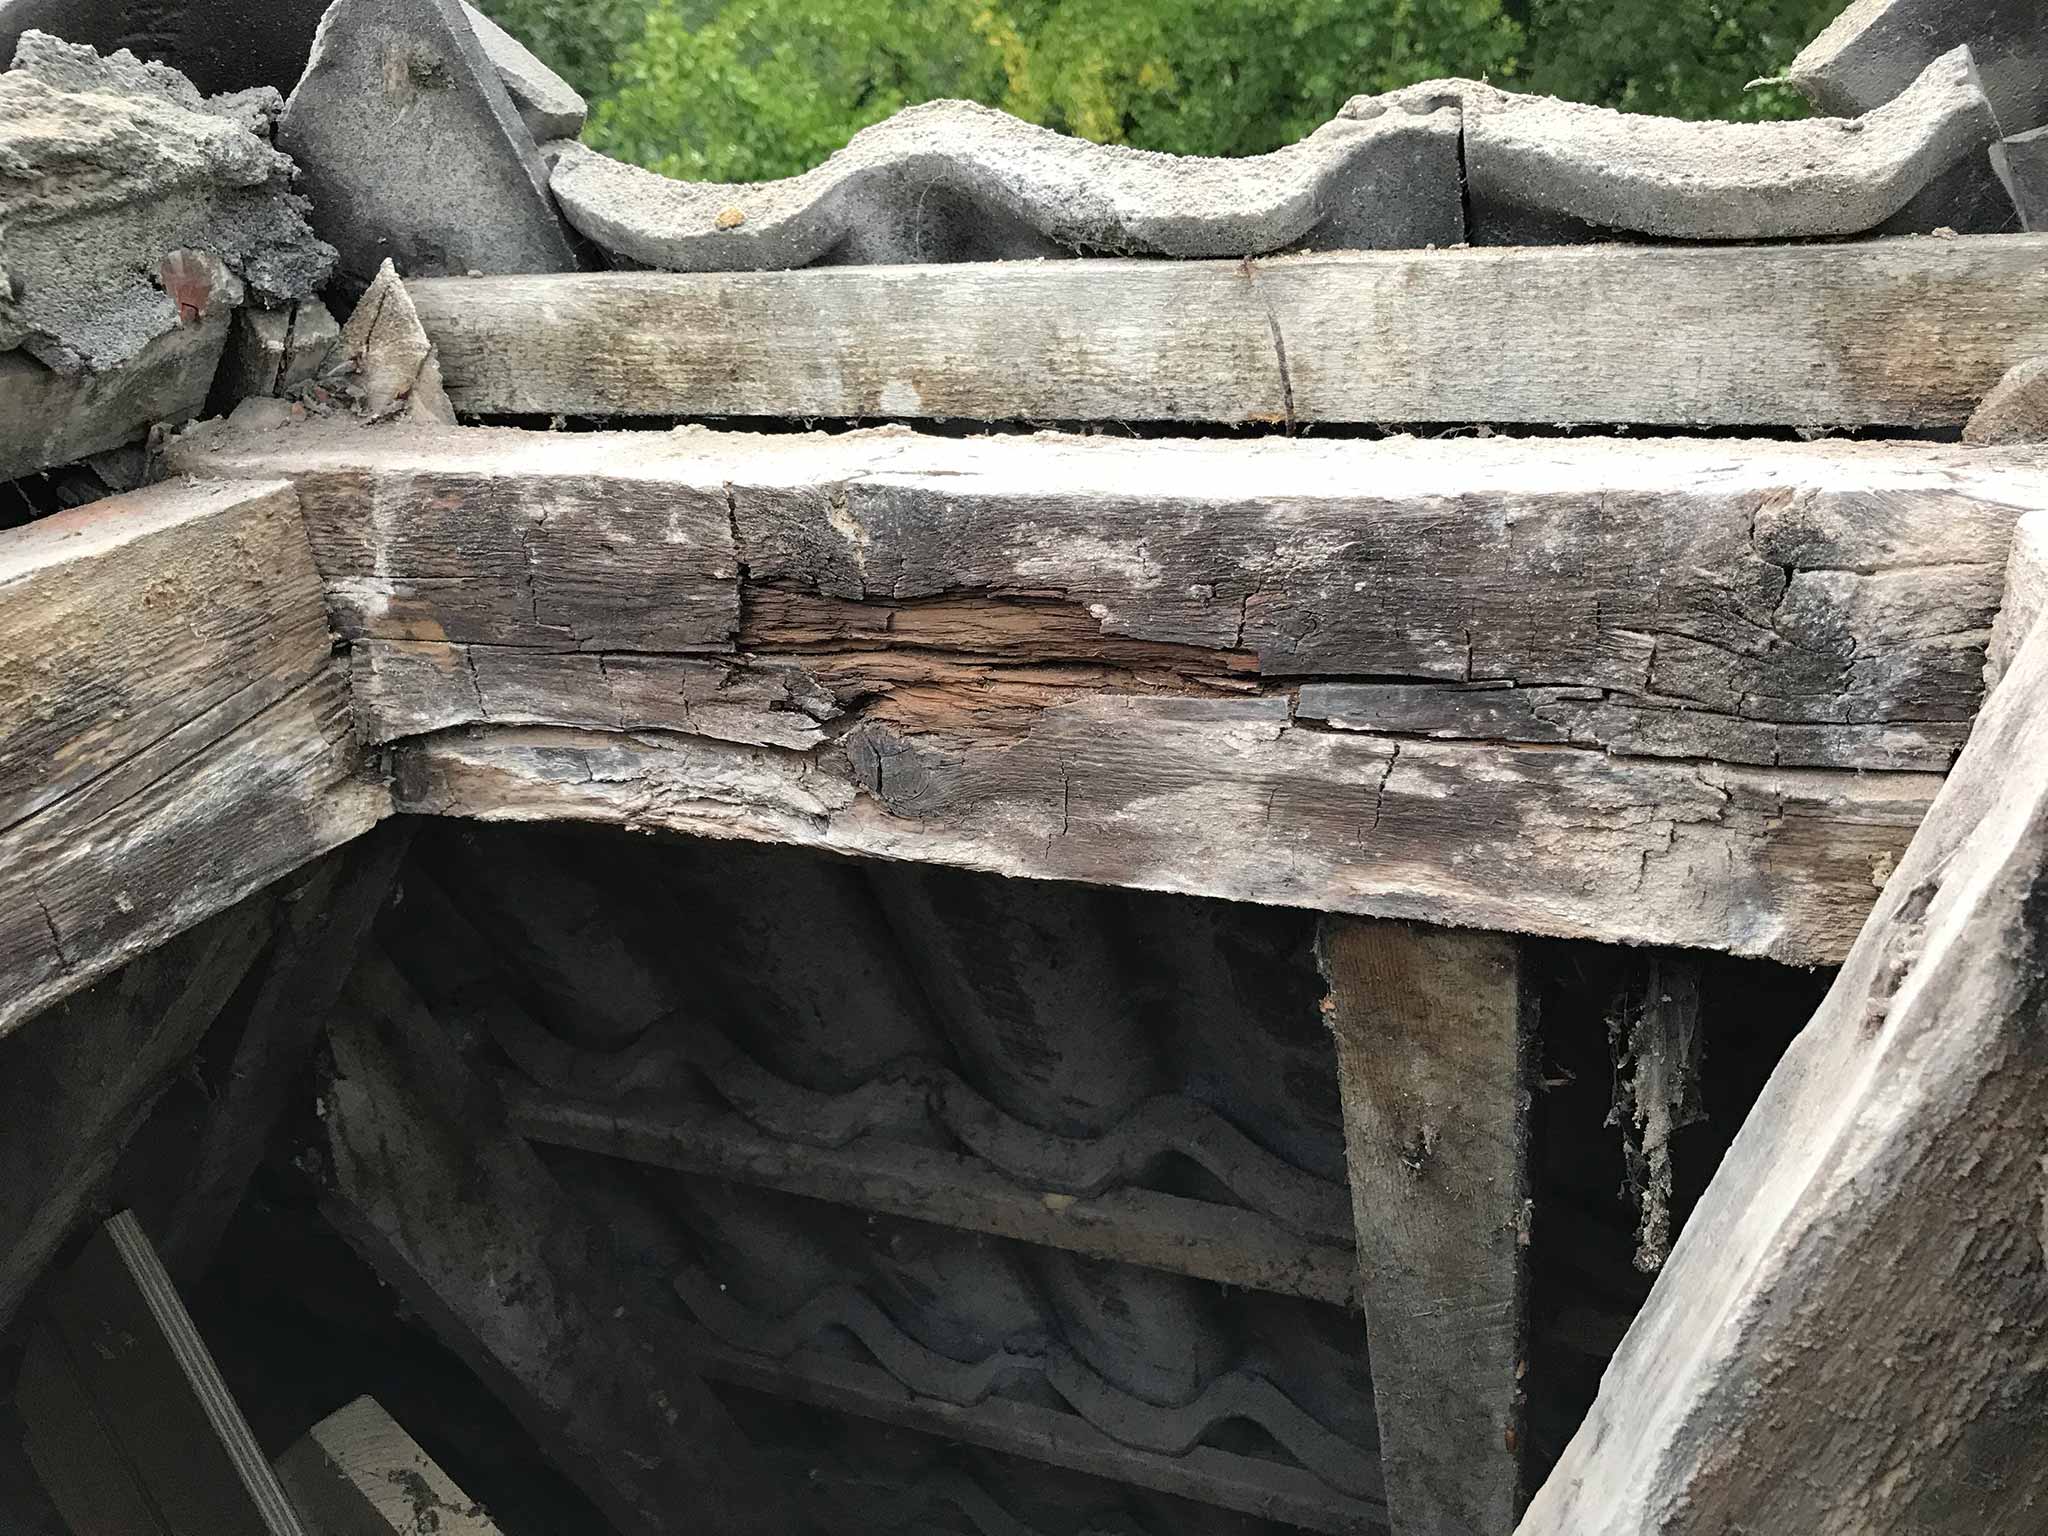
A closer look at the chimney revealed it was not in the best condition. From down below, grouting appeared to be partially gone but from above, it was clear you could inspect the inside of the chimney from the outside…
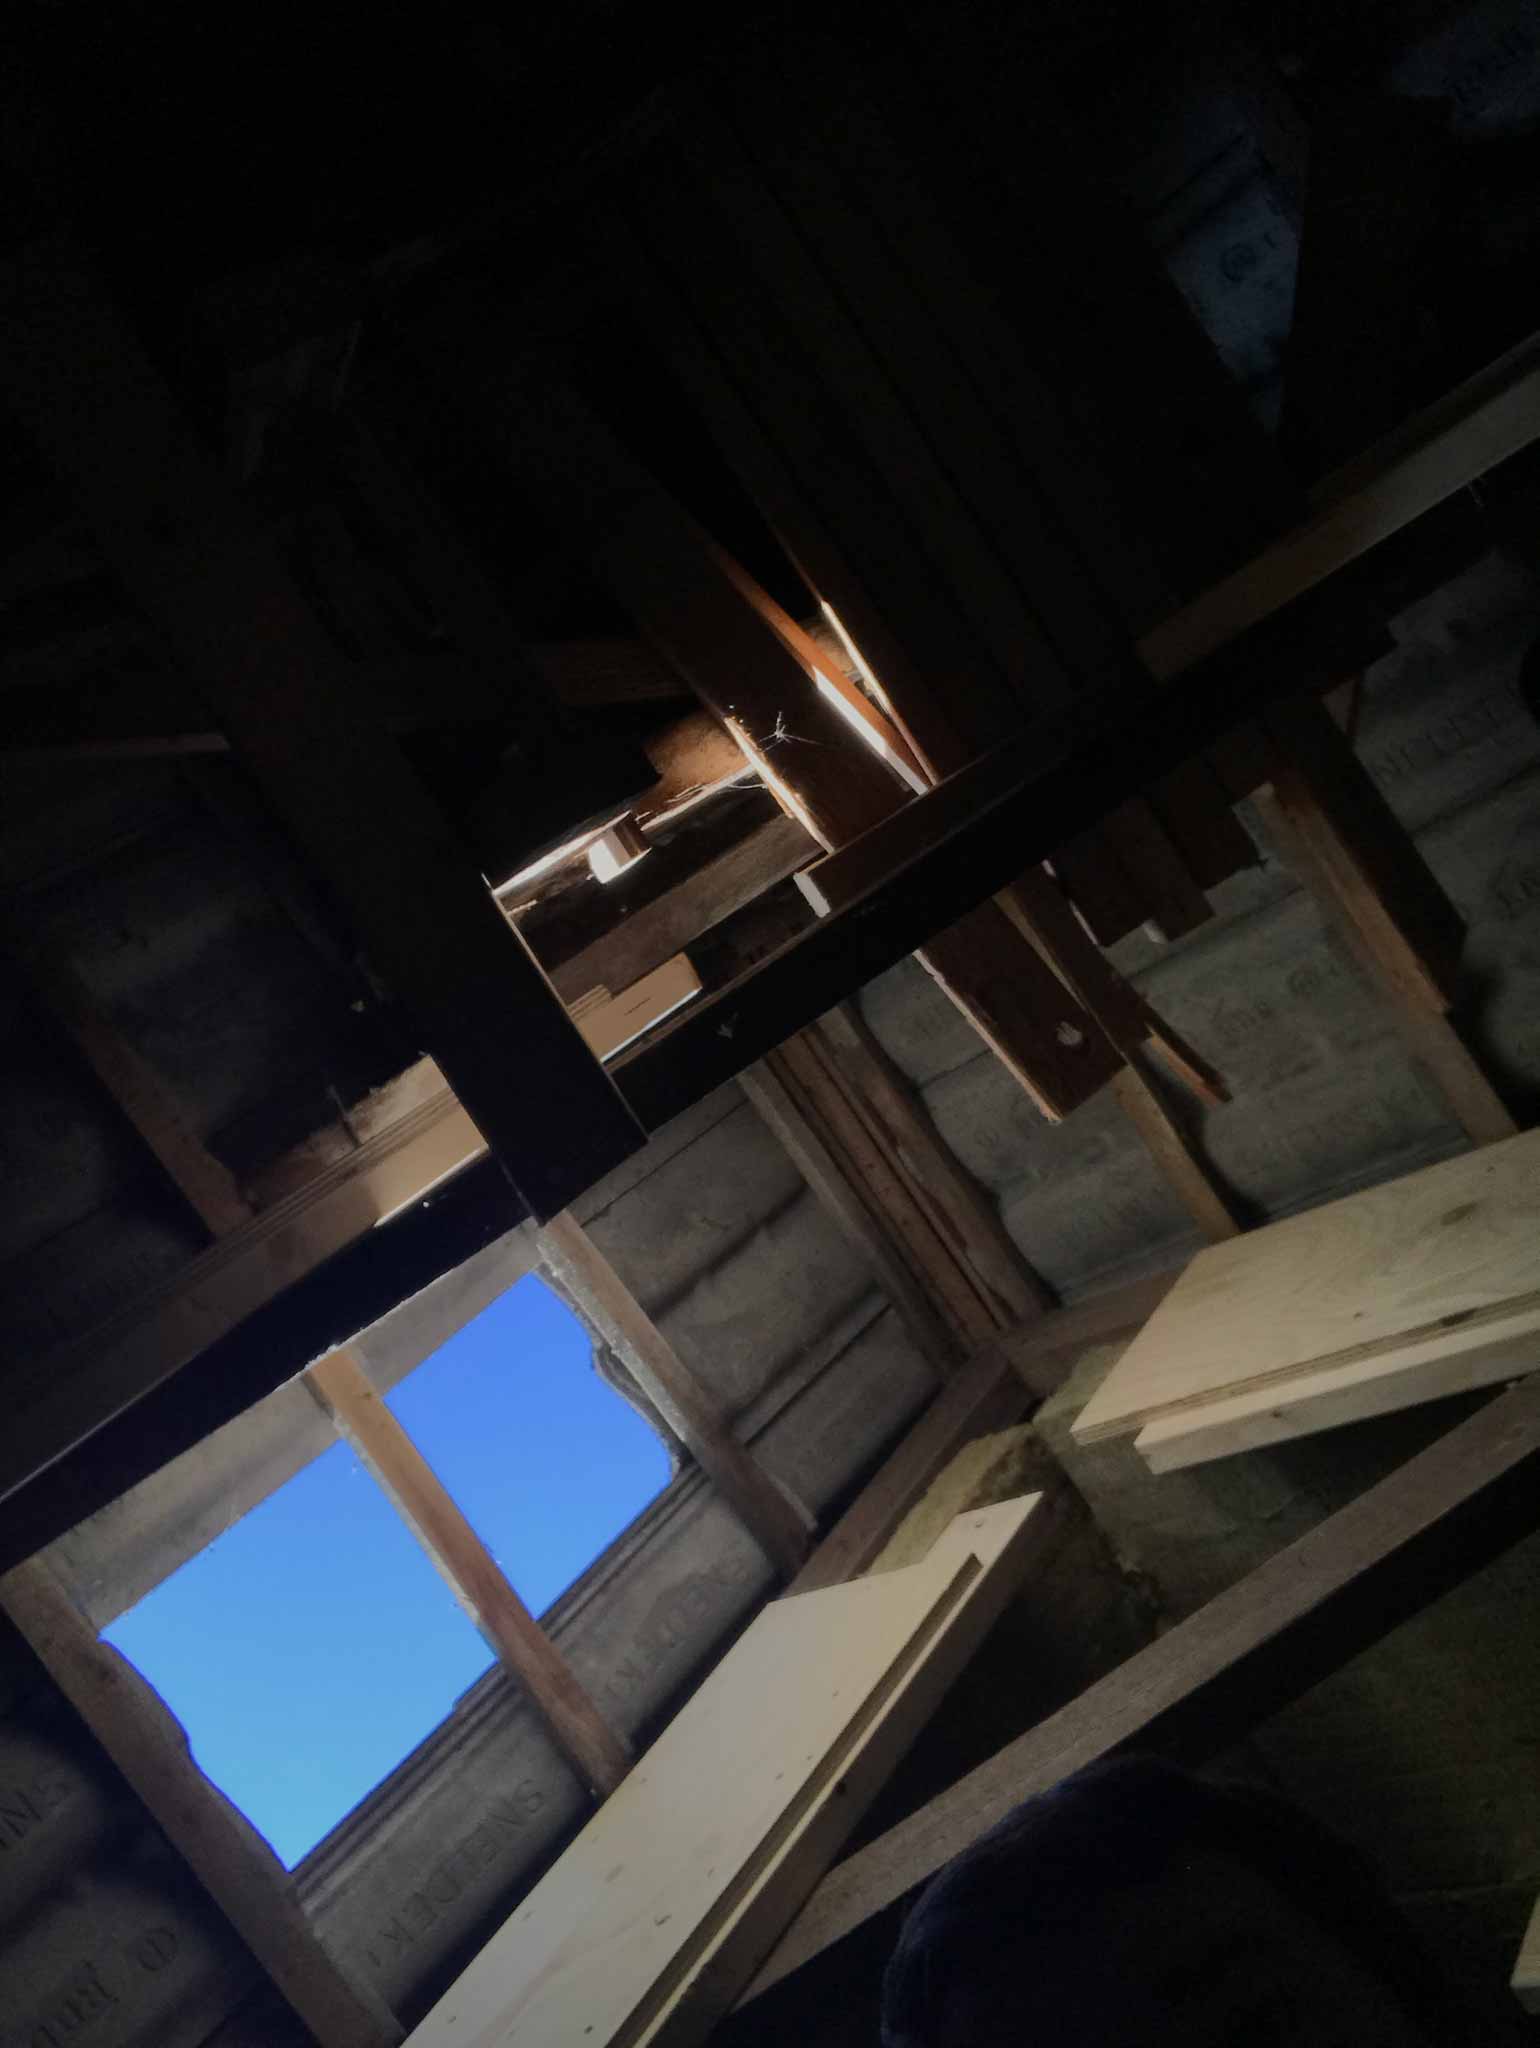
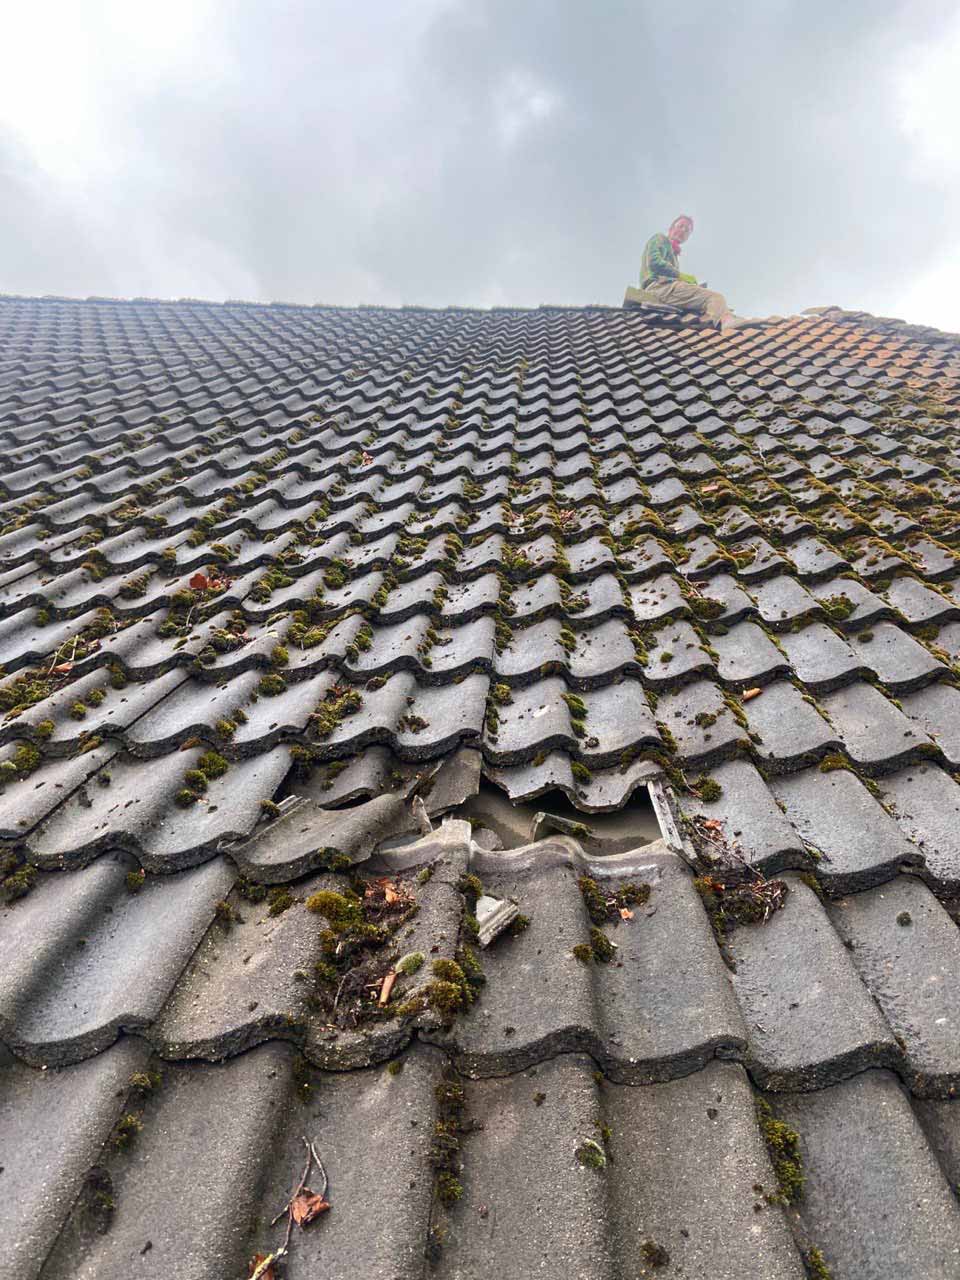
So, time to get up there with the chisel small demolition hamer. We don’t have ladders that long, so we had to go through the roof.
Sitting on the rooftop like riding a horse turned out to be an unpleasant experience. Having to exert force at 7 meter high with a 300kg pile of brick next to you that must come down and accepted that fate all too eager did not feel good.
I started with a hammer and big chisel. Surprisingly, the top of the chimney was as if it was built yesterday. After one hour chiseling away, I decided to go for the power tools and three more hours later, the top 2 to 3 layers of brick were gone.

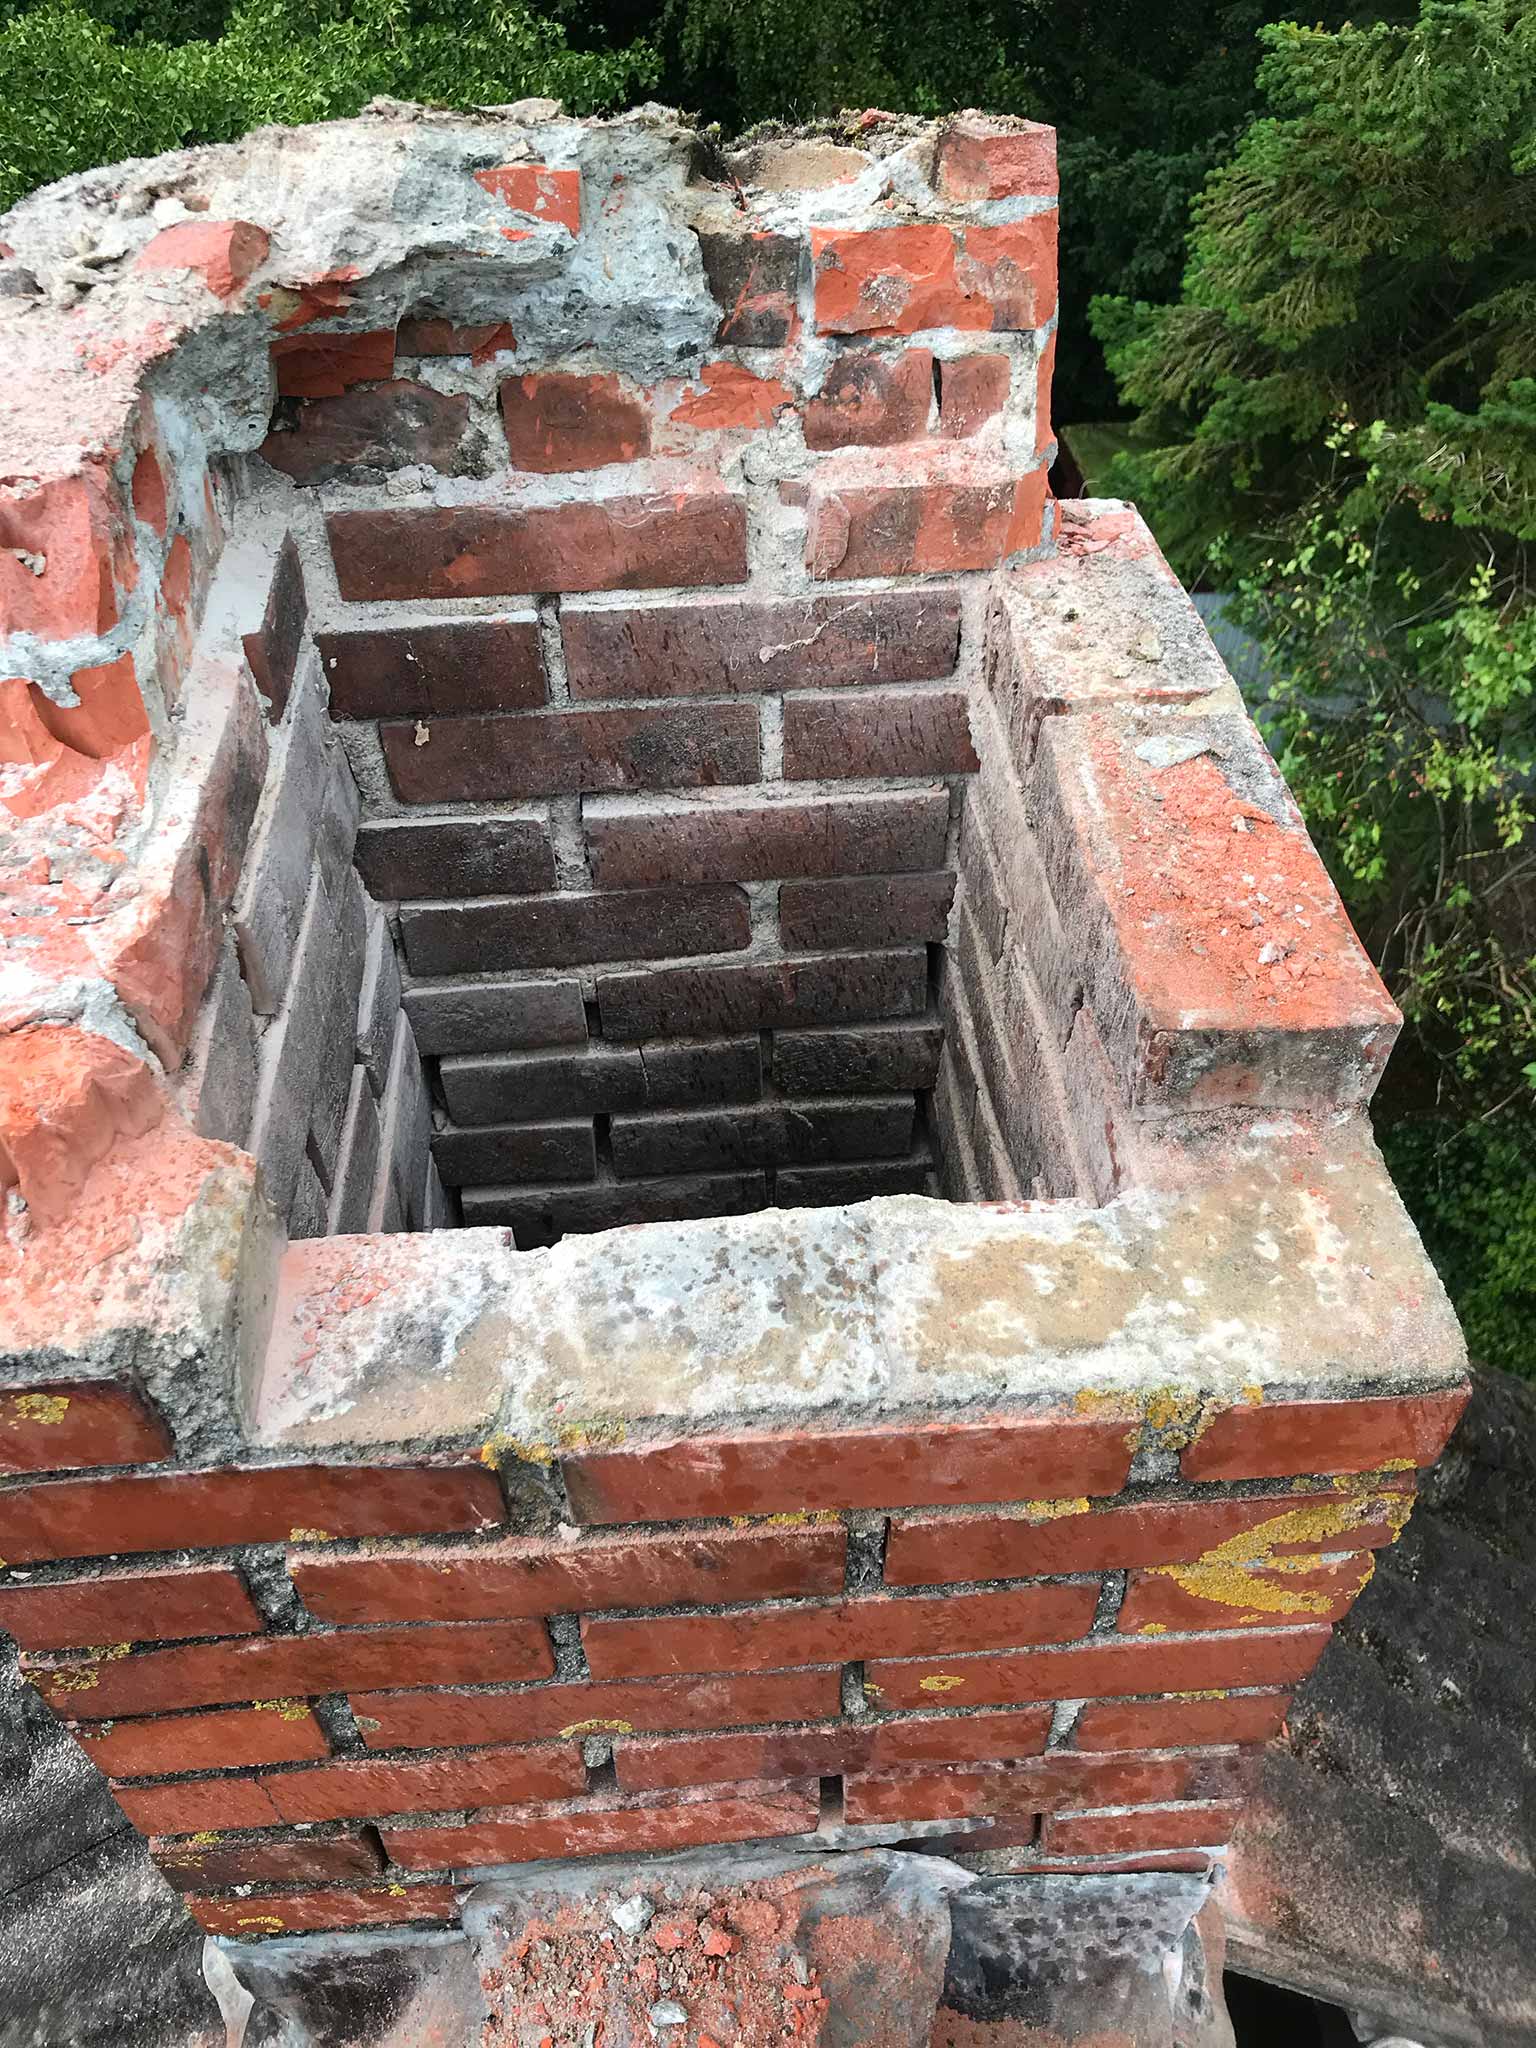
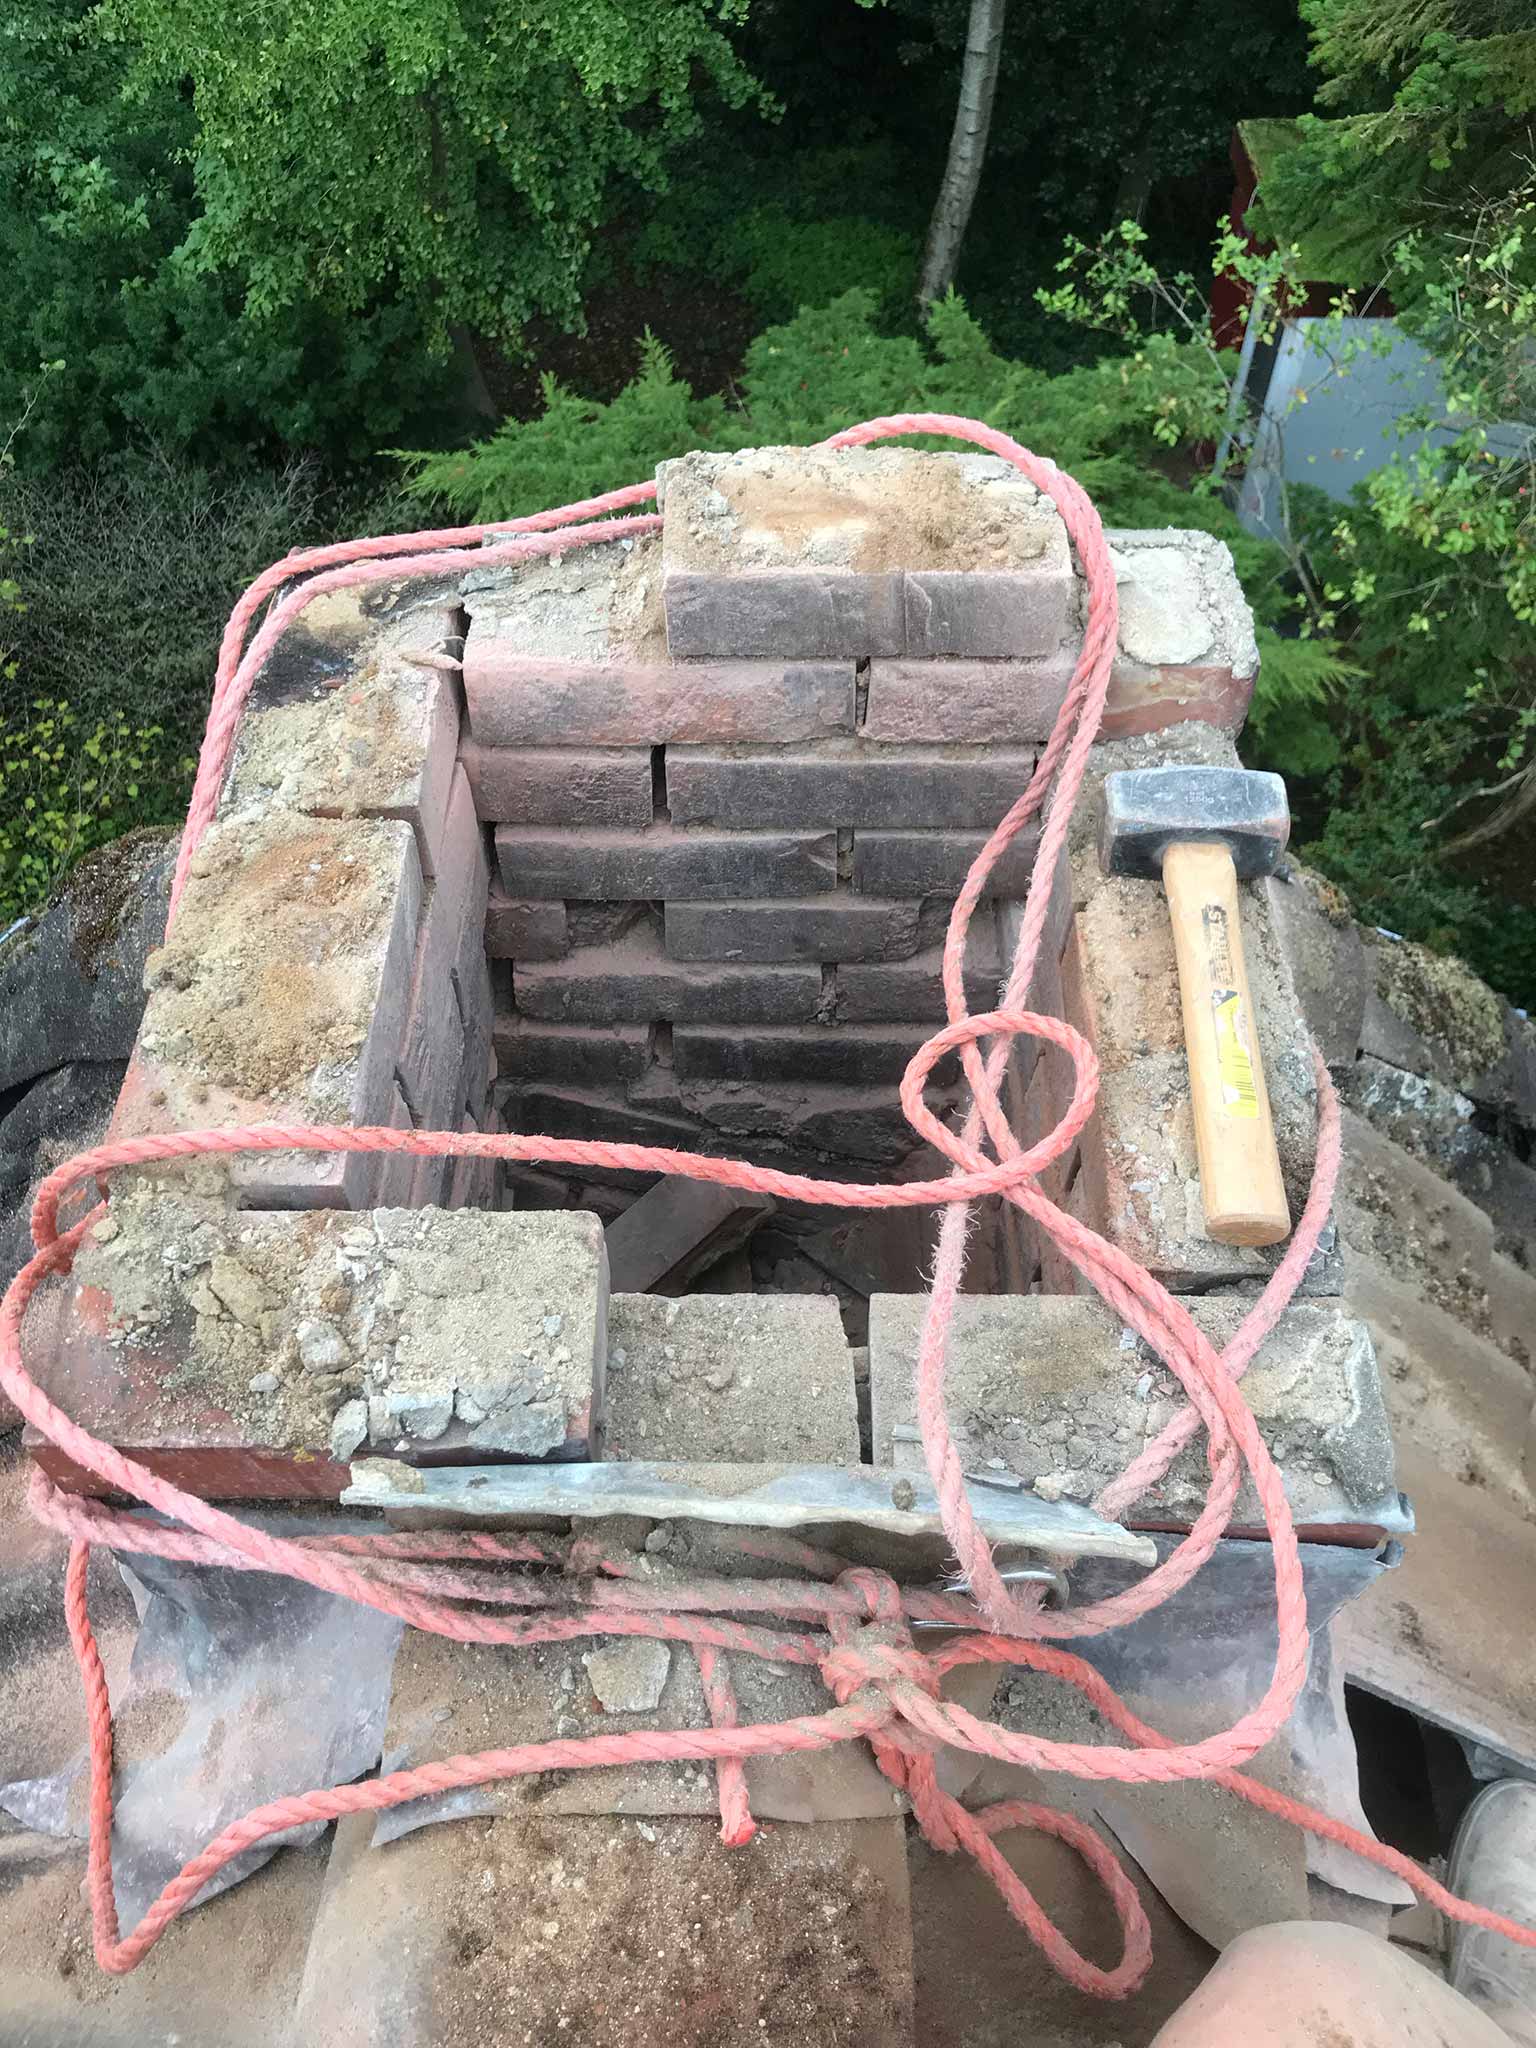
When that was done, cracks started to appear ‘everywhere’. Things were getting a bit unstable and I did not want a bunch of bricks tumbling down past about 20 rows of roof tiles (by that time I had already shattered three roof tiles by throwing down a single brick and the remaining ones were gently passed through the hole in the roof).
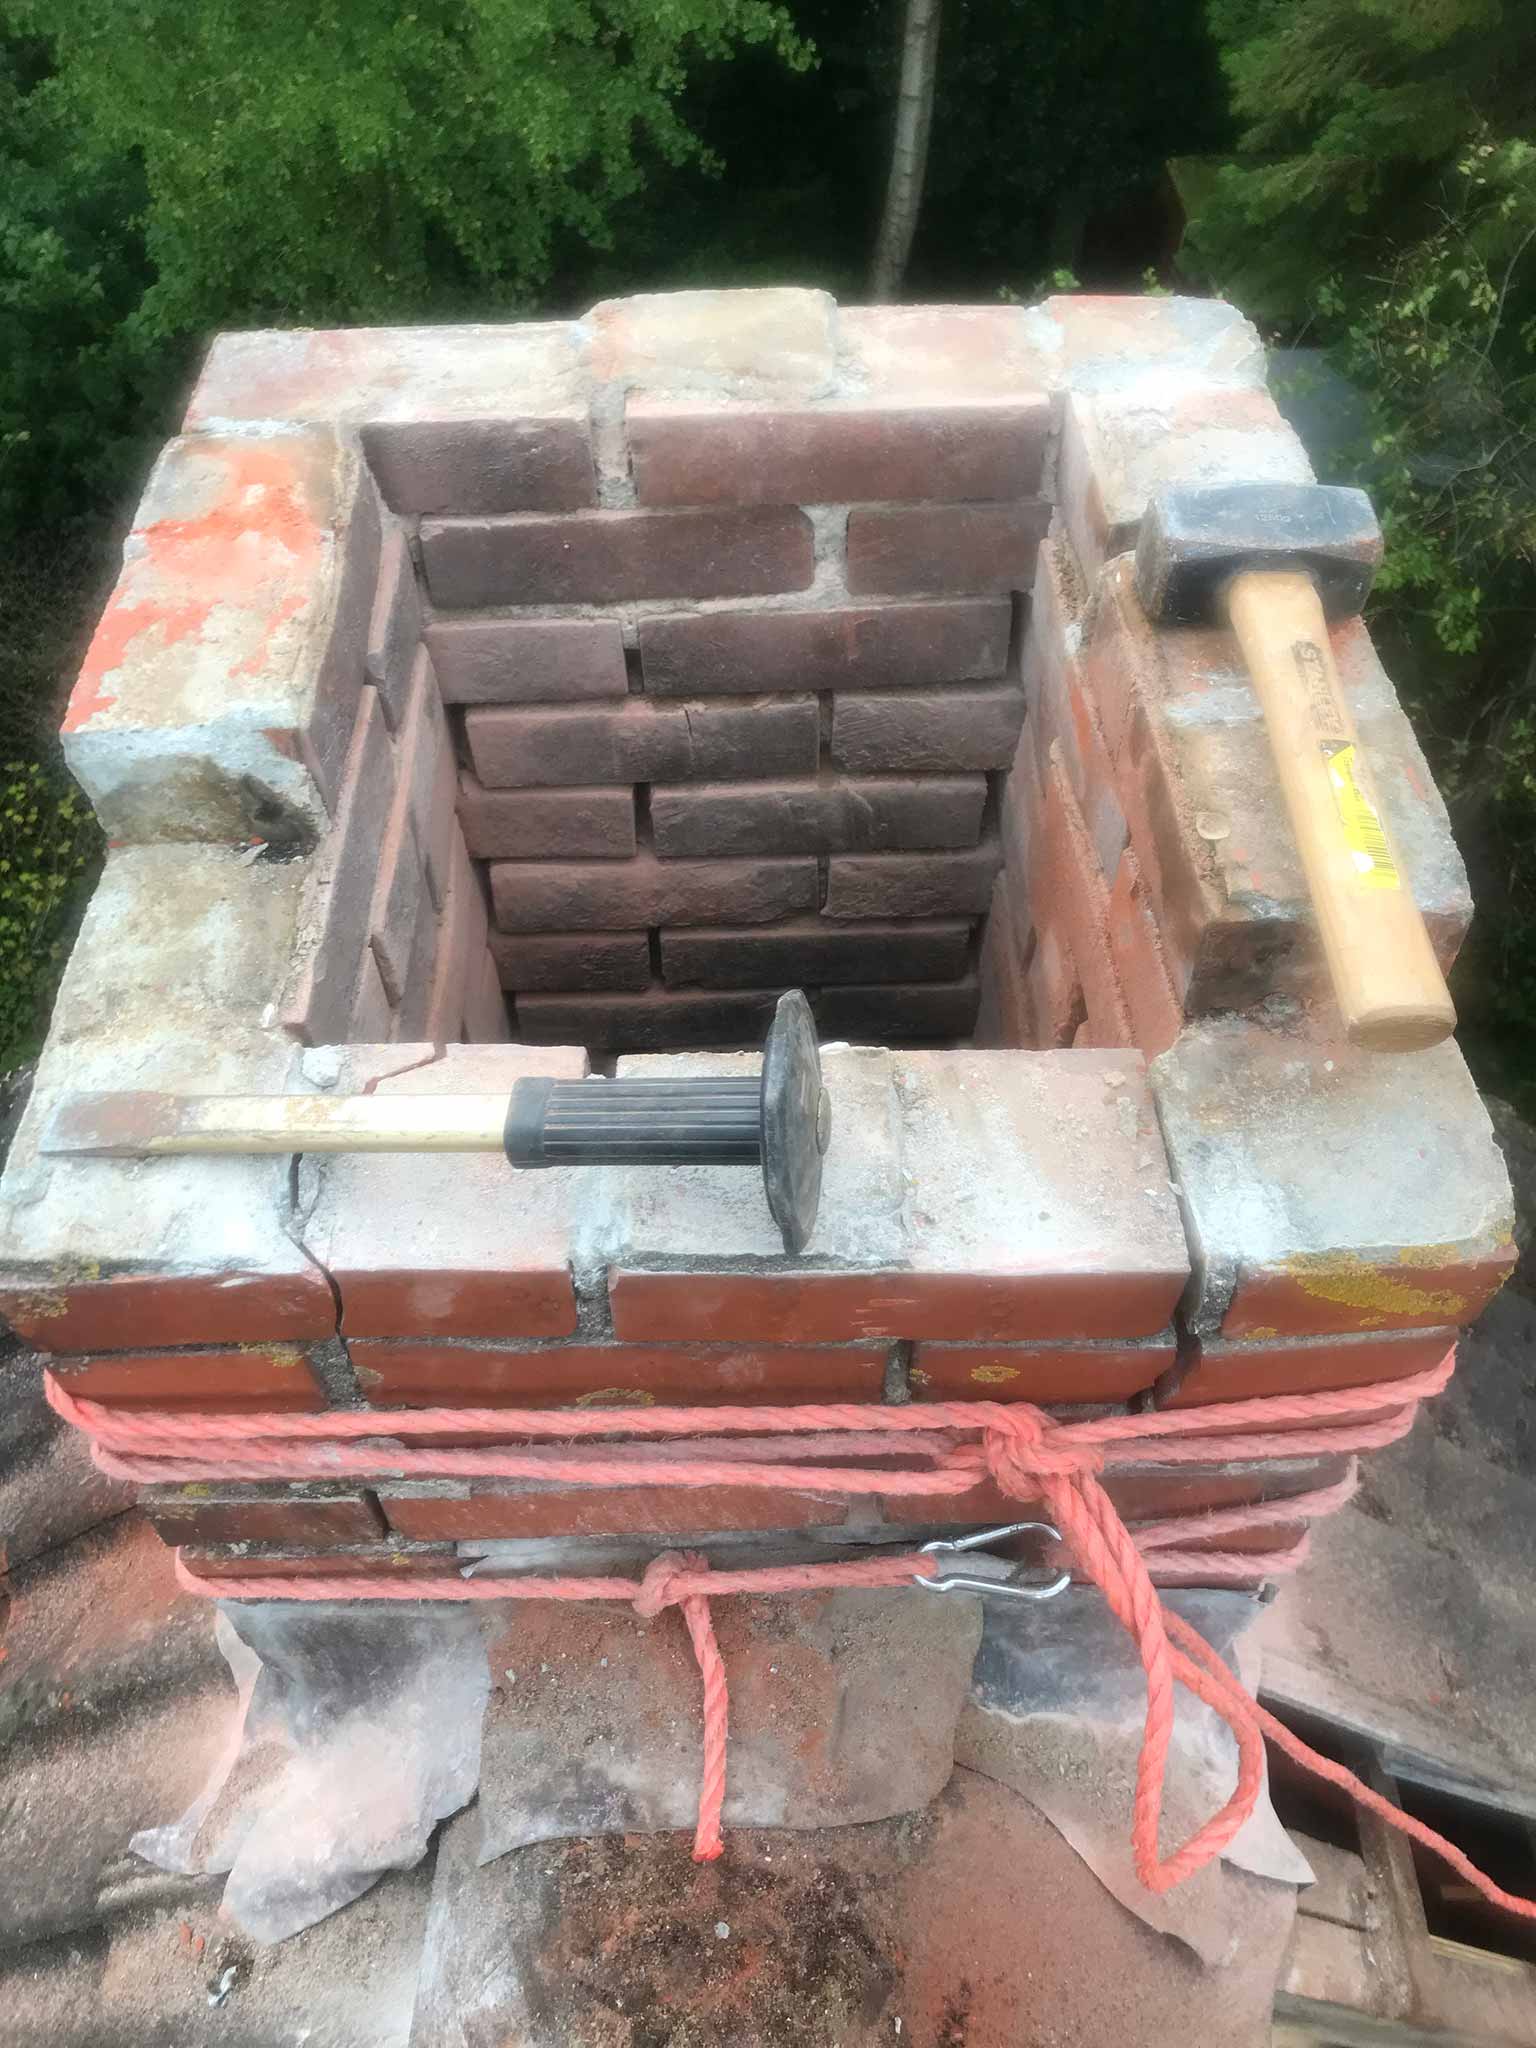
I ‘wrapped’ the rest of the chimney in a rope to keep it together while breaking the last fairly connected bricks. The bottom about 3 layers were that bad that I could just pick off the individual bricks without any tools.
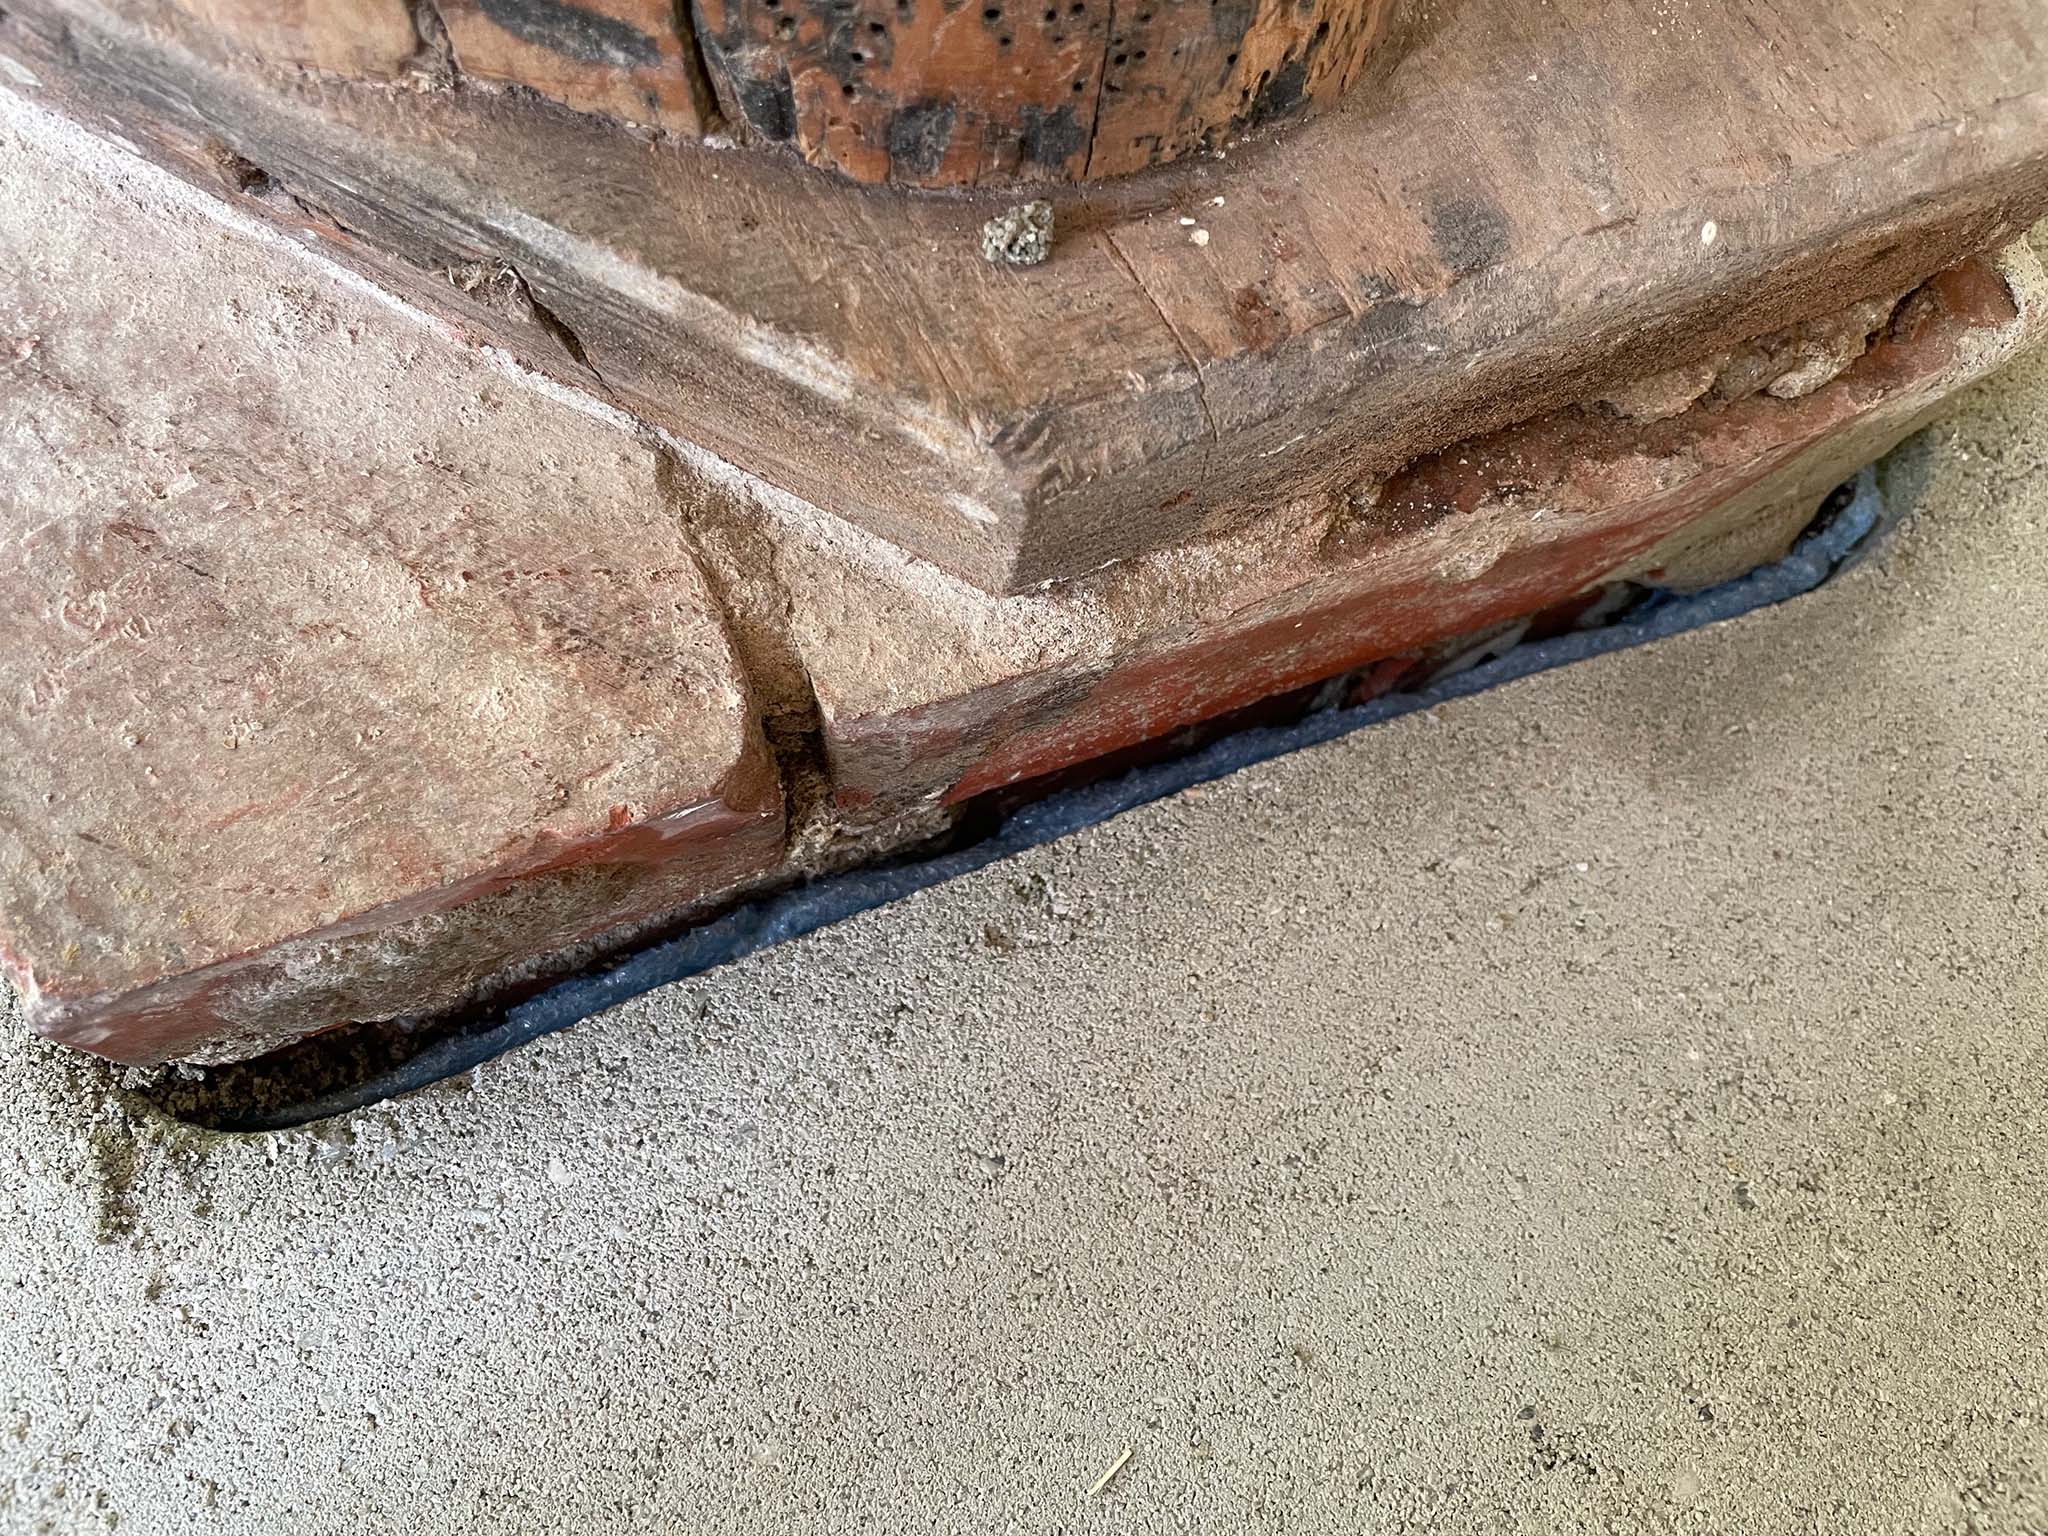
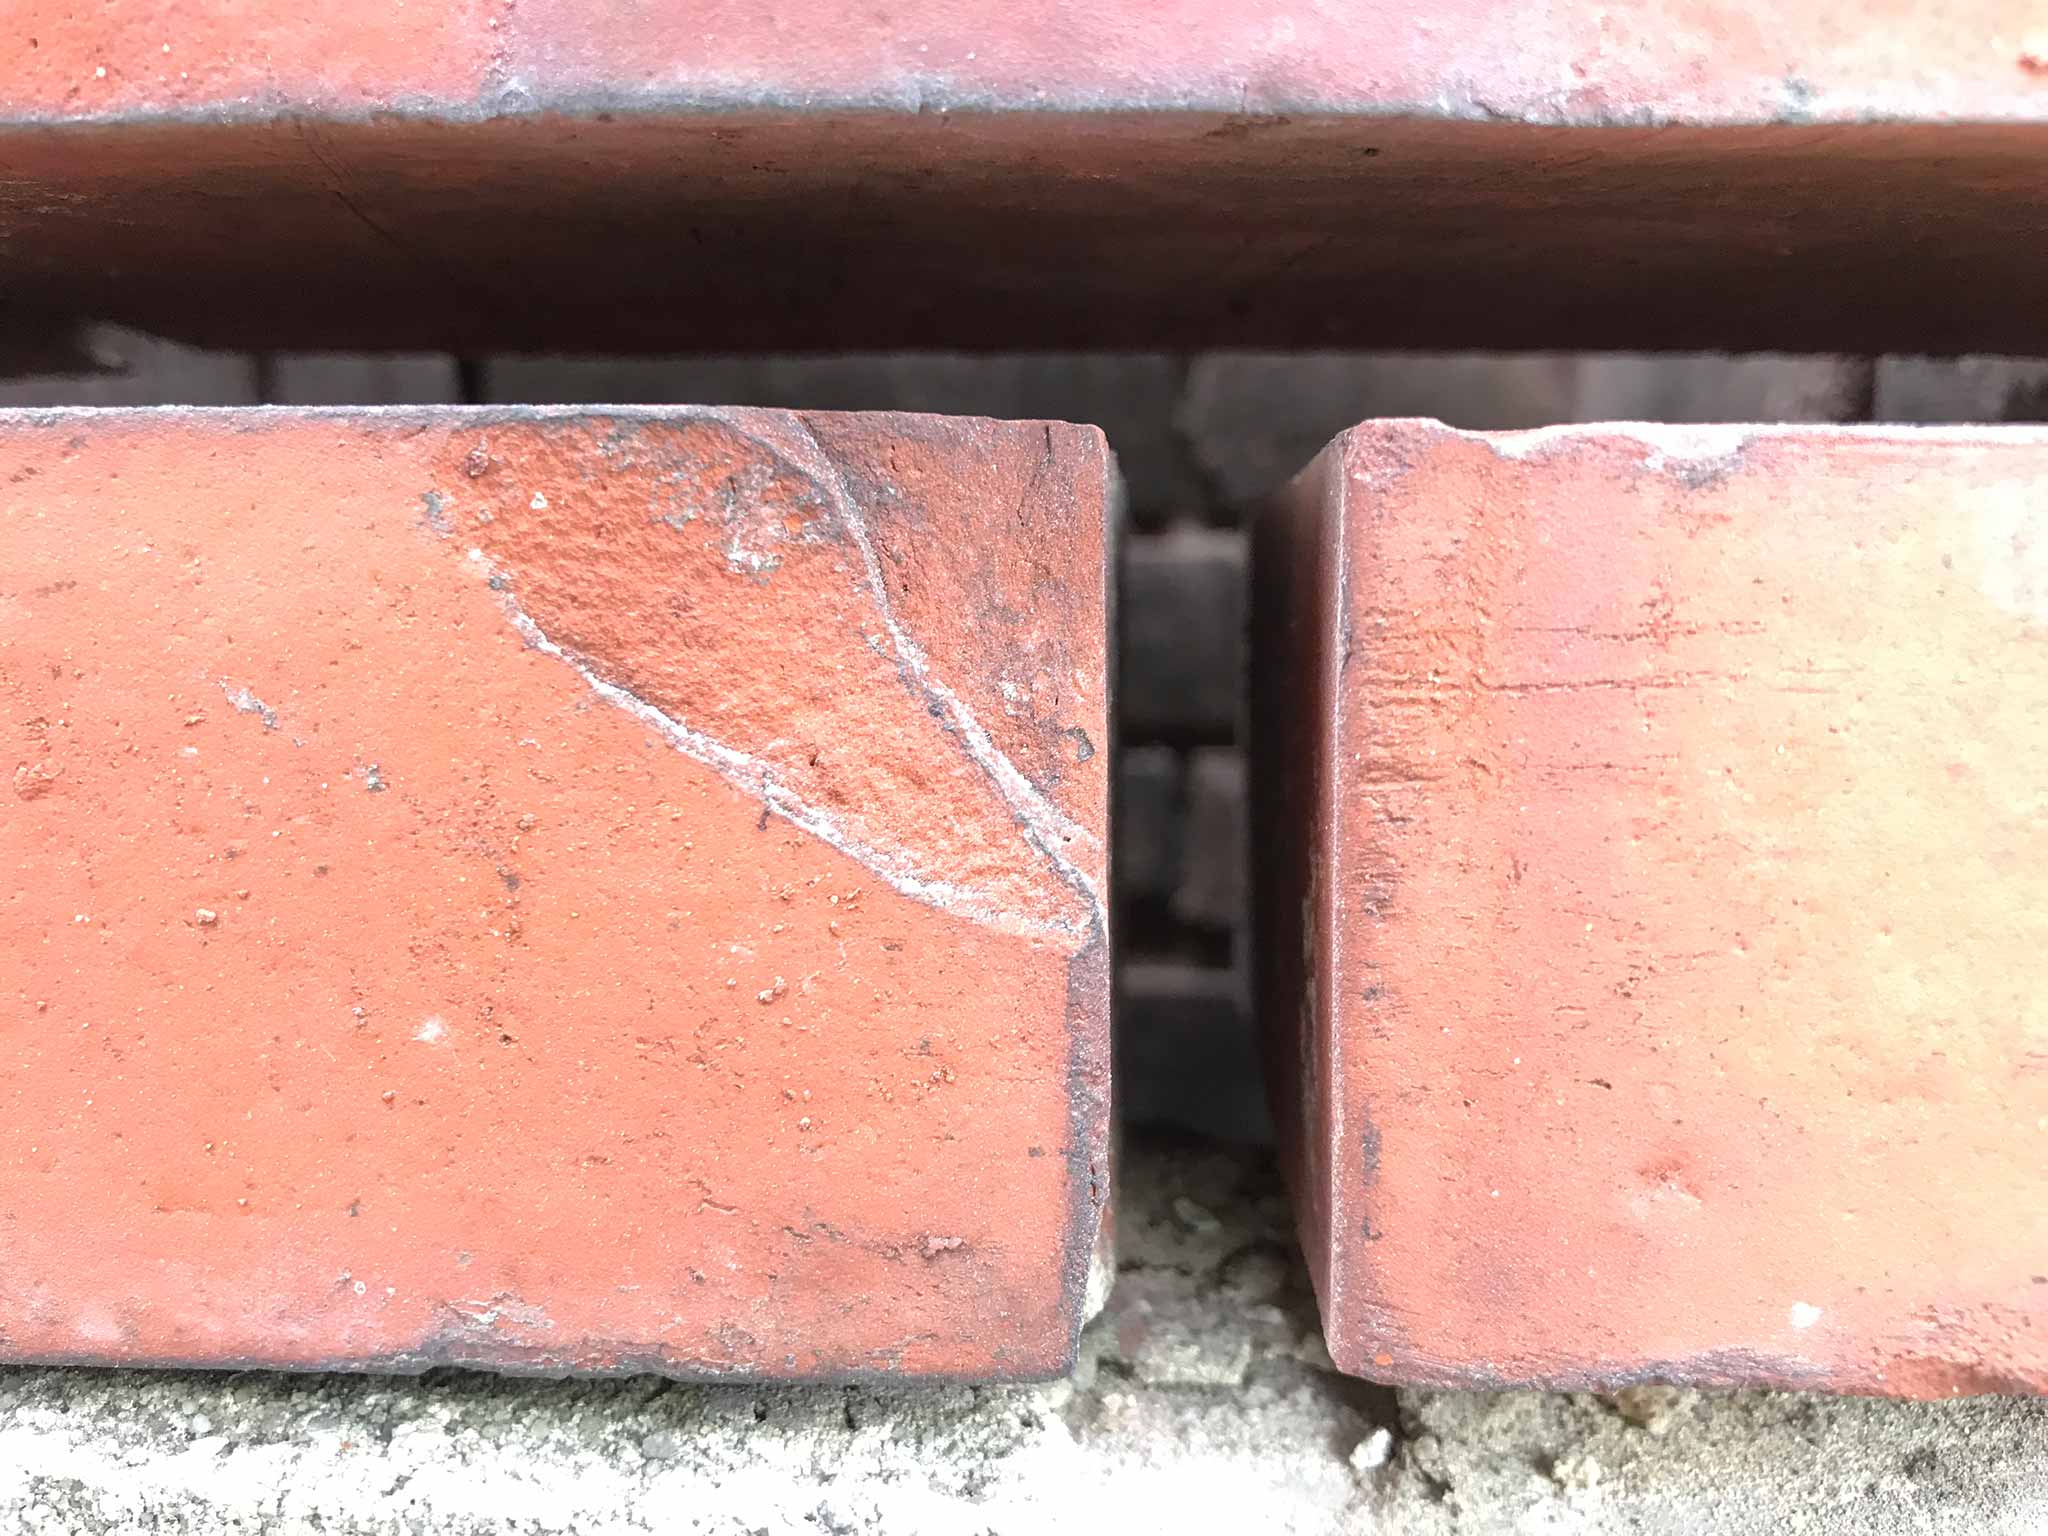
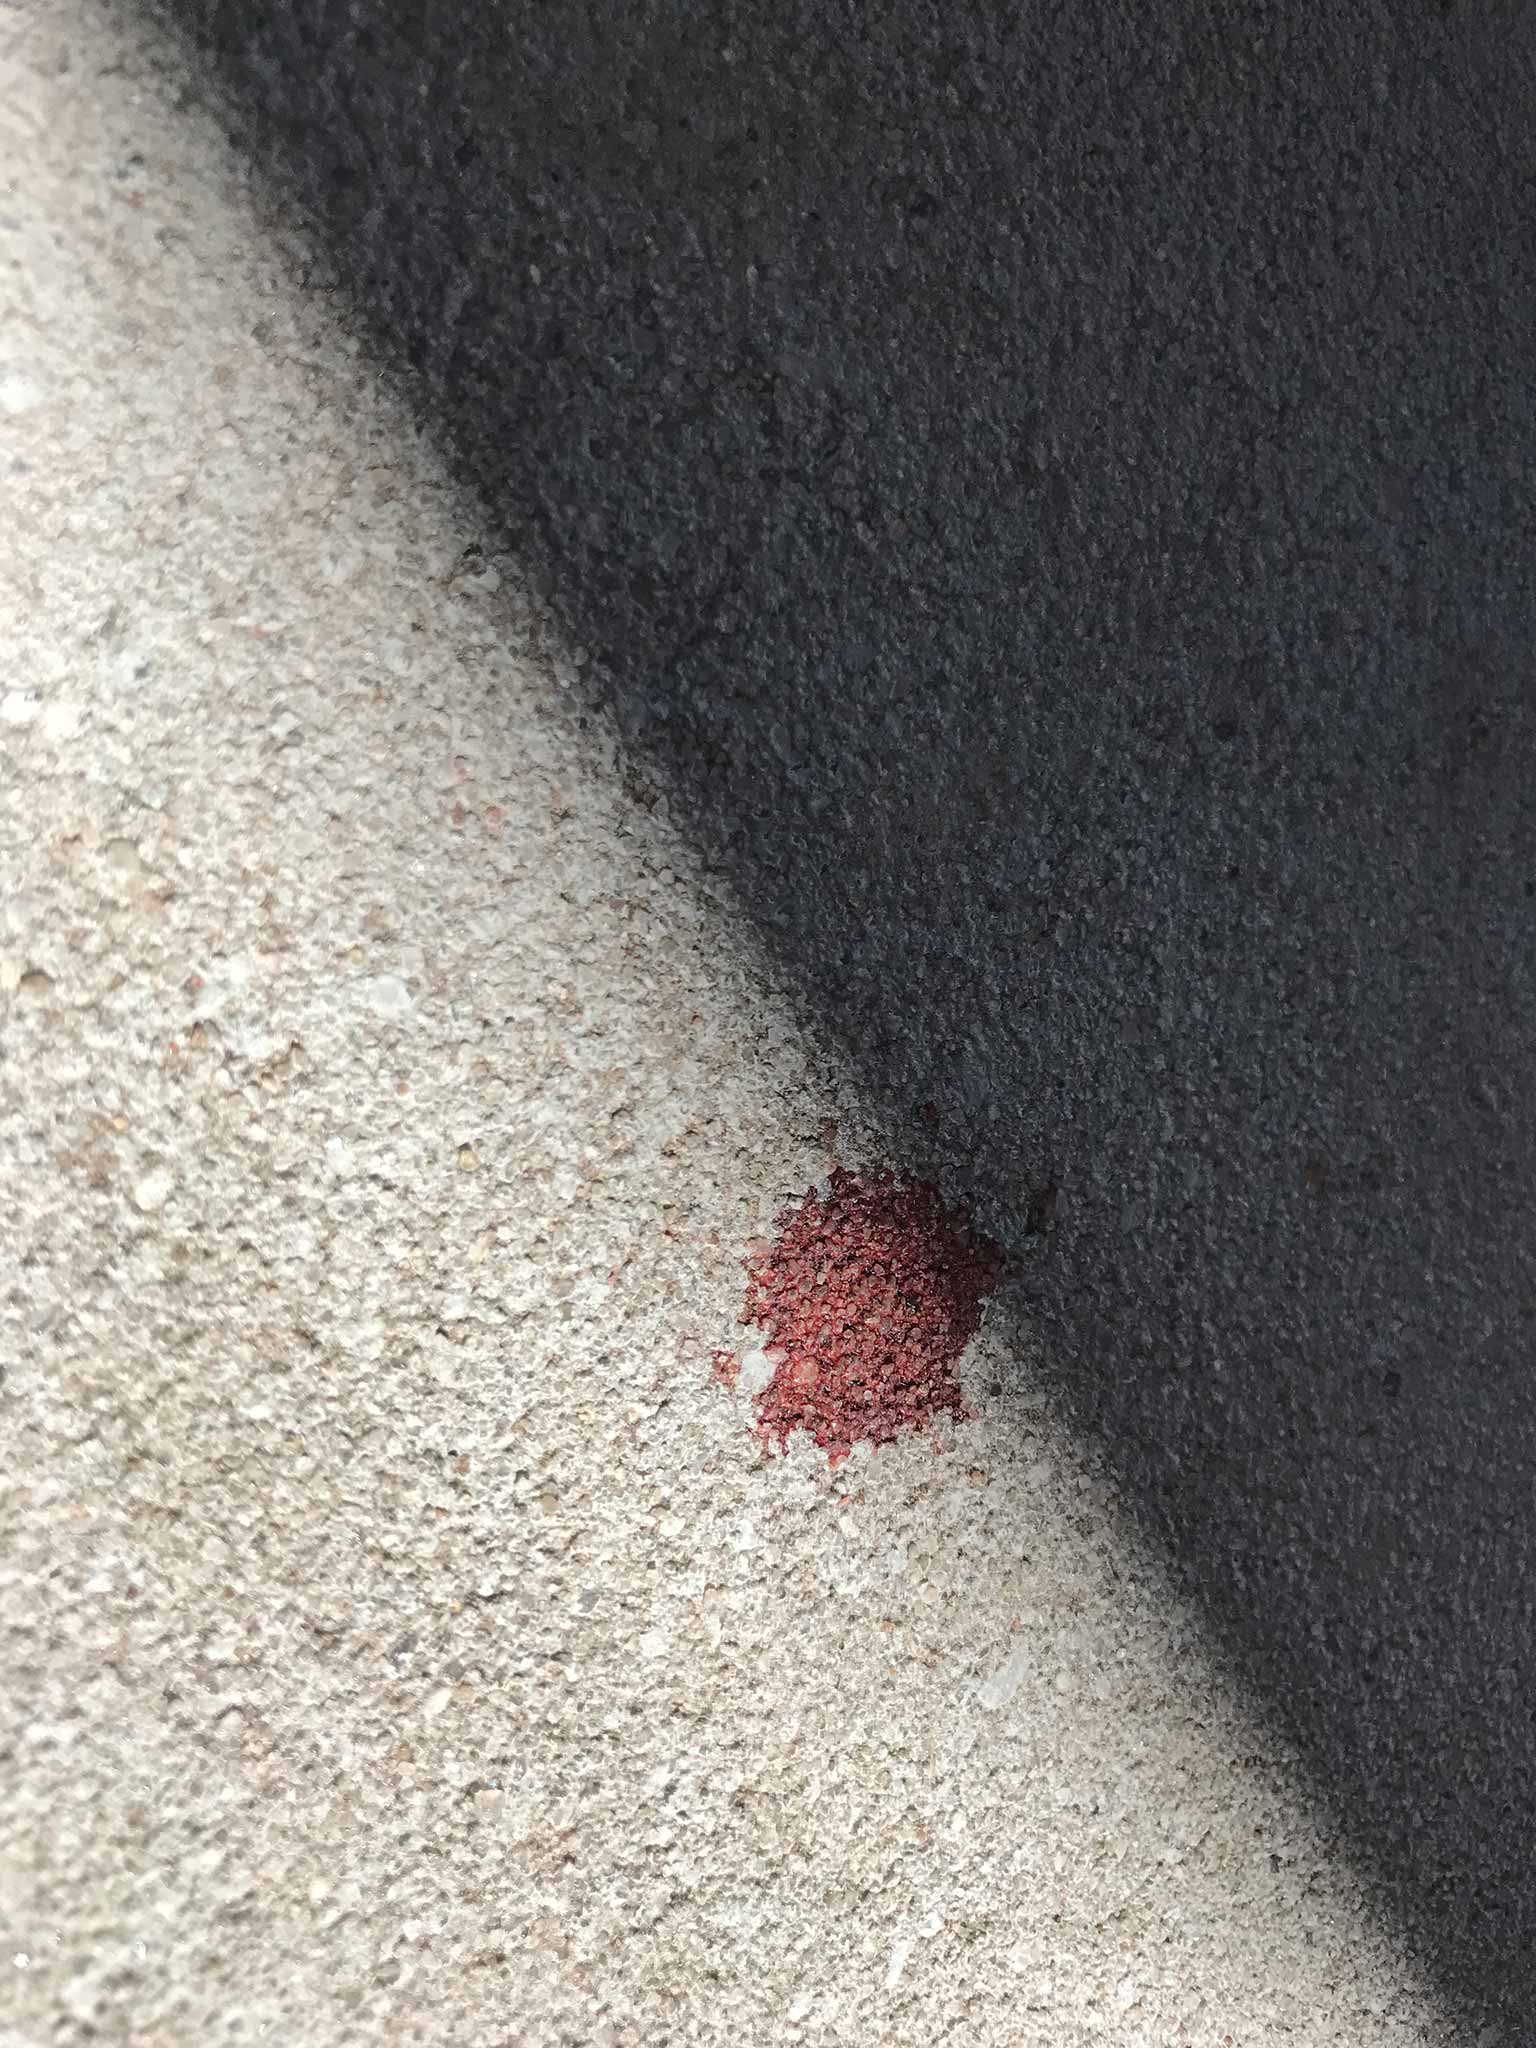
In the picture below with the glove you can see the final section that had any significant coherence come loose as one piece. Also does it show the sand like structure of the cement.
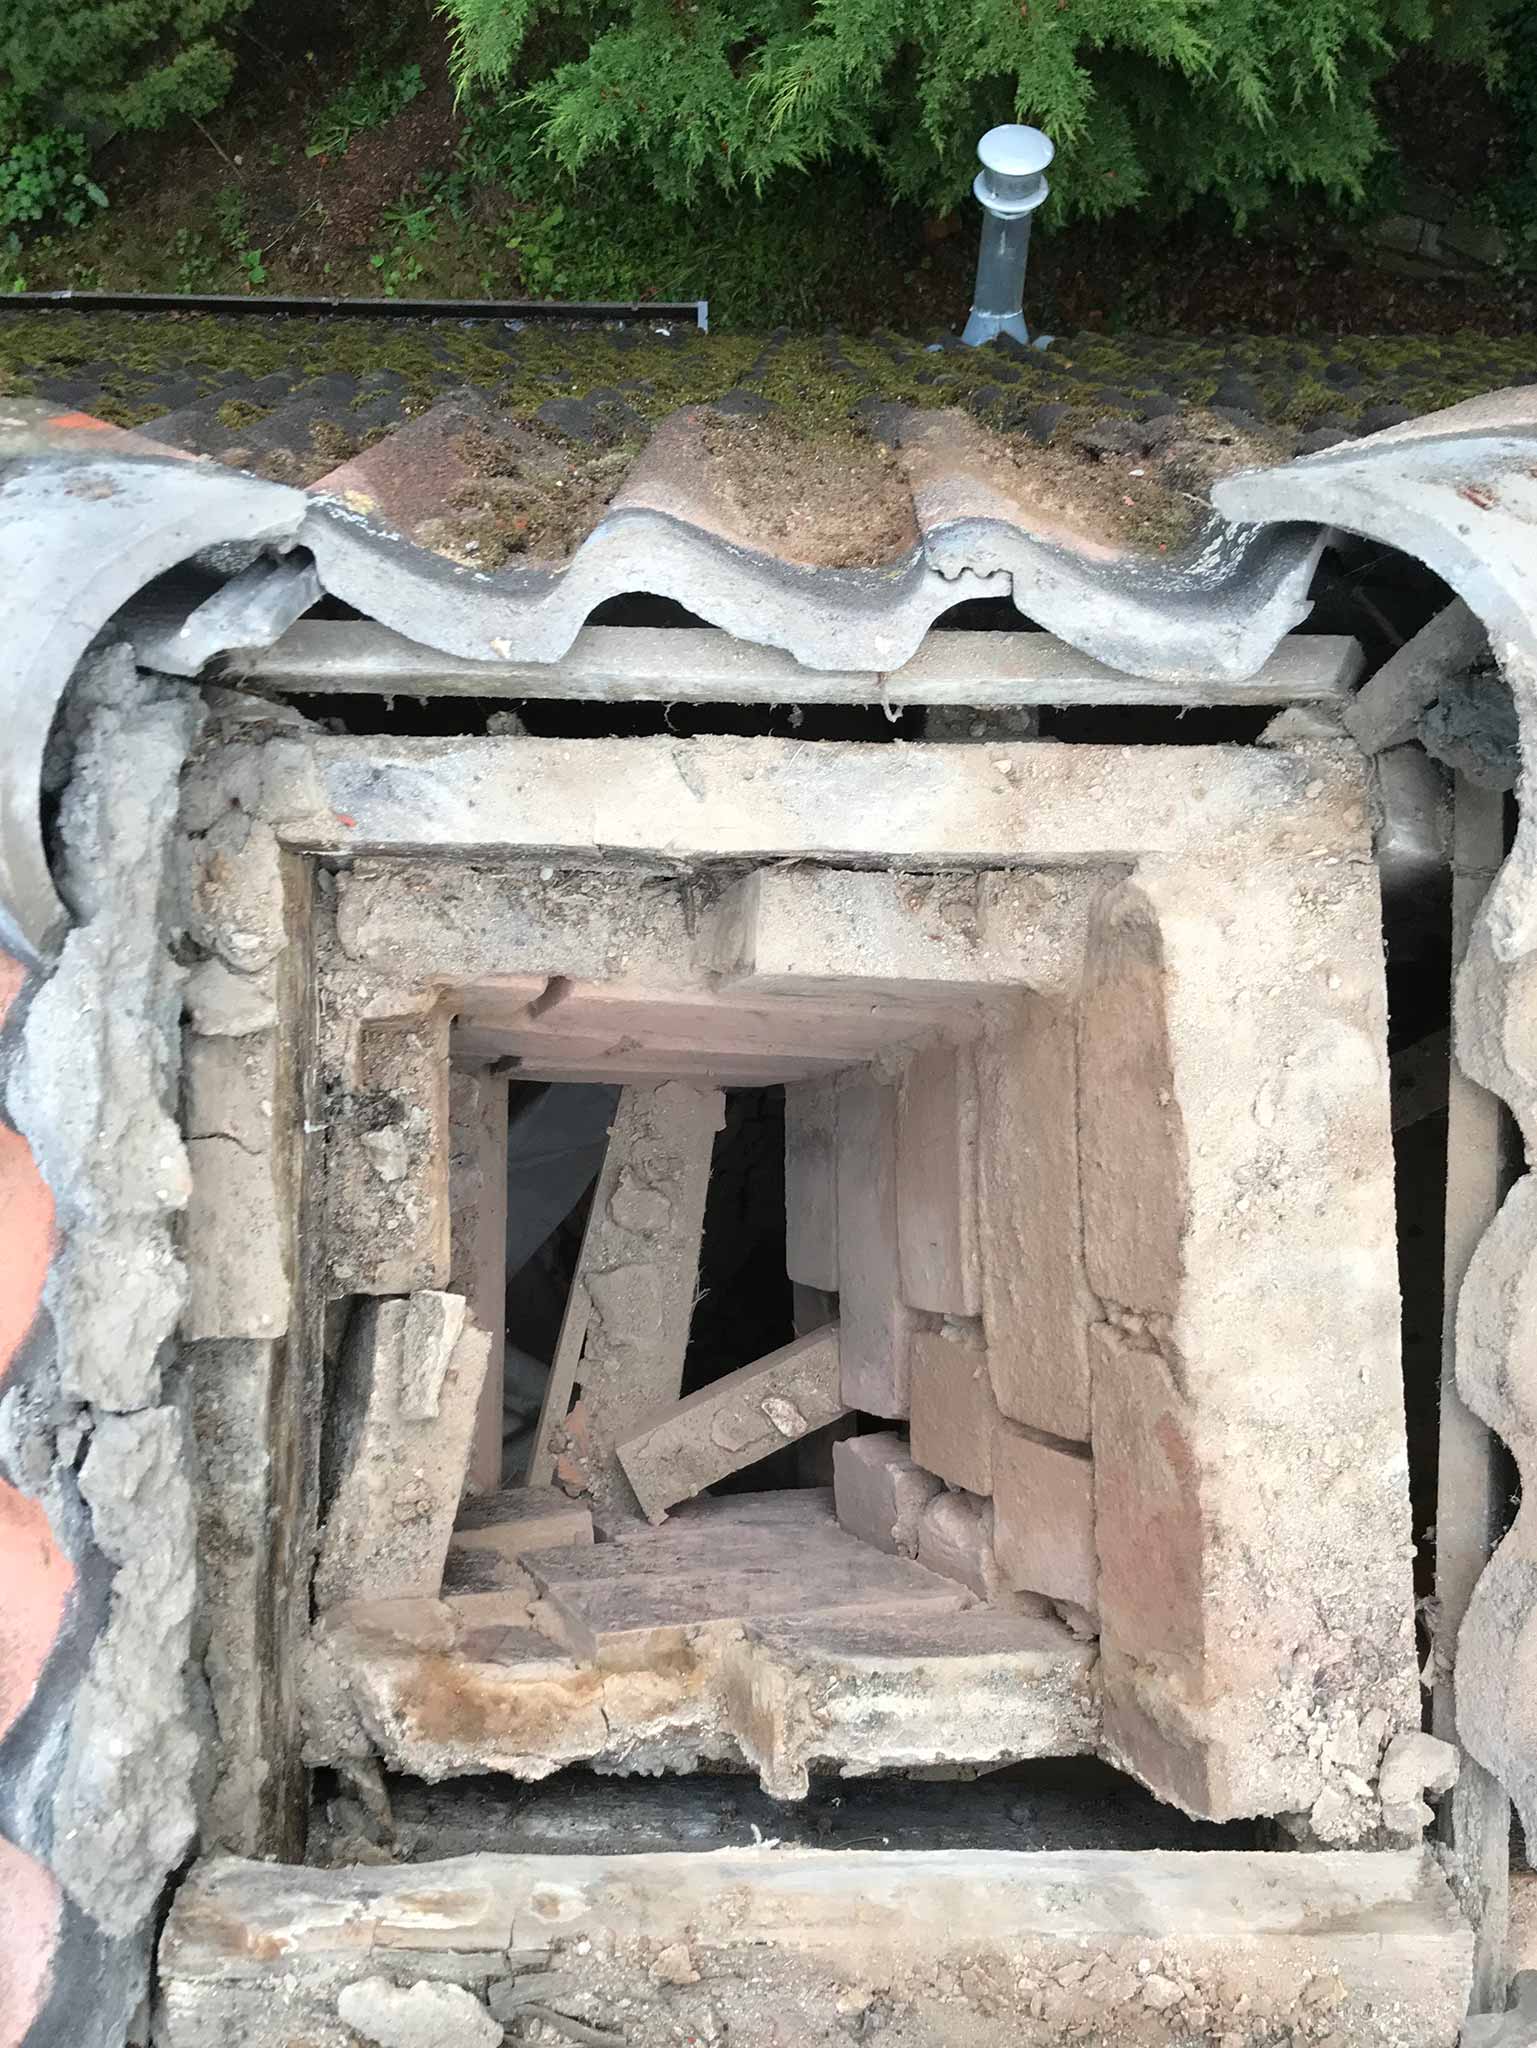
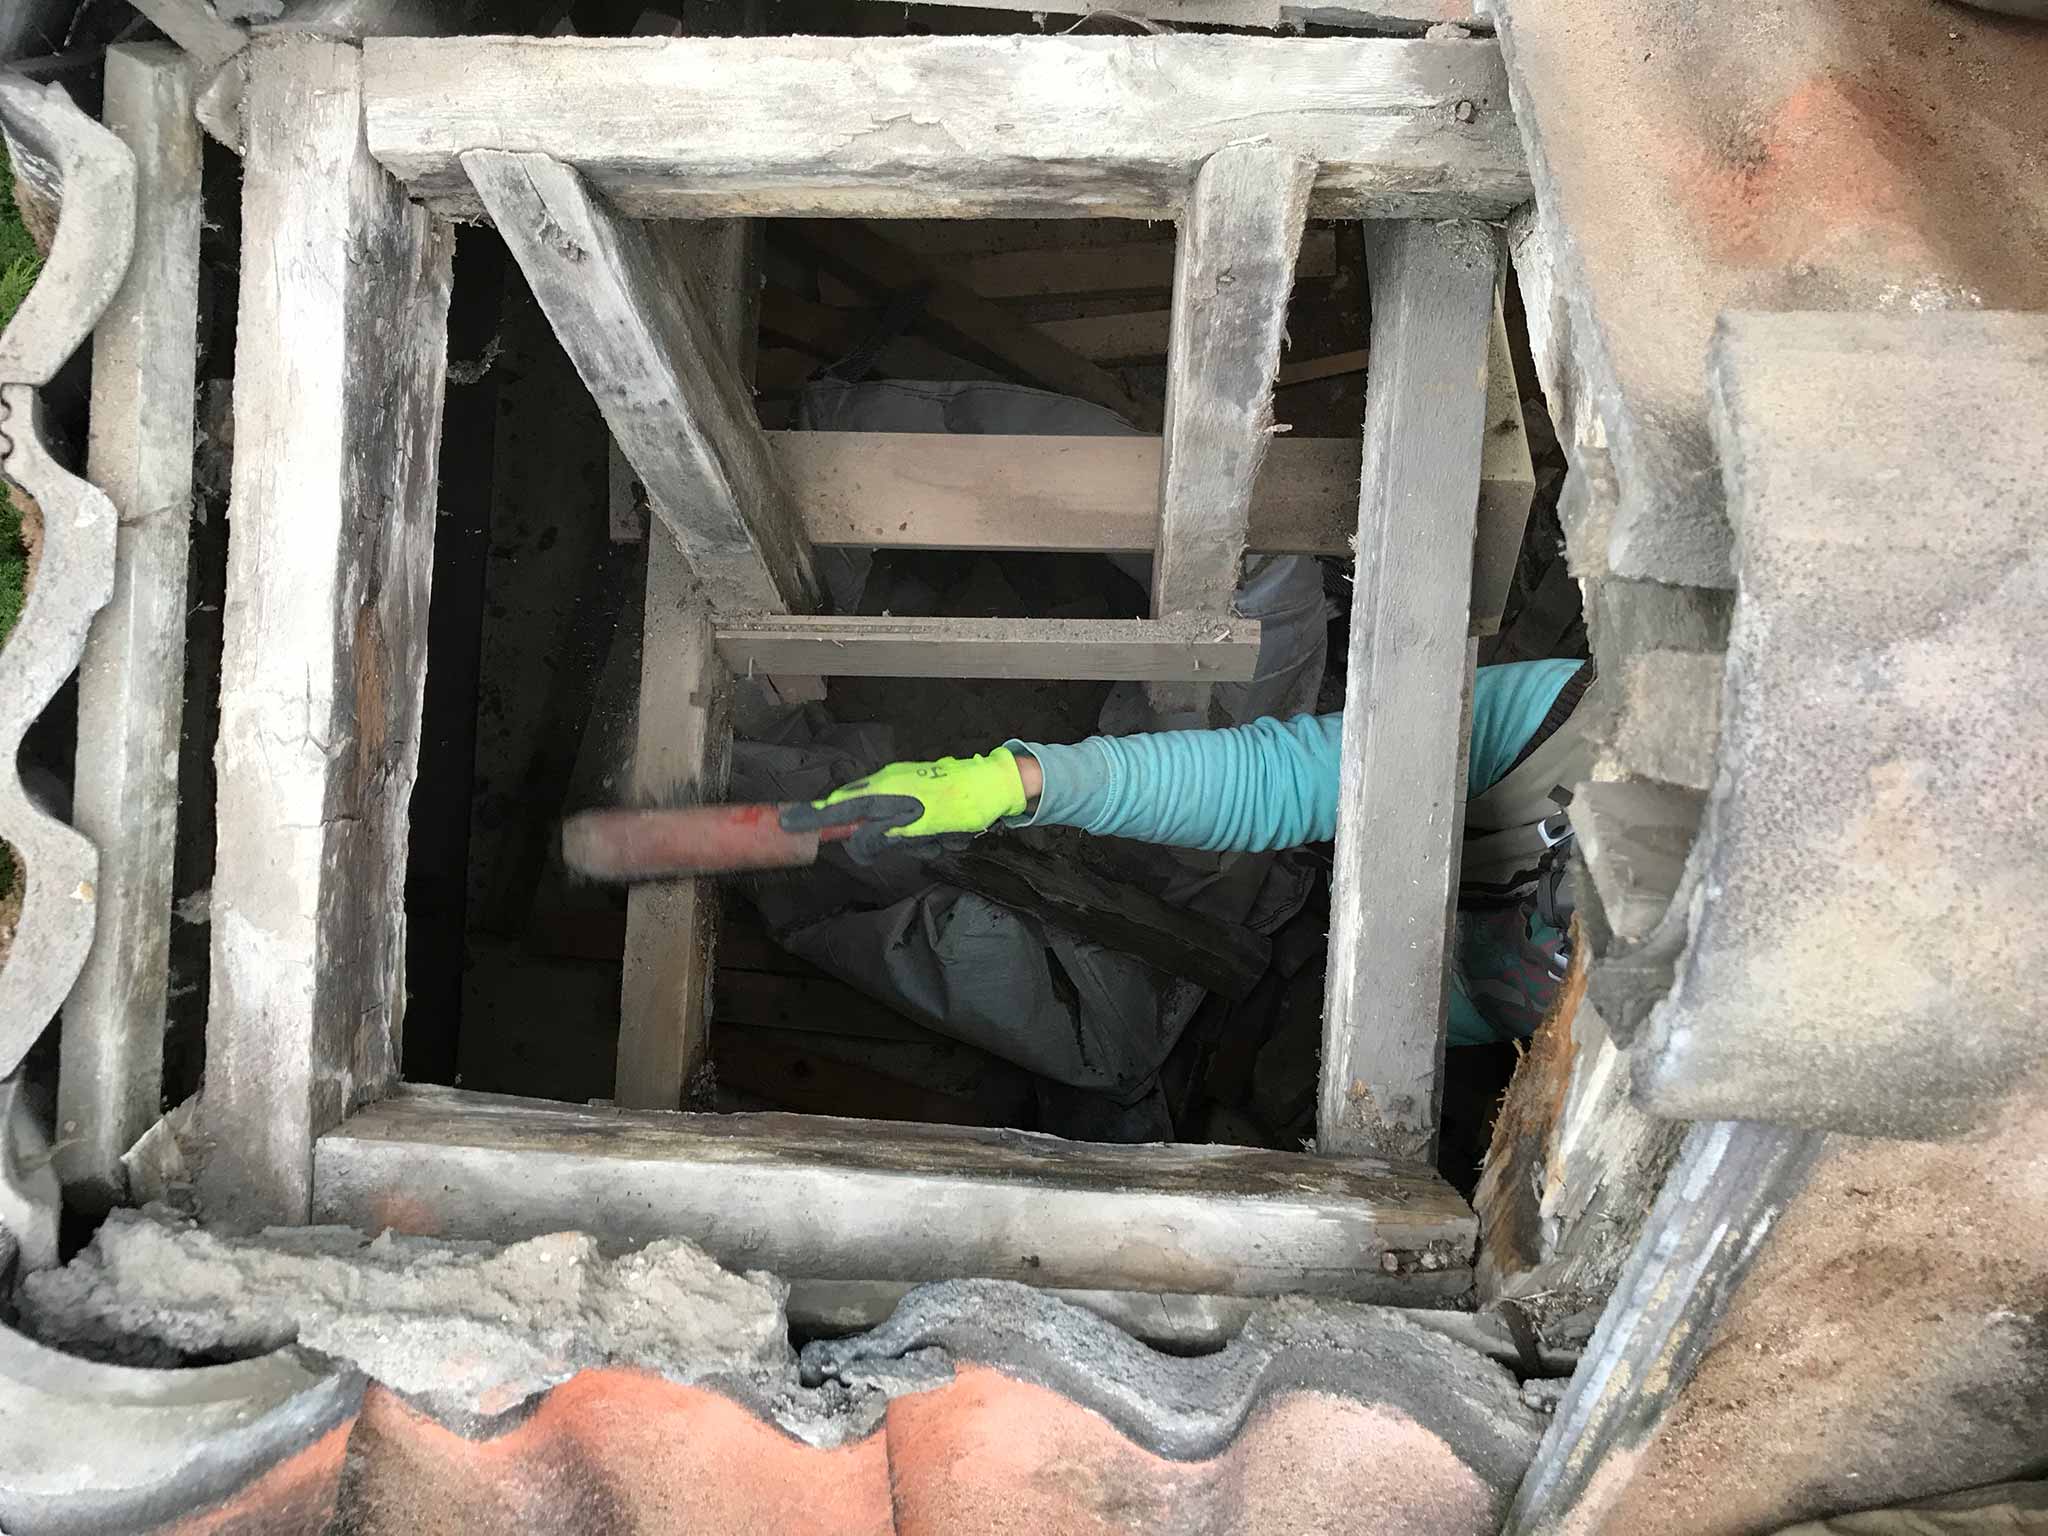
The reconstruction of the roof was done by creators. Our task was done…
Oh yeah, and my brick throwing capabilities? I can hit roof tiles with ‘m…
Or in Dutch: “Als het kalf verdronken is dempt men de put”
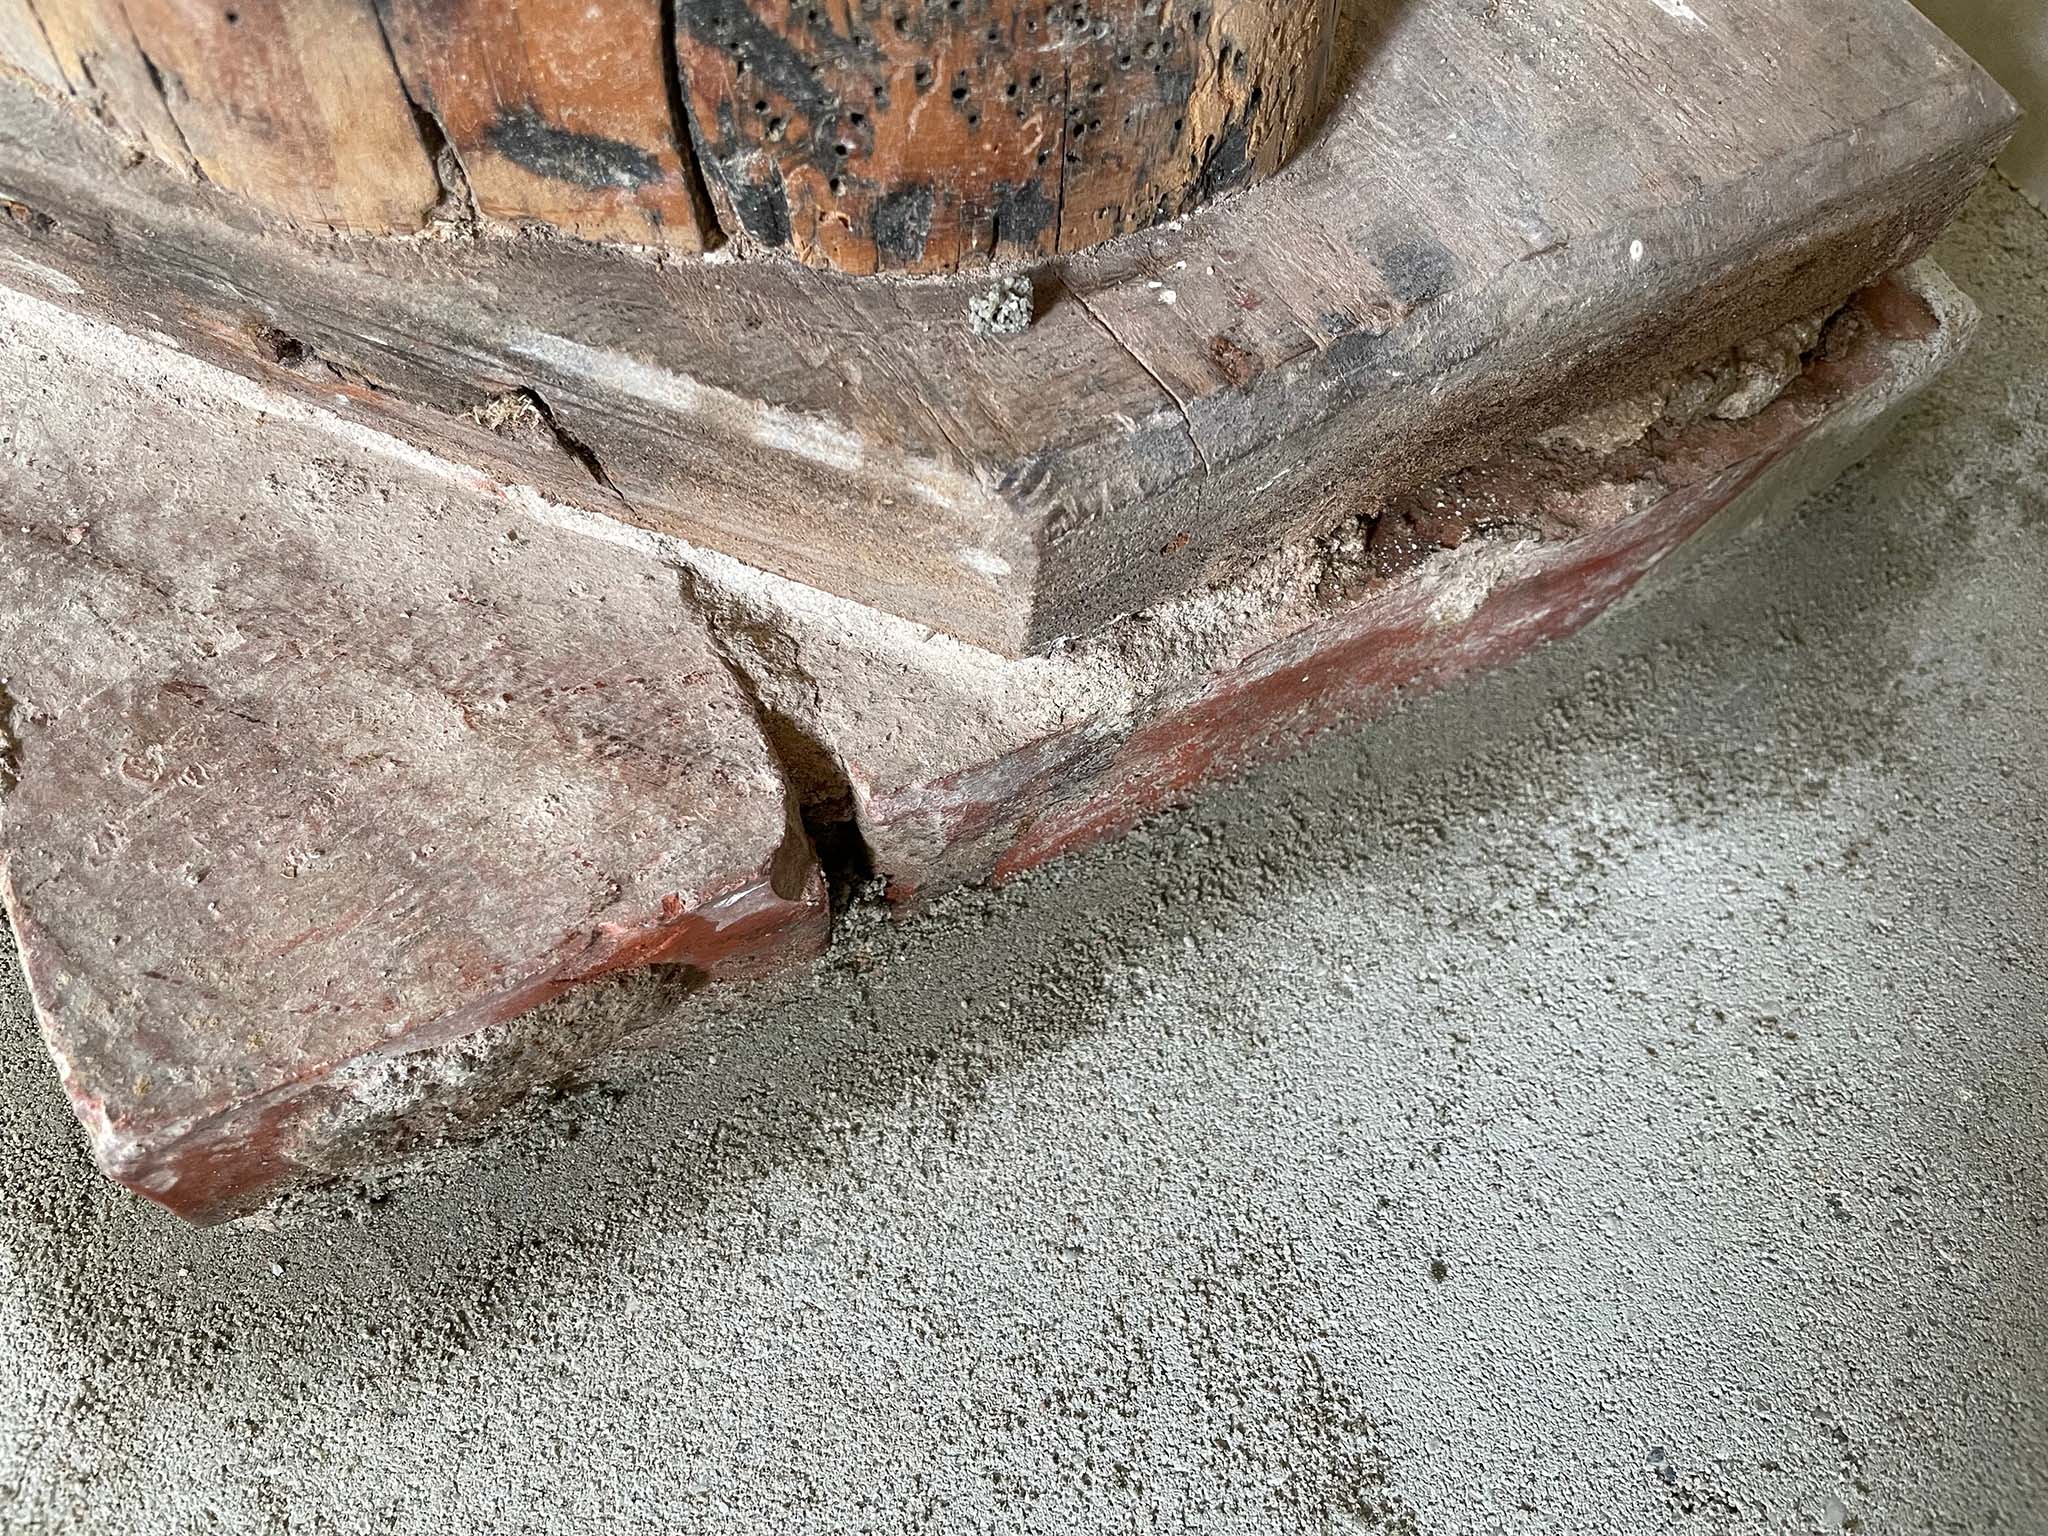
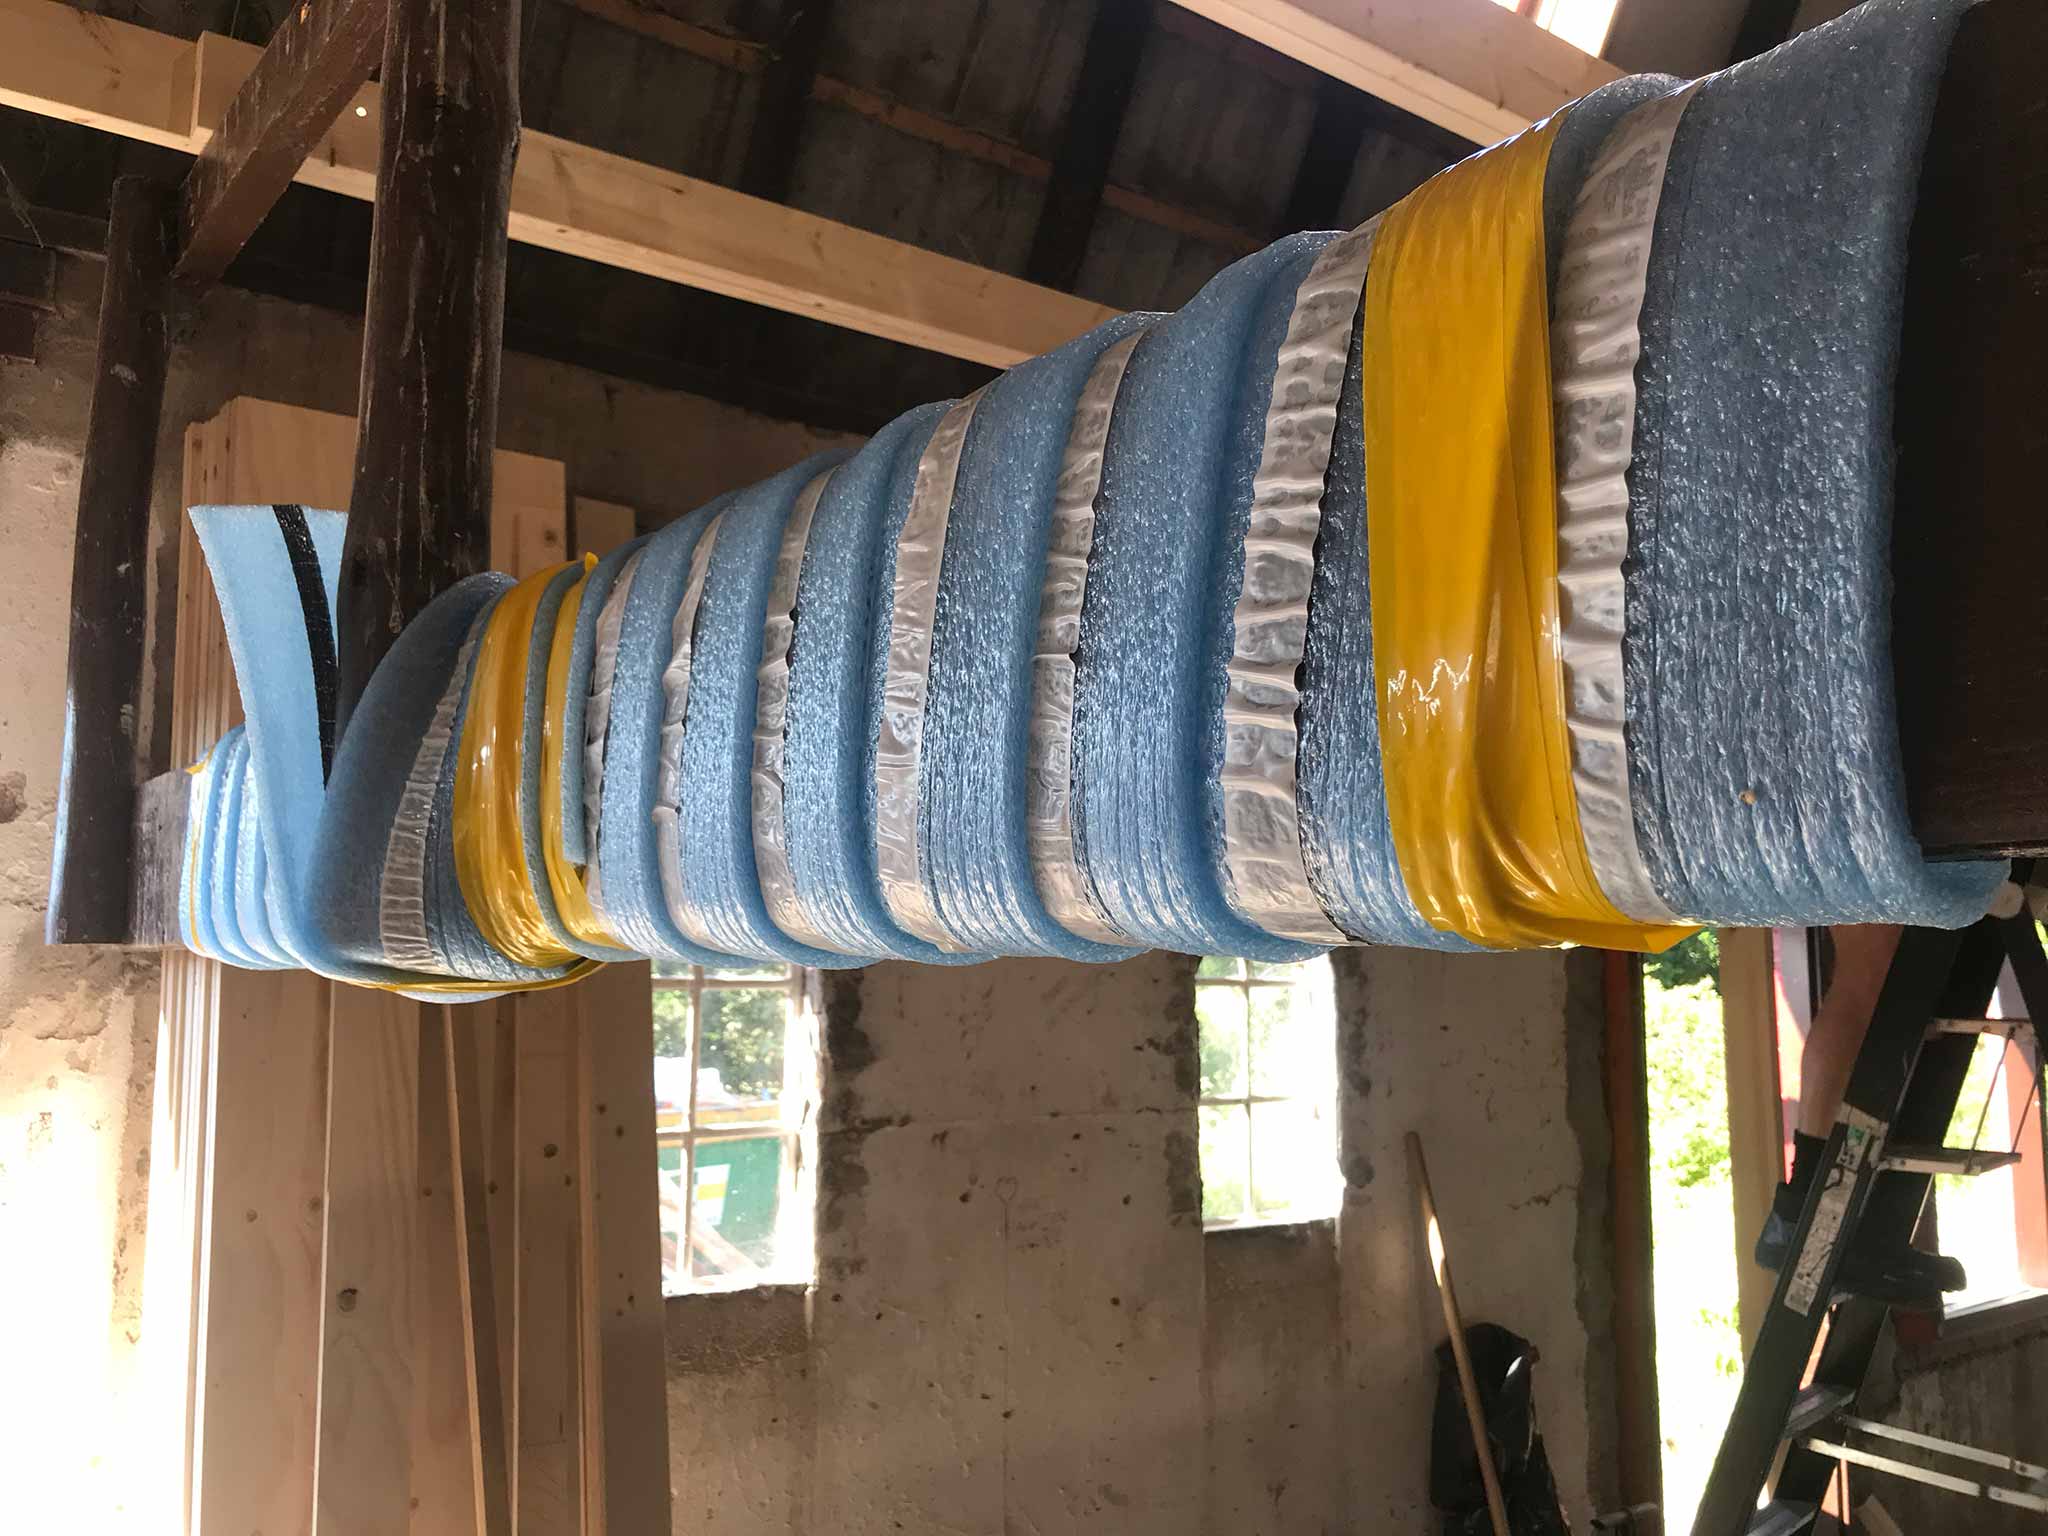
When the floor comes up, some things come down. At least, relative to the floor. The thing coming down this time was an old beam which had plenty of clearing underneath it. Had.
At one of the first days after the new floor was in we discussed it: “That’s one to watch out for now. We better mark it or something”. 5 Minutes later I hit my head hard against it, was cursing my way up a ladder because of my stupidity and slowly made my way down again after I felt the trickle of blood running down my forehead.
Lesson? When you think something is smart to do, do it!. It may save you a break of an hour at the start of the day that is from that moment on spent with a pounding headache as if you drank too much the night before.
The smart thing here was wrapping the damned thing in foam.

To allow some colleagues to understand all this, the texts from now on will be in English (the pictures too 😉 )
(all I need to do is figure out an easy way to change the tags and categories in WordPress…)