Up In Smoke

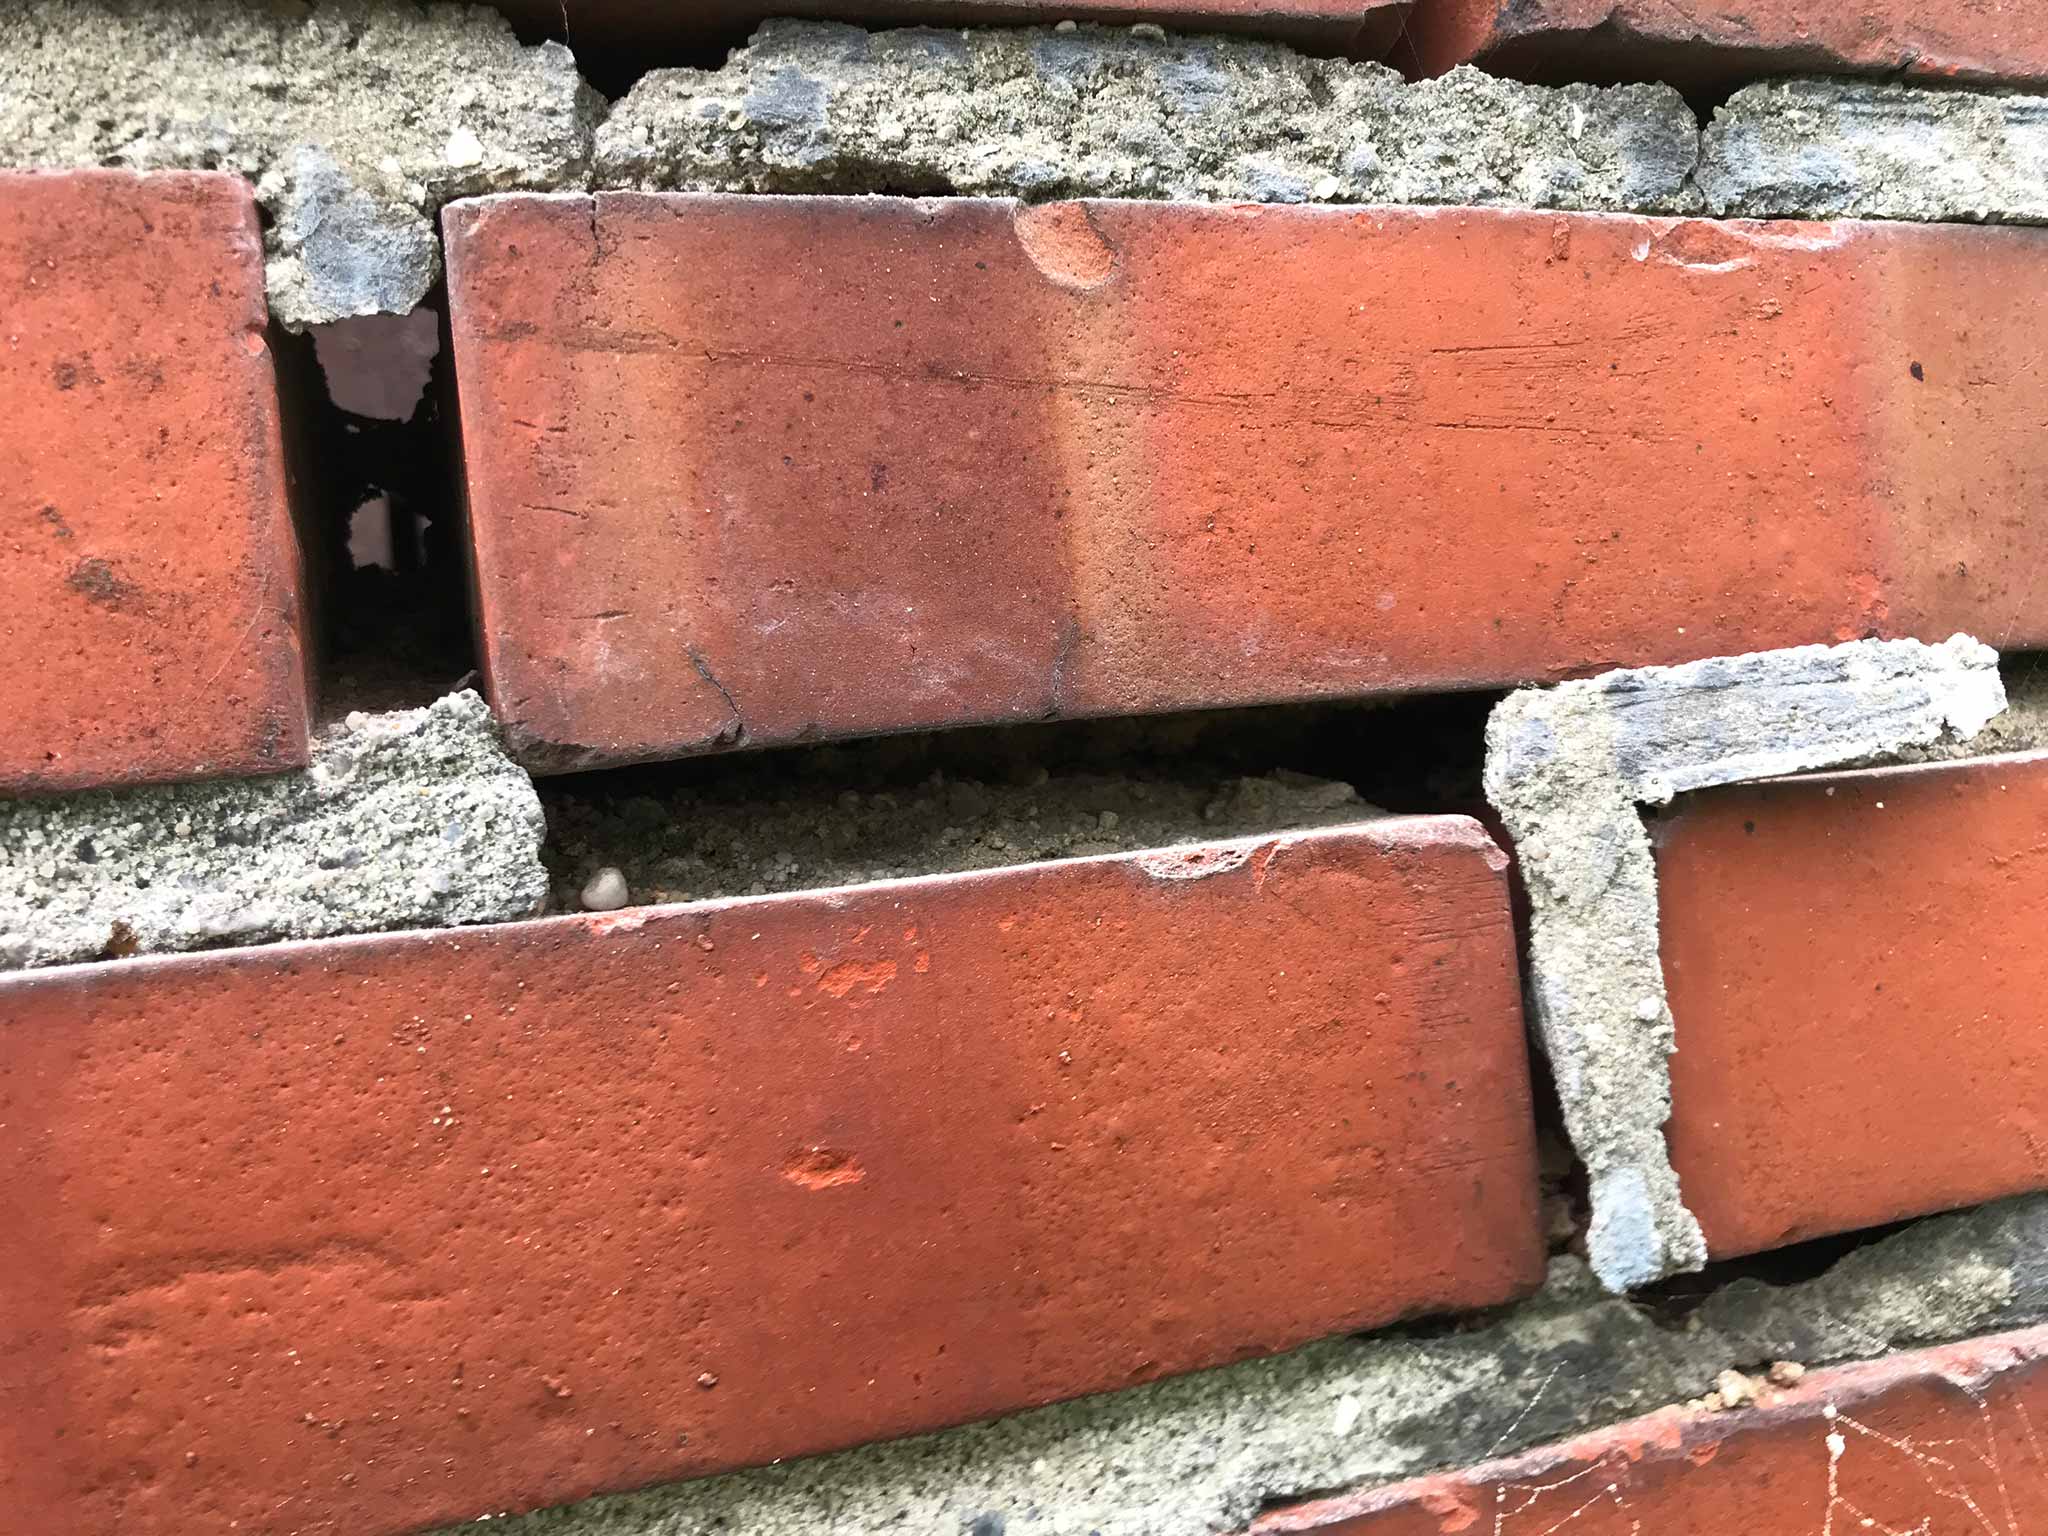
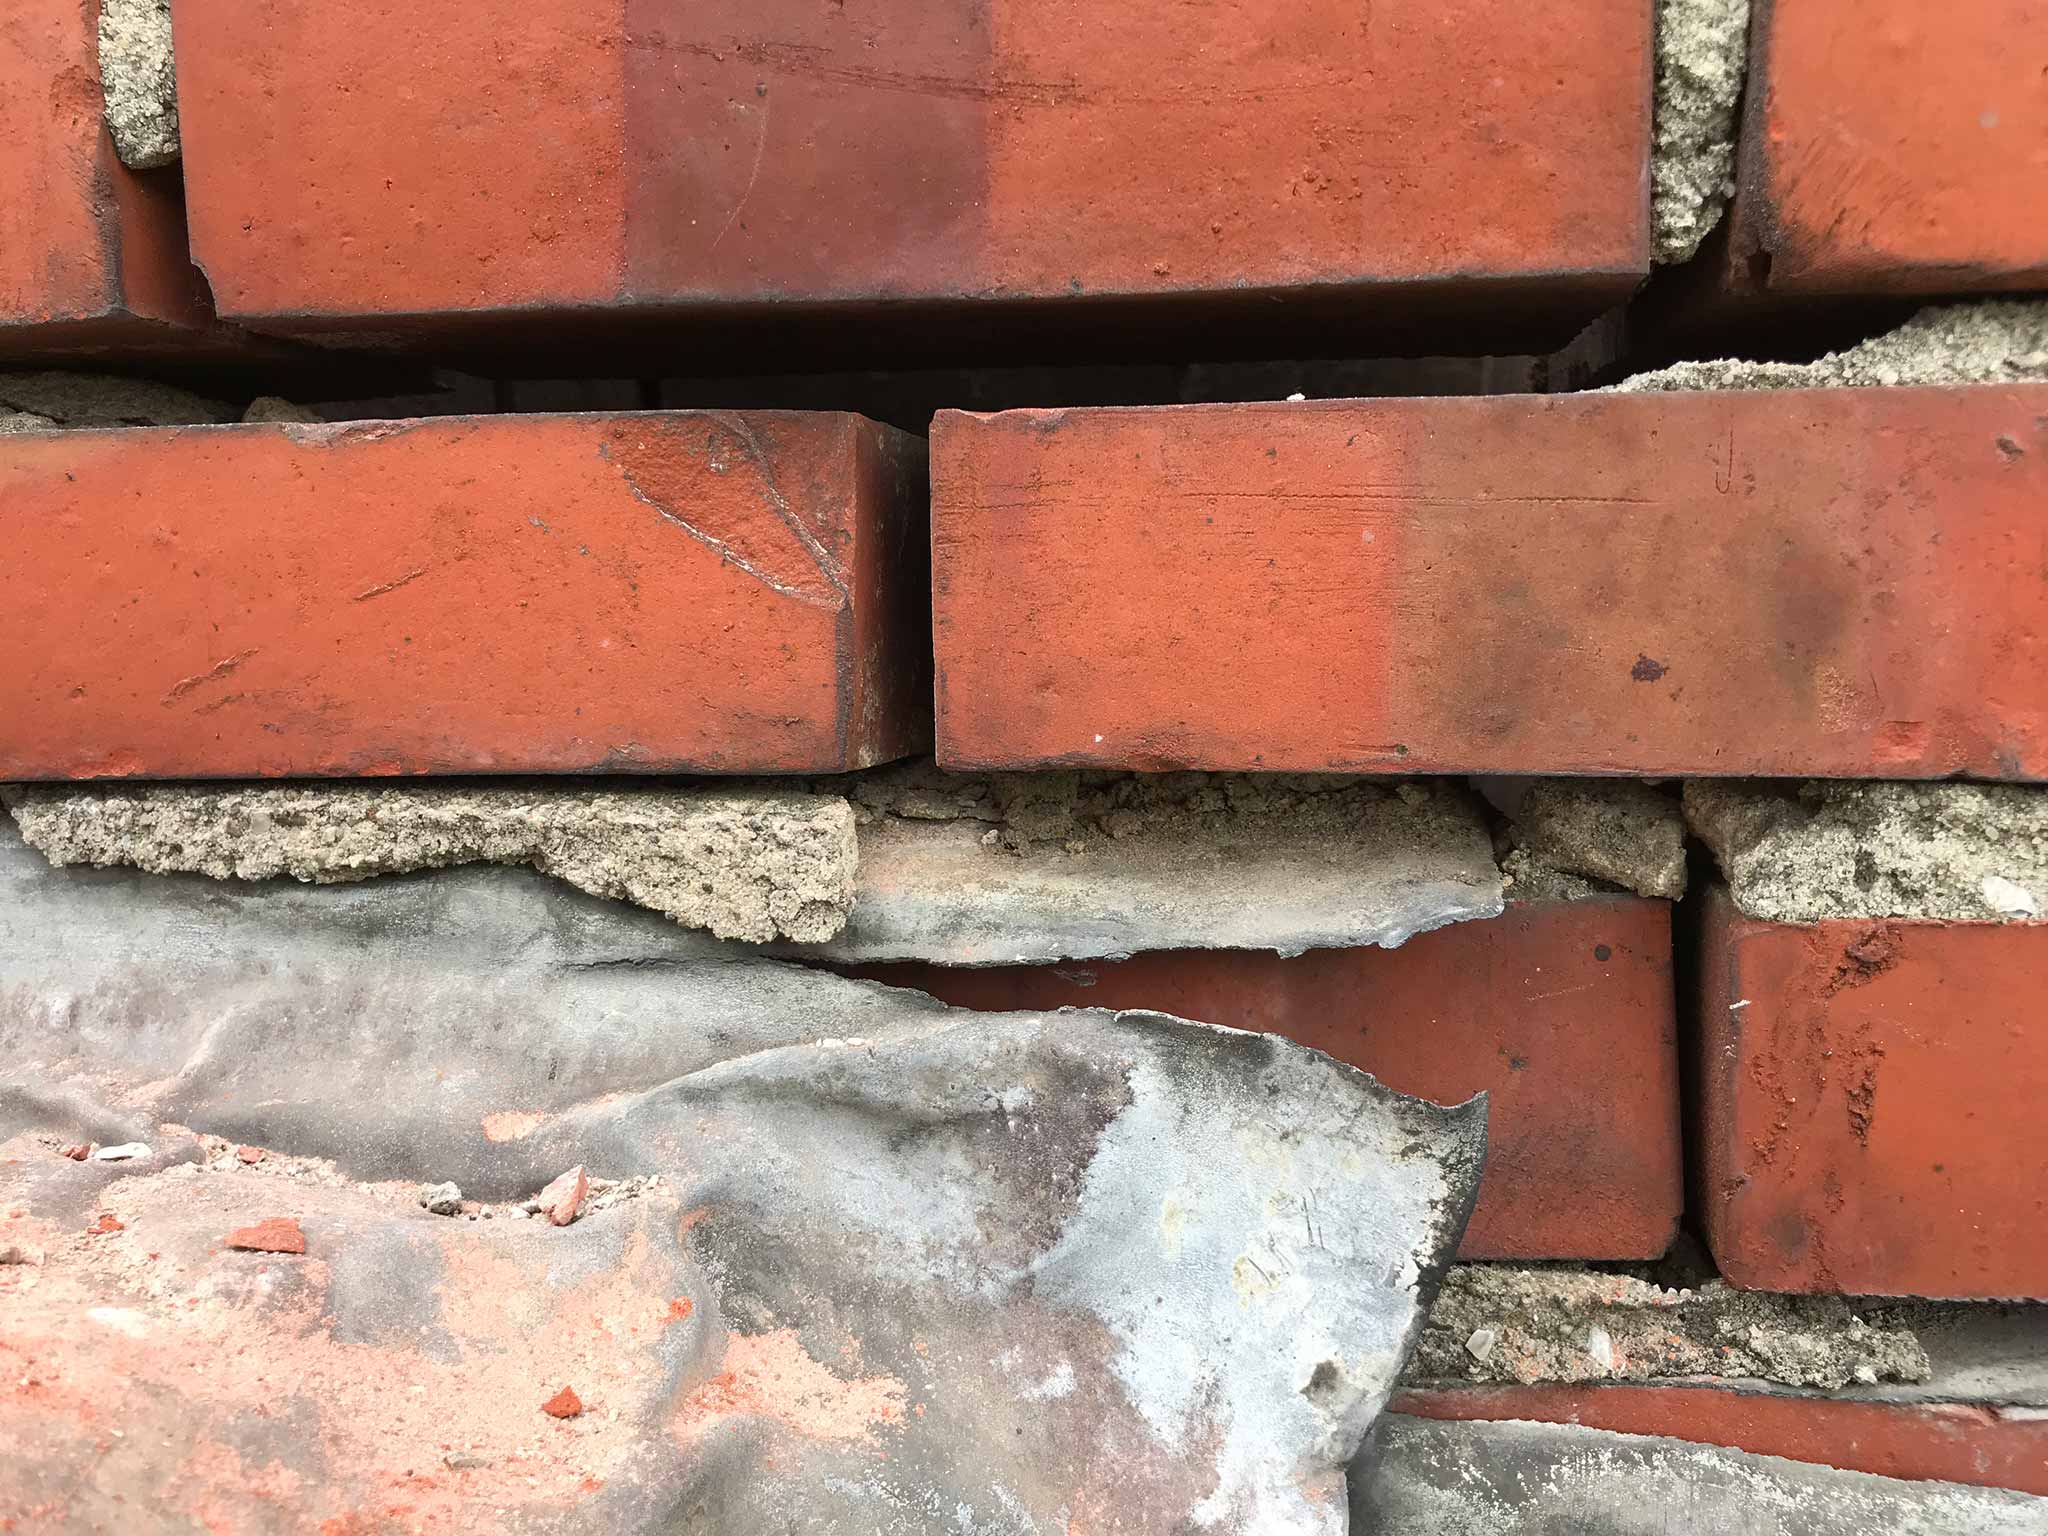
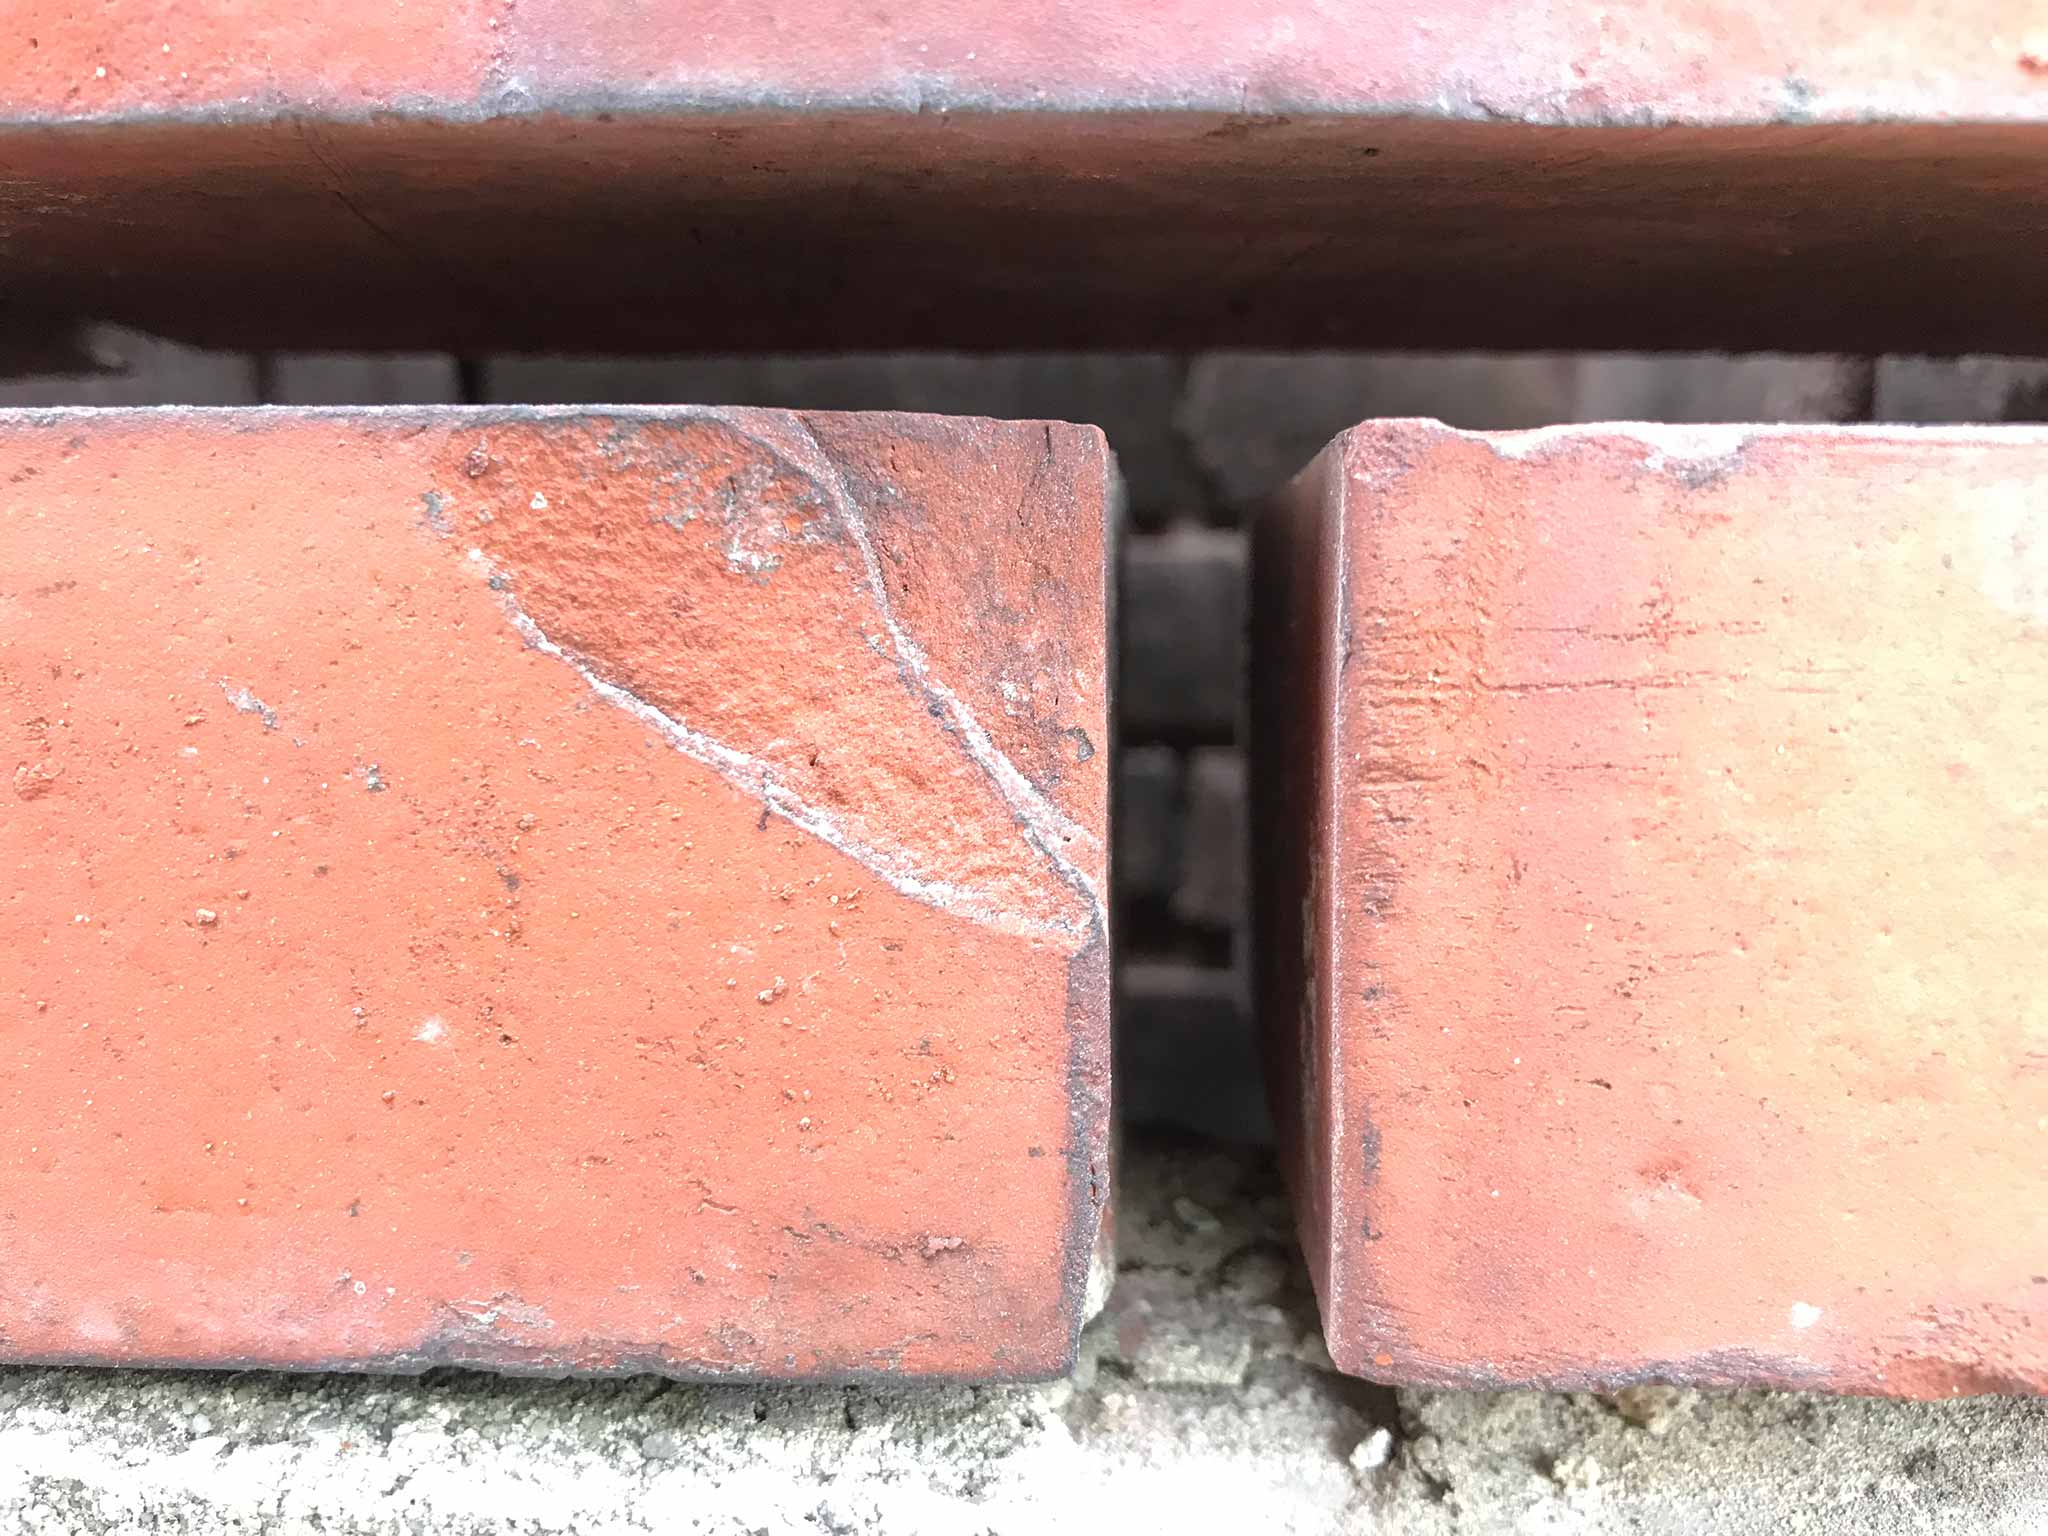
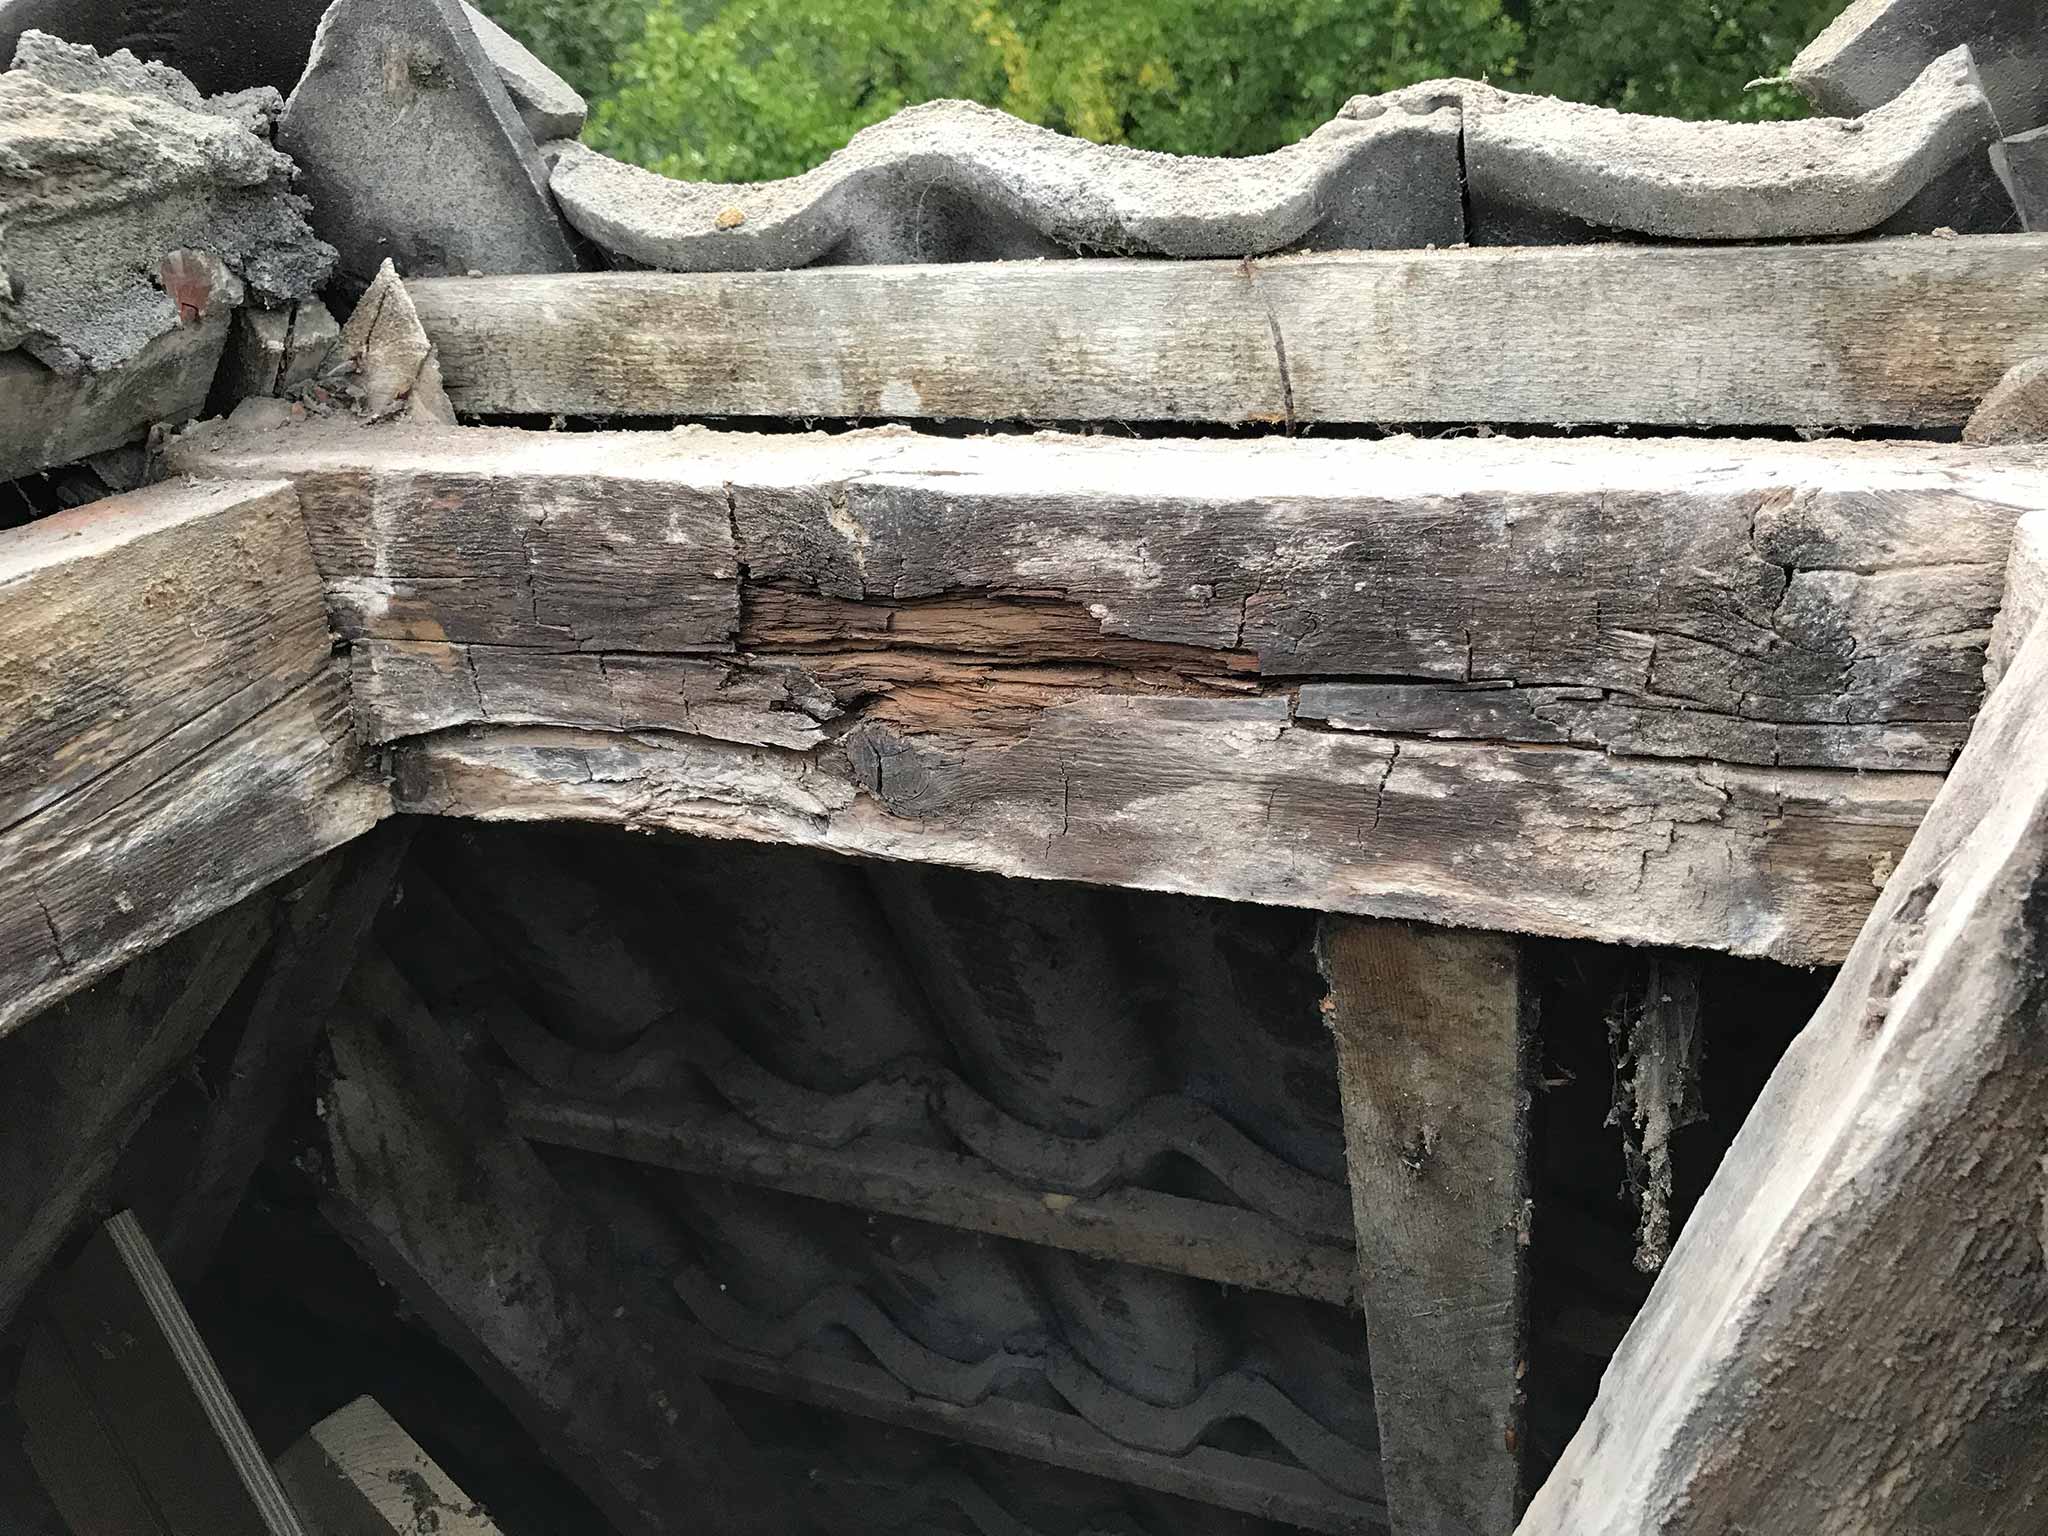
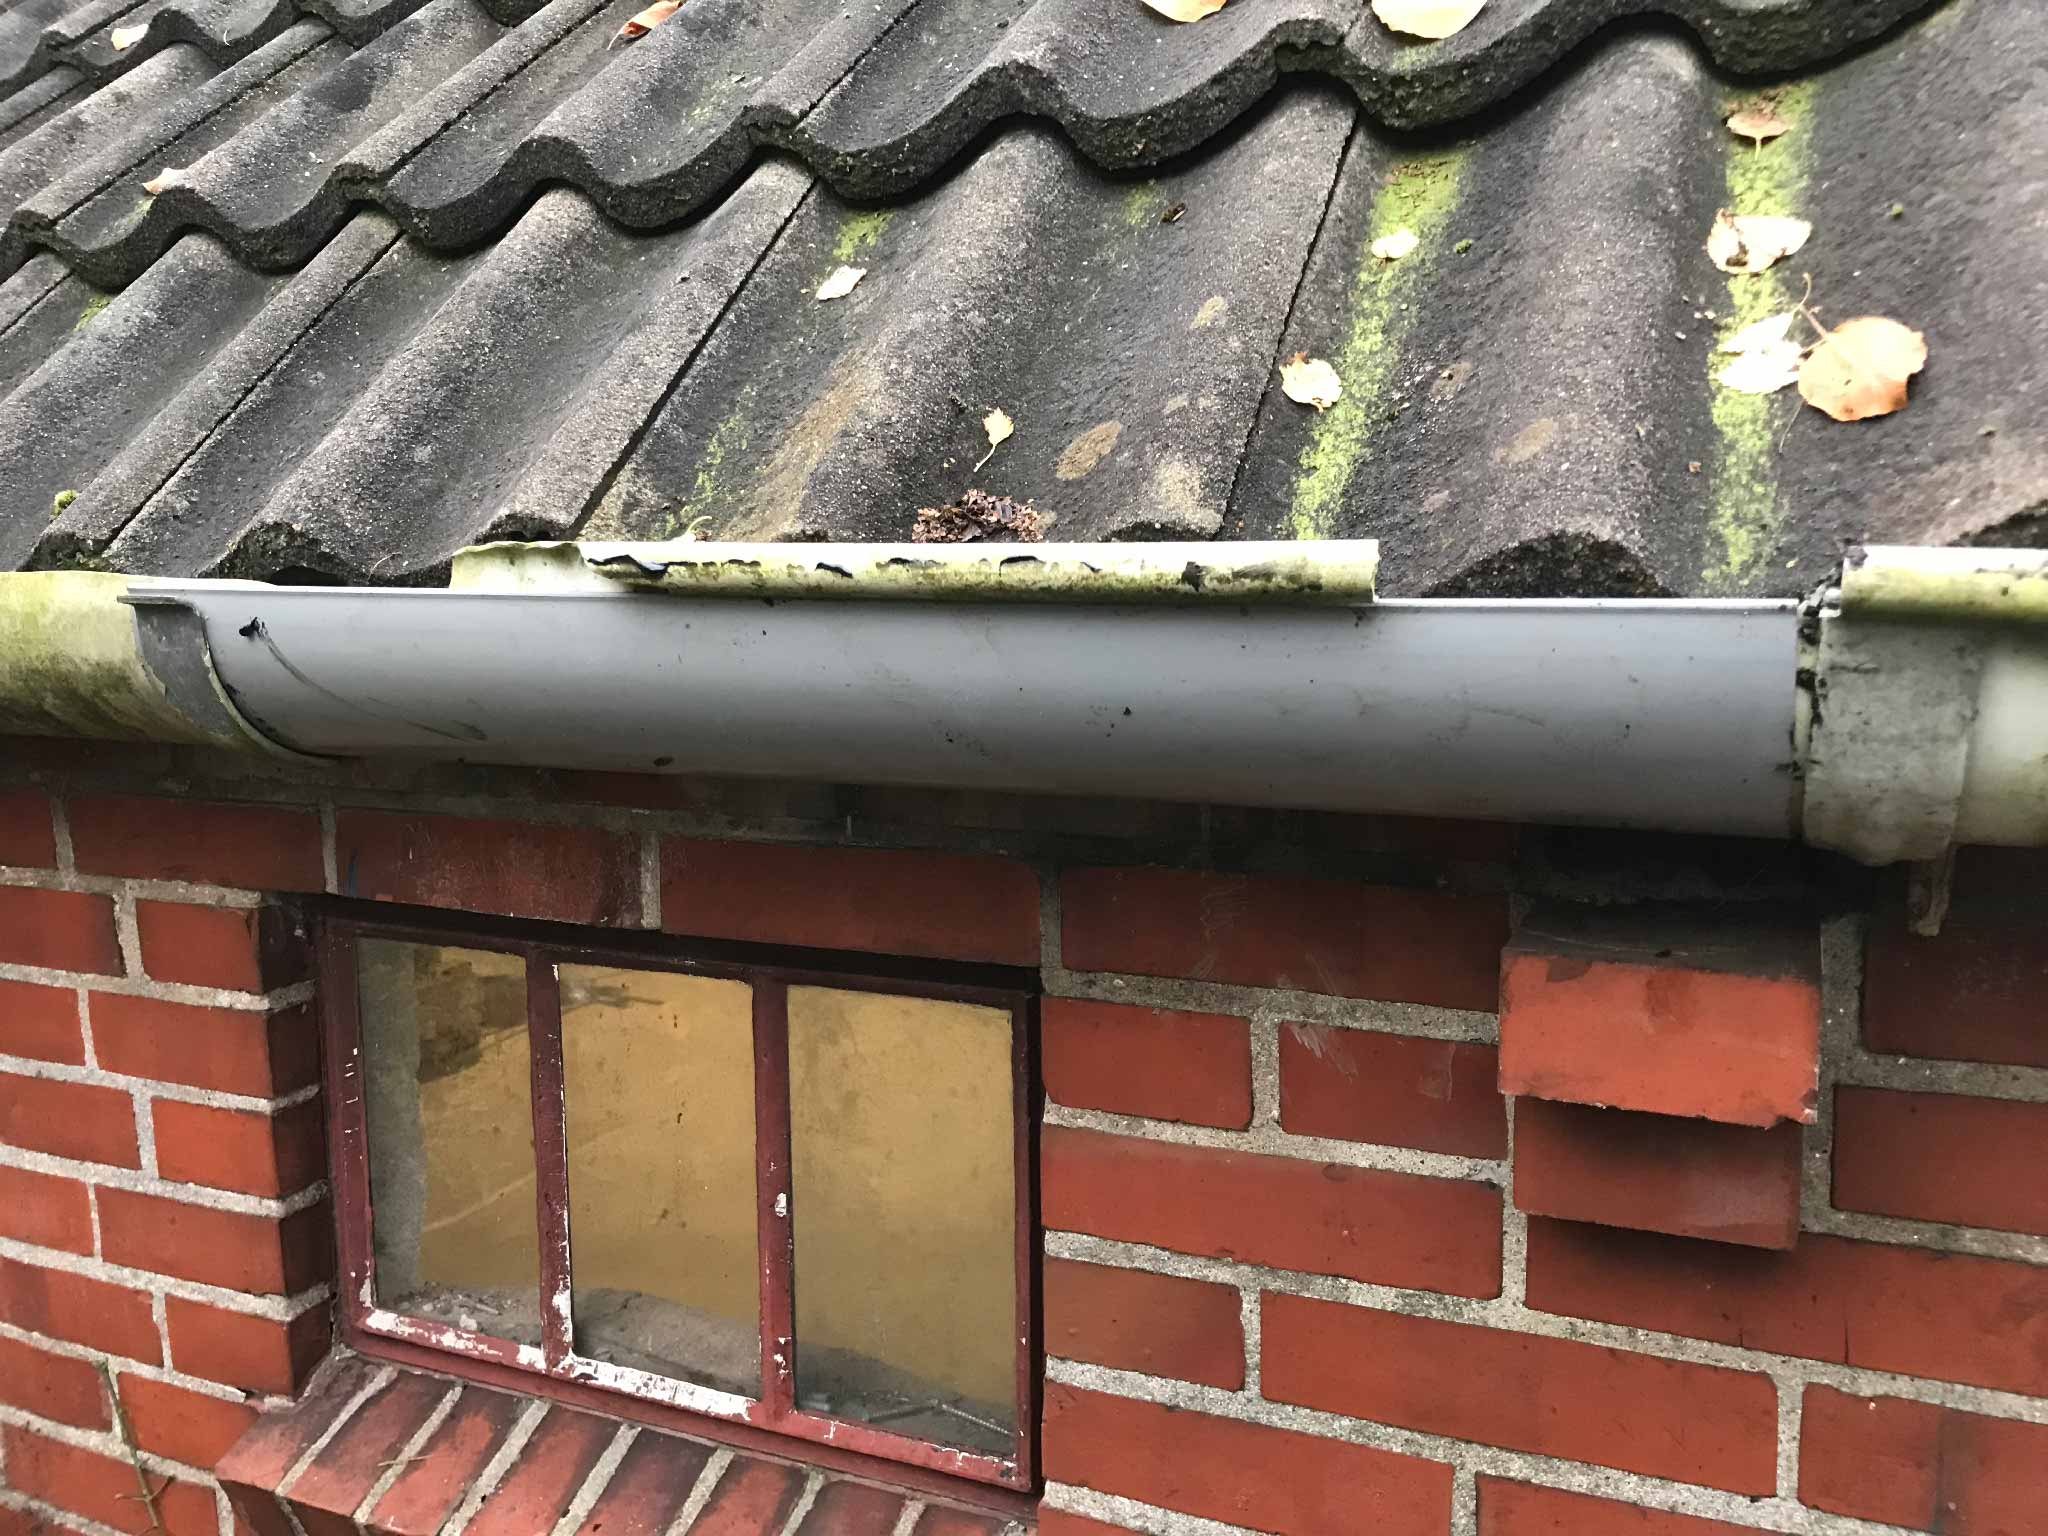
A closer look at the chimney revealed it was not in the best condition. From down below, grouting appeared to be partially gone but from above, it was clear you could inspect the inside of the chimney from the outside…

chimney in bad shape

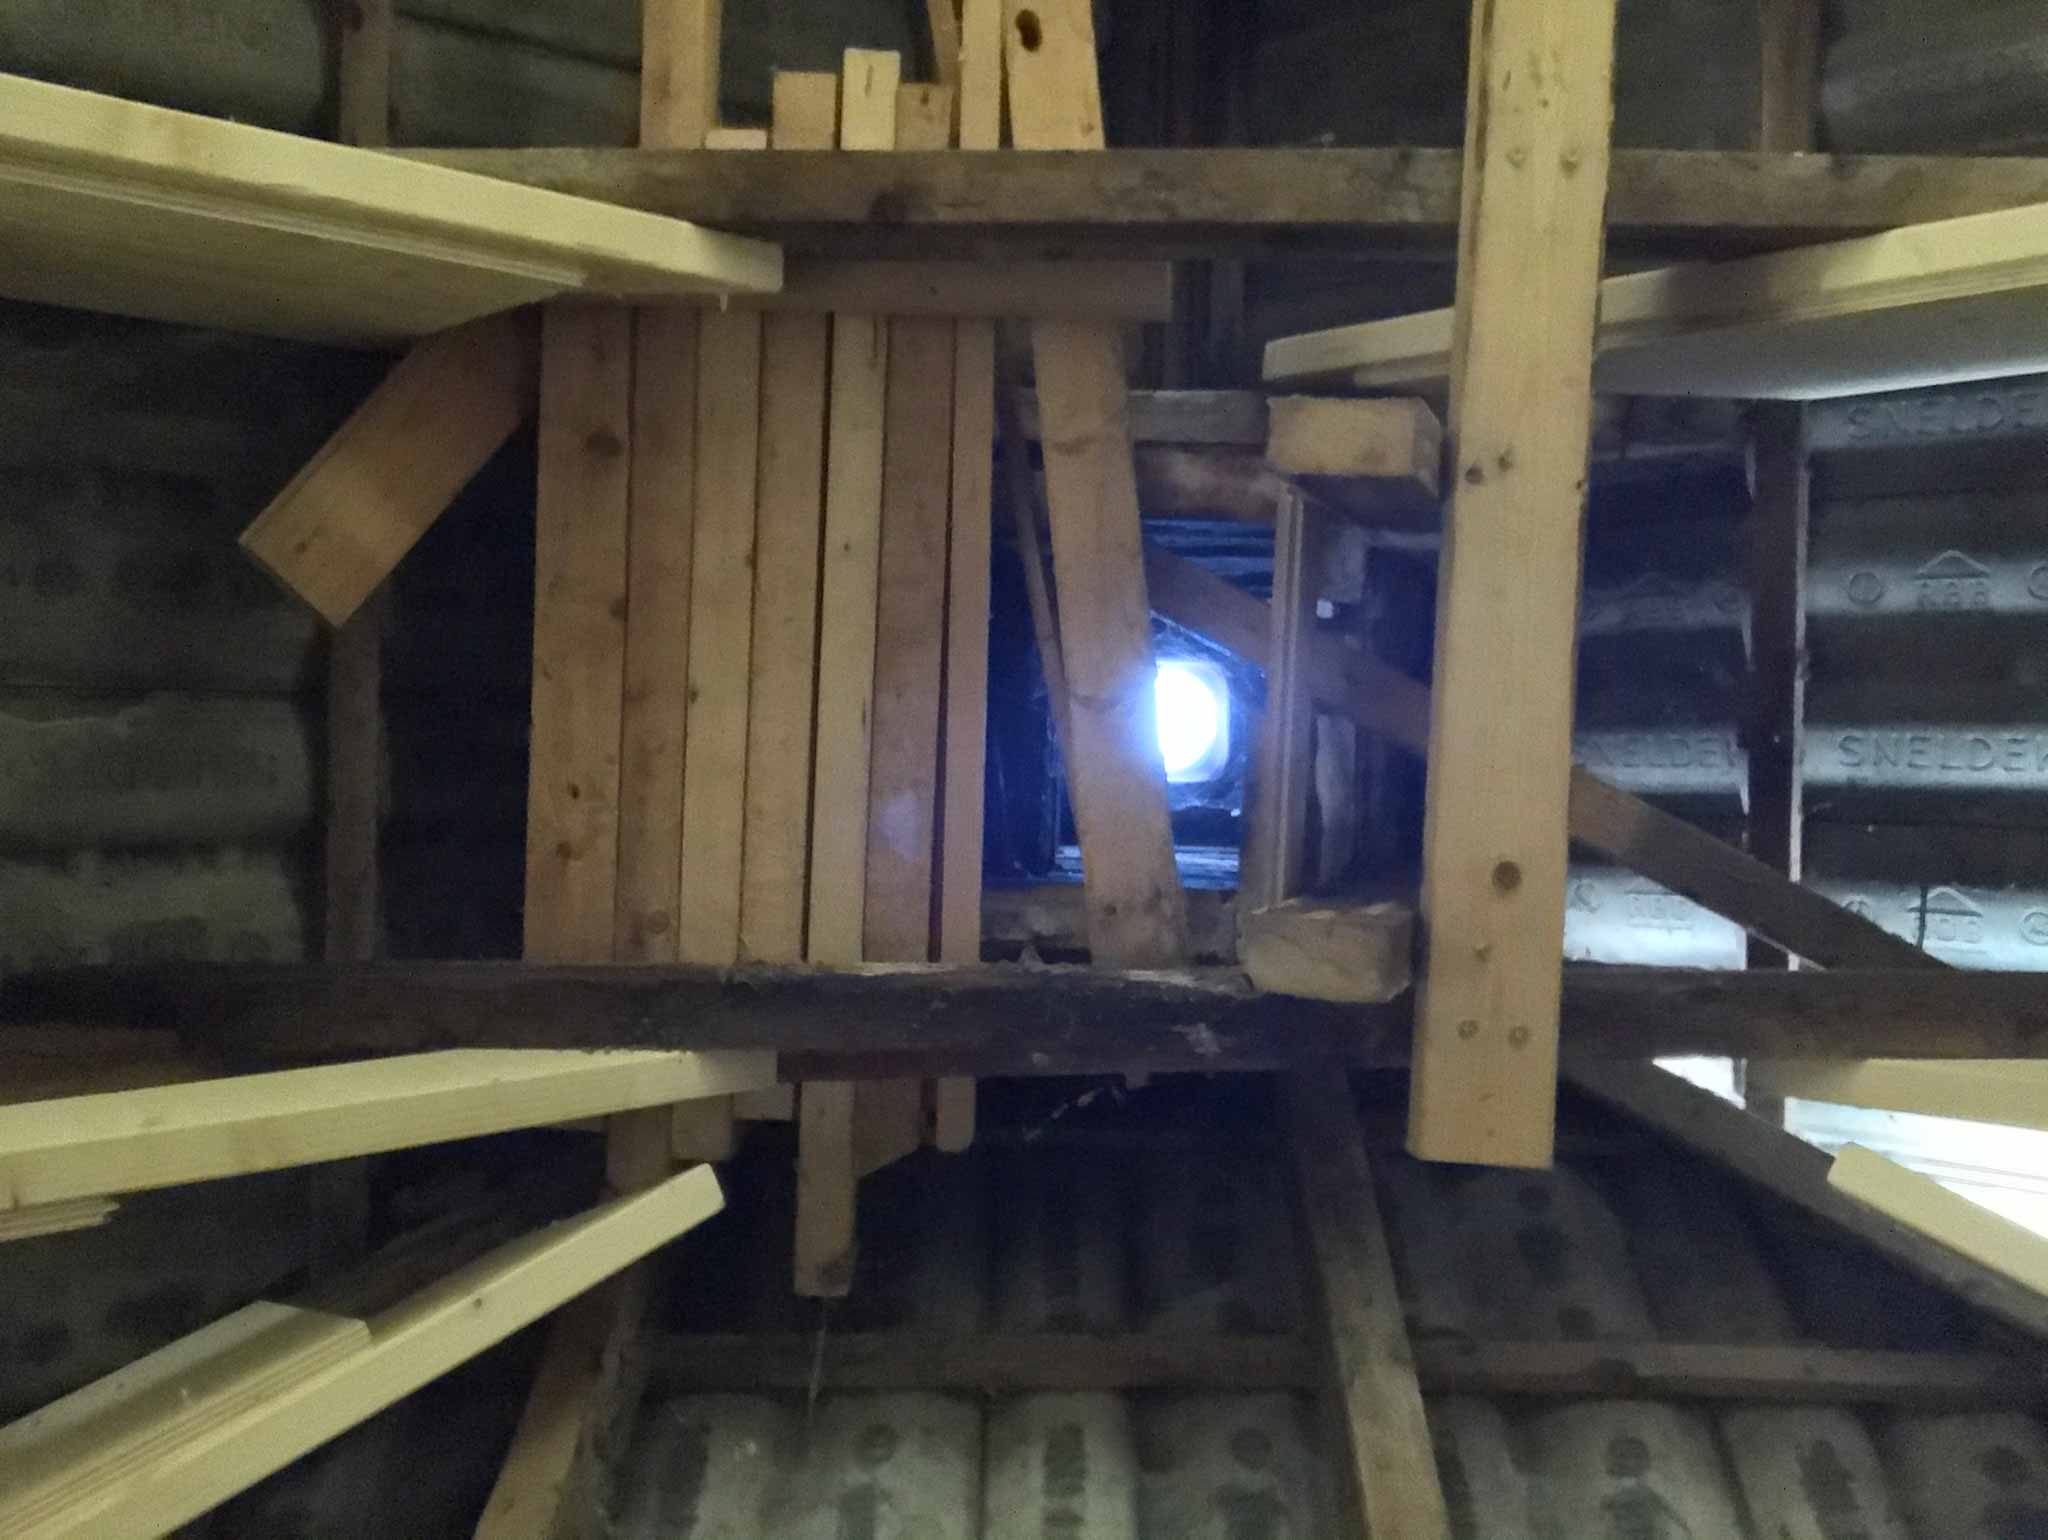
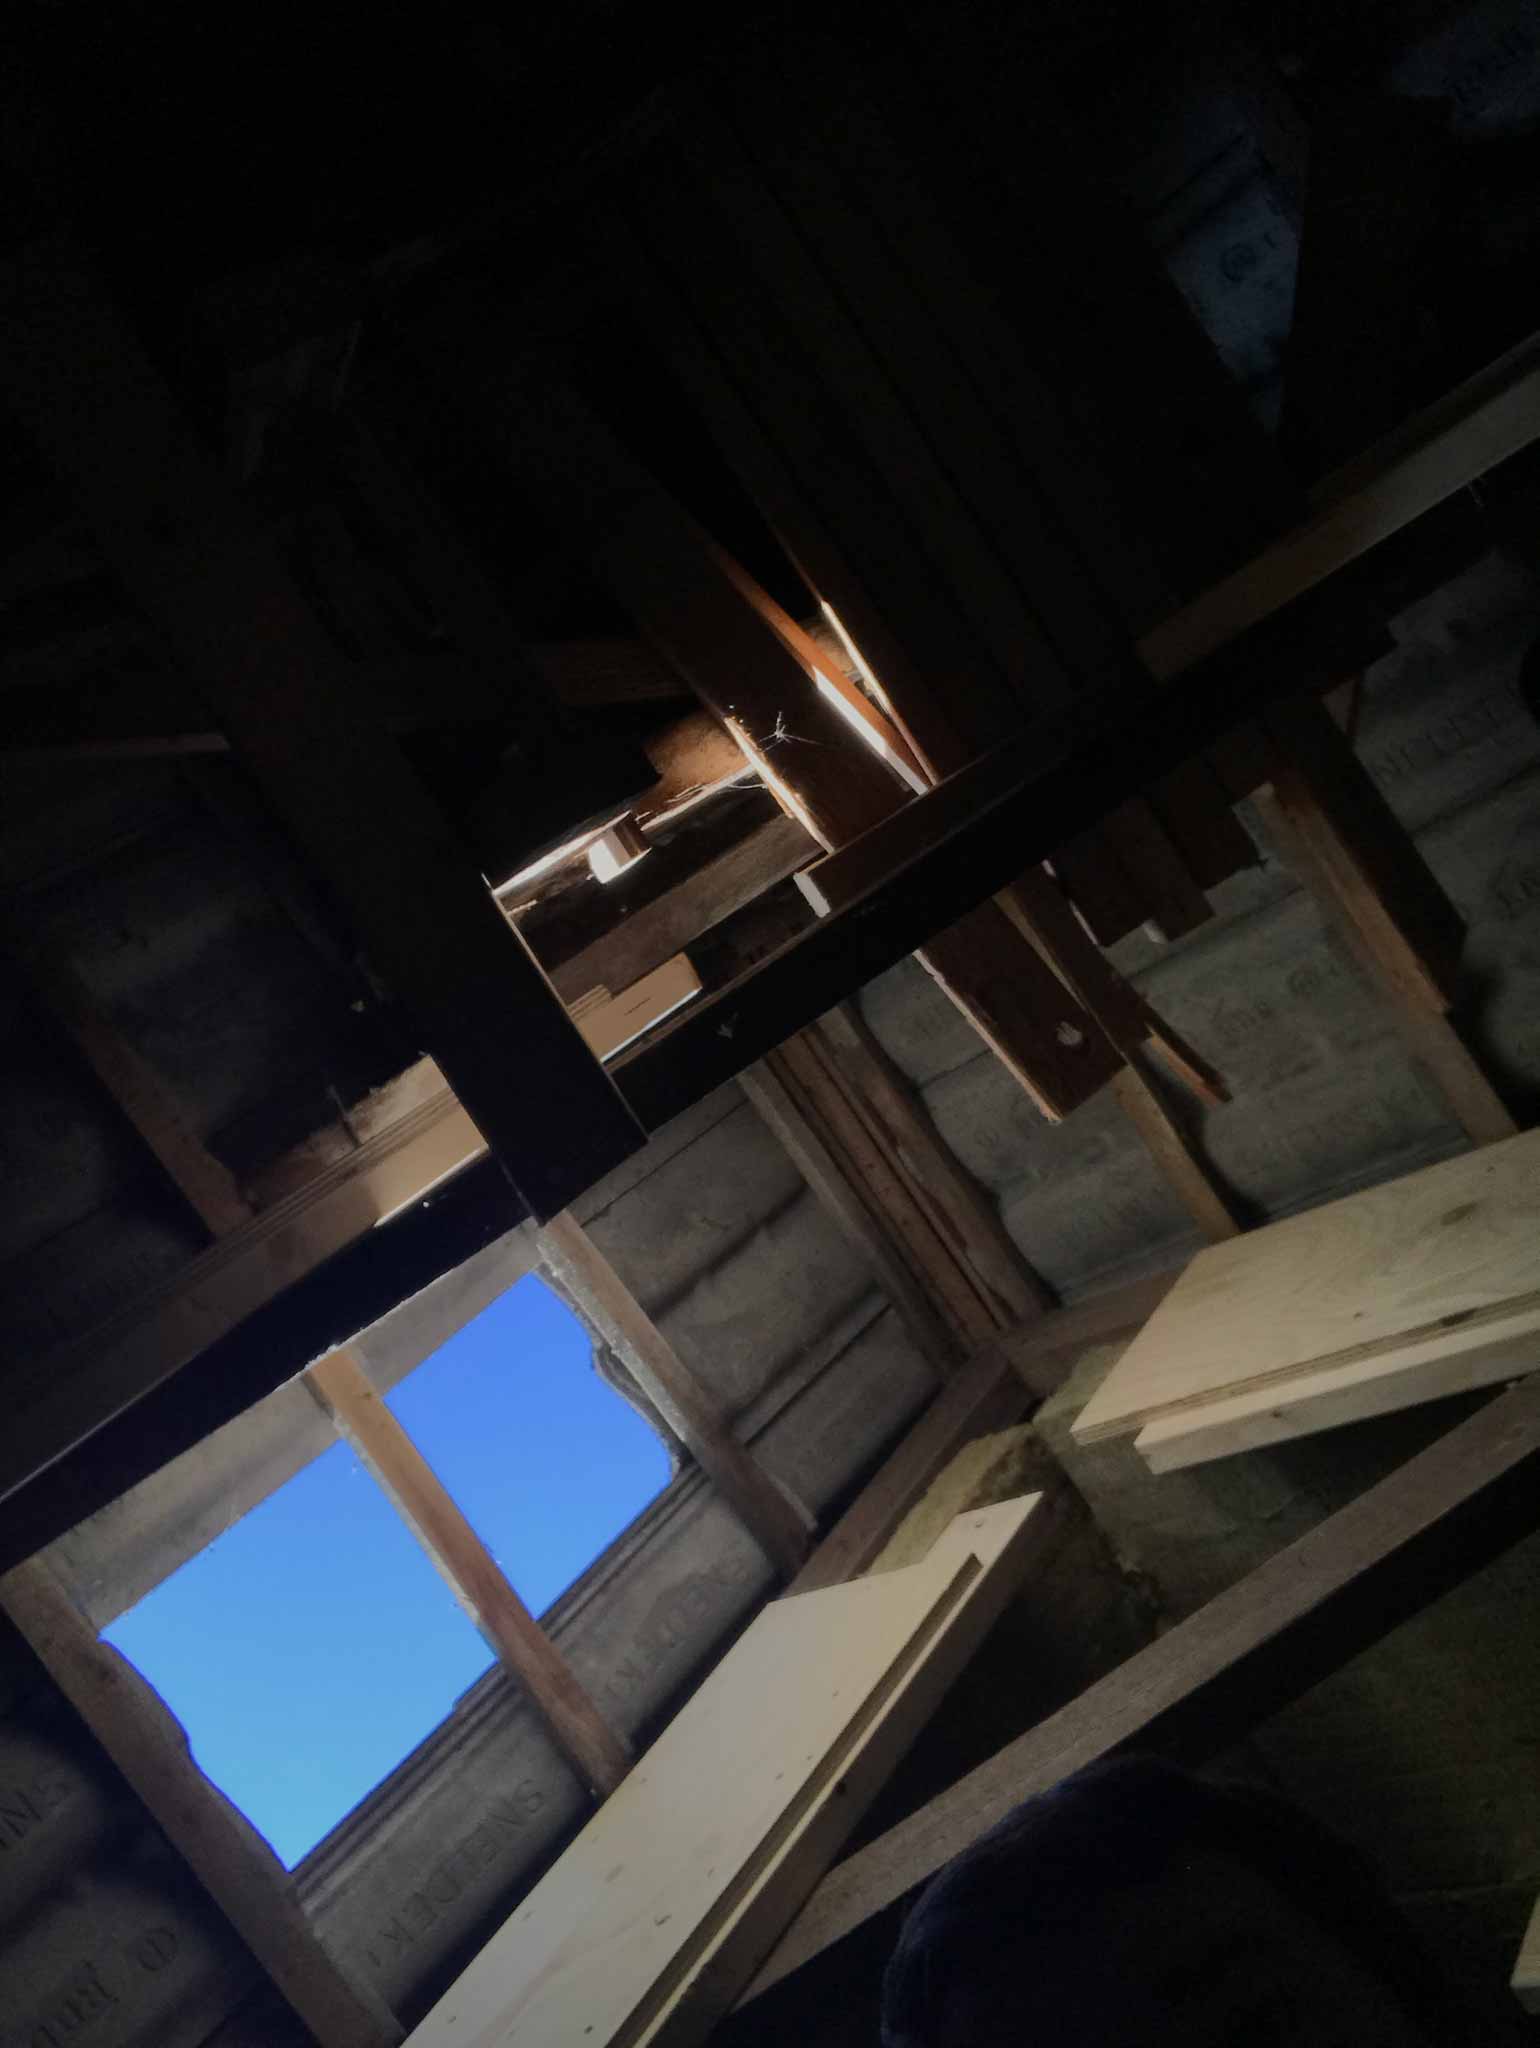
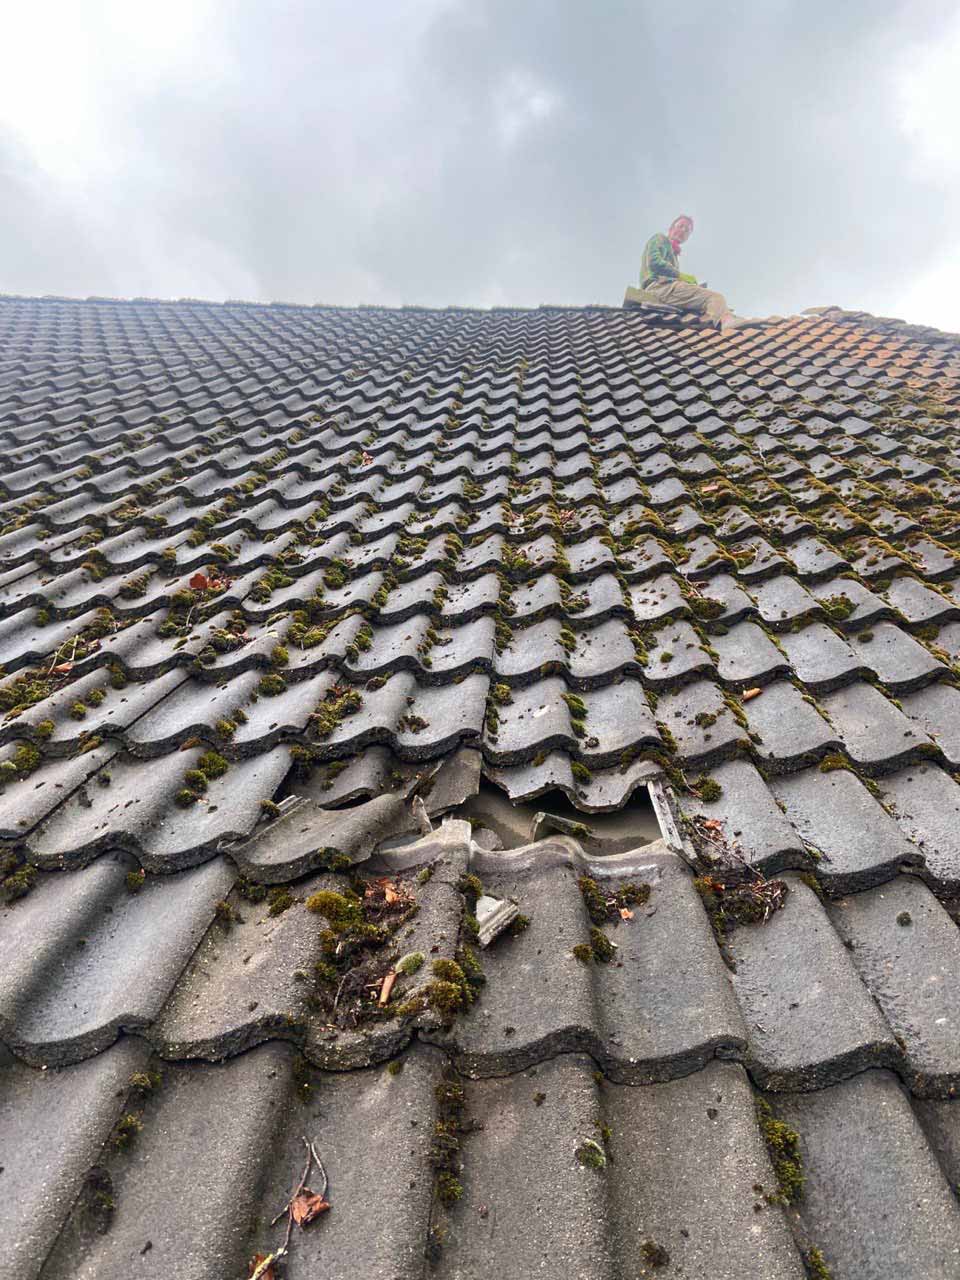
So, time to get up there with the chisel small demolition hamer. We don’t have ladders that long, so we had to go through the roof.

Looking up through a chimney
roof tiles taken out to climb through the roof
saw a hole in a roof

Sitting on the rooftop like riding a horse turned out to be an unpleasant experience. Having to exert force at 7 meter high with a 300kg pile of brick next to you that must come down and accepted that fate all too eager did not feel good.

I started with a hammer and big chisel. Surprisingly, the top of the chimney was as if it was built yesterday. After one hour chiseling away, I decided to go for the power tools and three more hours later, the top 2 to 3 layers of brick were gone.

chiseling away at a chimney

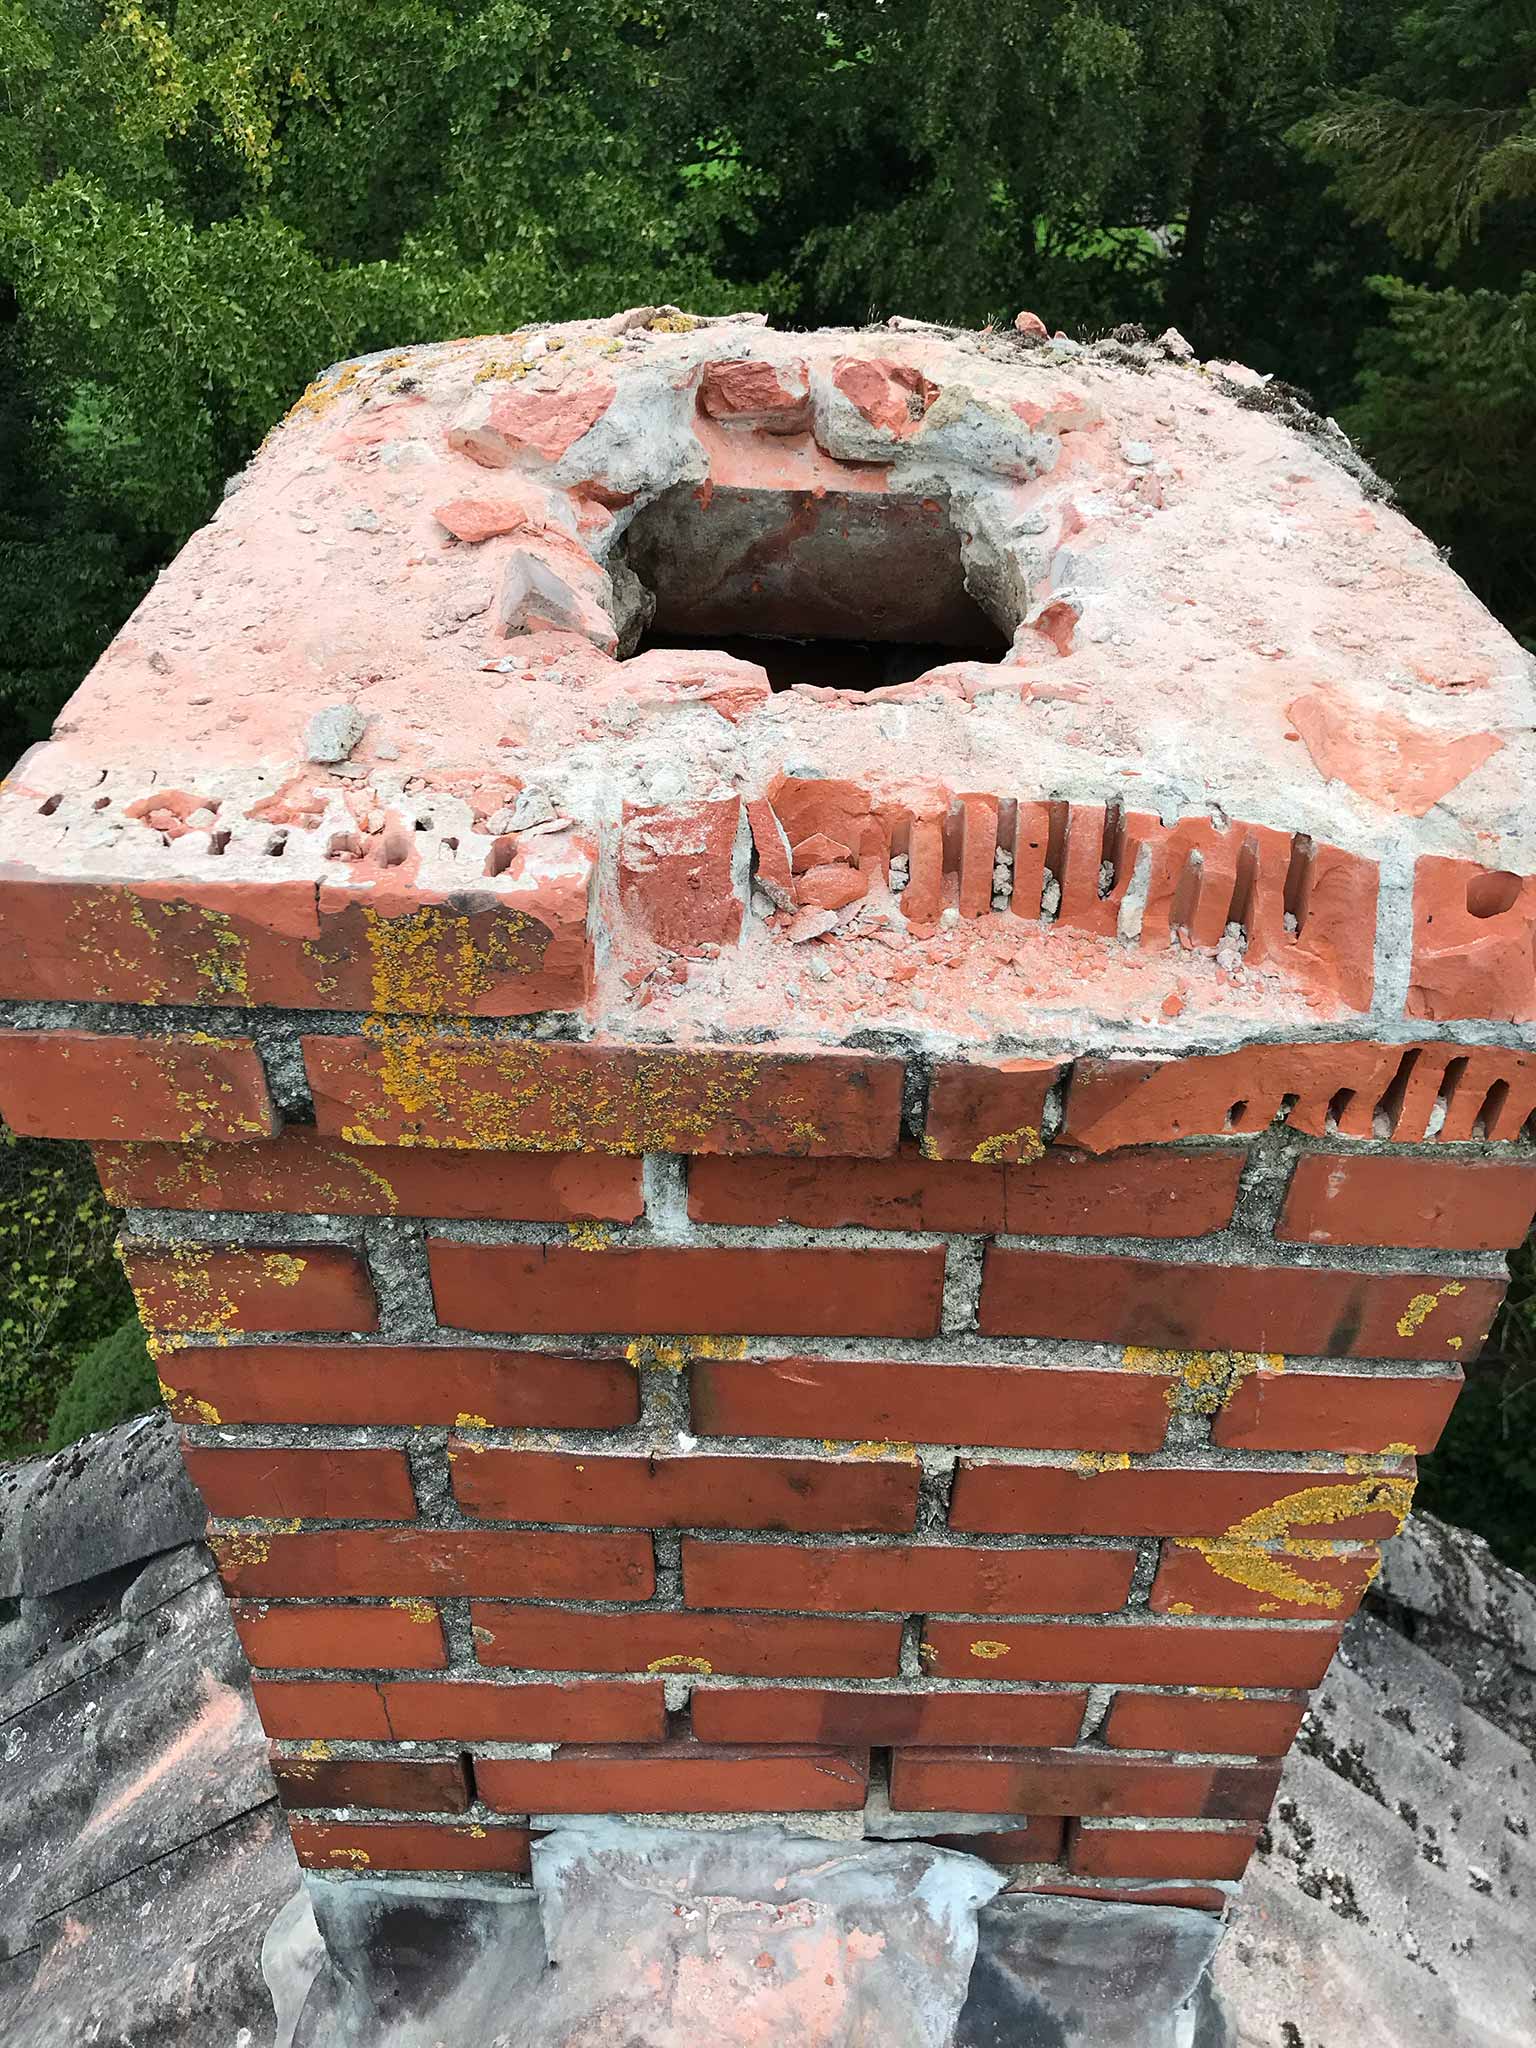
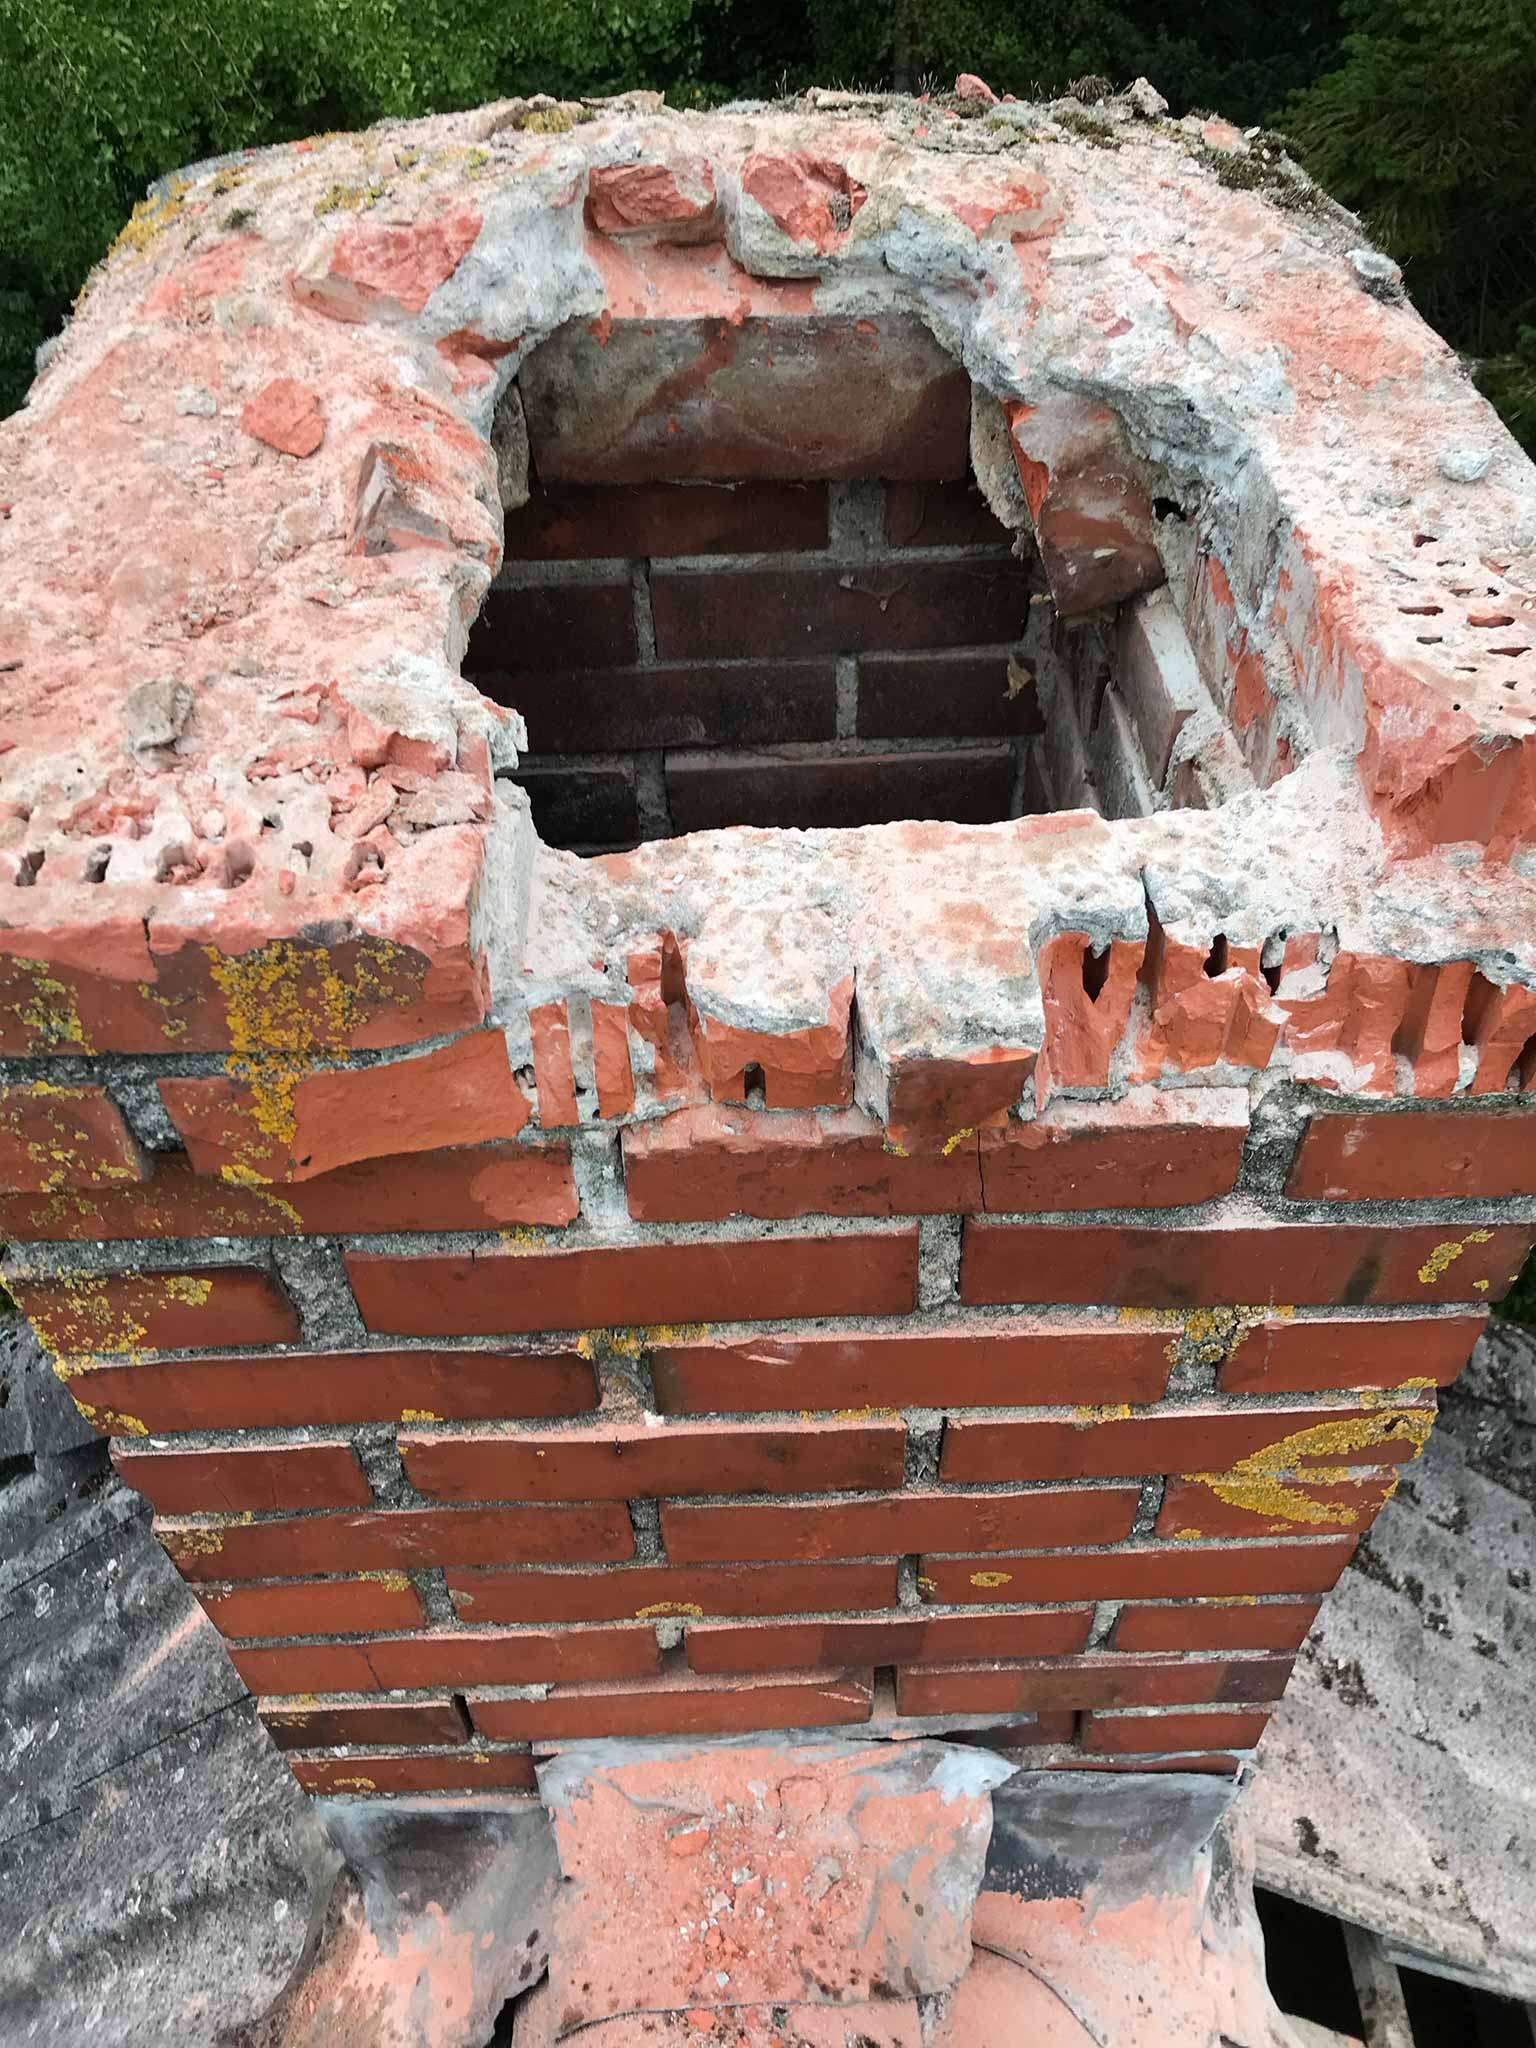
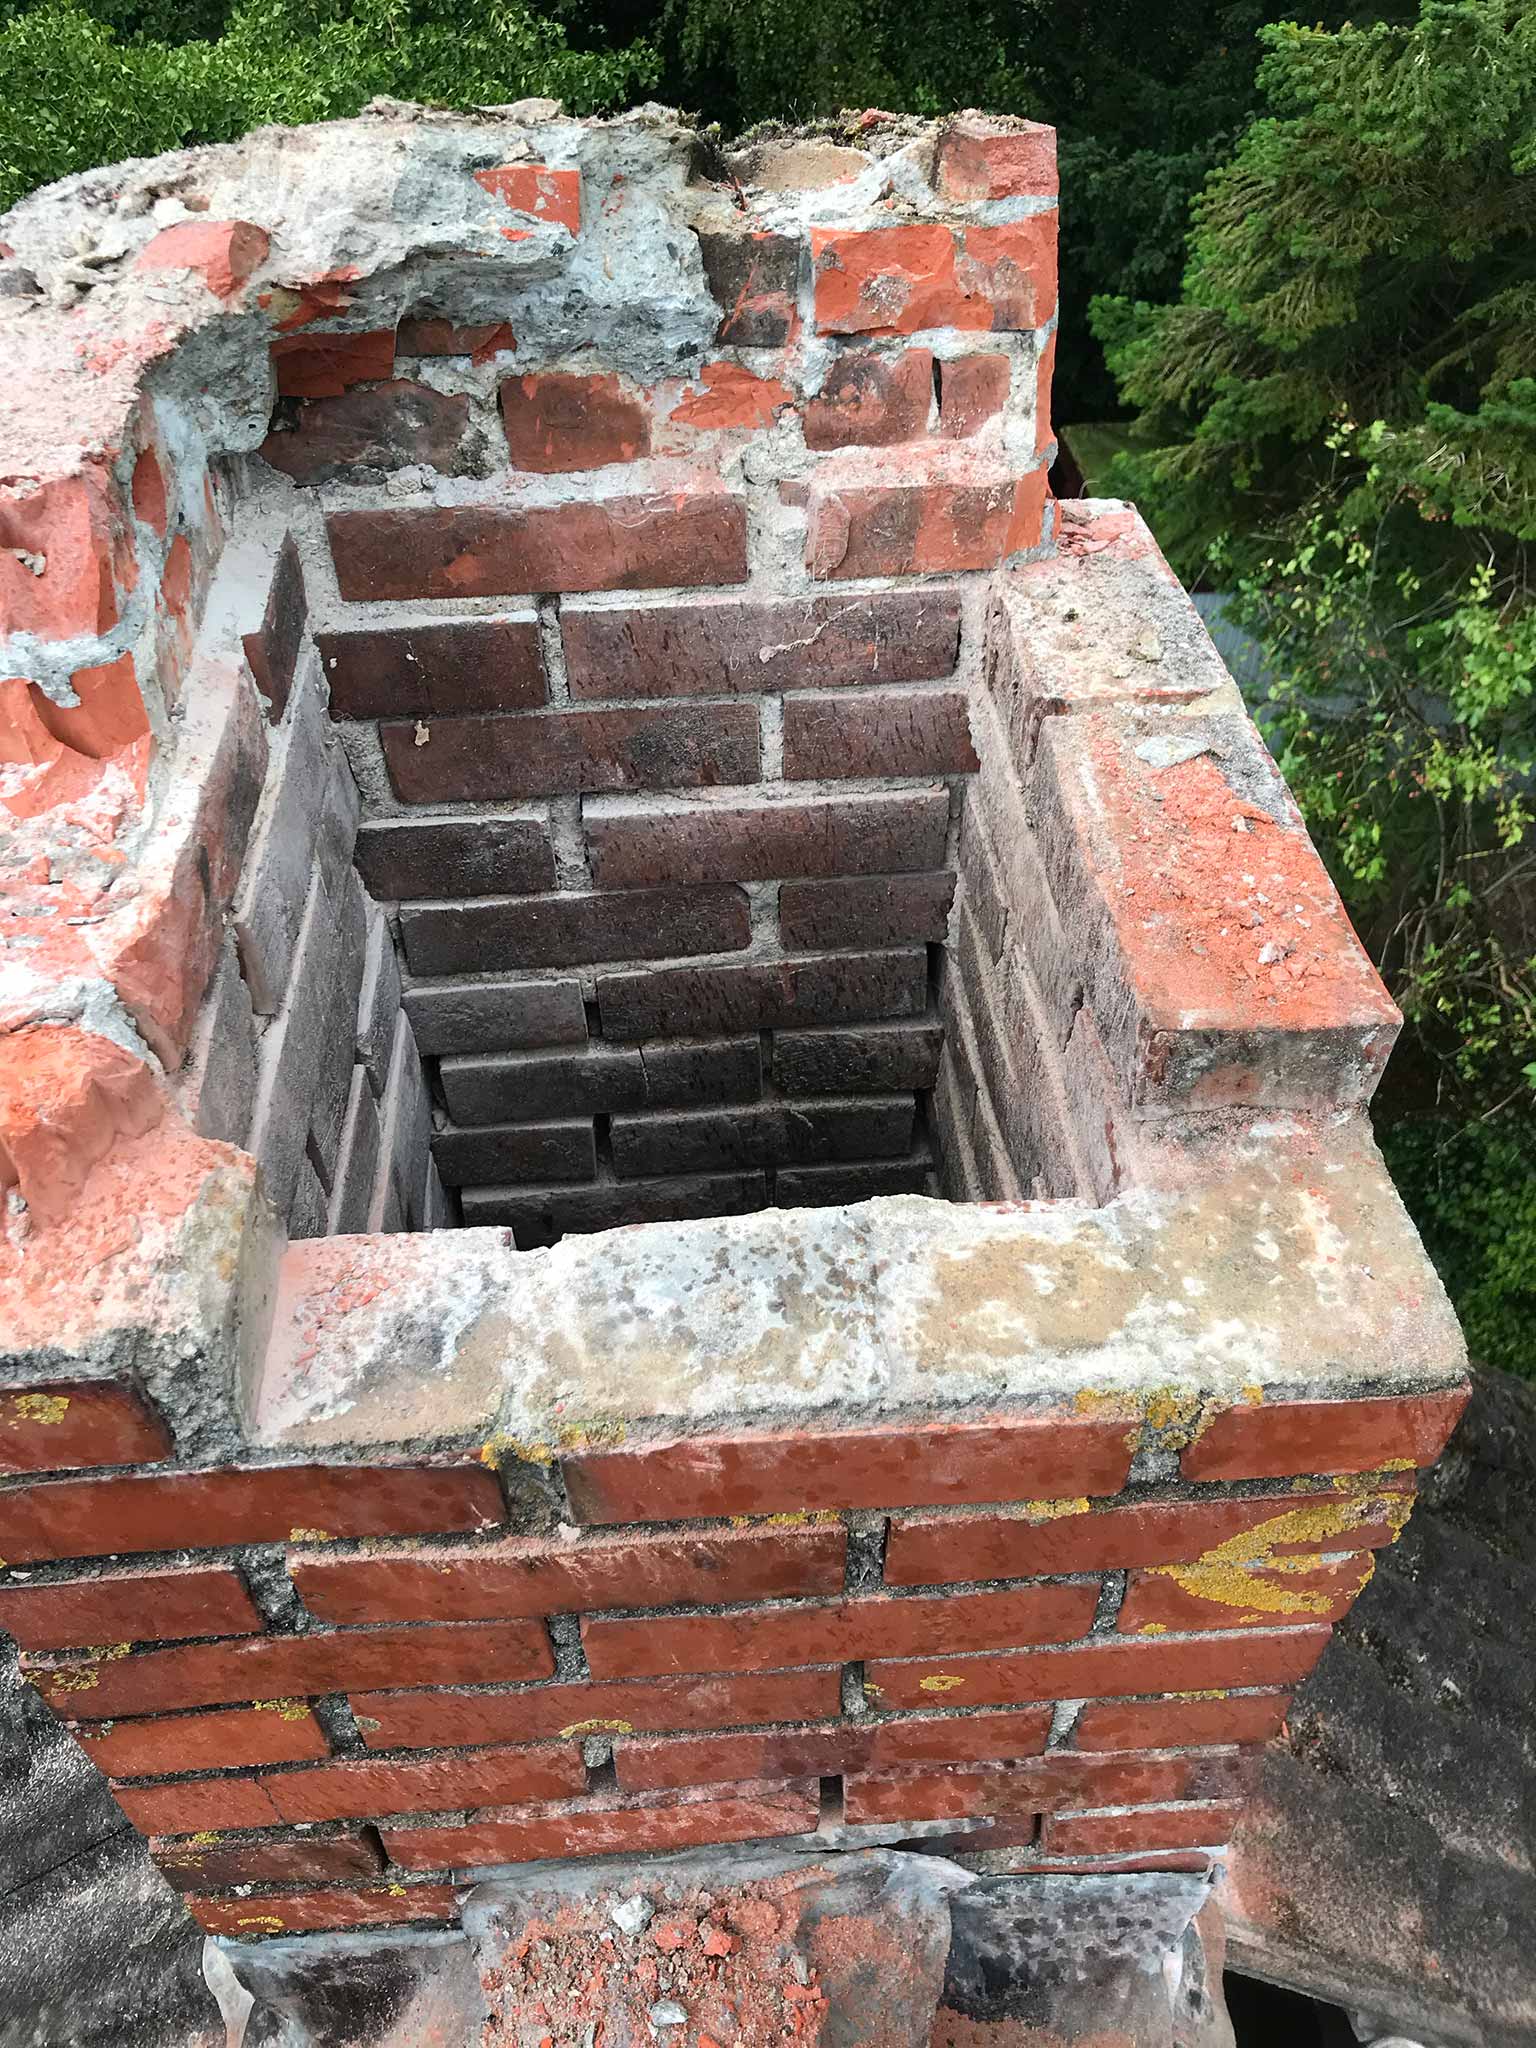
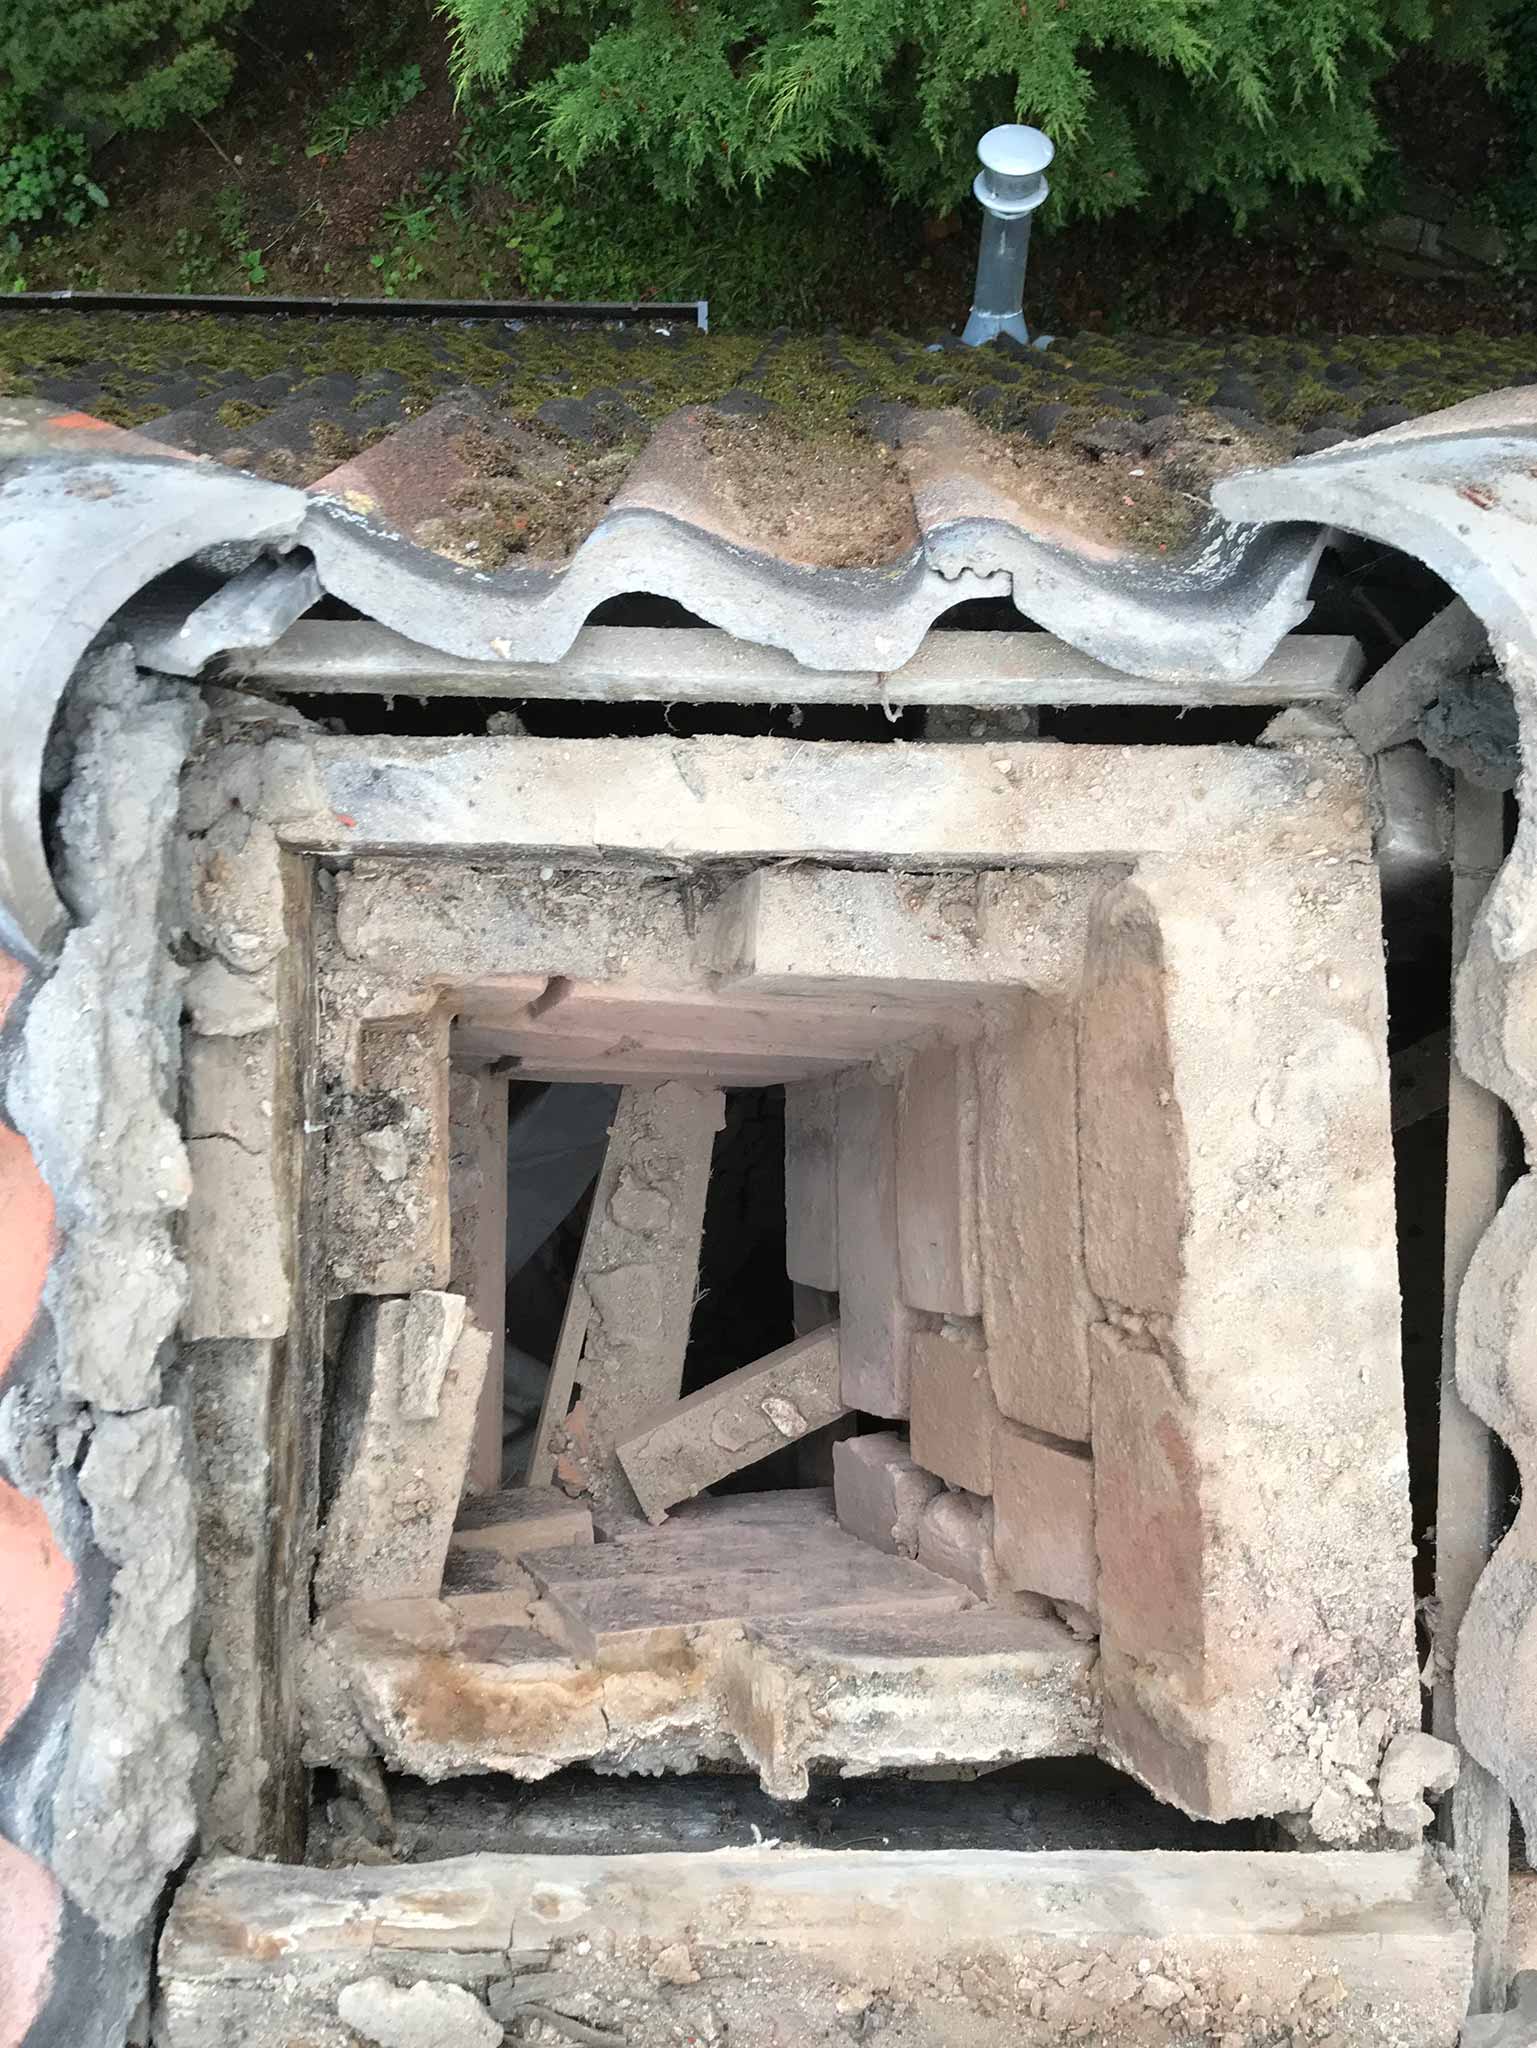
When that was done, cracks started to appear ‘everywhere’. Things were getting a bit unstable and I did not want a bunch of bricks tumbling down past about 20 rows of roof tiles (by that time I had already shattered three roof tiles by throwing down a single brick and the remaining ones were gently passed through the hole in the roof).

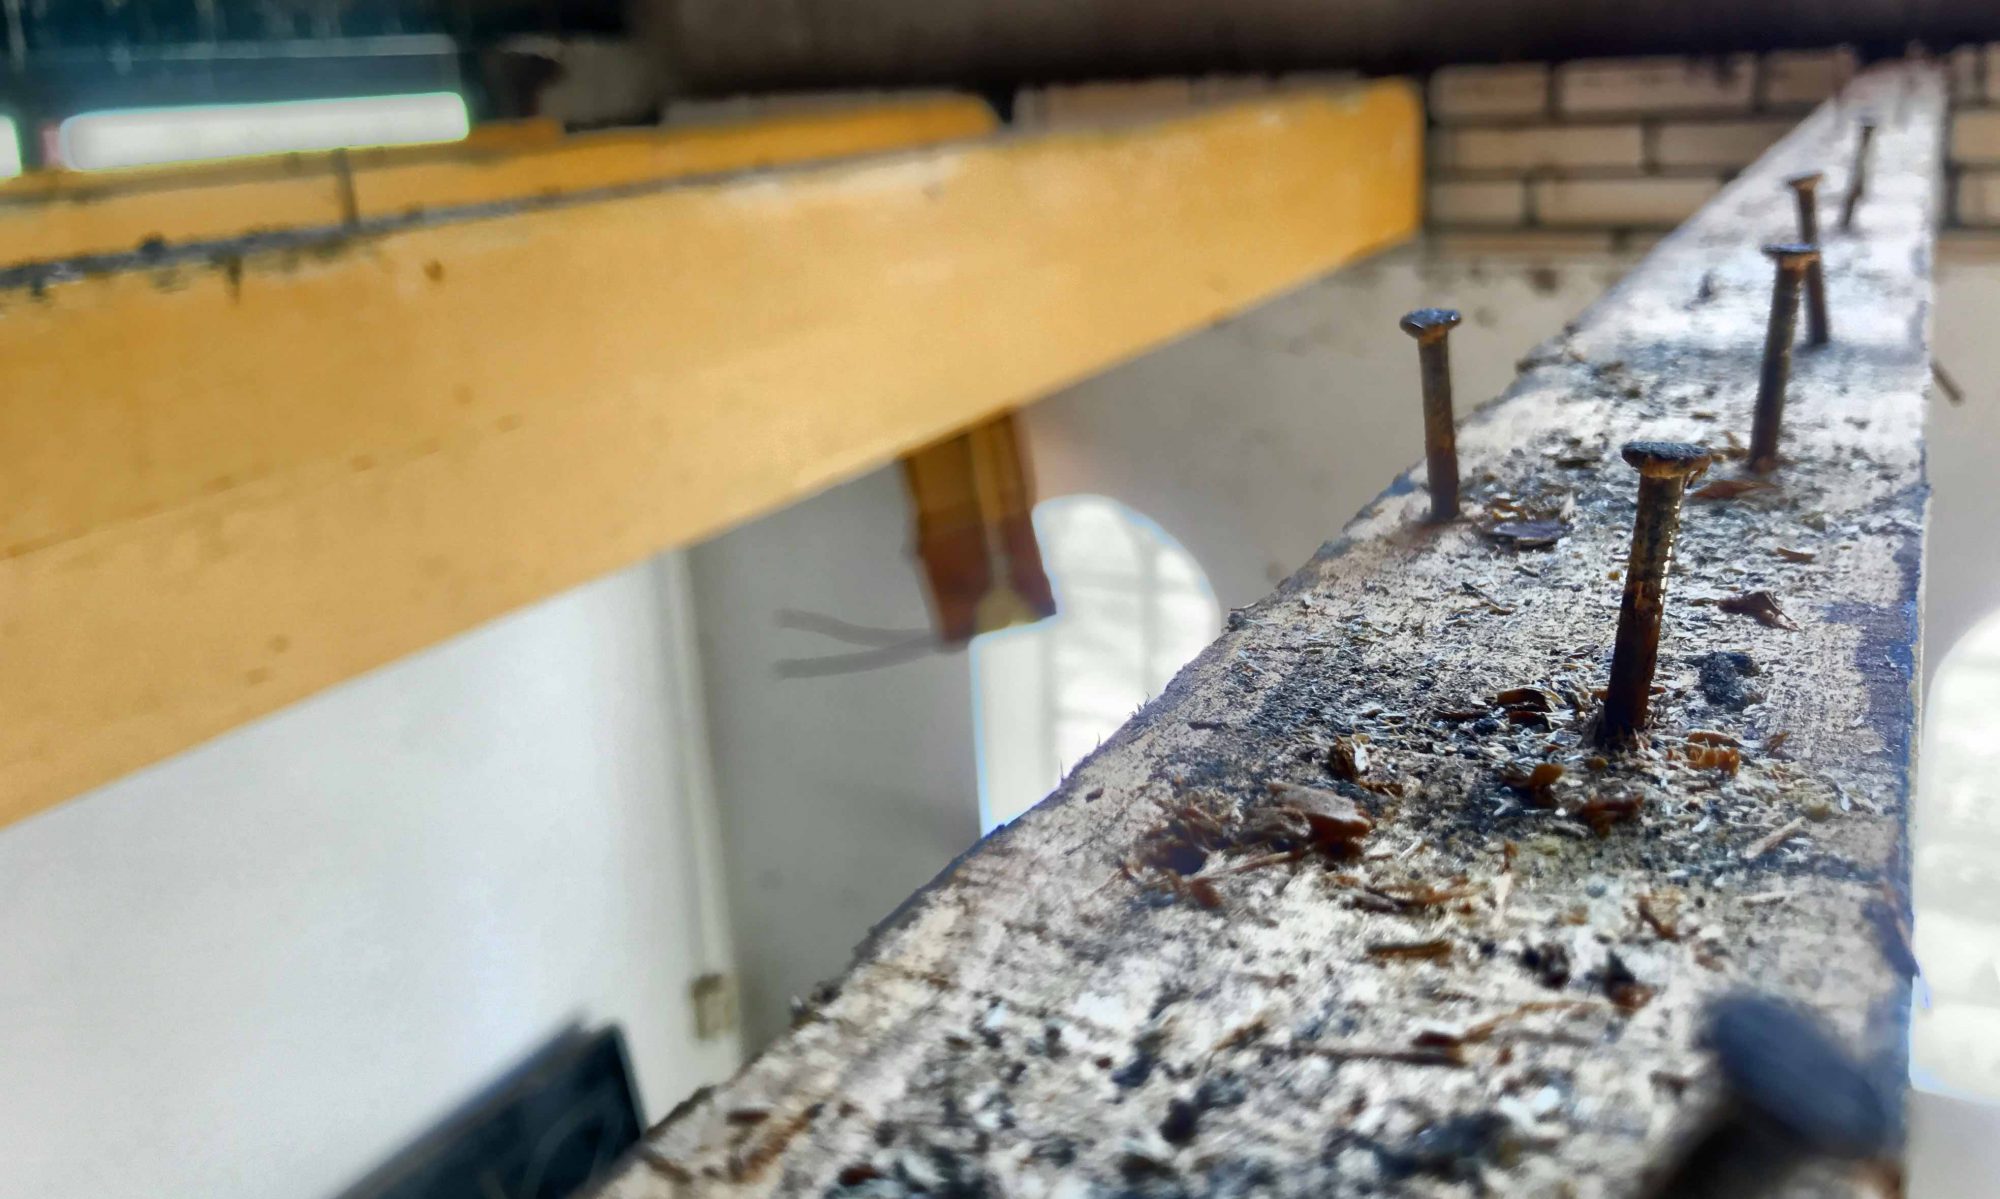
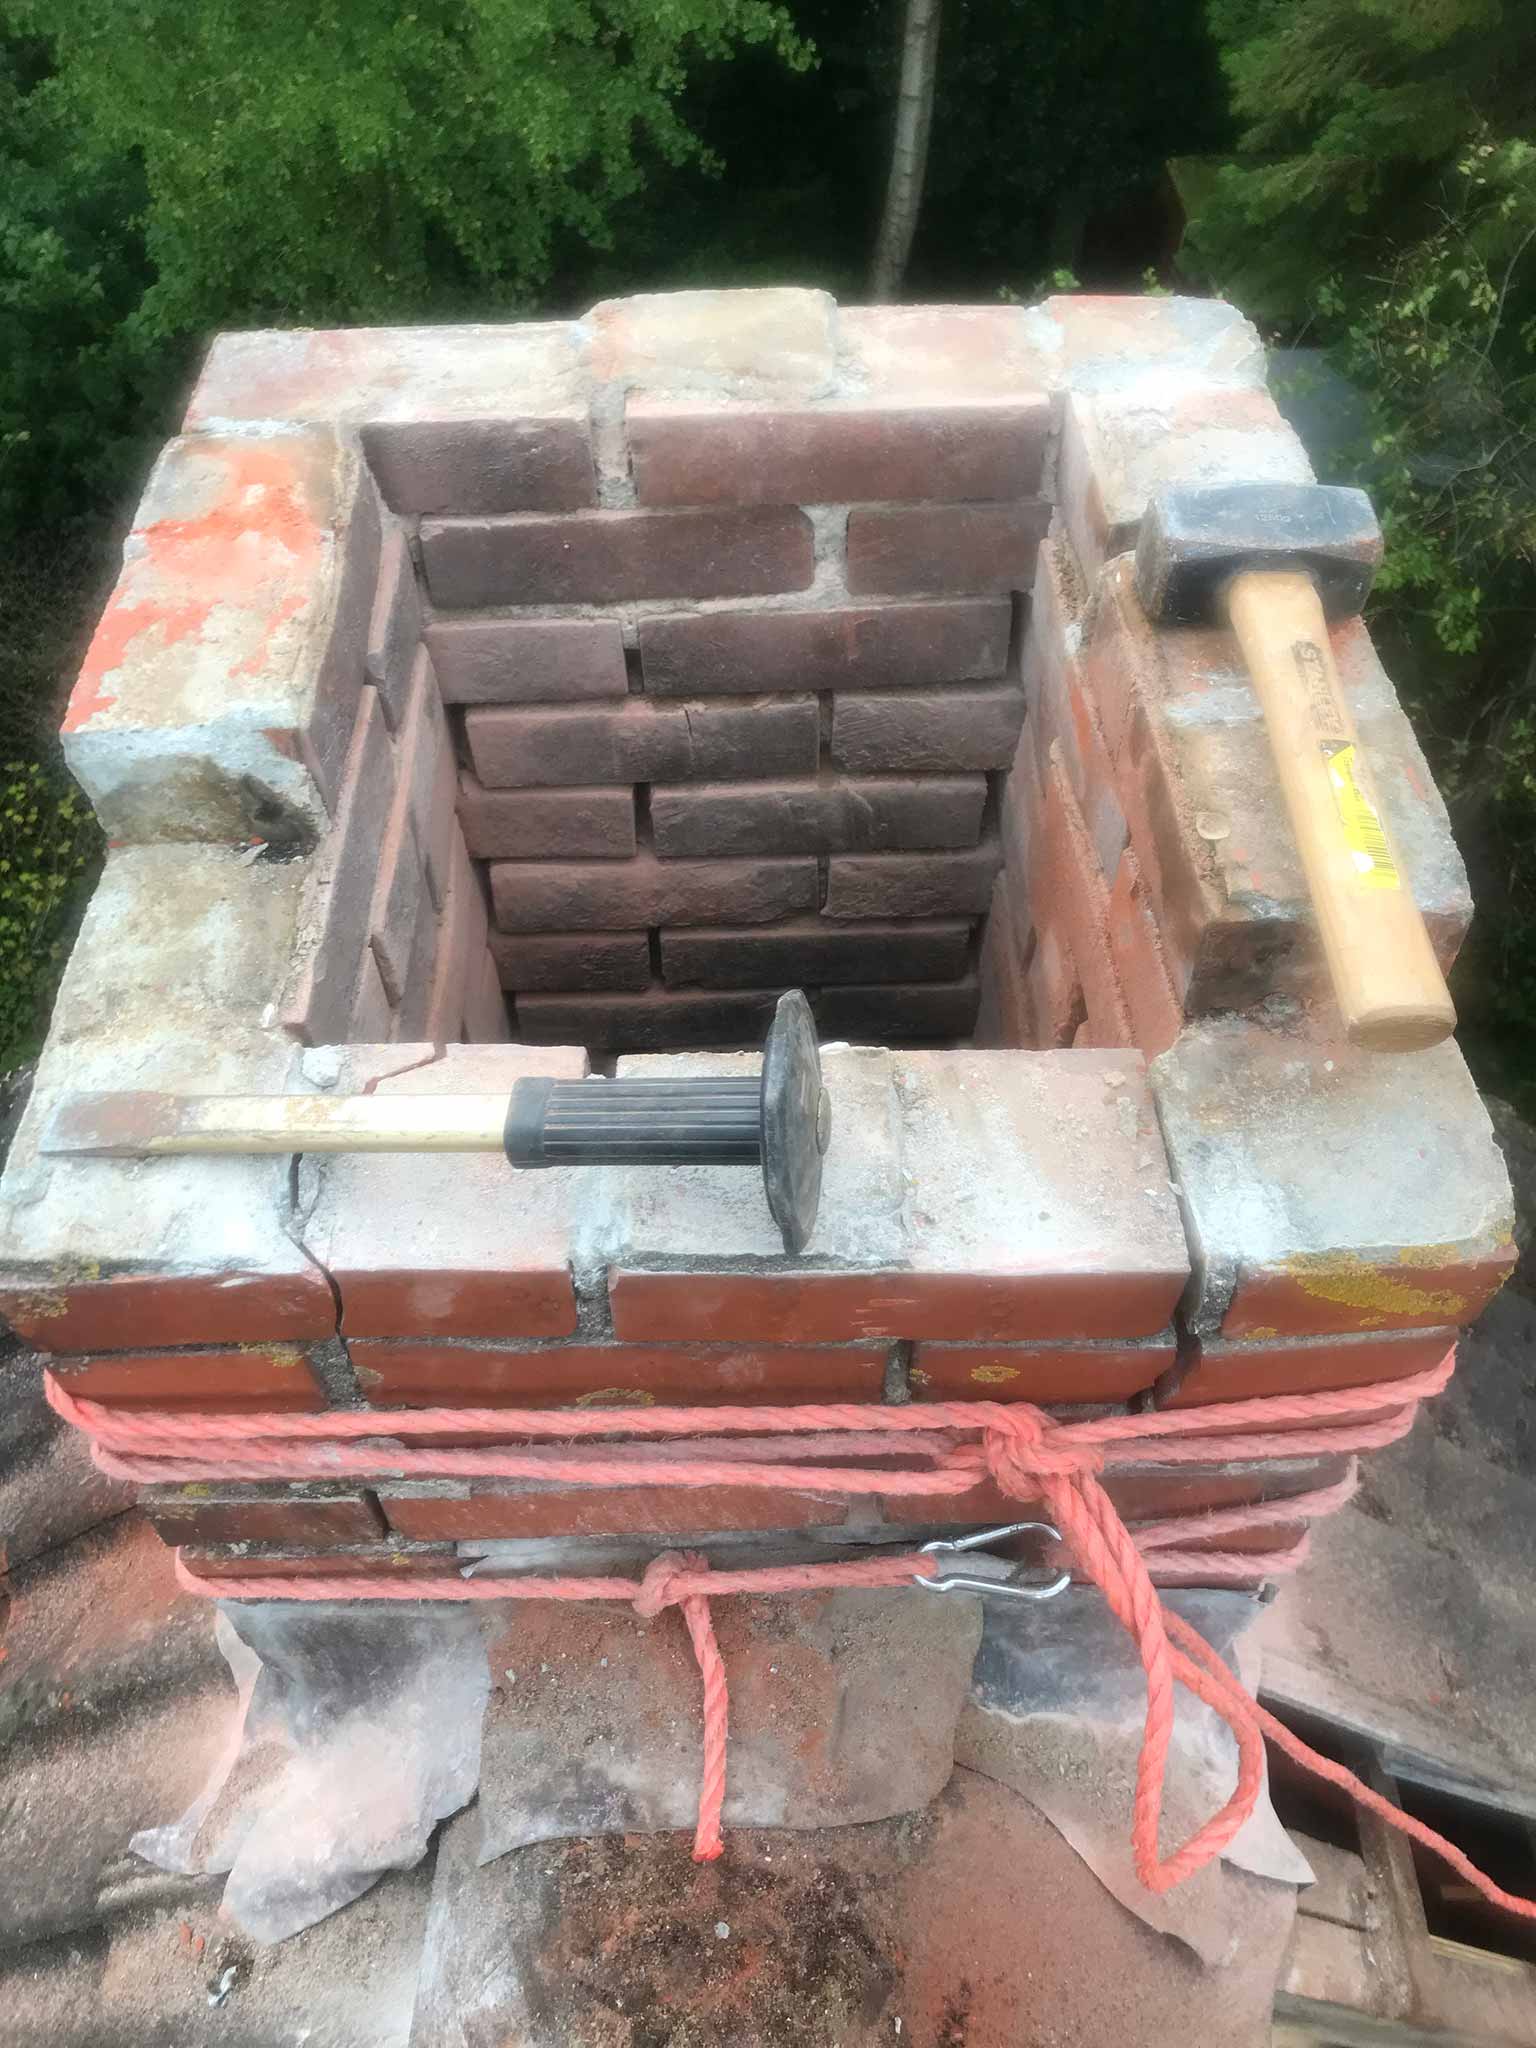
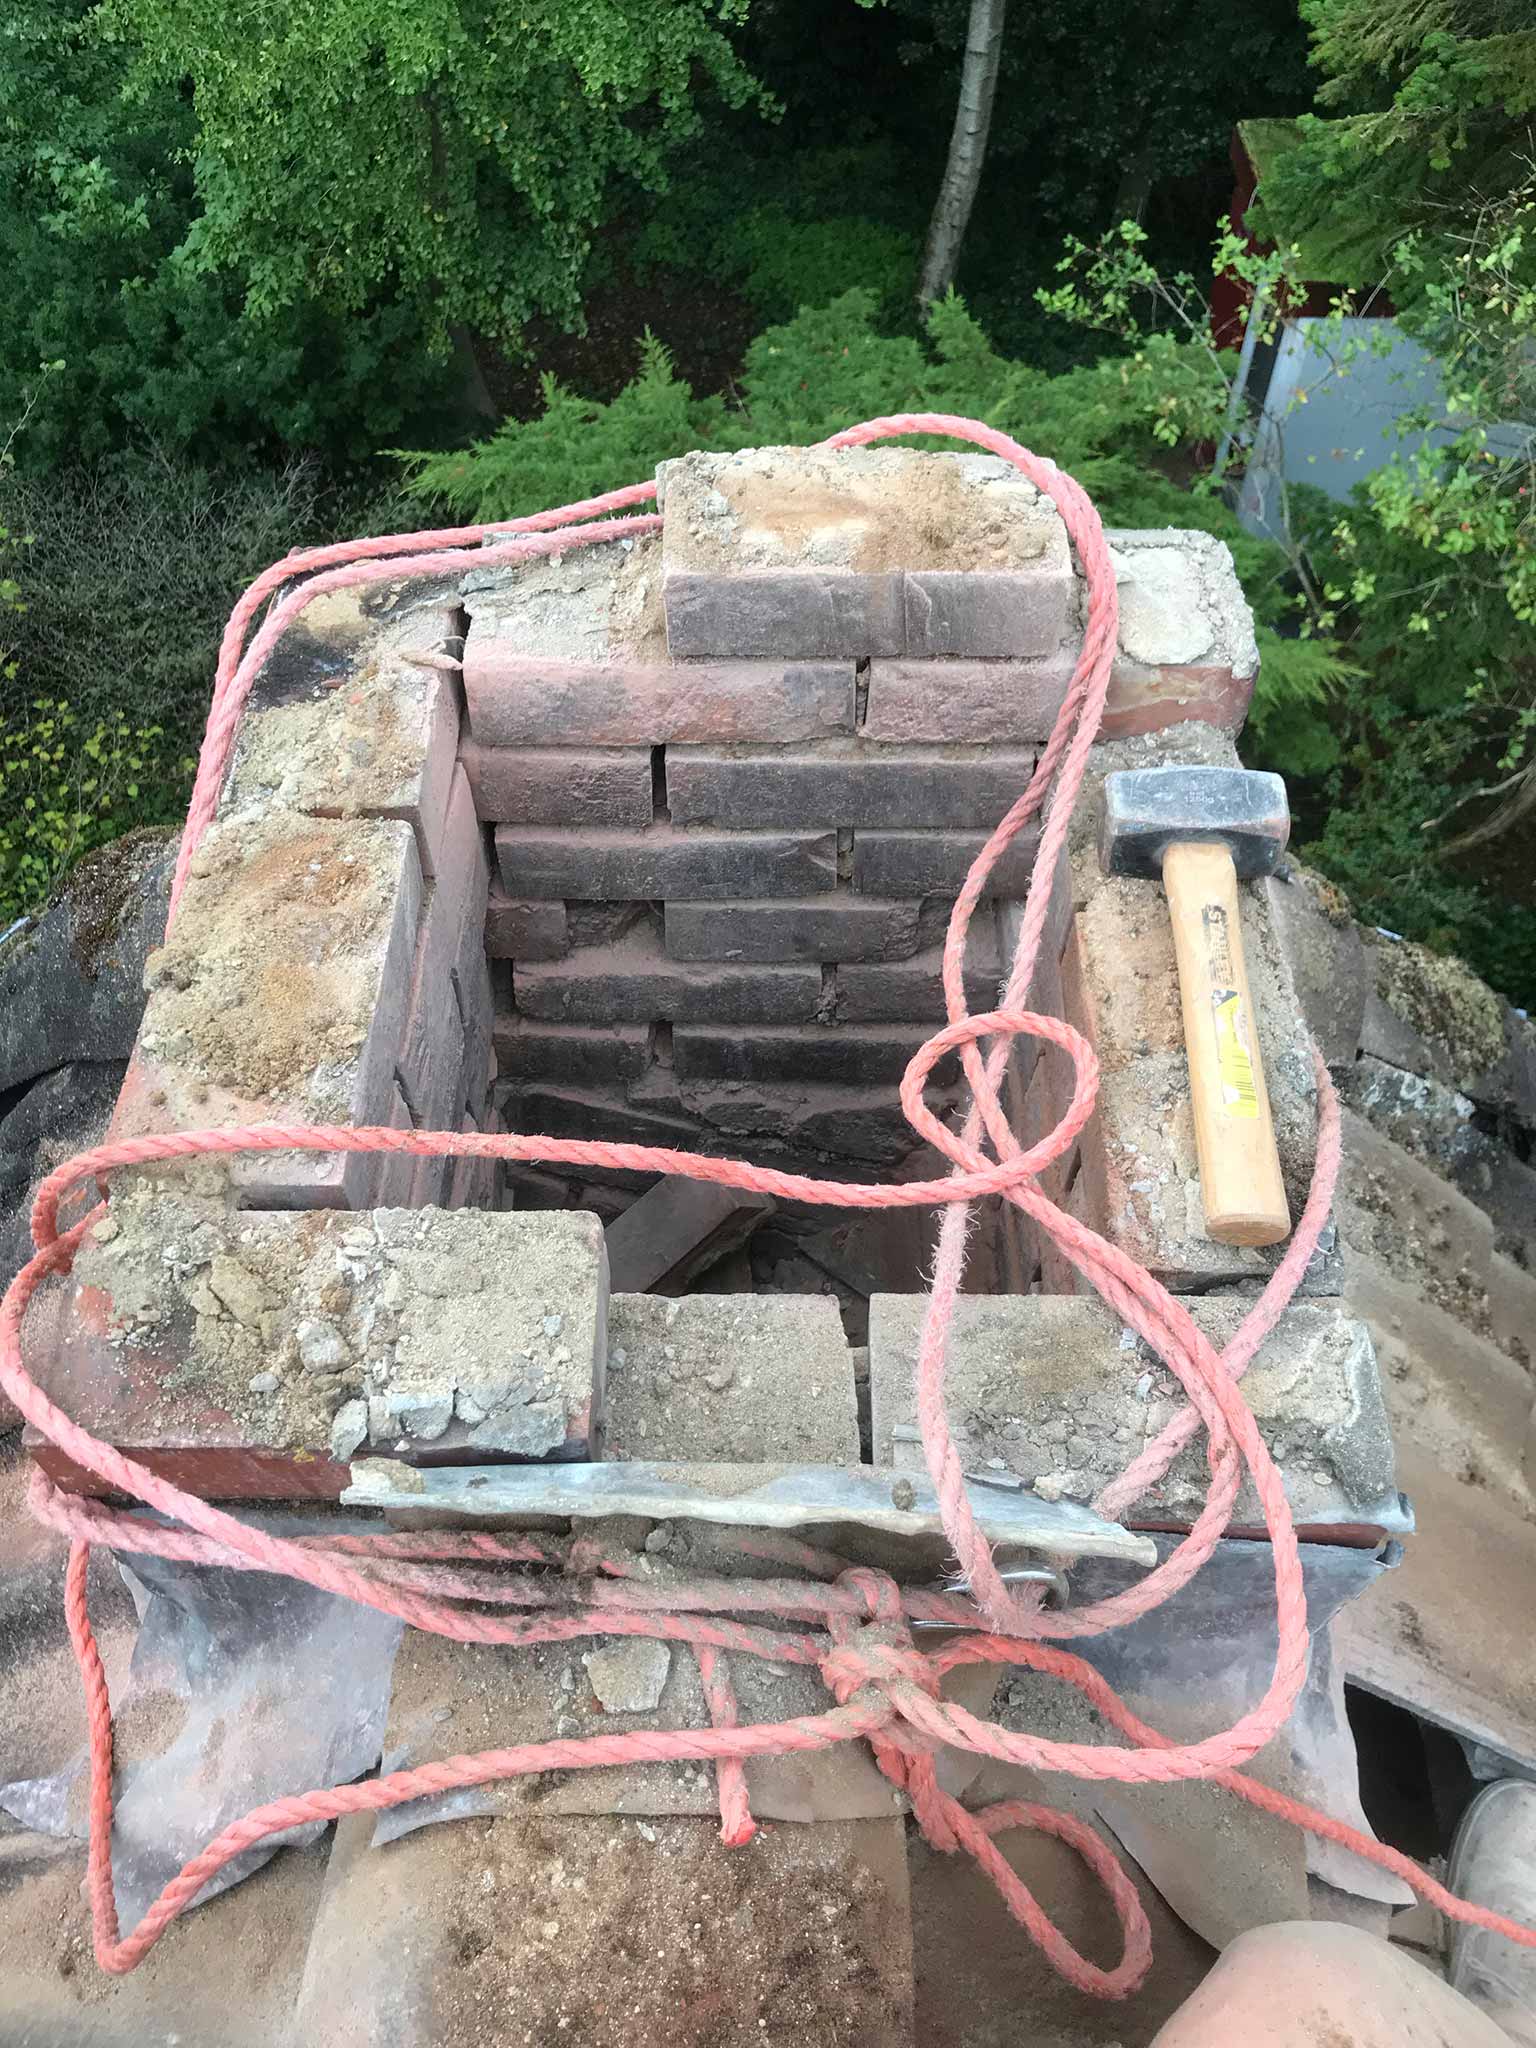
I ‘wrapped’ the rest of the chimney in a rope to keep it together while breaking the last fairly connected bricks. The bottom about 3 layers were that bad that I could just pick off the individual bricks without any tools.

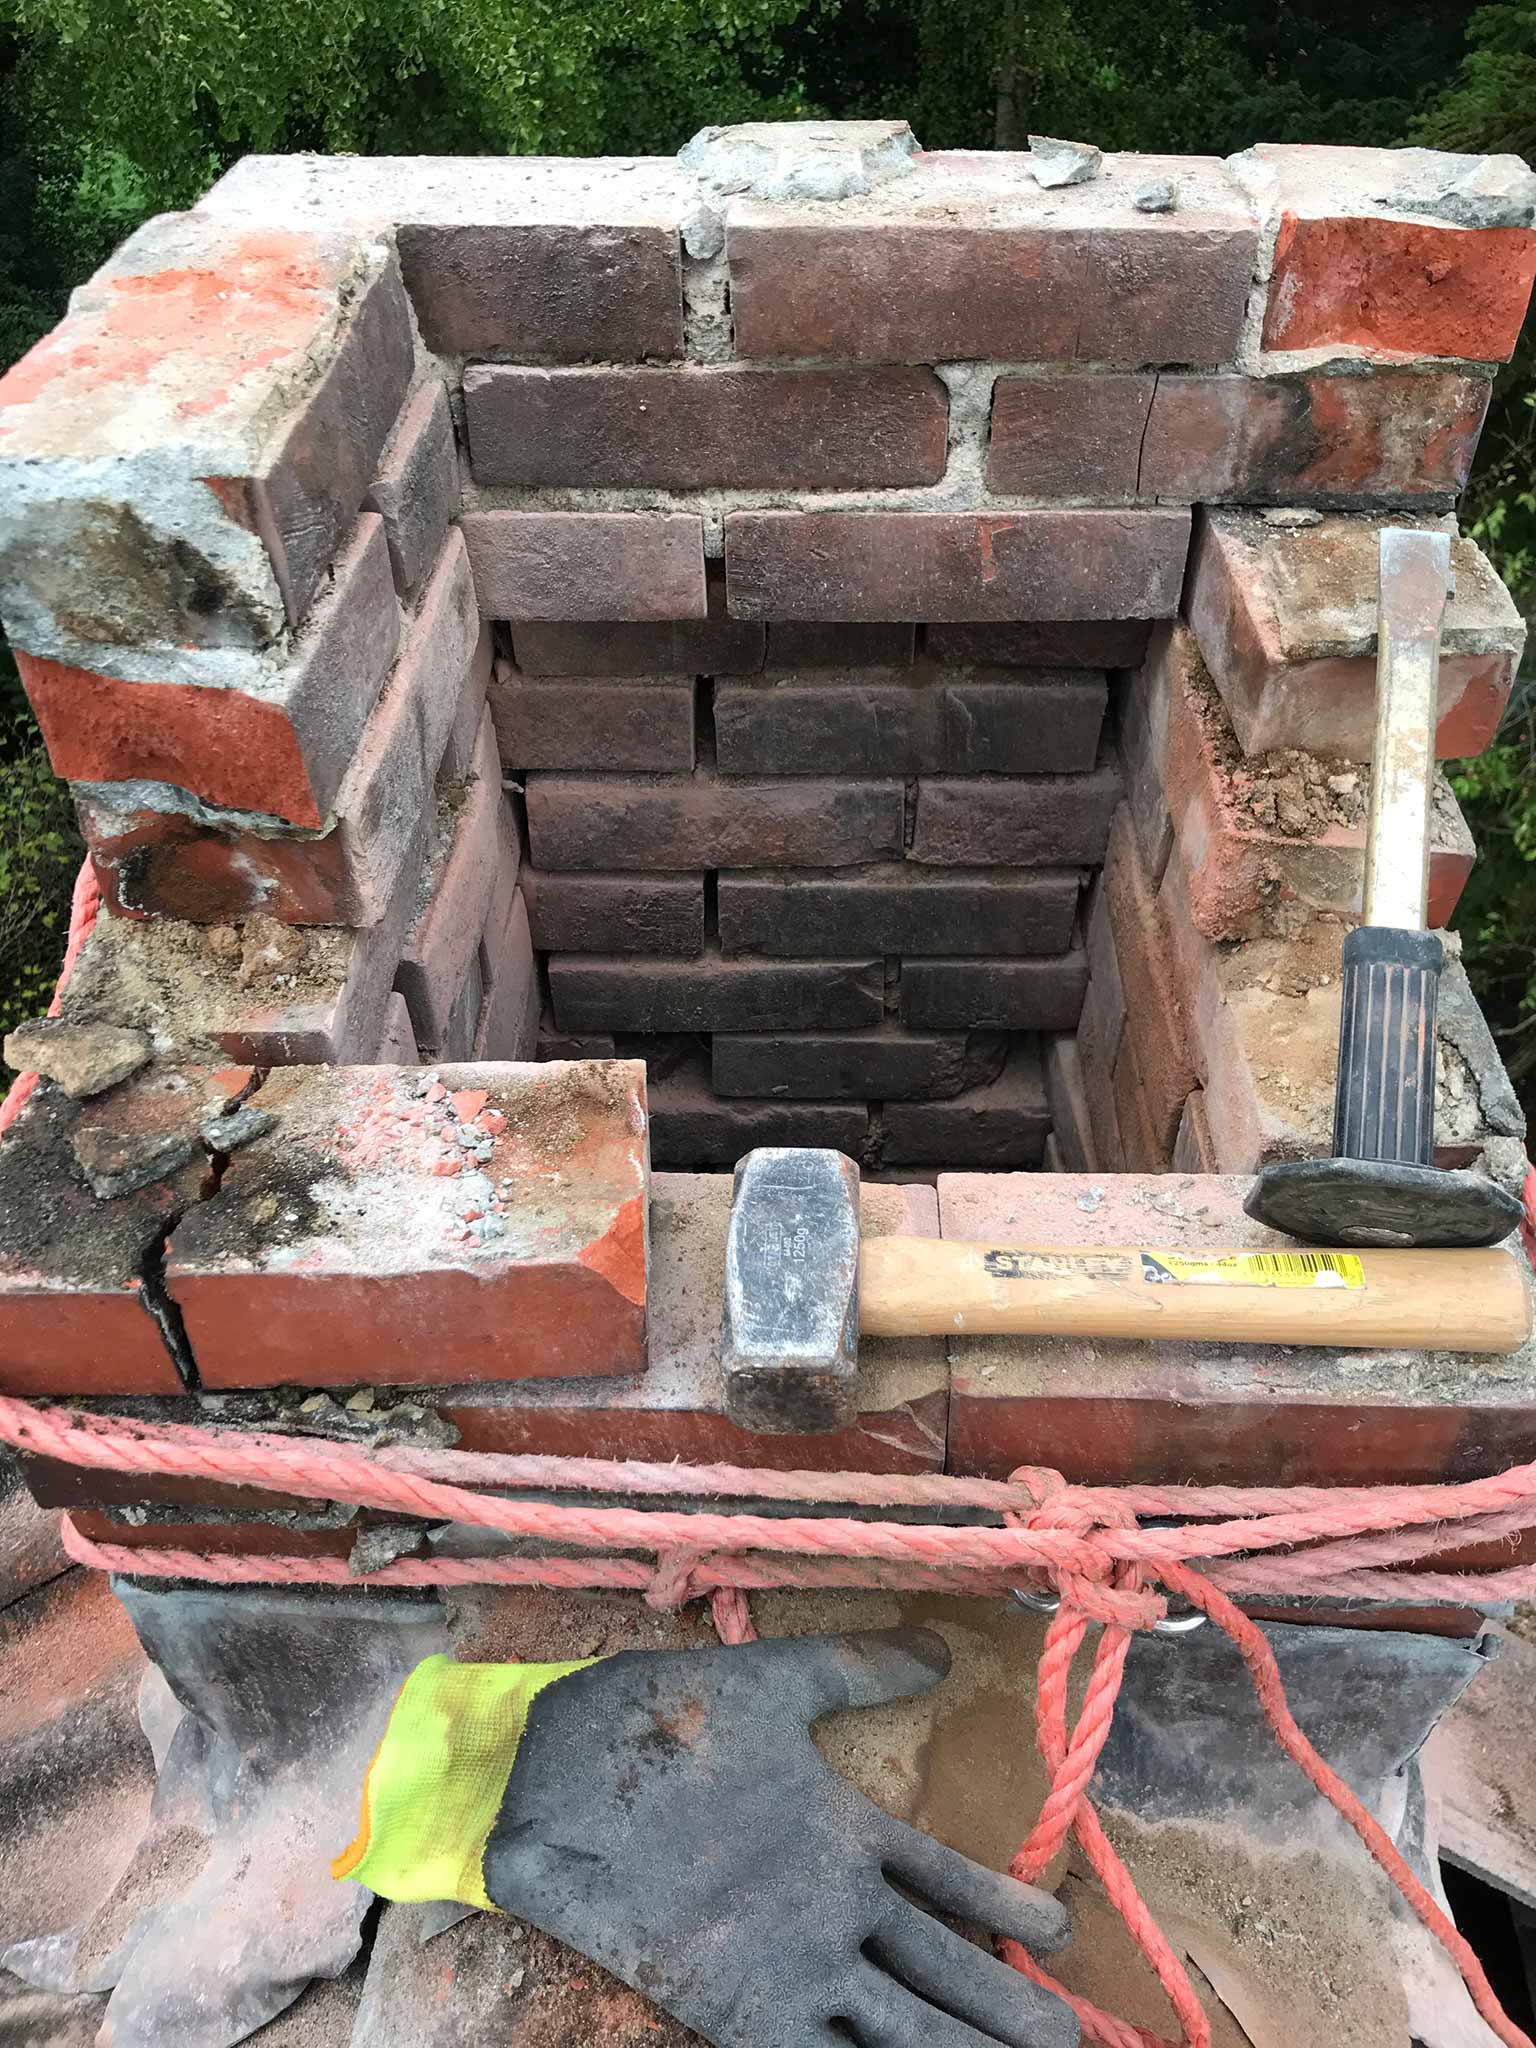
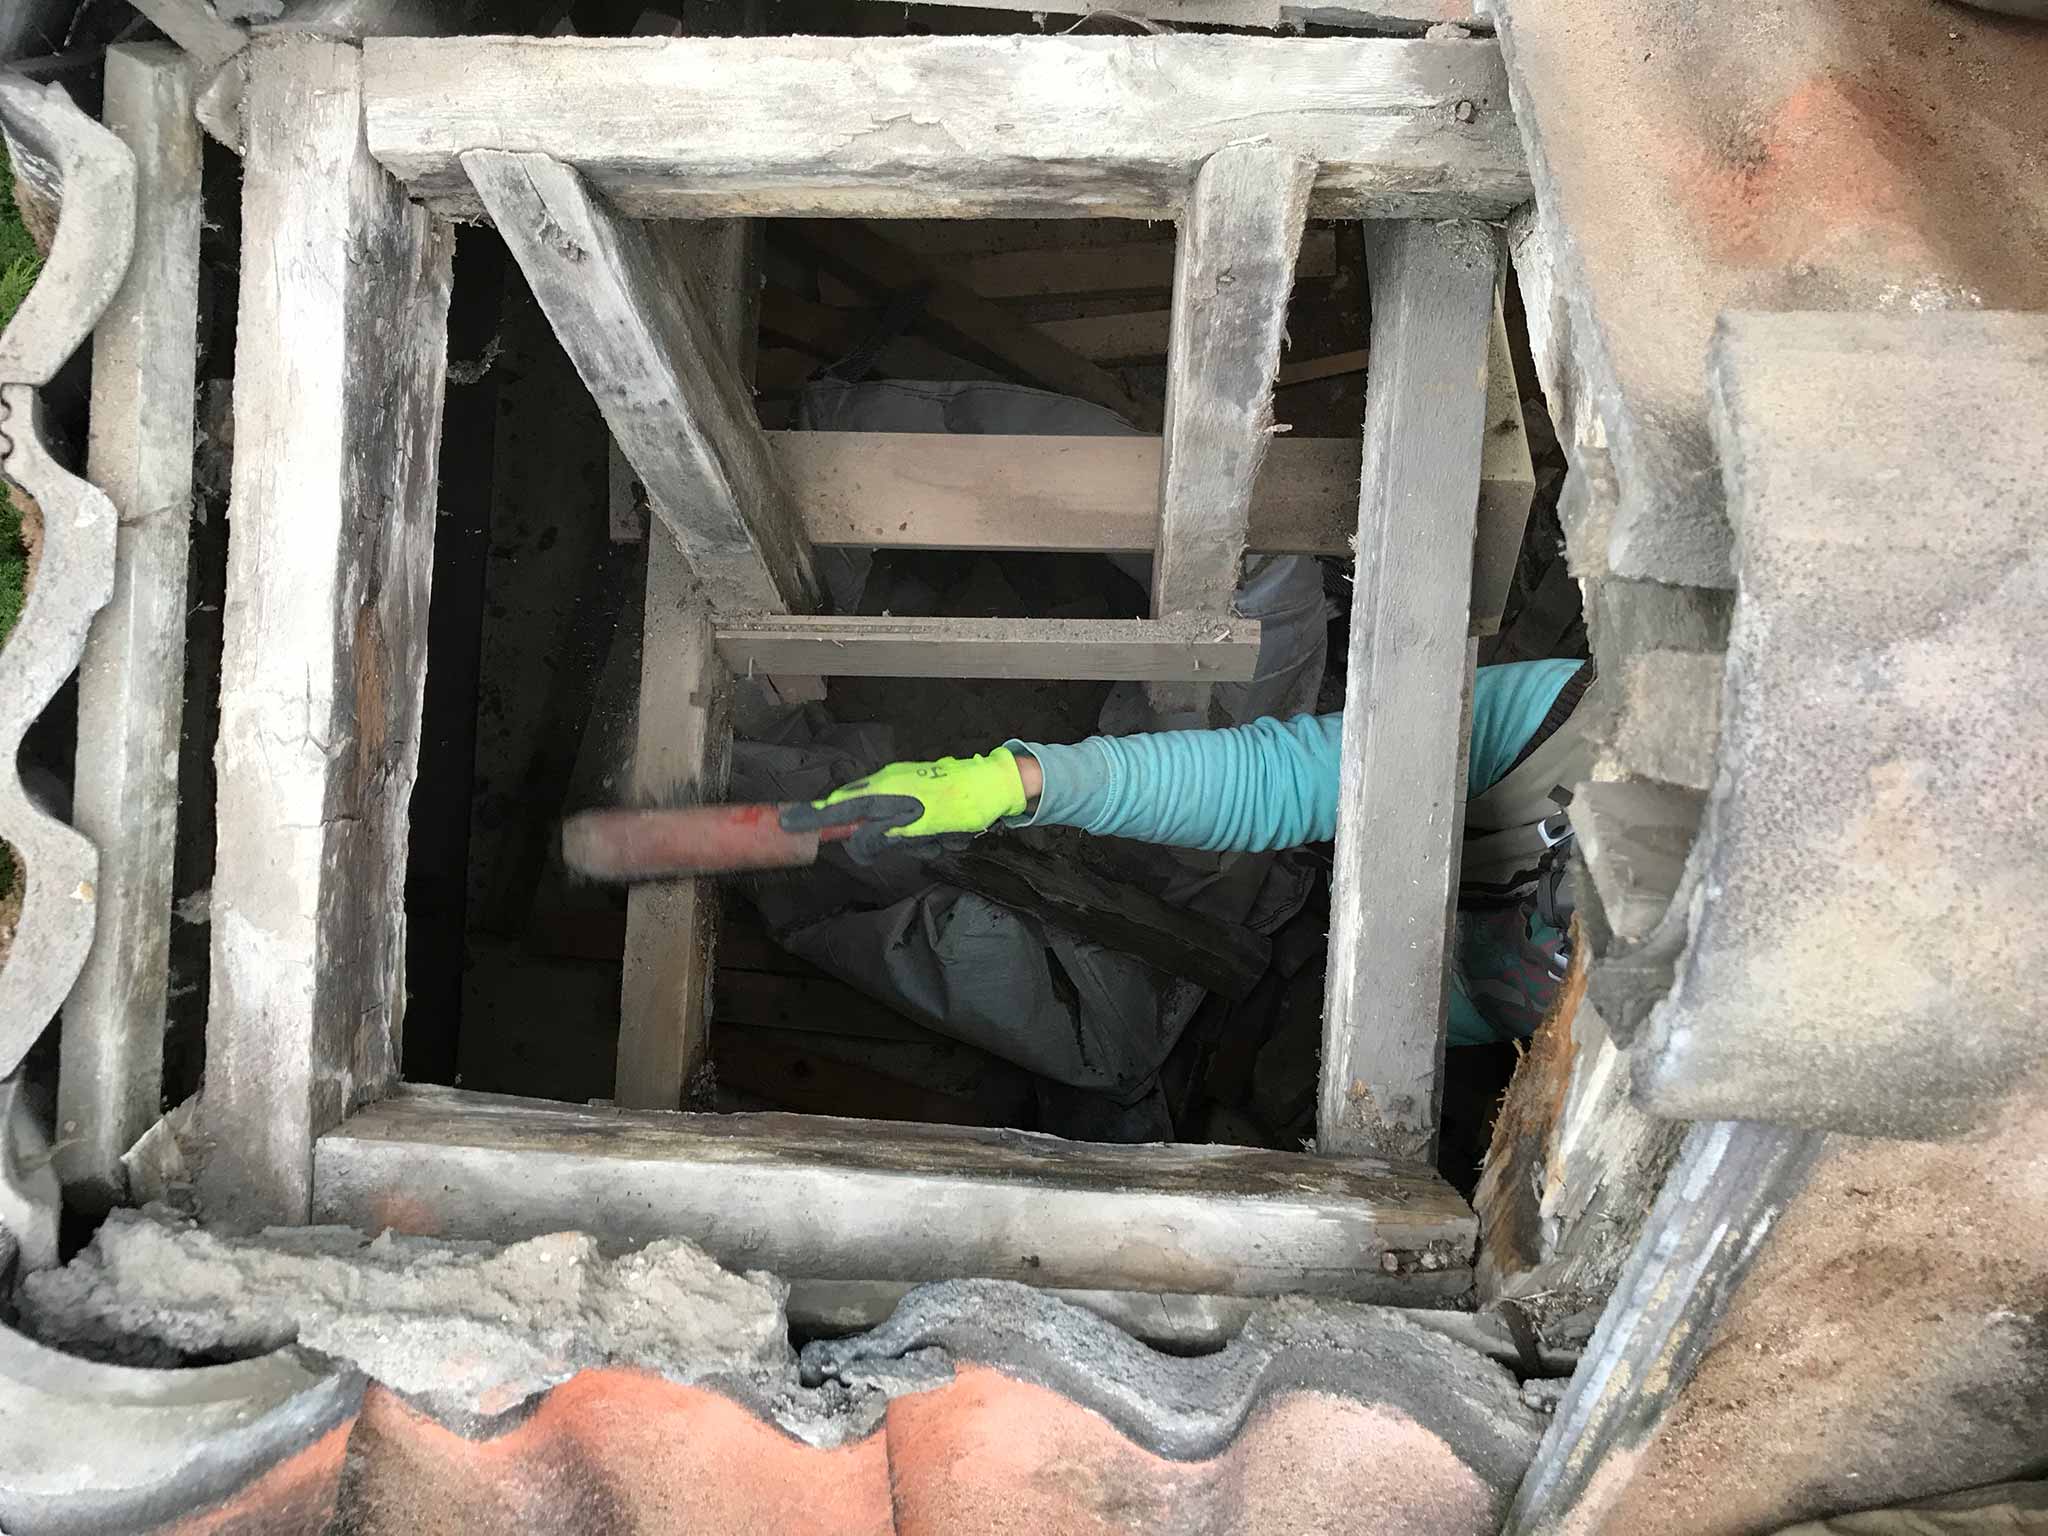
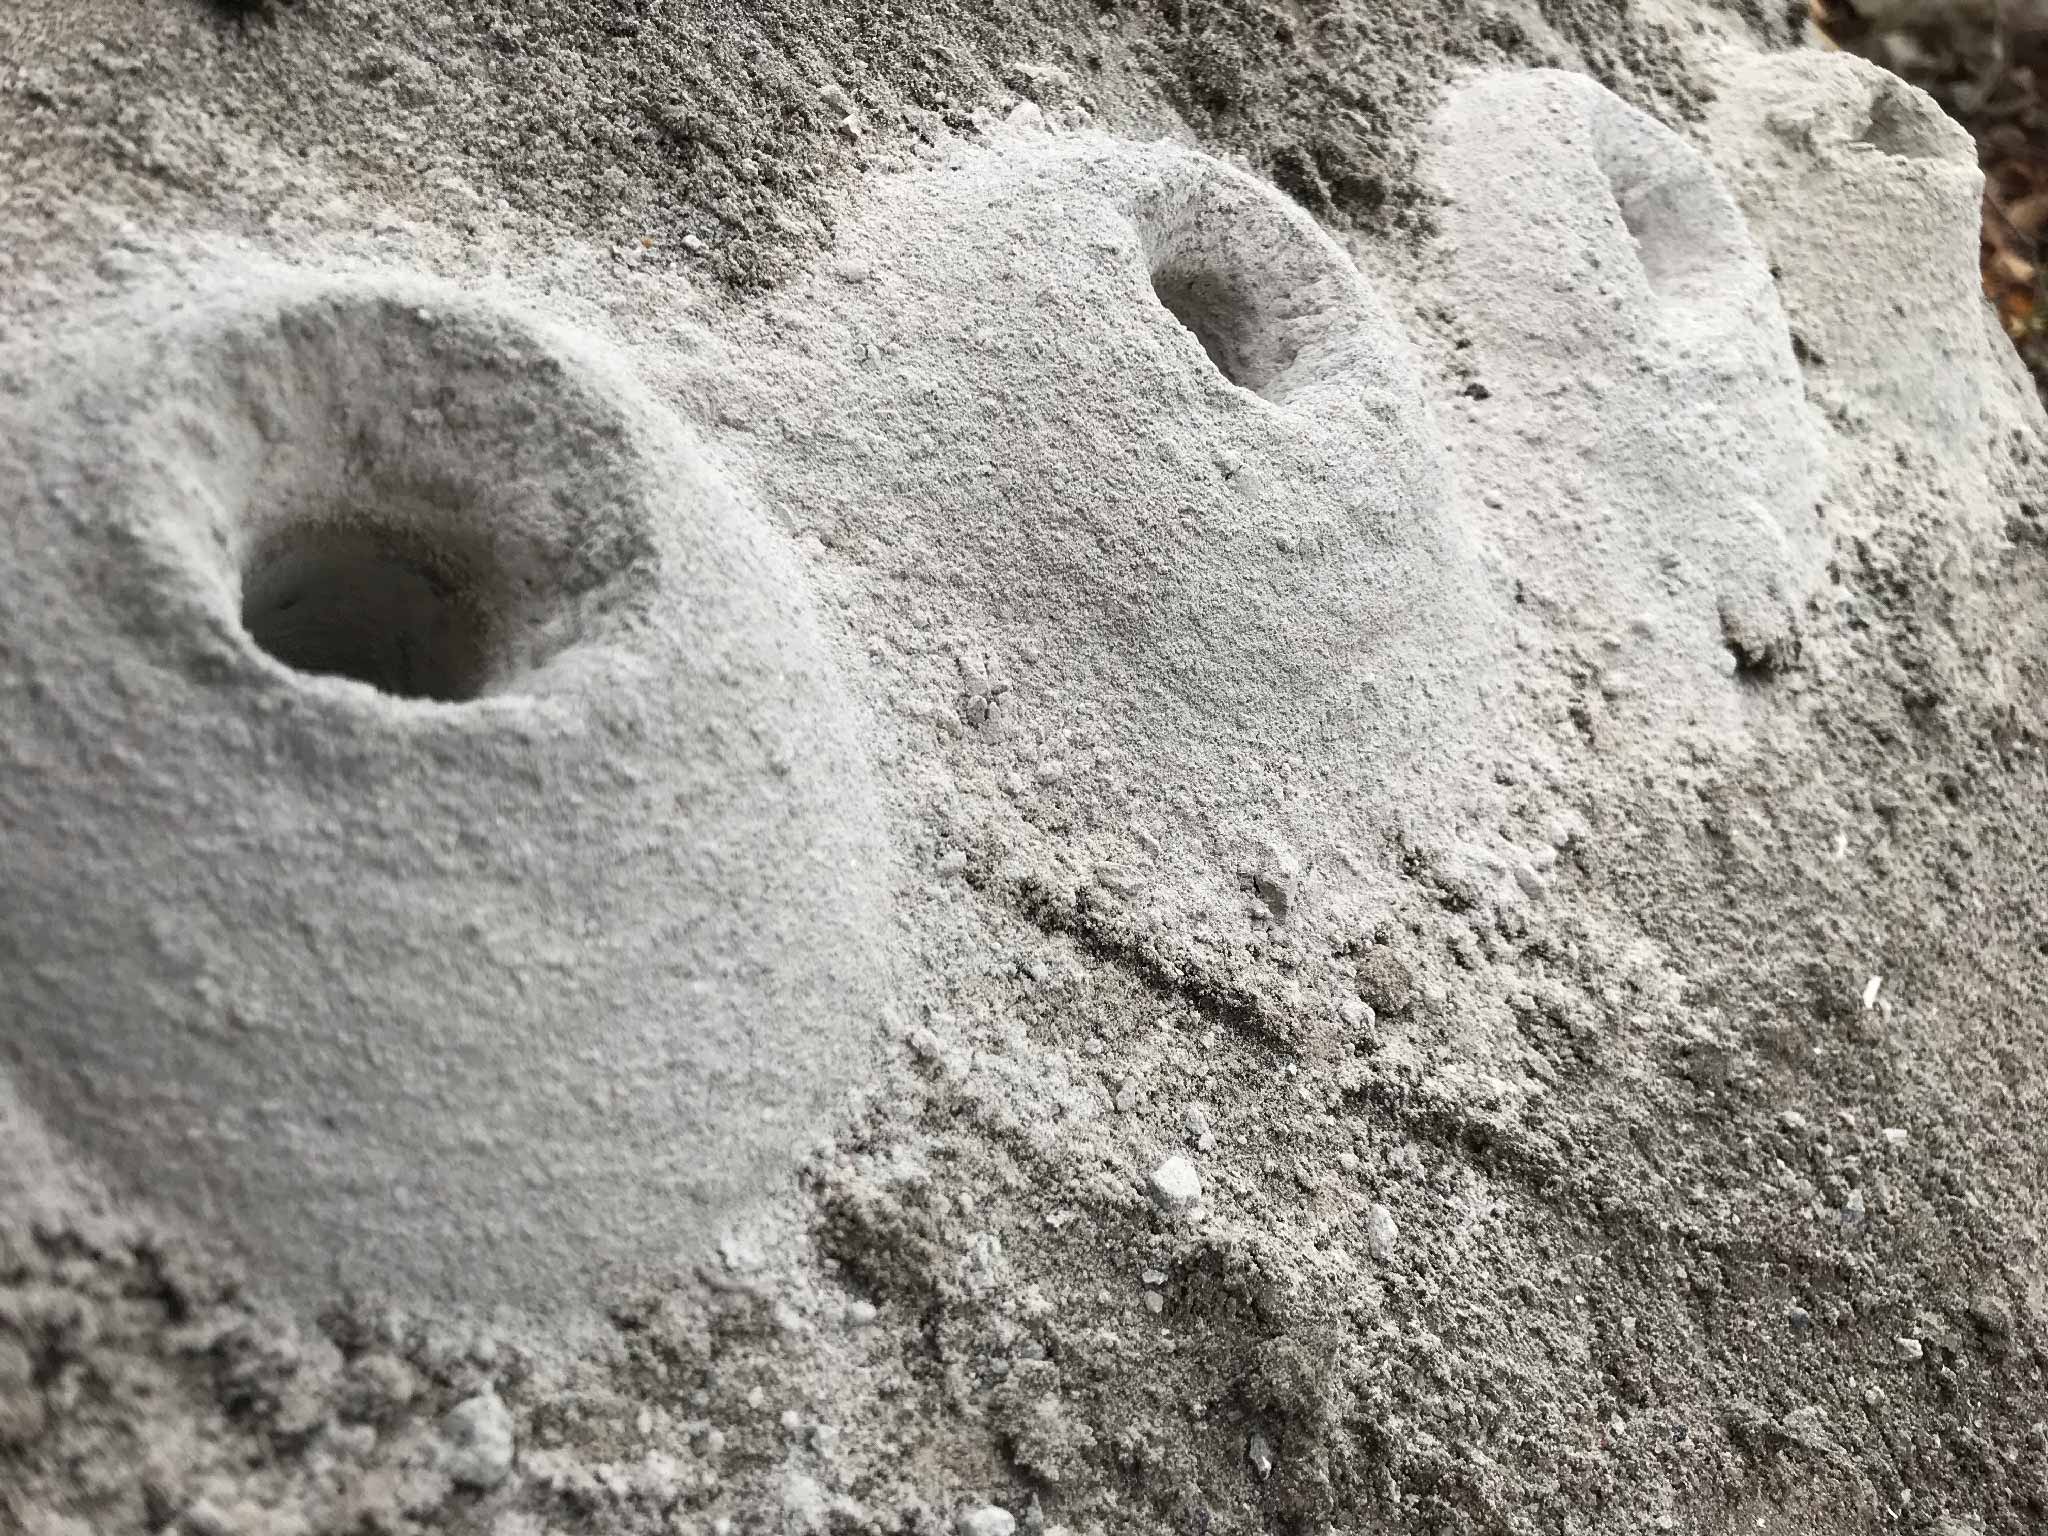
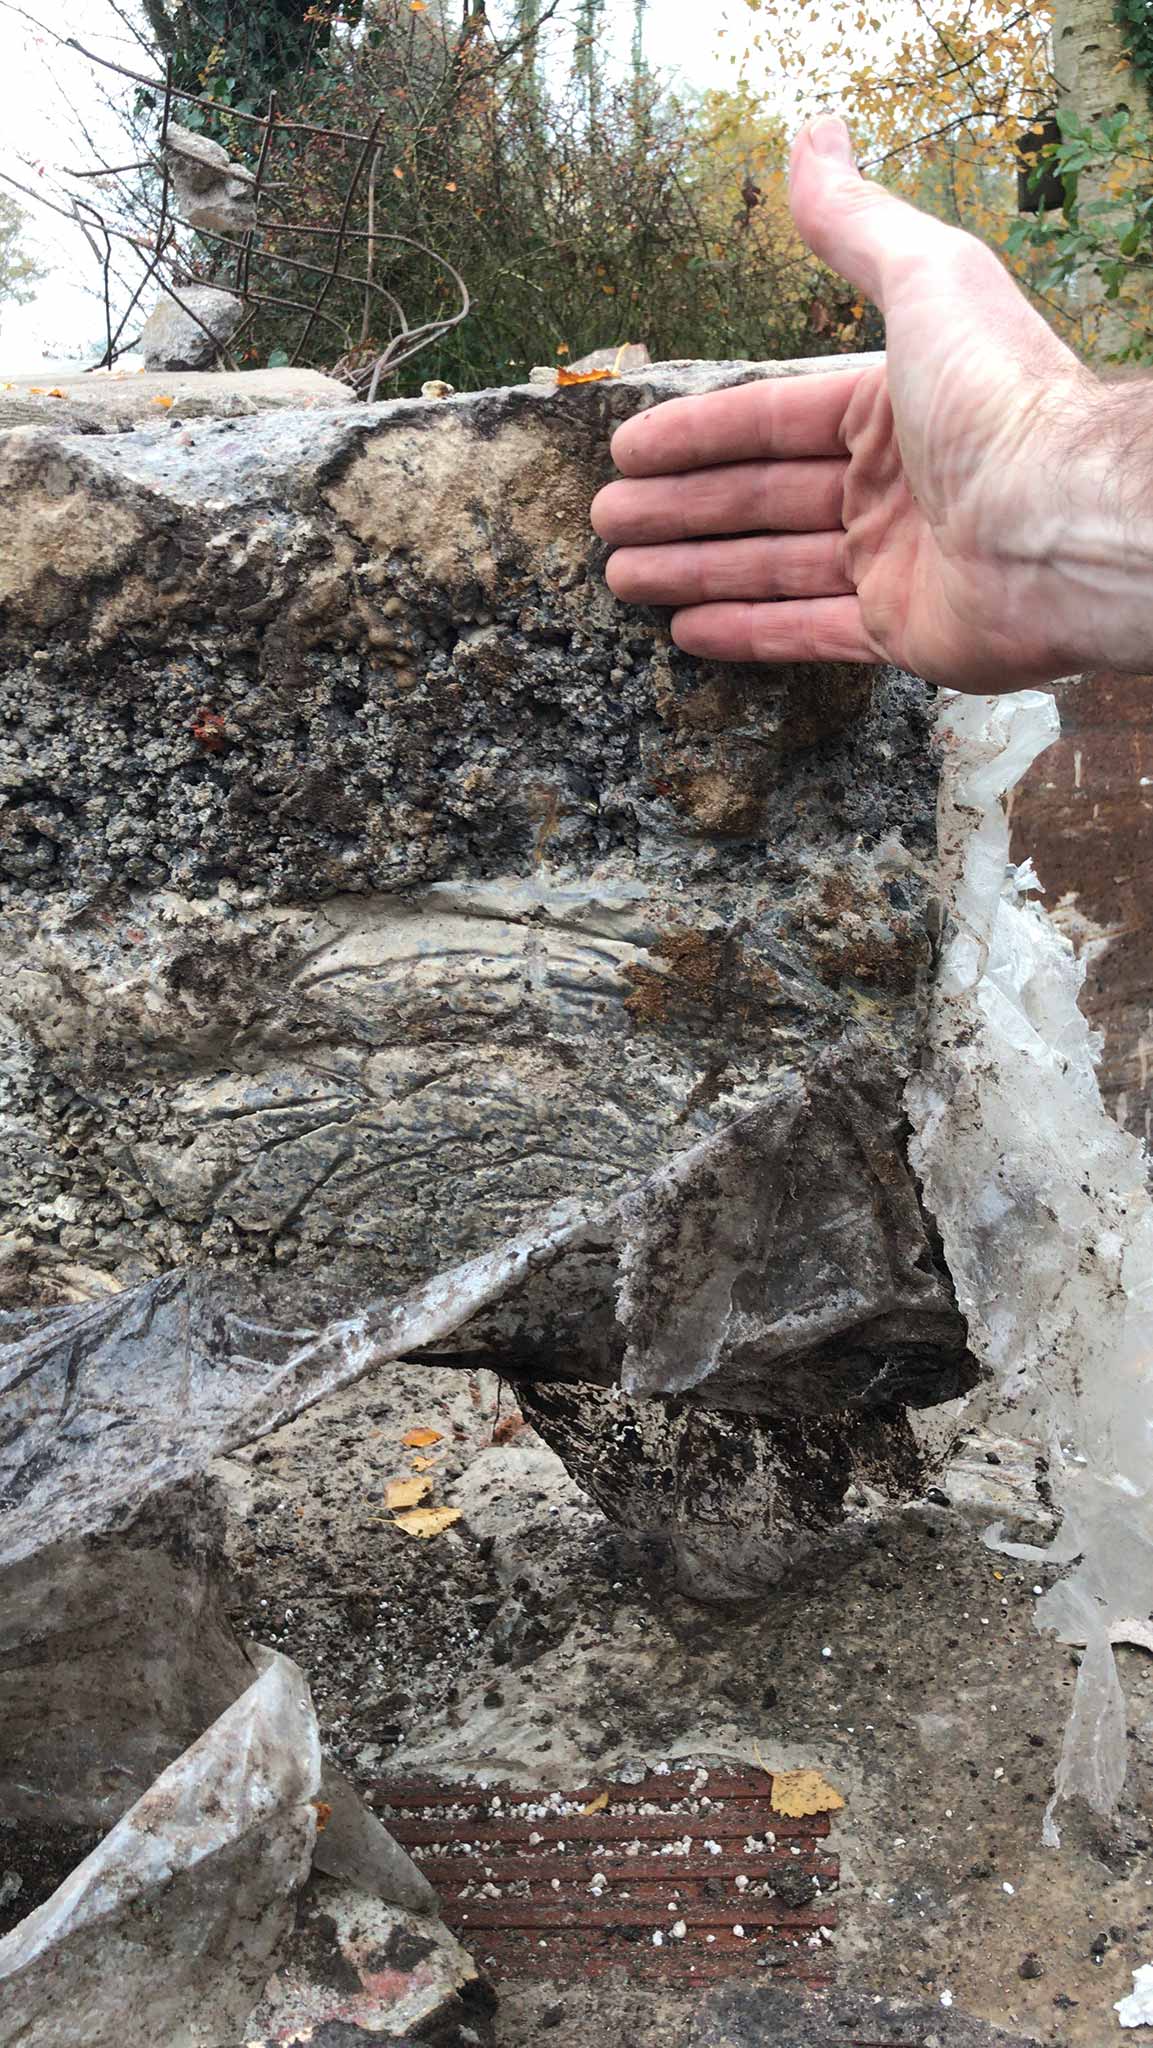
In the picture below with the glove you can see the final section that had any significant coherence come loose as one piece. Also does it show the sand like structure of the cement.

chimney wrapped in rope
last parts of chimney being removed
Outer section of chimney removed
Cleaning the mess after chimney removal

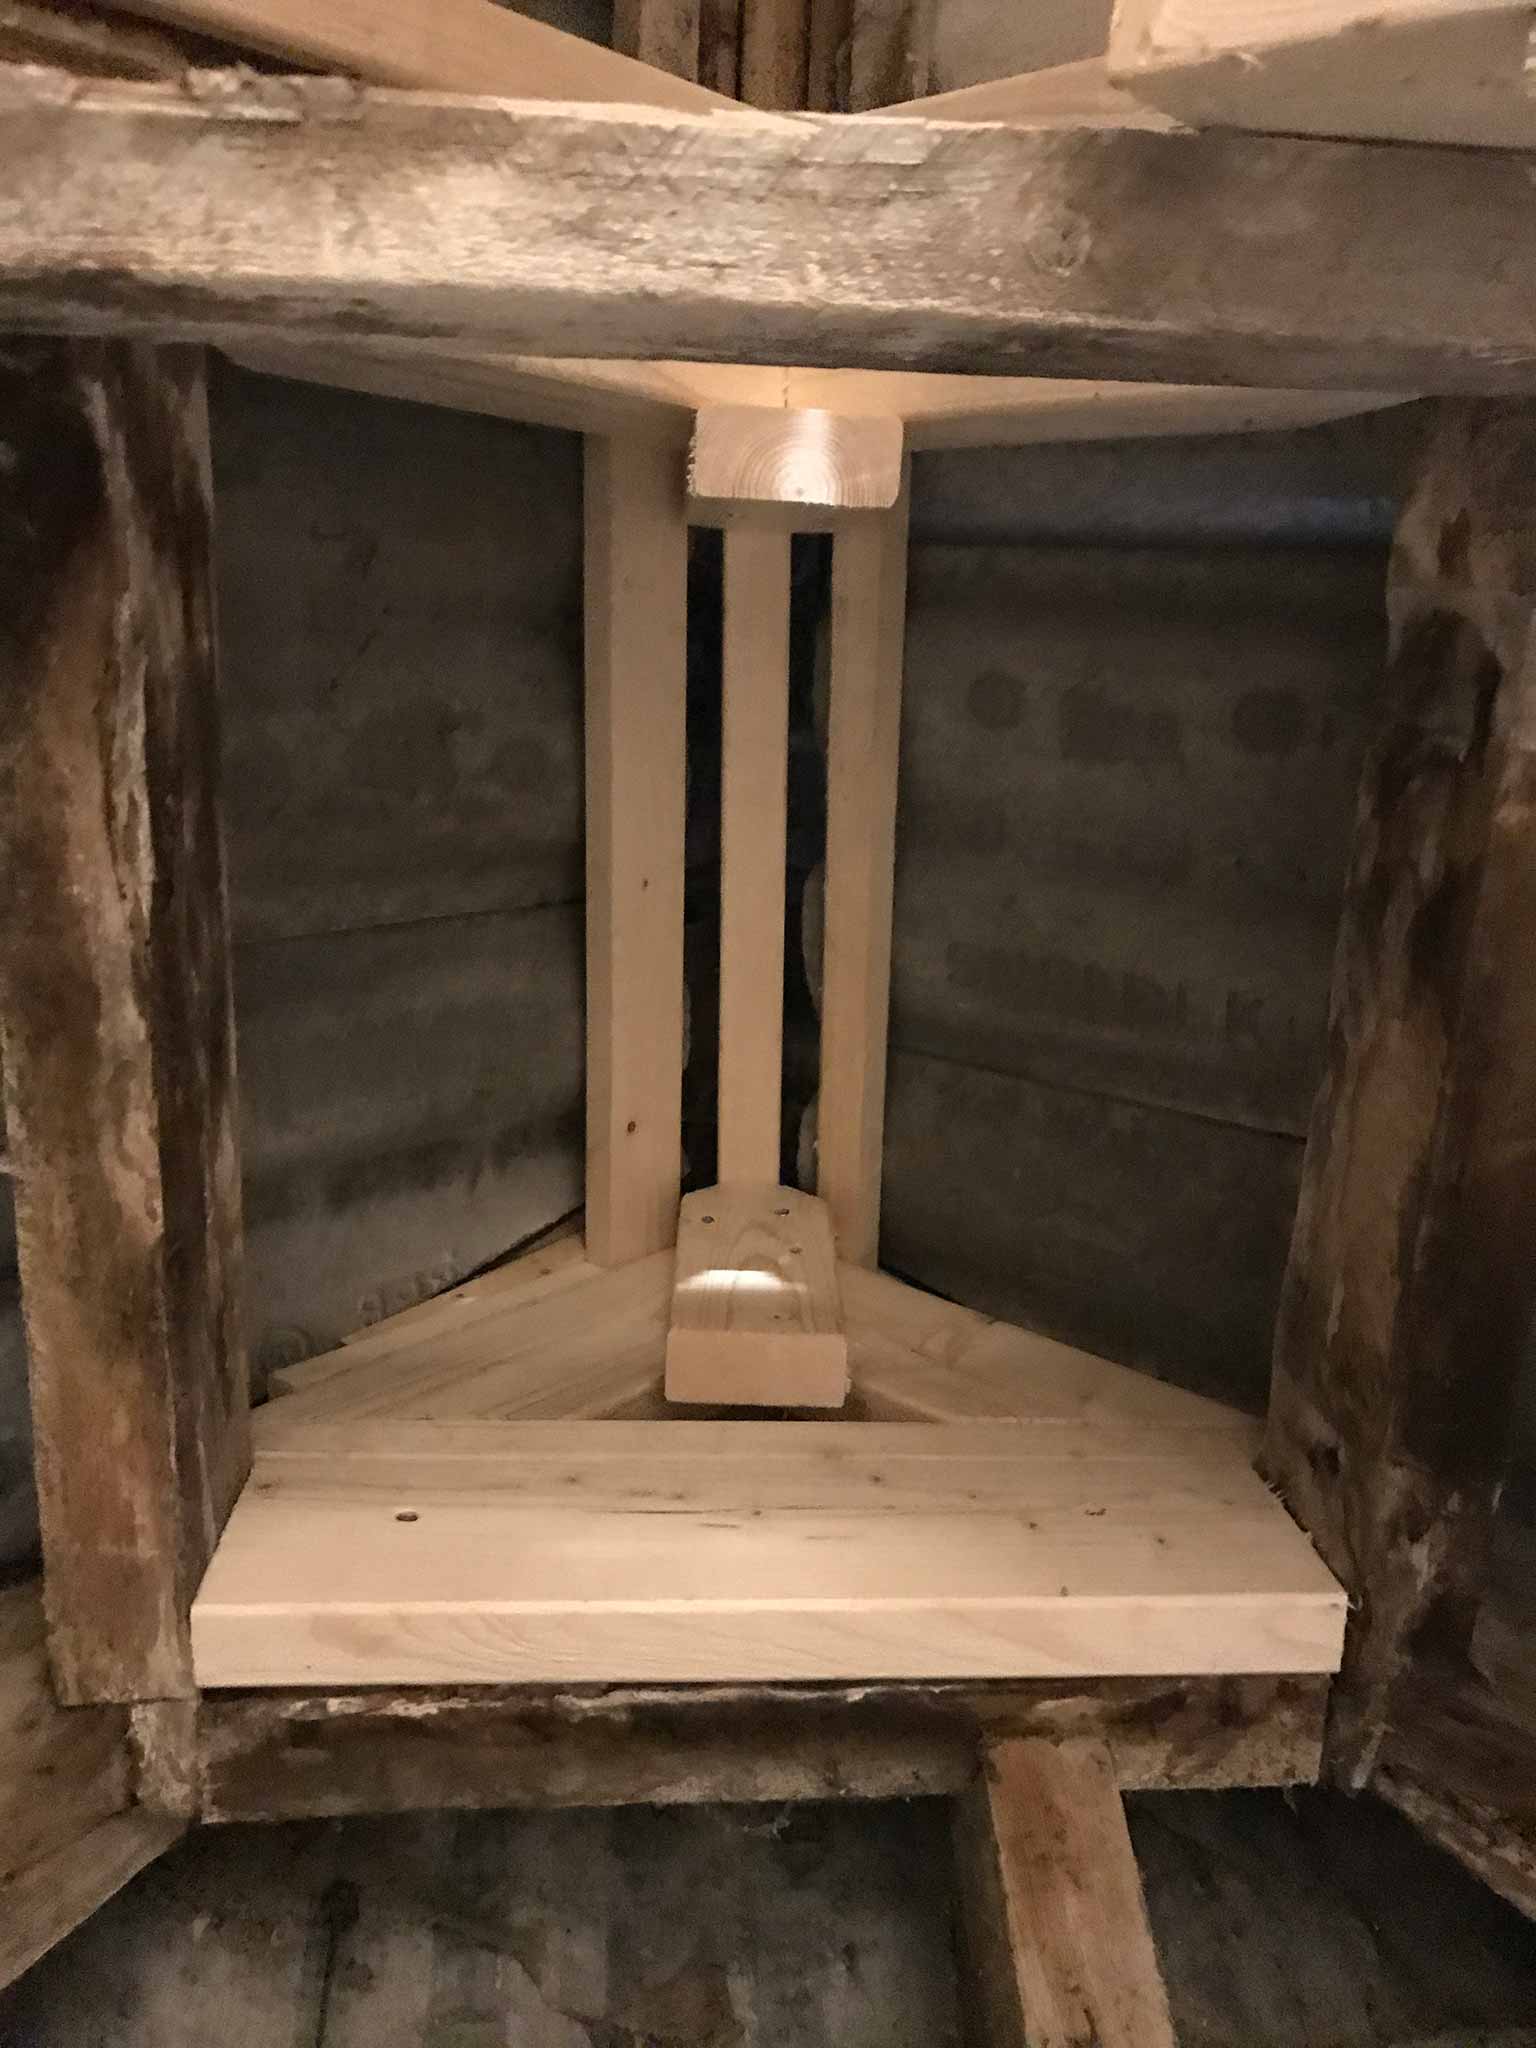
The reconstruction of the roof was done by creators. Our task was done…

Oh yeah, and my brick throwing capabilities? I can hit roof tiles with ‘m…

Another watery threat?

Underneath that dark spot is the water well. Guess the cold of the well leaves a condensate on the floor. Have to check with the smarter people if that needs attention. I know there was moisture there on the walls in the old situation…

Sink pit part #2

The sink pit filled within two days again. Water nearly running into the house again too. I had drilled a few holes in it but the pit was pretty much embedded in clay/silt so that was of little use. So, the walls had to go. Dug a hole next to the pit for a better swing and the sledge hammer and pickaxe did the rest. Walls are gone and I man handled the bottom somewhat. Guess this should do the trick.

We’re Taking in Water!

Yes, indeed. The floor currently is about 30cm lower than it used to be and the water finds the way of the least resistance. Into the empty space and onto the concrete floor. Time to figure out where it comes from.

First culprit: a broken gutter. Slid a new section under it with a bunch of kit. Should hold until the new gutter is installed.

Not really near the house, but the temporary parking lot did not let any water through. So, around its deepest point, which is at a corner, things got muddy. Finally bought a pipe and a drain to get rid of it. Sadly, I stumbled upon some underground structures (sewer?, cables?) an a setting sun (digging 40cm deep in debris compresses by cars and tractors is not an easy task) so the pipe ended up less deep than intended. The drain would not fit on top of it anymore :(. Hope it holds like this for a year or so…

Finally there was this pipe to the cesspit(?) (Dutch: gierkelder). The two cesspits were destroyed last summer but there apparently was some settling basin(?) between the house and the two destroyed cesspits that had filled to the brim and thus overflowed back into the house. The moment I broke the pipe, it ran empty. So, quick fix: drain the basin, drill a number of holes in its bottom and smash the pipe to pieces. Will bring some more time and equipment to break it properly so it will not fill anymore for sure.

Chopping Slabs

Last efforts to chop things up. A slab the little crane could not get into the container before dark. Two hours of drilling, hammering and back-break-lifting

Rain, rain, rain Noah predicts

It has been raining quite a lot lately. The plot is muddy. Part of it is maybe due to the gutter’s drain actually going nowhere anymore (I think). So, There is a water butt now collecting it.

Furthermore I started working on draining pools and puddles. Need to clear a few ditches too. Has been too long overdue I guess. Should have thought of that before maybe…

Rather empty

Almost set to pore the new floor. OK, the first part of the floor. The current level is about 30-40cm below the previous one, exposing some of the utilities’ pipes and cables.

The first part of the floor will be about 5cm concrete. With that in place the wooden skeleton walls will be build so we can already start doing the panelling. Next will be the isolation layer and the cables and plumbing (20cm) which will be topped of with the floor heating and a layer of concrete (10cm).

Currently the trusses stand firm and tall but to me it looks a bit fragile…

Call in the troops

This is about the last chapter of the demolition. Reinforced concrete, over 30cm deep foundation and parts of the cowshed (Dutch ‘grupstal‘) of which the menure drain (for lack of a better English word) had been filled with rubble from times long past.

The pneumatic demolition hammer and the mini digger did it in a day or three. including digging to the level needed for the new floor.

Everyone makes mistakes

tracktor stuck in a ditch

Yes, the ‘road’ is a little too narrow for reversing this set behind the house. They noticed. Fortunately they have the equipment to handle such follies 🙂

This was some time ago but in a sense timeless 😉