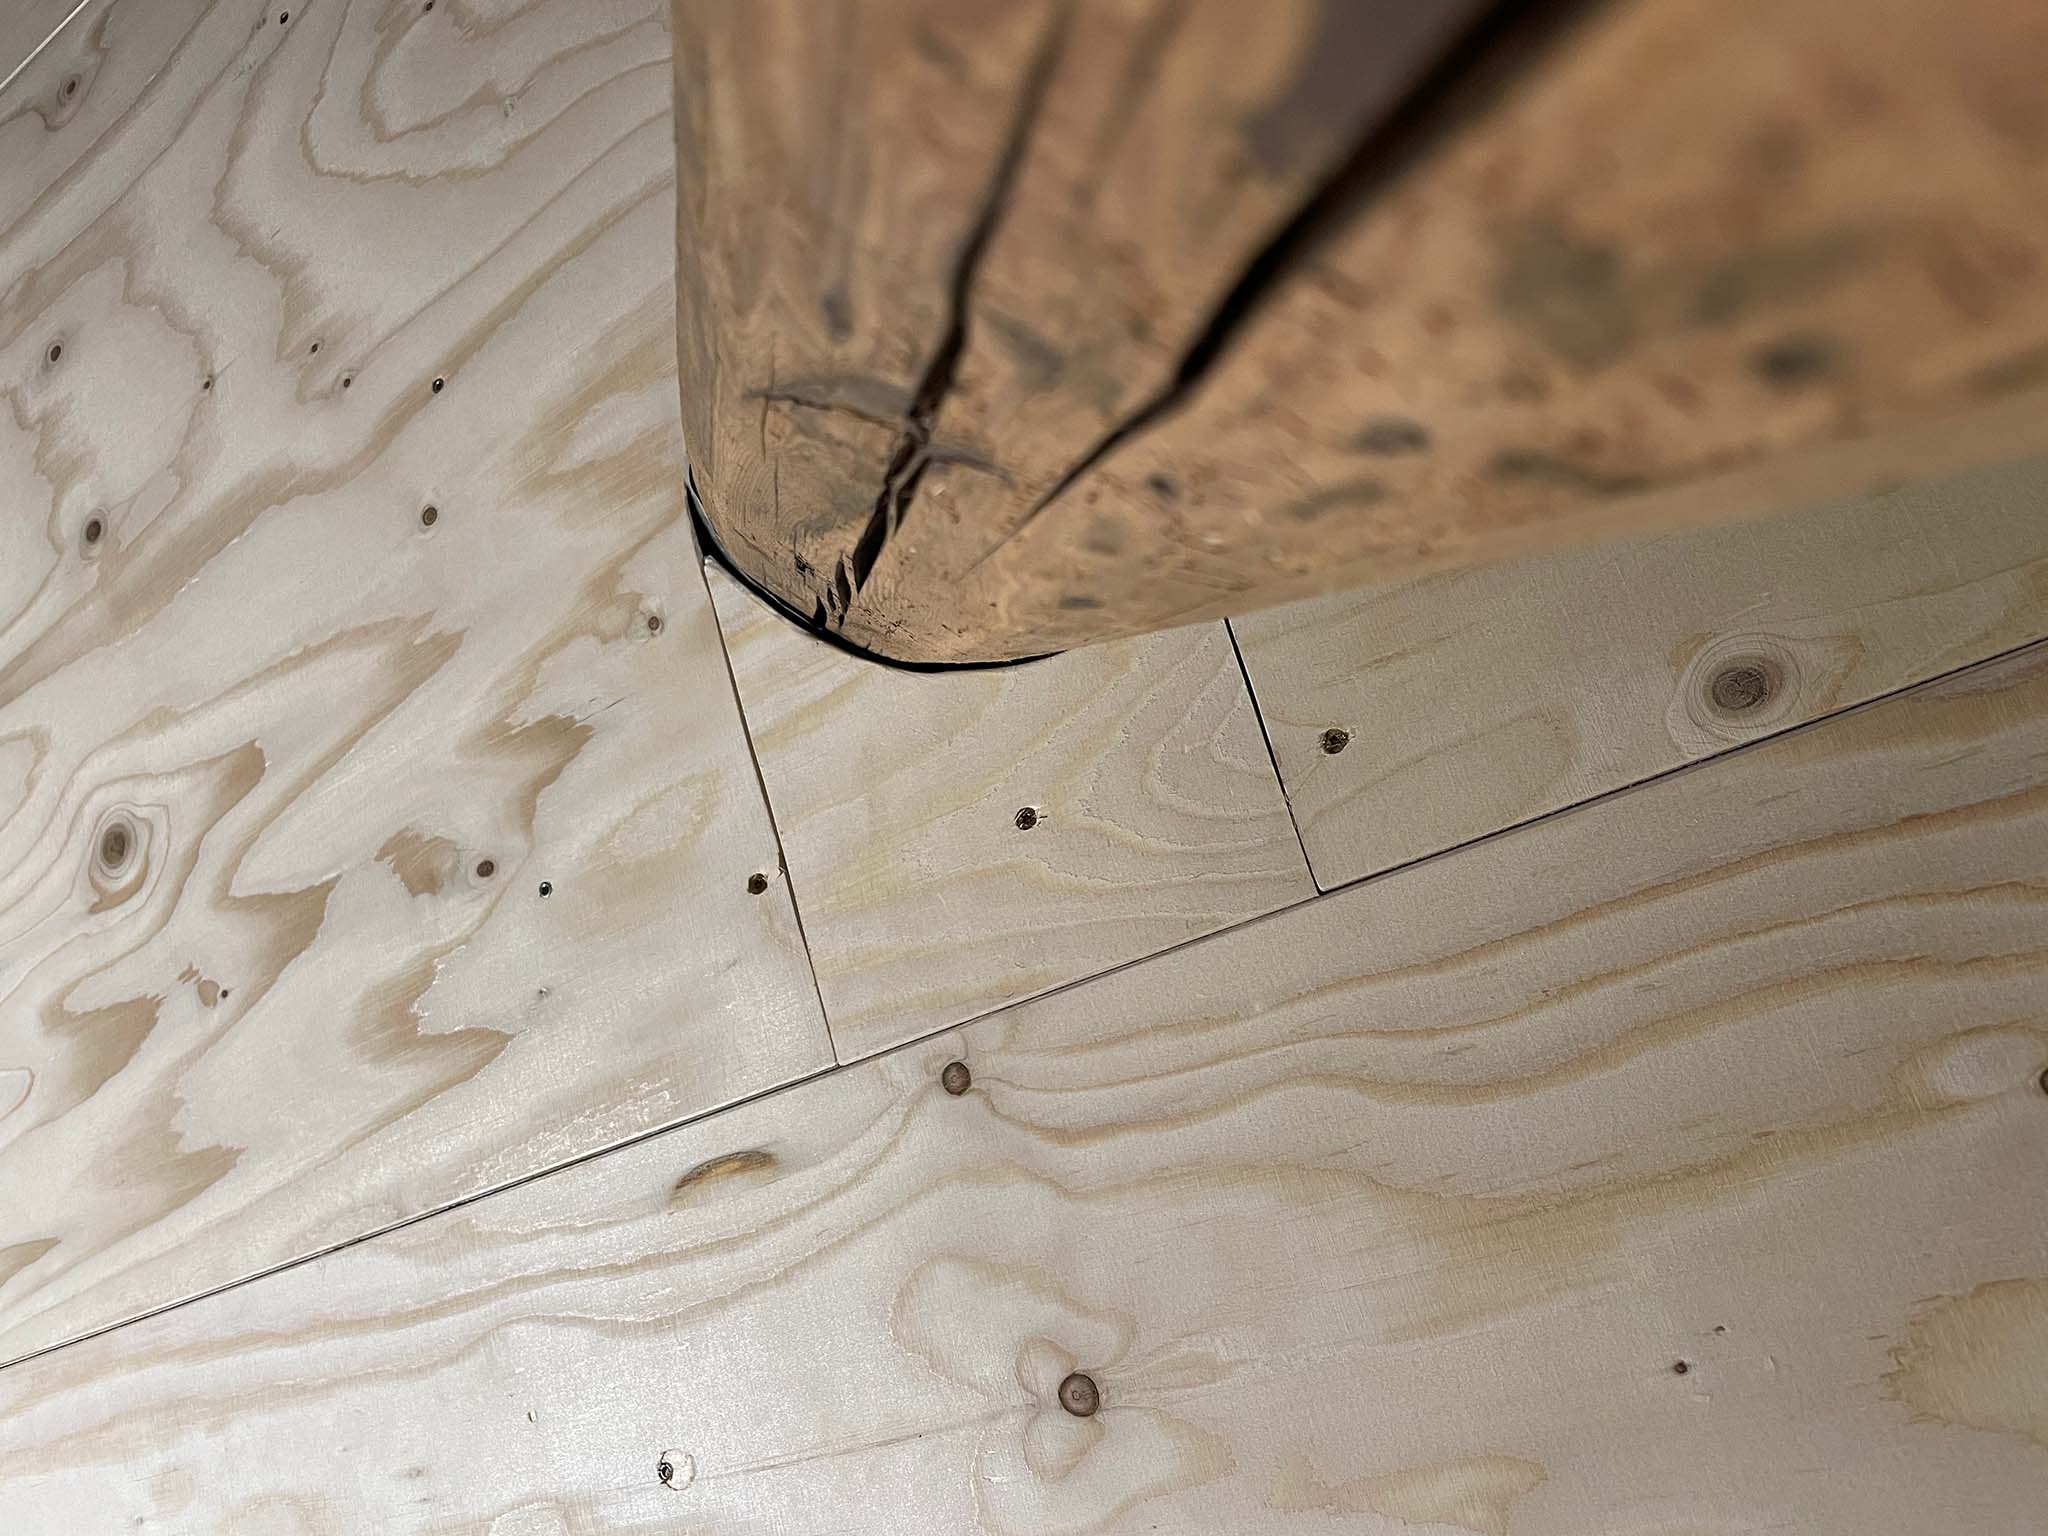
The paneling of the ceiling left some gaps in the original beams/trusses. Time to close the gap. Some jigsaw action!
Renovating a home
The paneling of the ceiling left some gaps in the original beams/trusses. Time to close the gap. Some jigsaw action!
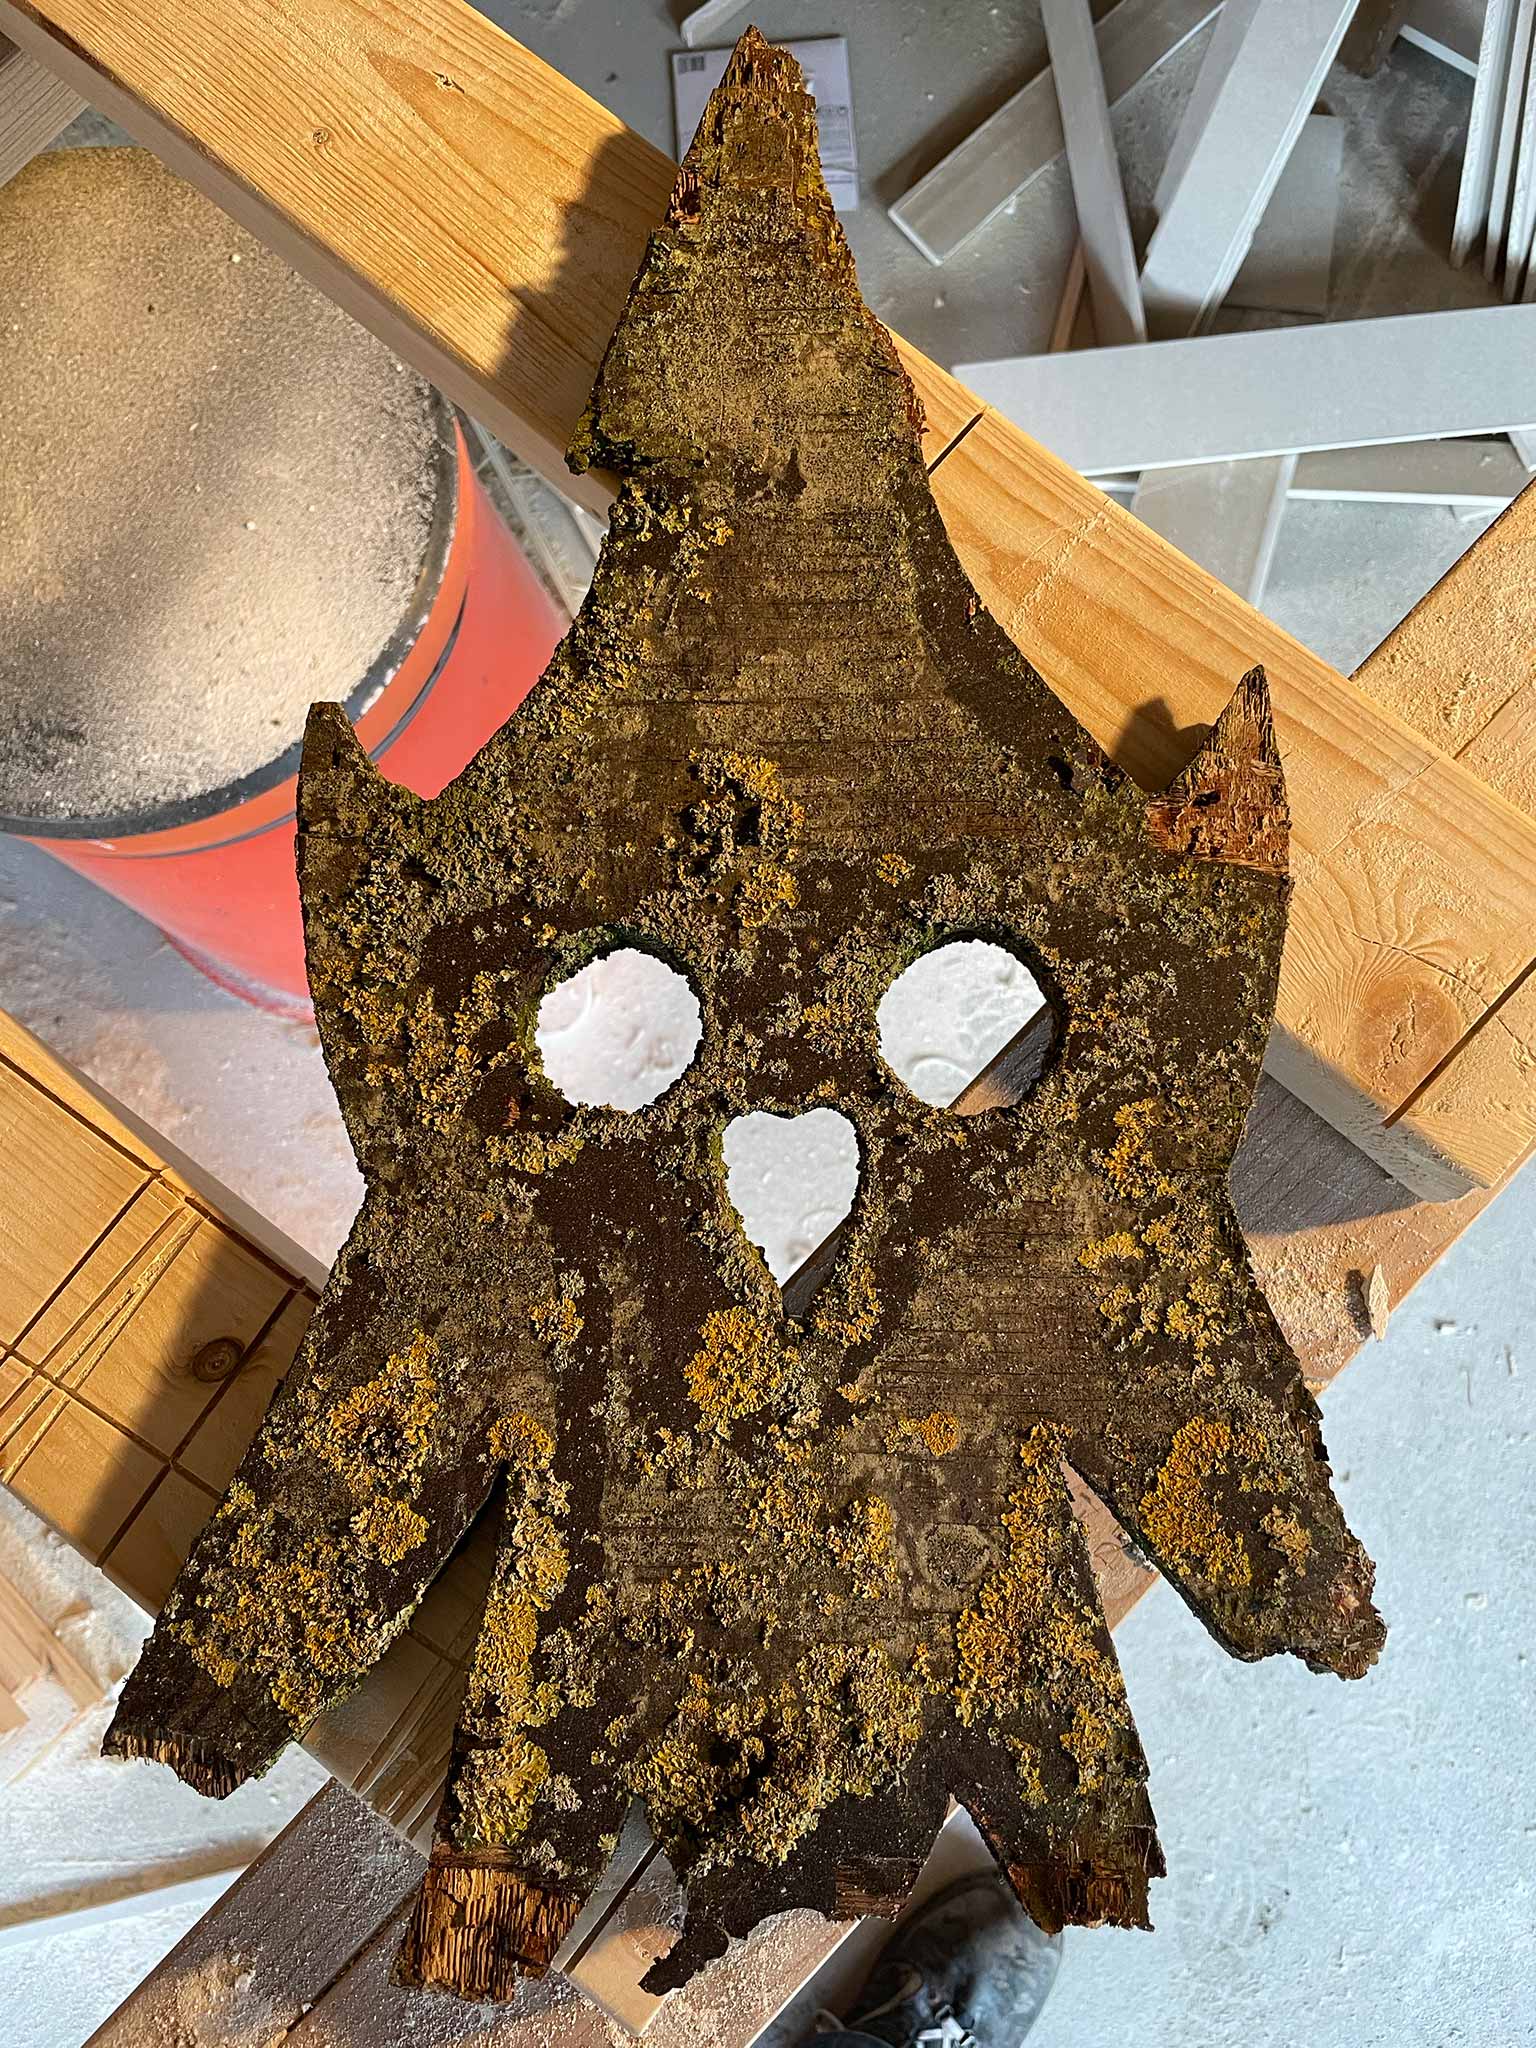
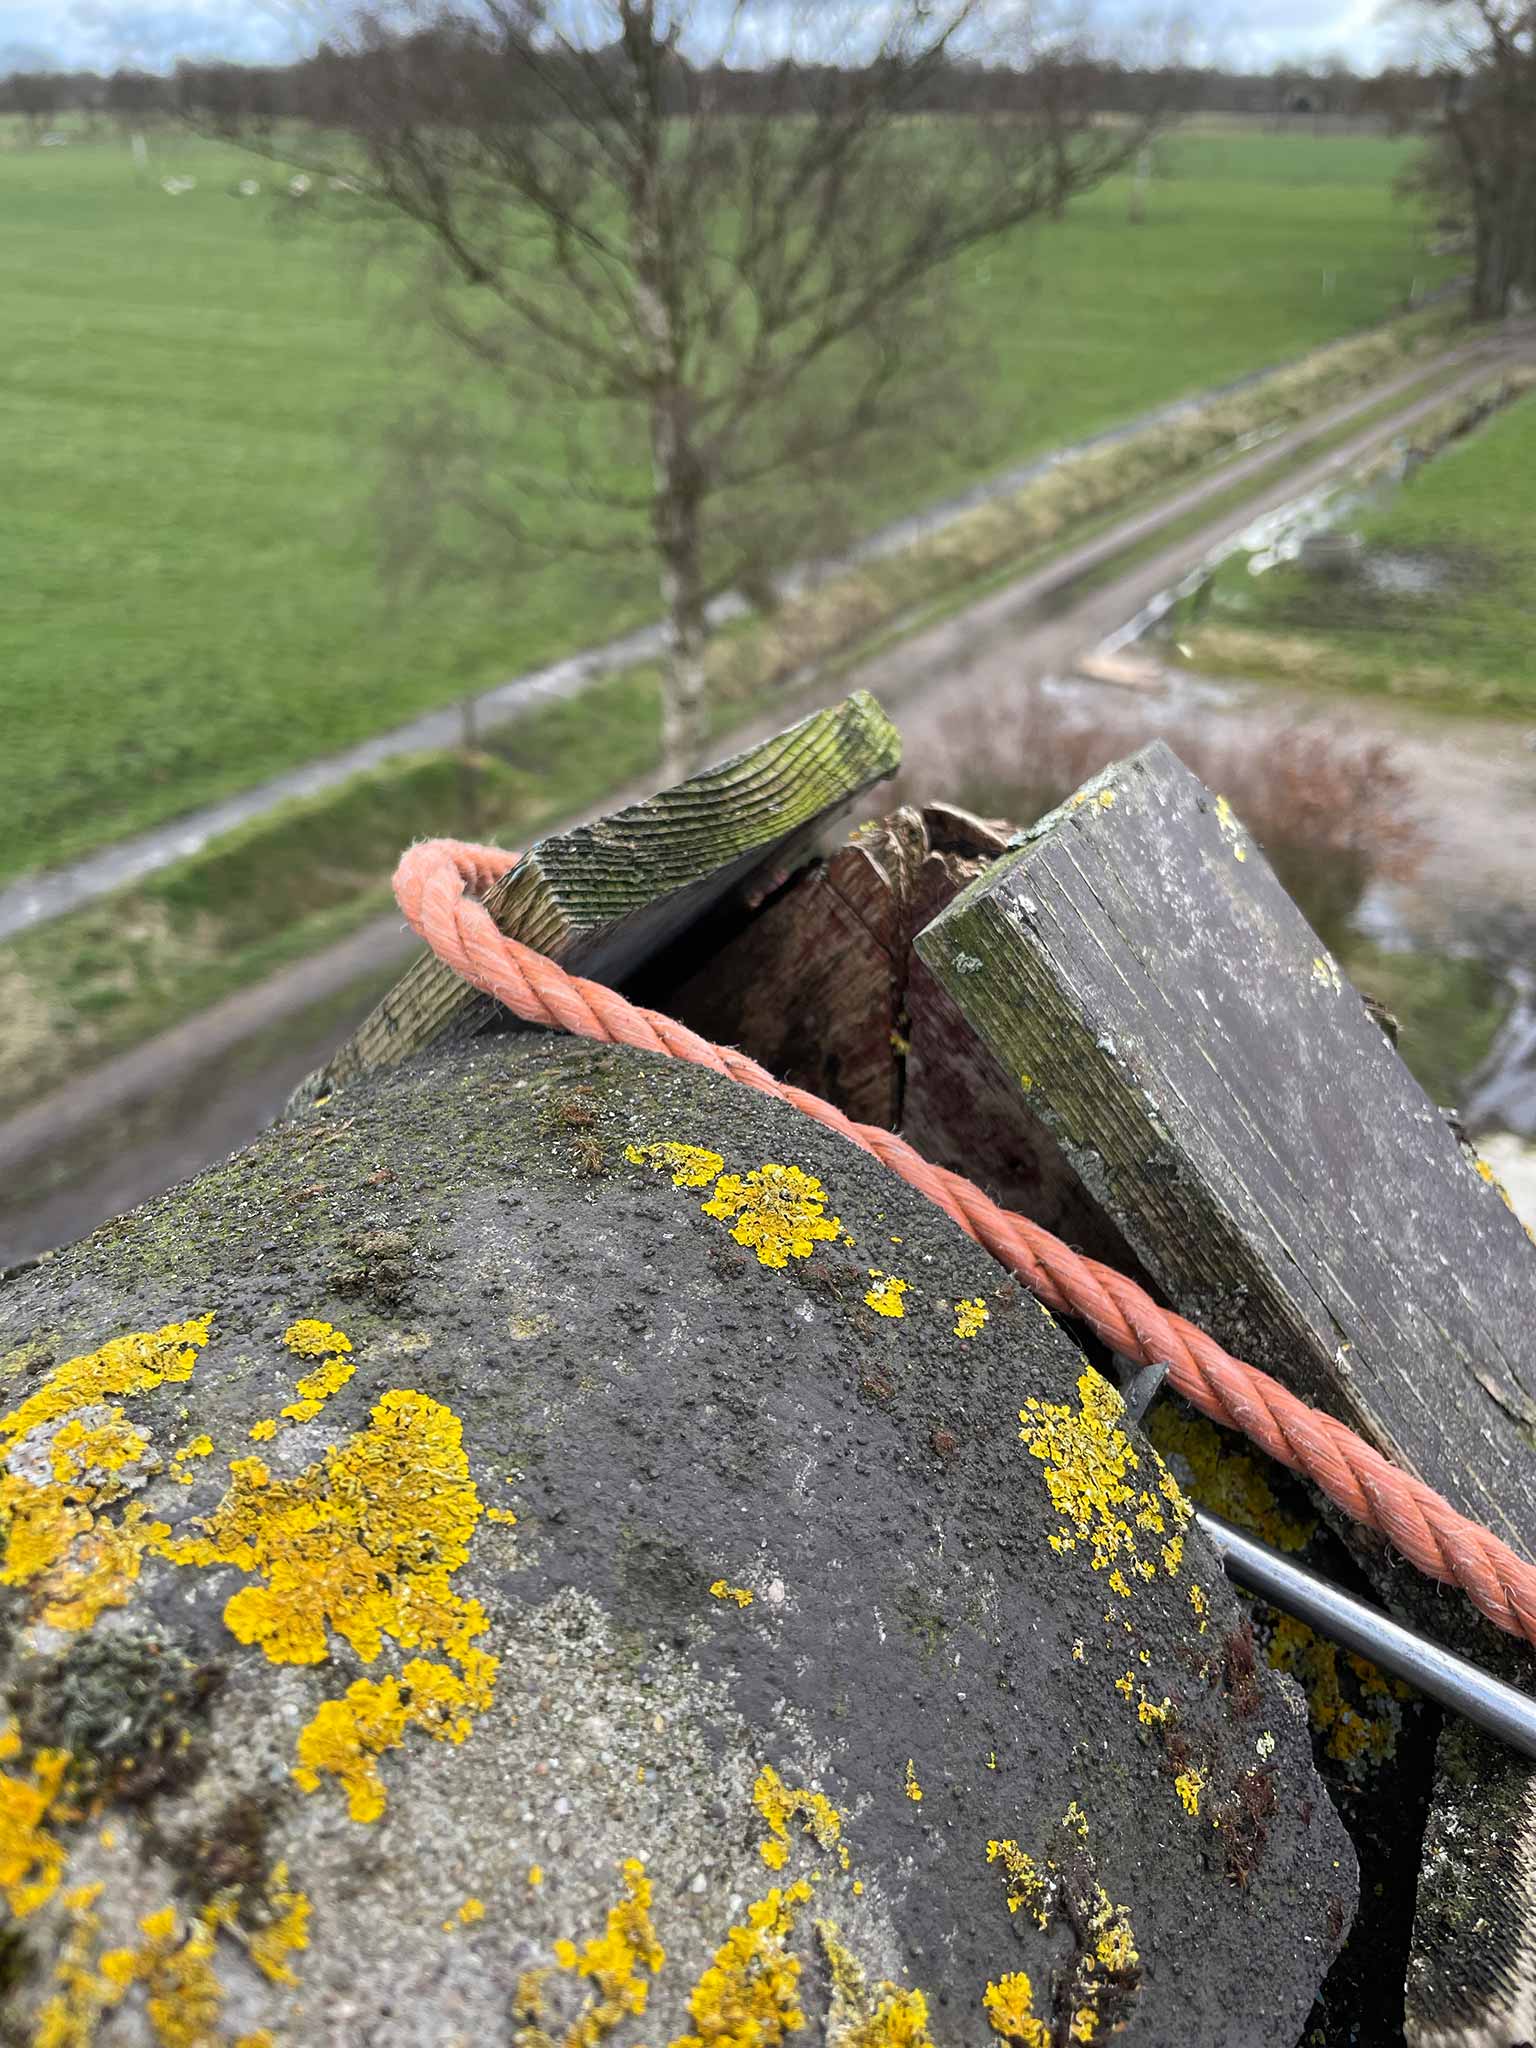
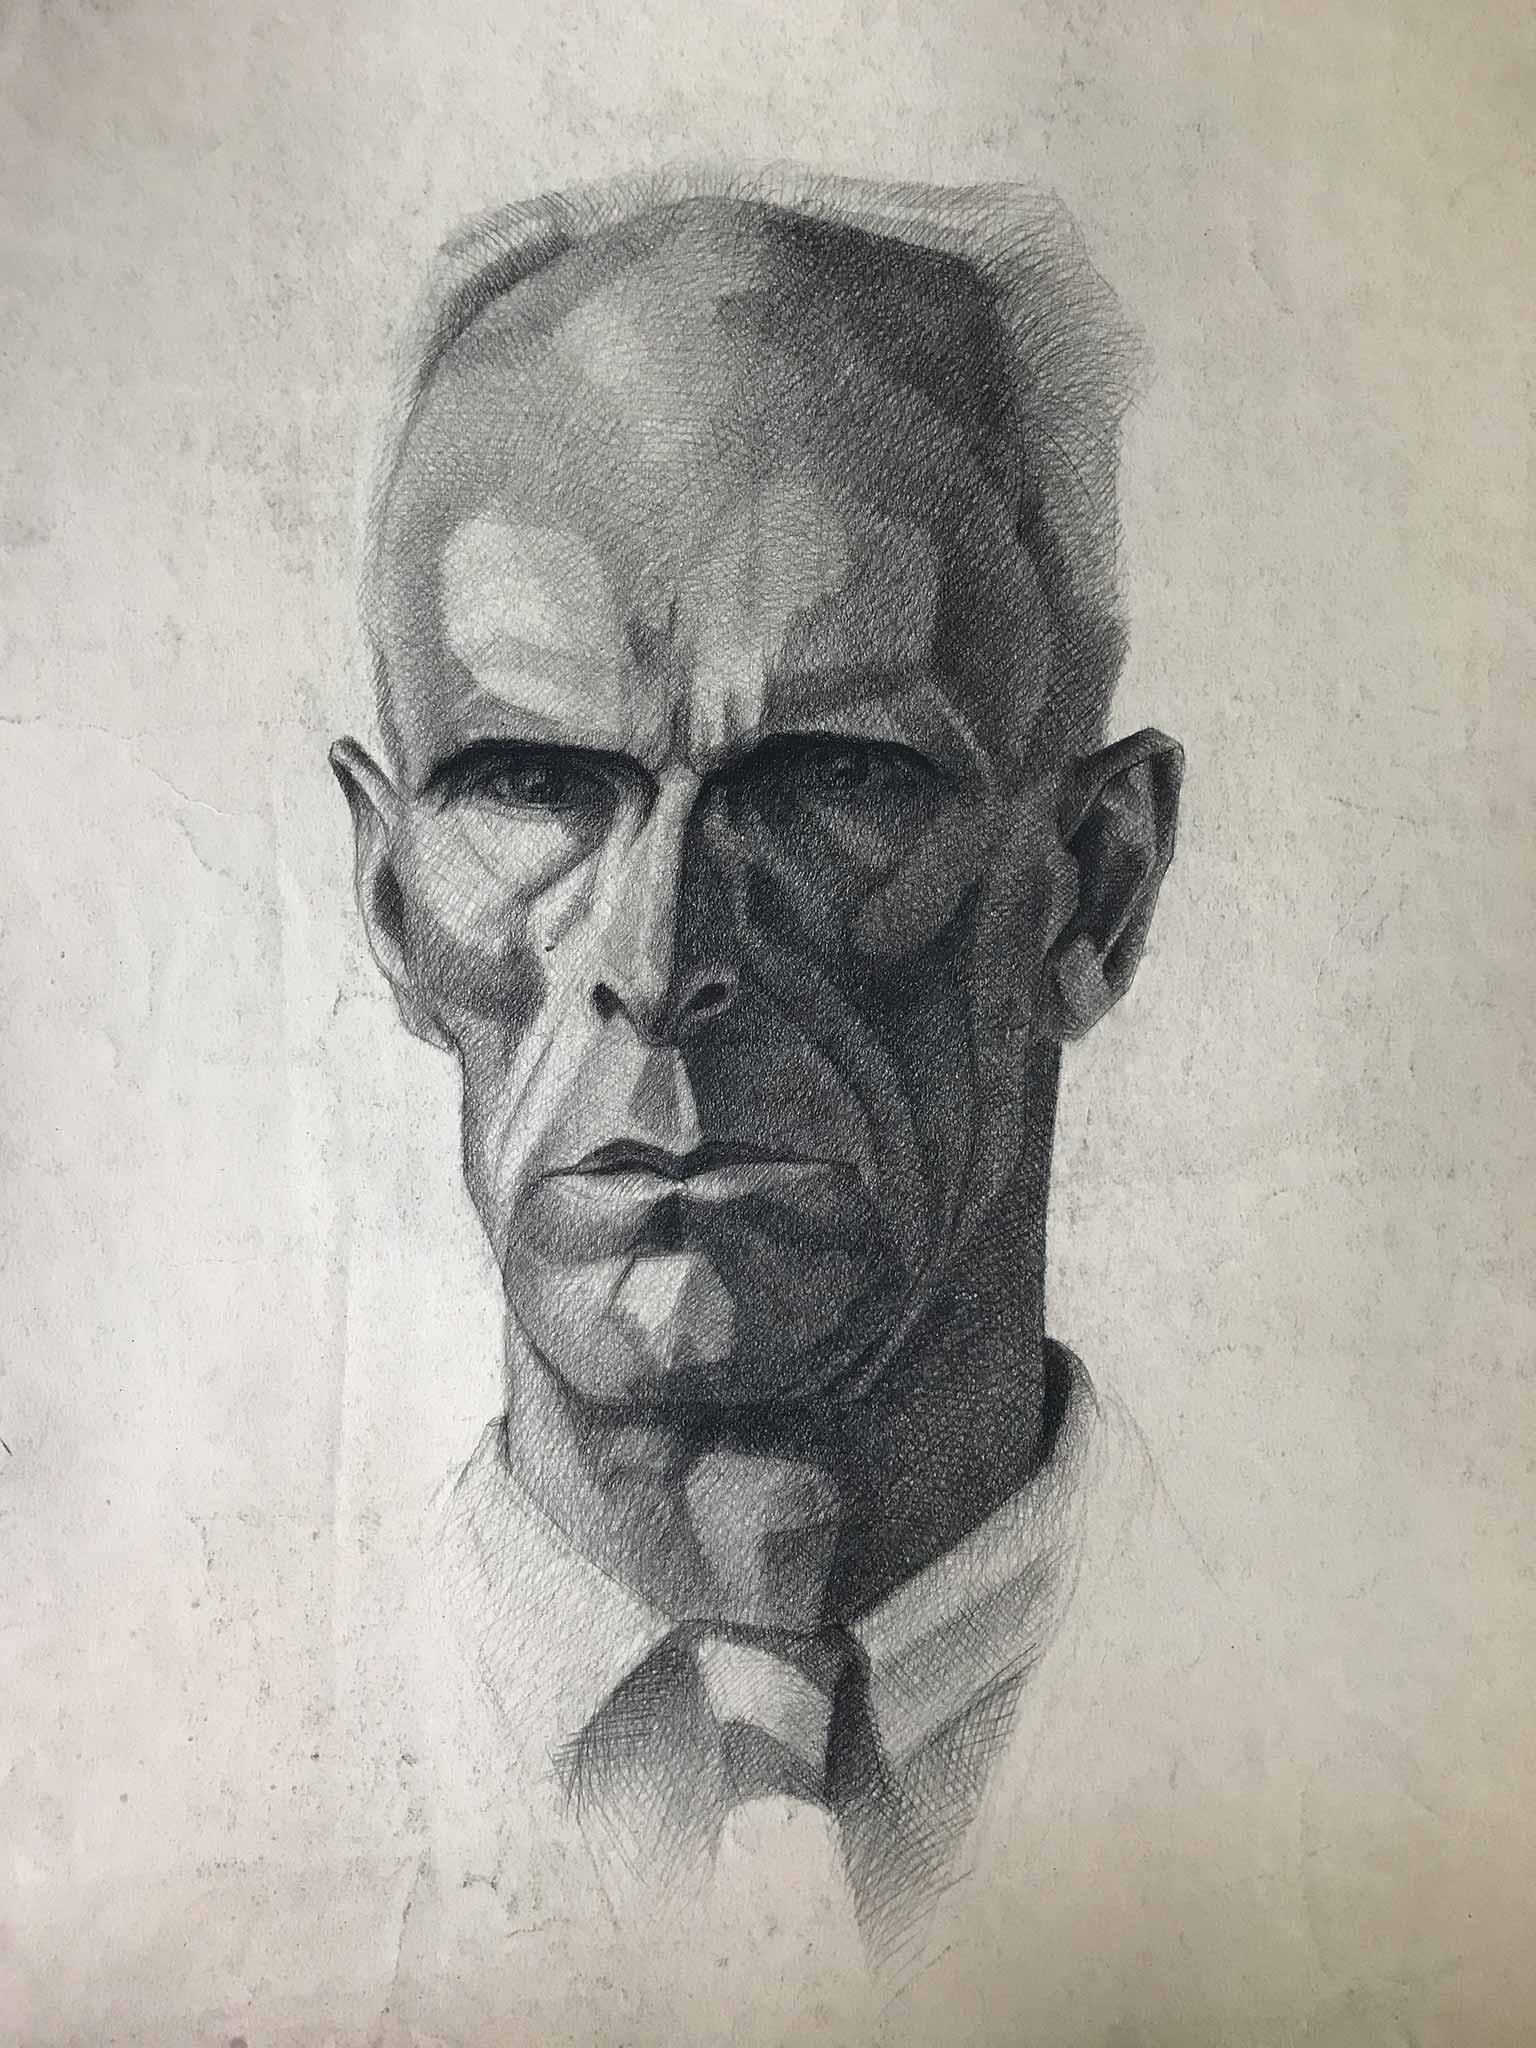
With the first(?) storm of 2021 the oelnbret finally gave in. It was designed by my father (who in my opinion was a pretty good artist, see portrait at the bottom) to little critical acclaim according to my mom. OK, it was a bit out of the ordinary without the usual swans etc. but It was an owl (which is what ‘oel’ means in Dutch dialect) and therefore fitting :).
Anyways. It had been up there for about 40, if not almost 50 years and decided to come down. This triggered a long due action to mend a hole in the roof there and thoughts about replacing the original with a fresh copy. The old one will become decoration in the house when the time is there. Maybe next to my dad’s drawings.
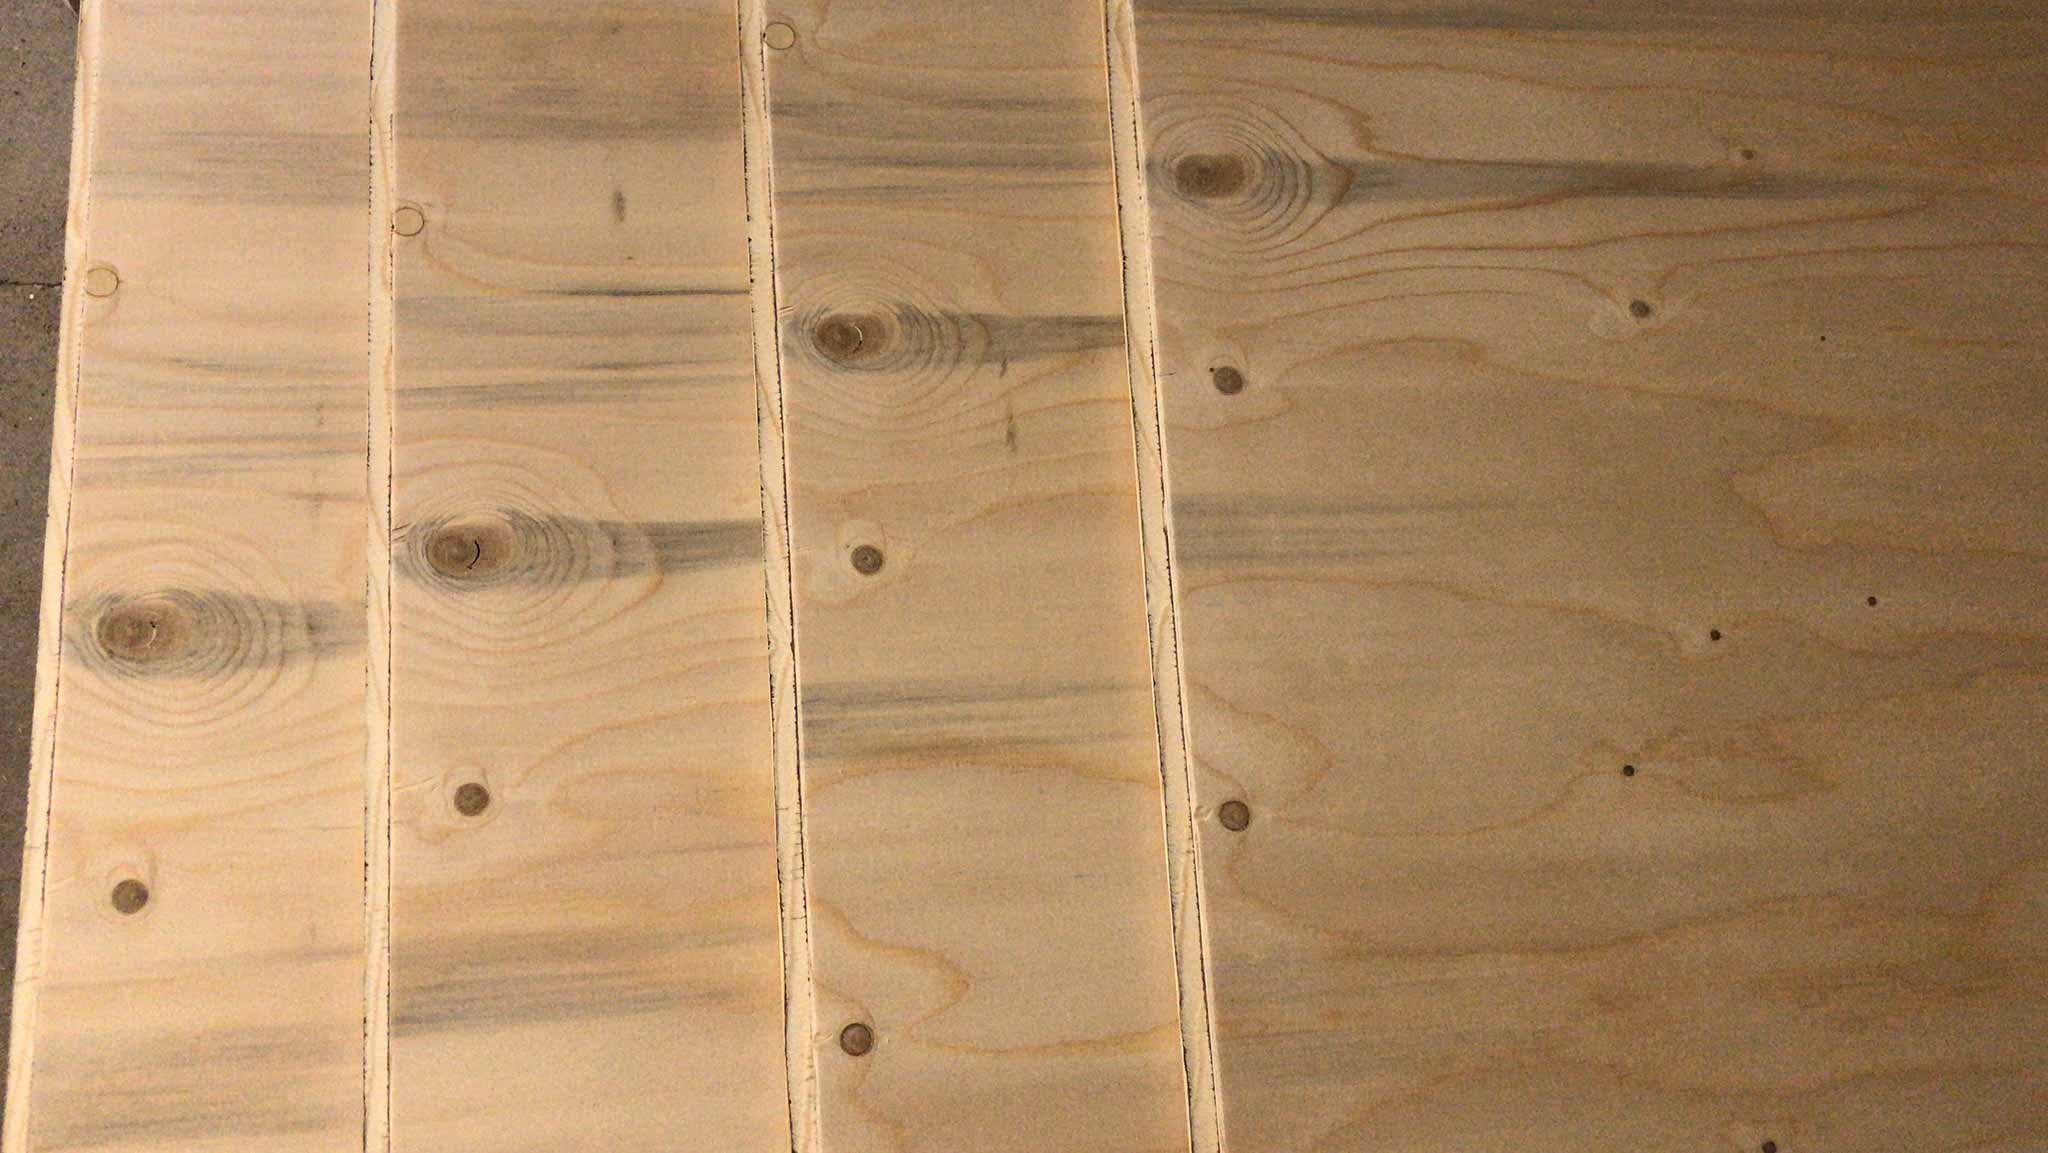
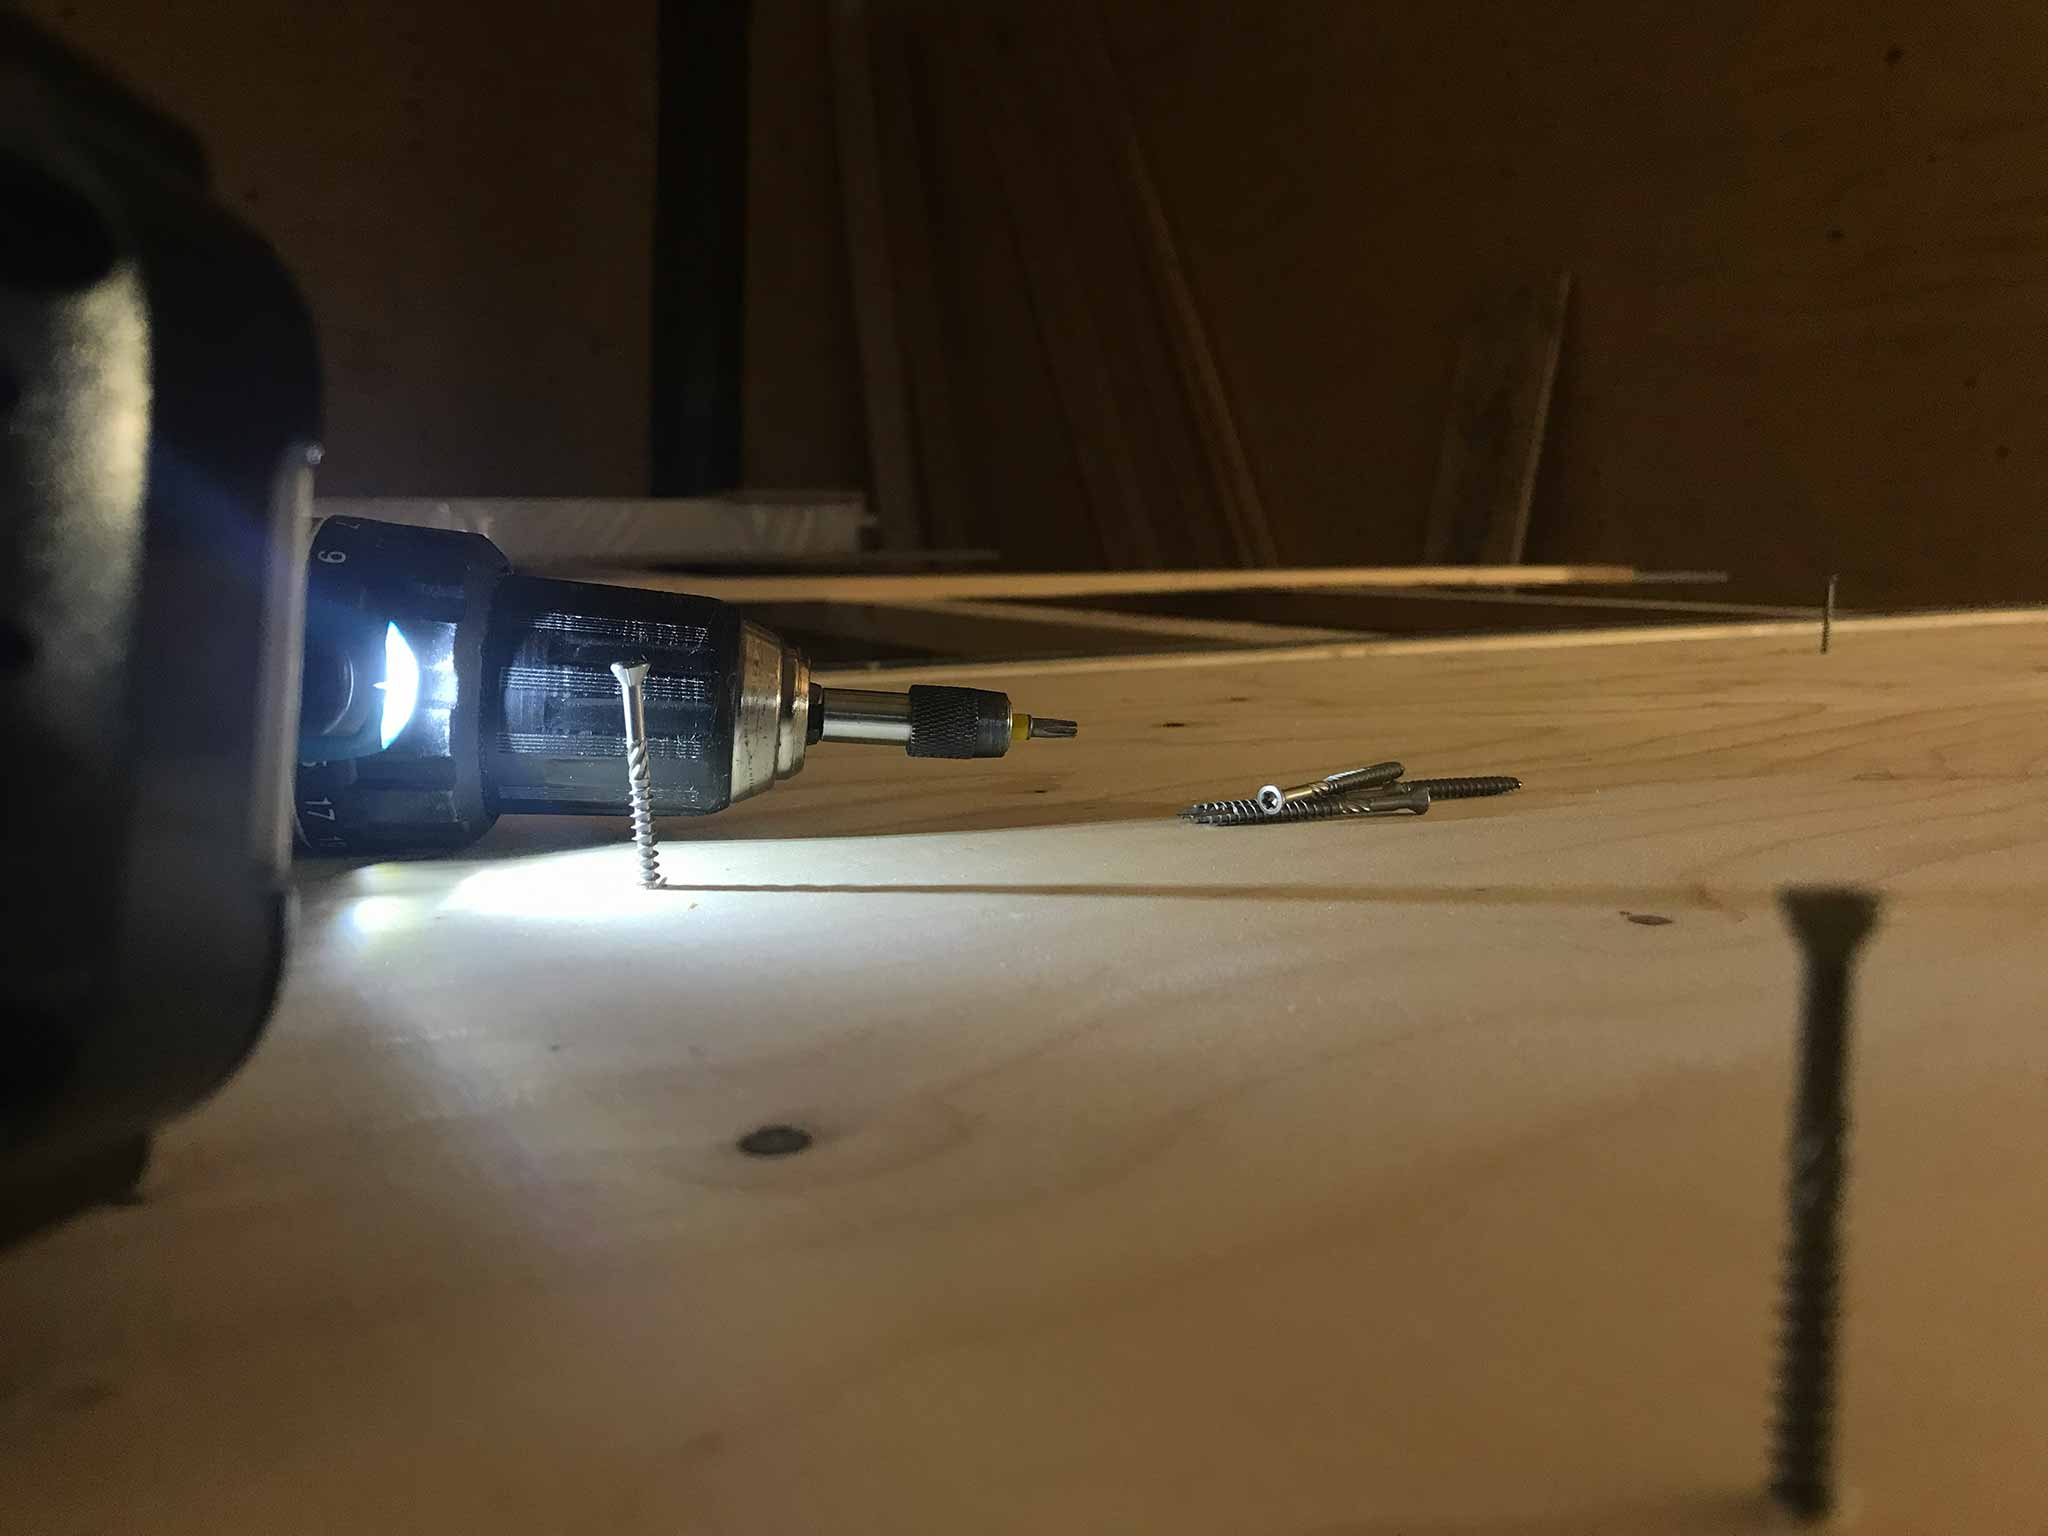
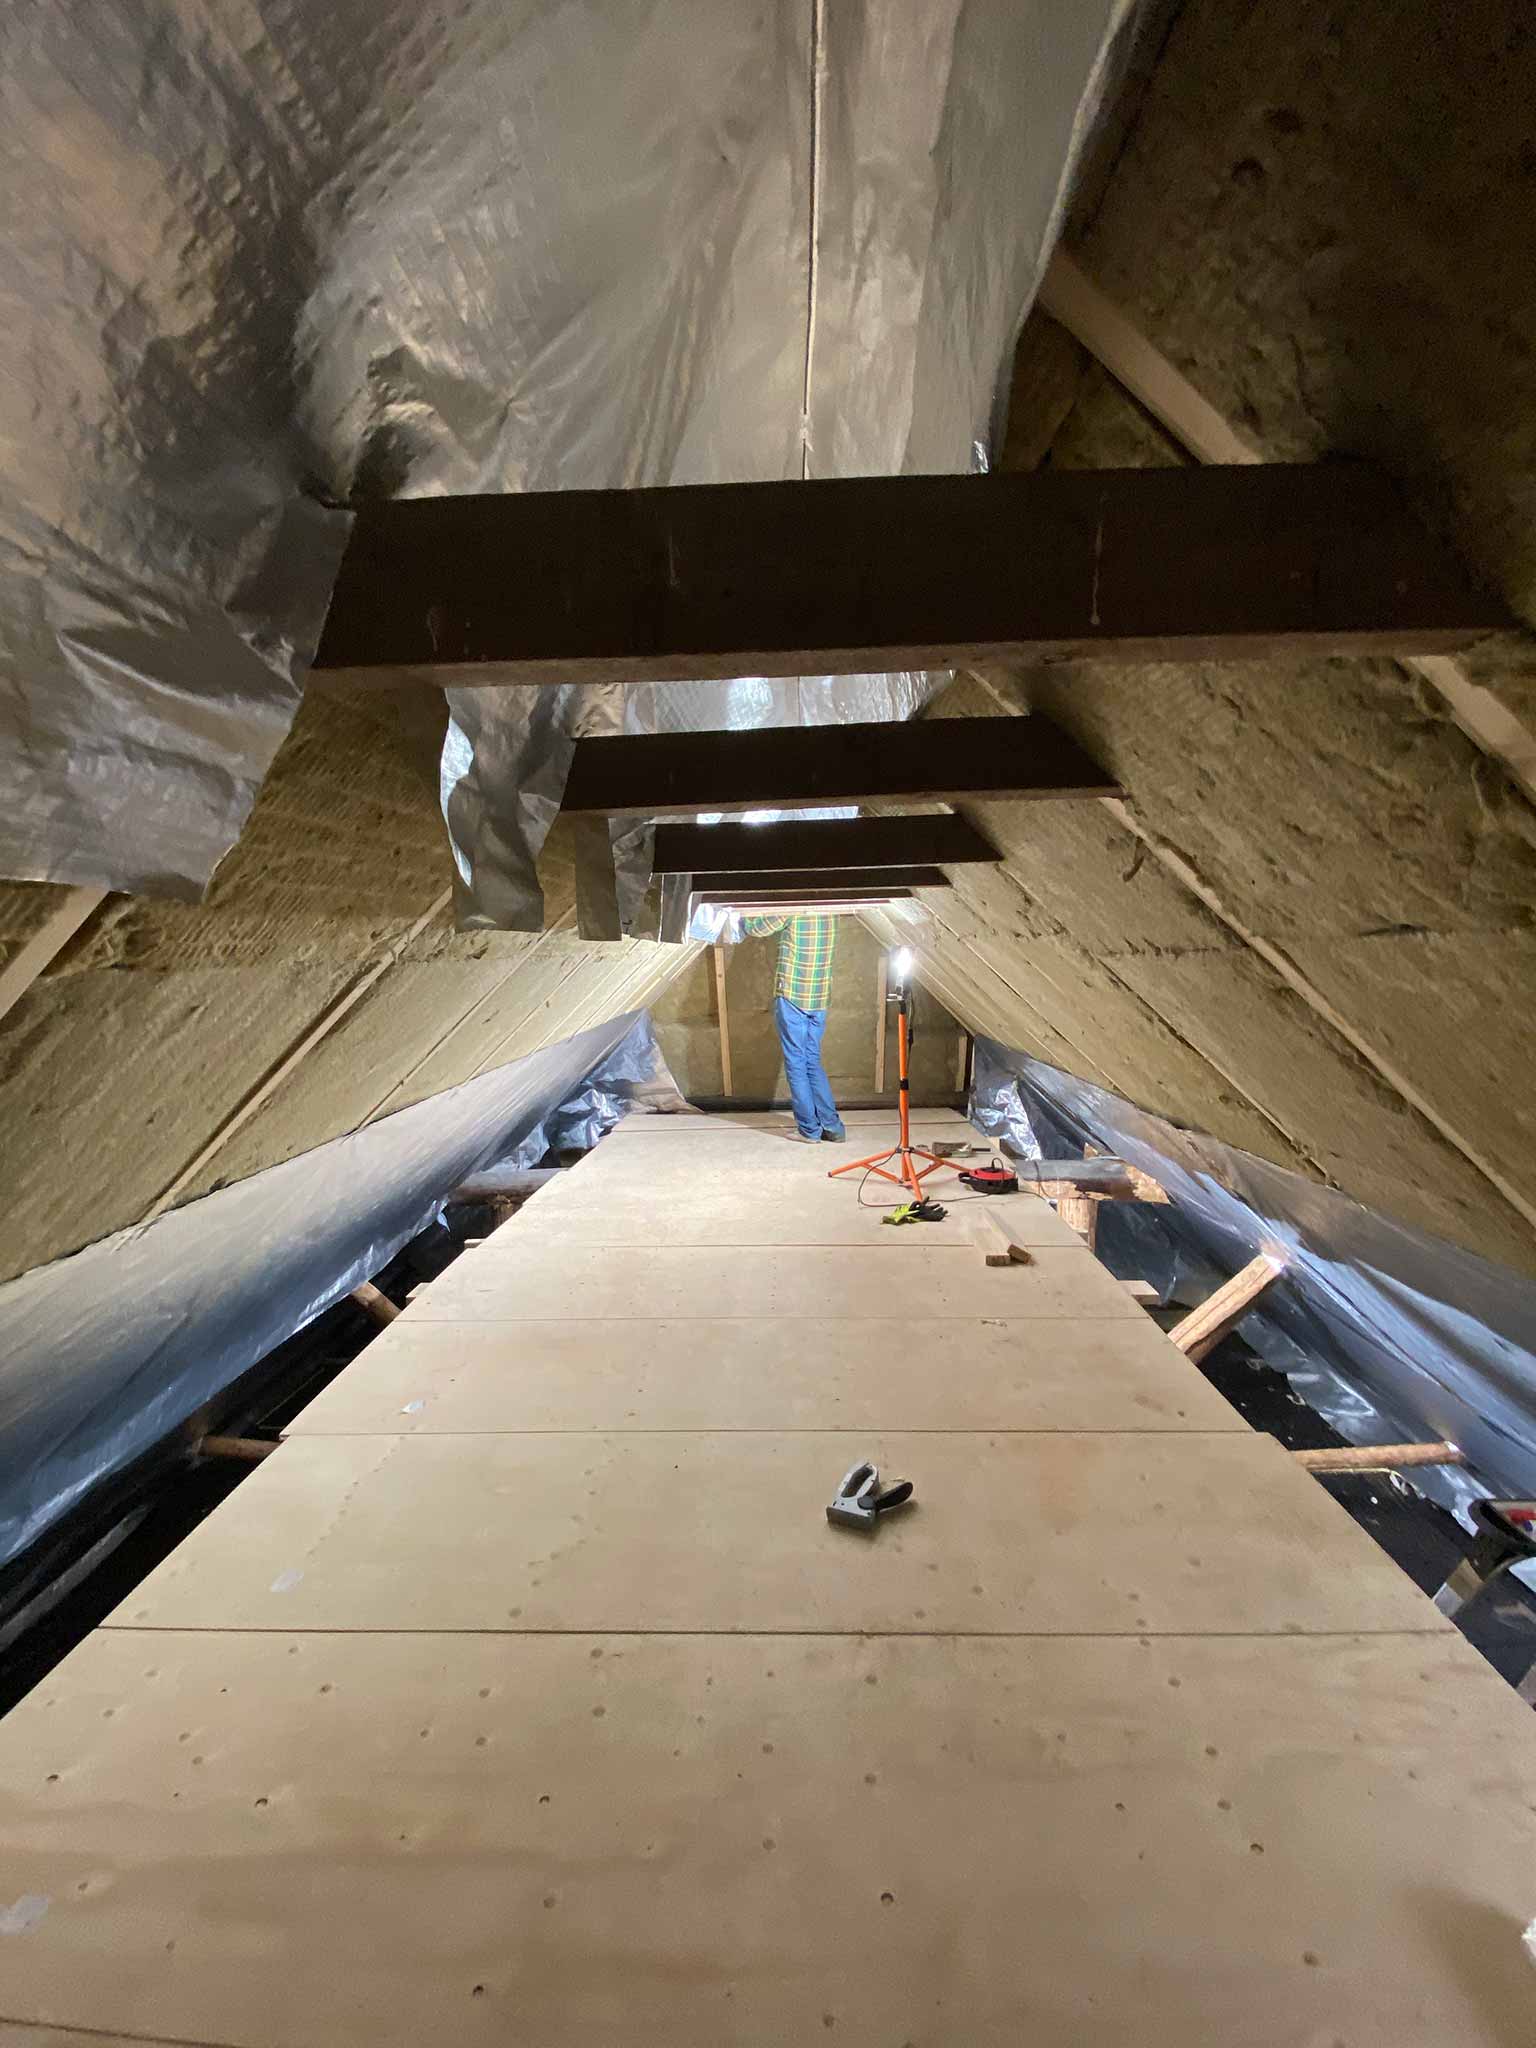
The paneling of the ceiling has started. Approximately 150 panels of 244cm x 60cm. The panels have tongue and groove around it to connect easily. Works perfect until you need to slide them in around beams and such. Bottom line, some are placed easily (just screw ‘m to the beams), and some are hard (fitted in between two angular beams.
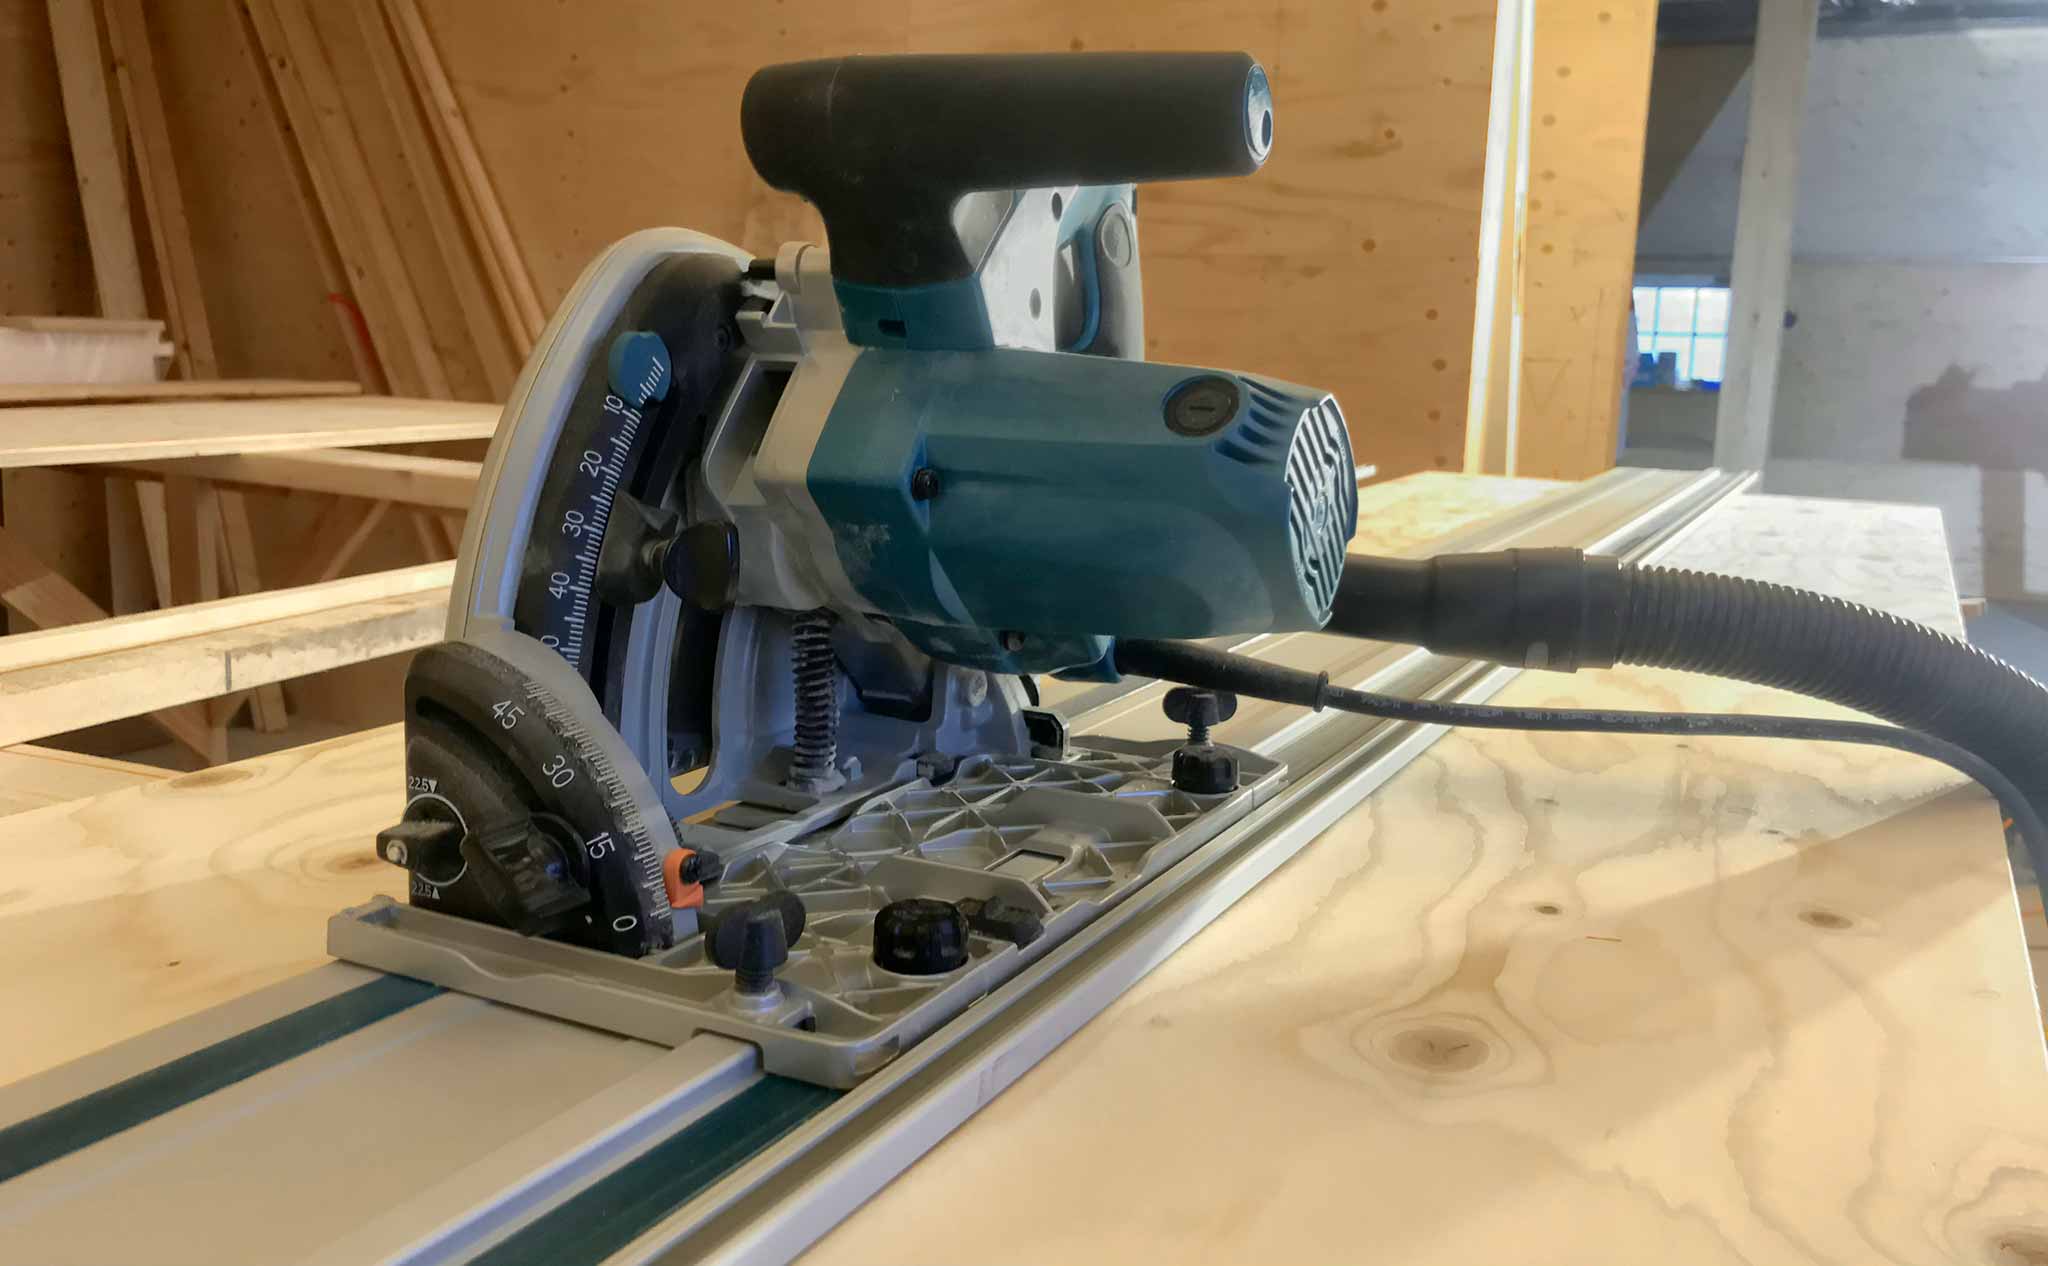
So, power tools are at it again: track saw for the course work and adjusting tongue and groove where needed, jigsaw for the parts around beams, and drill to screw it to the beams with nice stainless steel screws.

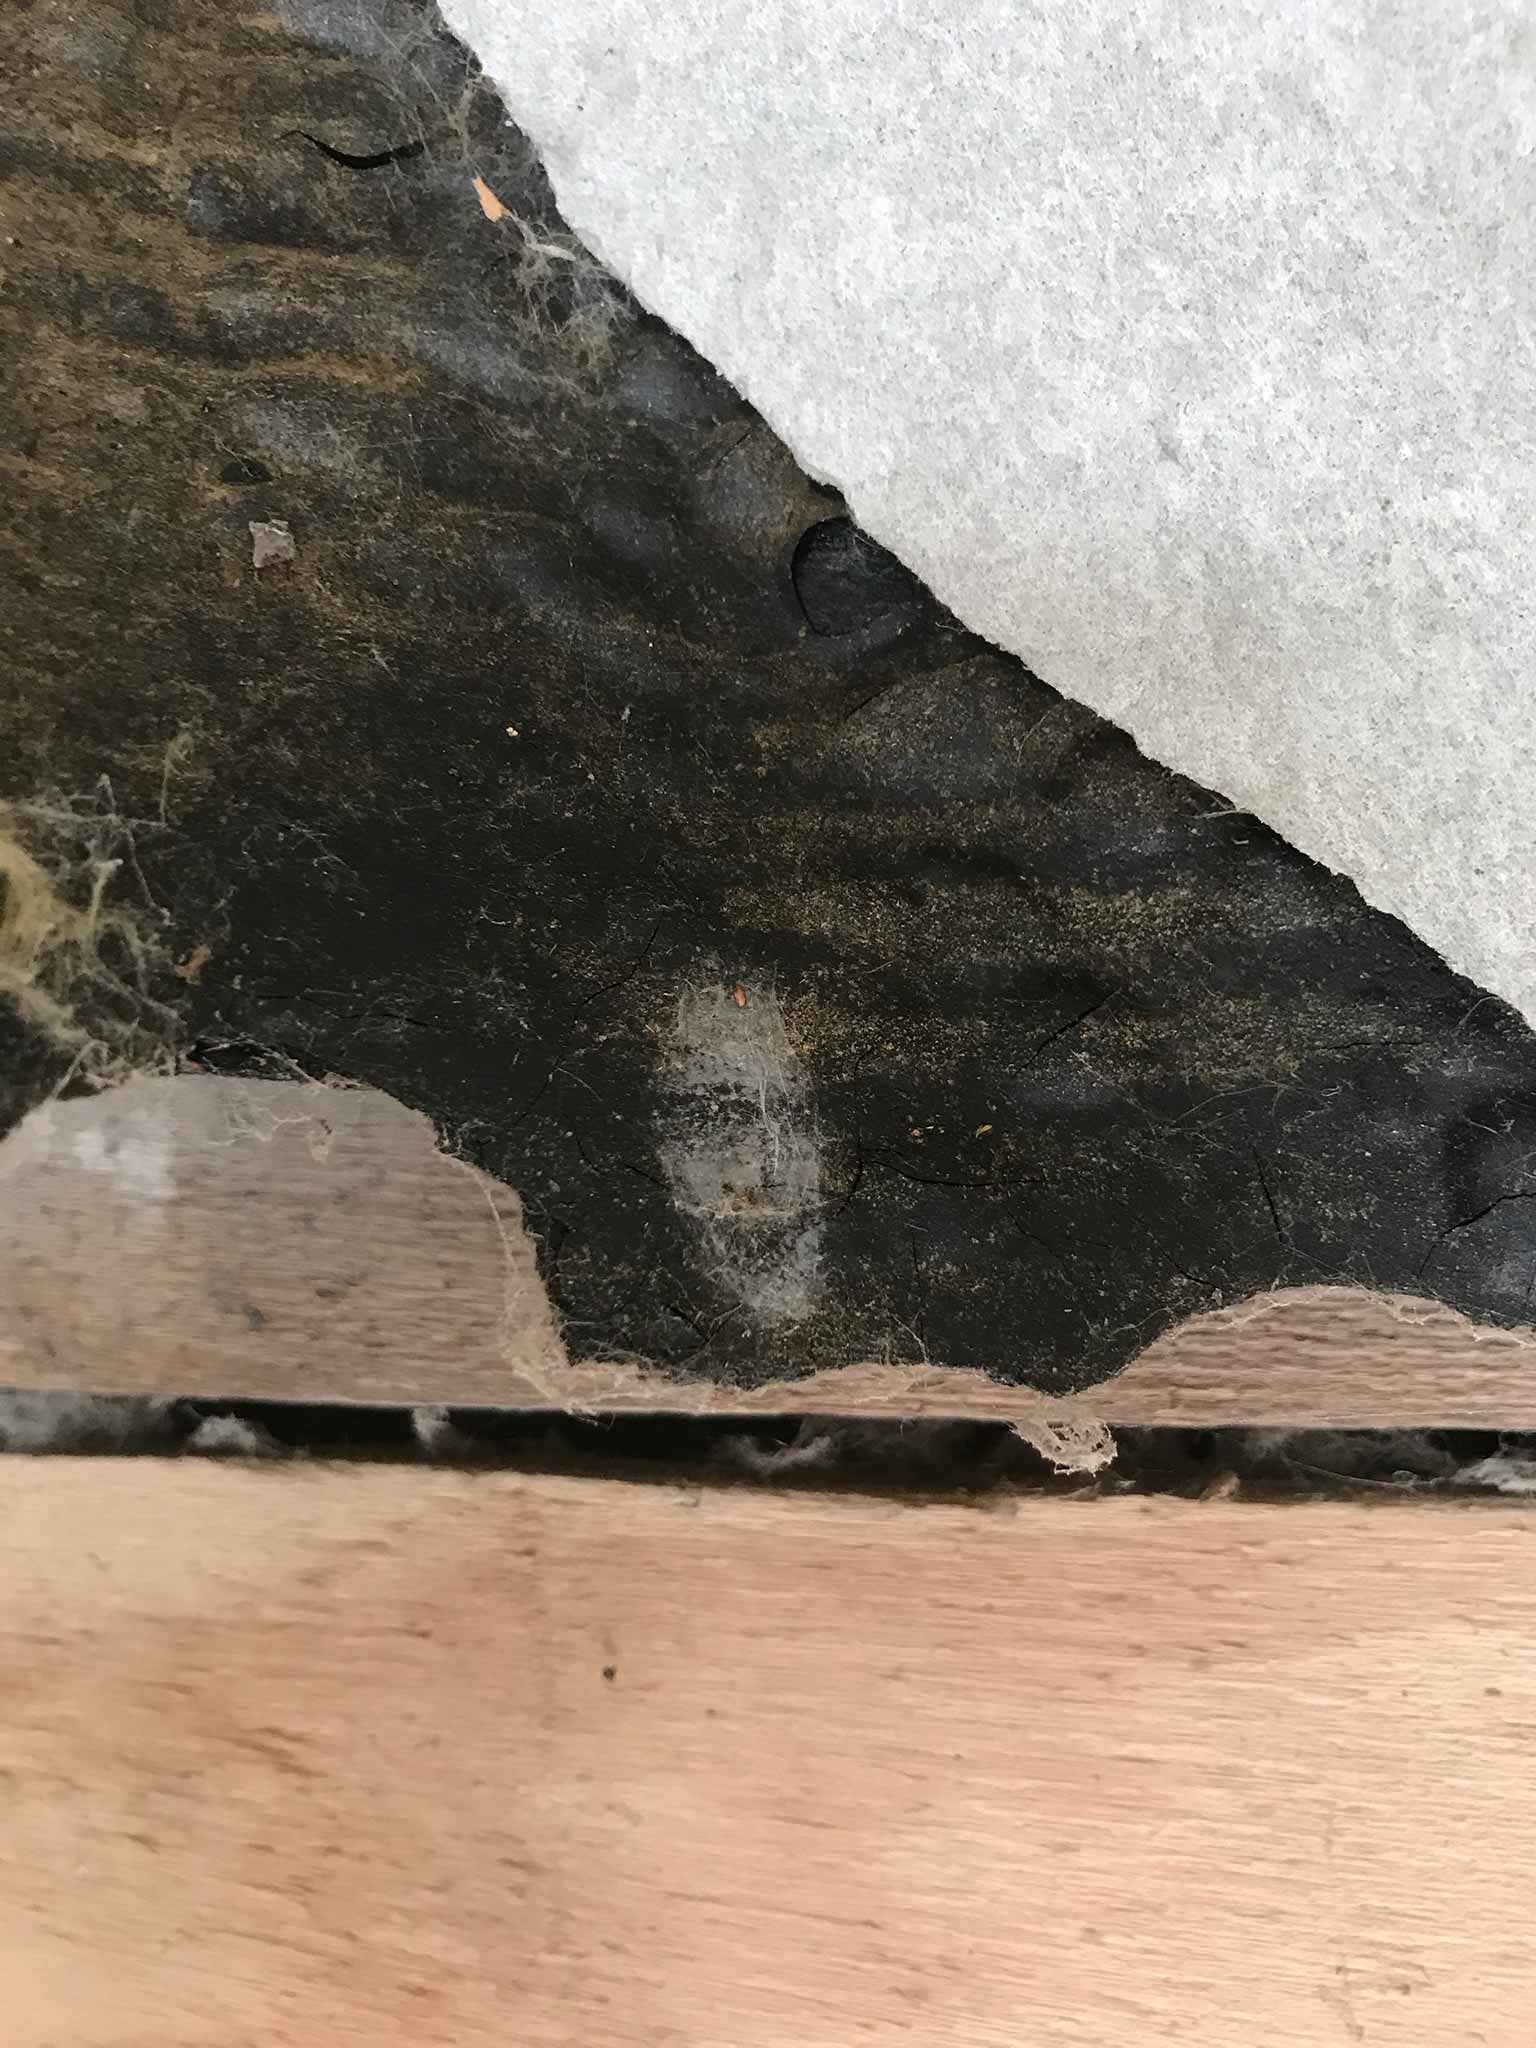
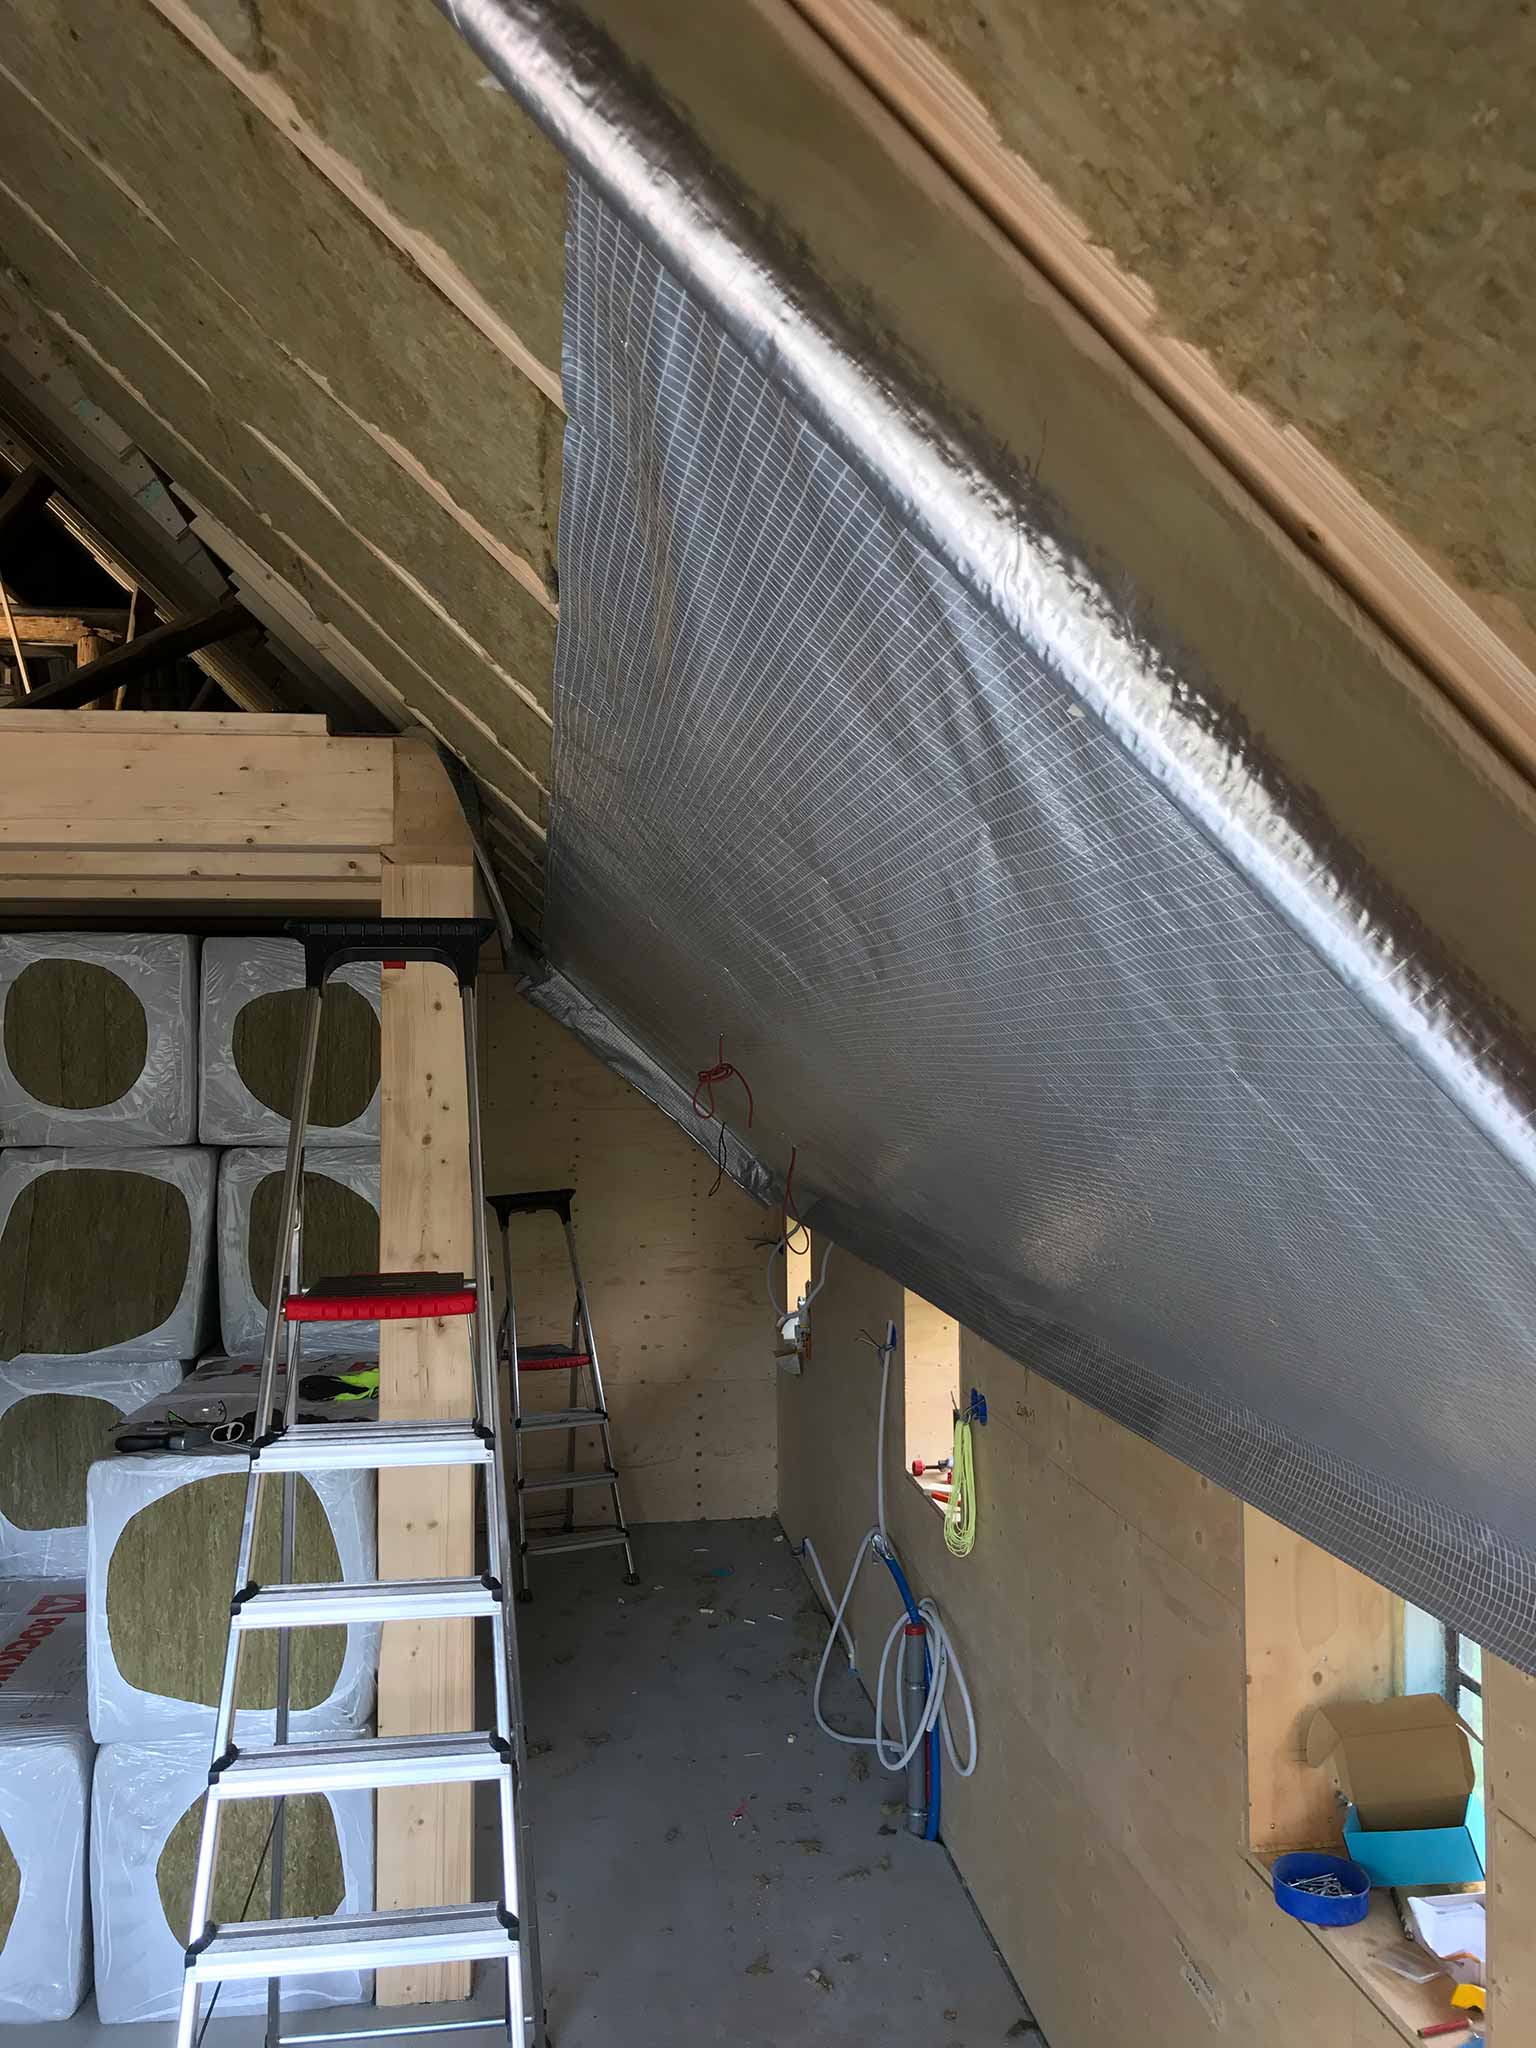
To prevent moisture from getting into the roof isolation (as much as possible) the inside of the roof needs to be covered in foil. It looks a bit like Chuck McGill‘s house in his worst periods. Pretty hard to get totally airtight, but hopefully the outside of the roof will let any trespassing moisture evaporate easy enough…
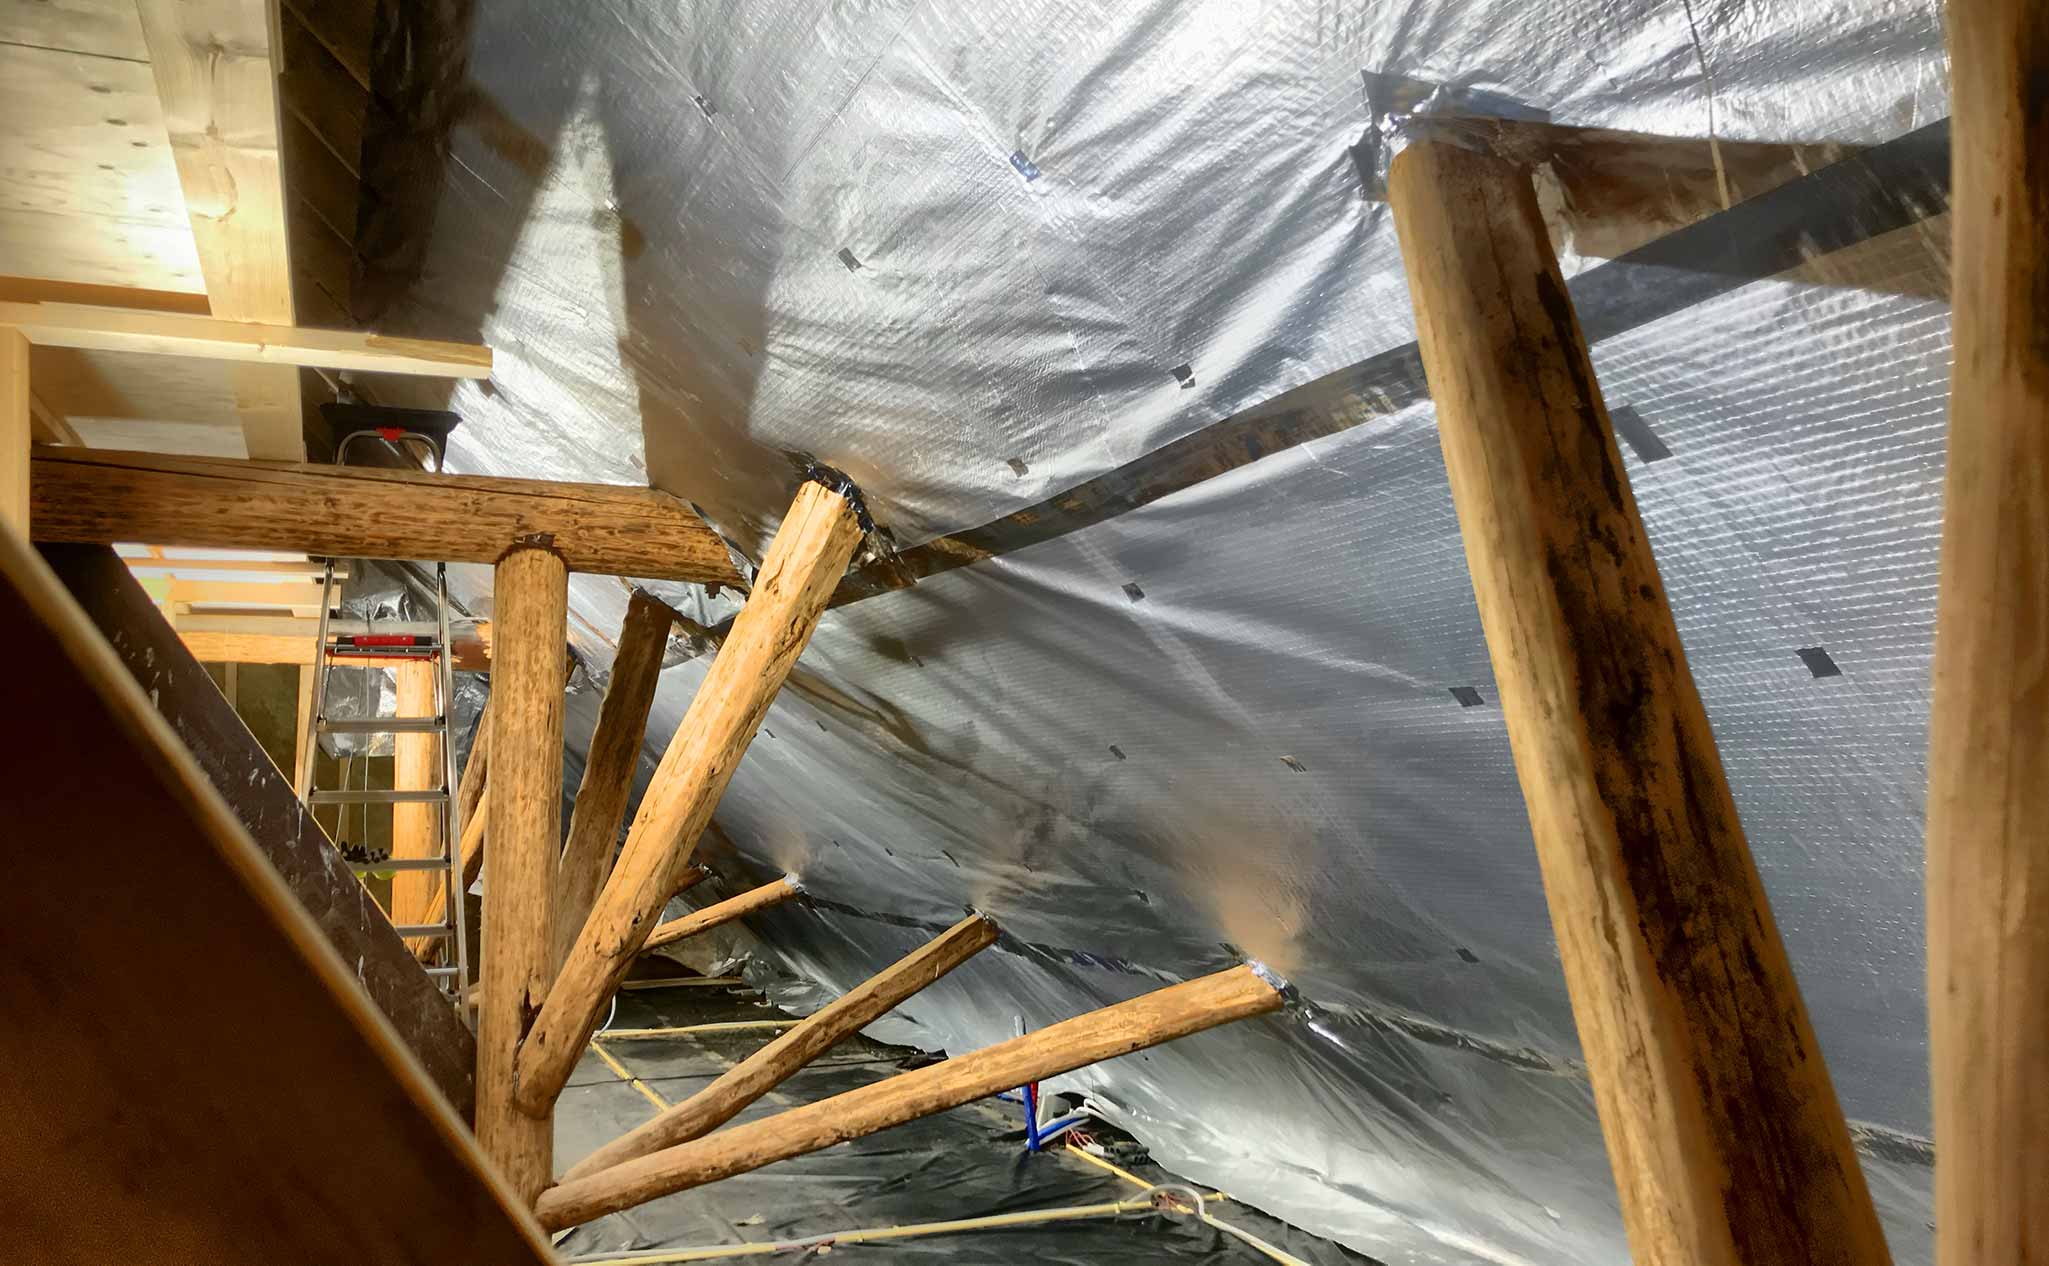
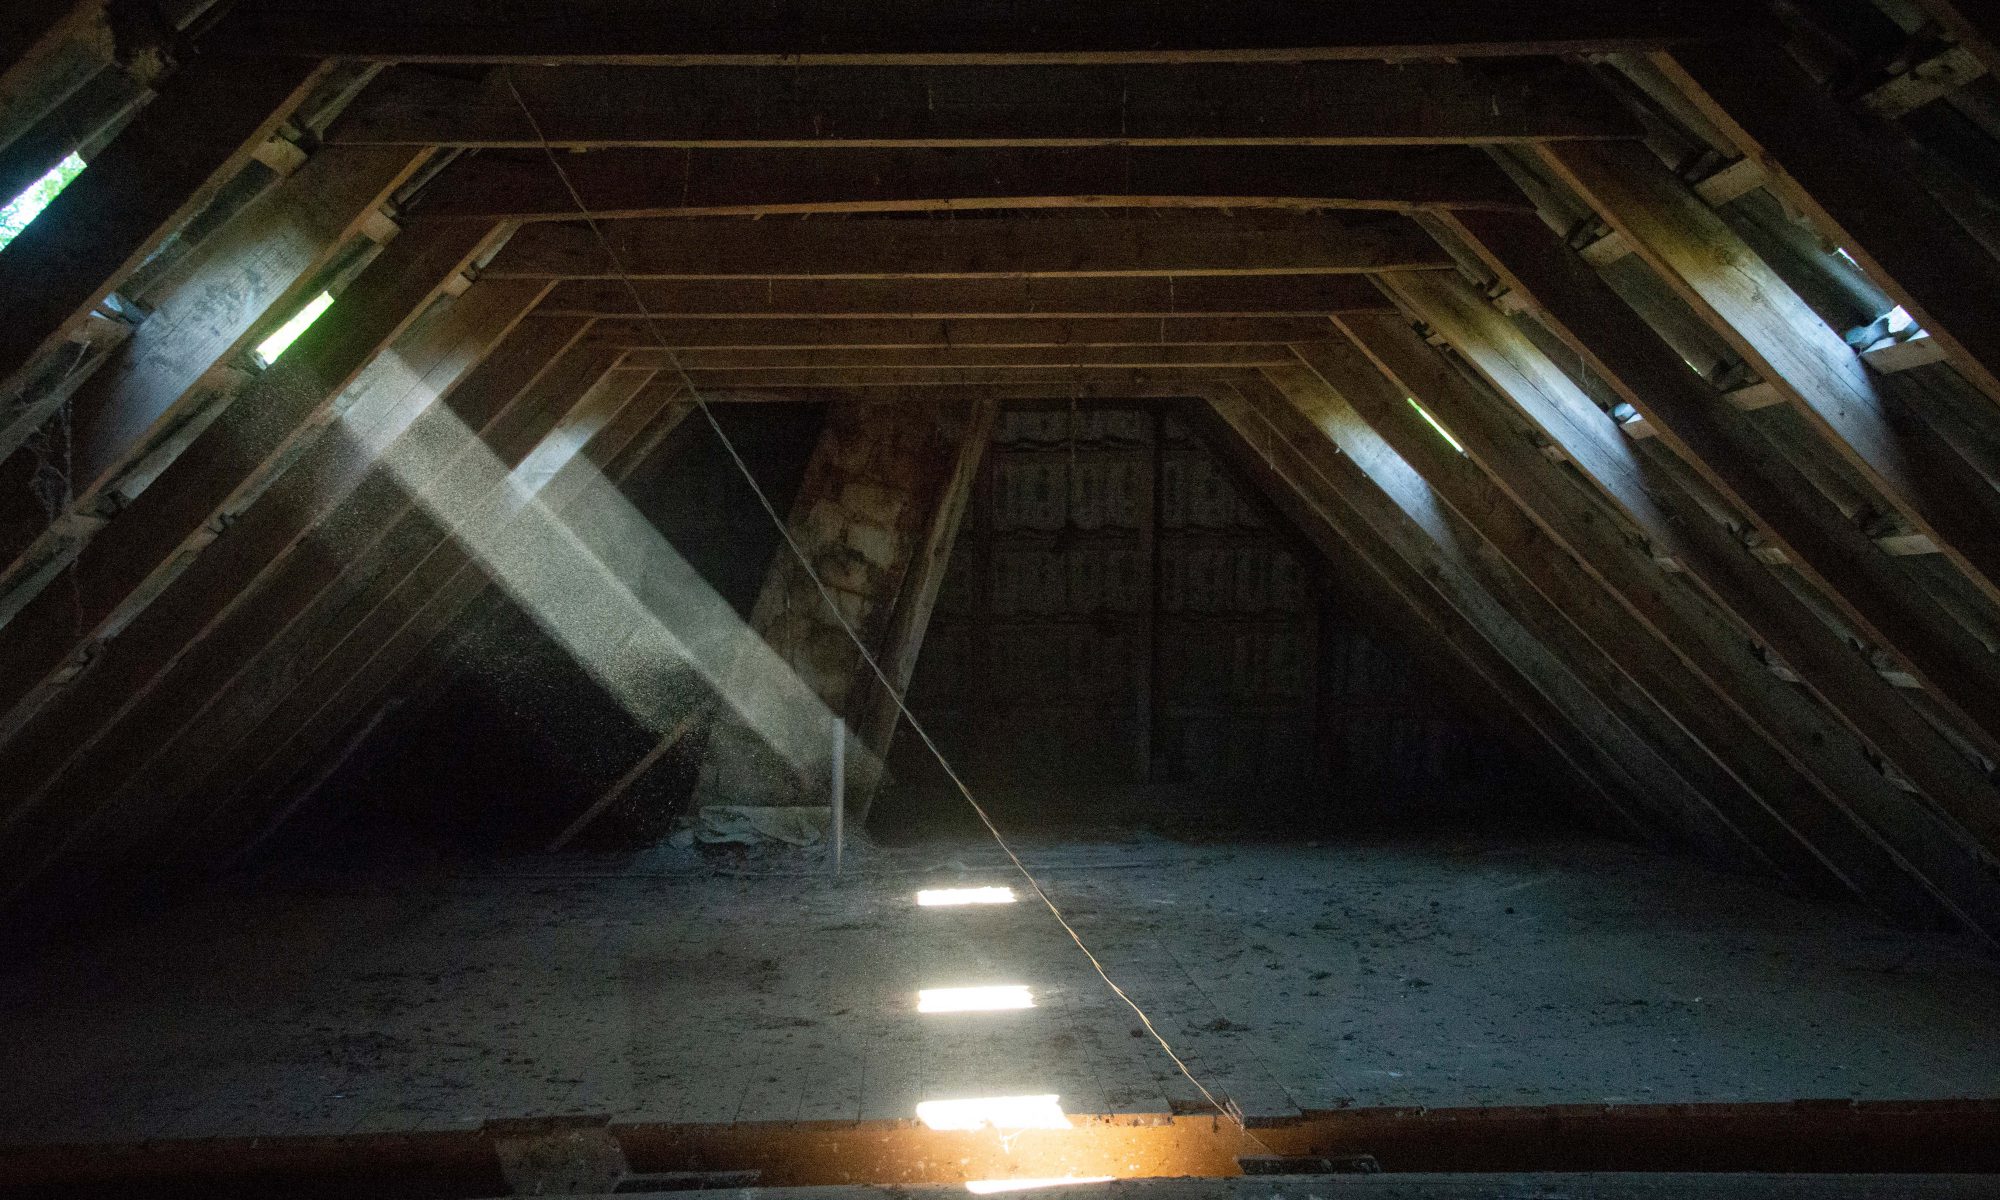
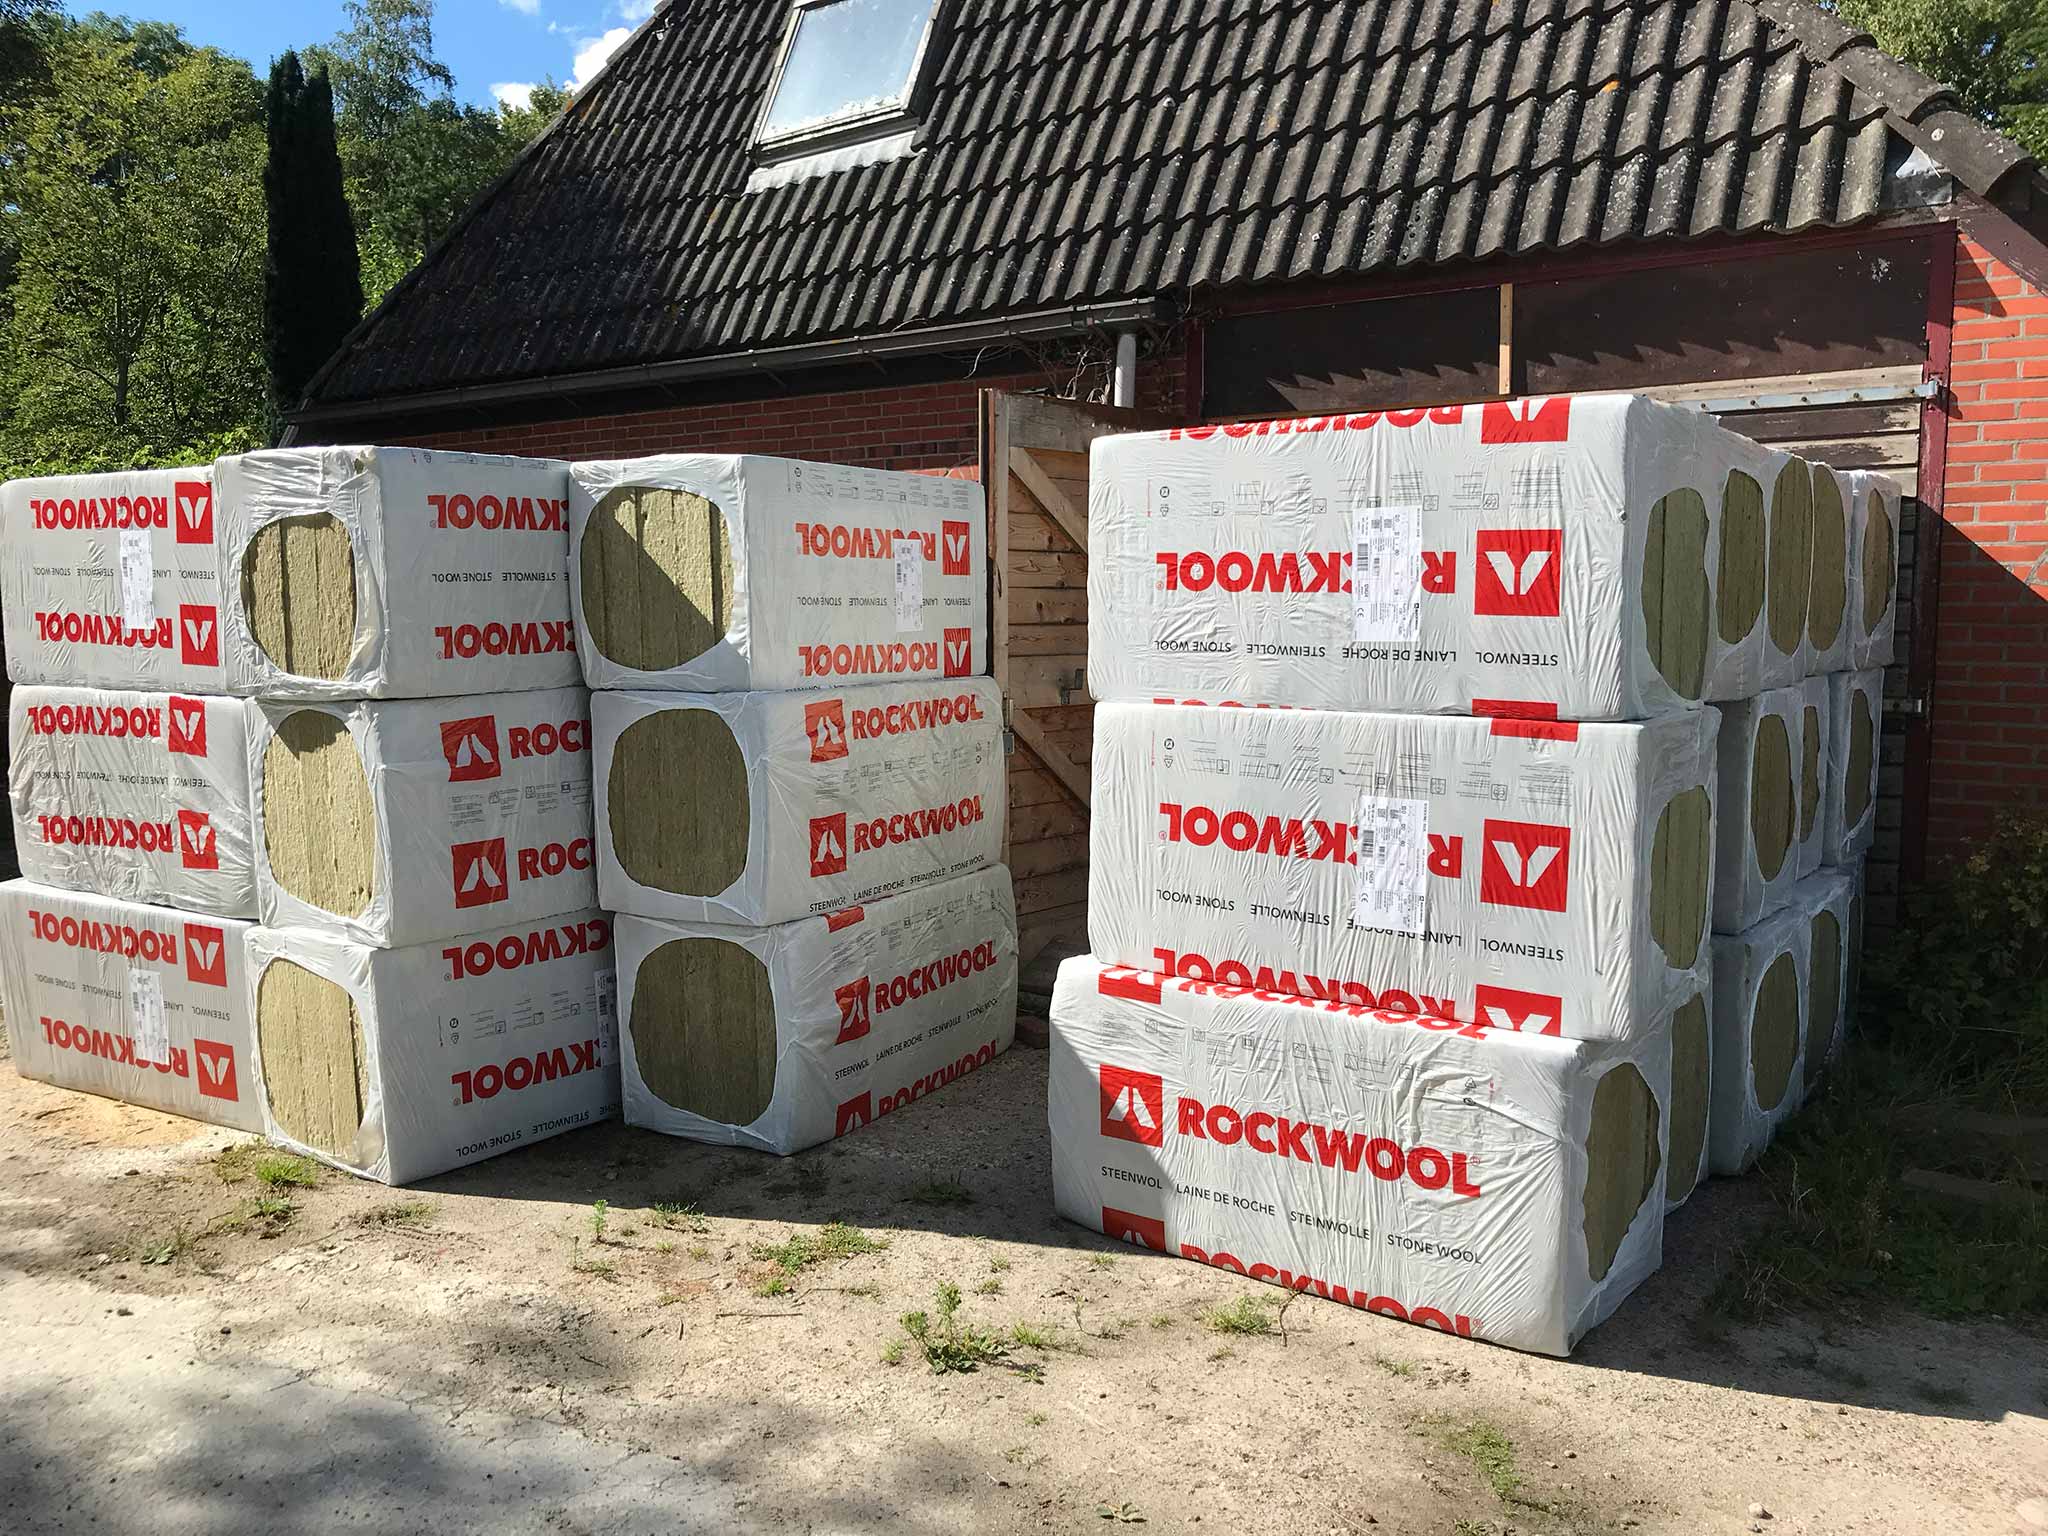
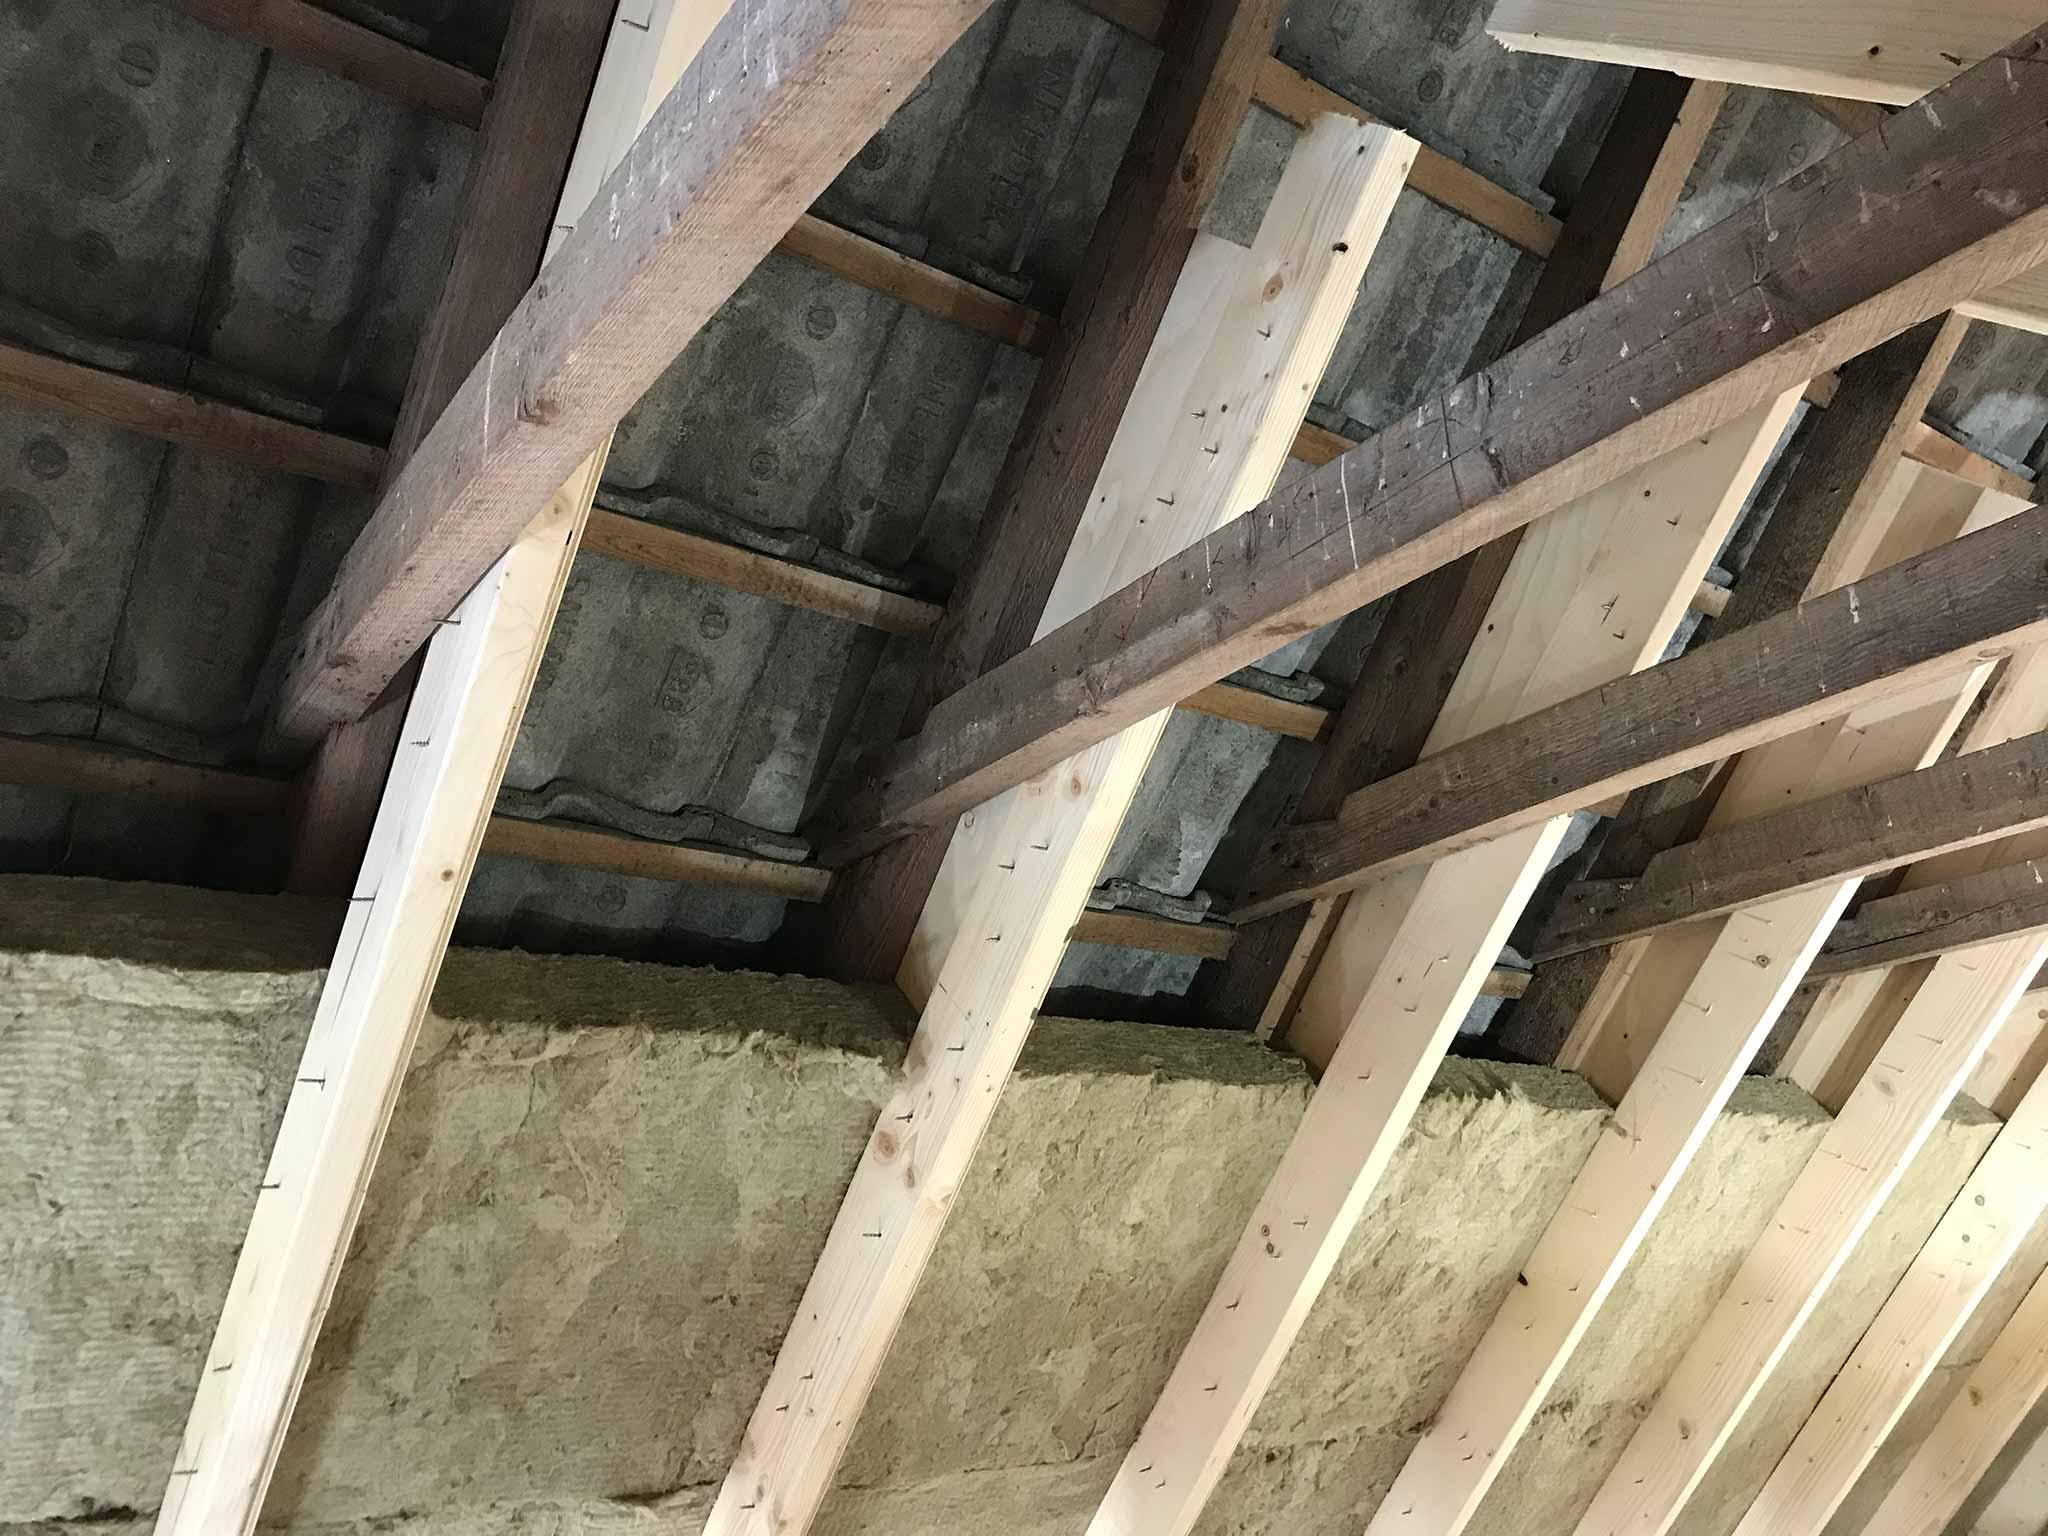
Isolating the roof is quite a job. We have 144 packs of rockwool that, in total can cover 518^m. The layers are 12cm thick and we’ll use a double layer. In total that should make the volume of the house decrease by about 31 cubic meter. So, not only is there less volume to keep warm, there also is an impressive 24cm layer of isolation on (nearly) the entire roof. At a few spots there is not enough room the fit in the entire 24cm.
With the isolation, the house becomes more homely. Less ‘hall-like-sounding’ and less direct temperature influence from the heat radiating, black roof tiles (obviously).
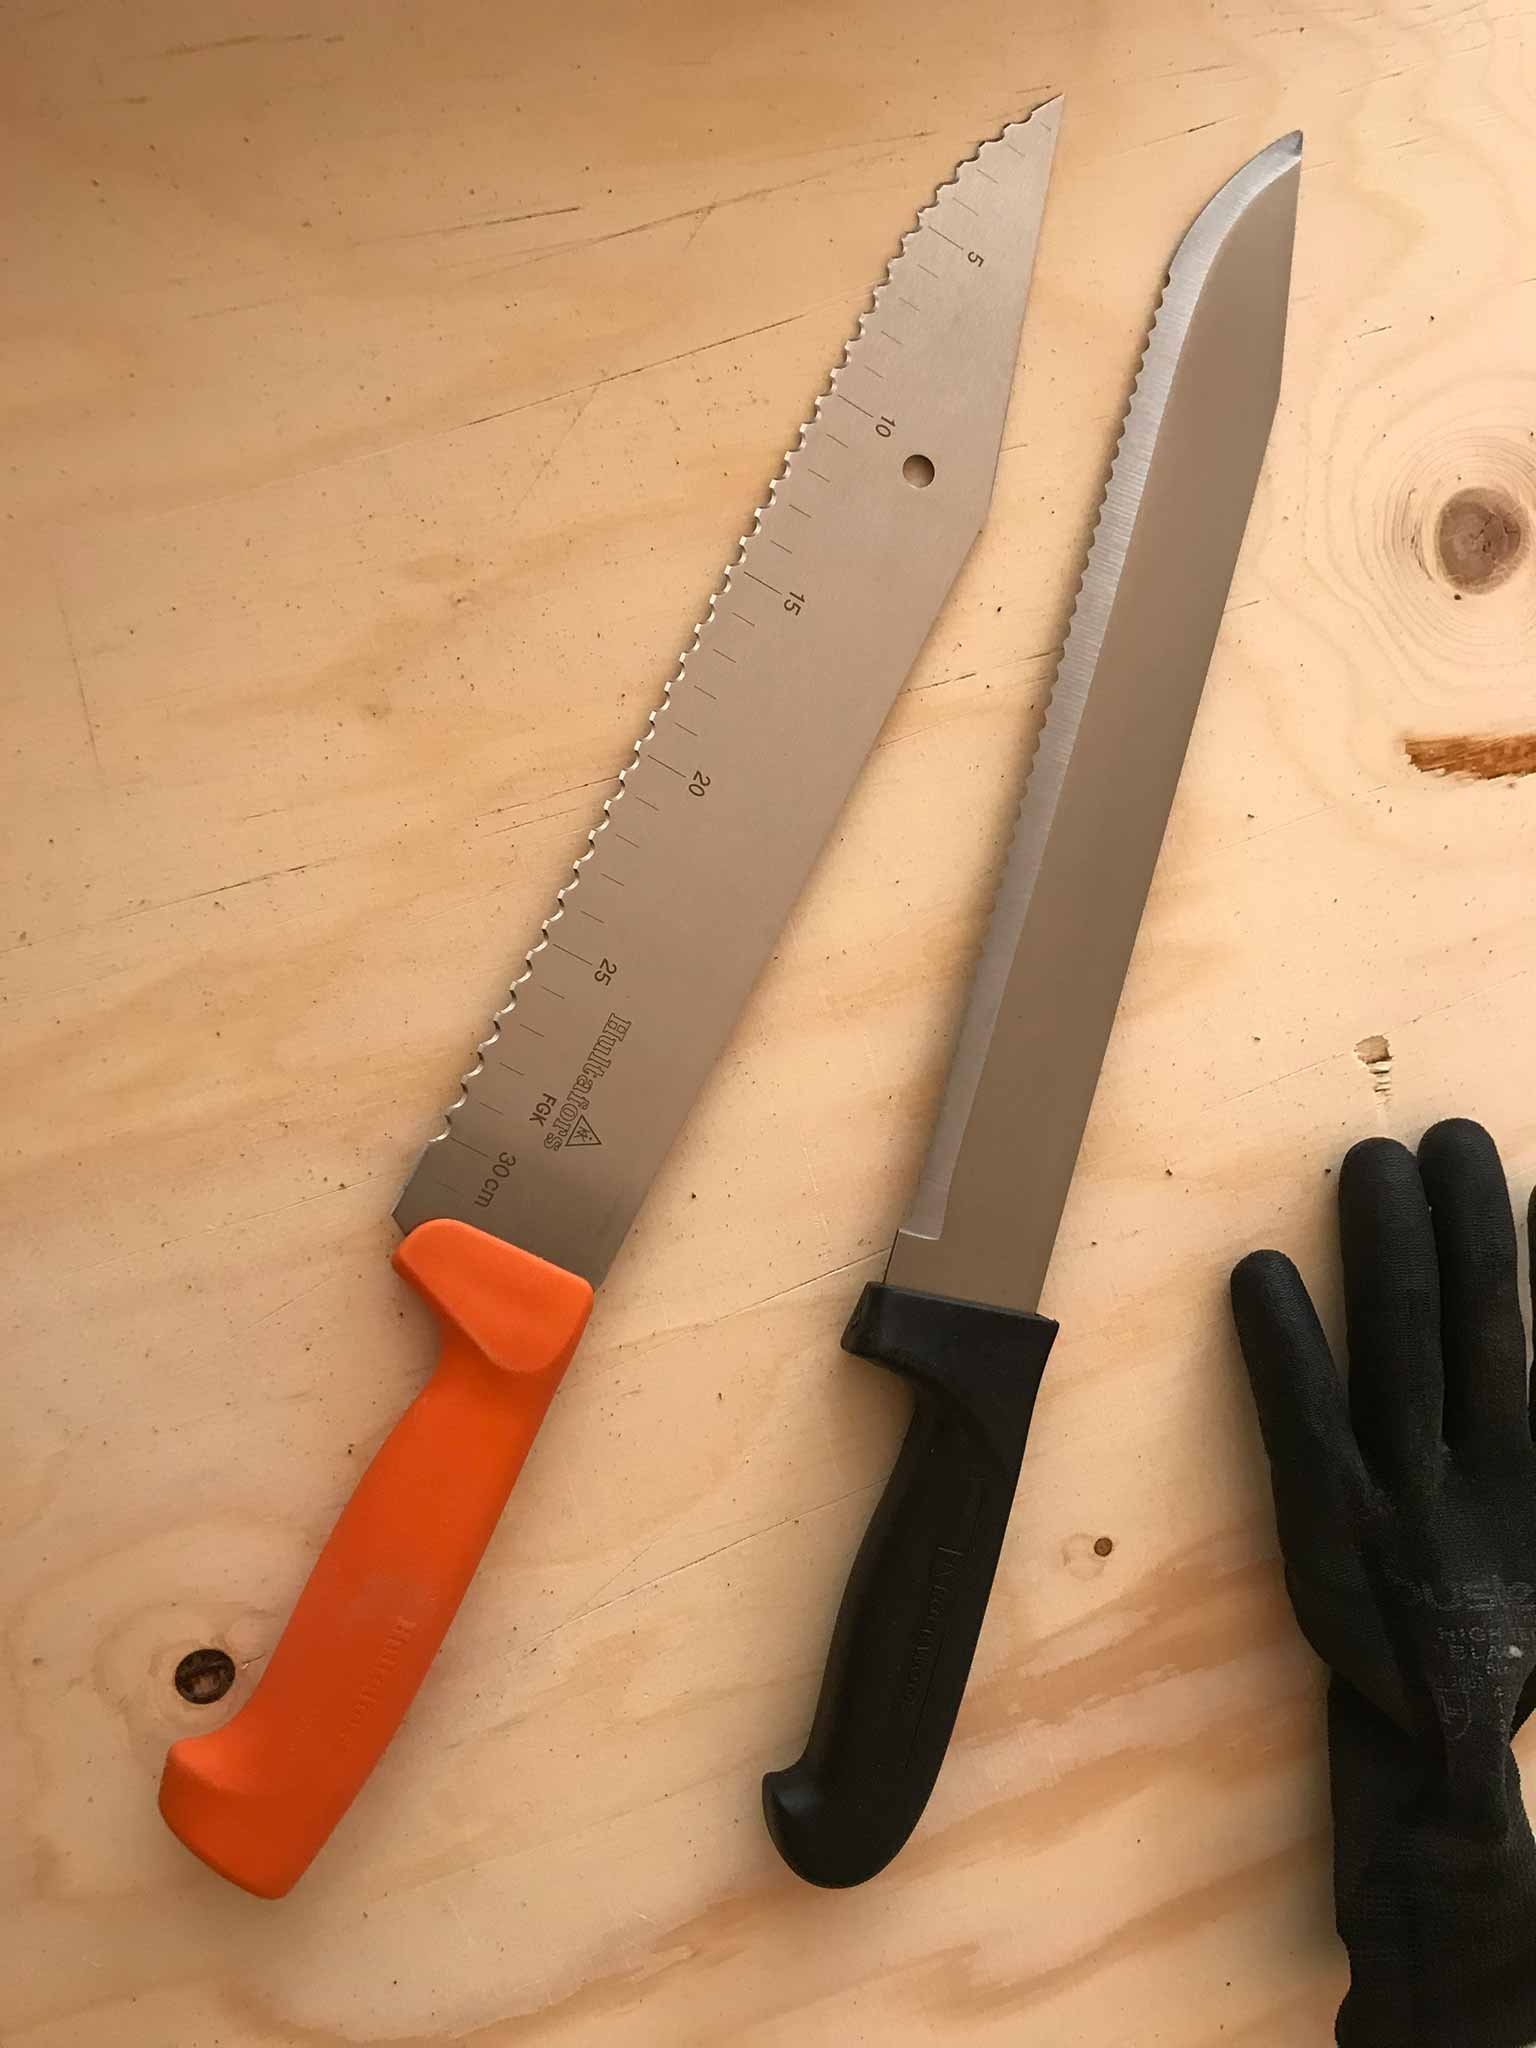
The tools with which you work are impressive. The orange (Hultafors) one is thinner and feels slightly flimsy. The black one (official Rockwool issue) is thicker but lacks the teeth at the curved tip. That makes it cut less well because when you cut on a table, the curved tip is what cuts the few millimeters that are on the table and the teeth cut a lot better than just a sharp edge. So, in case you ever need one: the orange one. We’re told the knifes can be sharpened with a right angled grider, but we have not been there yet.
With the isolation, a bunch of things are hidden ‘forever’ (or until we start working on the outside part of the roof). Ghostly faces, asbestos, electrical wires. A bit scary: “what if we need to get to it again?”
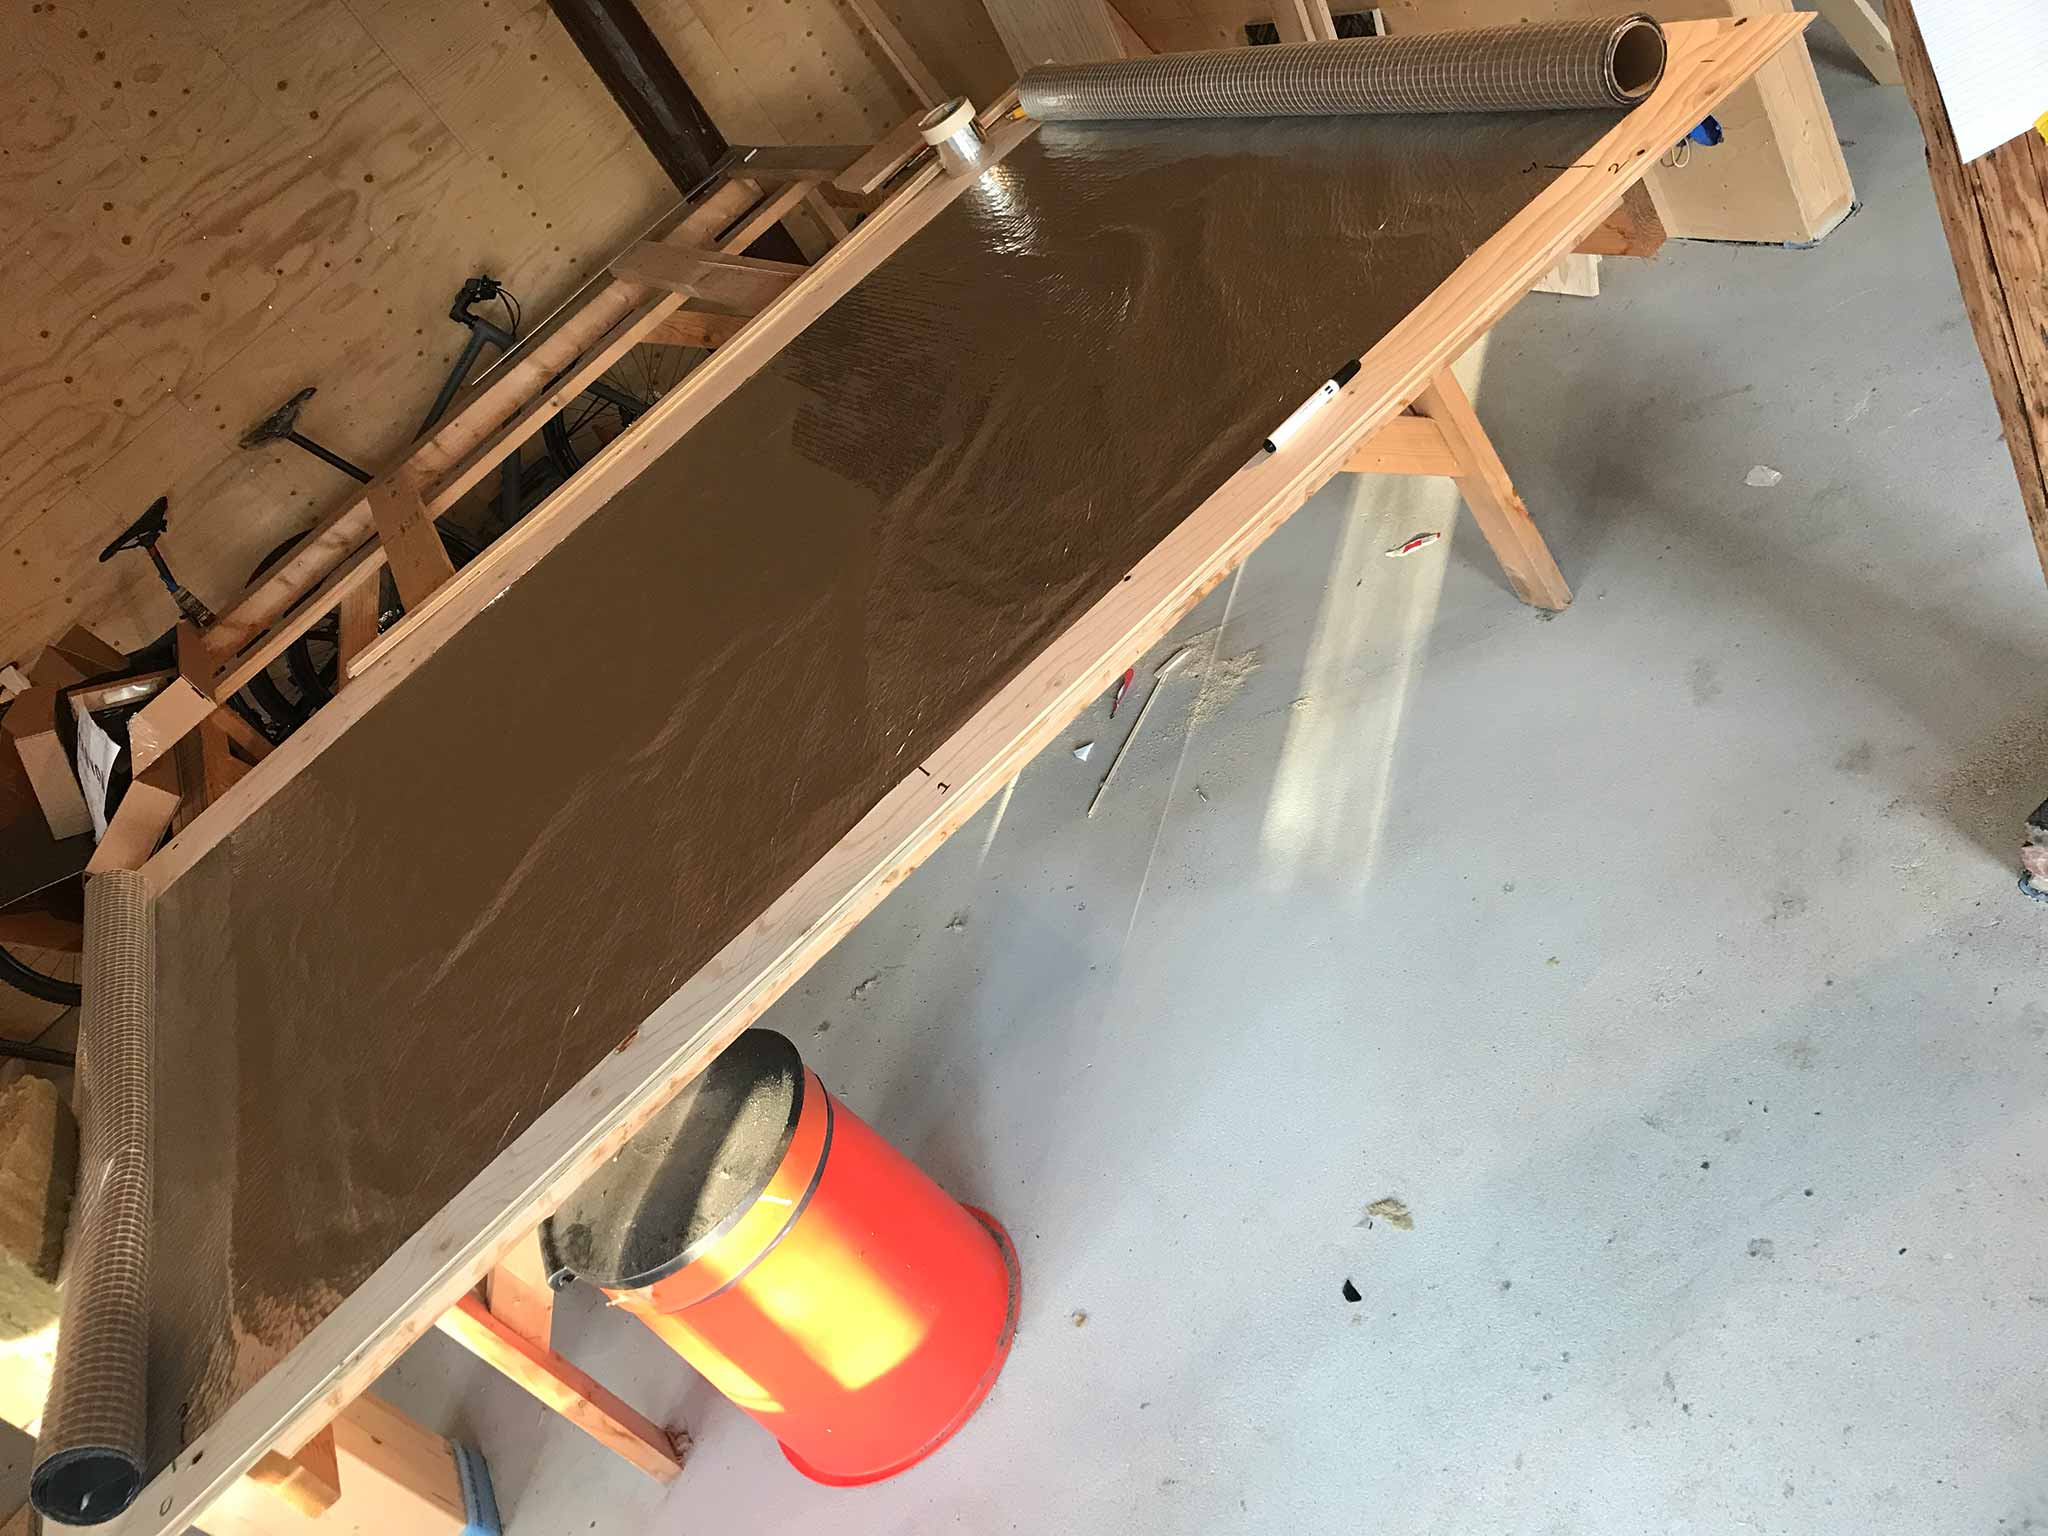
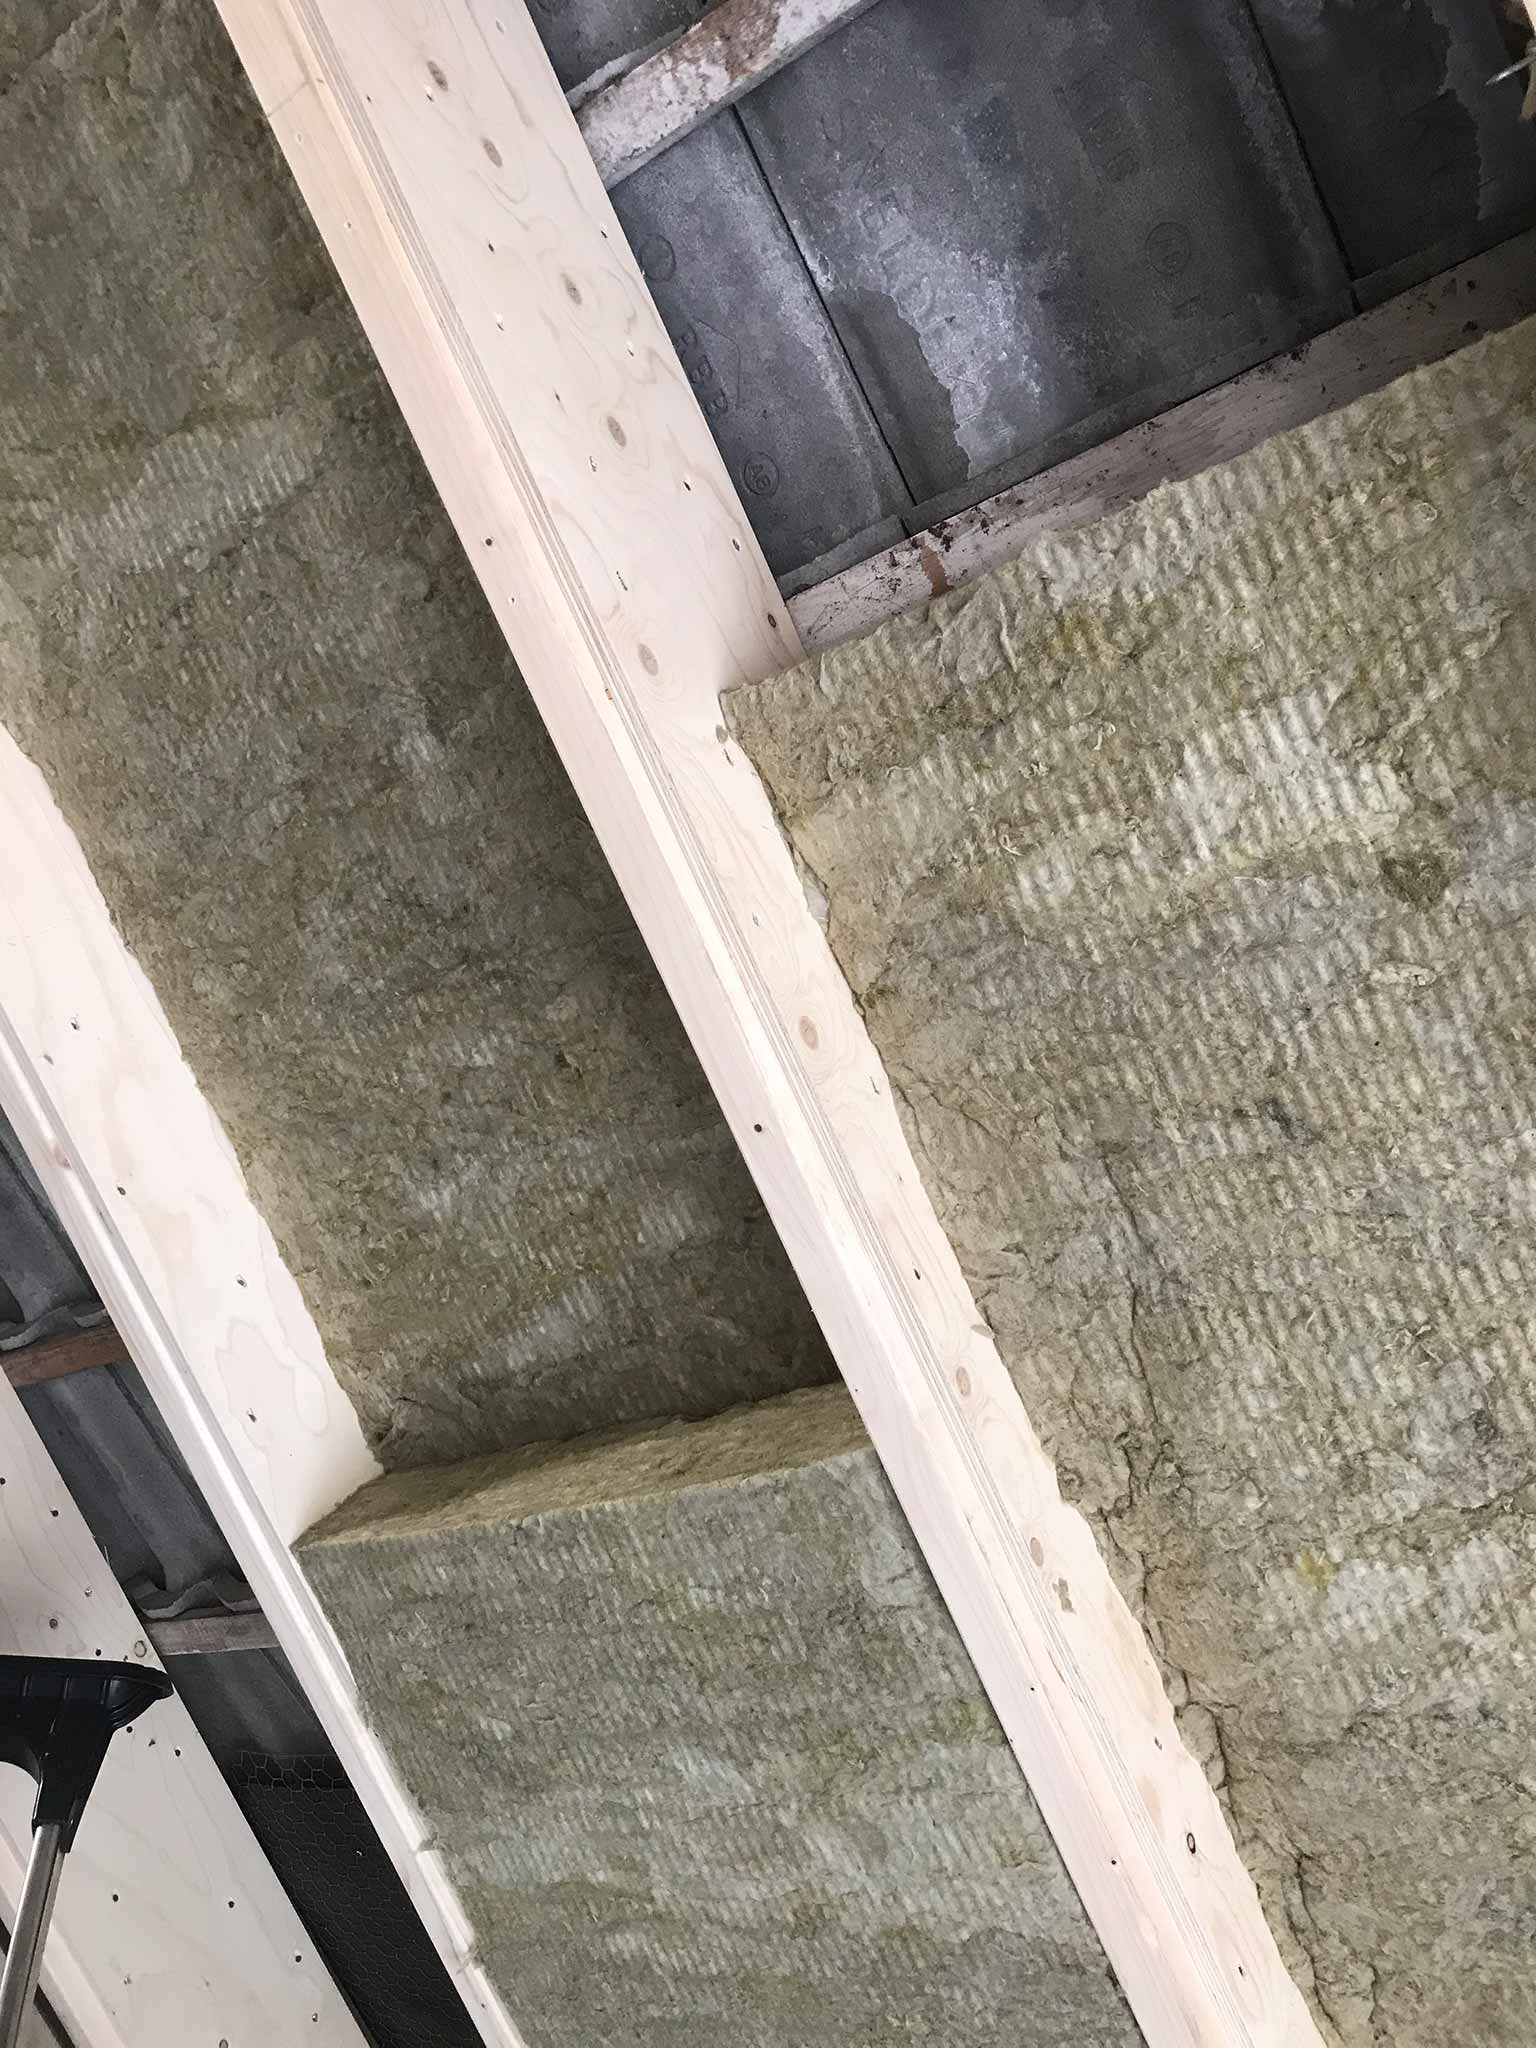
Once the two layers are on there, it will be finished with damp-proof membrane. Trying to get it around all the obstacles as good as possible…
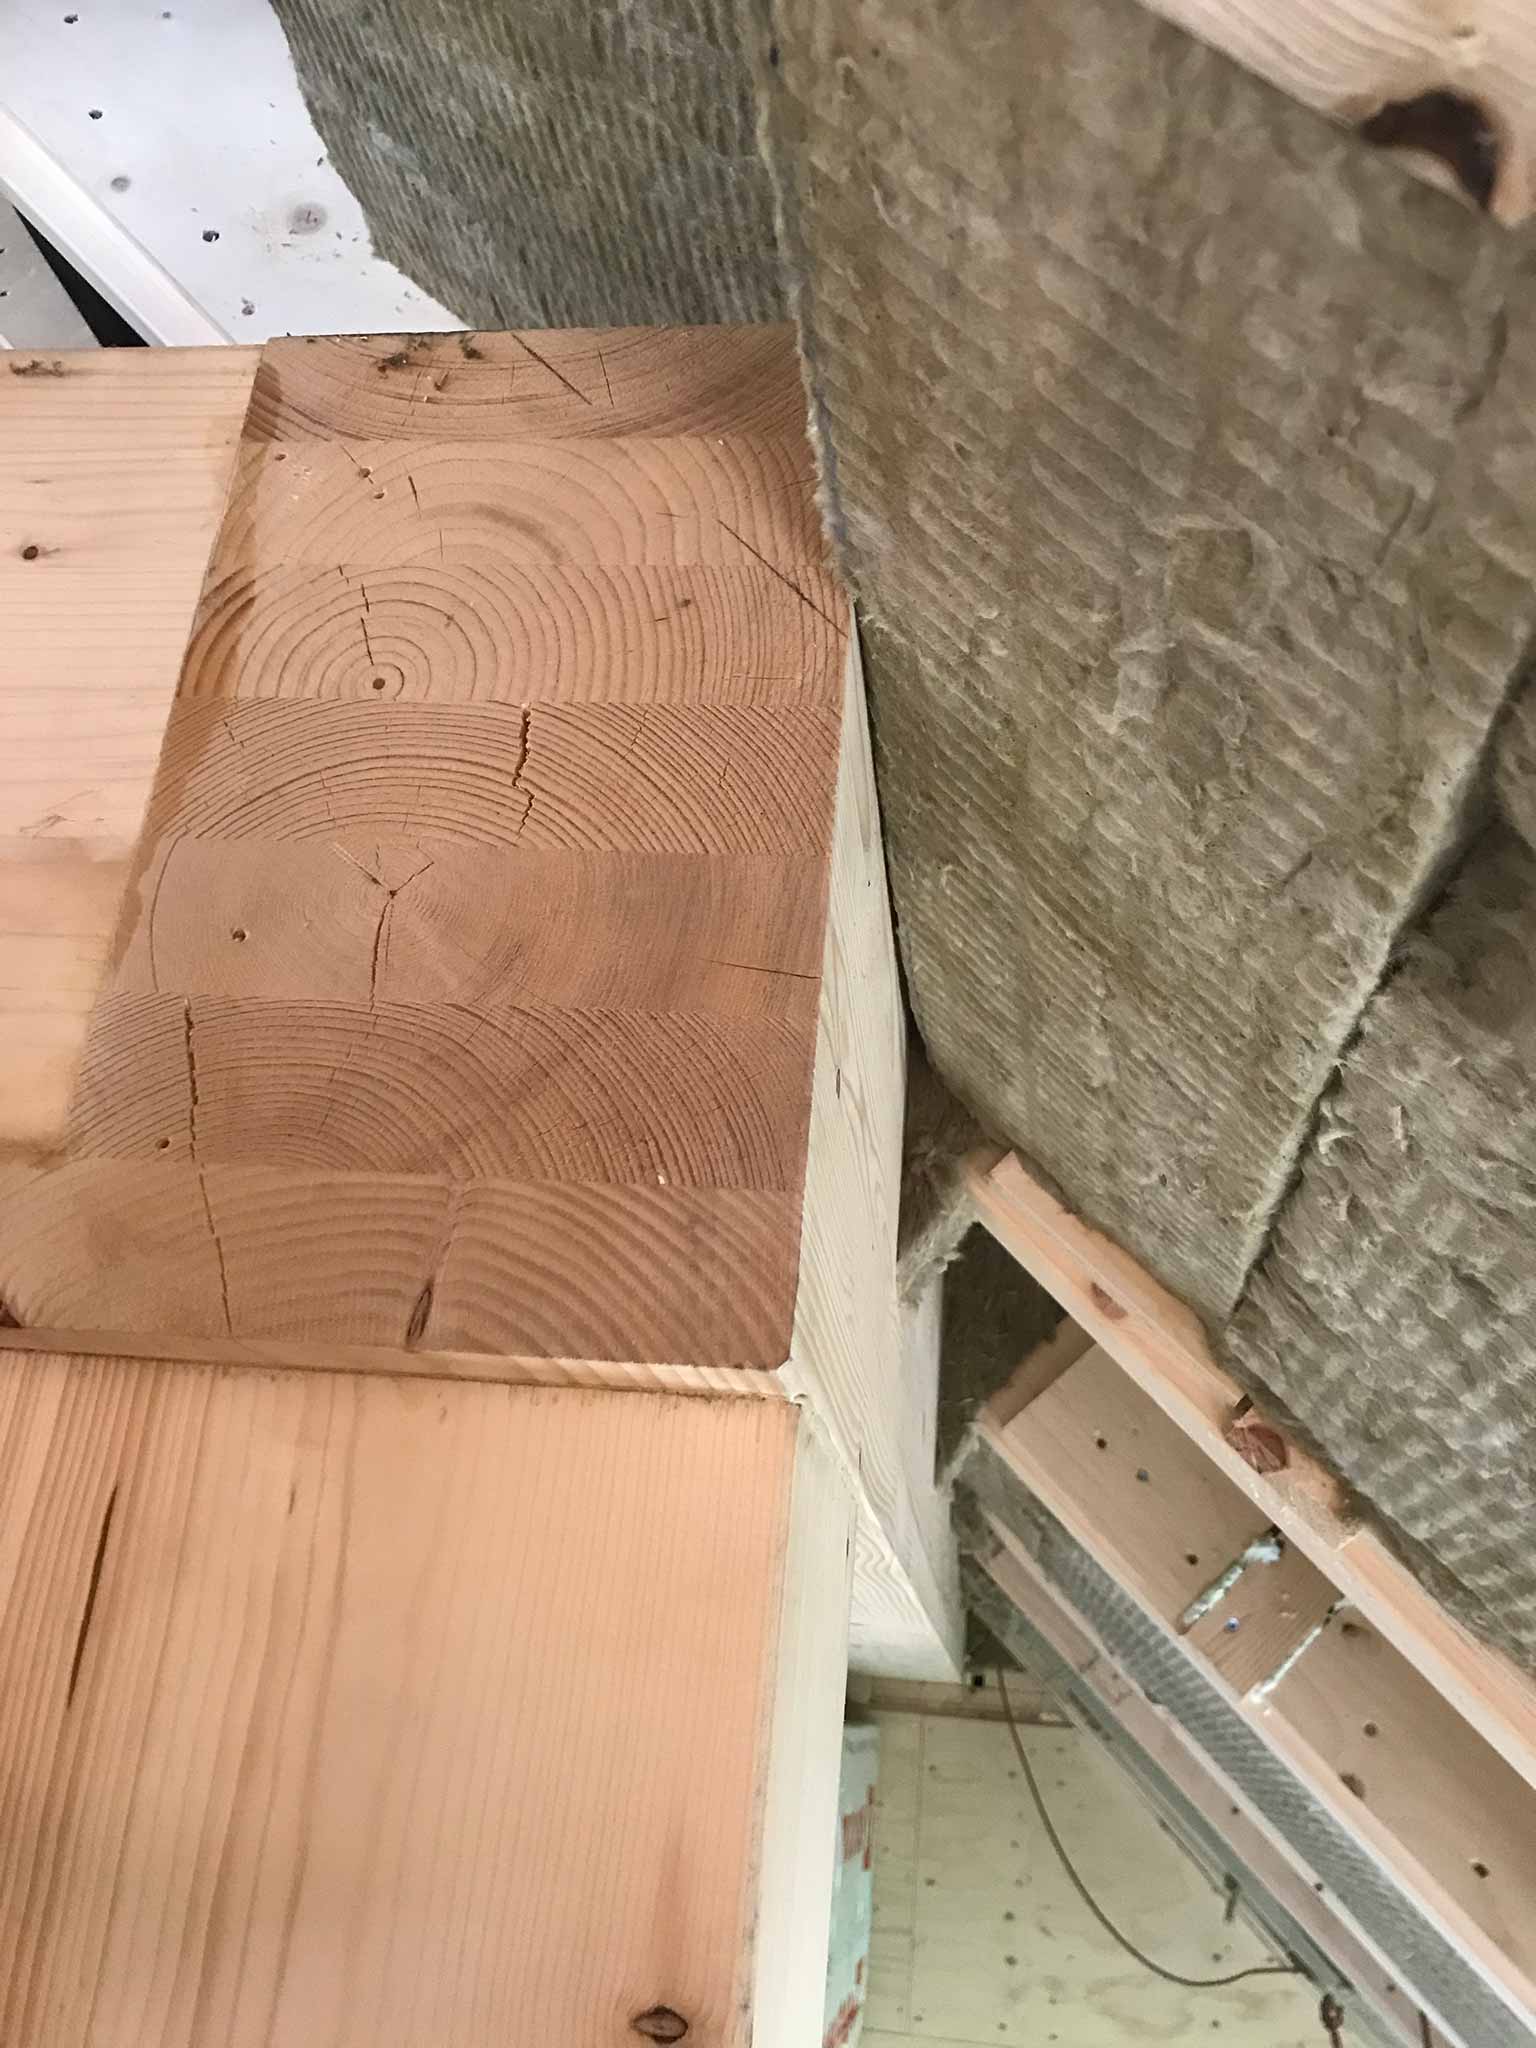
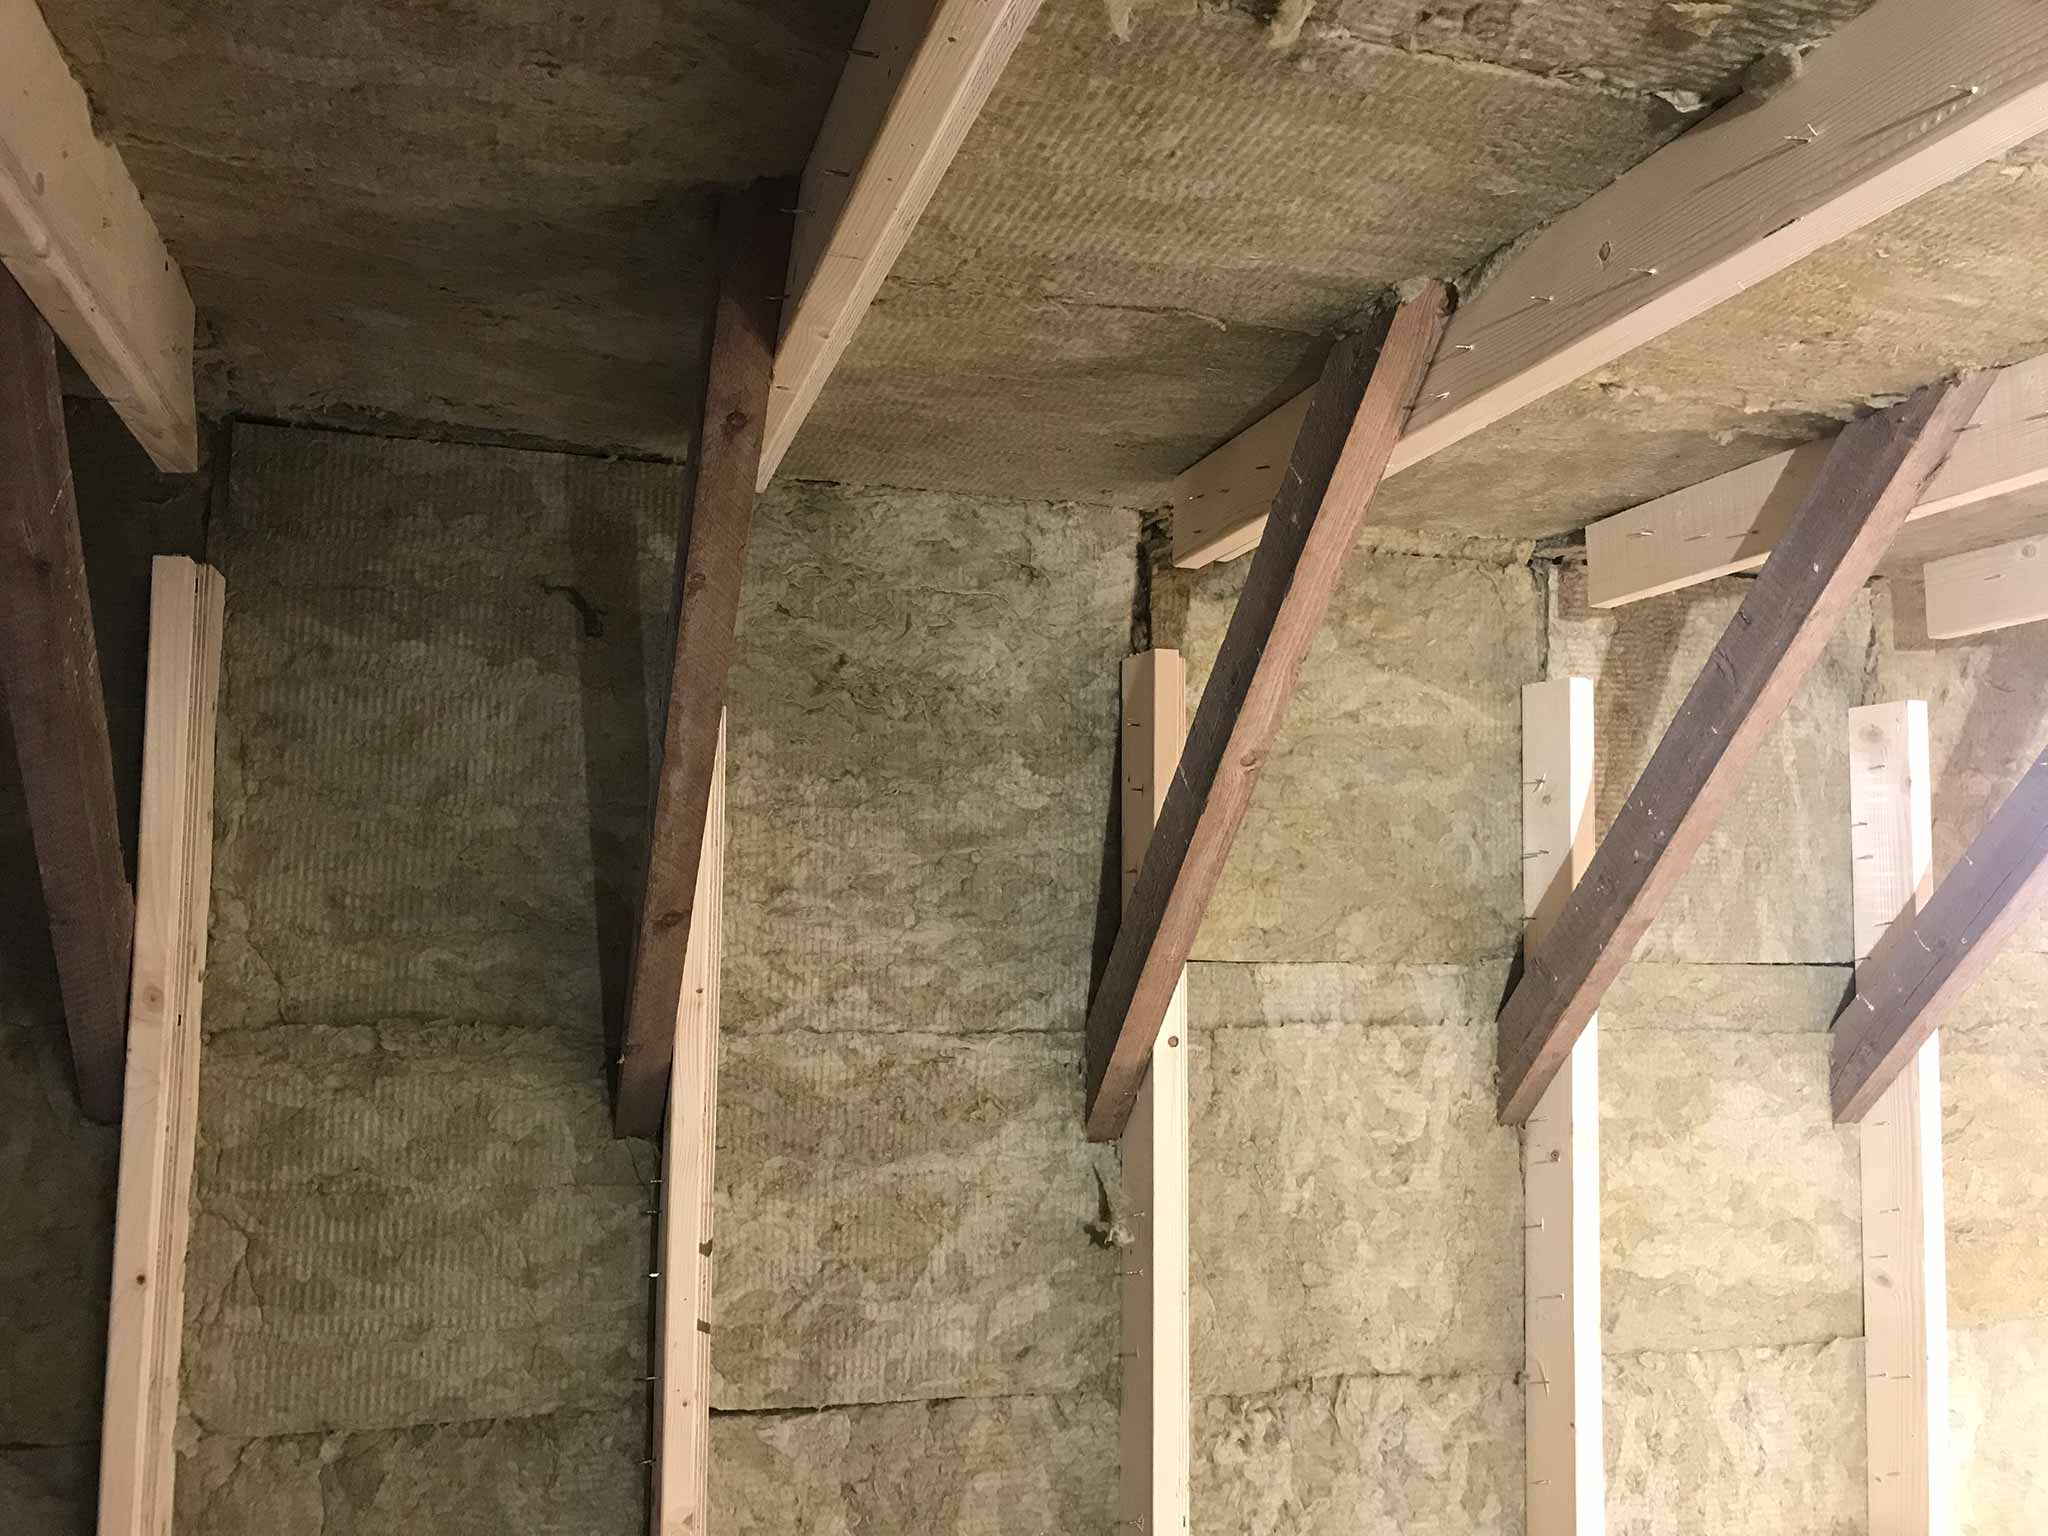
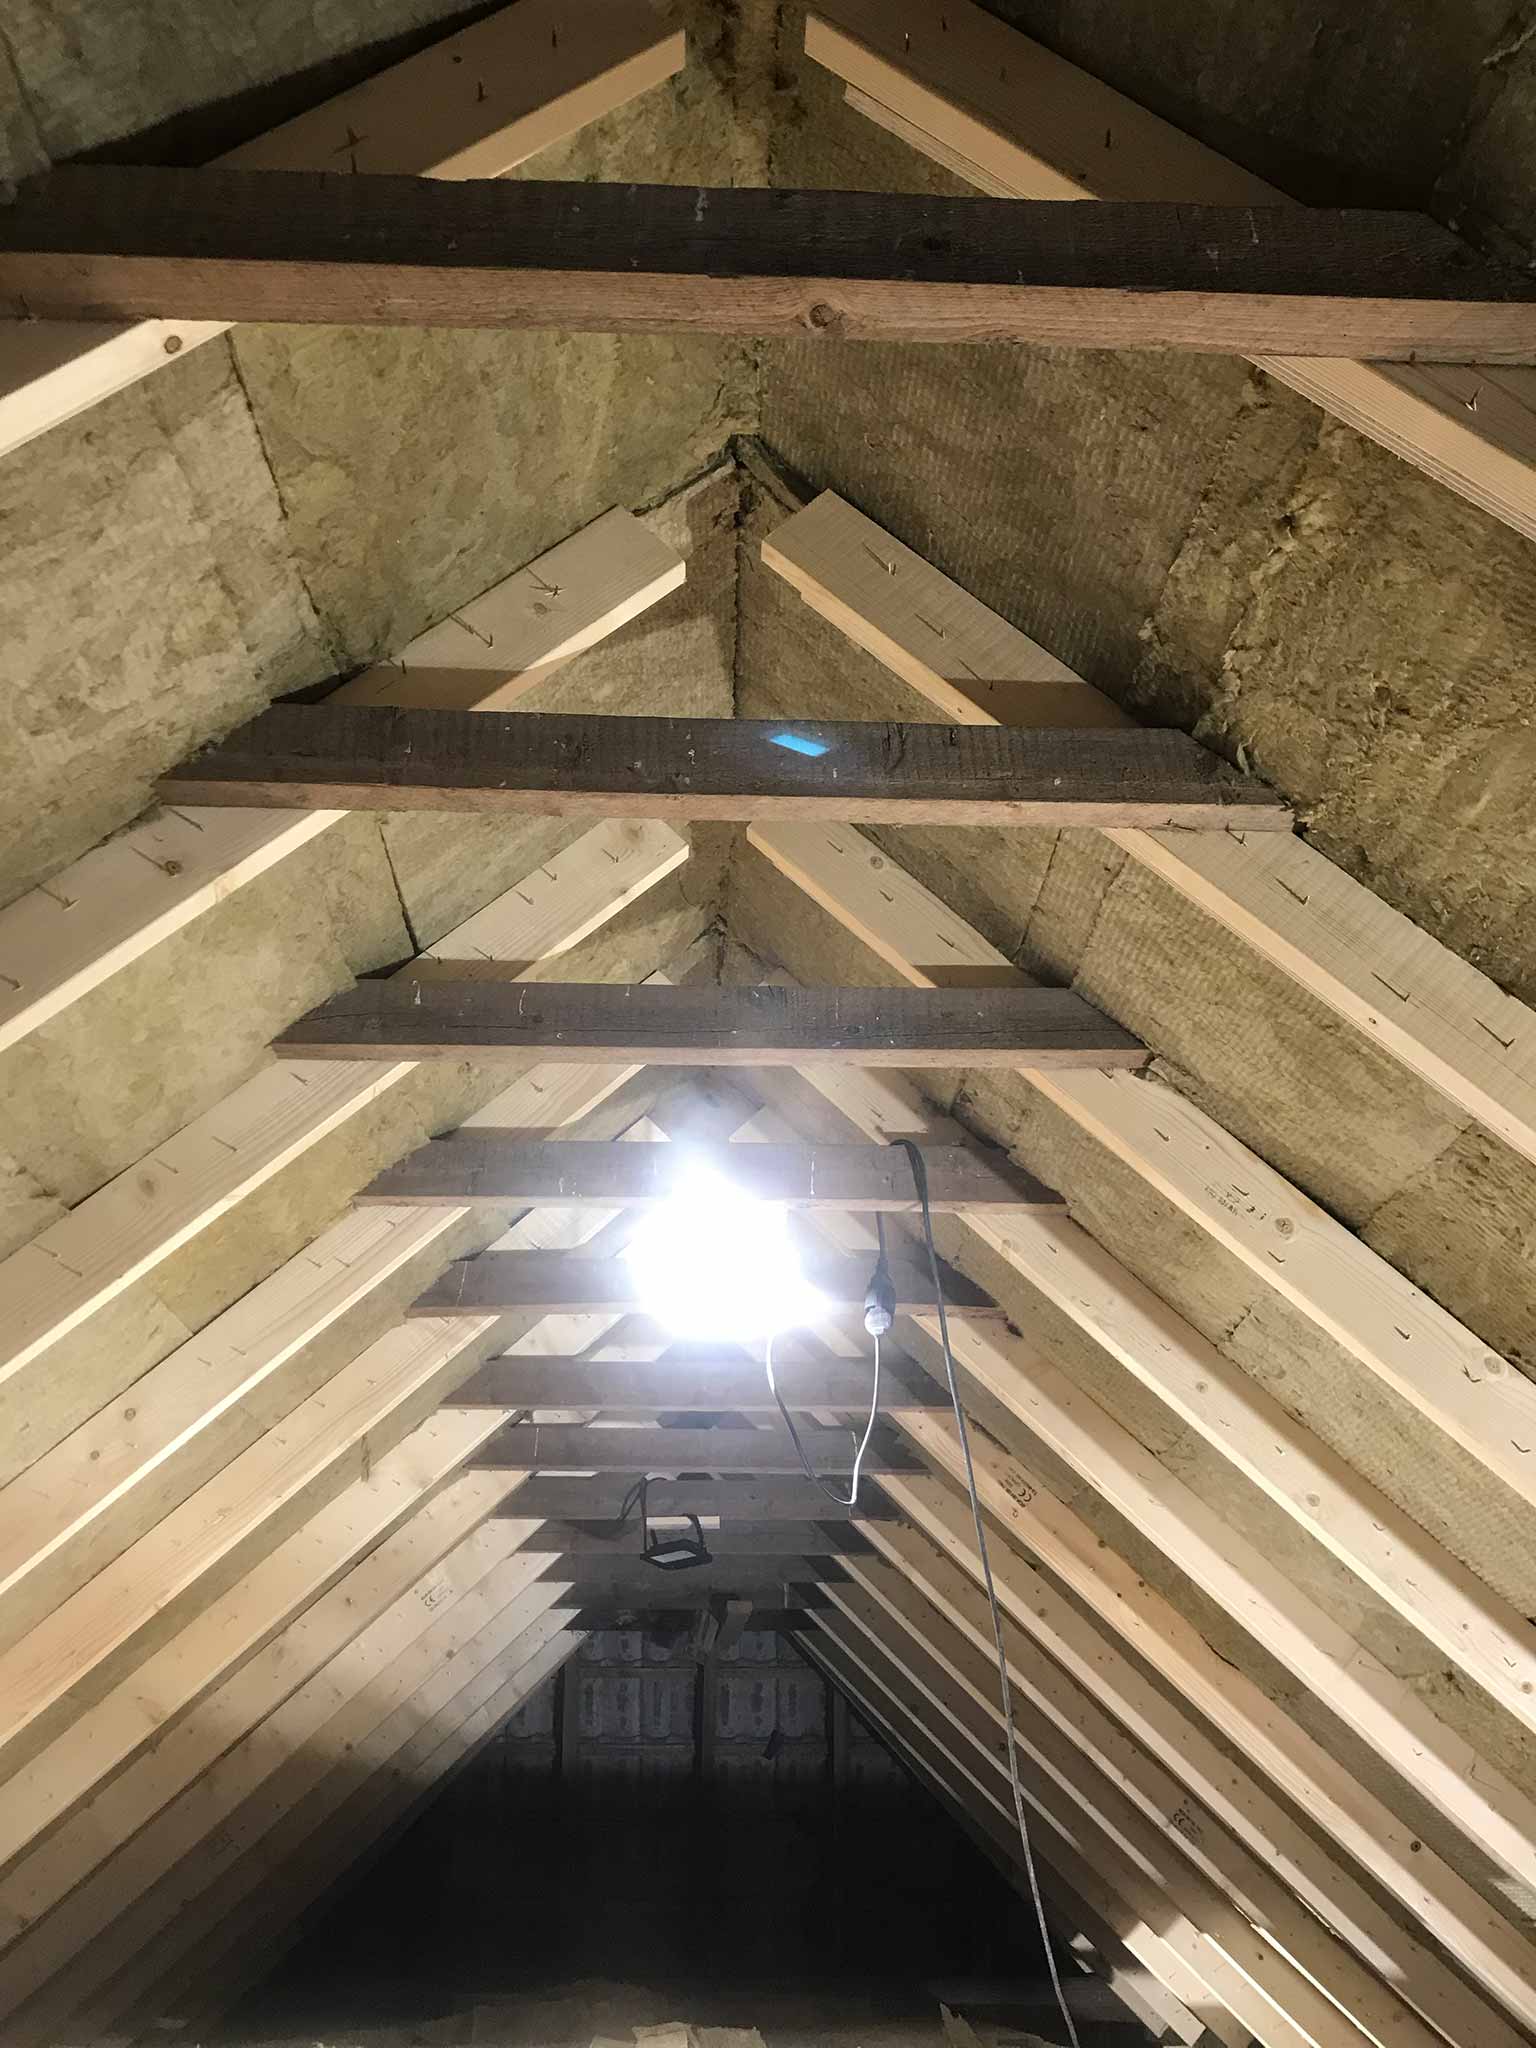
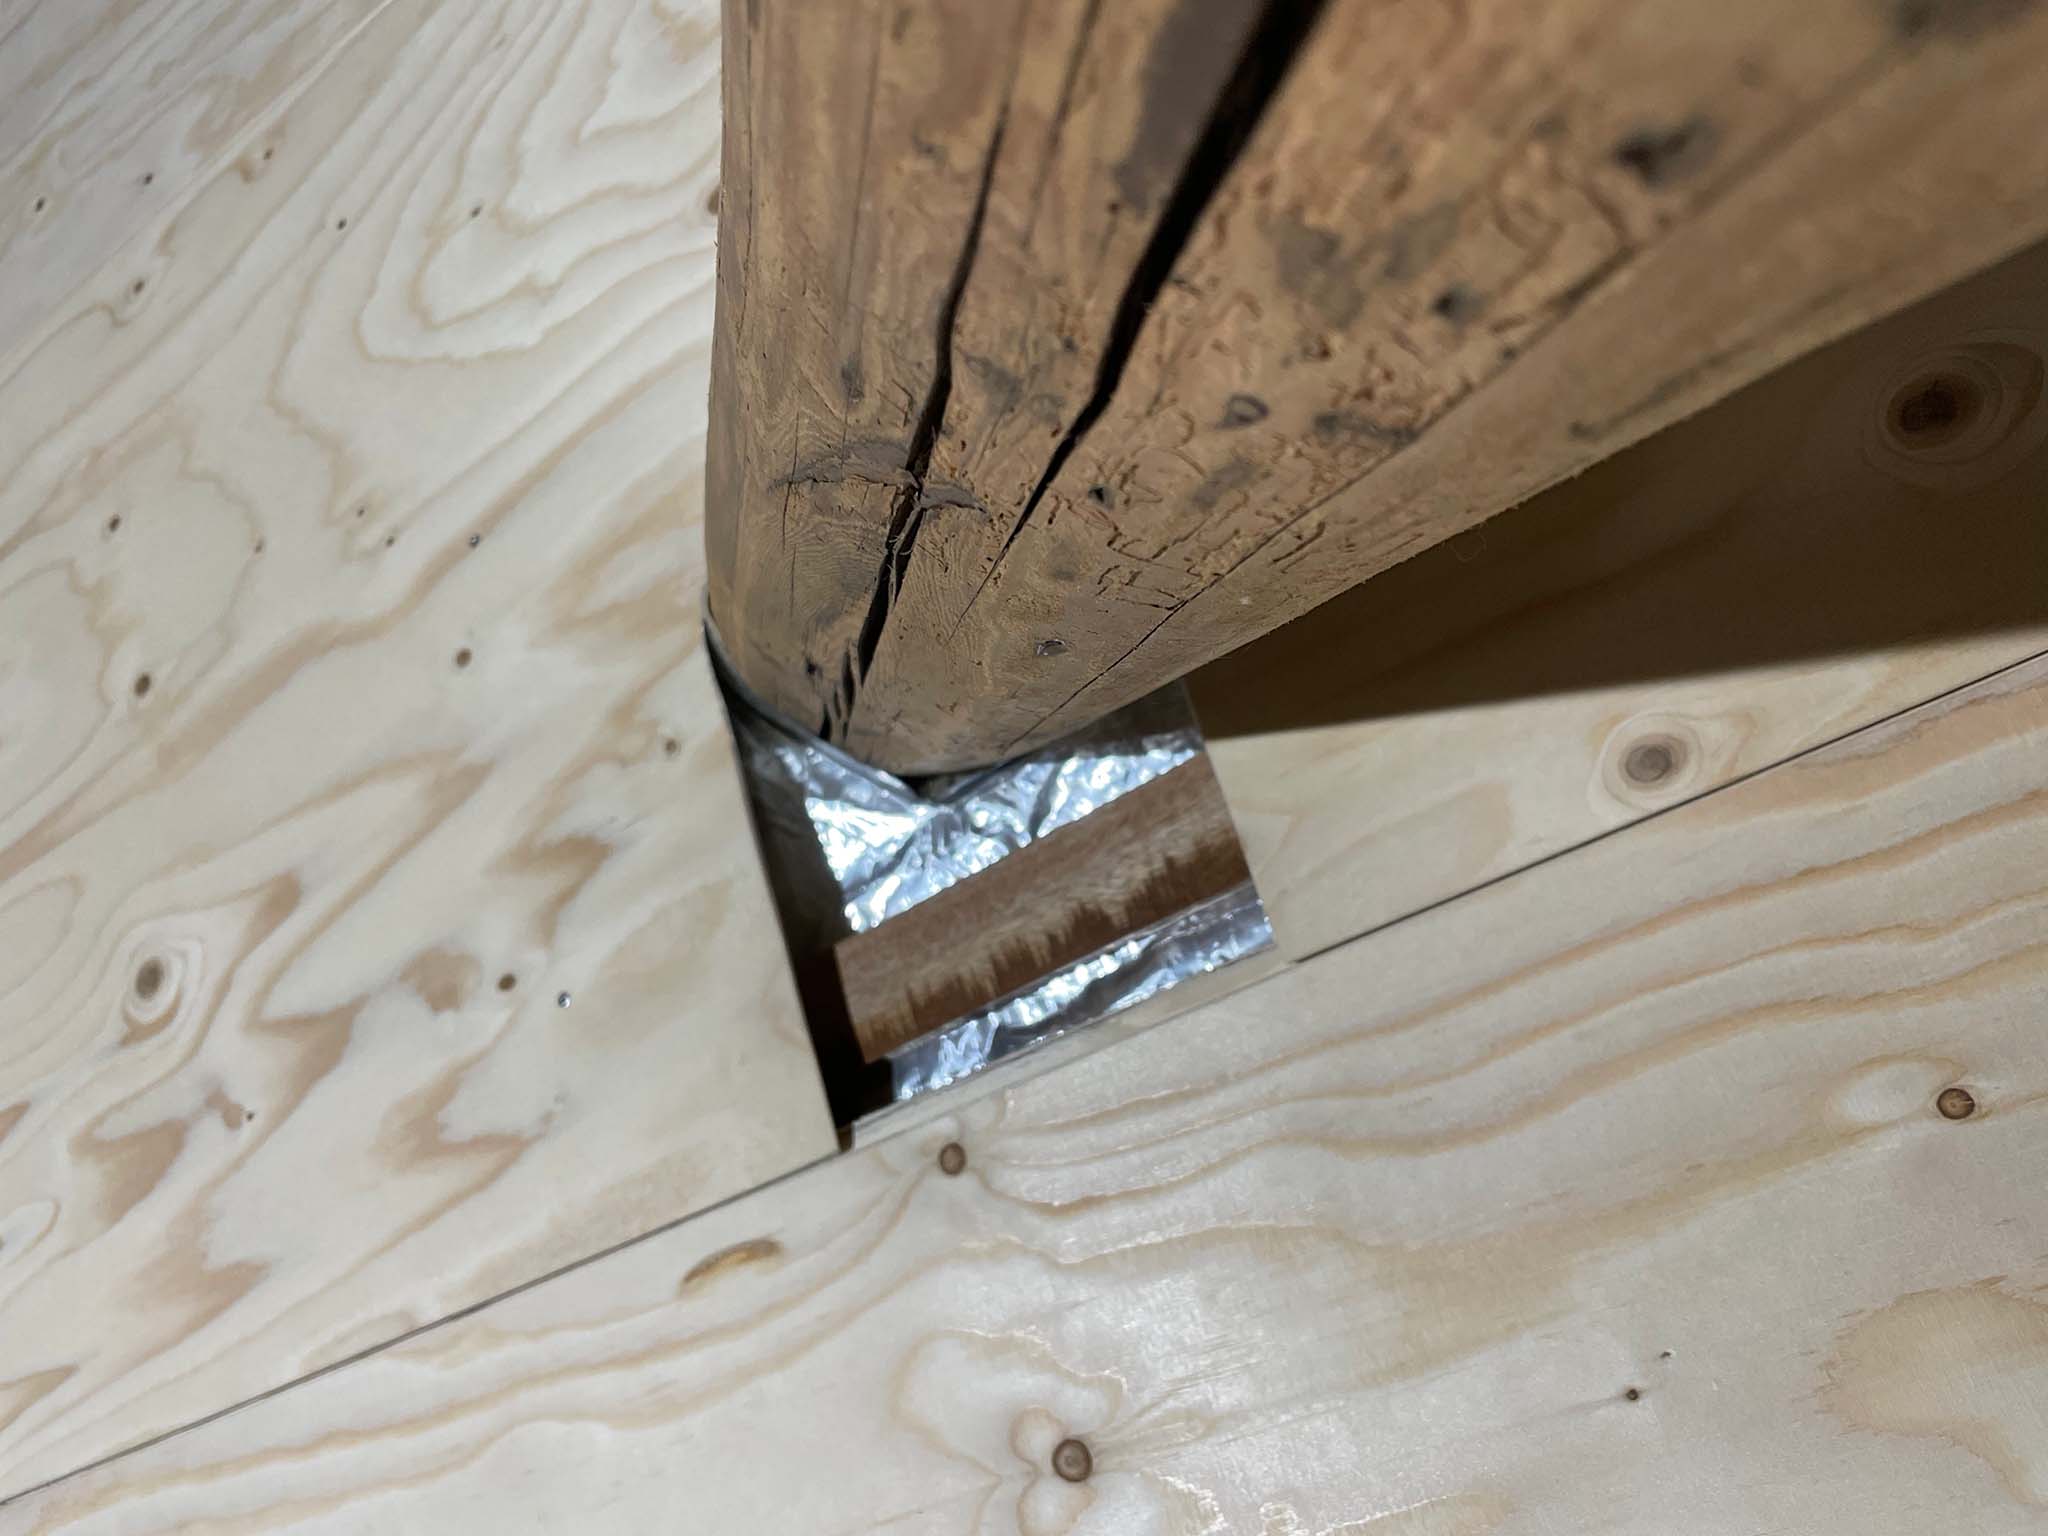
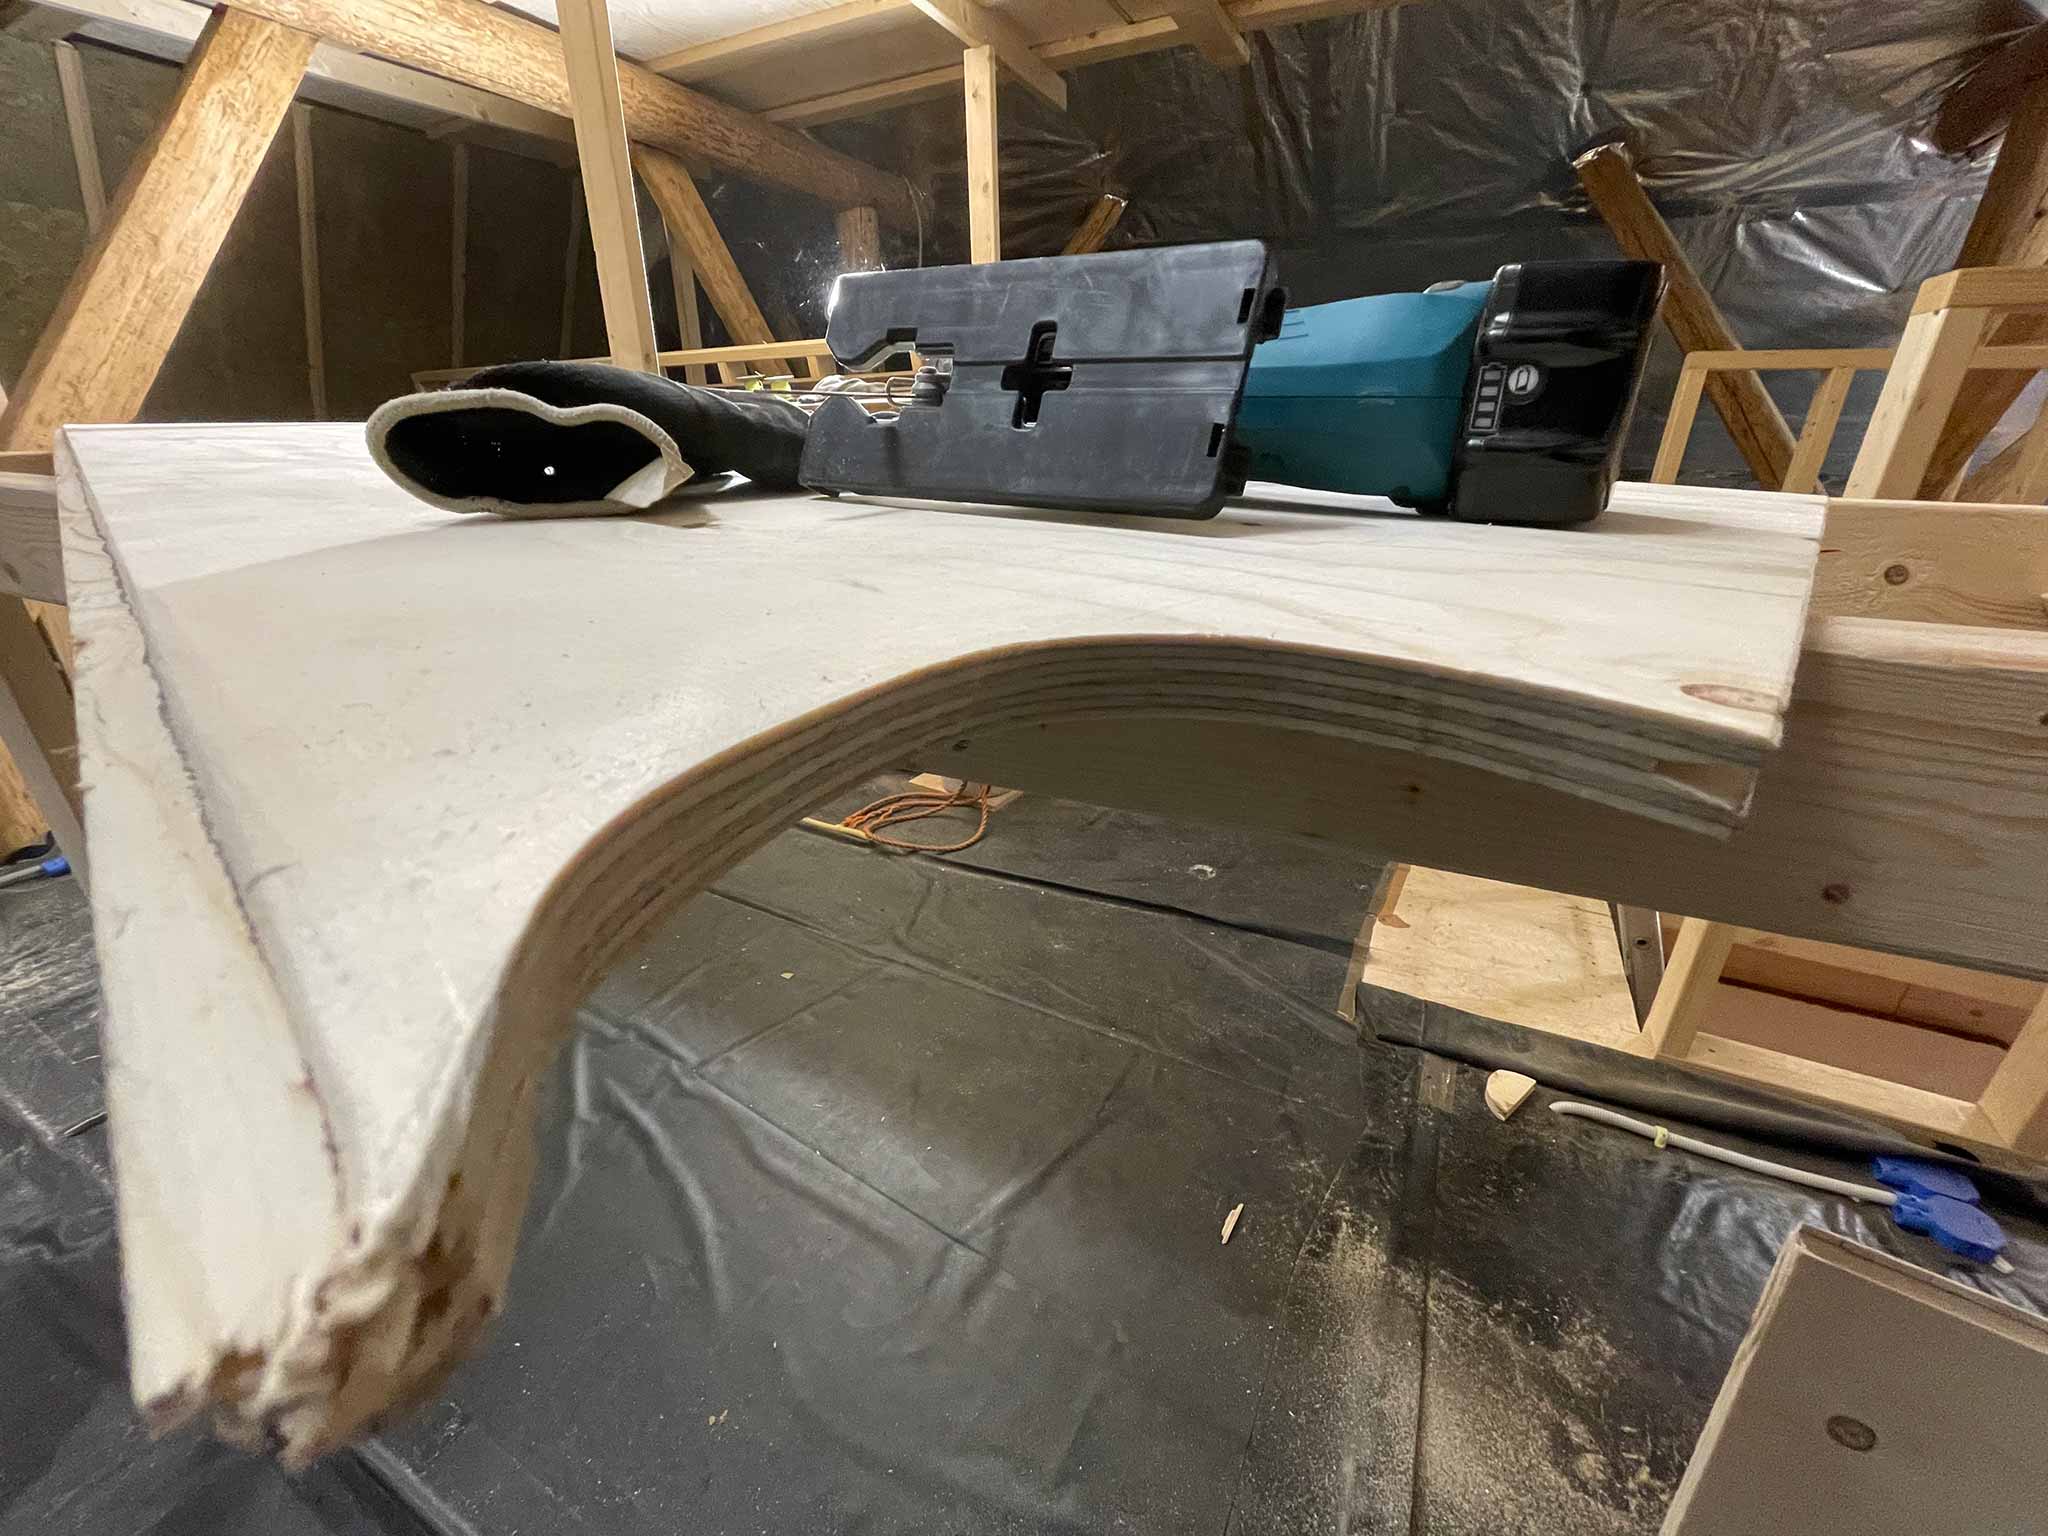
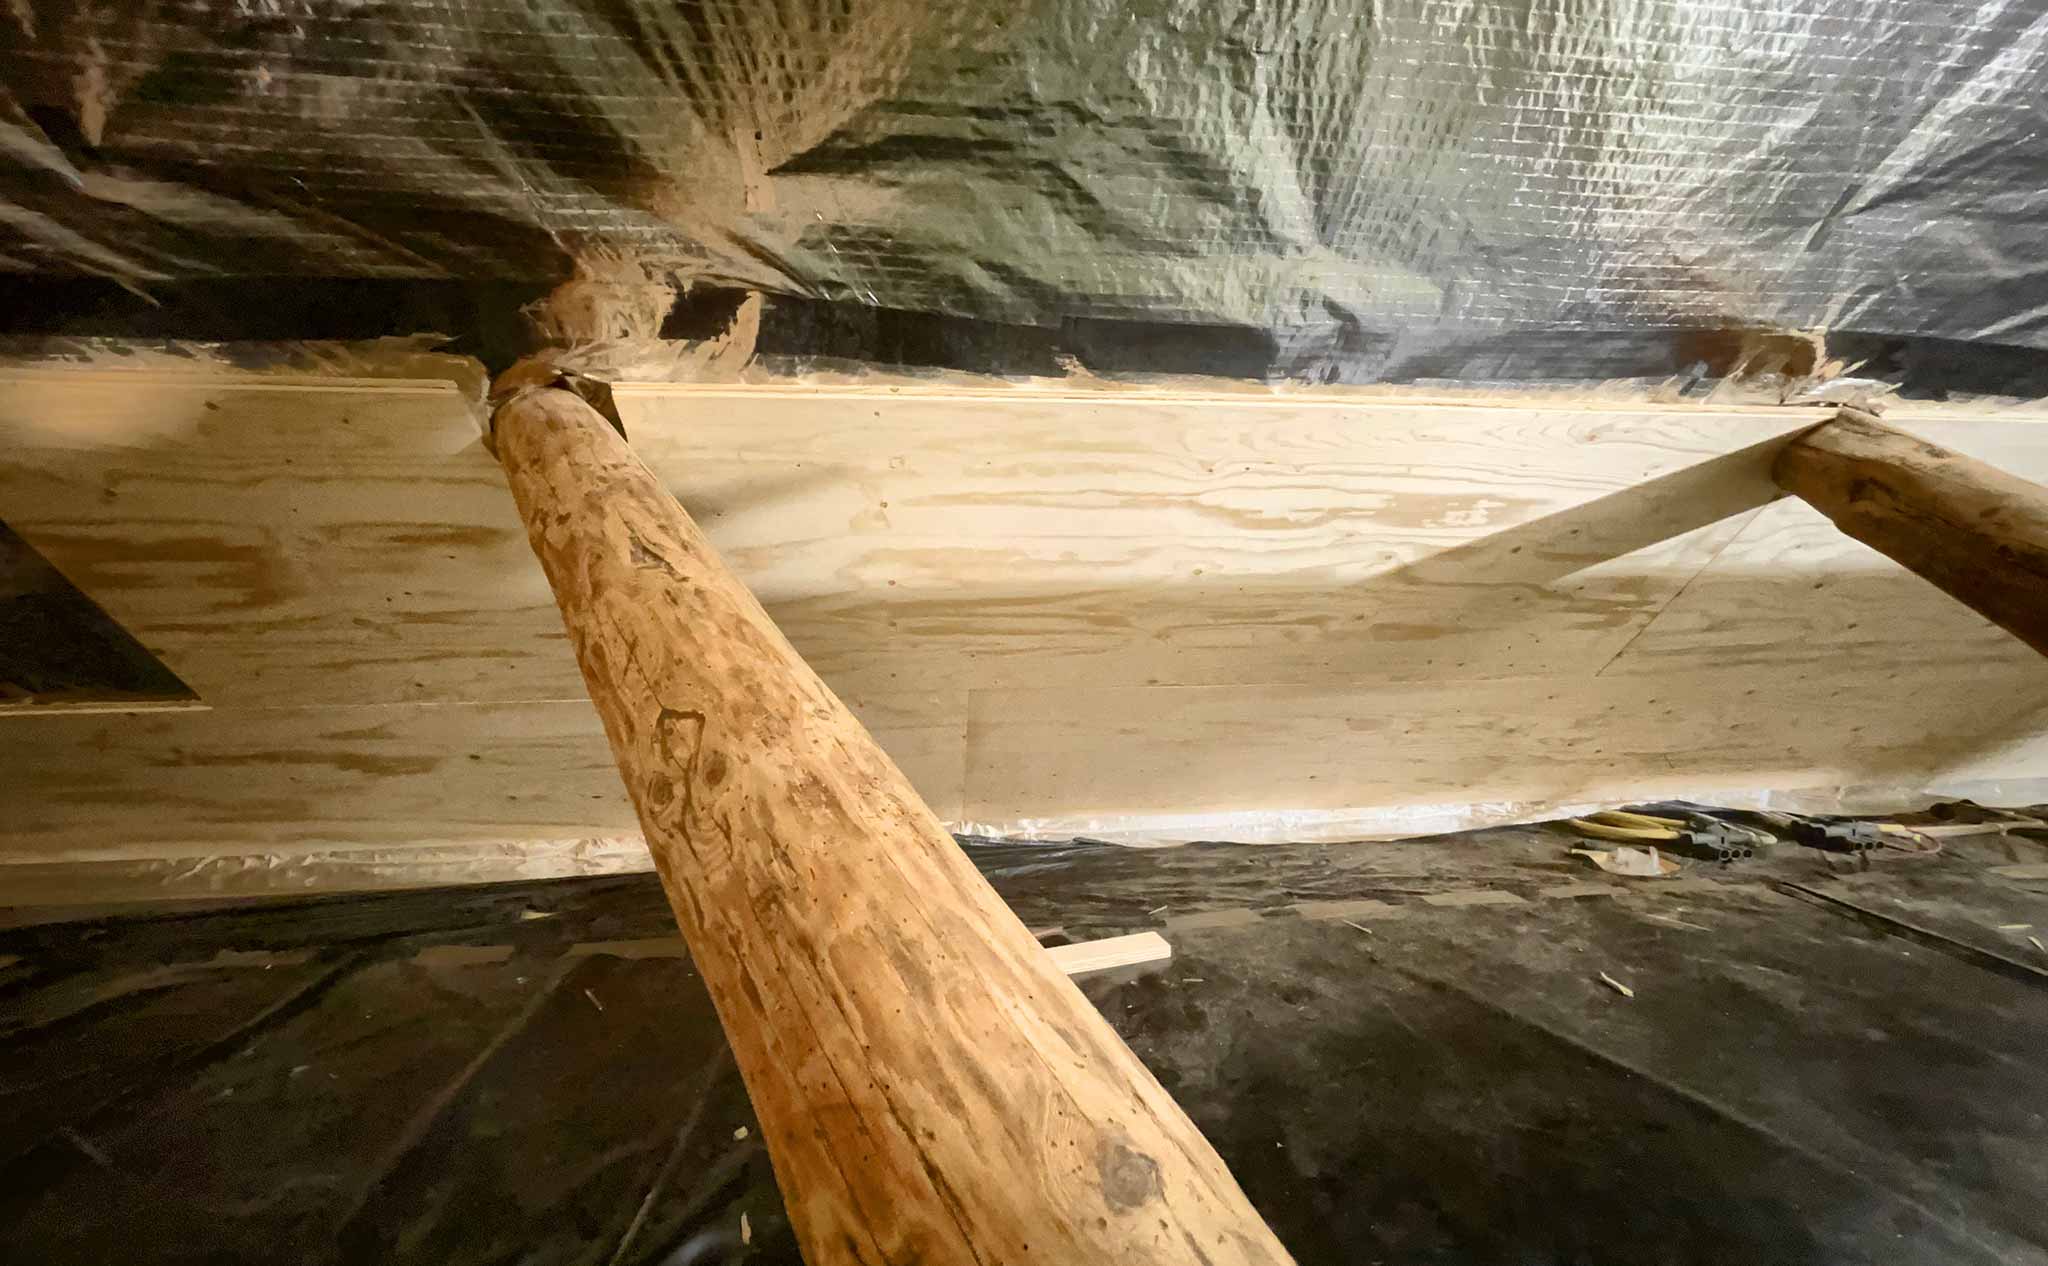
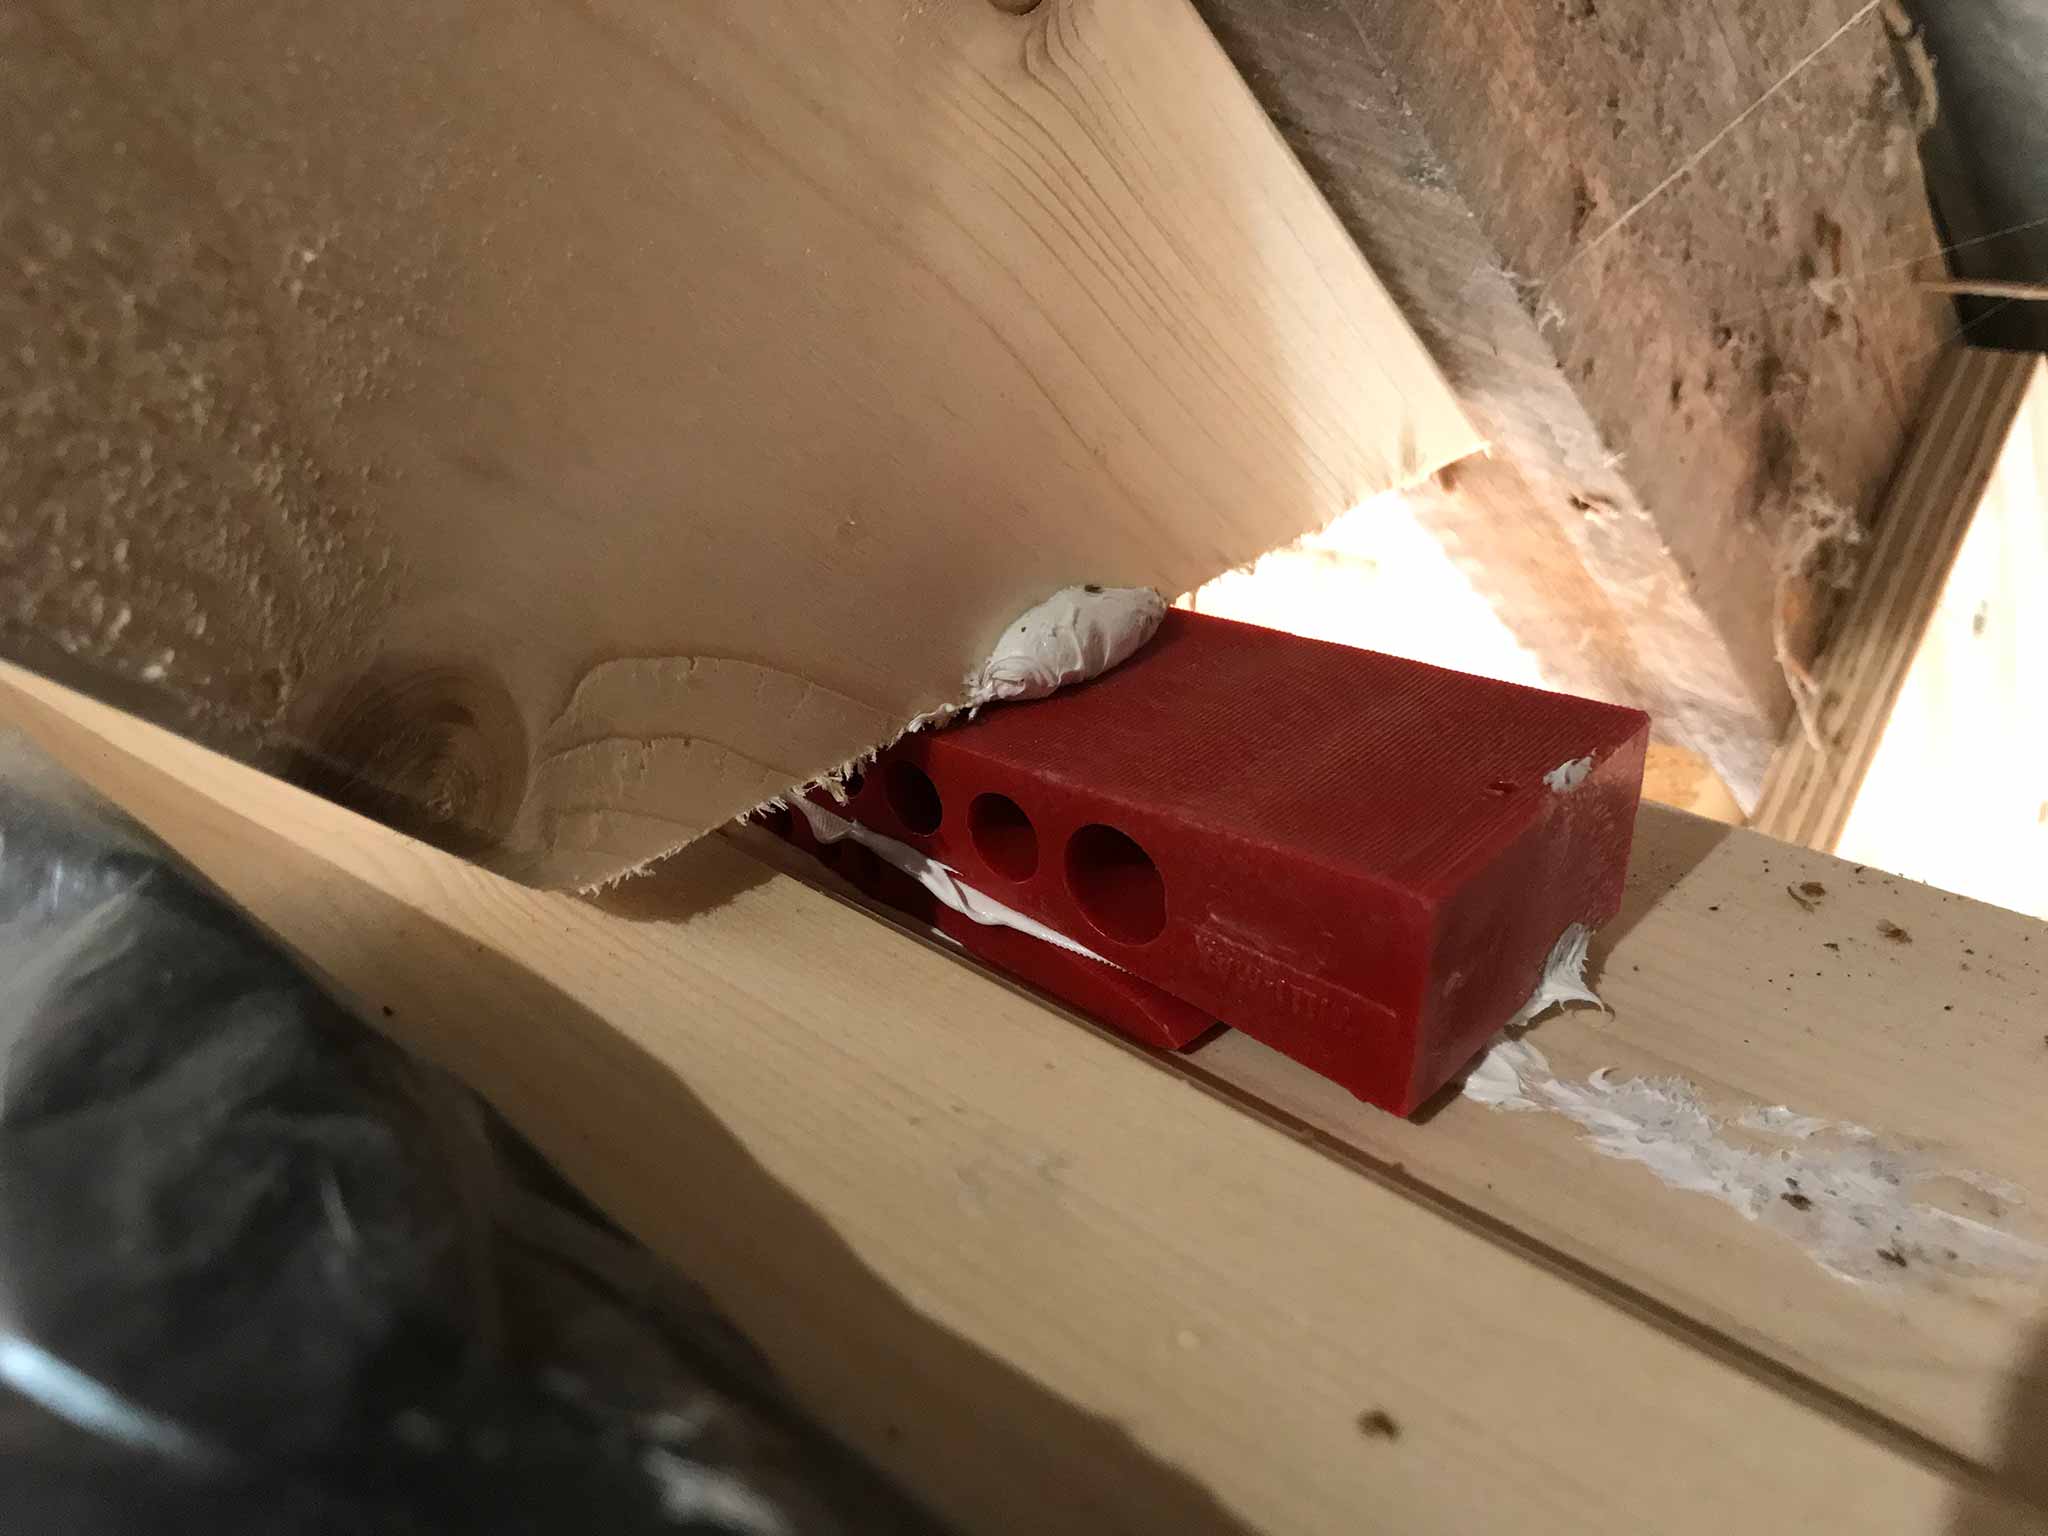
How do you connect the new beams fixed to the roof to the ceiling and the beams supporting it? Wedges! (and glue)
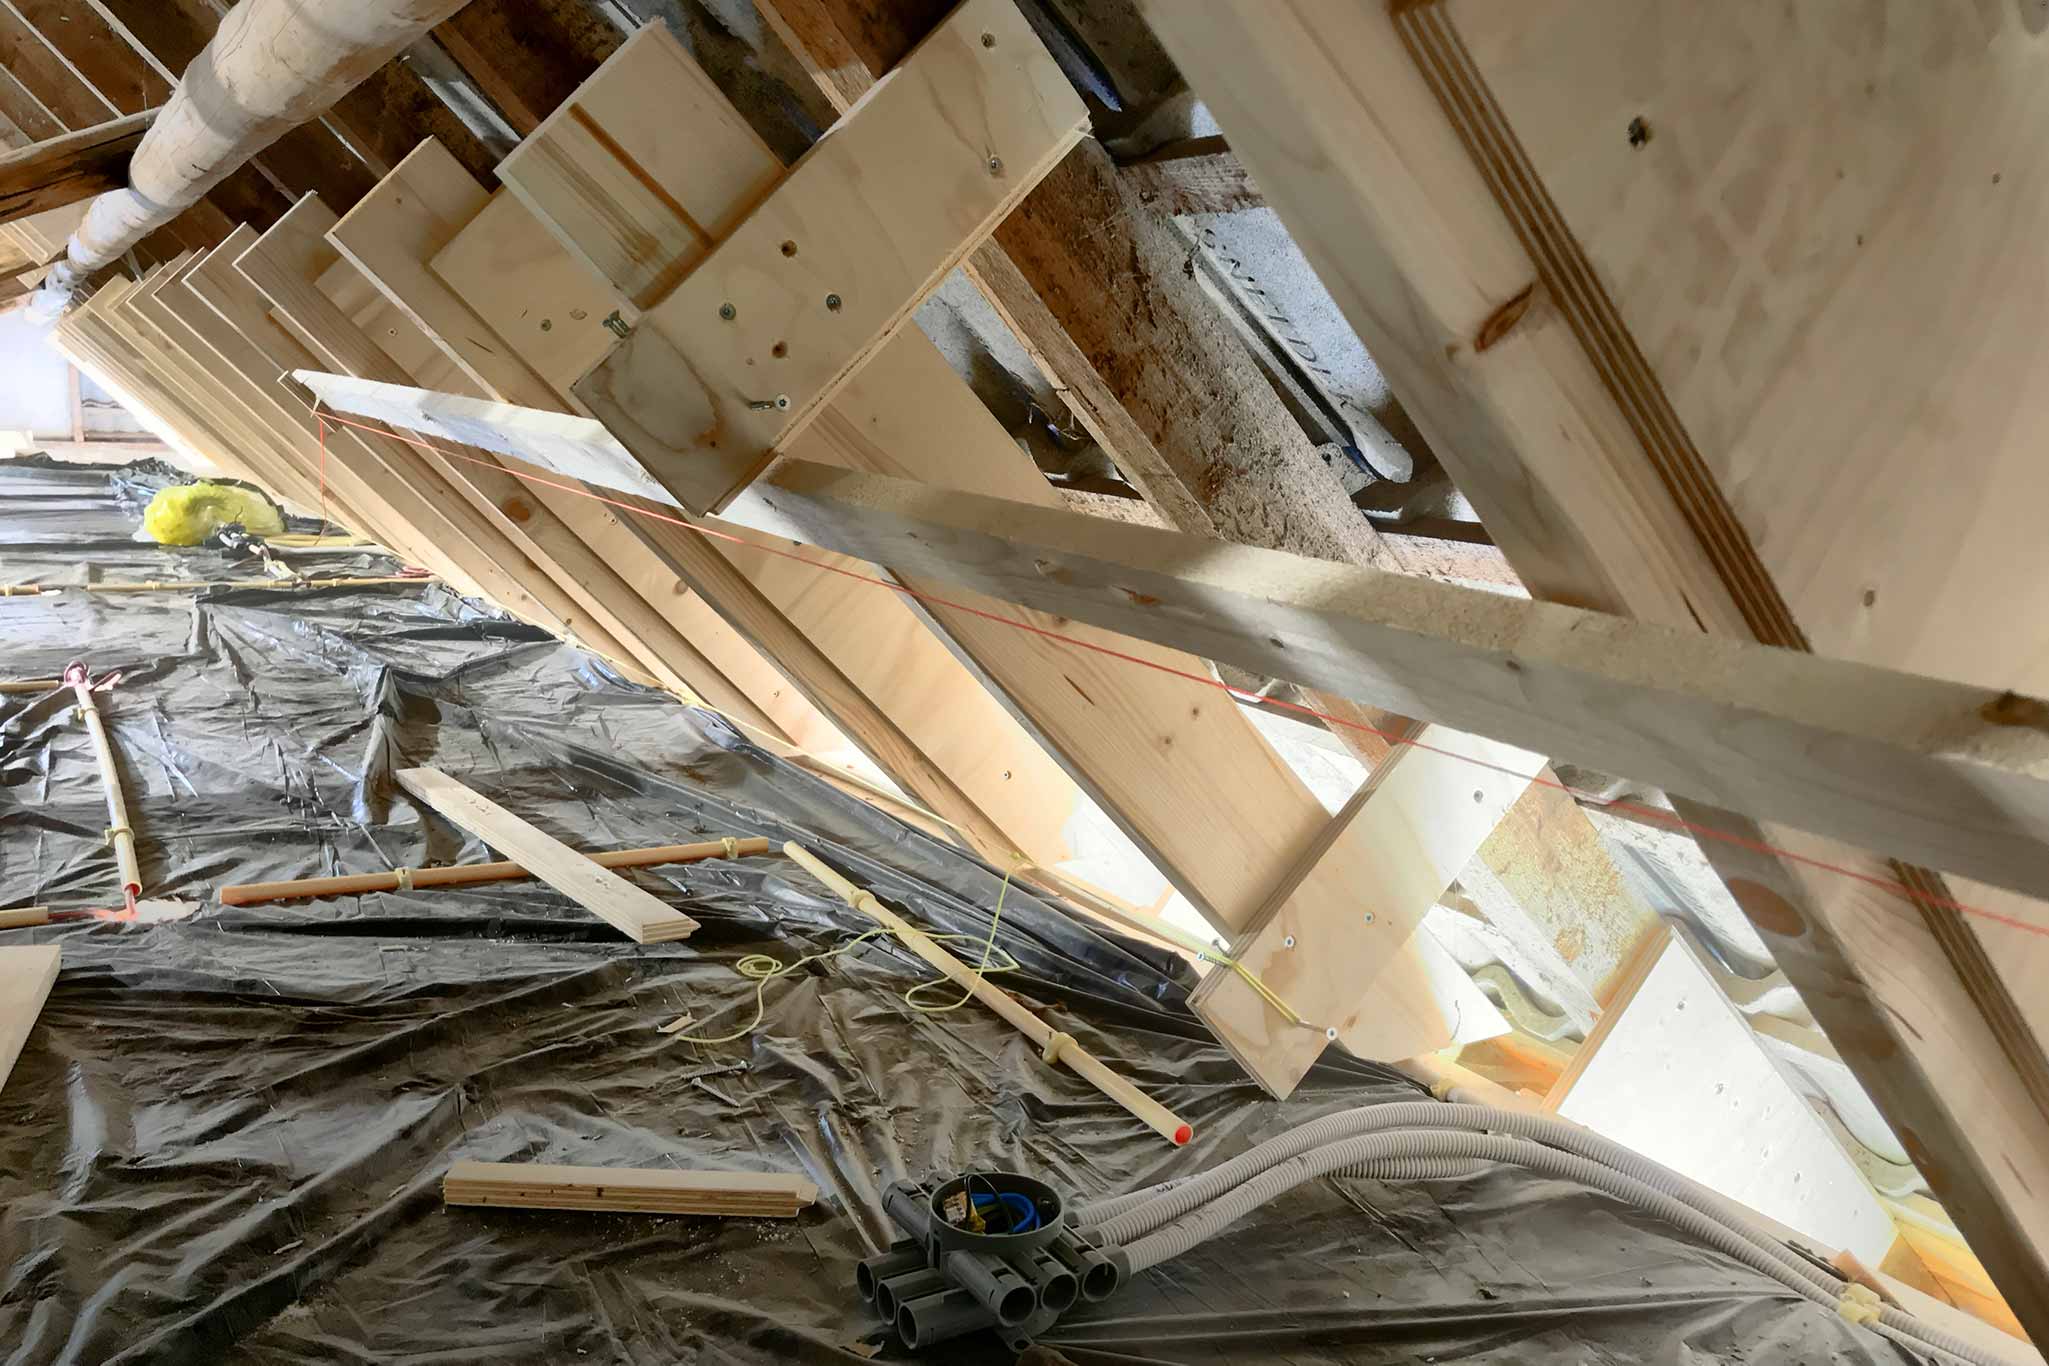
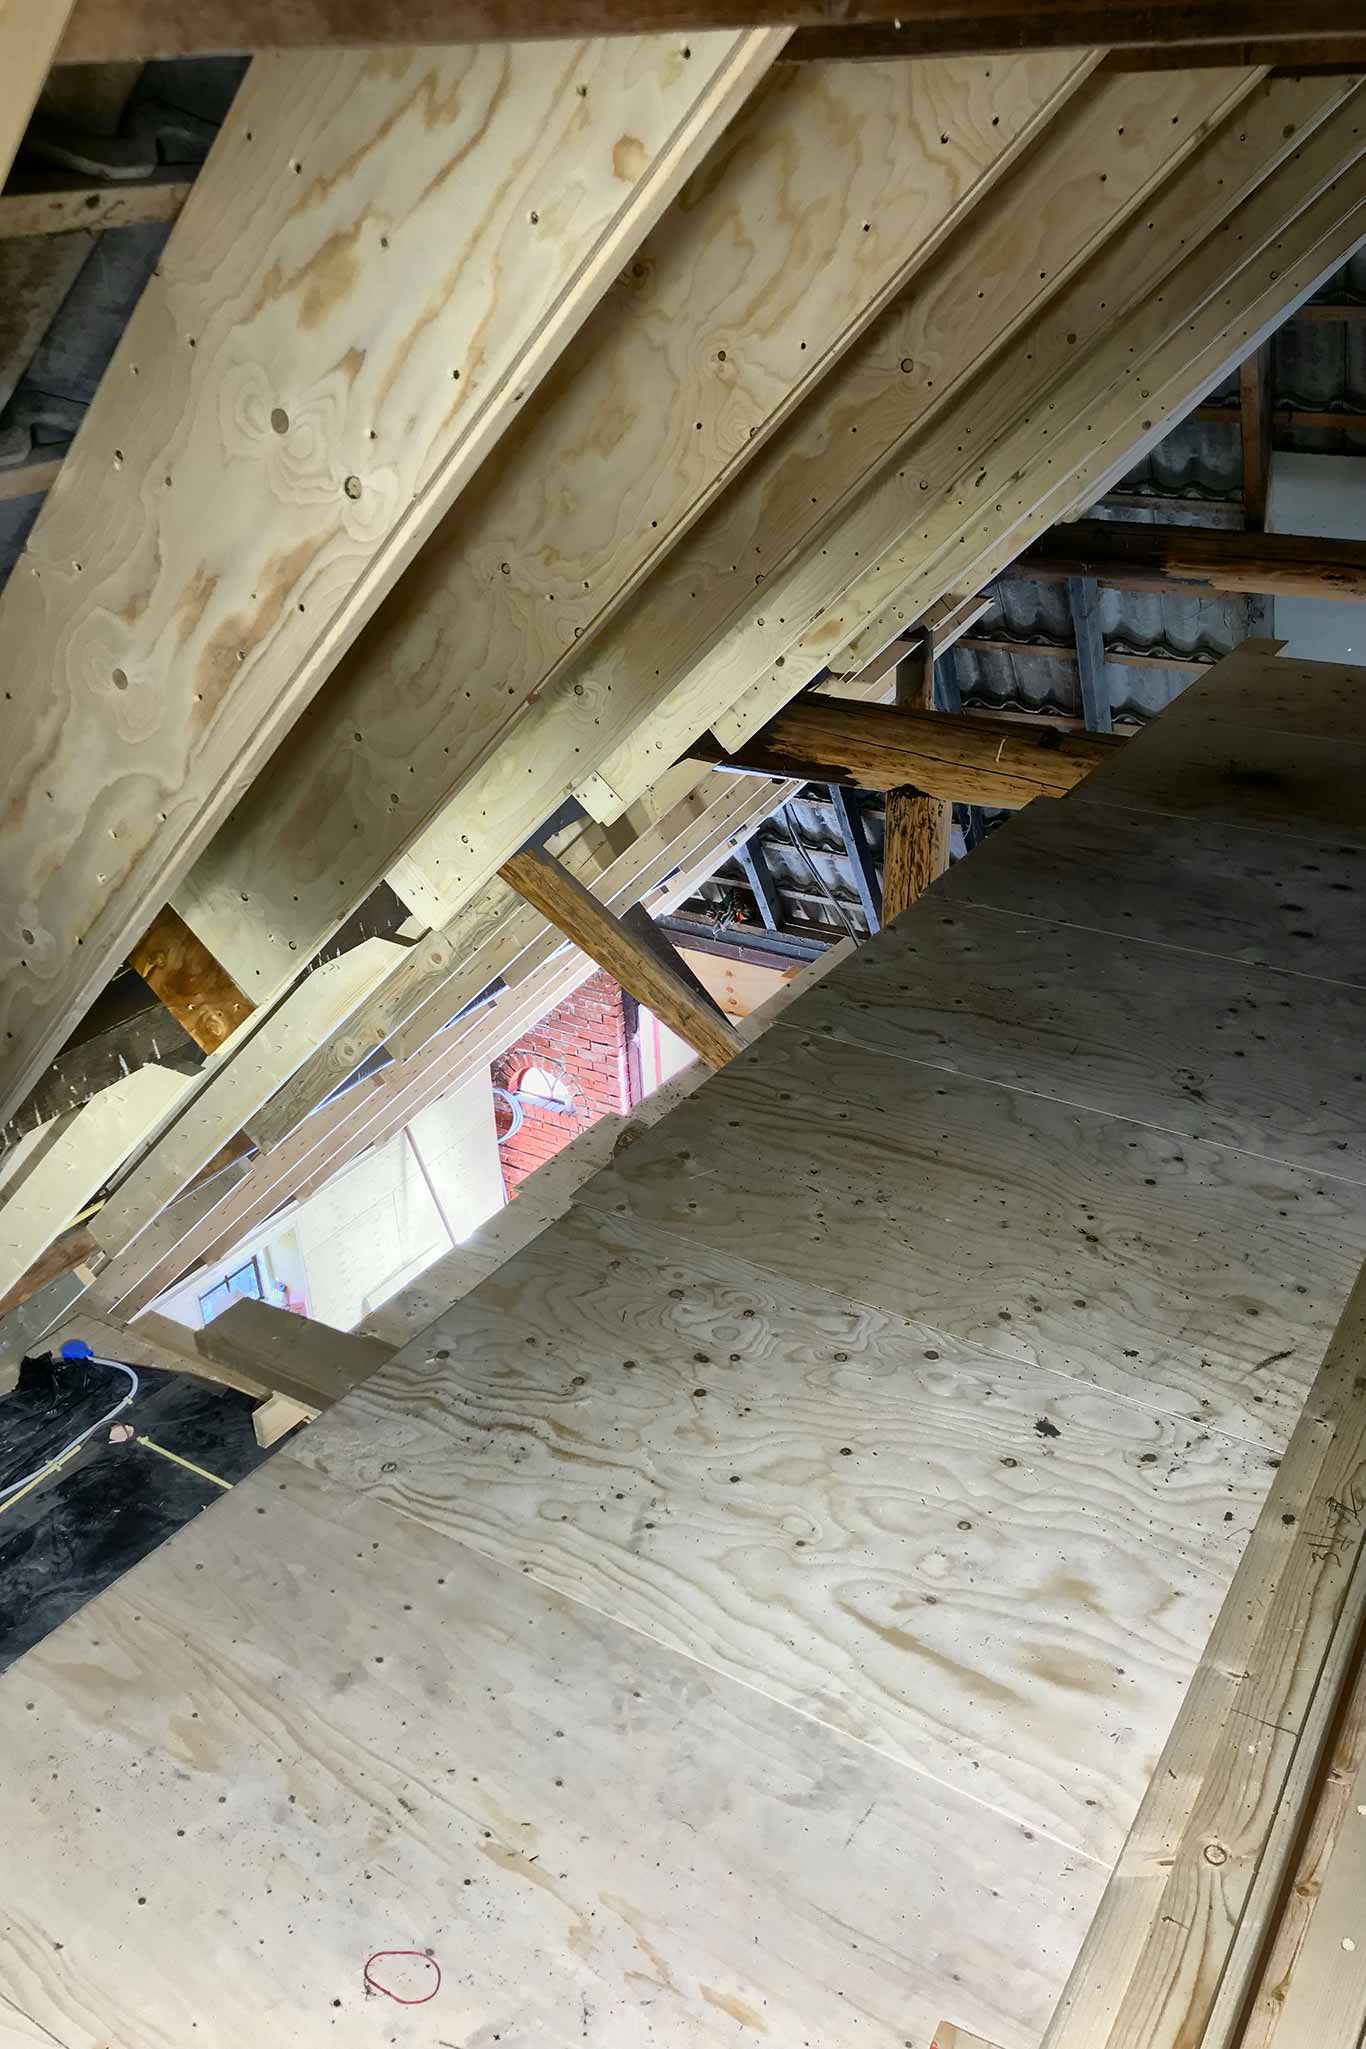
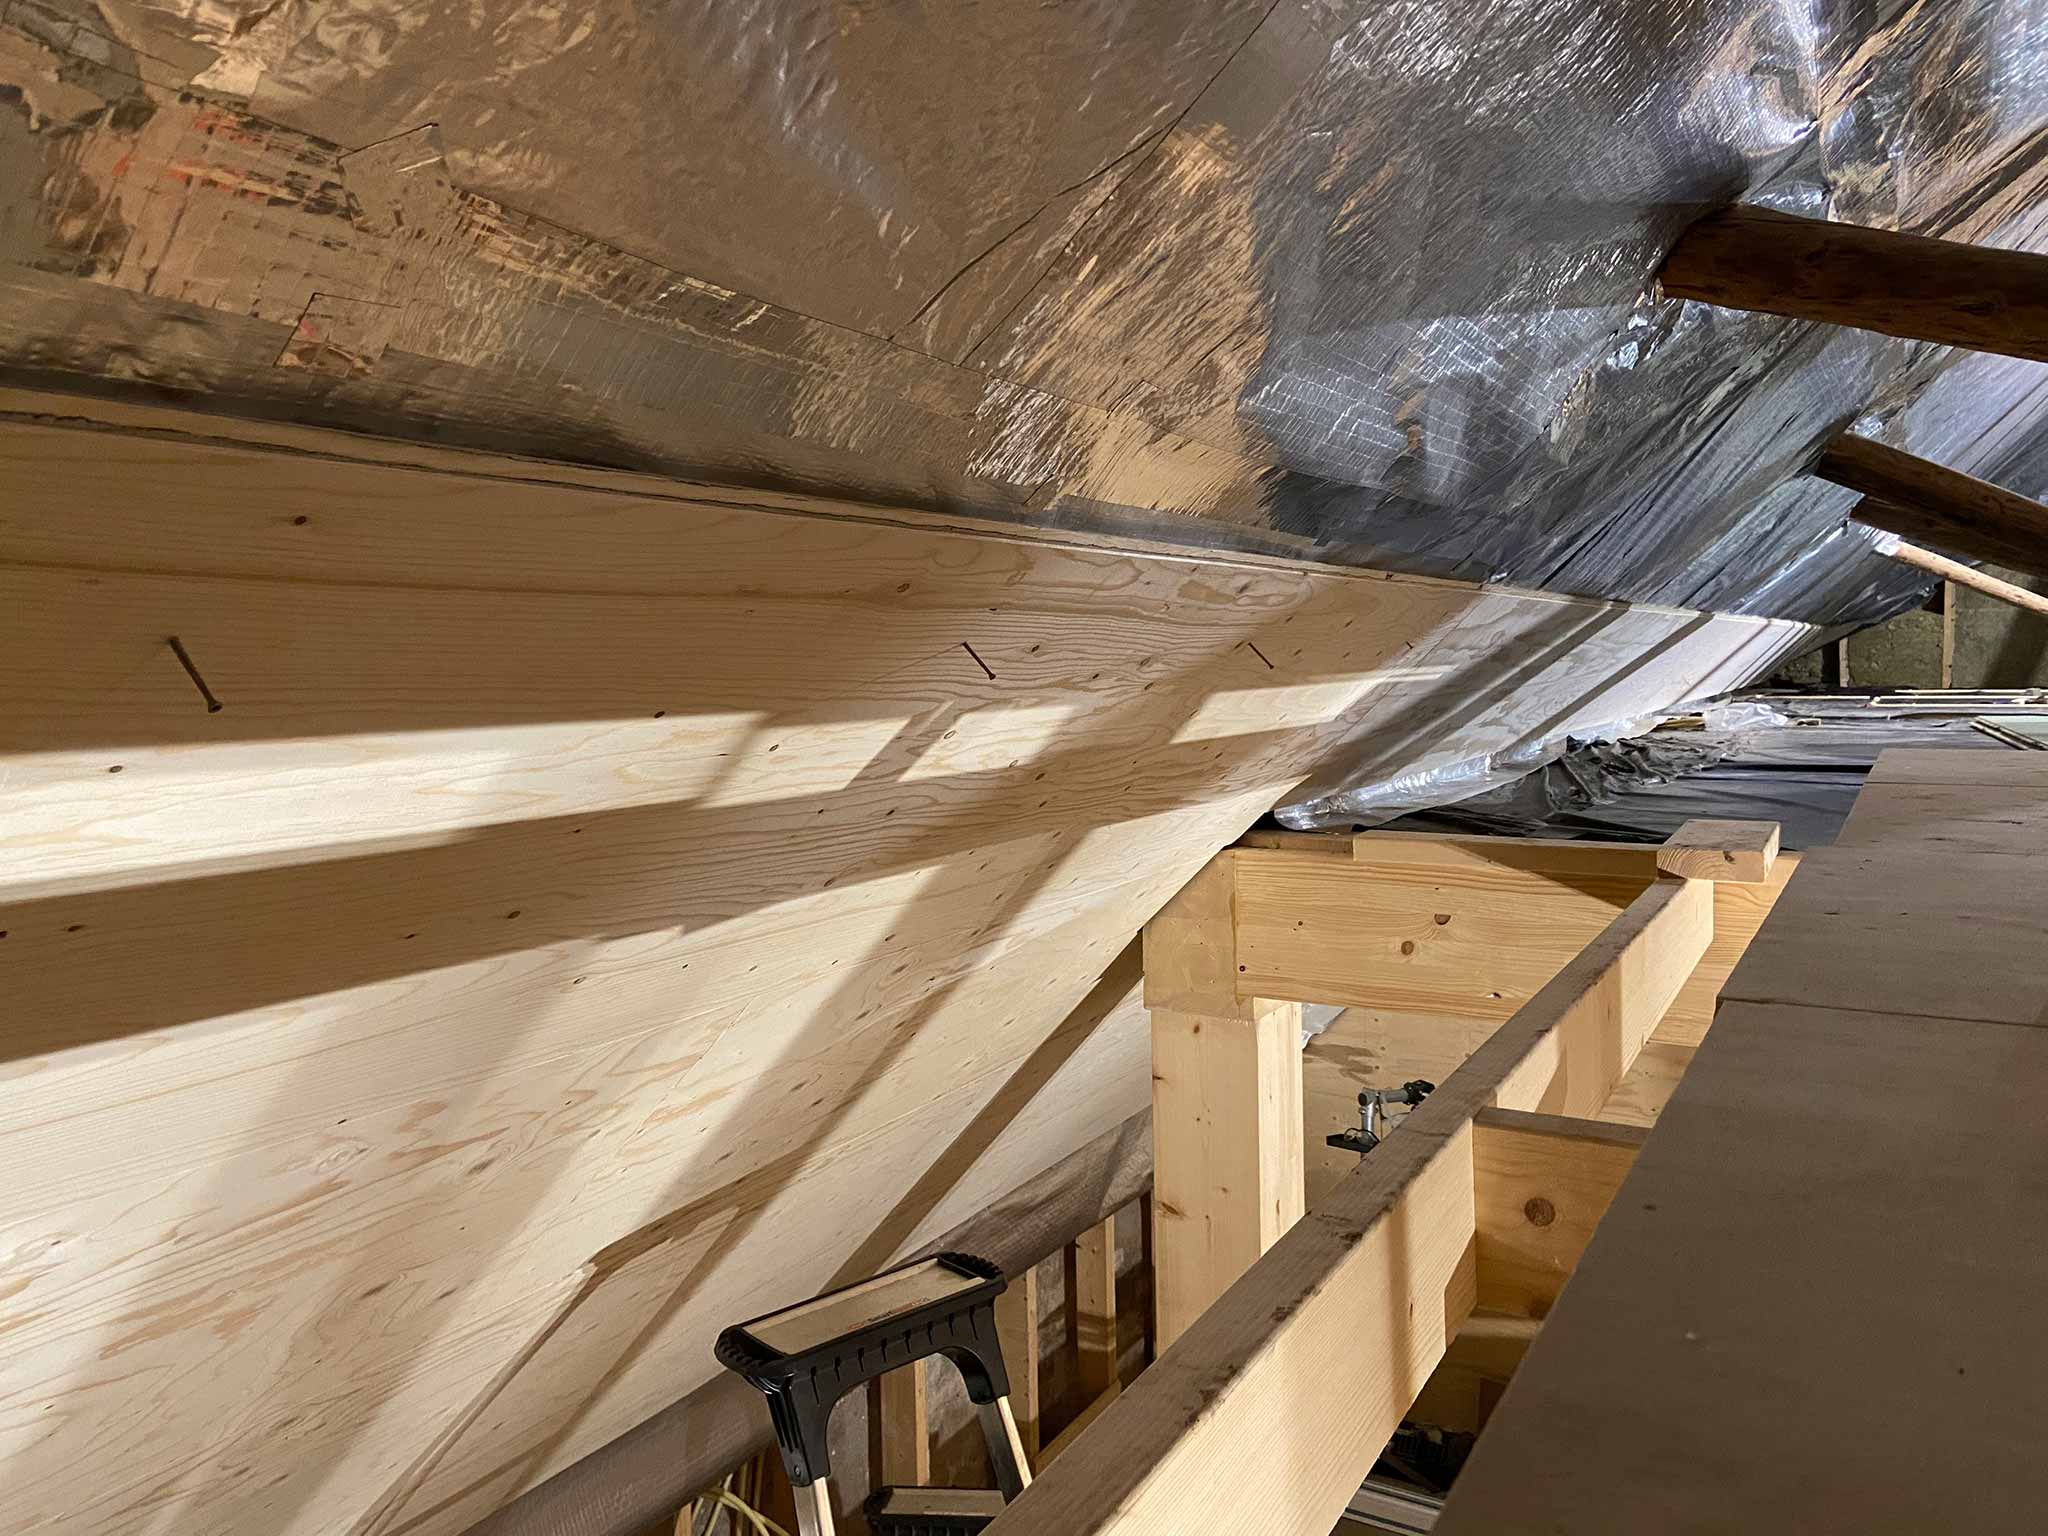
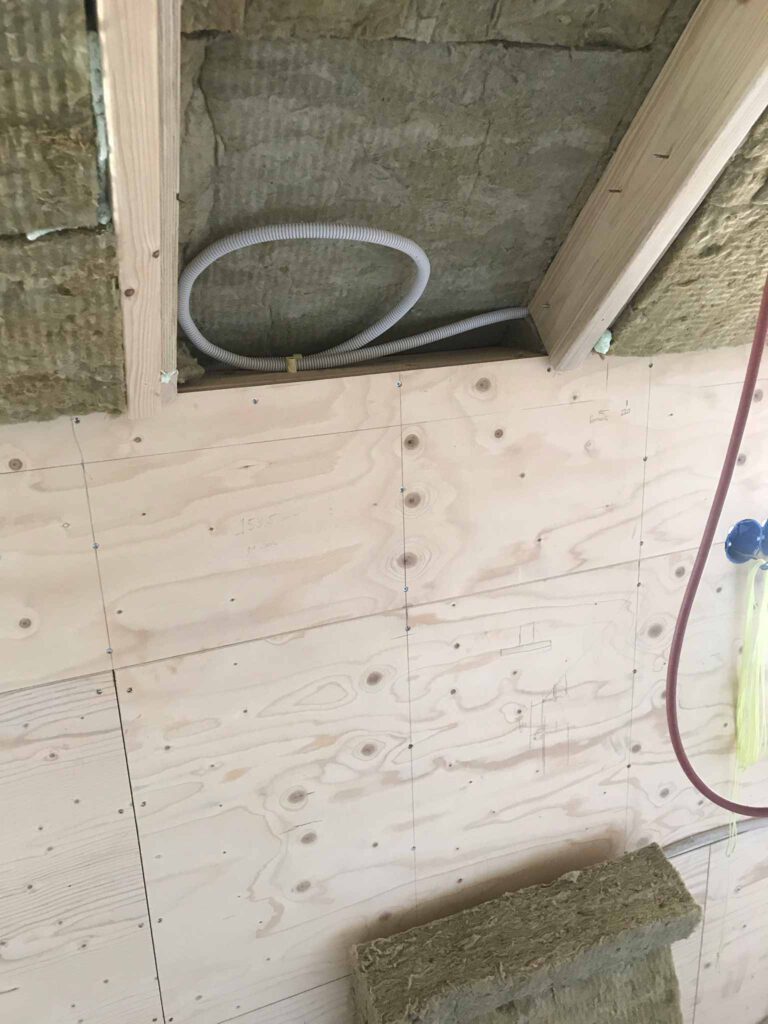
The beams of the roof are only 10cm thick. The insulation layer is going to be 2 times 12 cm. This means there needs to be additional room for the insulation. For this, the existing beams were ‘extended’: plates of underlayment screwed to them and then an additional beam fixed to that plate.
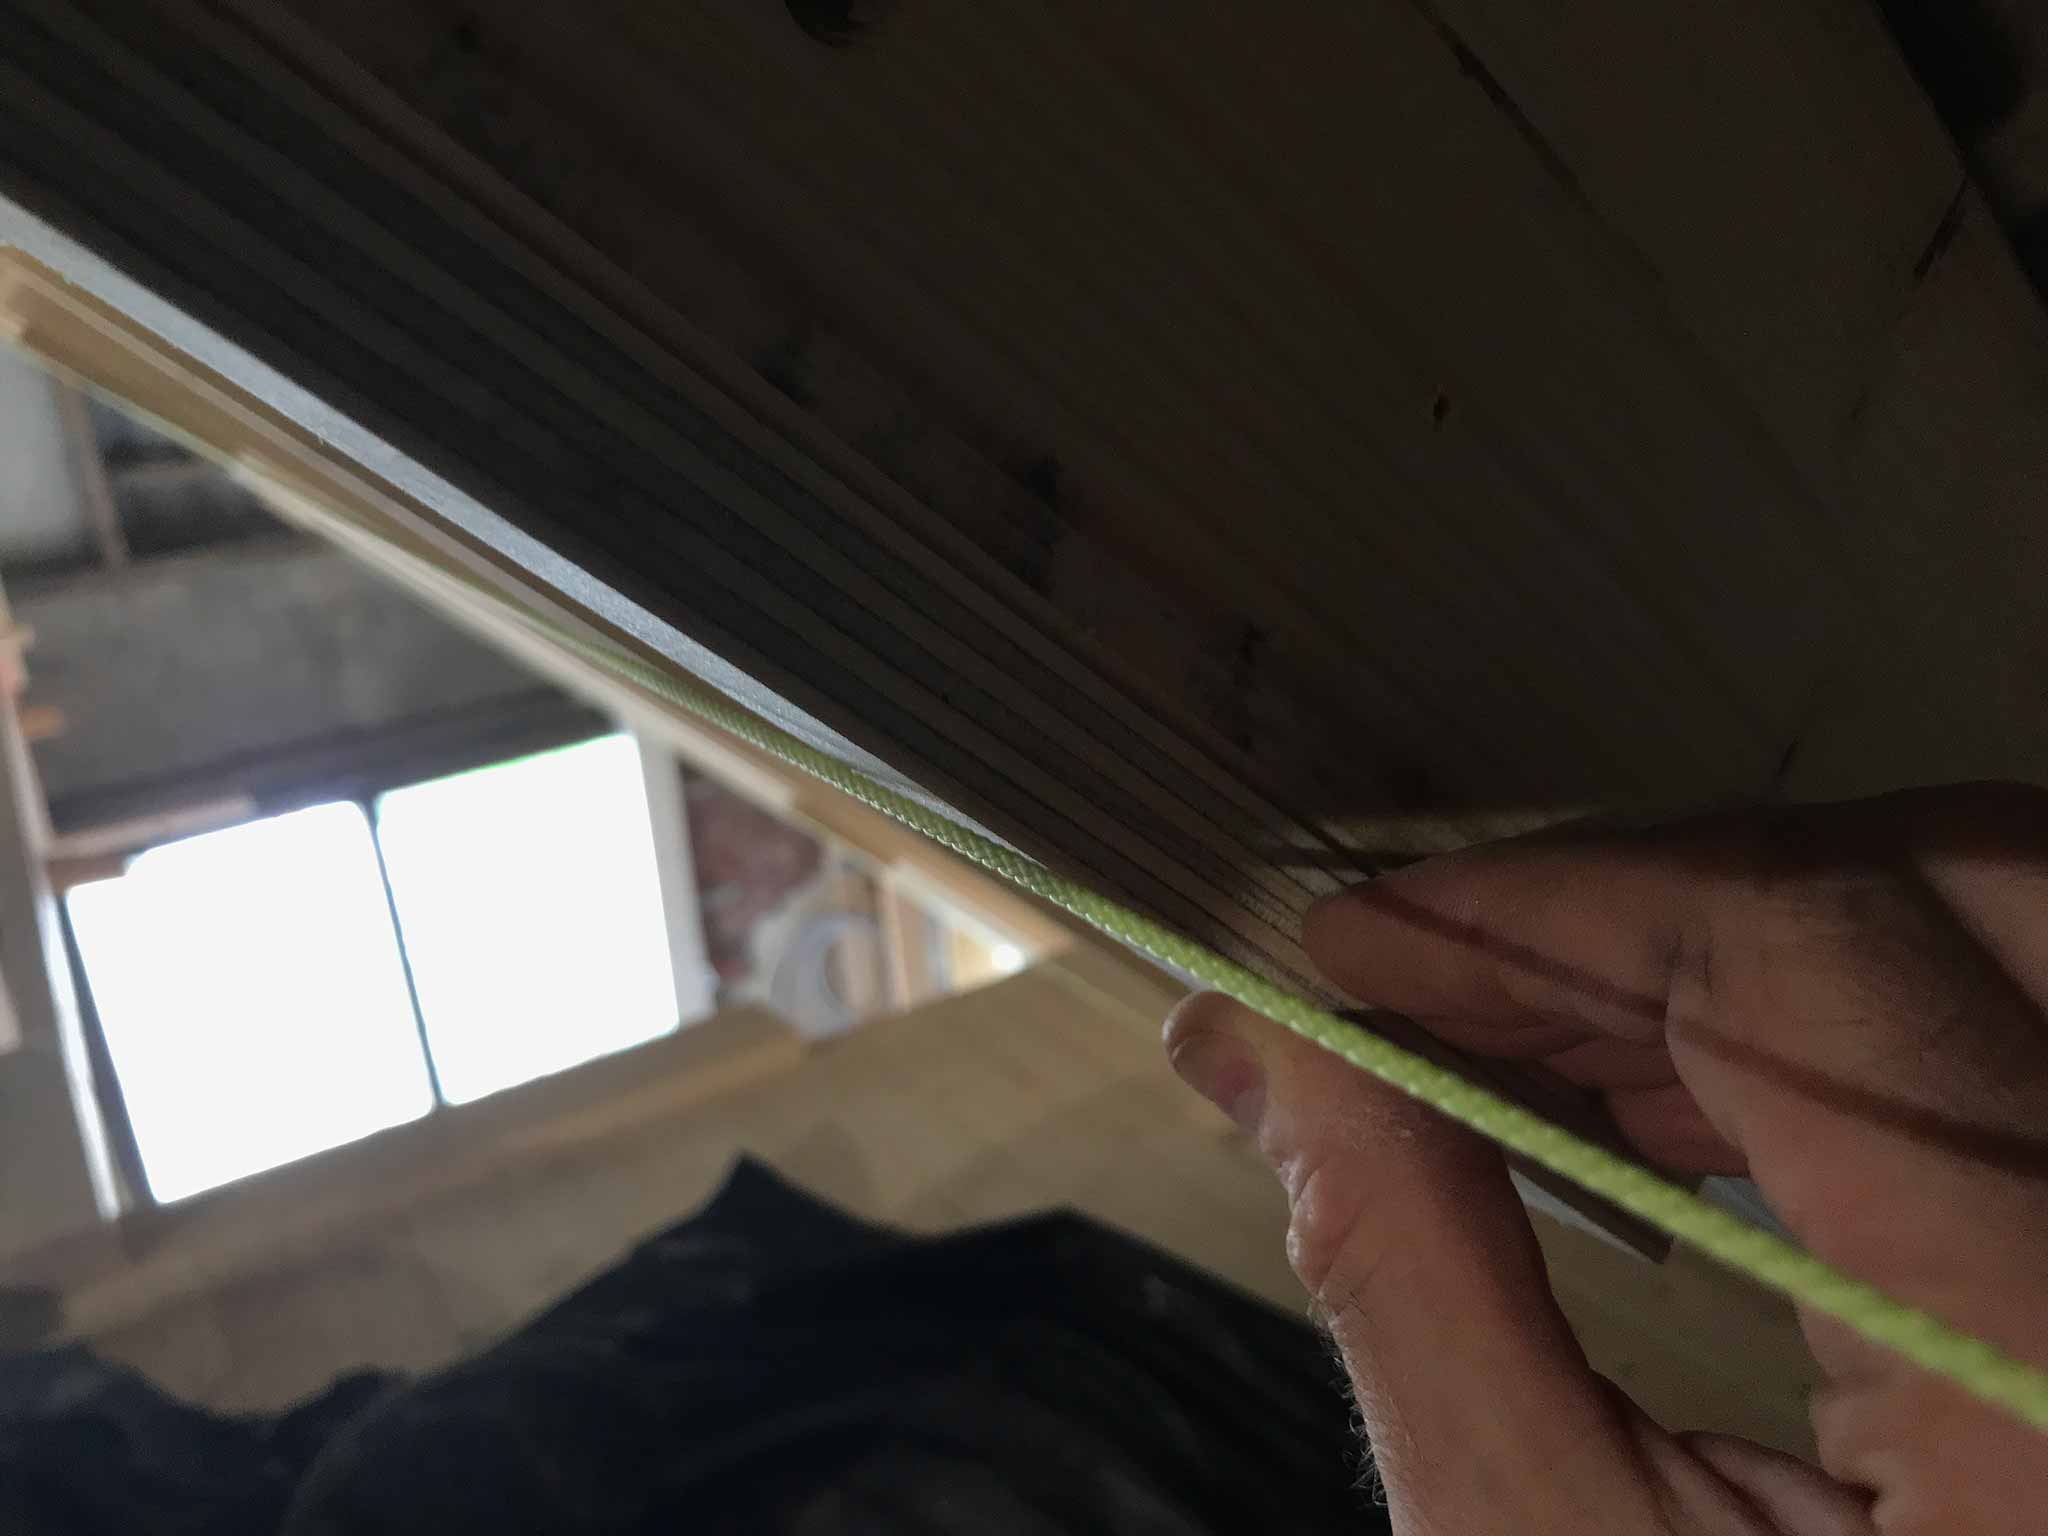
All this done in such a way that the inner roof is straight as an arrow again (the roof has little waves in it). Making sure it is straight was mainly done using small wires. Attach it on both ends of the roof and make sure all the beams in between just touch it.
The plates that form the bridge between the beams were eventually secured with plenty of screws and nails to make them more or less one.