
Pip did the first inspection of here new home to be. She enjoyed it. Well, maybe it was just being outside for the first time since long…
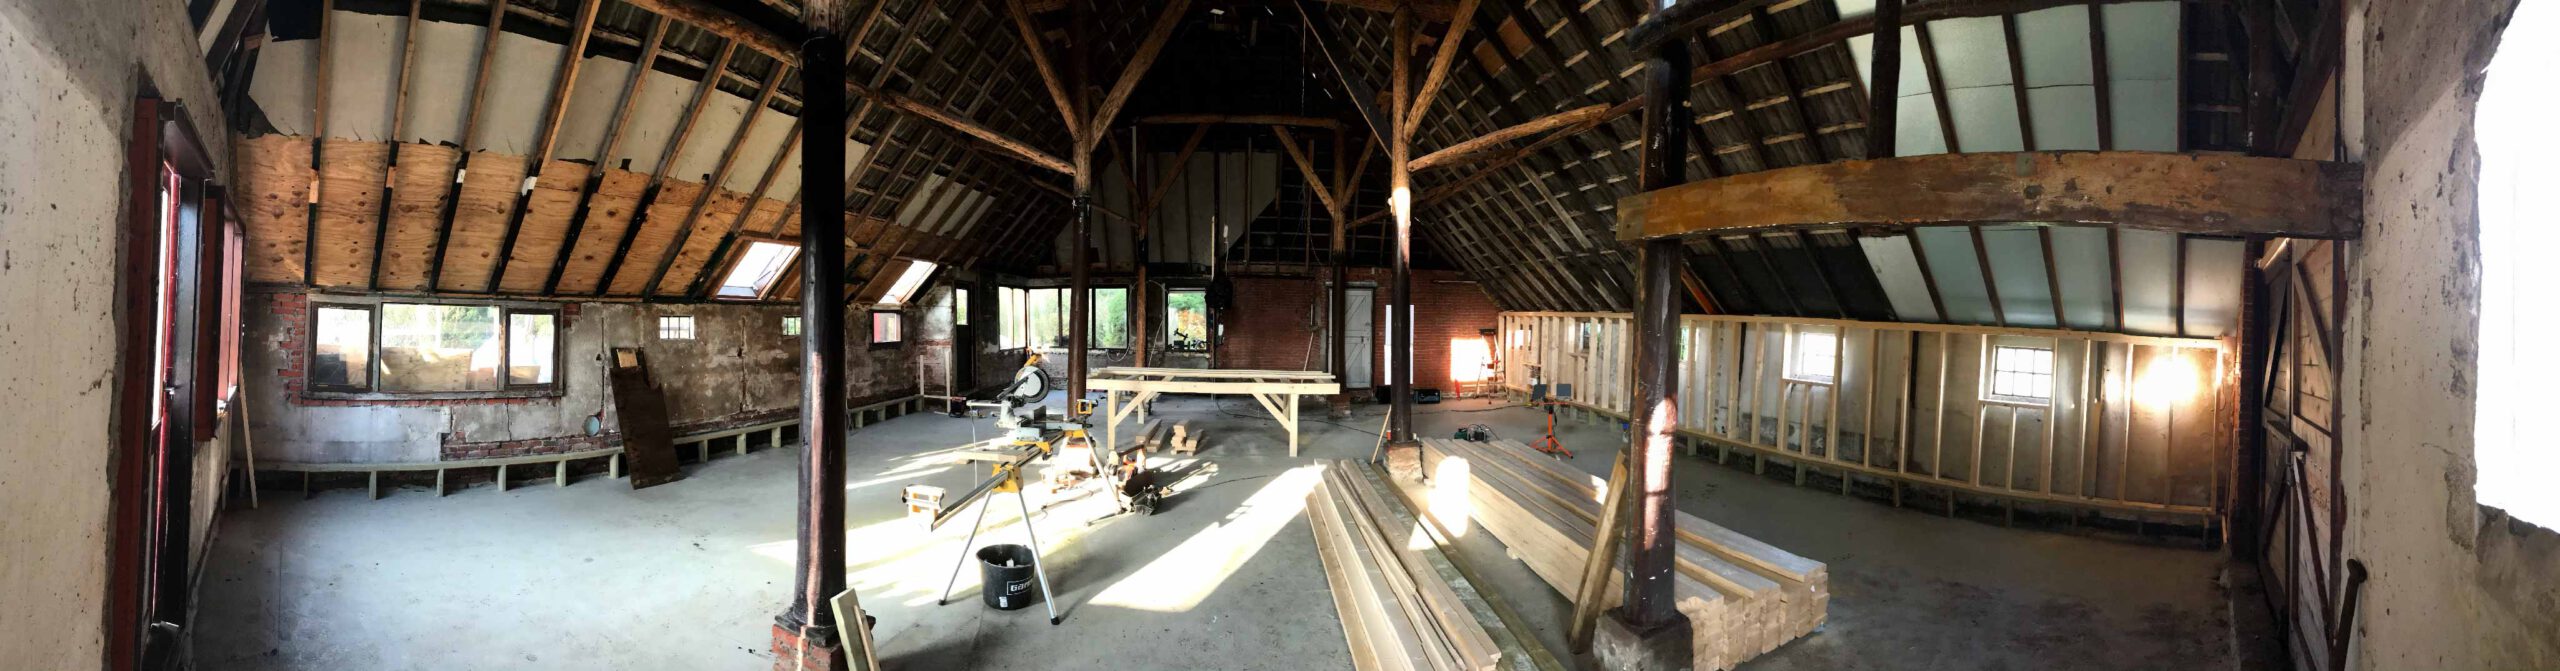
Renovating a home
Pip did the first inspection of here new home to be. She enjoyed it. Well, maybe it was just being outside for the first time since long…
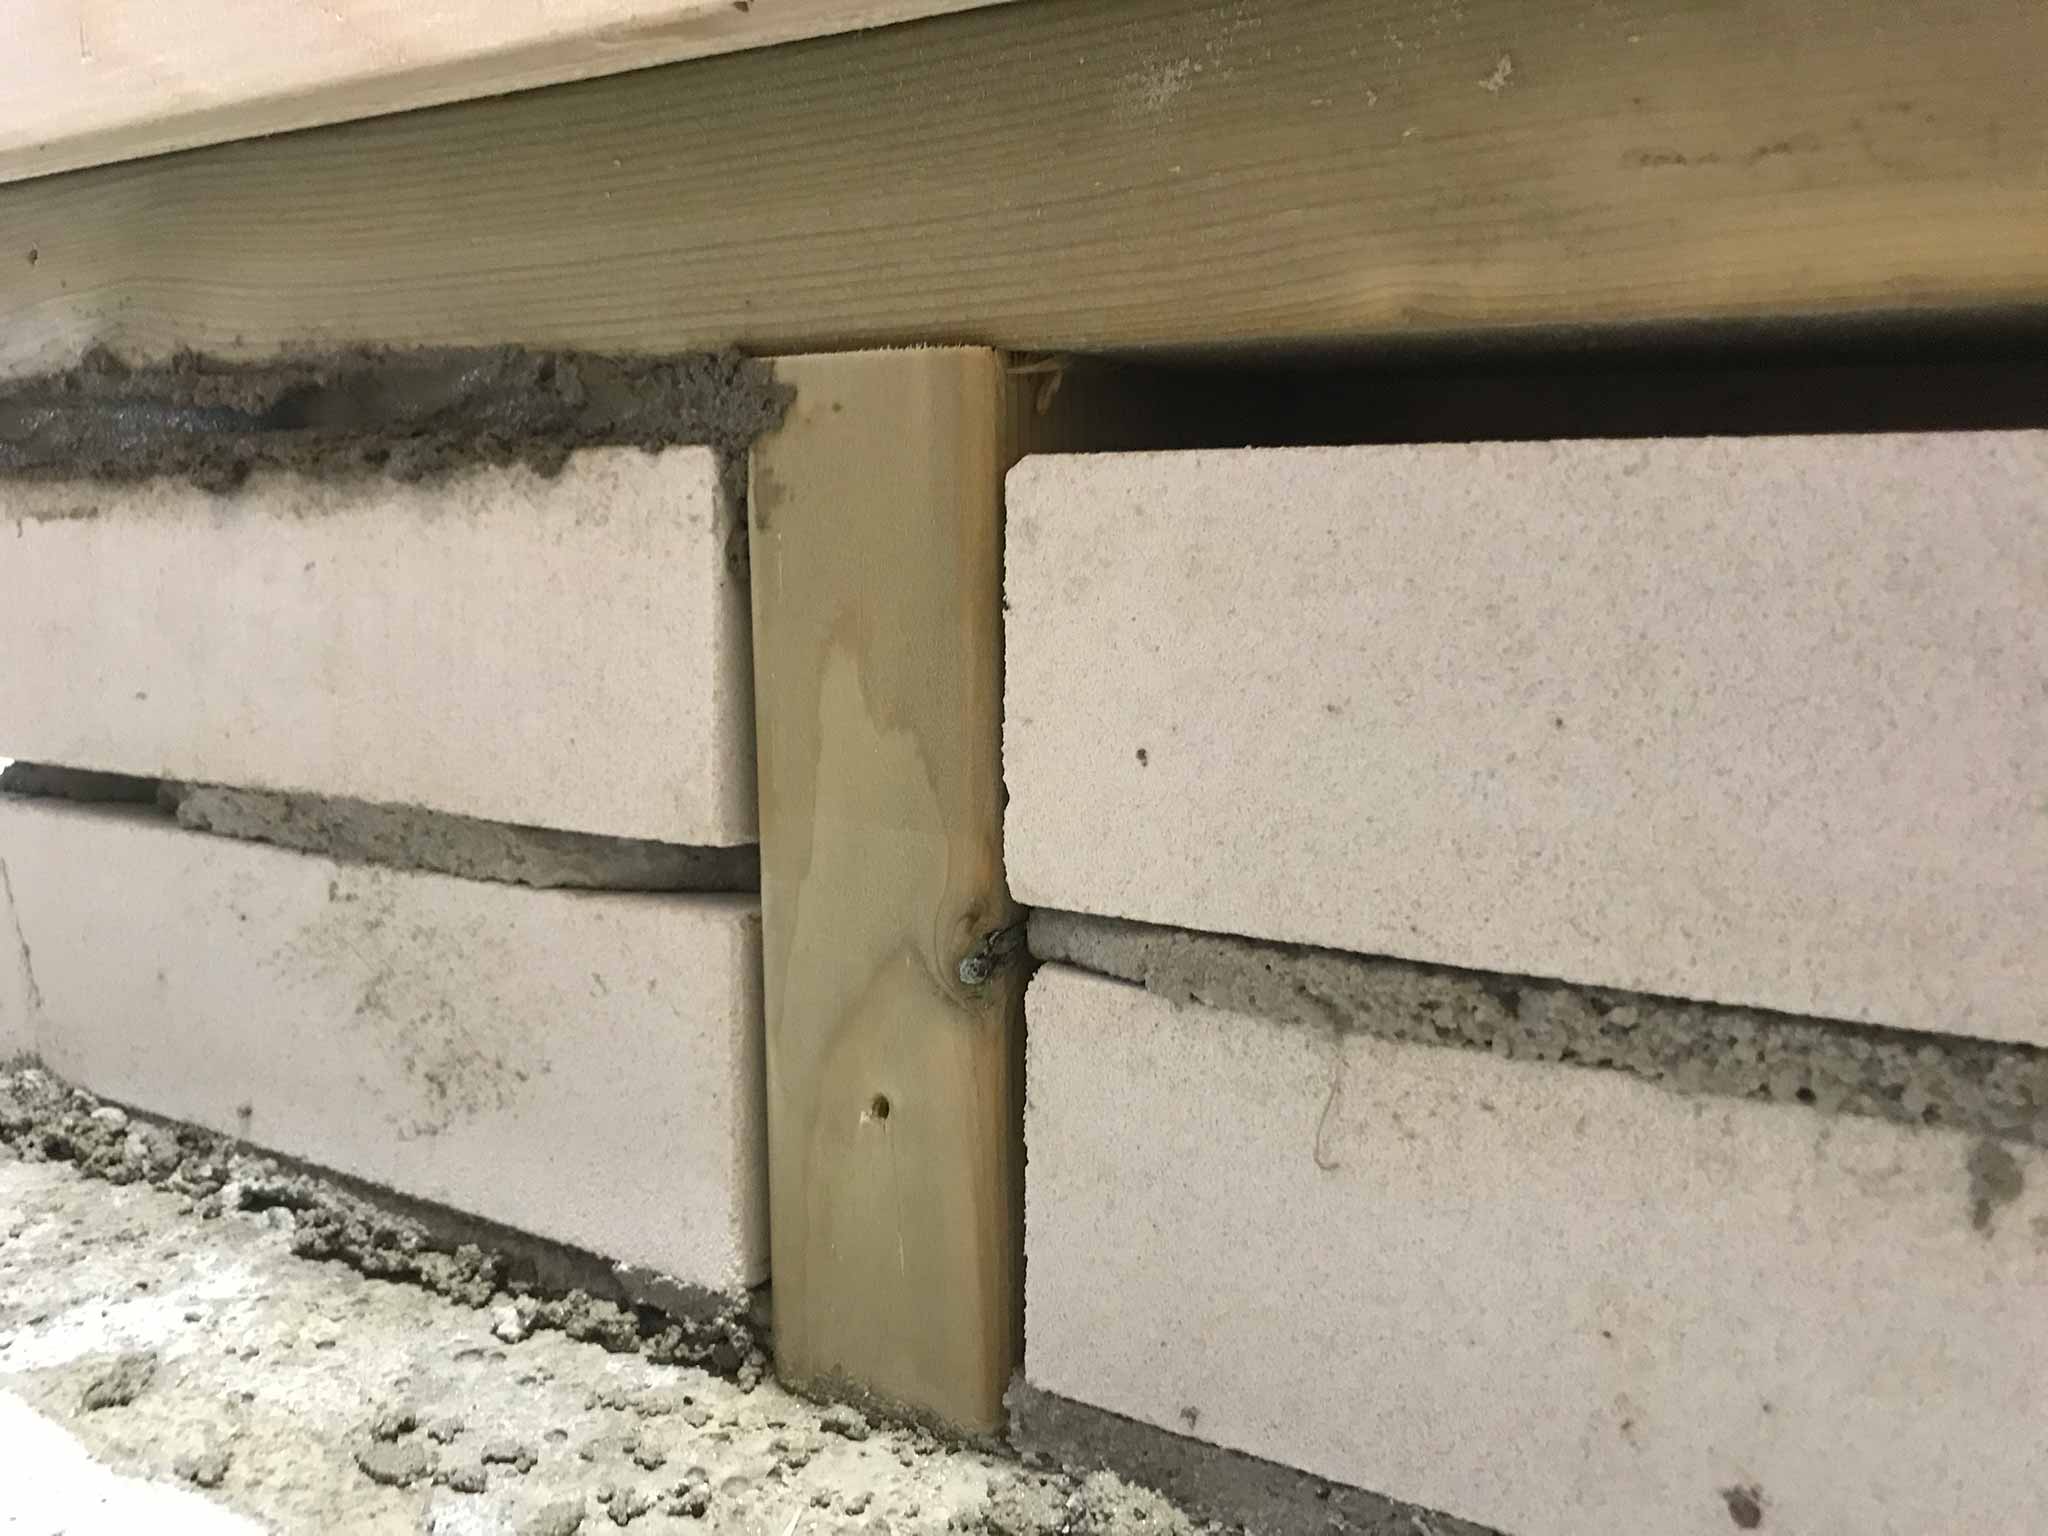
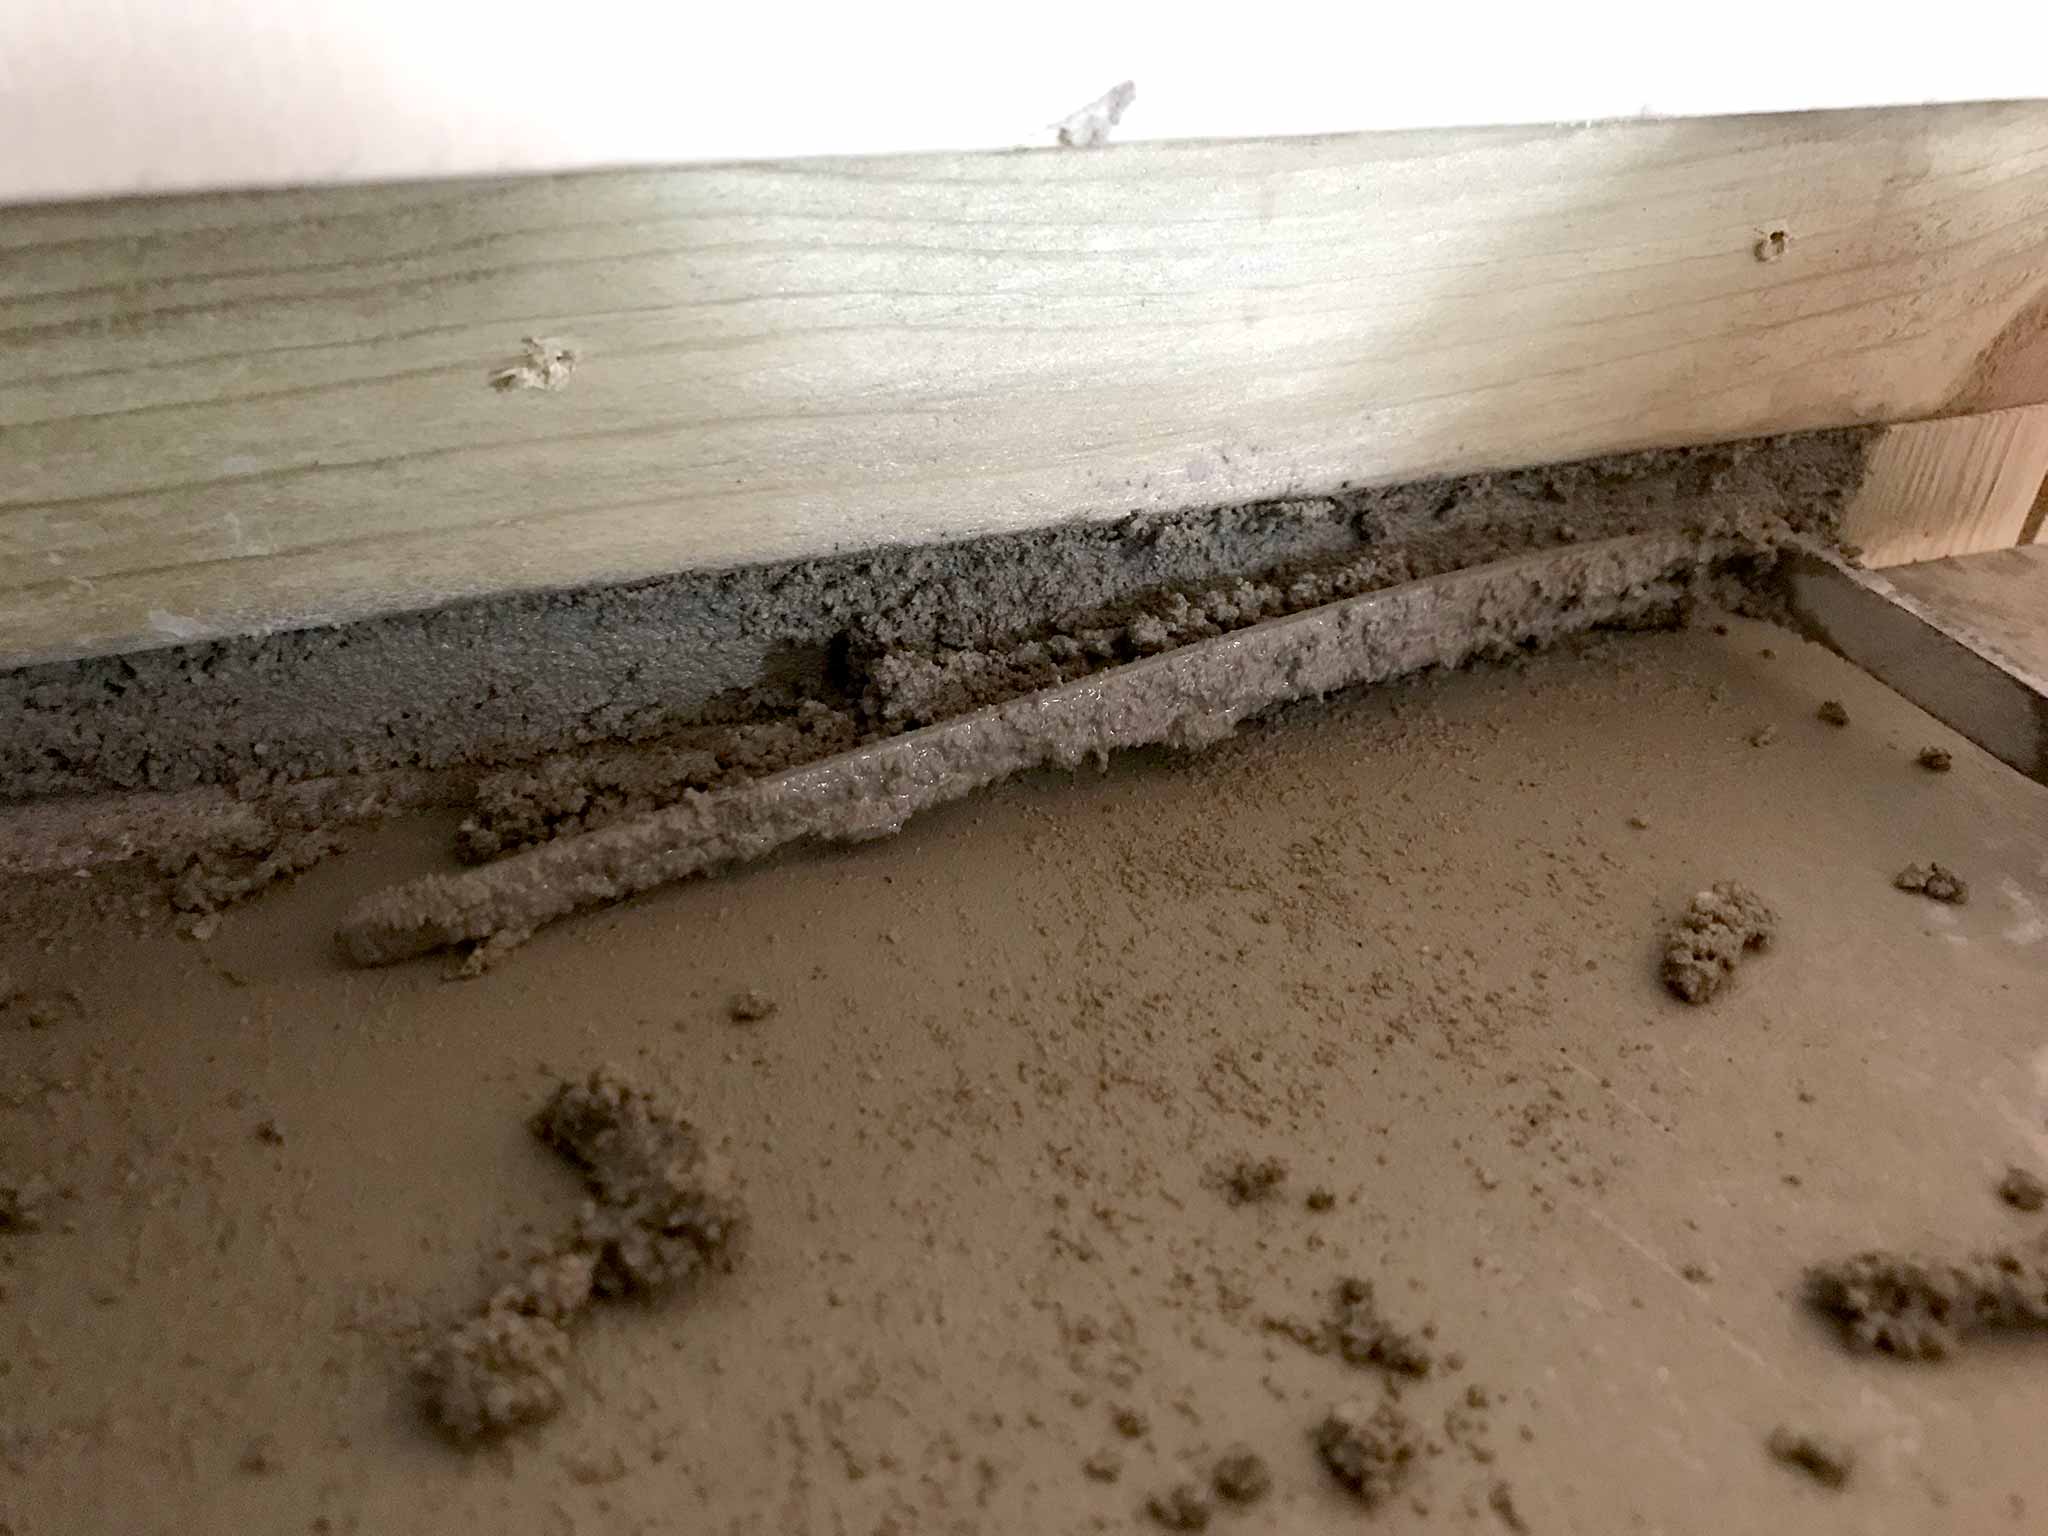
Been grouting (first time of my life!) the supports underneath the walls. If all comes down it’s up to me now…
To support the walls, there is a 50cm squared concrete foot of about 10cm high. On top of that a few bricks are placed and the remaining area between the bricks and the walls were left to yours truly to fill. The walls then support the beams and the ceiling that rests on them.

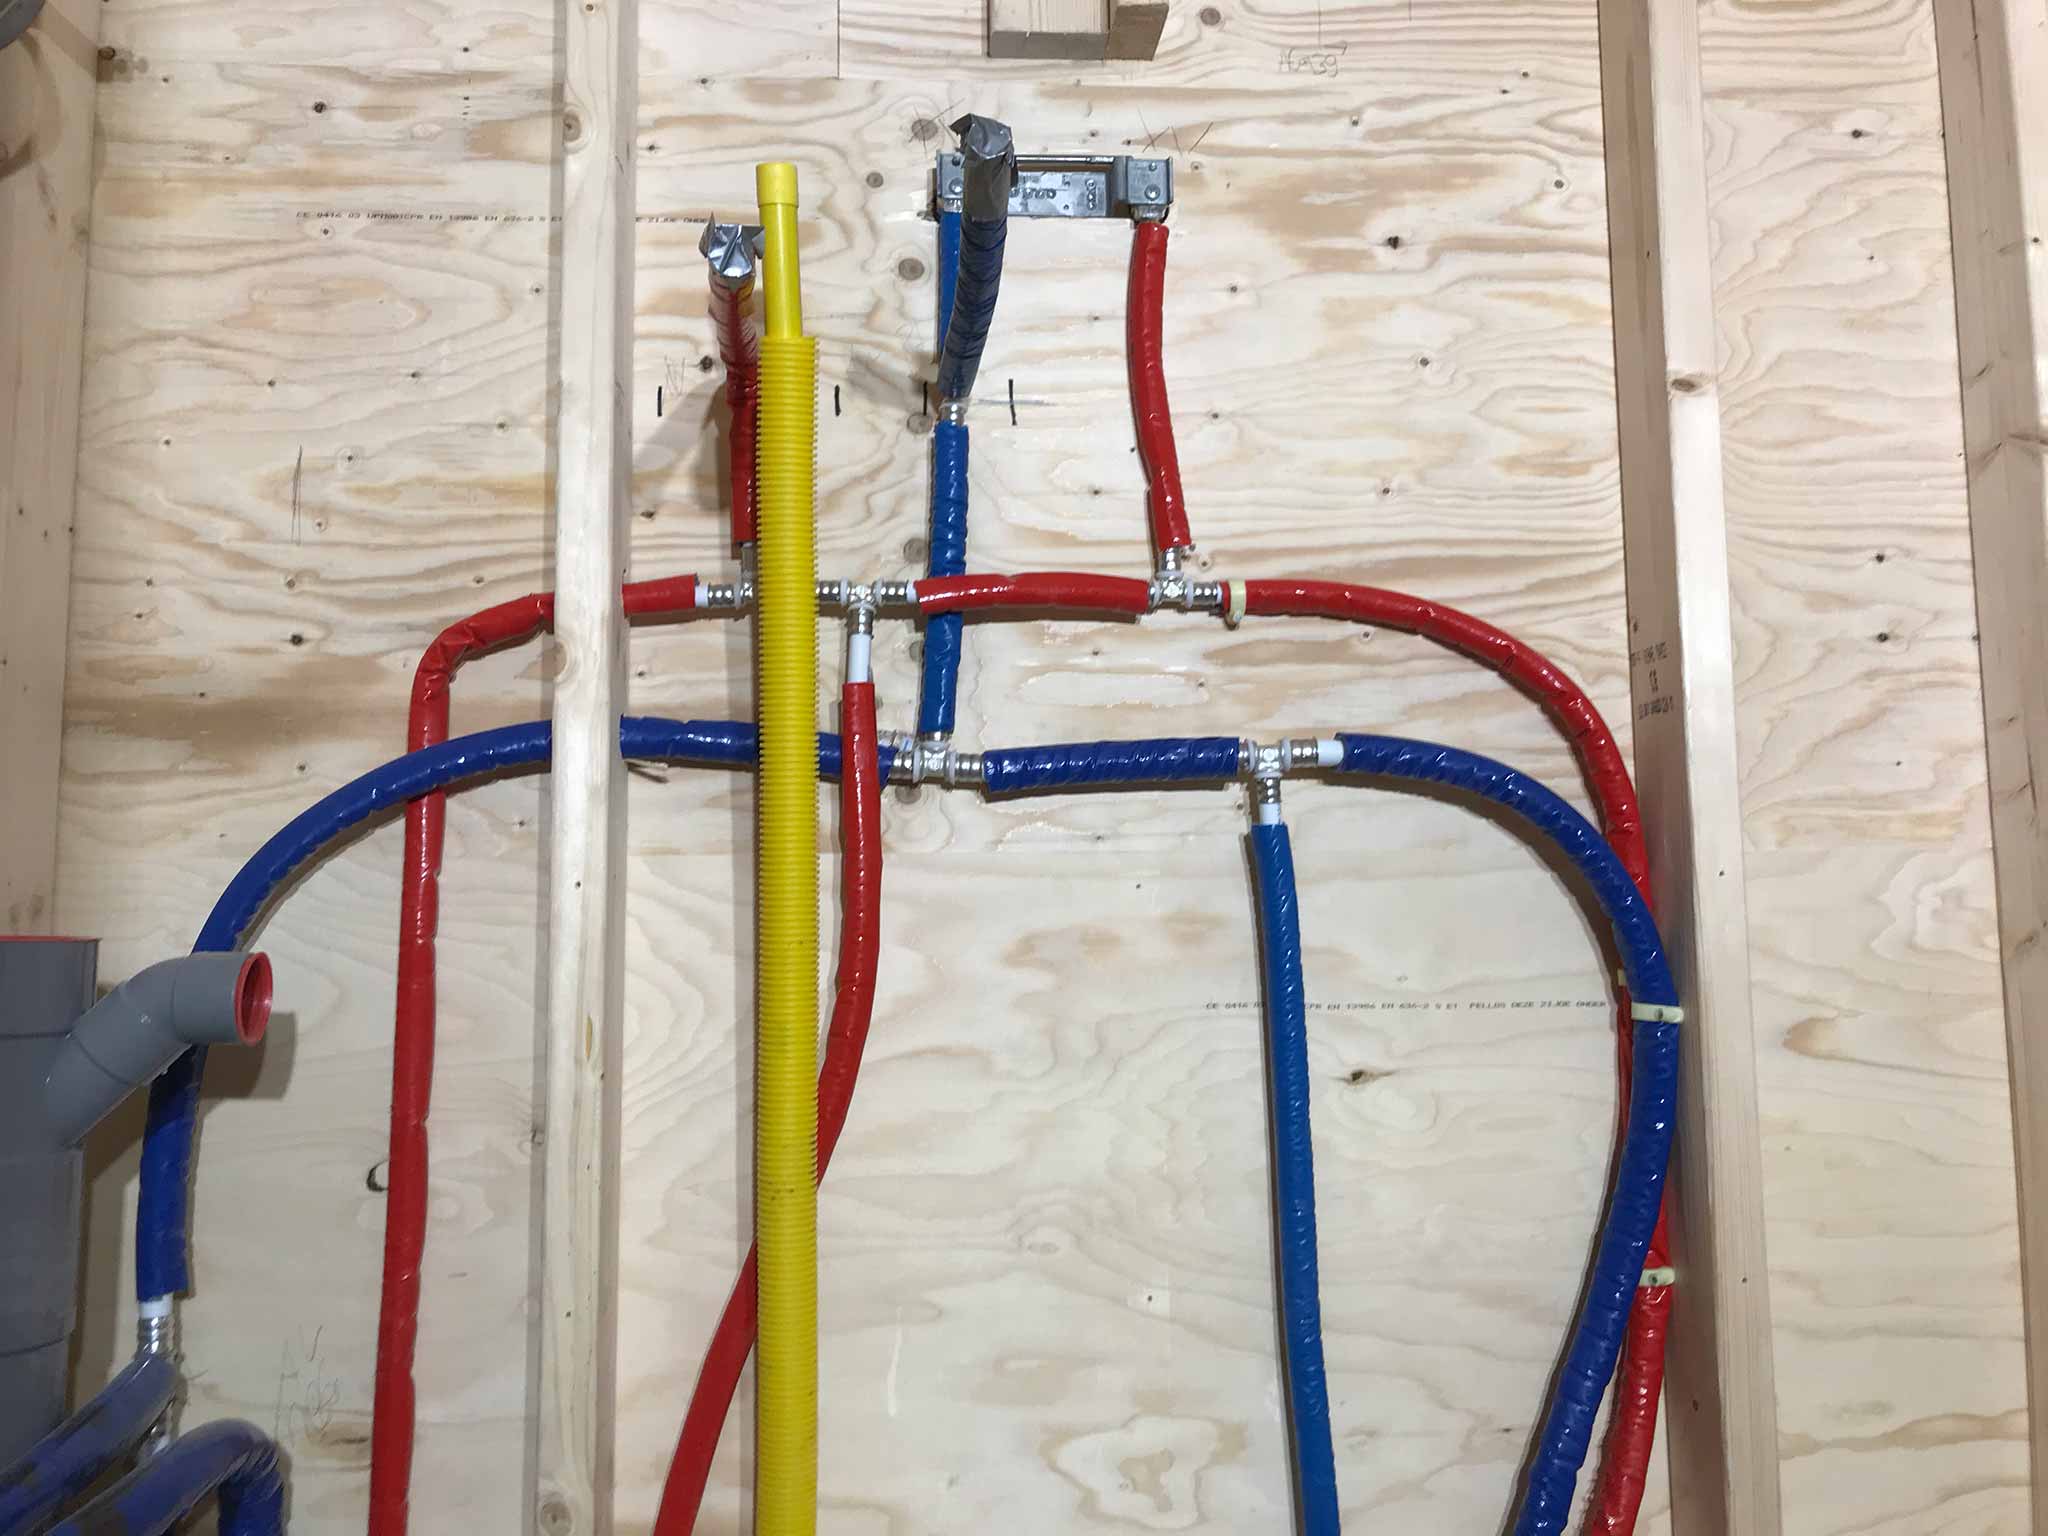
The plumbing and electricity is done. Well. Part one, so all the wall panelling can be put into place. Still on gas sadly as solely electric (‘of the gas’, a hot item in the Netherlands) is still rather expensive. Next iteration…
Been a while but there’s copper running through the building again. Aside the extension cords, cable drums, LED building sight lights, there’s a start of the electricity layout as it will be. Pretty hard to know if it will be enough, properly placed etc. but it’ll have to do for the coming few decades I guess.
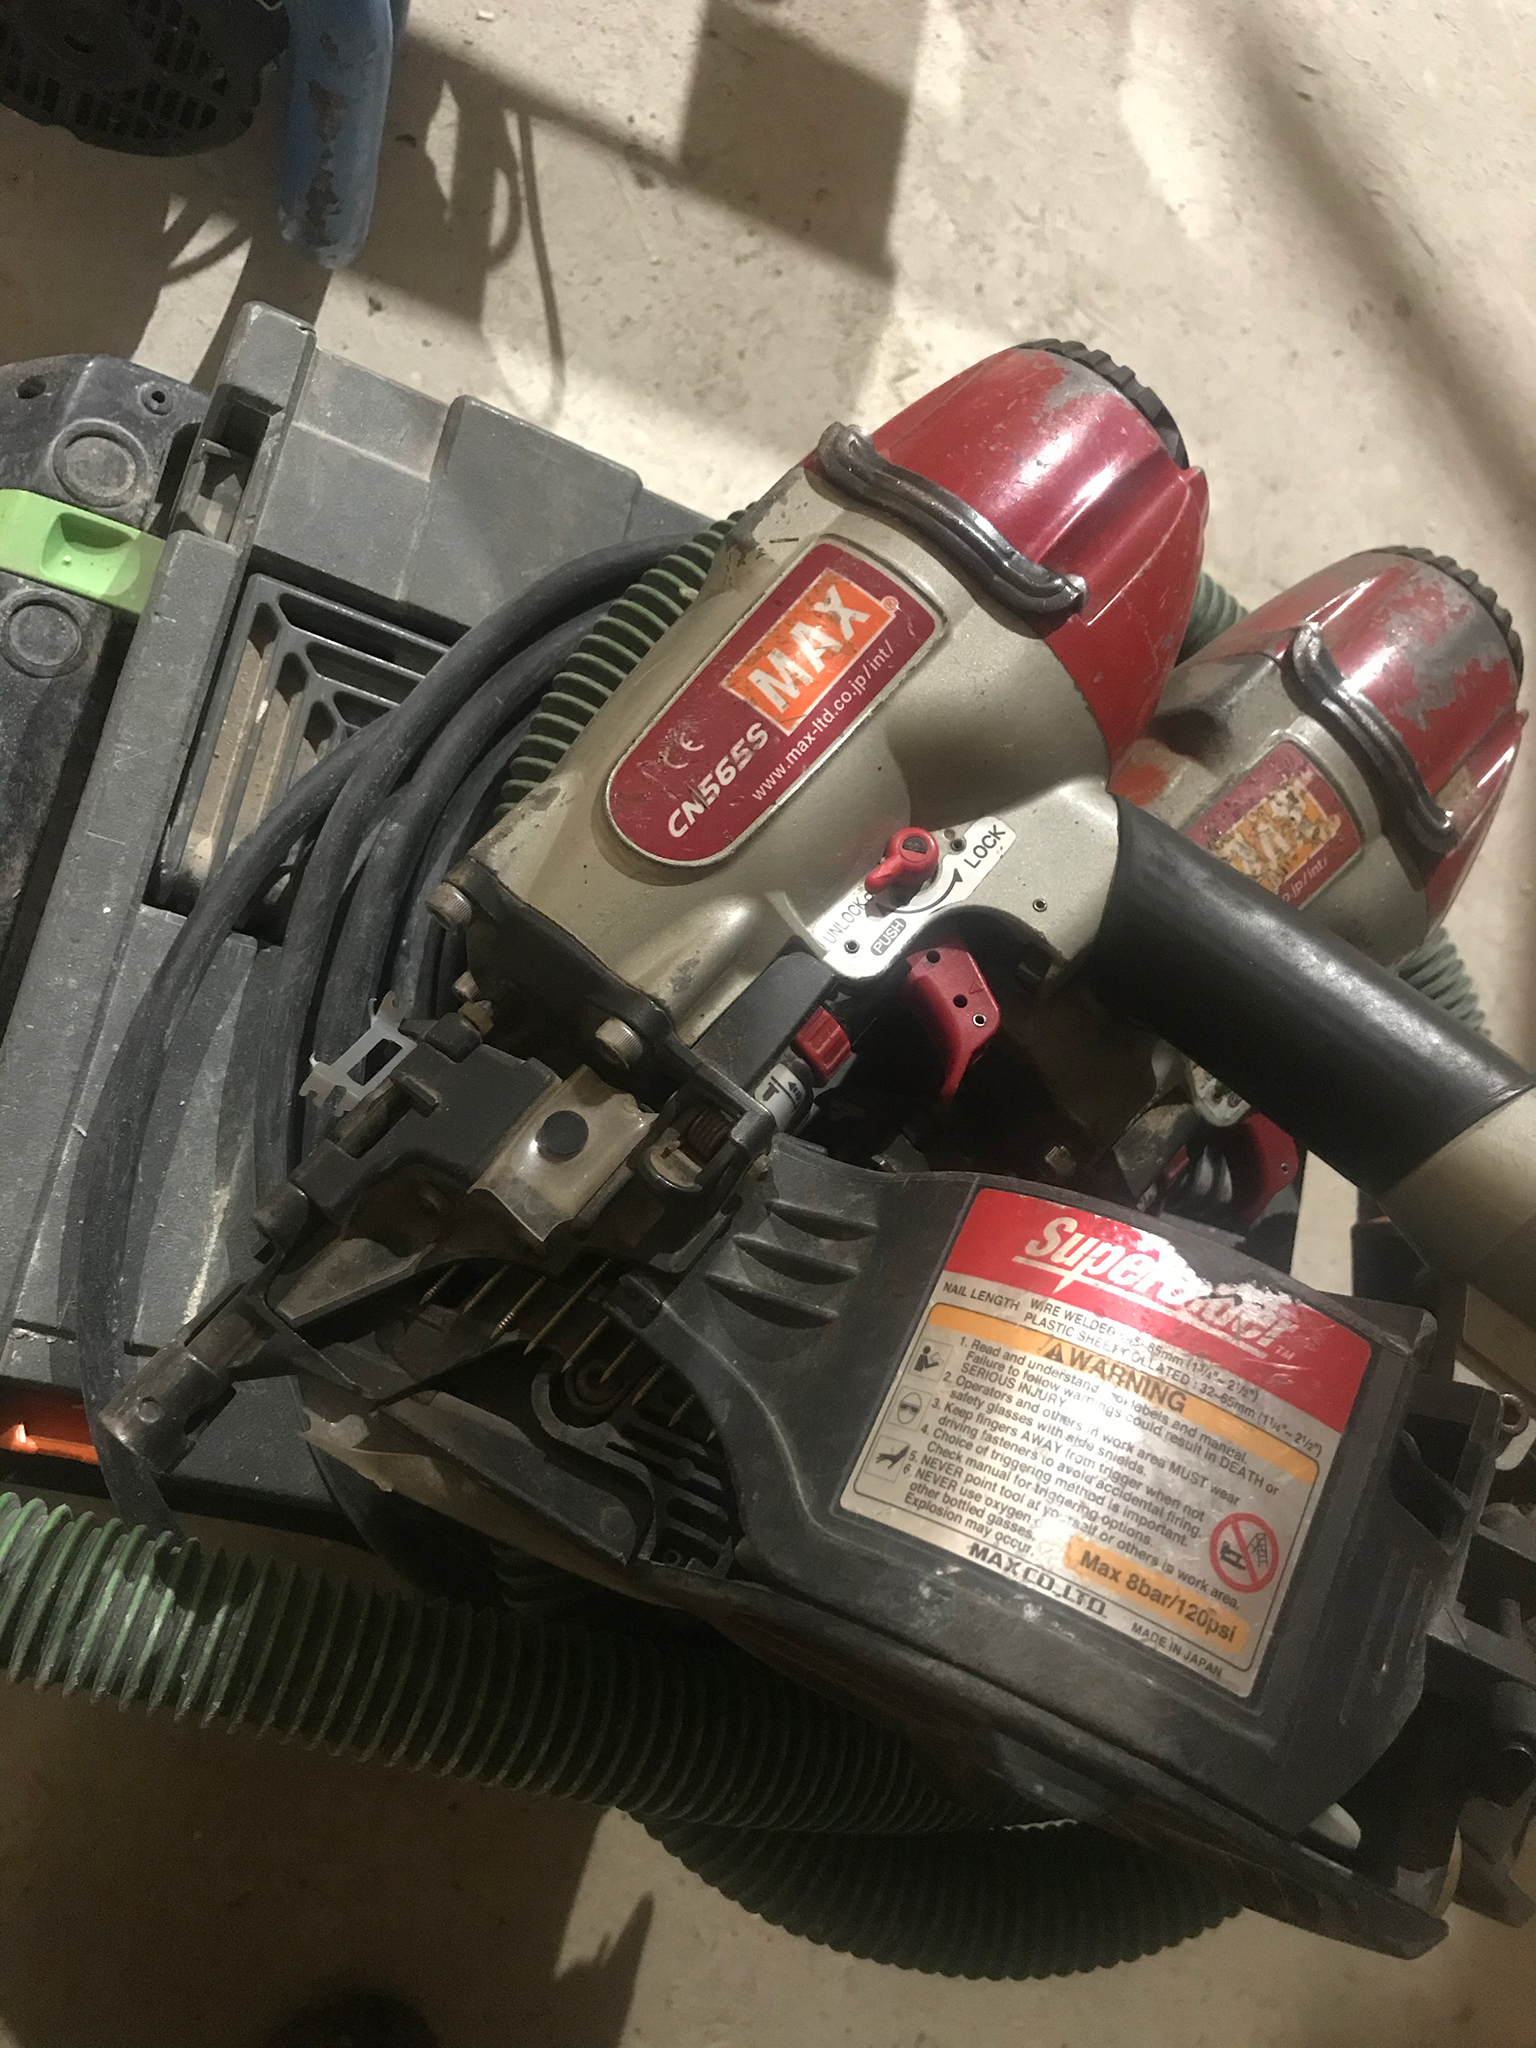

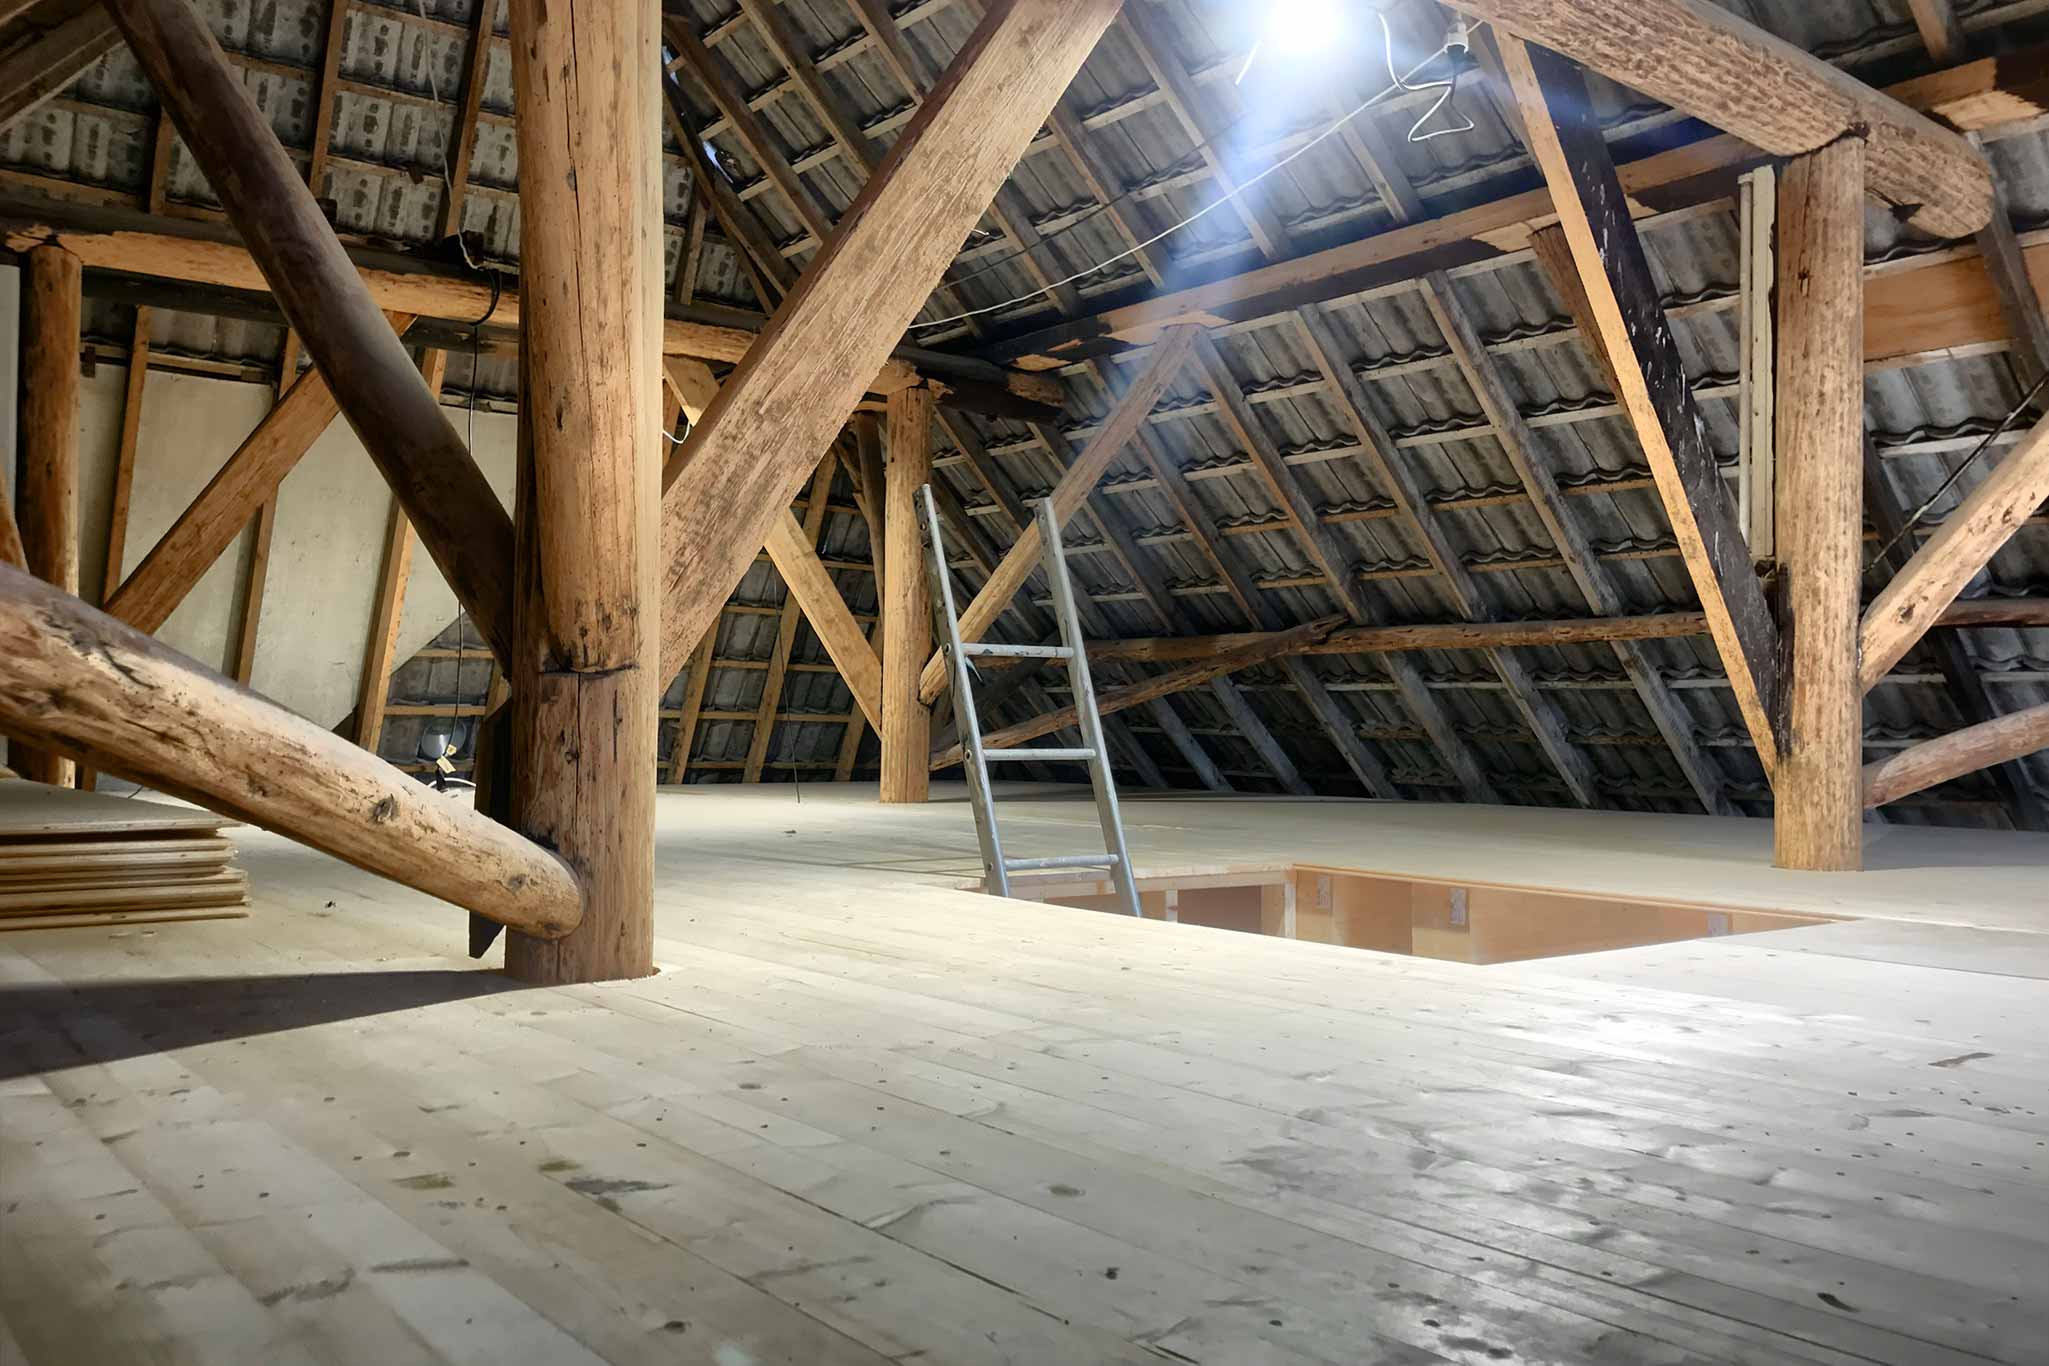
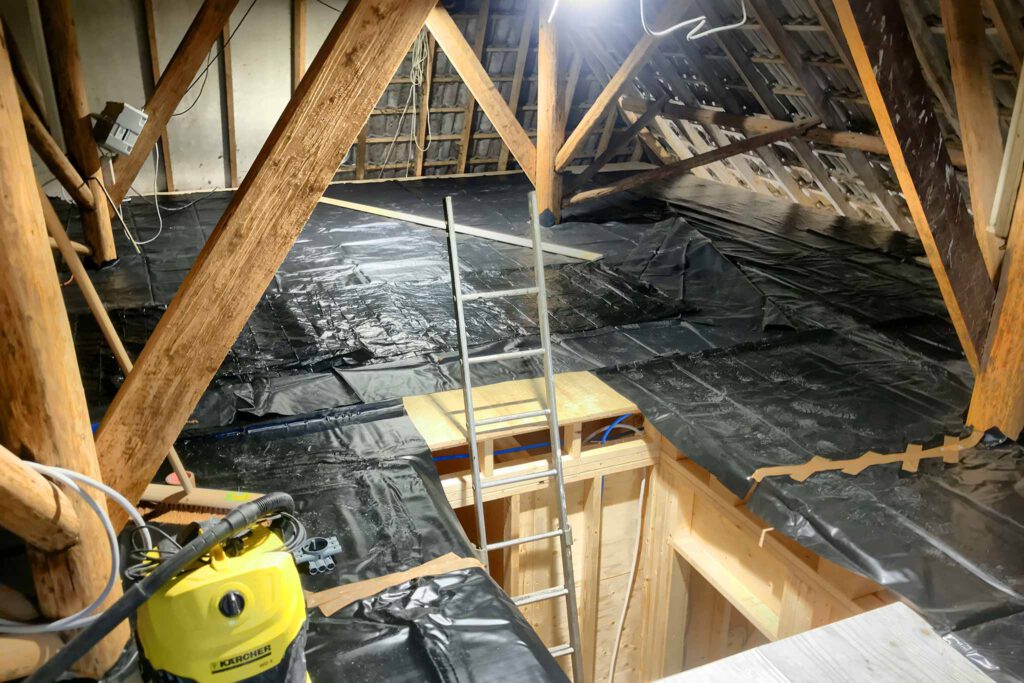
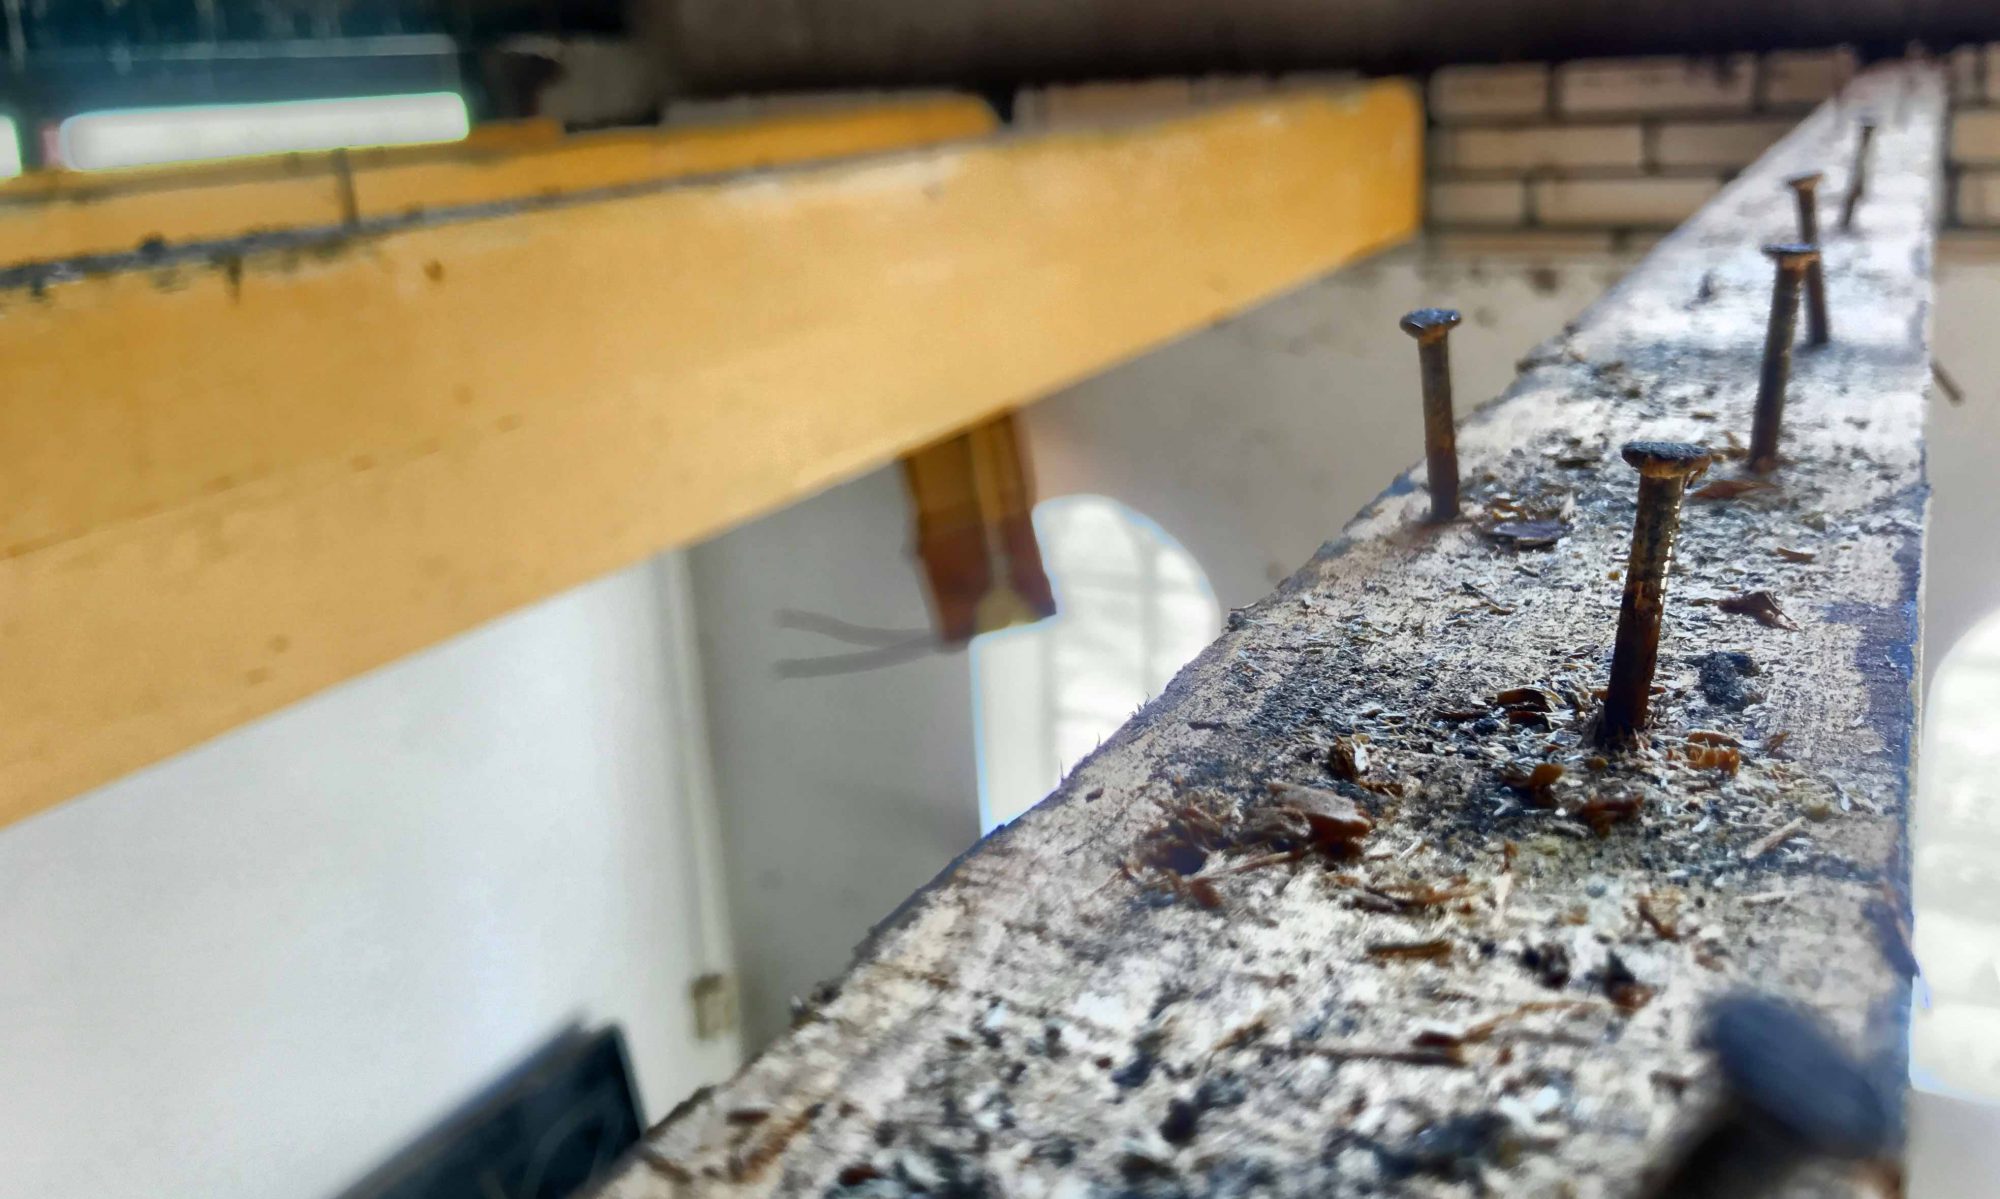
After placing the beams, it is time for the first layer of the attic floor (or the ground floor ceiling). 2cm planks nailed into place. As I’m told, this stuff is never done by hand anymore. Nailguns are a time saver…
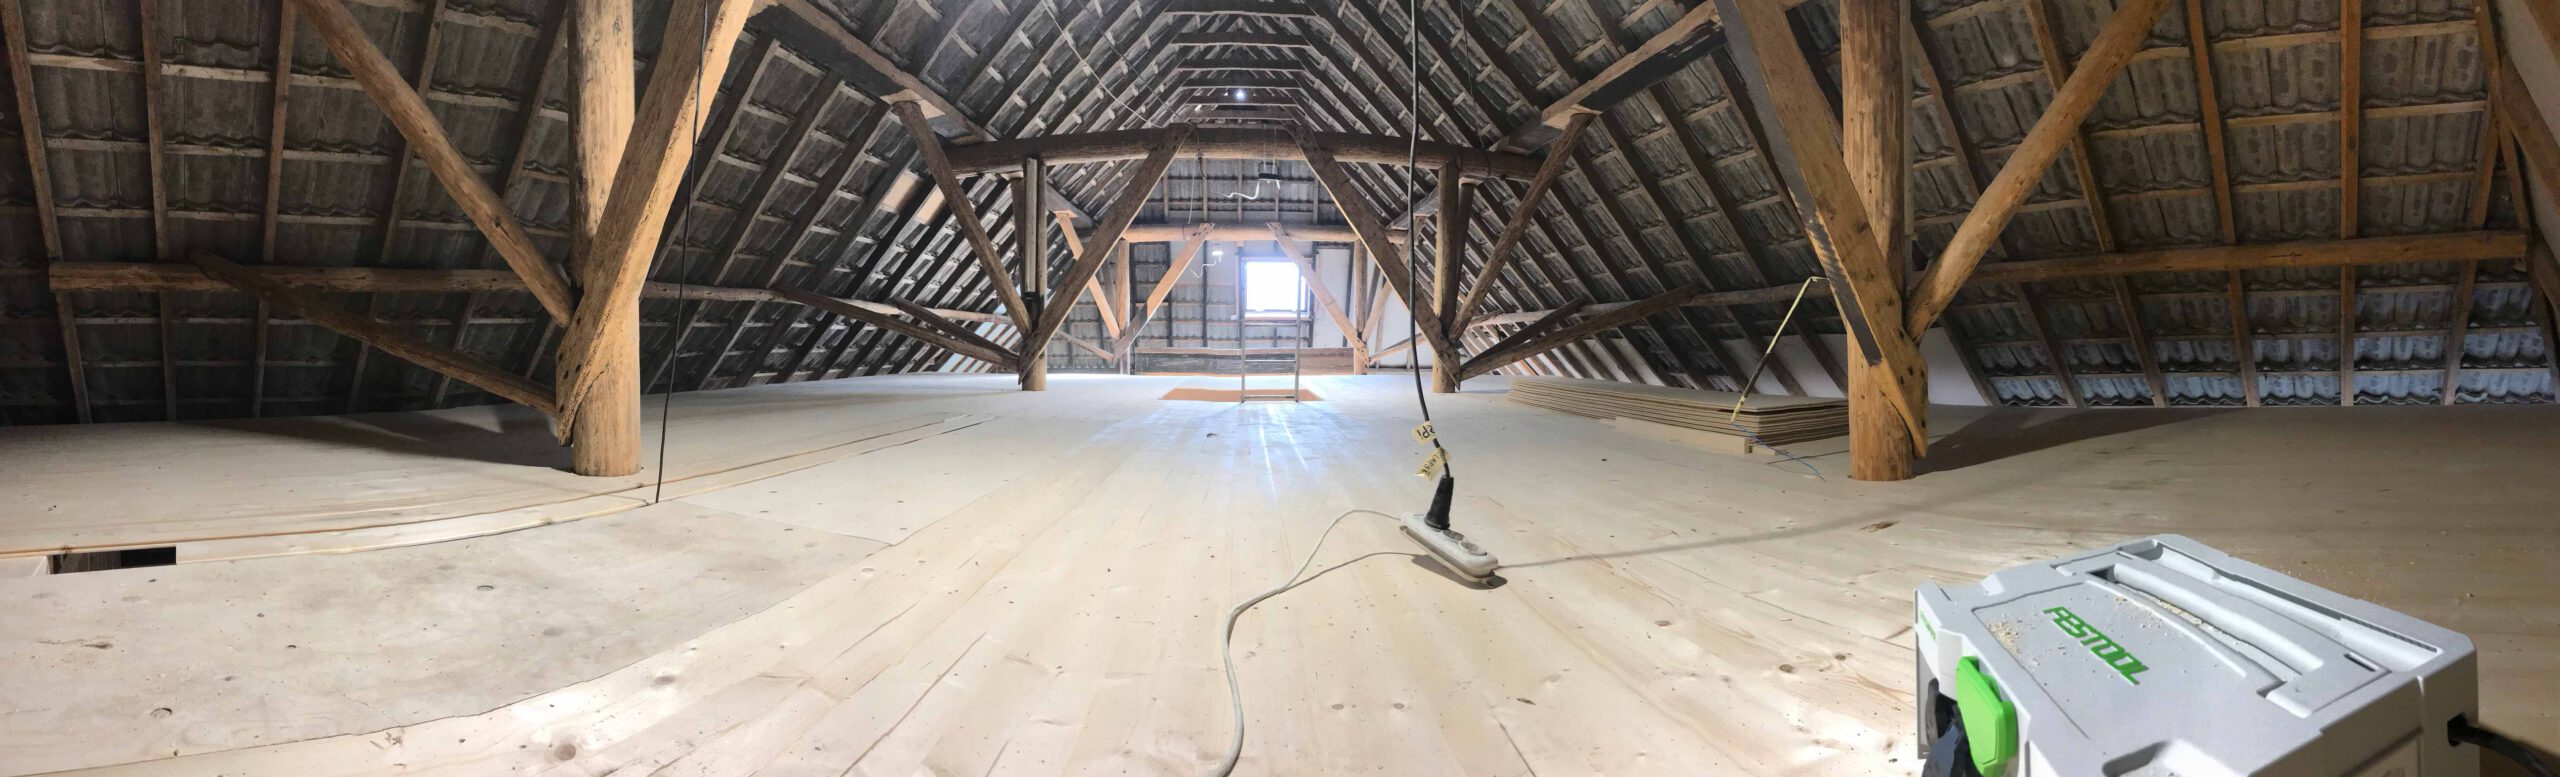
After placing that layer, it will take ‘some’ time until the next layer is placed. therefore I played Christo in the small. Dust apparently has the ability to, together with the shrinking and expanding of the wood, seep through the planks, even with the grooved connections. This could lead to the dust falling though onto the floor below. As there will still be a lot of dust generated for some time, a layer of plastic should prevent the dust from settling in the grooves of the planks.
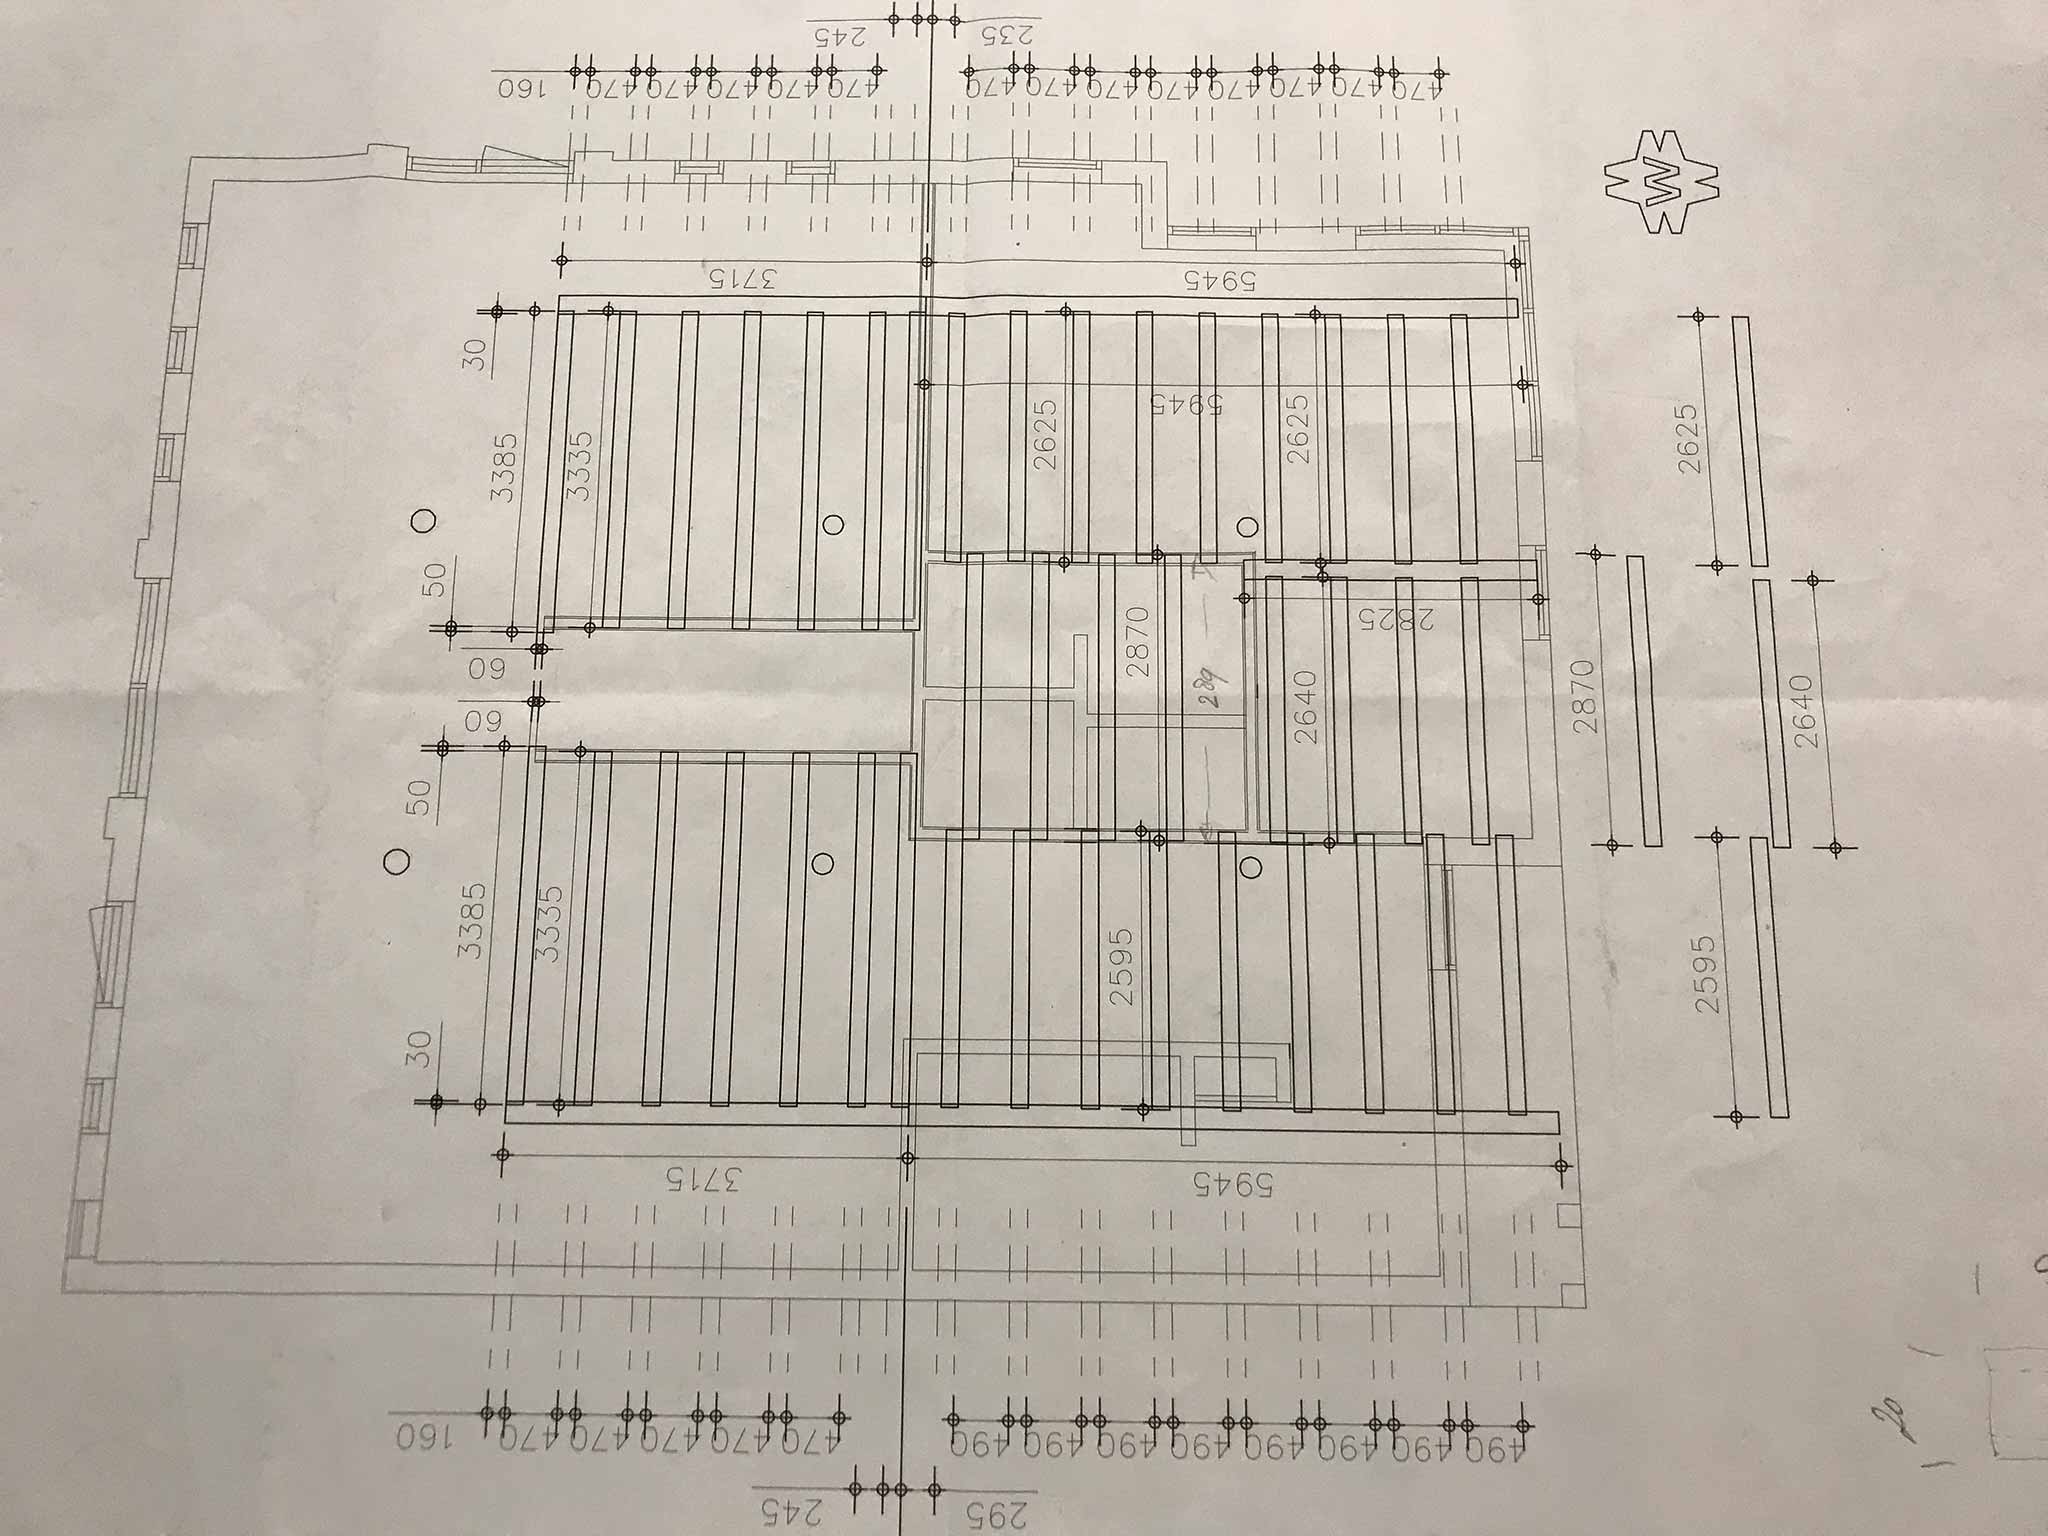
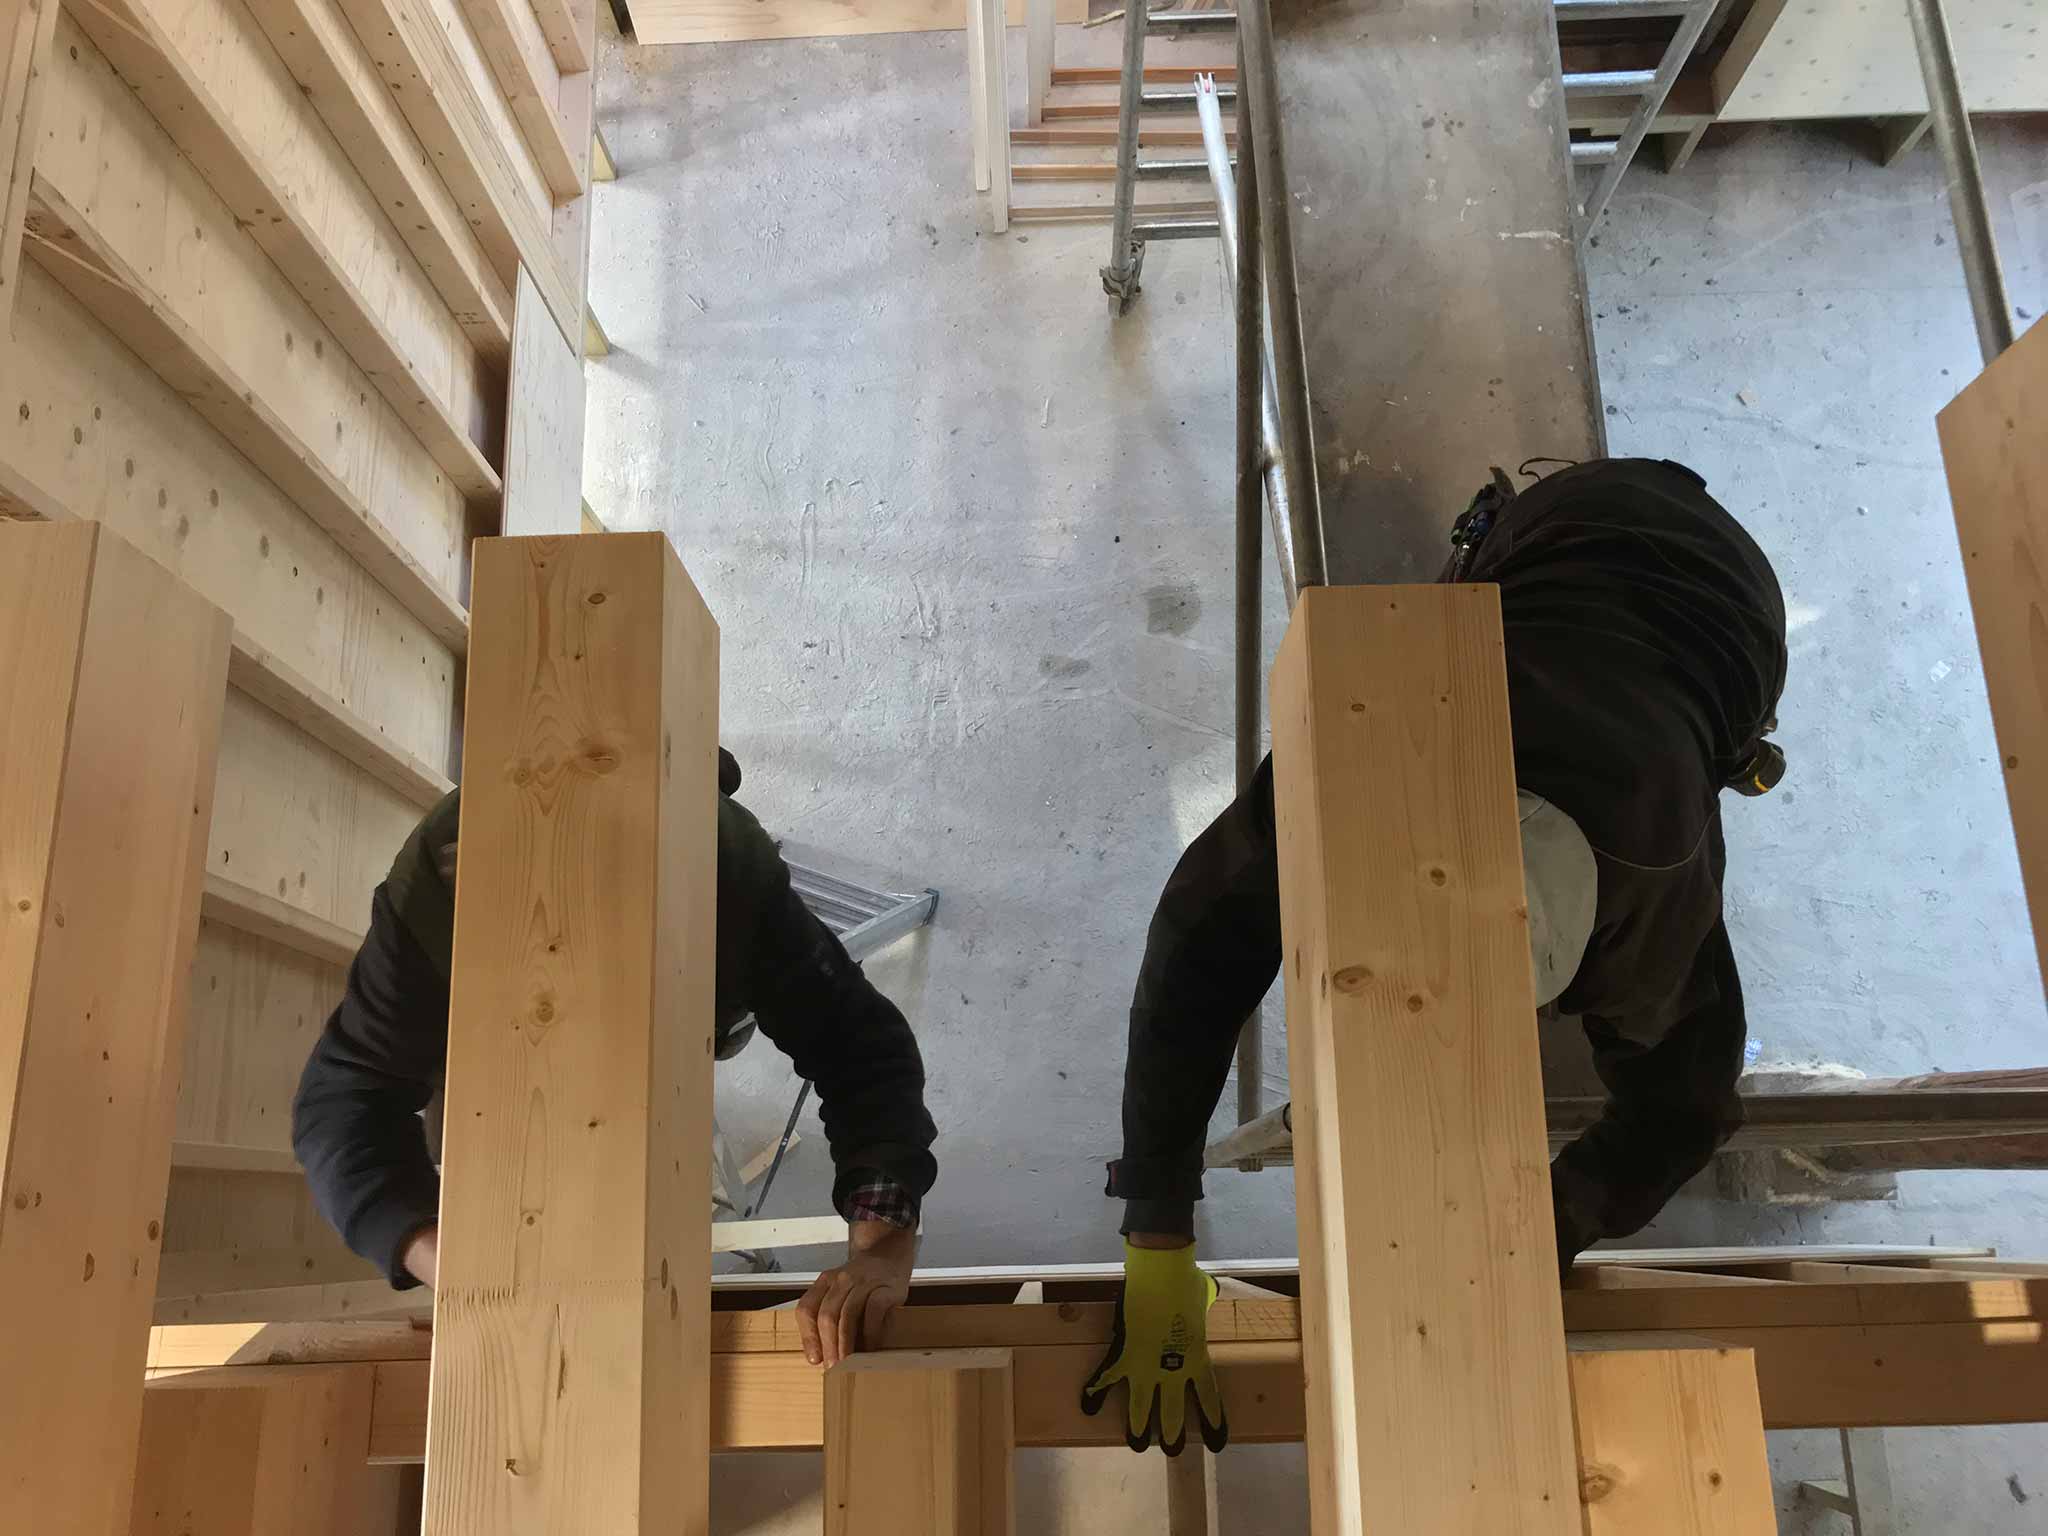
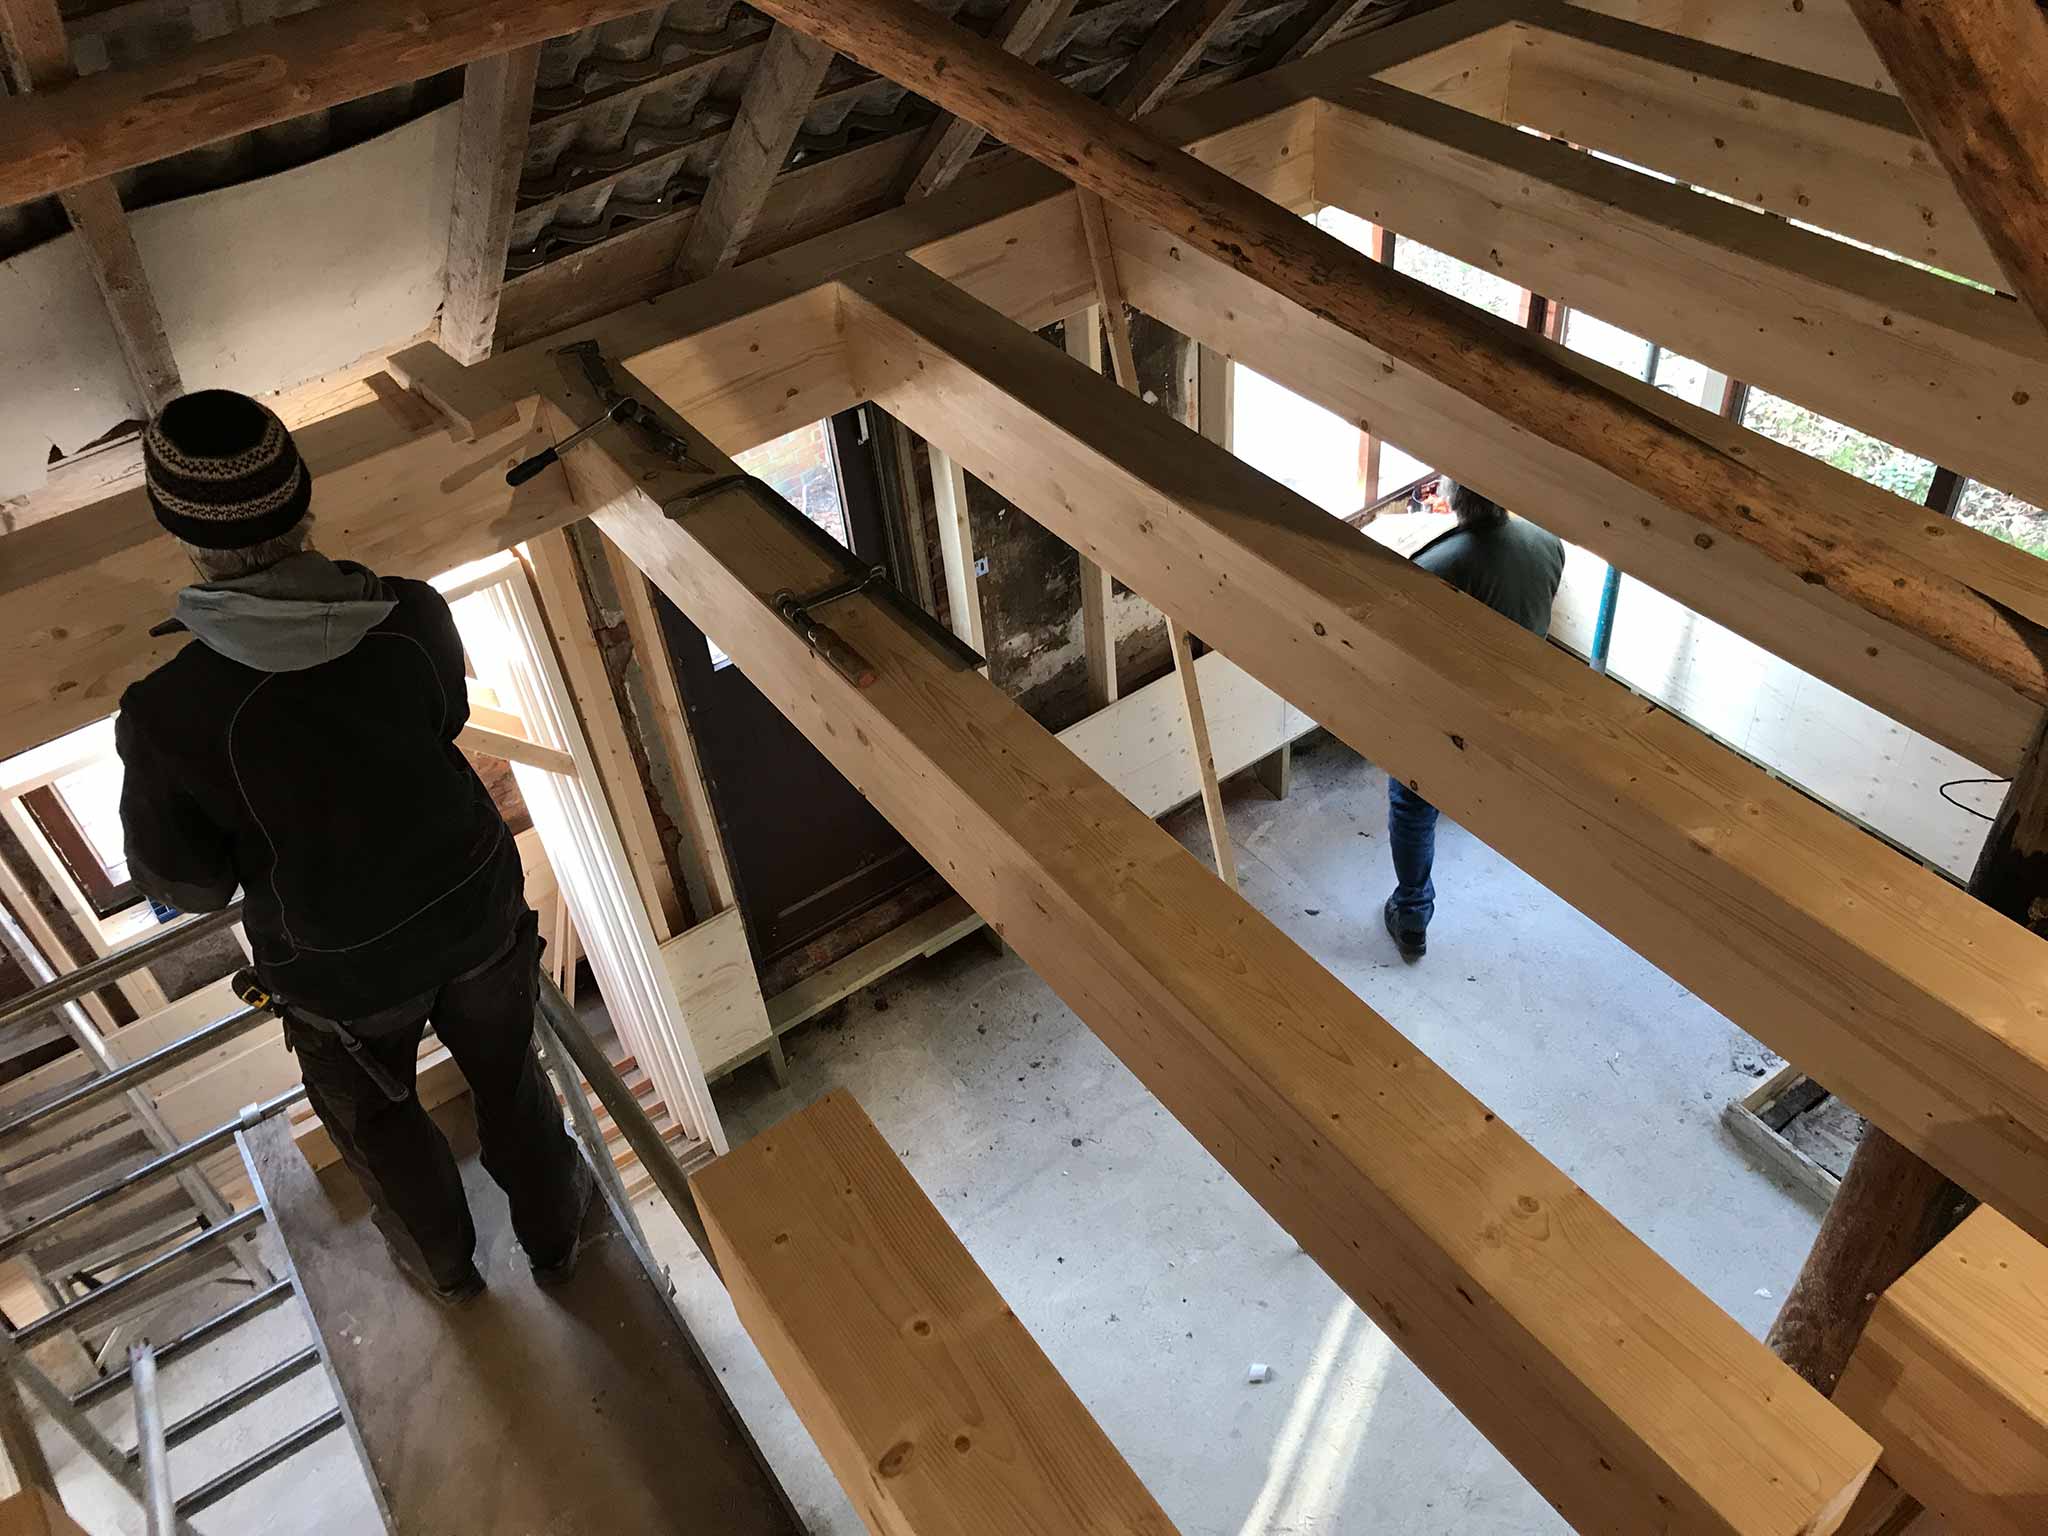
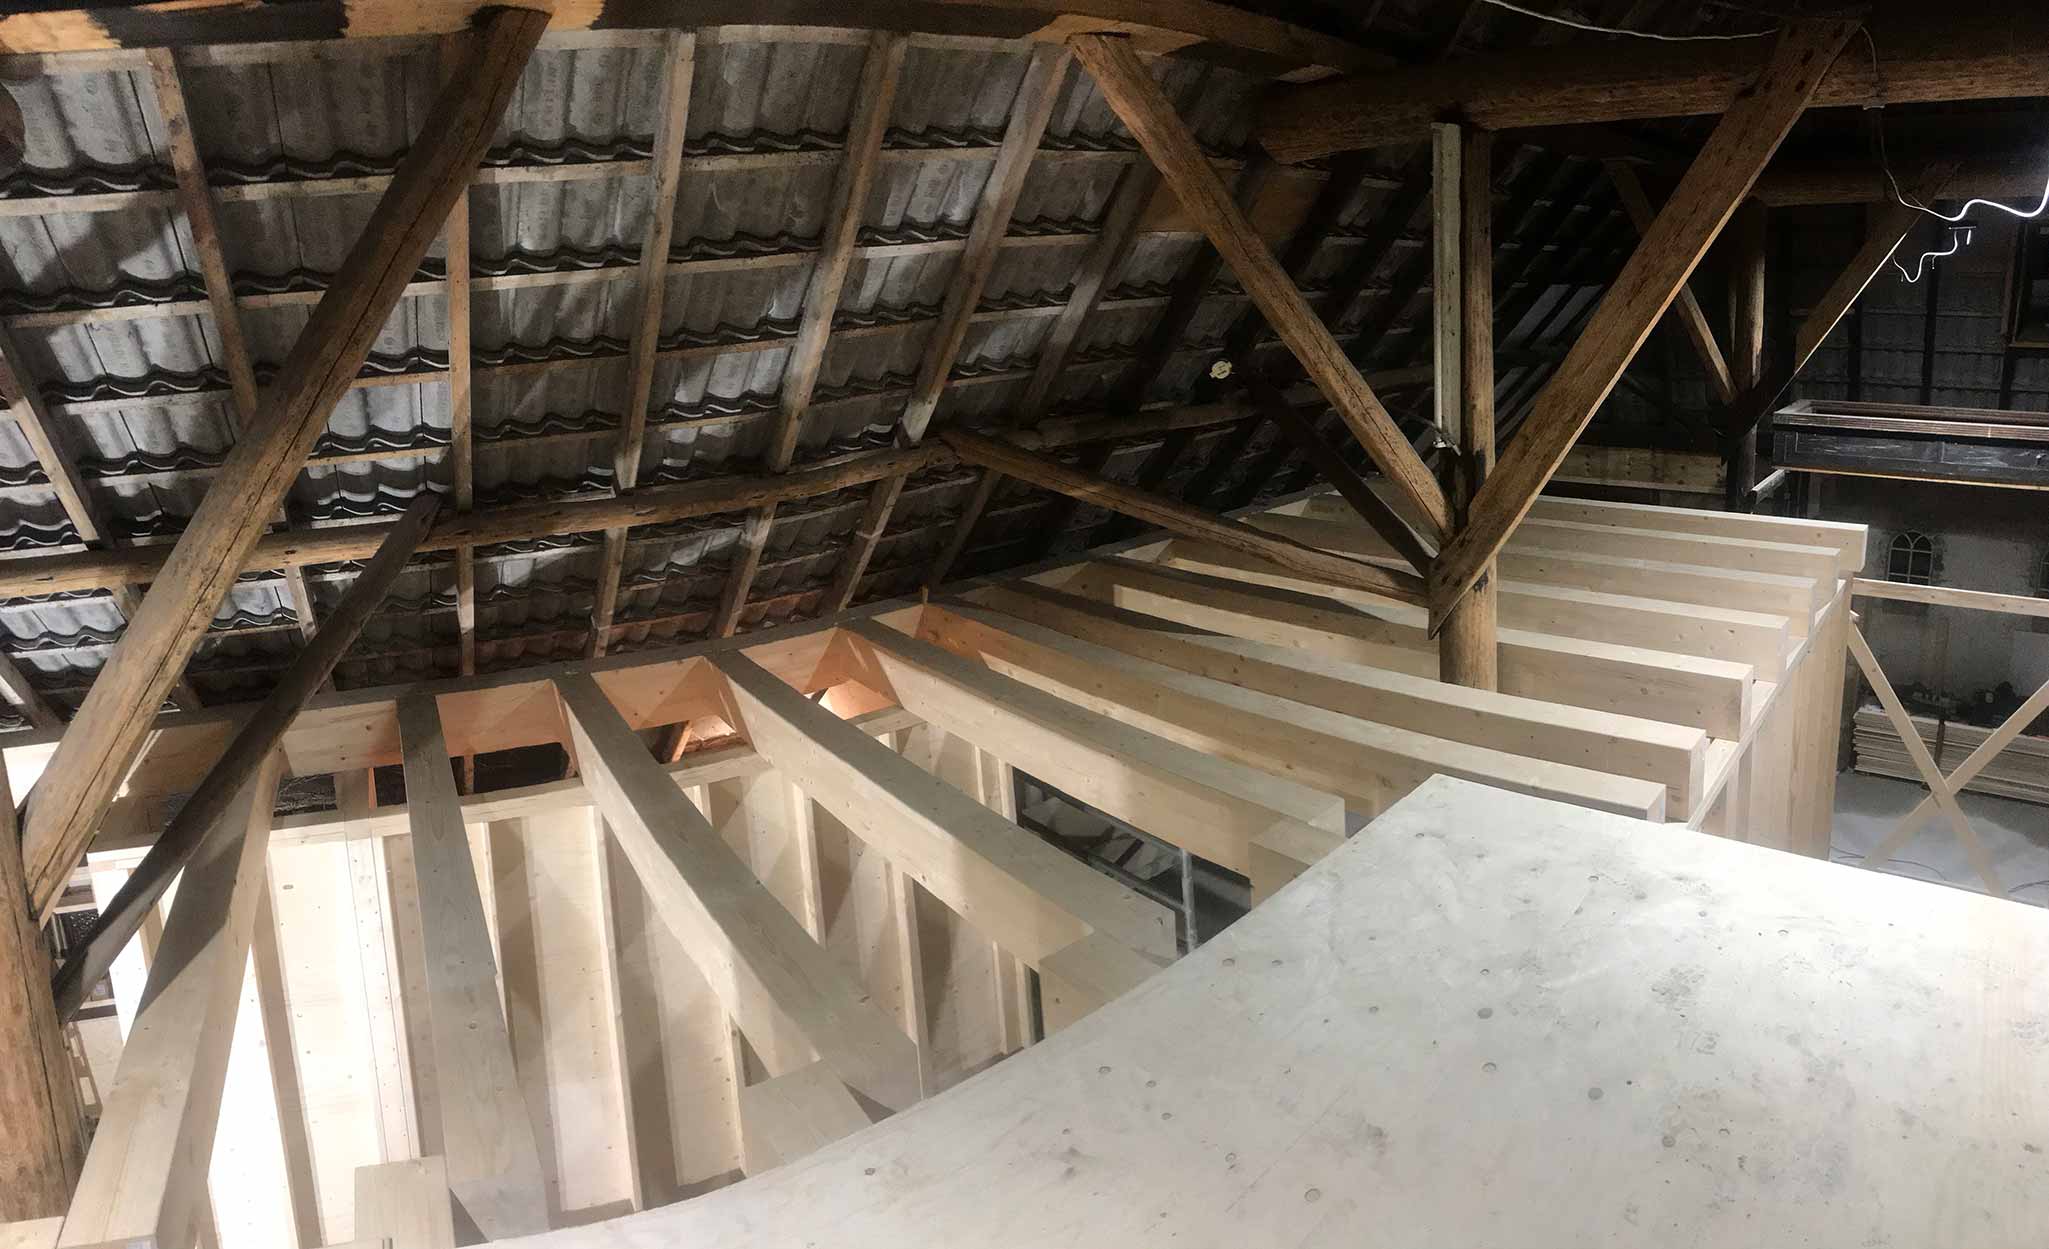
Placing the beams was a two day job. There are two long beams that span about 7 meters of the length of the building. Into these a bunch of shorter beams are inserted and rested on internal walls with their other end.
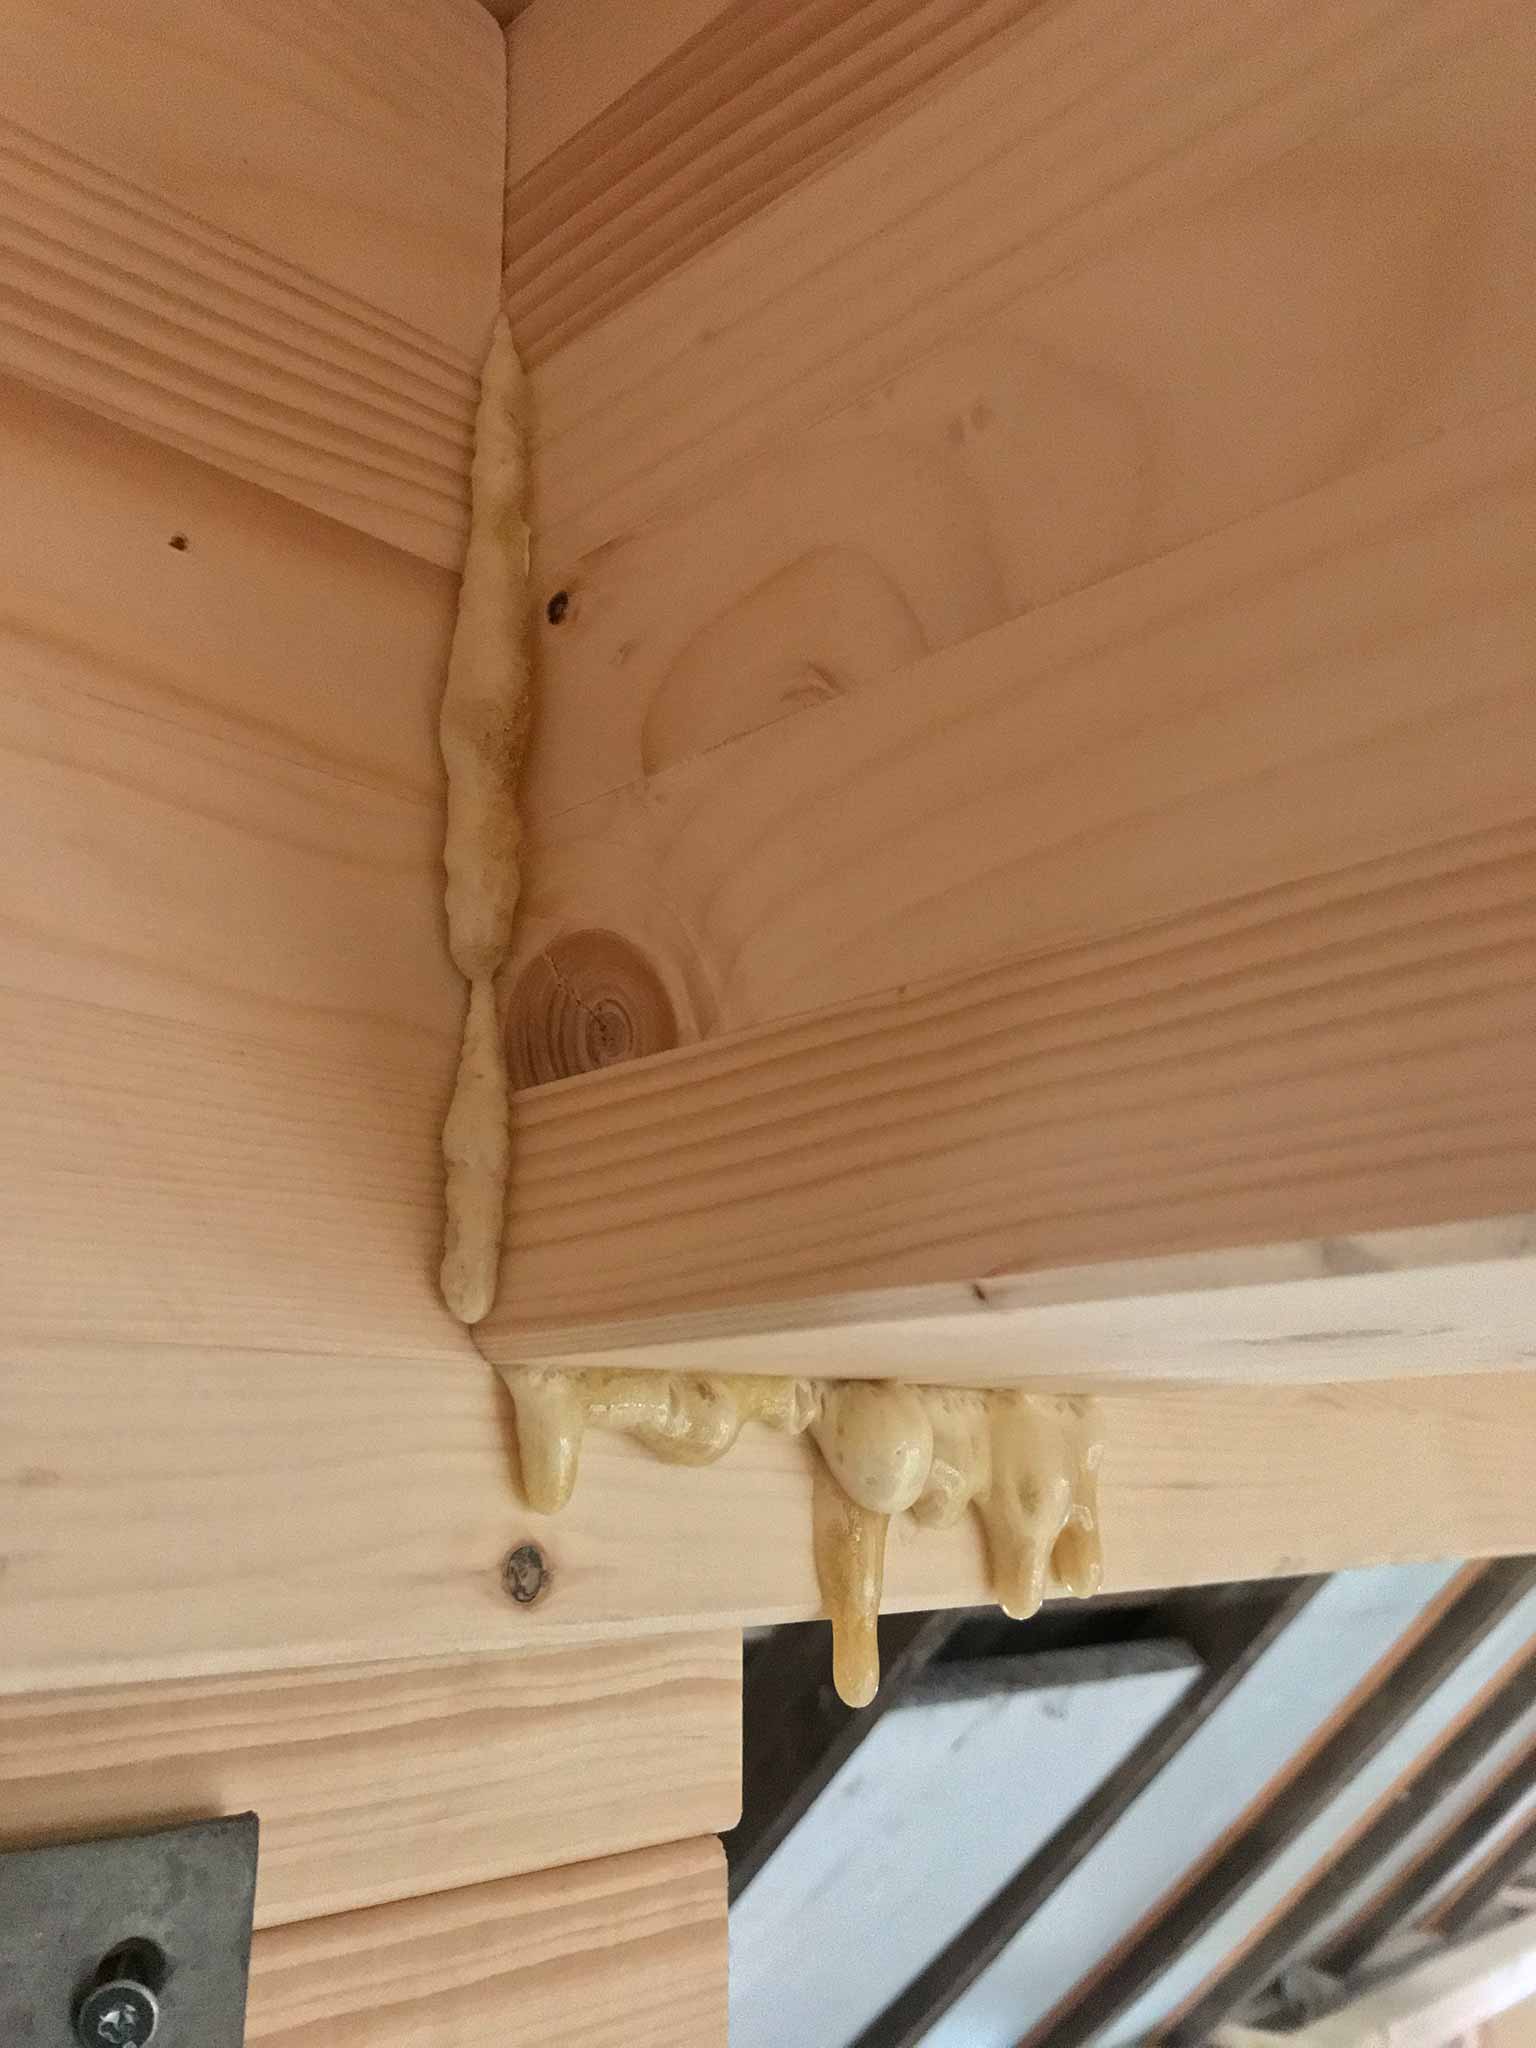
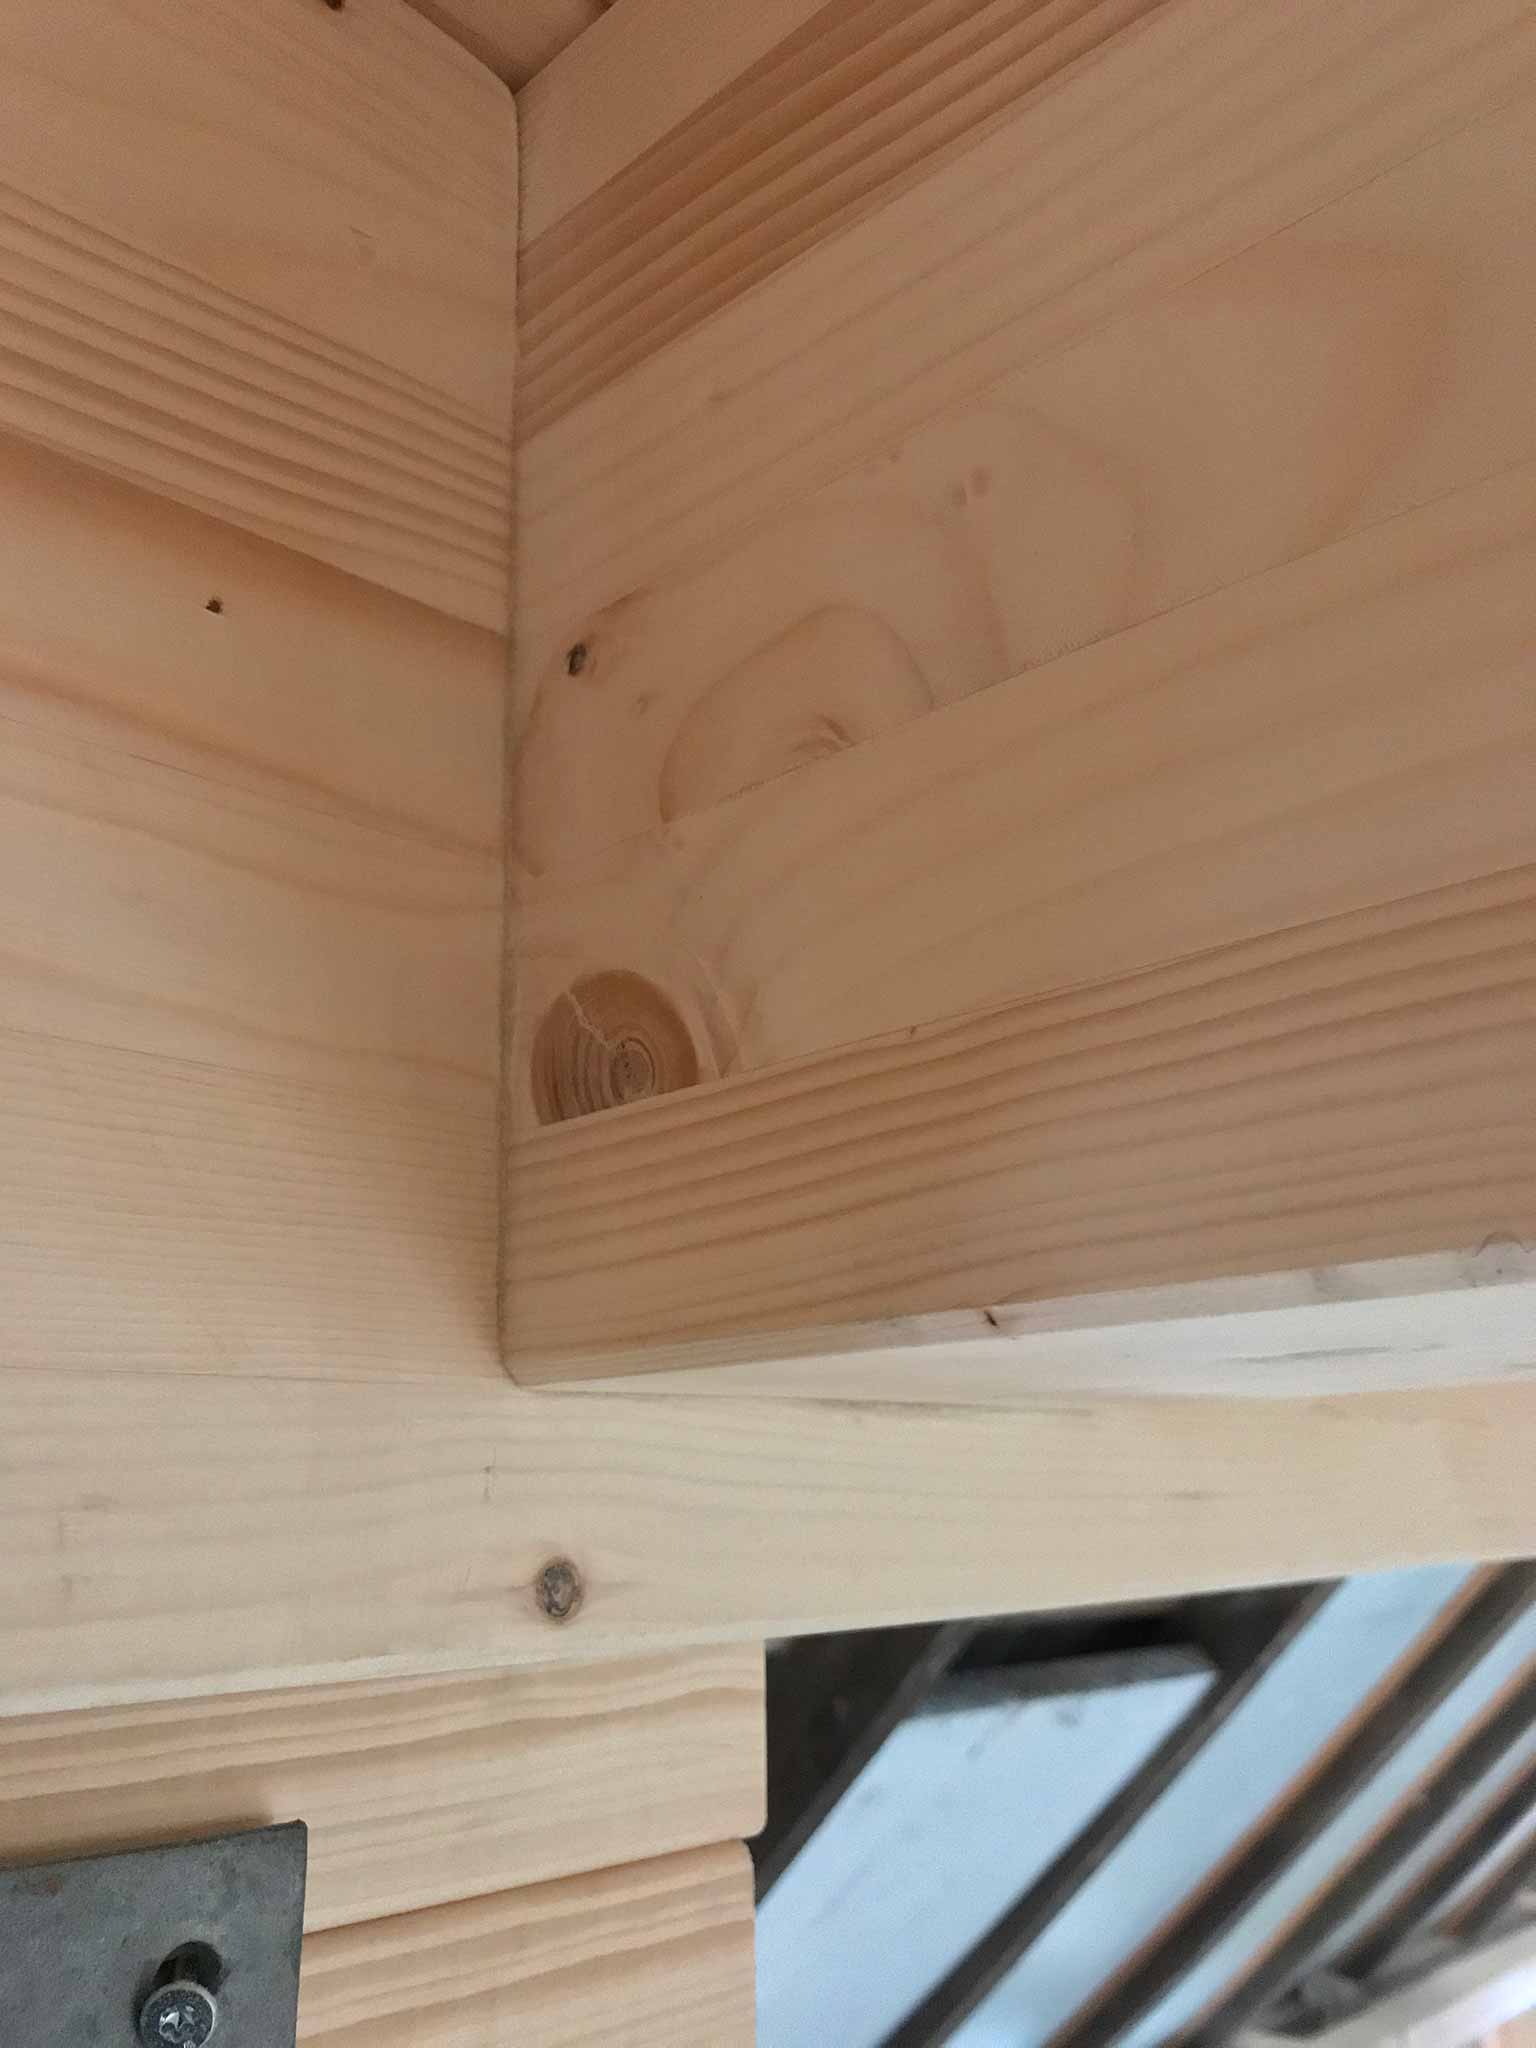
The piece that is inserted into the other beam is pulled against it with a nifty tool before it is screwed into place. The screws and glue should do the trick and there is not too much sideway forces on it anyway.
Nasty thing about the glue is that it drips. Especially when the beams are pulled towards each other. Chisel, paint scraper, sanding paper and a bit of patience do the trick there…
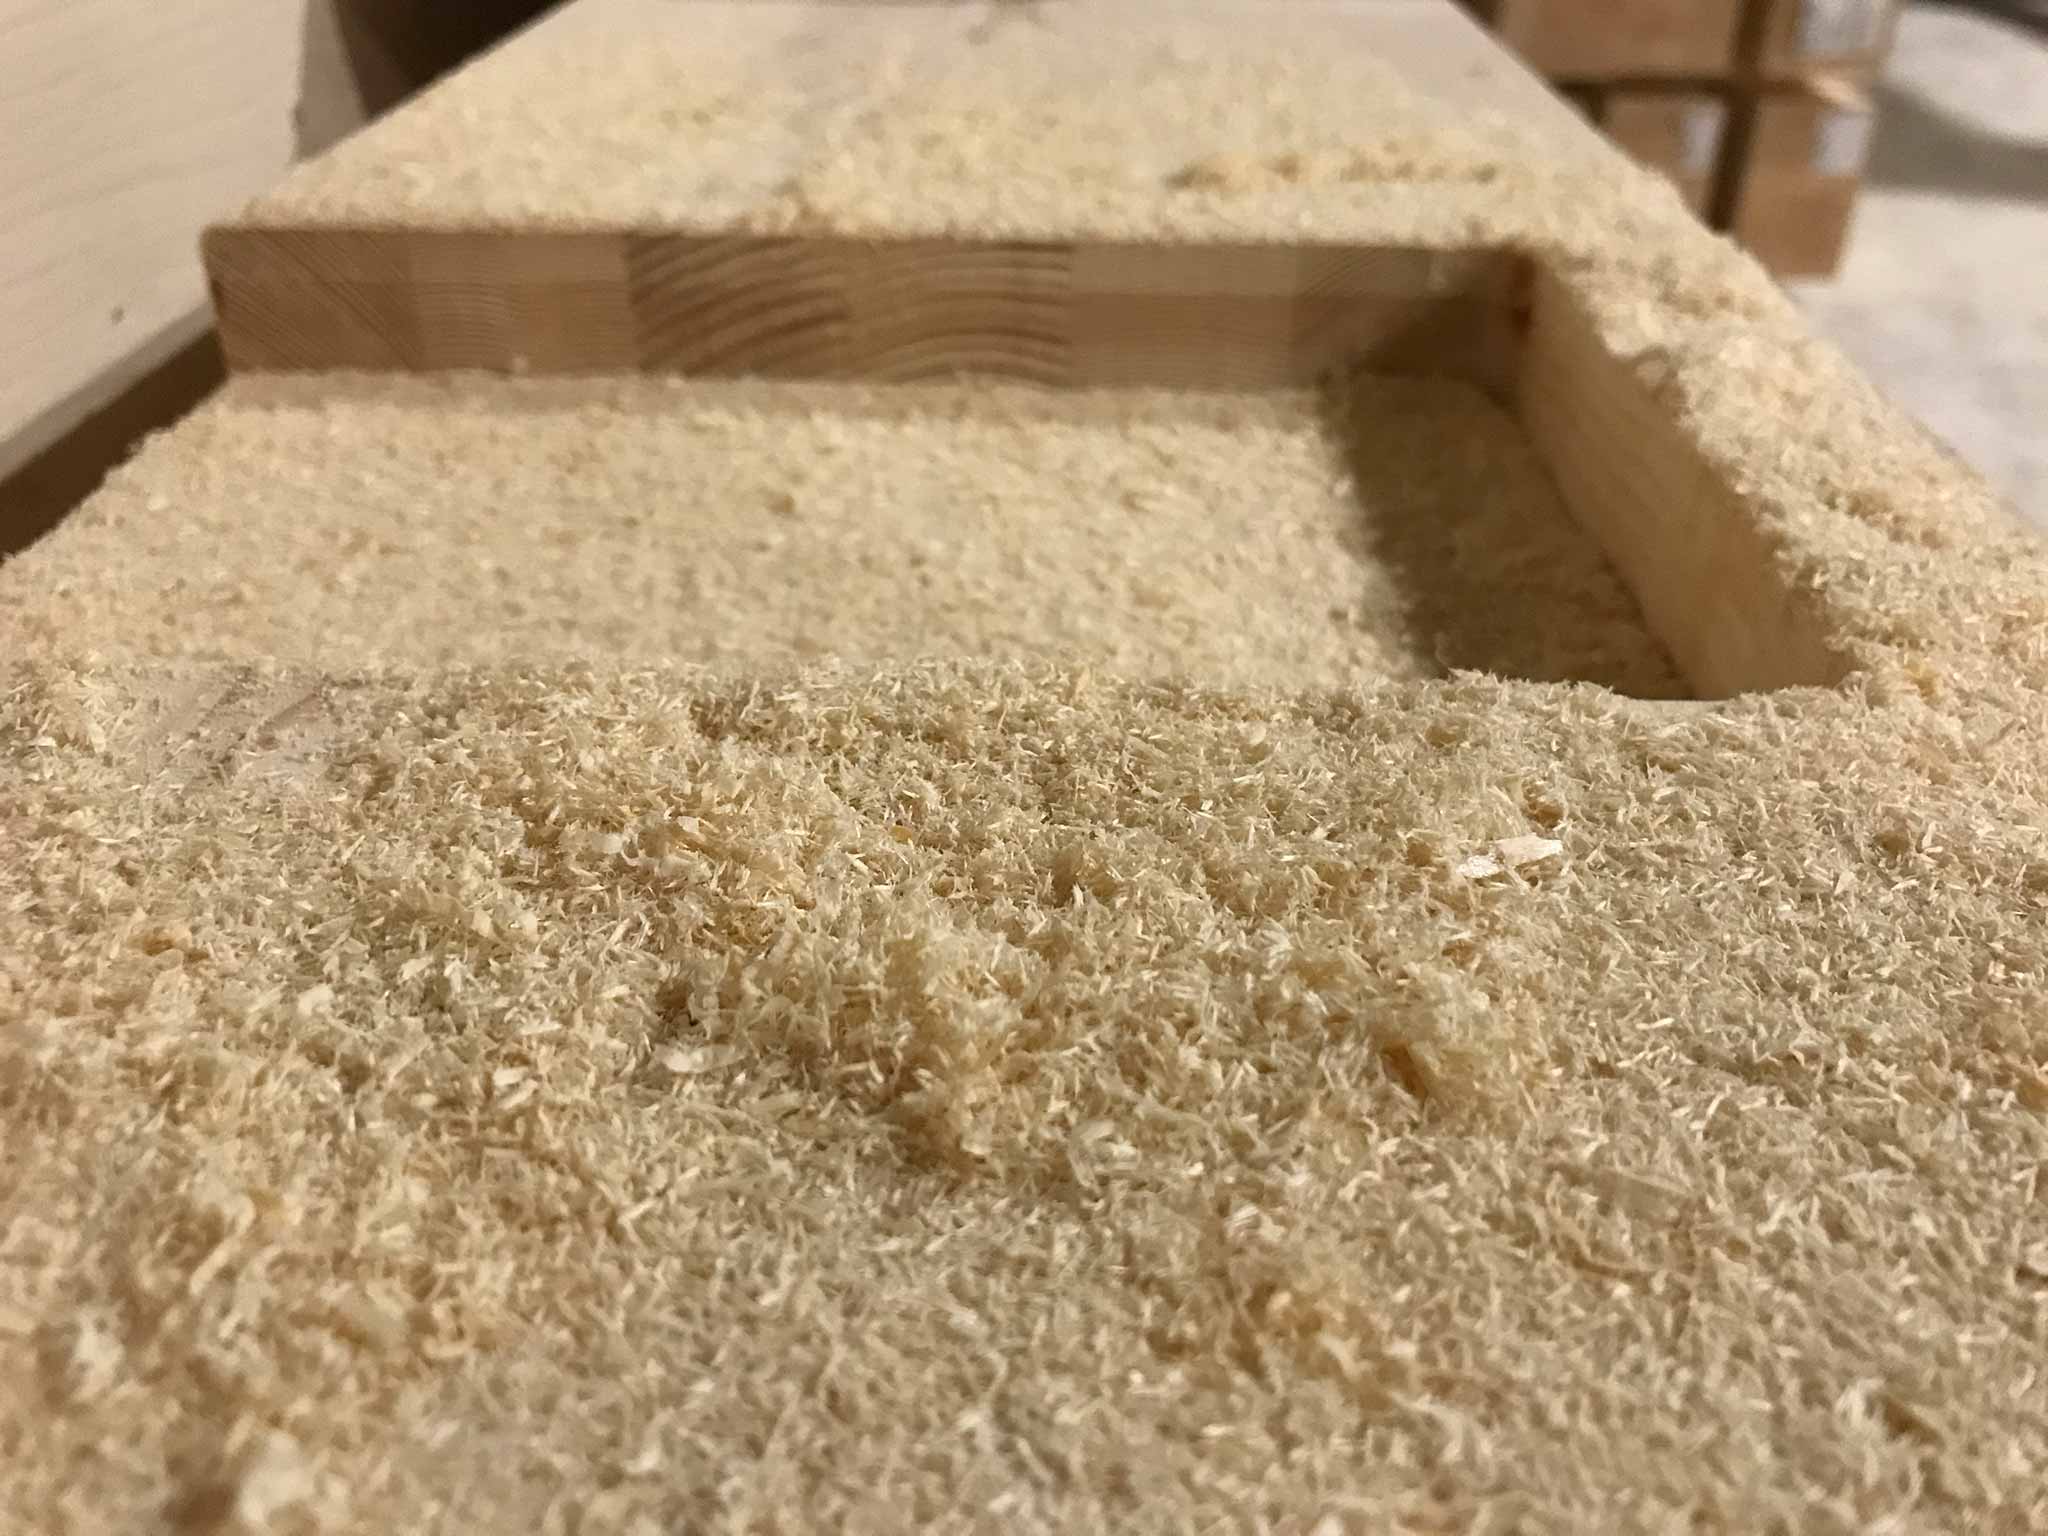
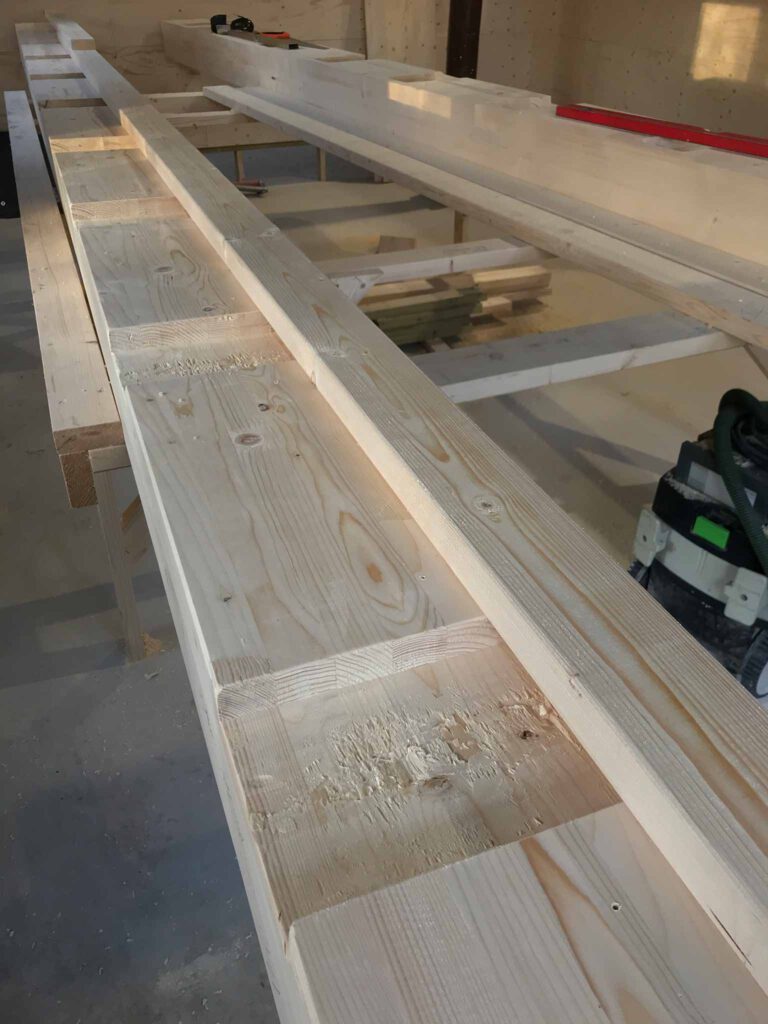
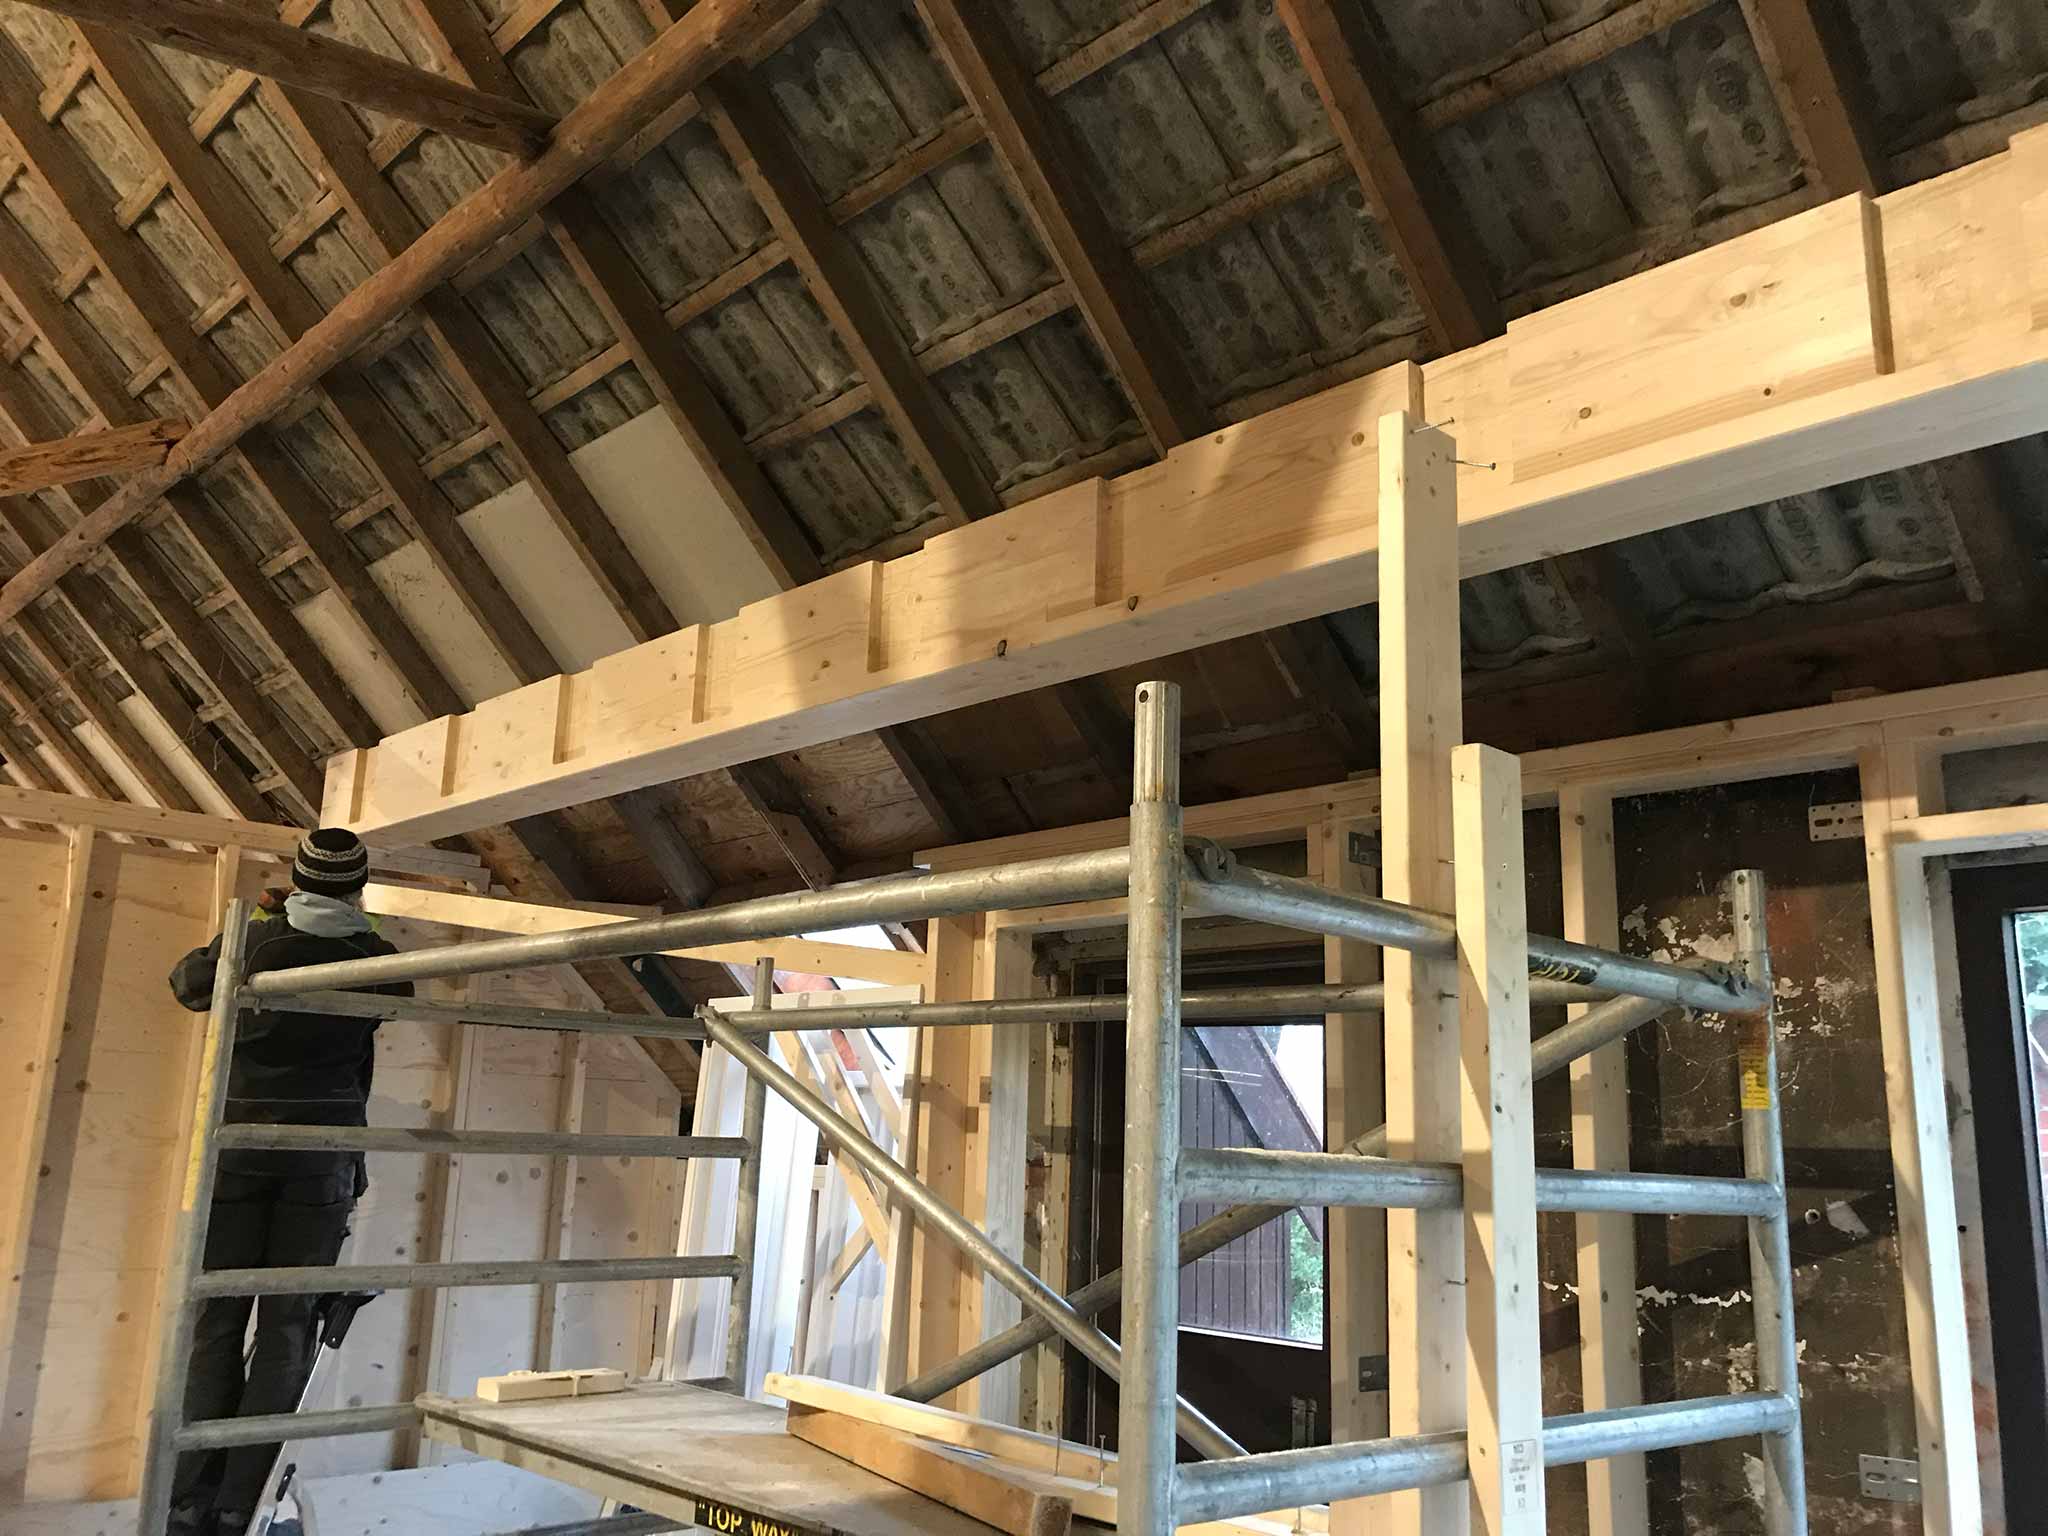
The long beams have 3cm inserts milled into them. Into these, the perpendicular beams slide with a generous amount of glue. Most of those shorter beams only lean on the big beams on one end and rest with the other end on a wooden wall.

Just pretty 🙂 Moss in the garden with a watery sun streaking across it.
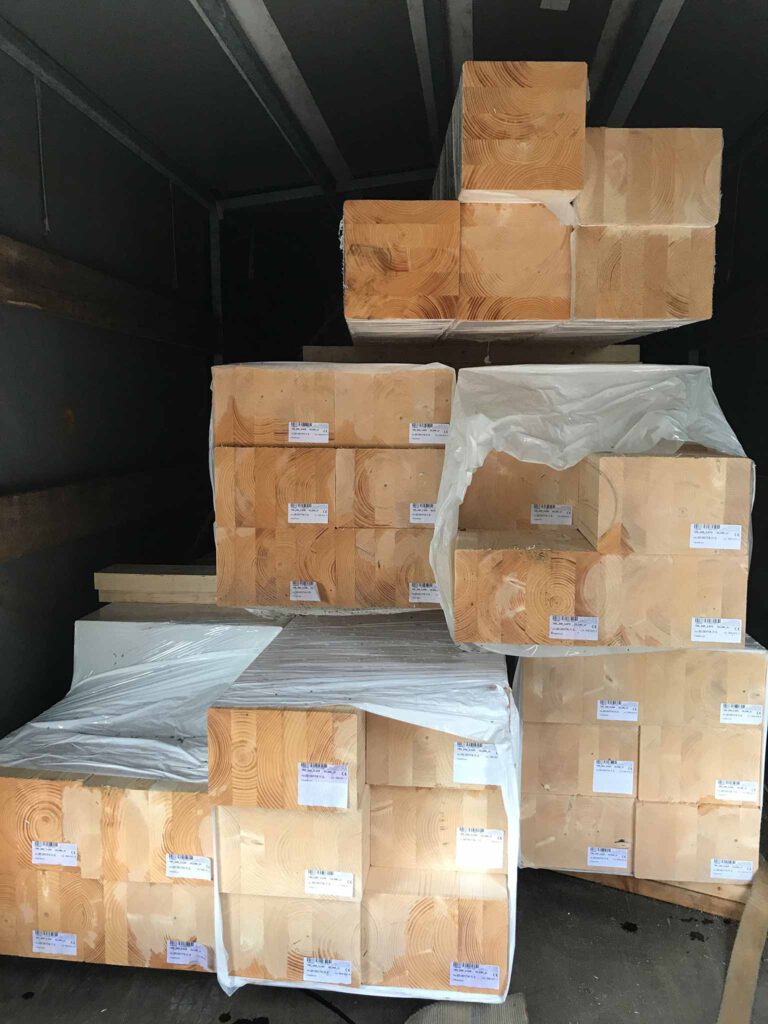
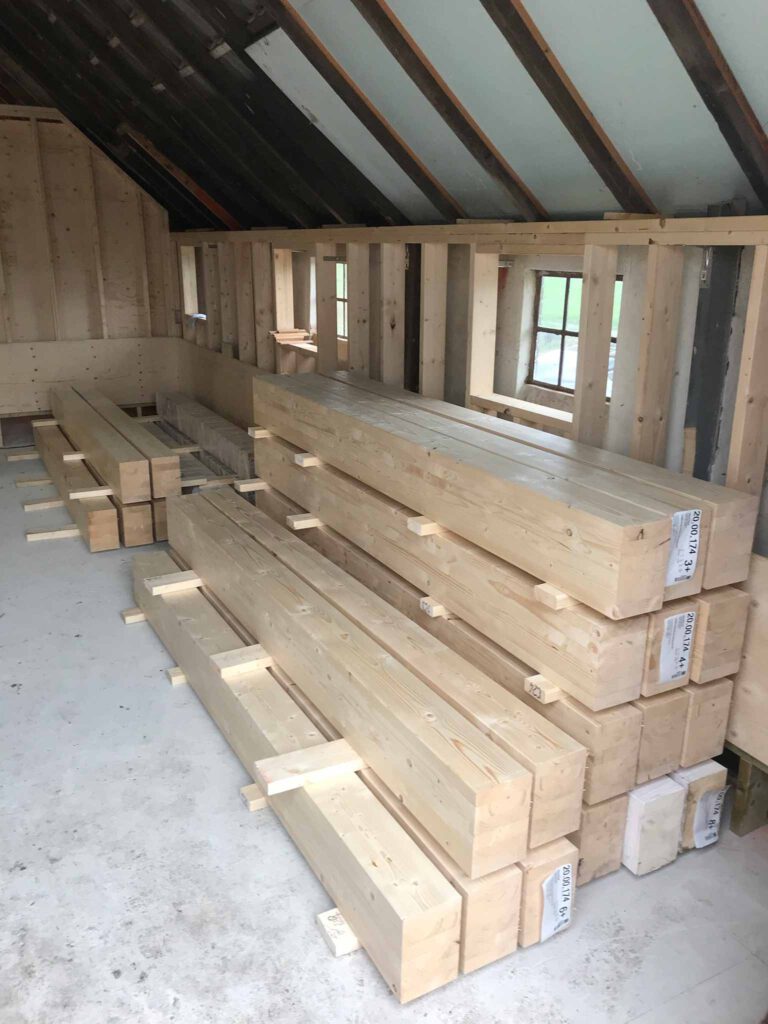
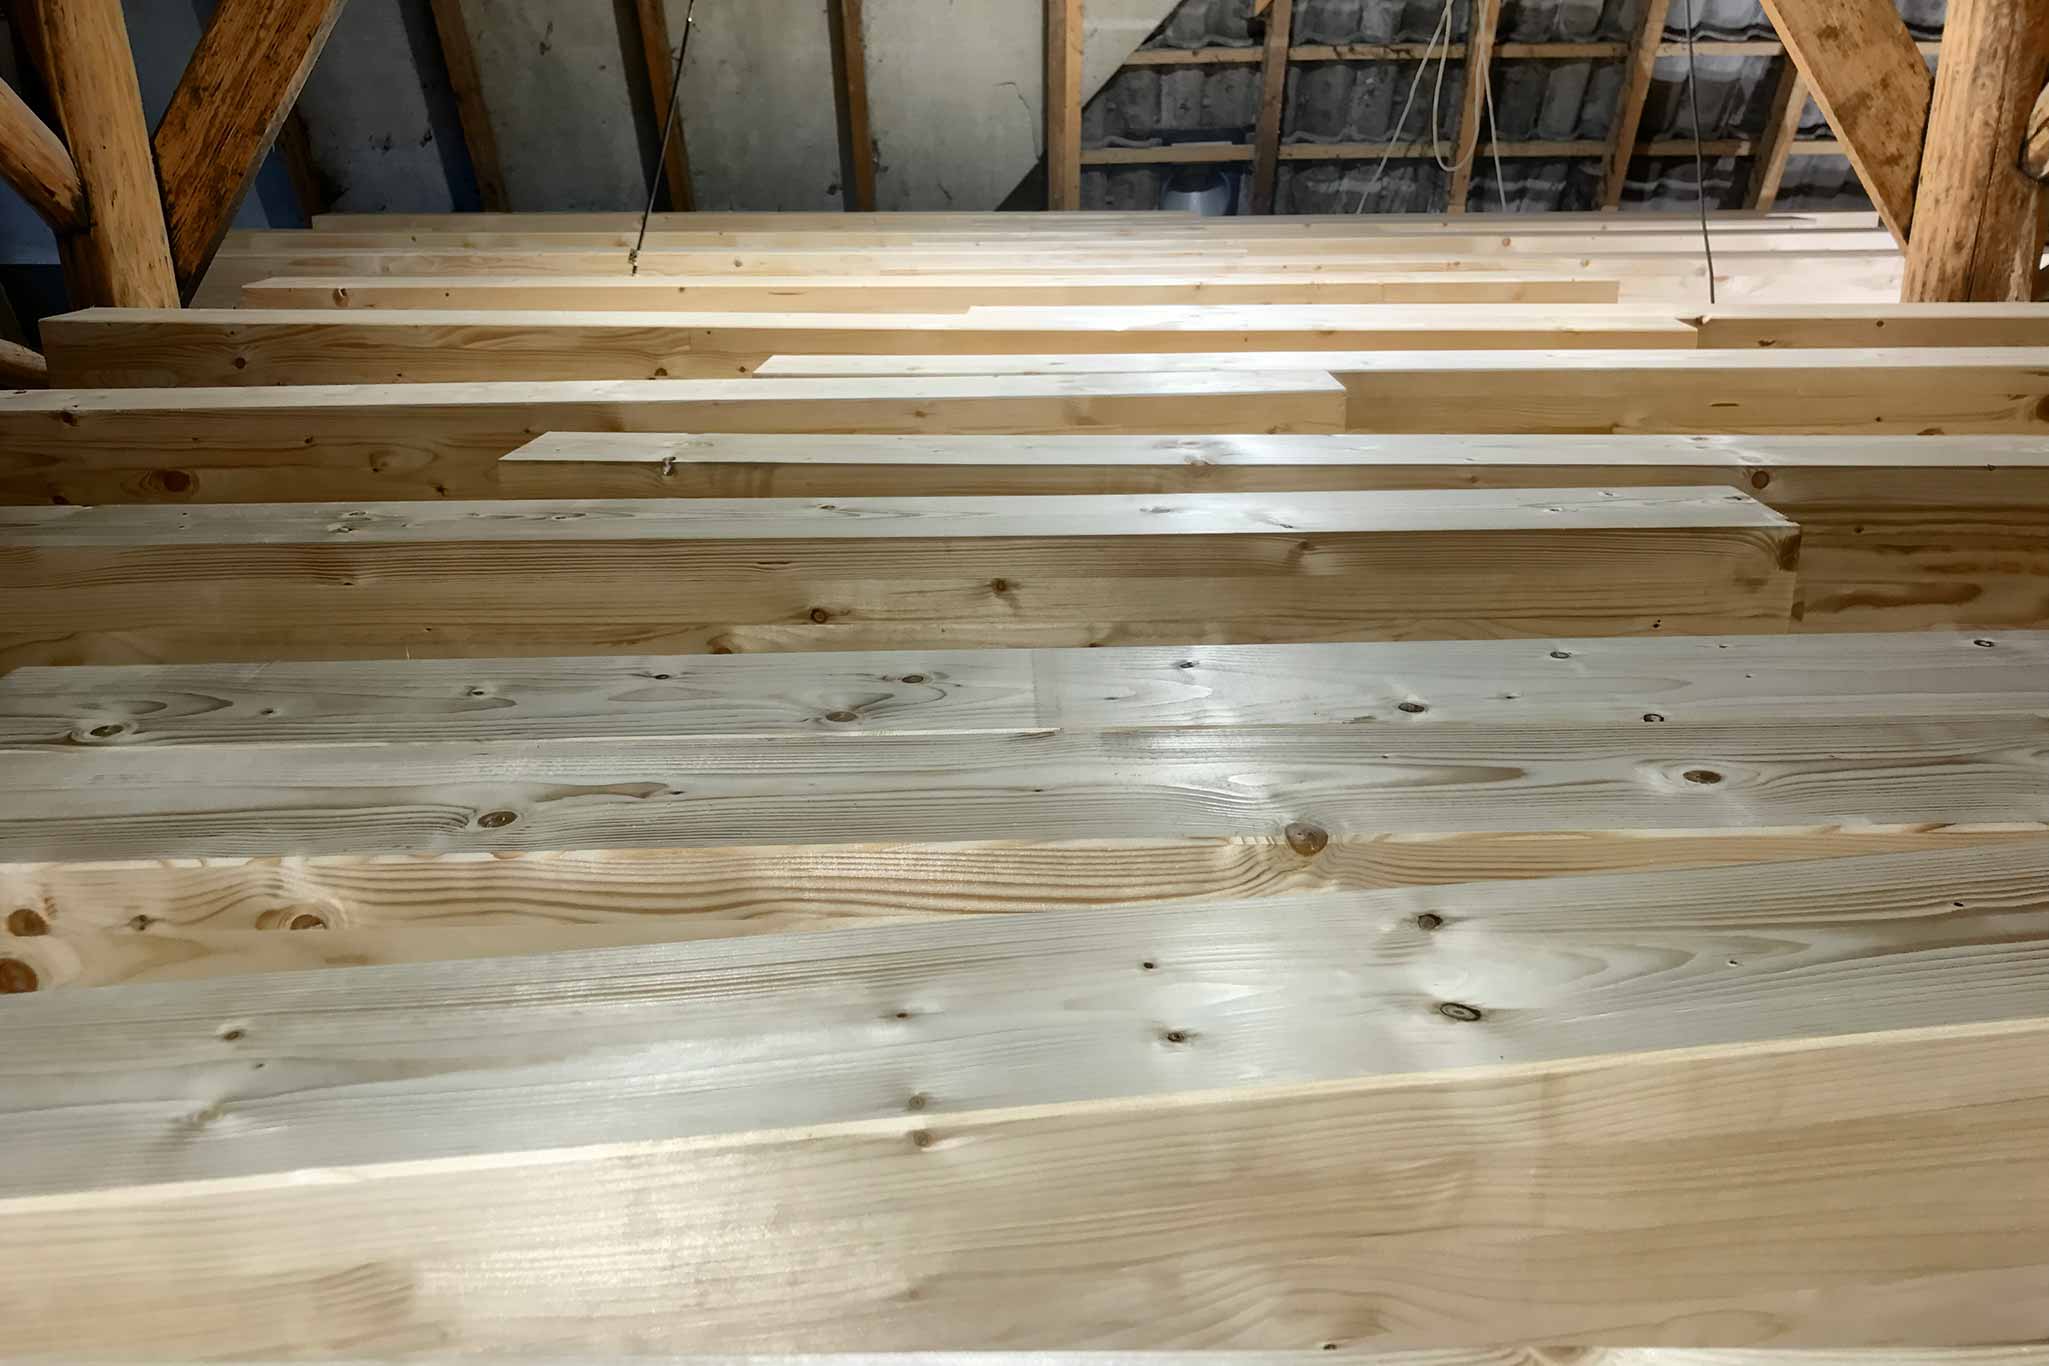
The beams have arrived. Big ass, sturdy beams. Bit over the top maybe but it looks pretty neat.
The long ones will have to be prepared yet to let the perpendicular beams slide in their permanent position.
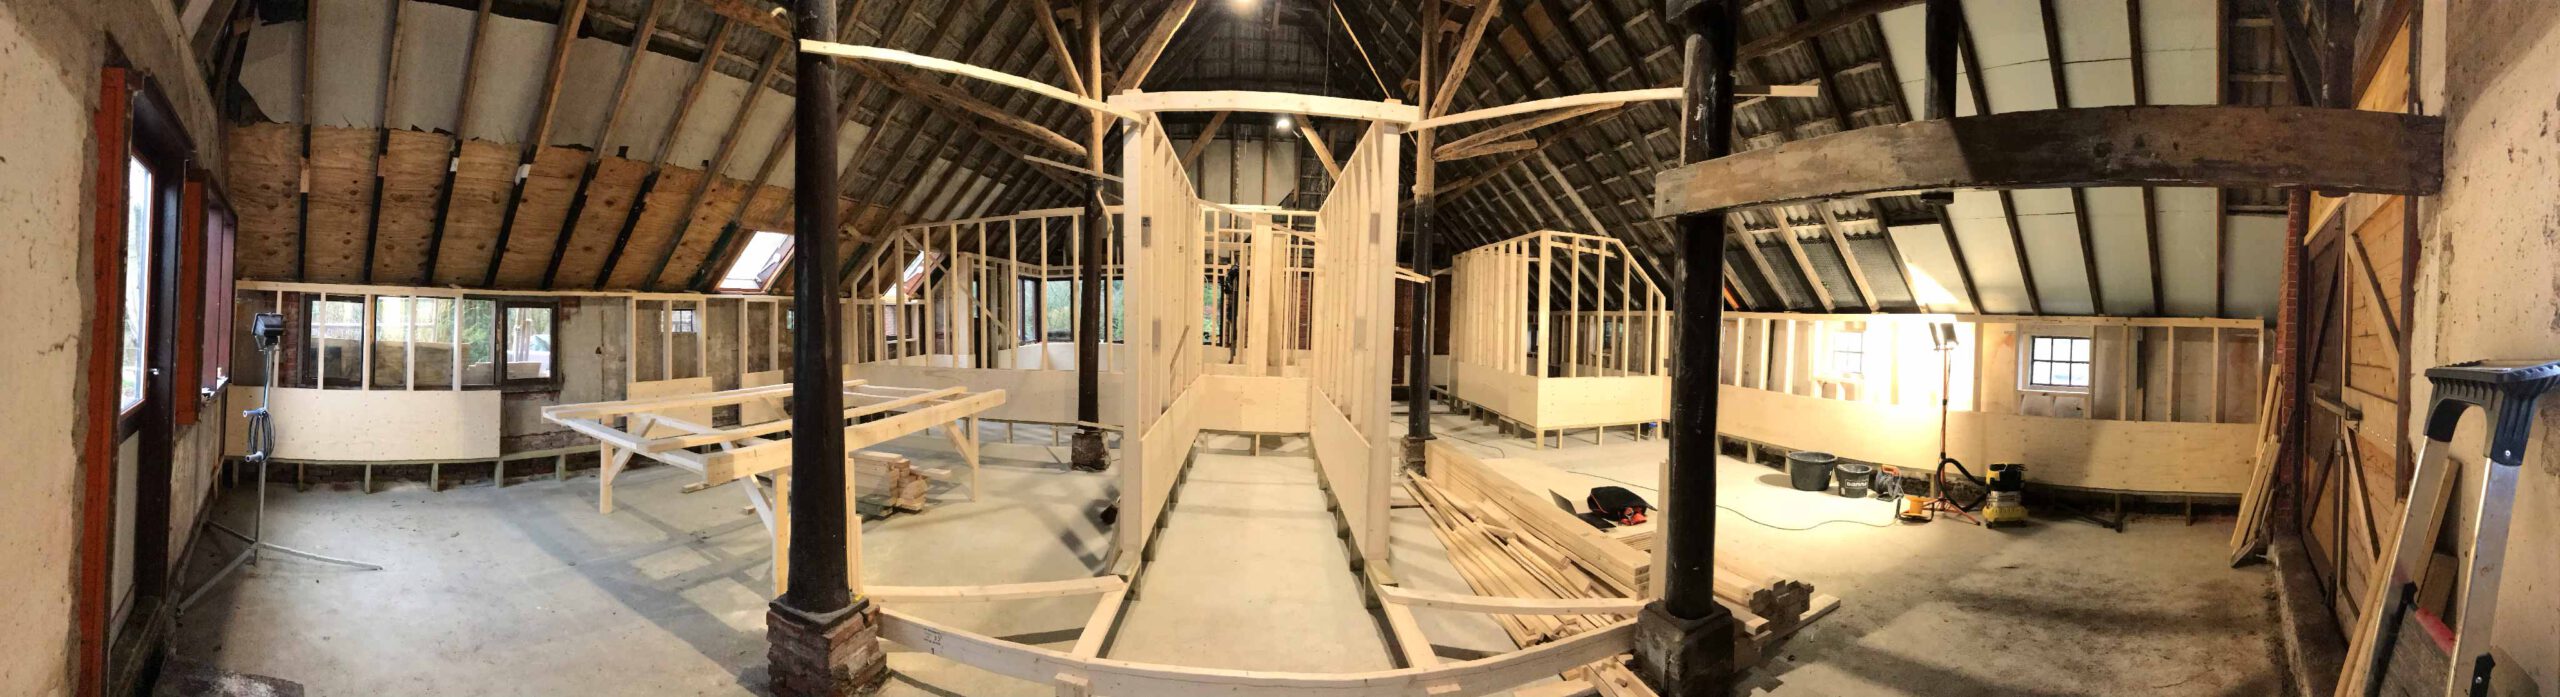
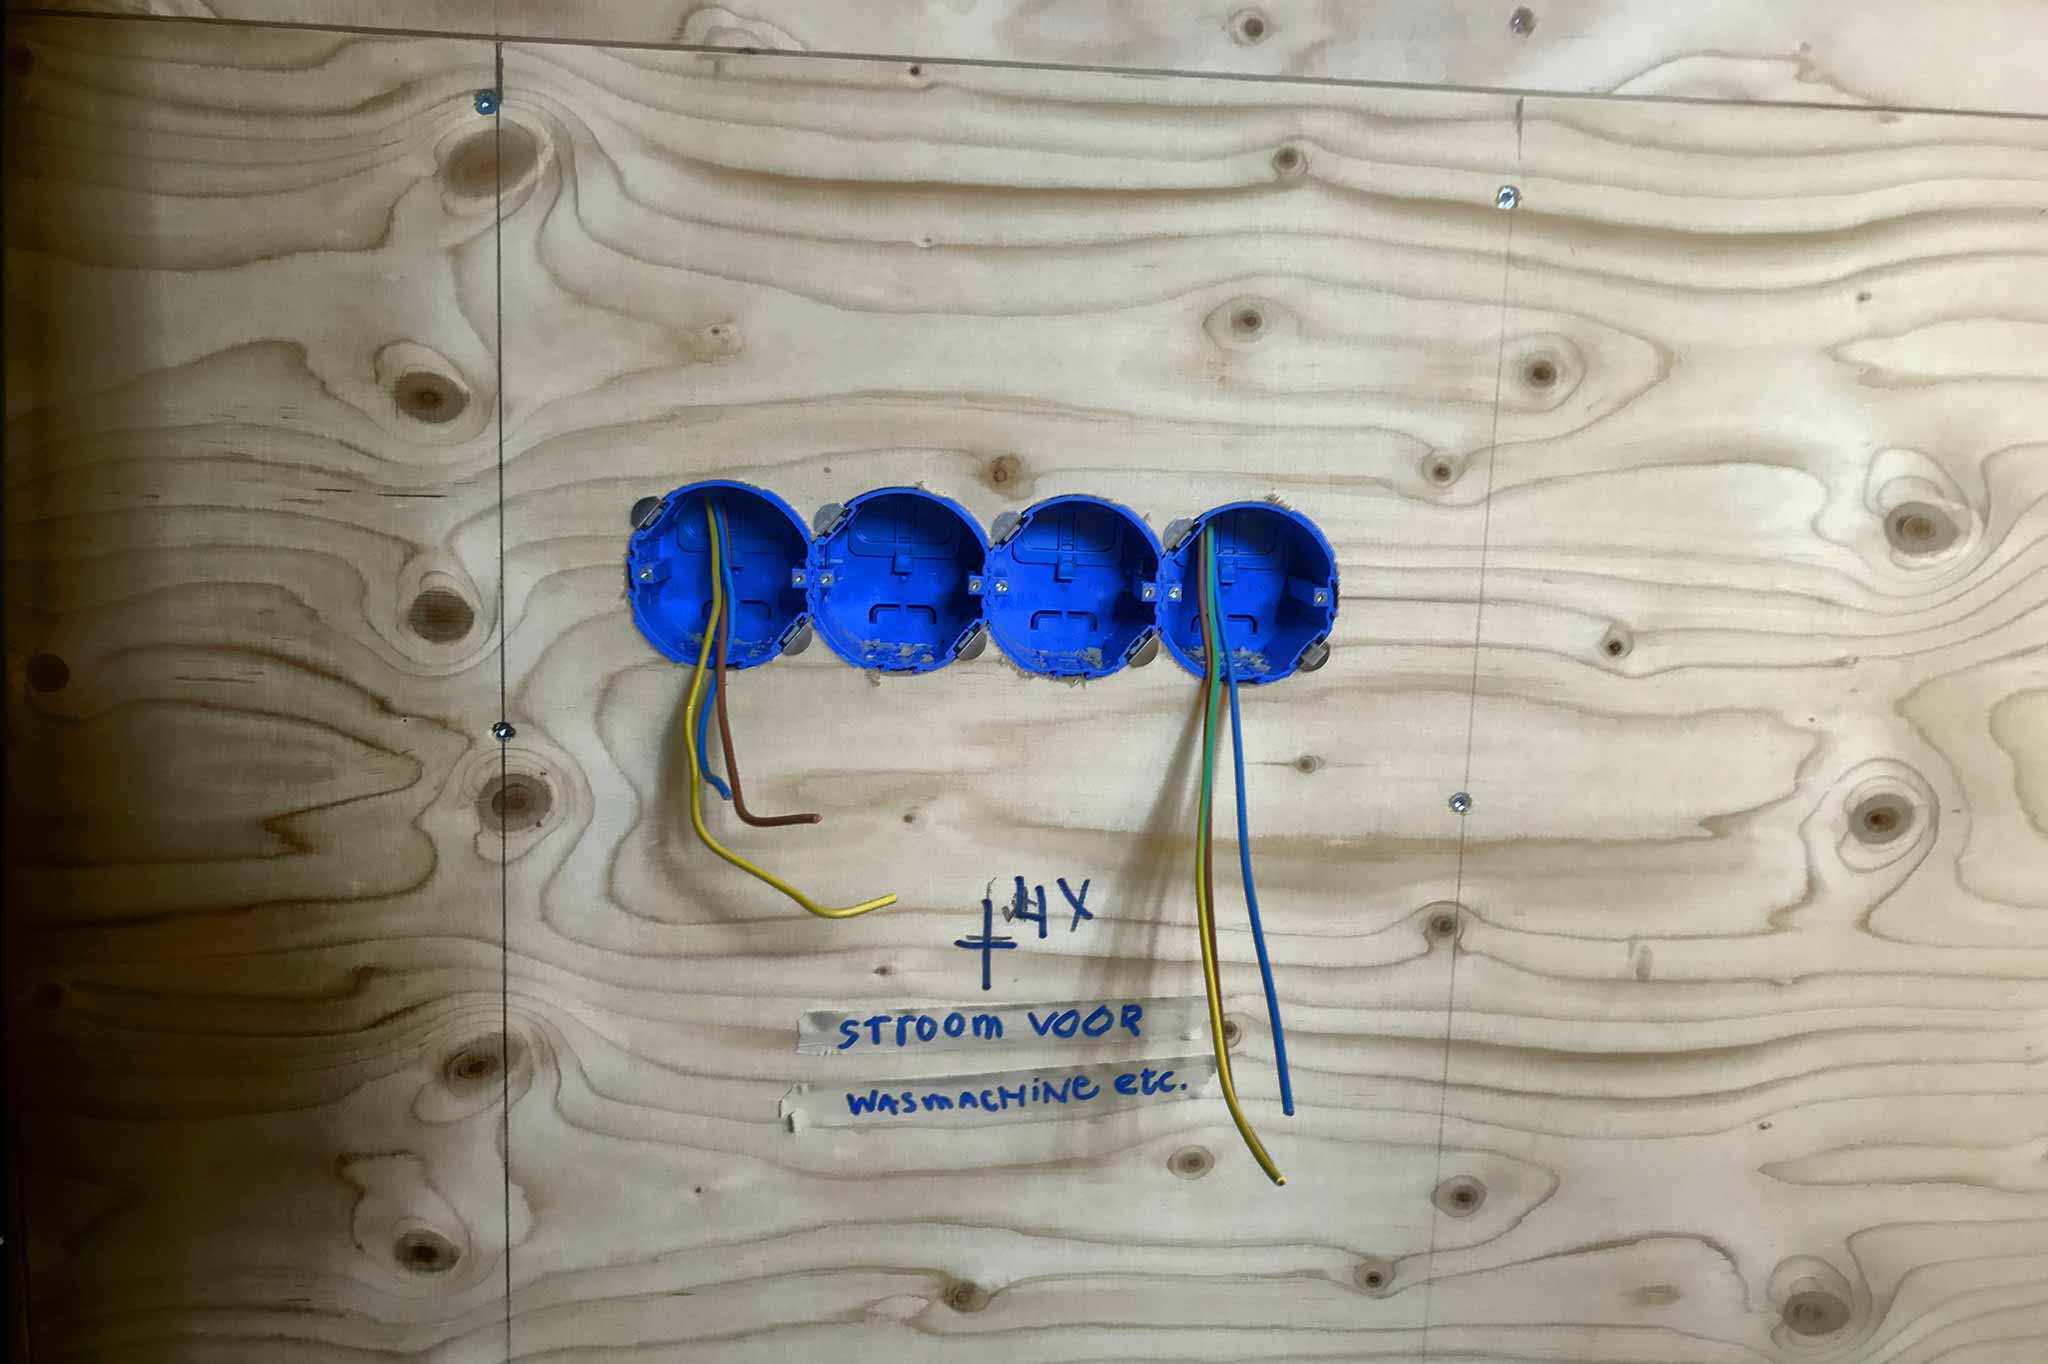
The frames of the walls of the rooms are set up. Been a while since we had to walk around anything really to get from one end of the building to the other. Nice to actually see the rooms now as they will be. “The extension cord? In the bedroom!” The bottom of the walls has it’s panelling already done. This way the electric wiring can be placed in the walls in Januari. Most wall sockets will be positioned pretty low, nicely out of sight.