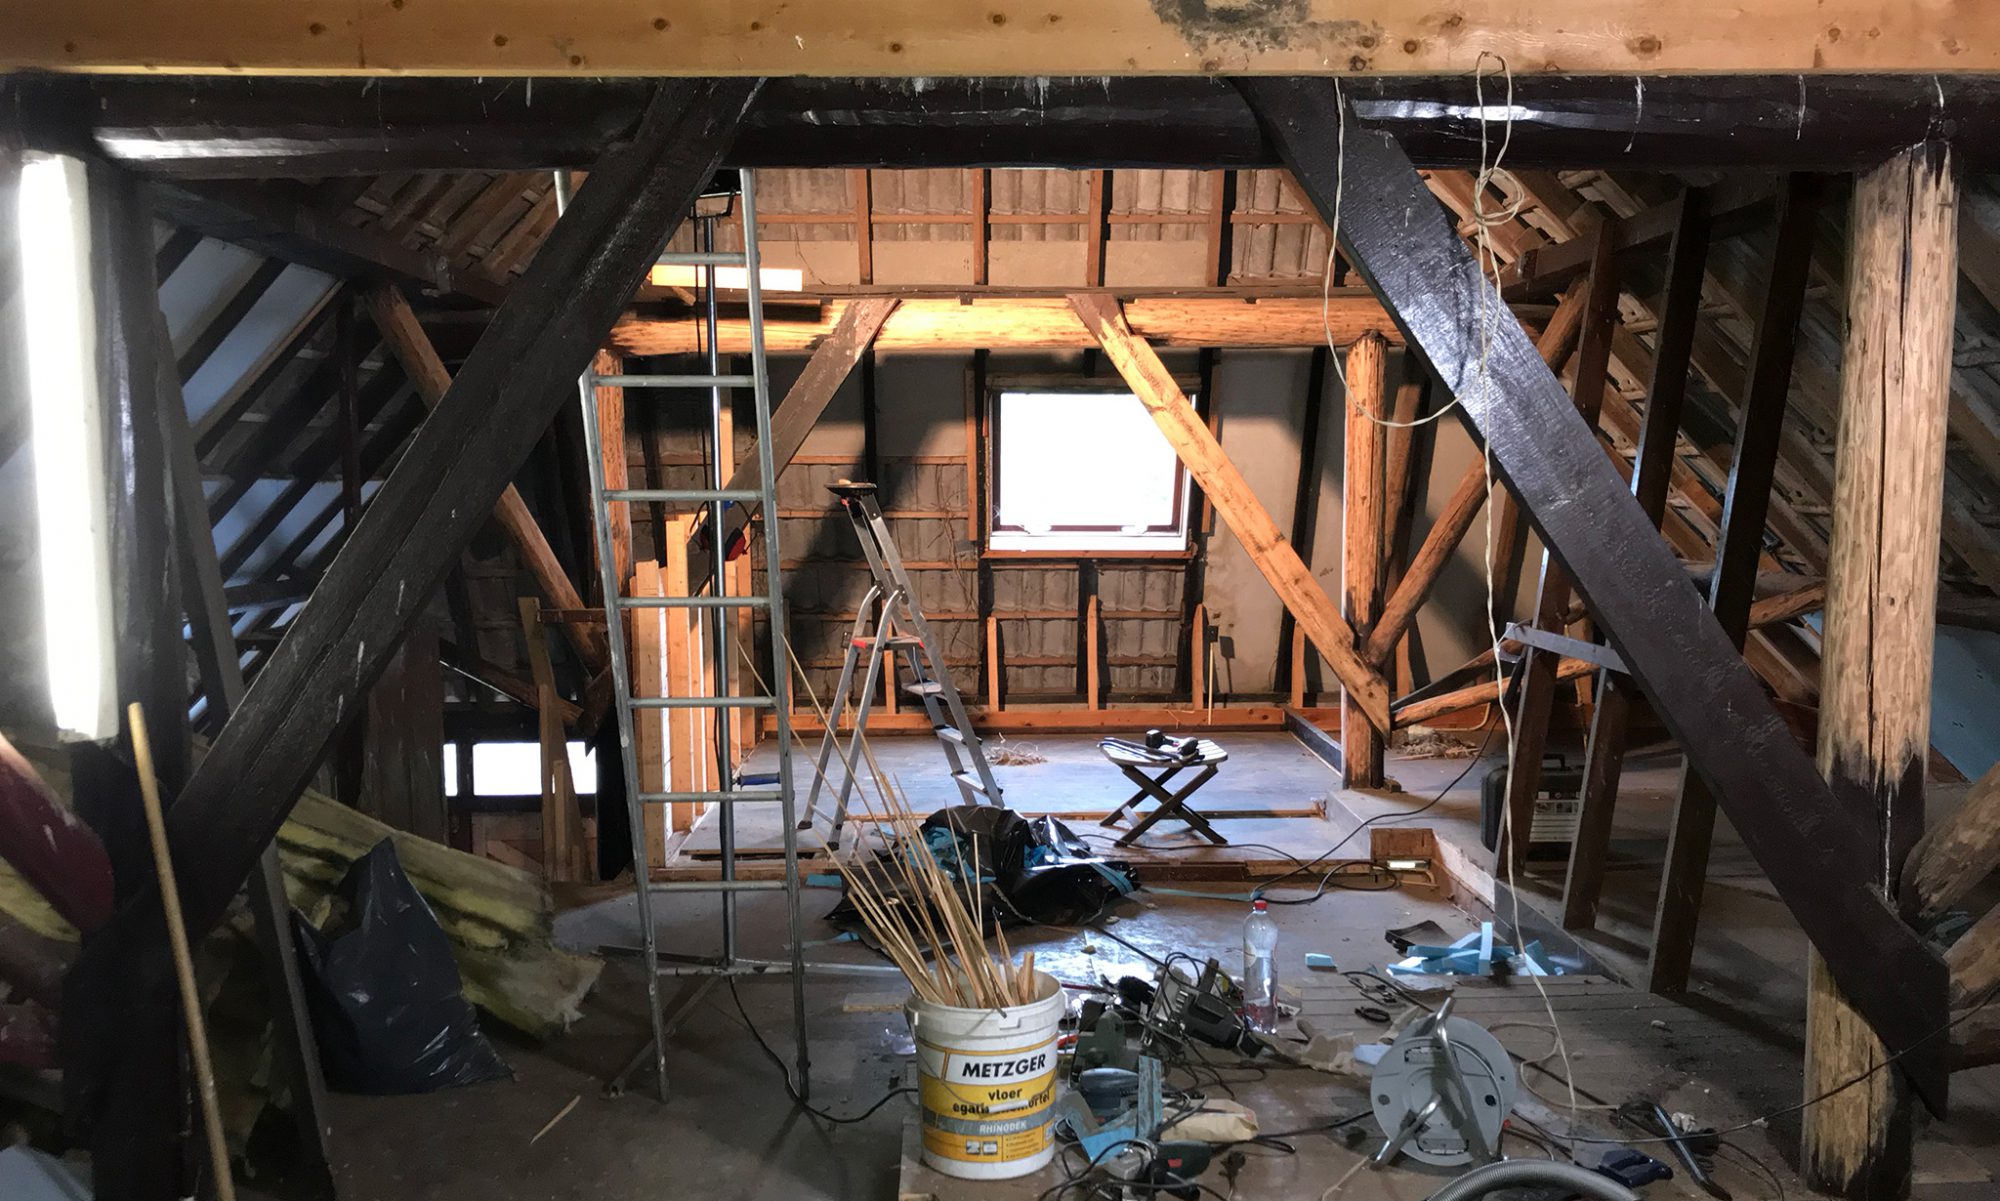
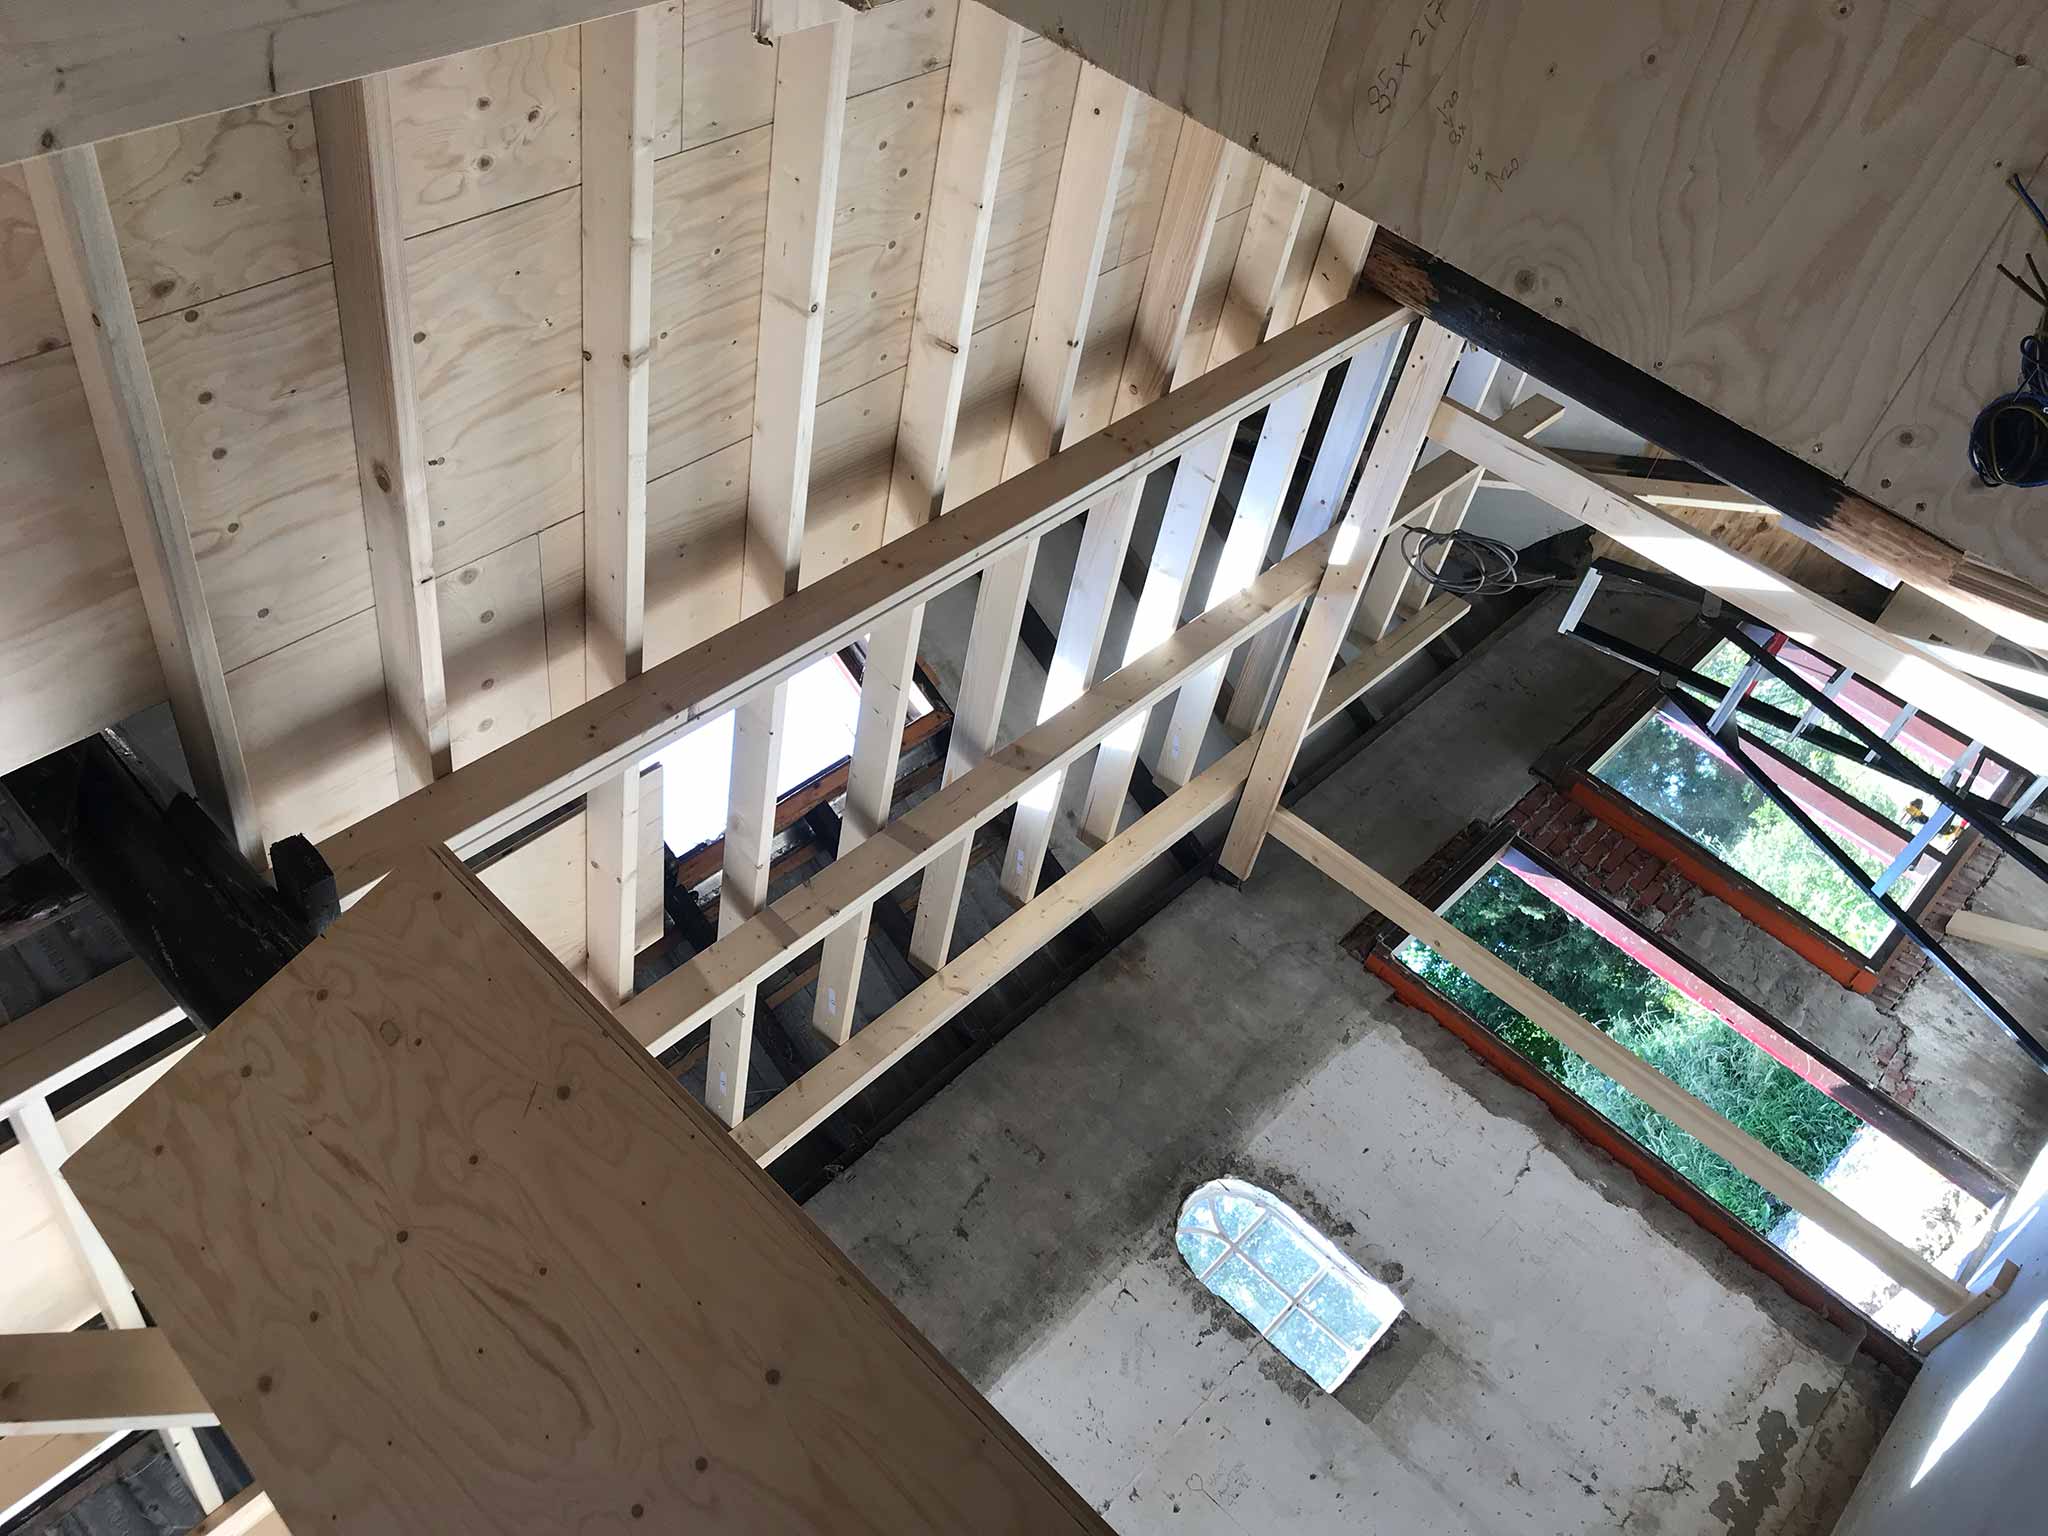
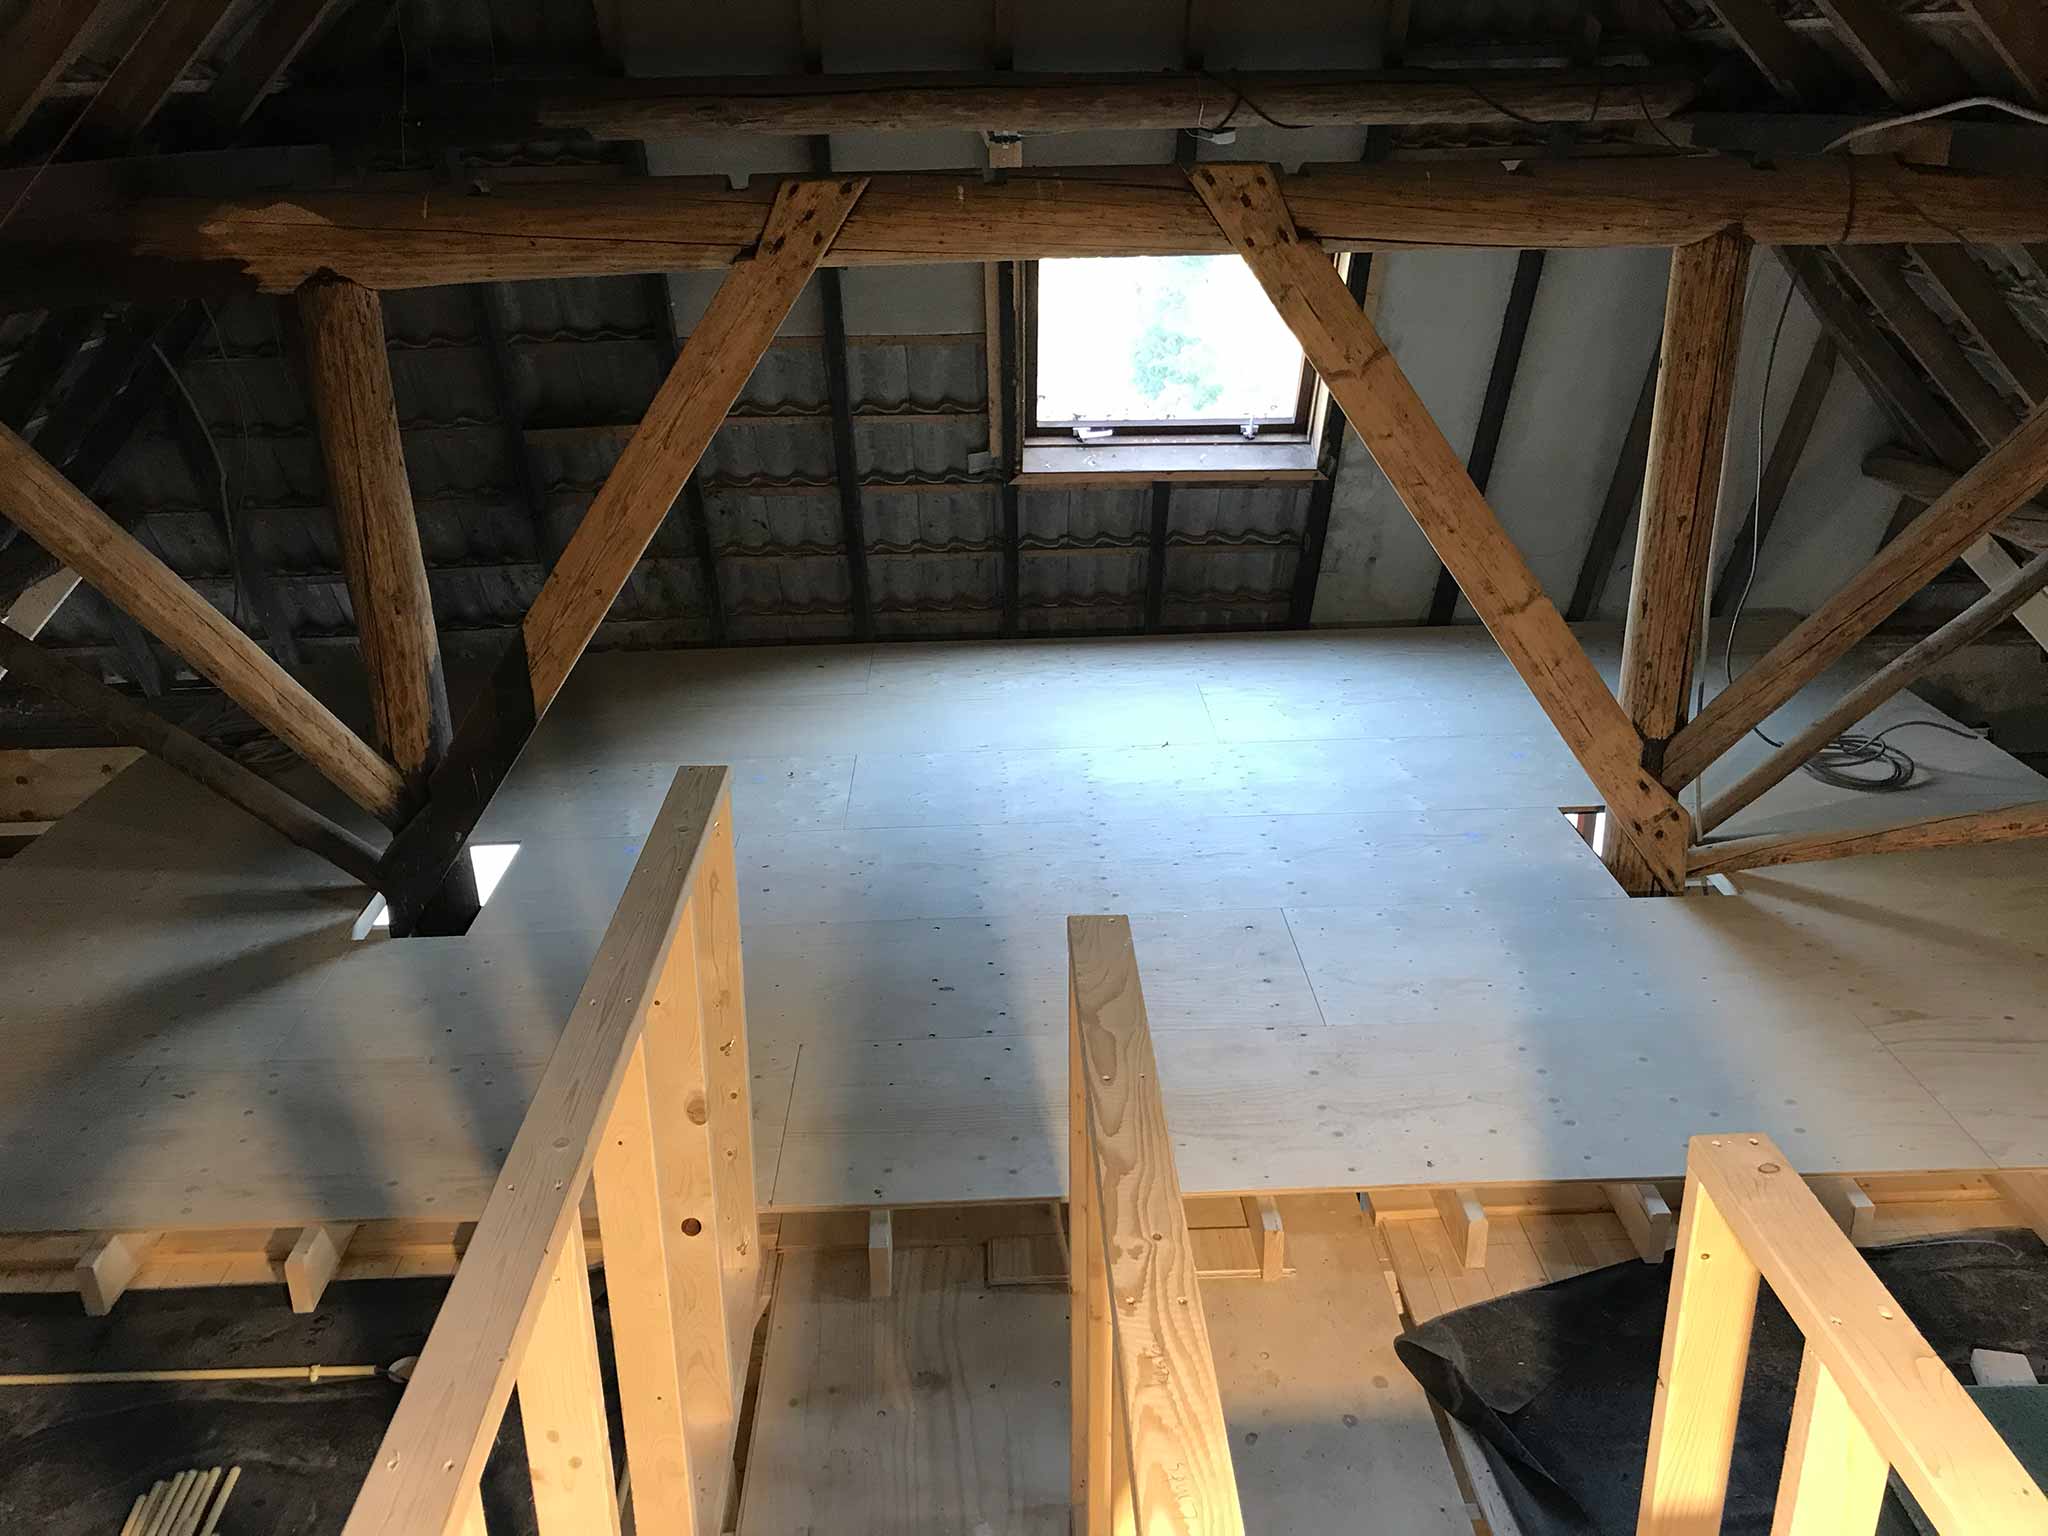
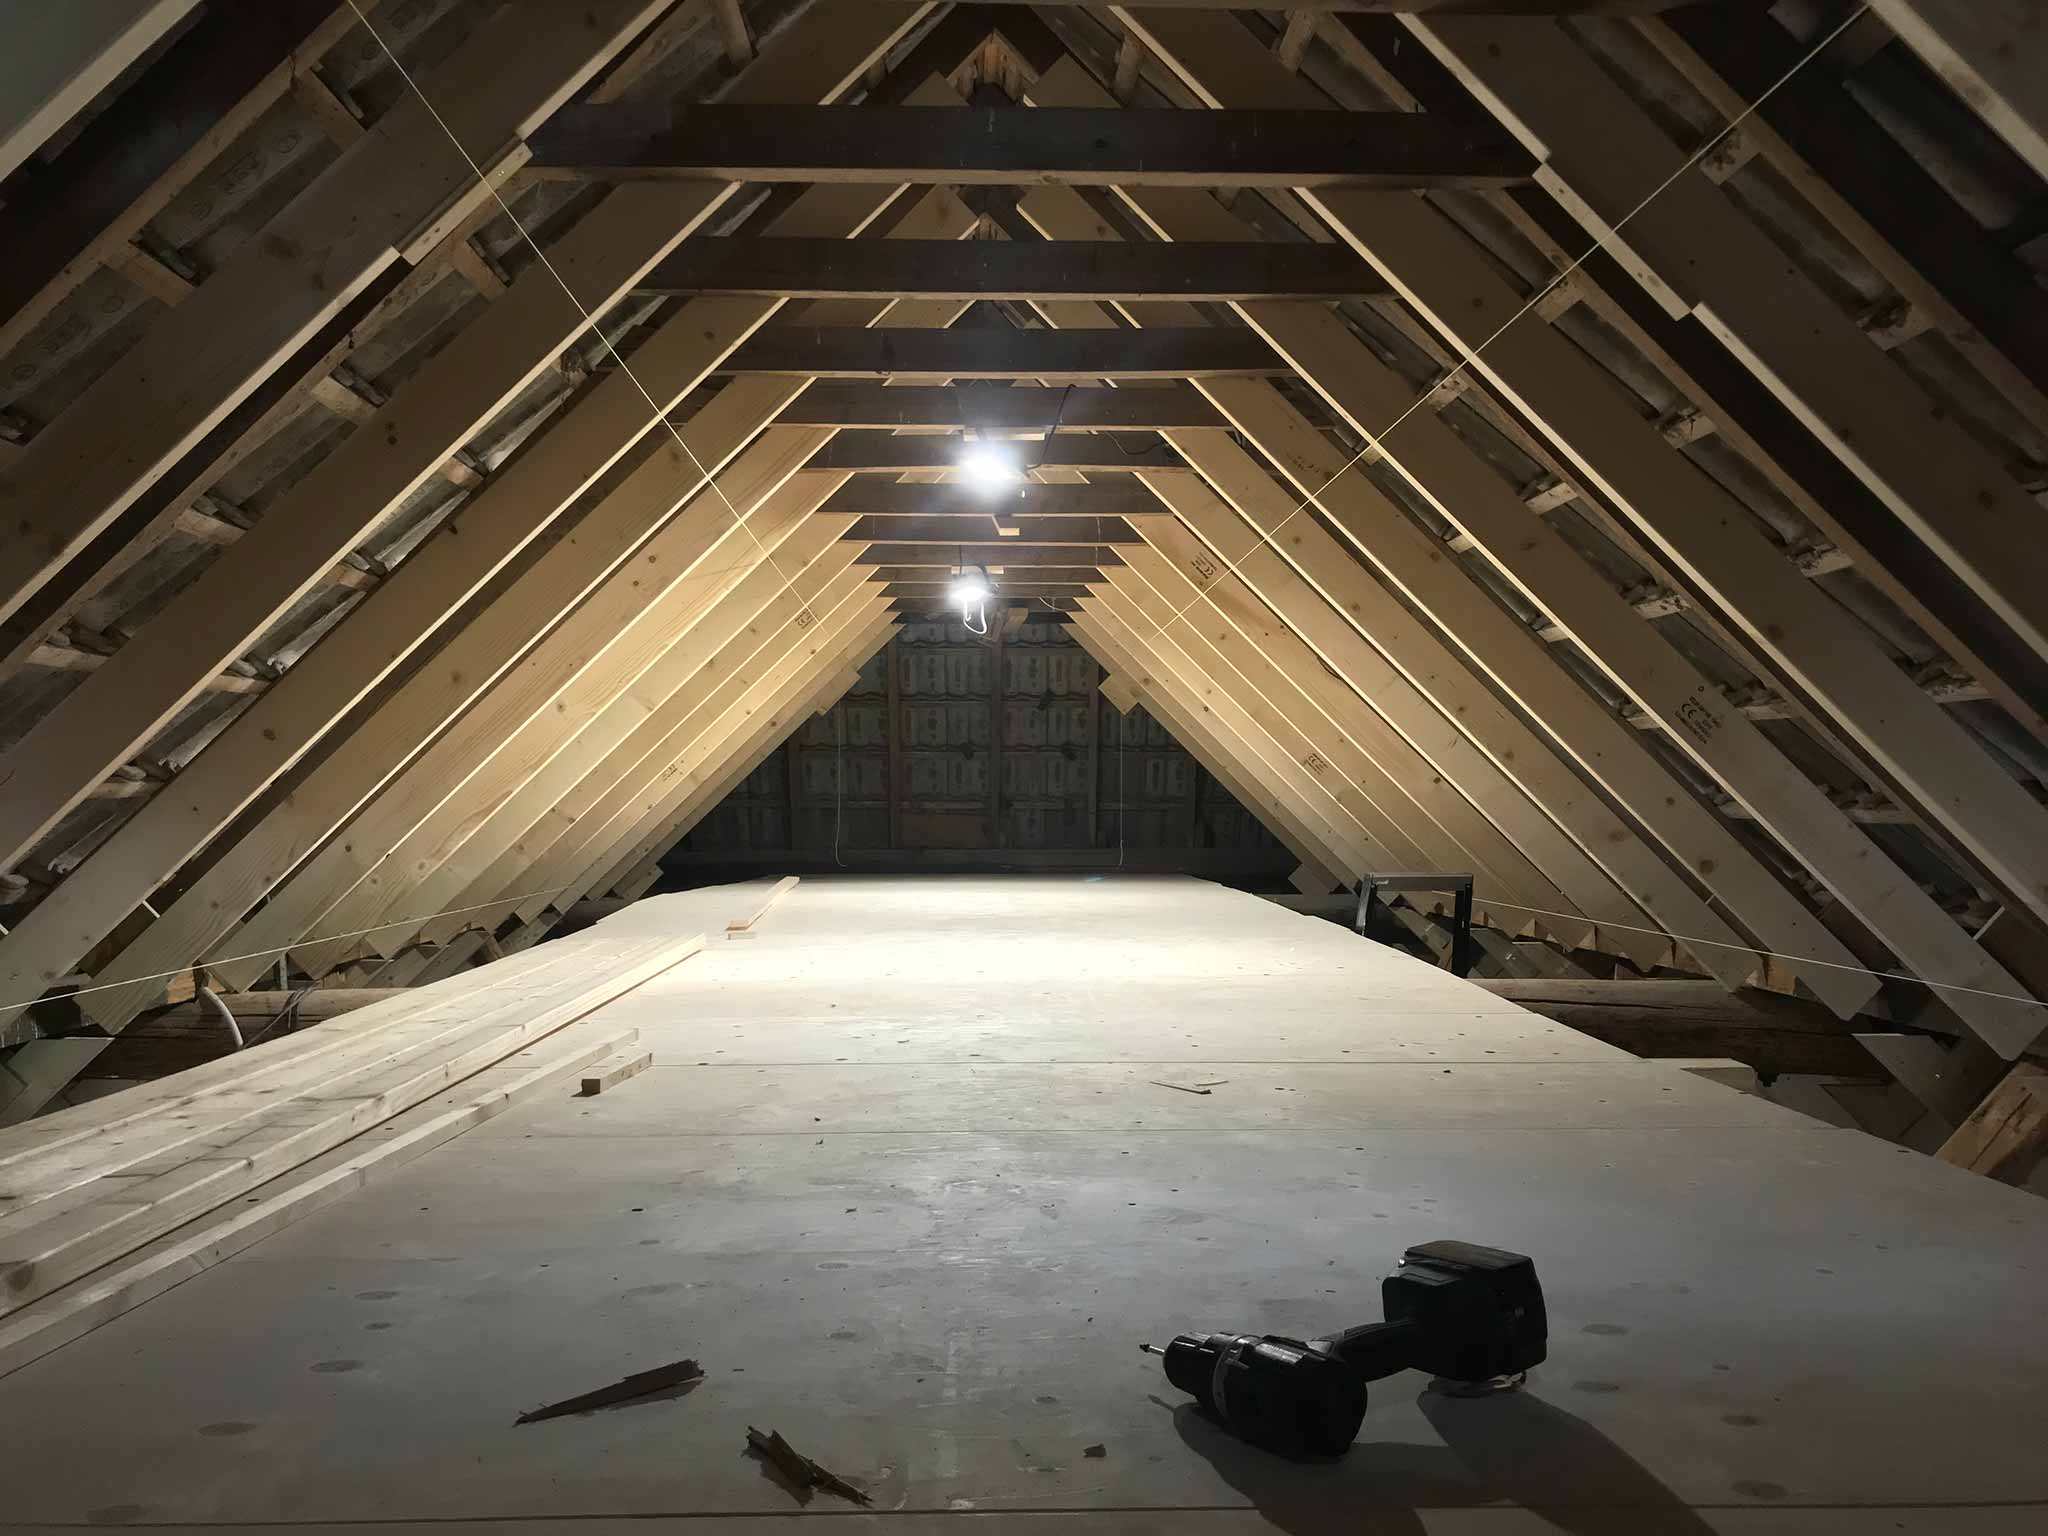
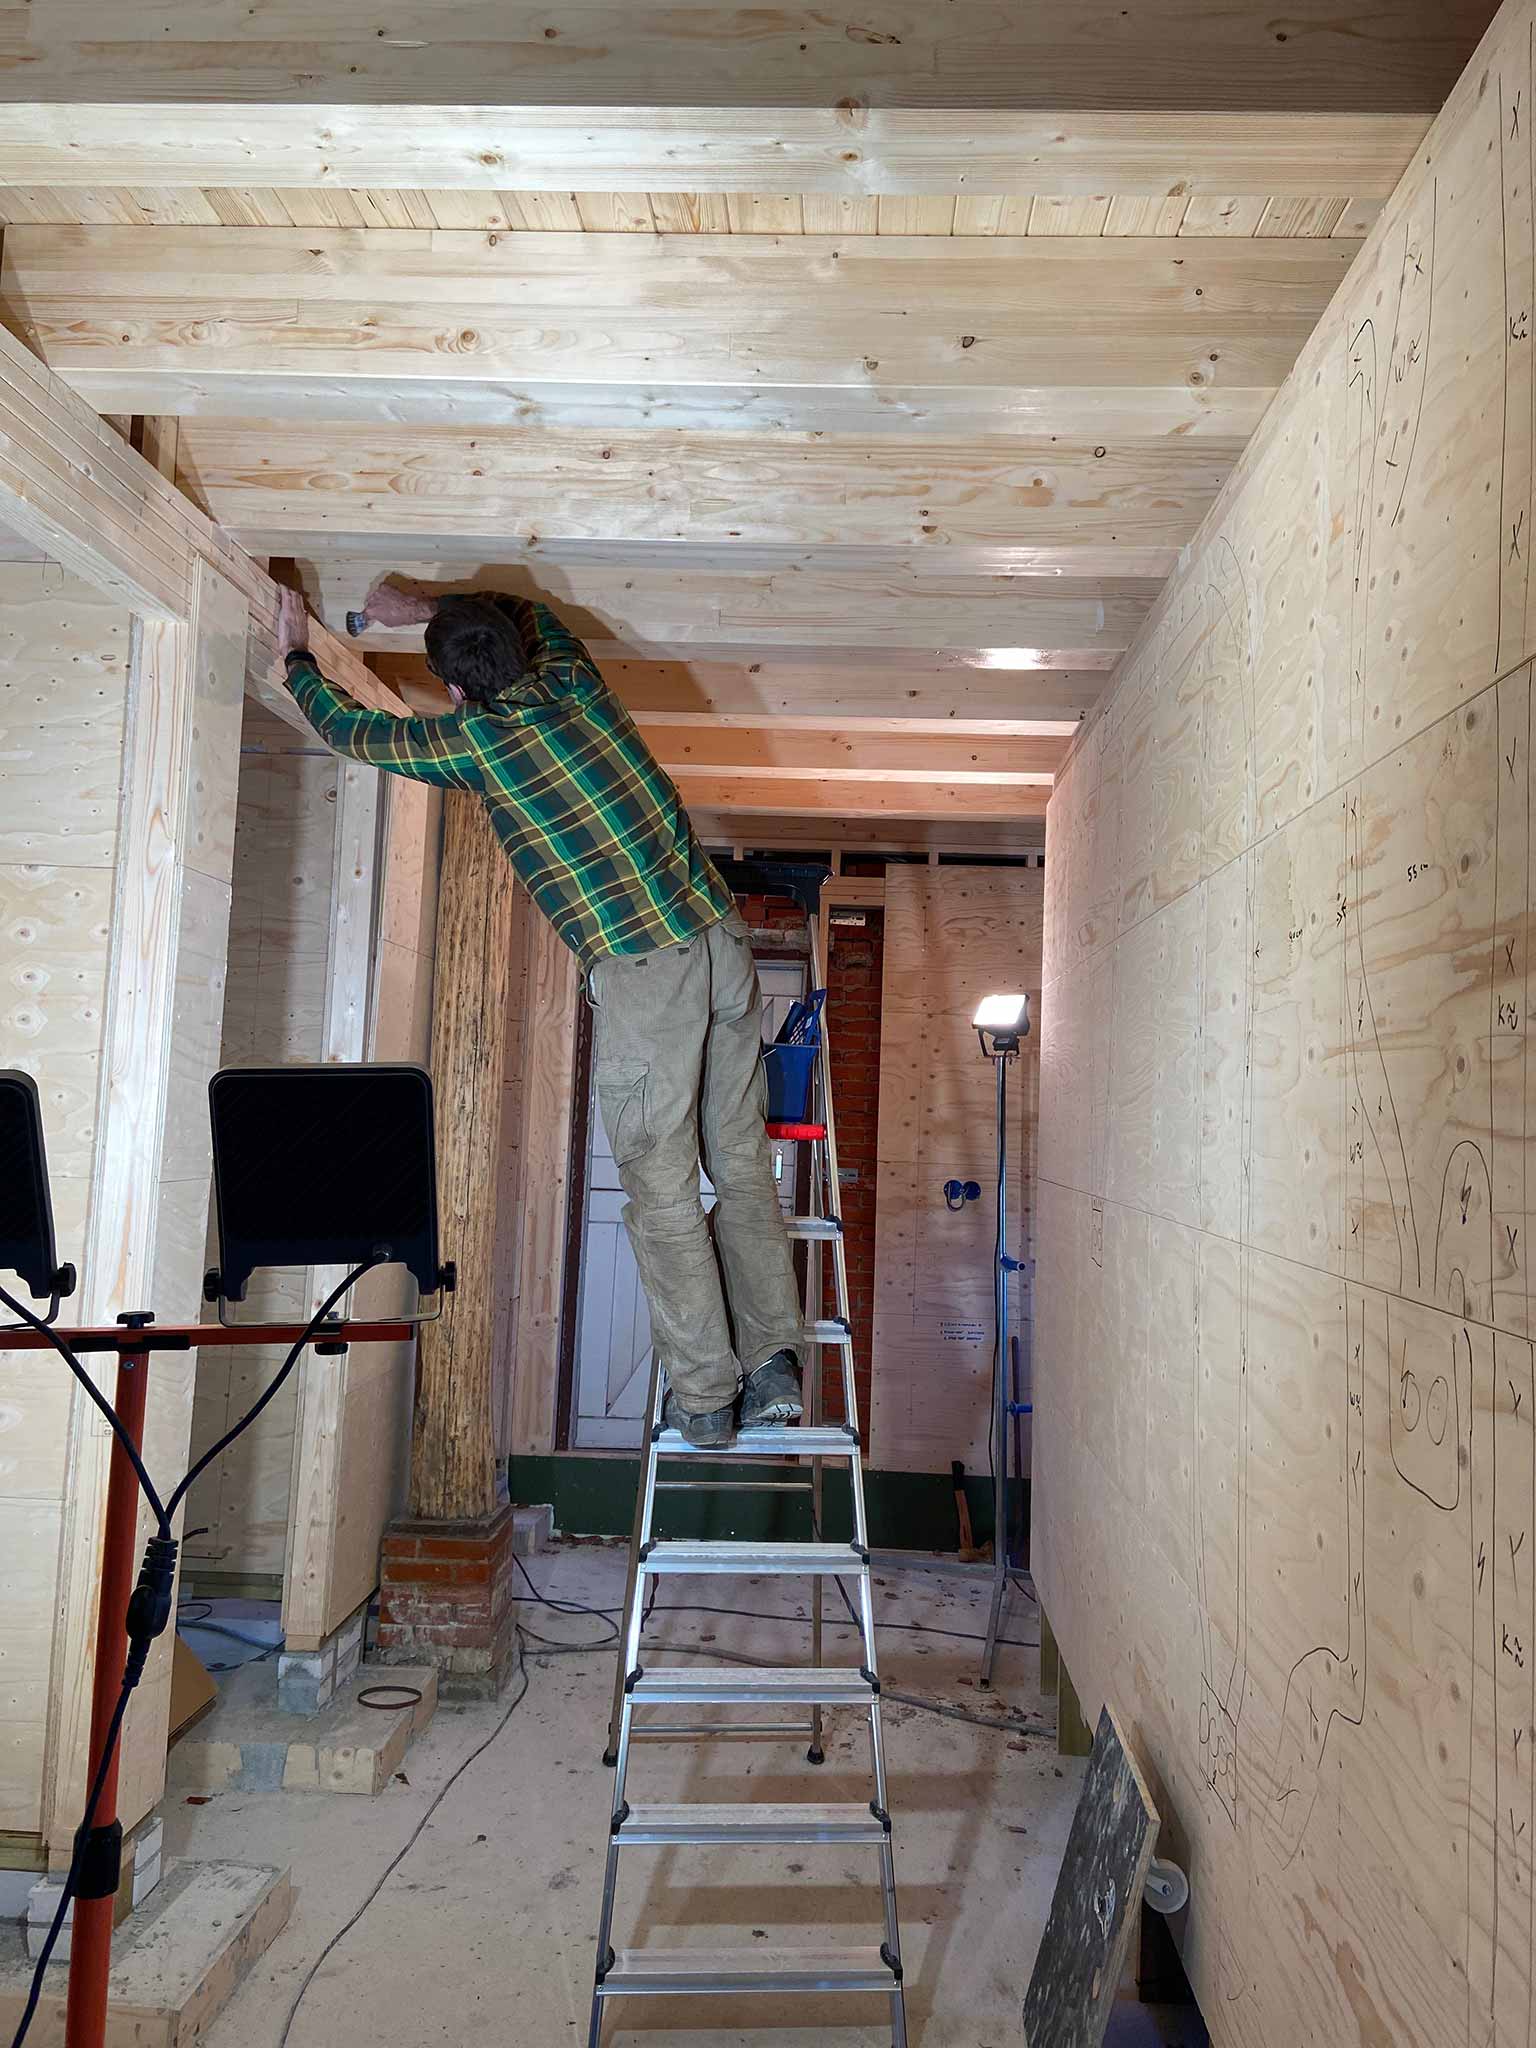
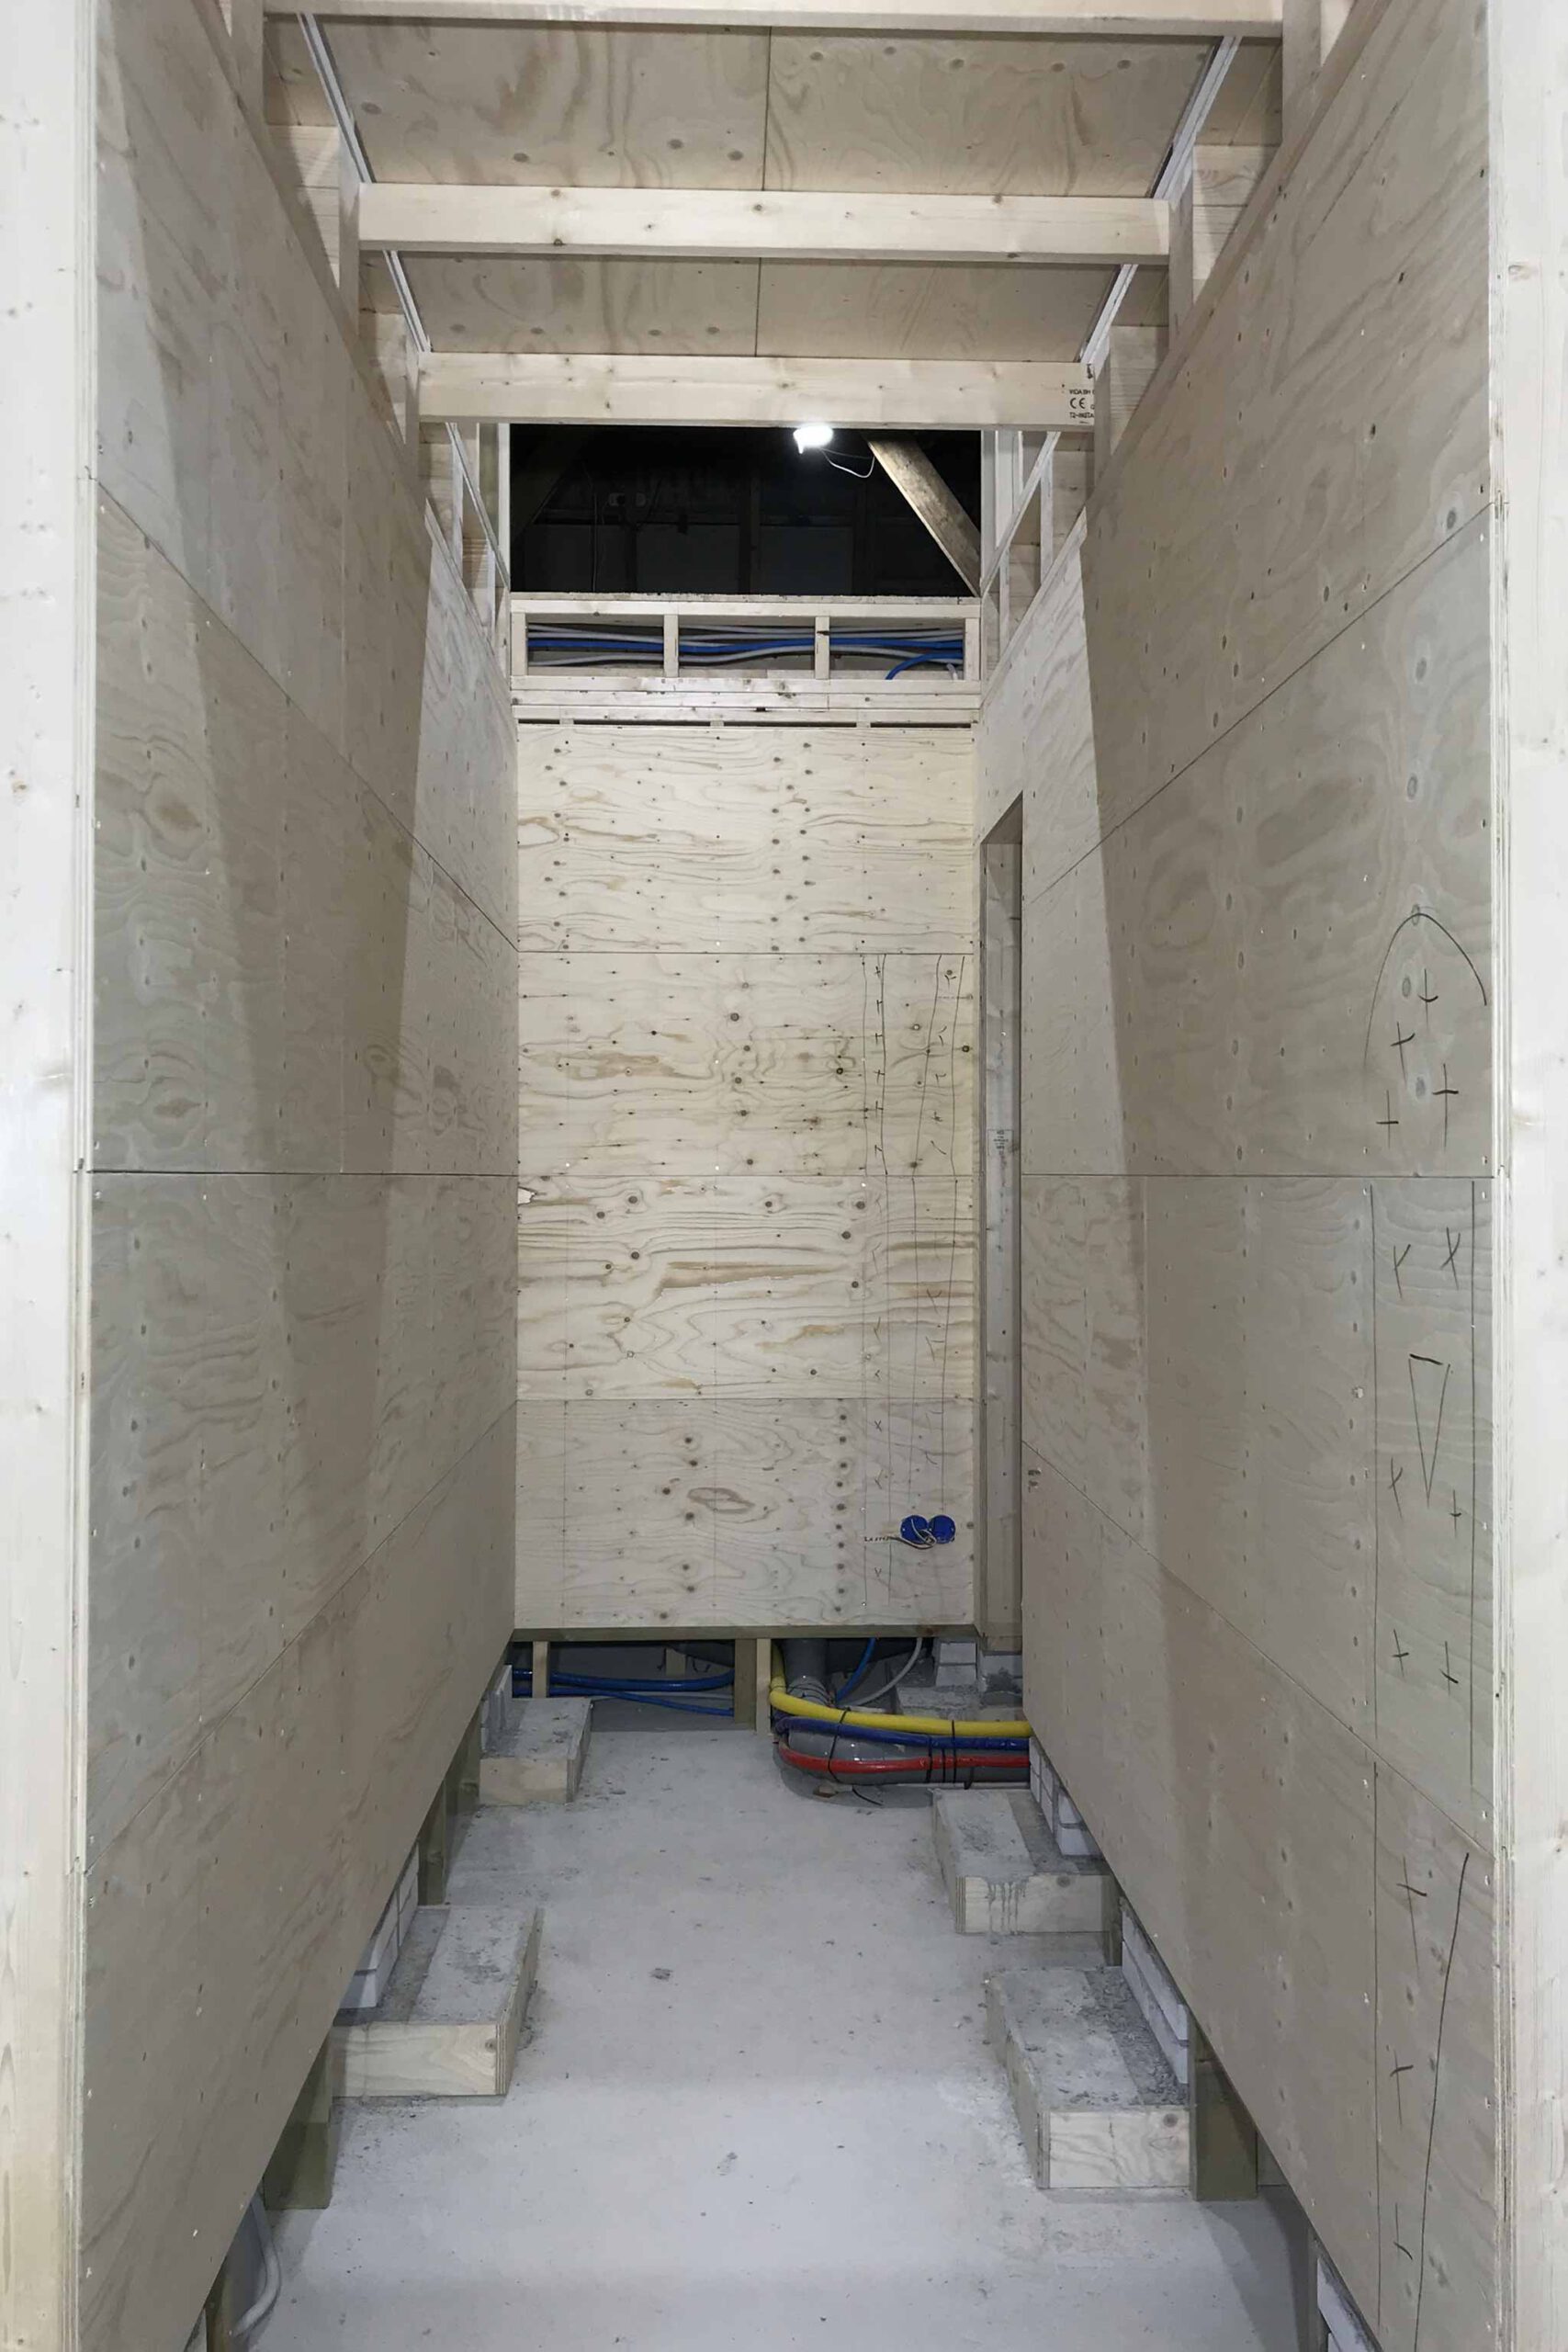
In stead of having to cart a mobile scaffolding around all the time, it was decided to build temporary floors. 👍.
Way faster in the end. After all, the vertical beams of the roof need to be made thicker, the insulation needs to be placed, the wooden boards need to be placed and then the staining needs to happen…
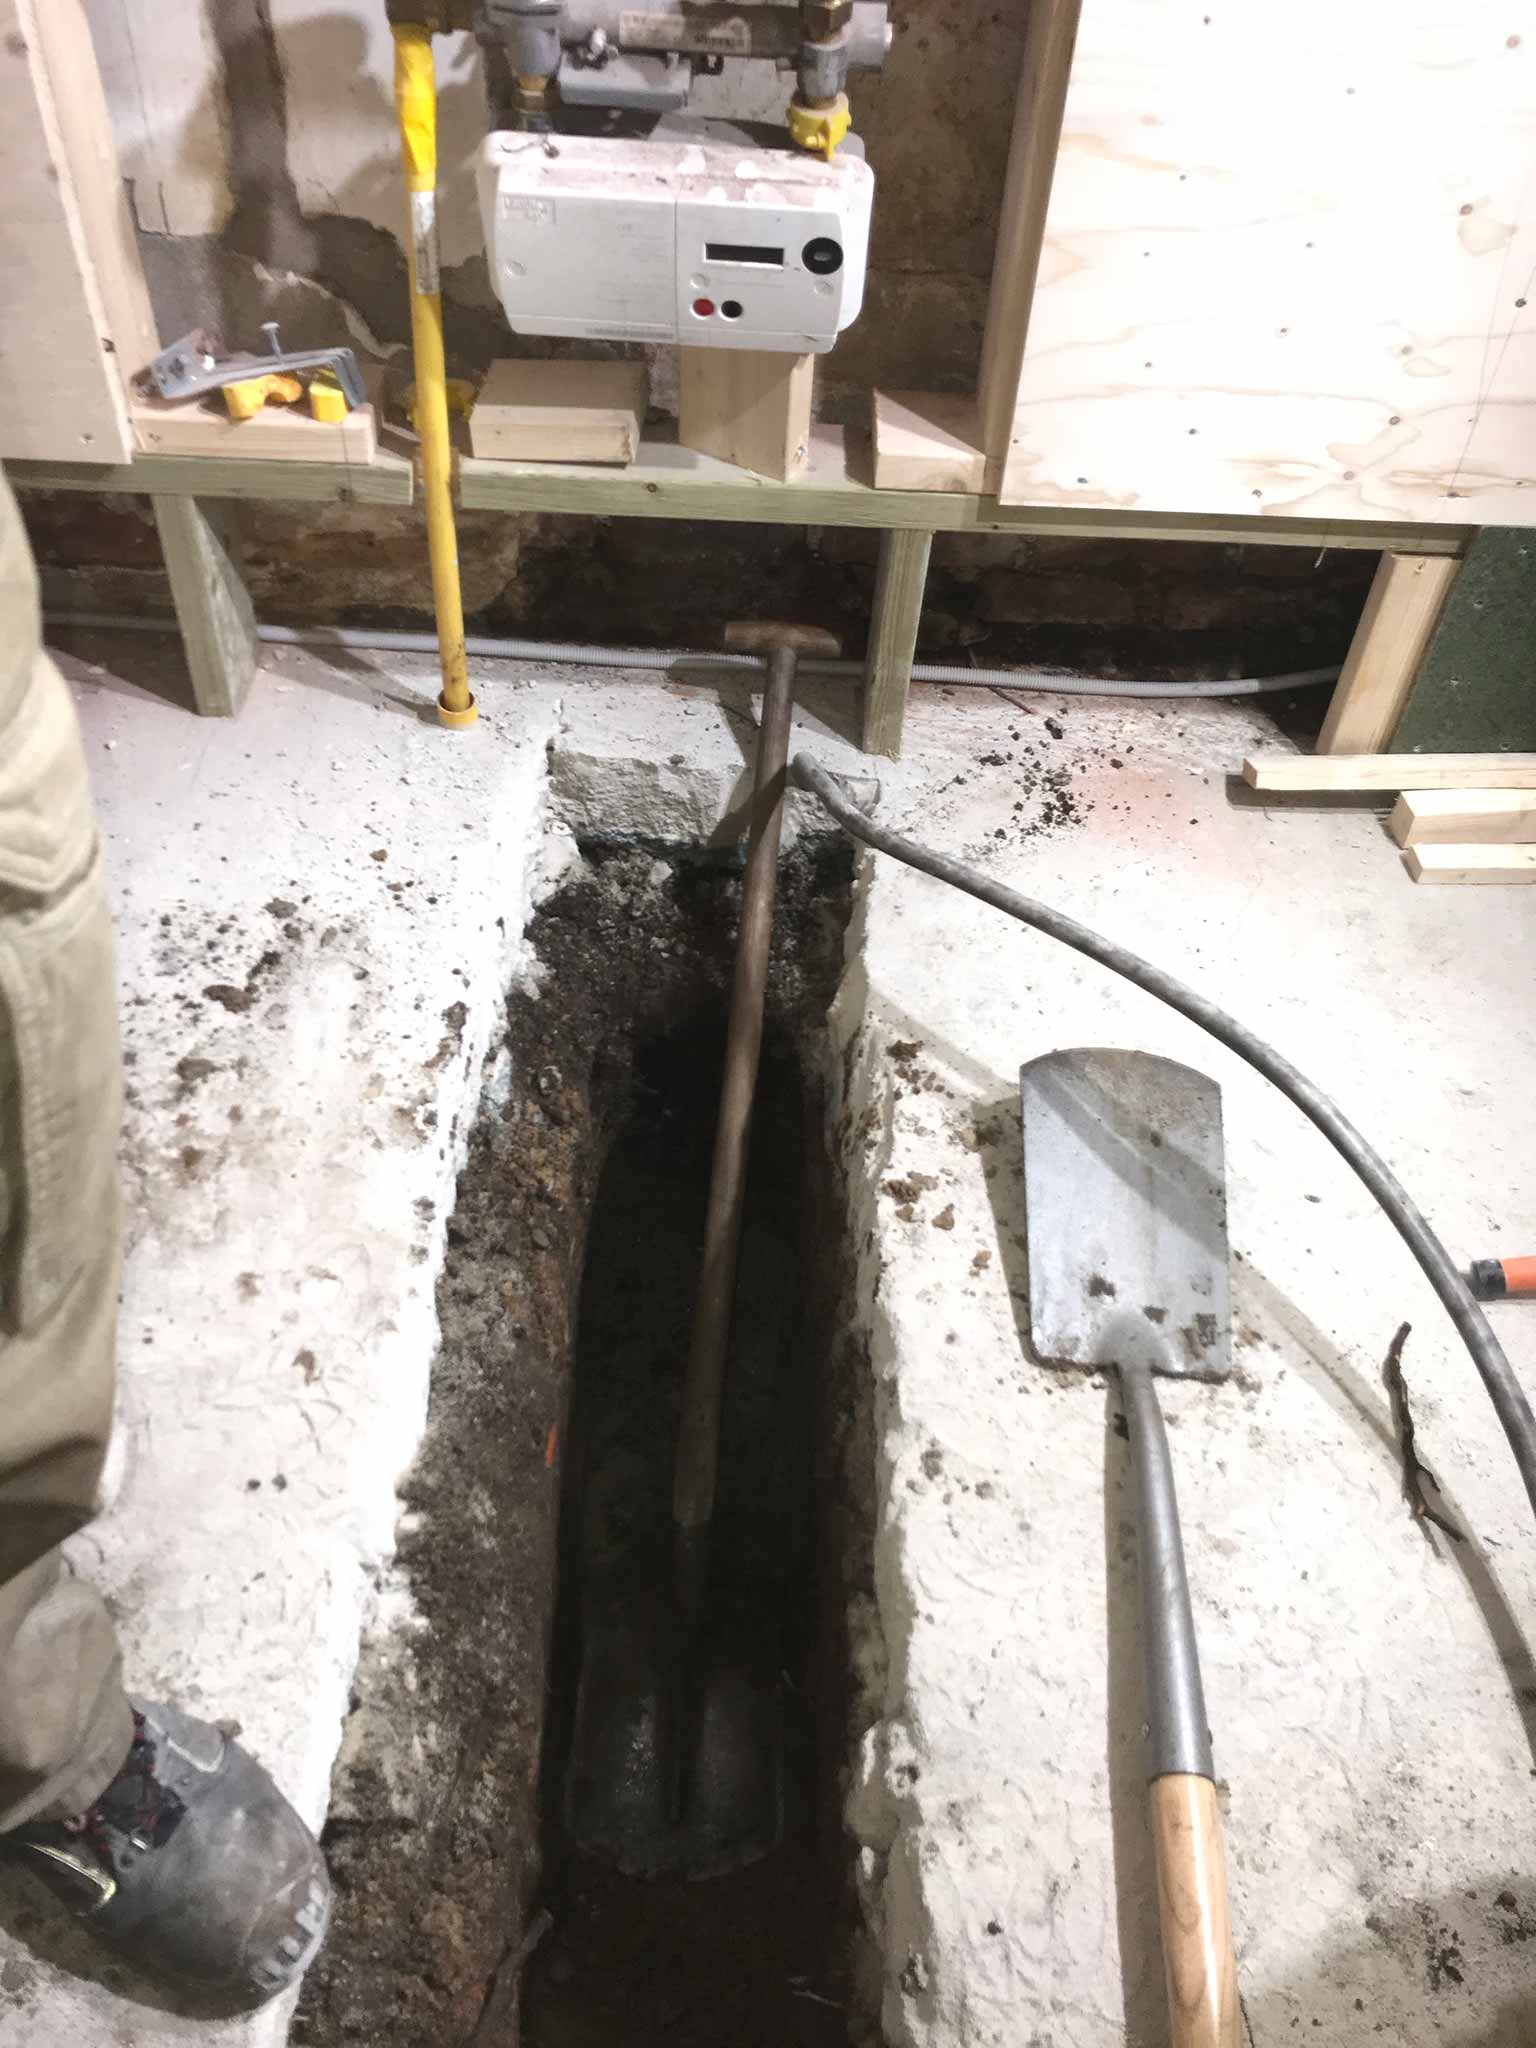
It took some effort, but the new water connection is done.
A combination of circumstances made it harder than anticipated. Some background information: The standard water mains apparently must be 40mm for this type of area. A pipe from the mains towards a house is 25mm.
Firstly, our house is the one before last in a cul-de-sac with the next house some 100 meters away. Because of this, a long time ago, some smart, money saving person split the mains near our house into two 25mm pipes. One to our house and one to the next. Makes sense, but that same person forgot to make a note of this fact. This made it so that the location where the new branch off of the mains was, surprisingly, to be placed at that smaller pipe. This would effectively make it so that two houses would be connected to the pipe-size suited for one house max. Added to that, connecting to such a small pipe is something that apparently cannot be done without taking the pressure off for the entire neighbourhood. So, the options were to redirect the old connection to the new entry into the house or have the diggers digging to find the 40mm pipe on their second time ’round and create a new branche from there.
Secondly, there is a tree. That tree was not too big, or hardly worth mentioning, some 50 to 60 years ago. It is however a respectful tree now. With roots. An option was to redirect the old connection to the water meter around the tree, into the house where all the new connections come in. Some digging had to be done to find the old connection near its branch off of the main pipe..
Thirdly, the location of the old brach off of the mains was noted to be 2.8 meters from the front of the house. This was however not corrected after a piece of the house was torn down, moving the front of the house back a few meters. The digging for the old branch off of the mains proved to be a bit harder because of this…
But, it is all done now and below is the new up to date drawing of the situation for future generations of diggers.
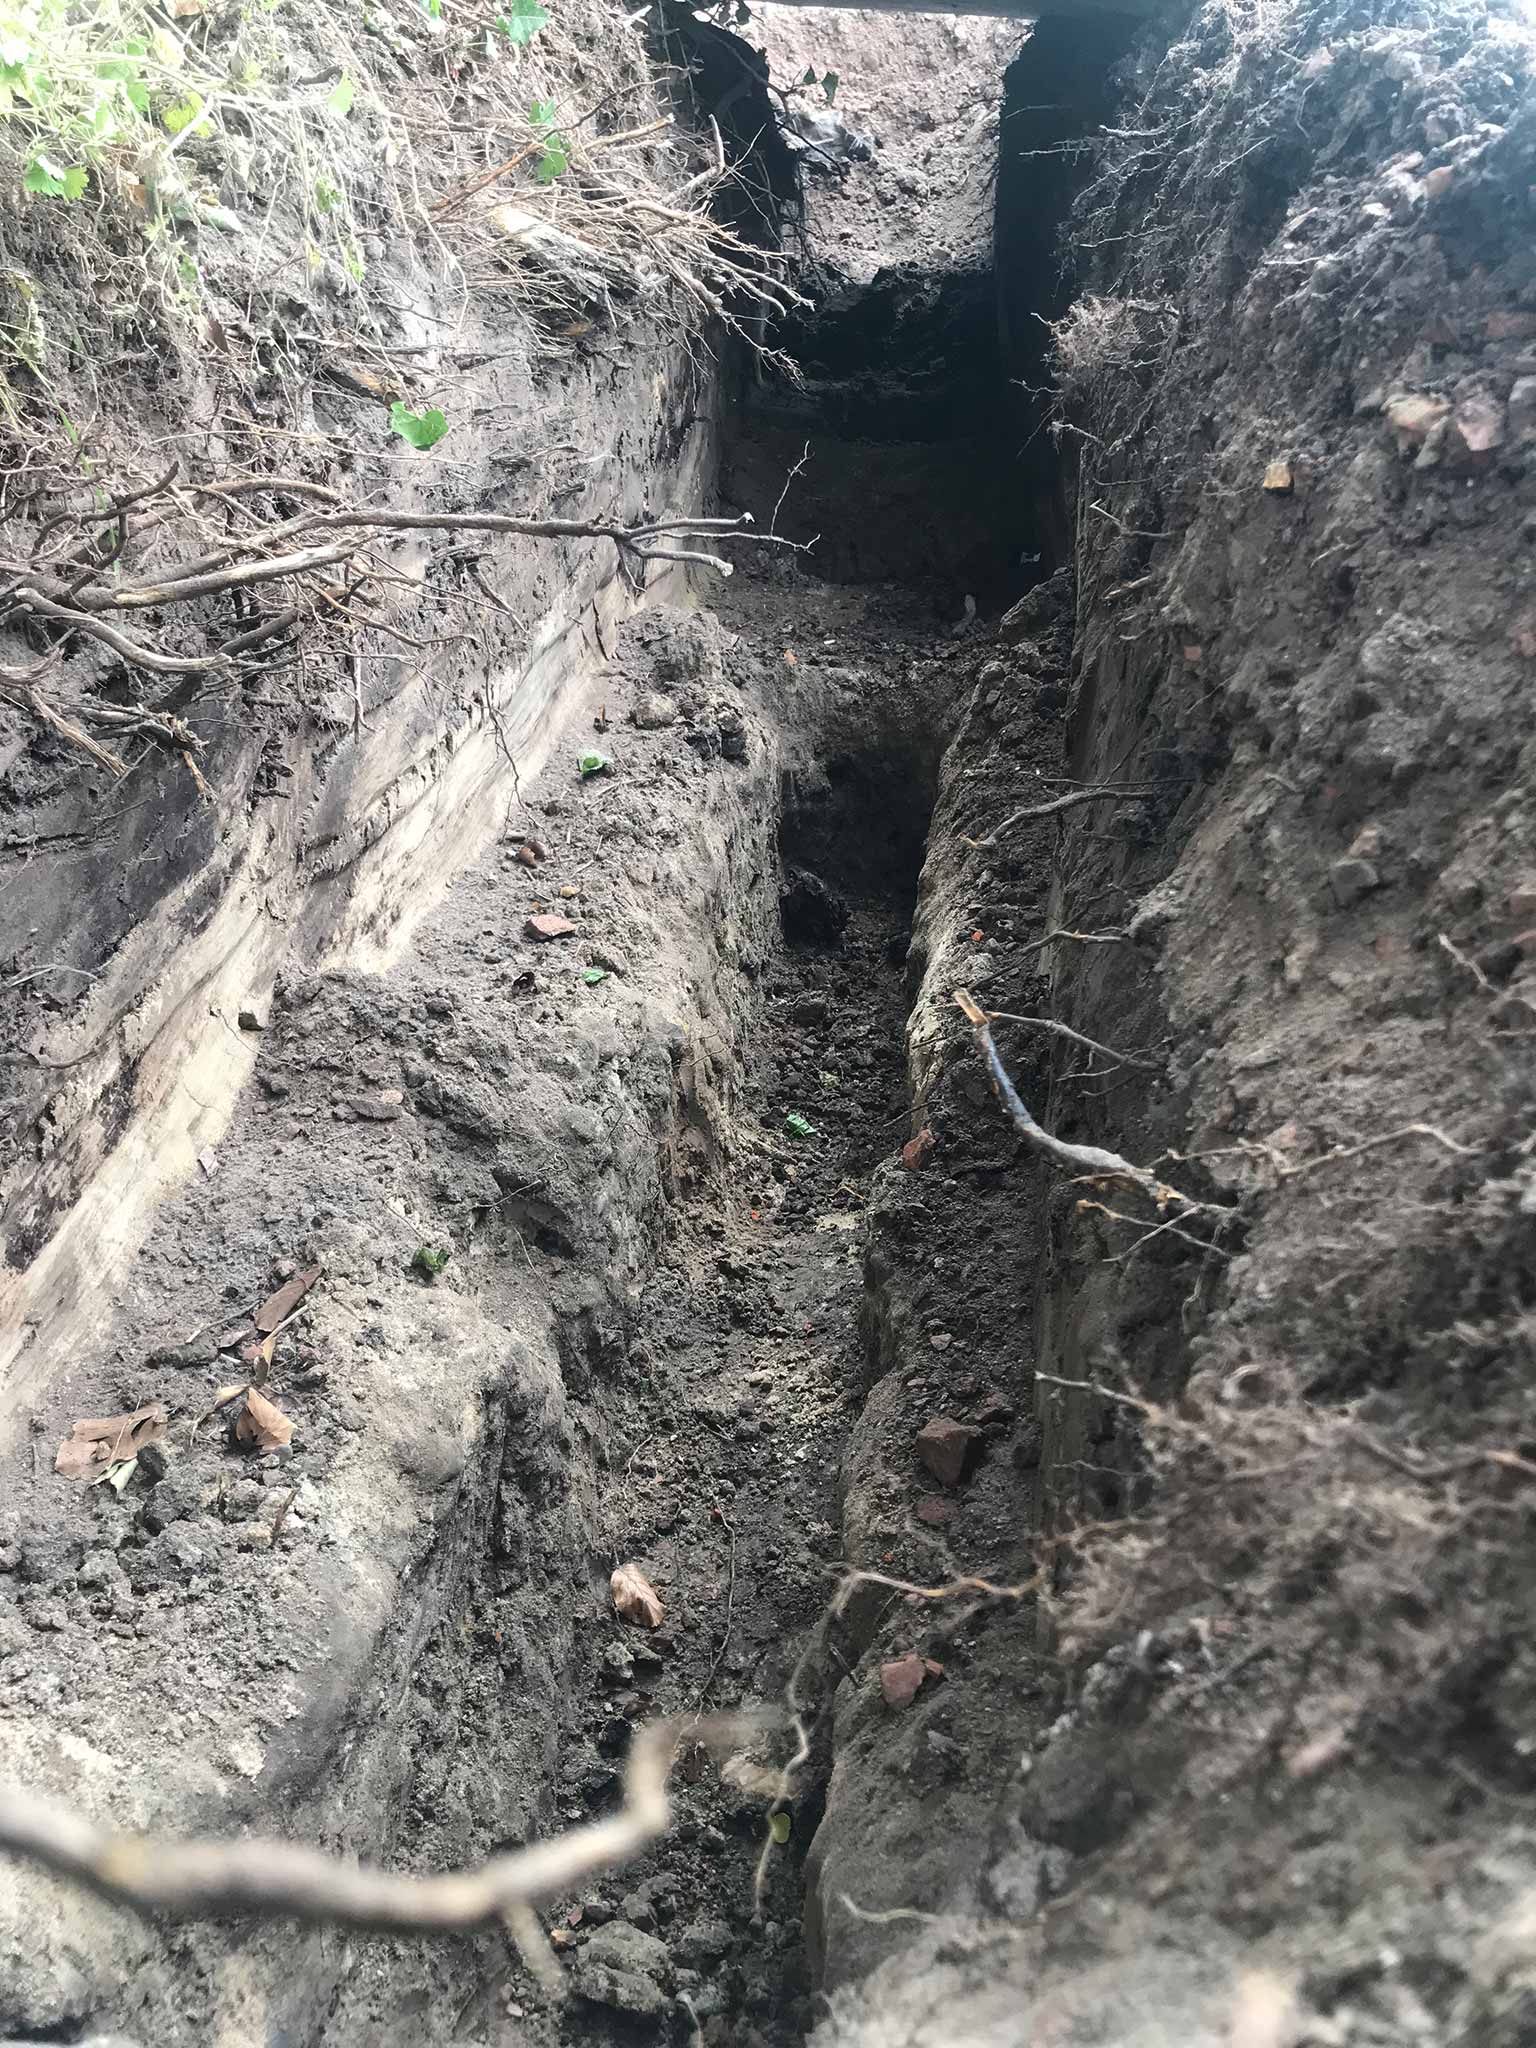
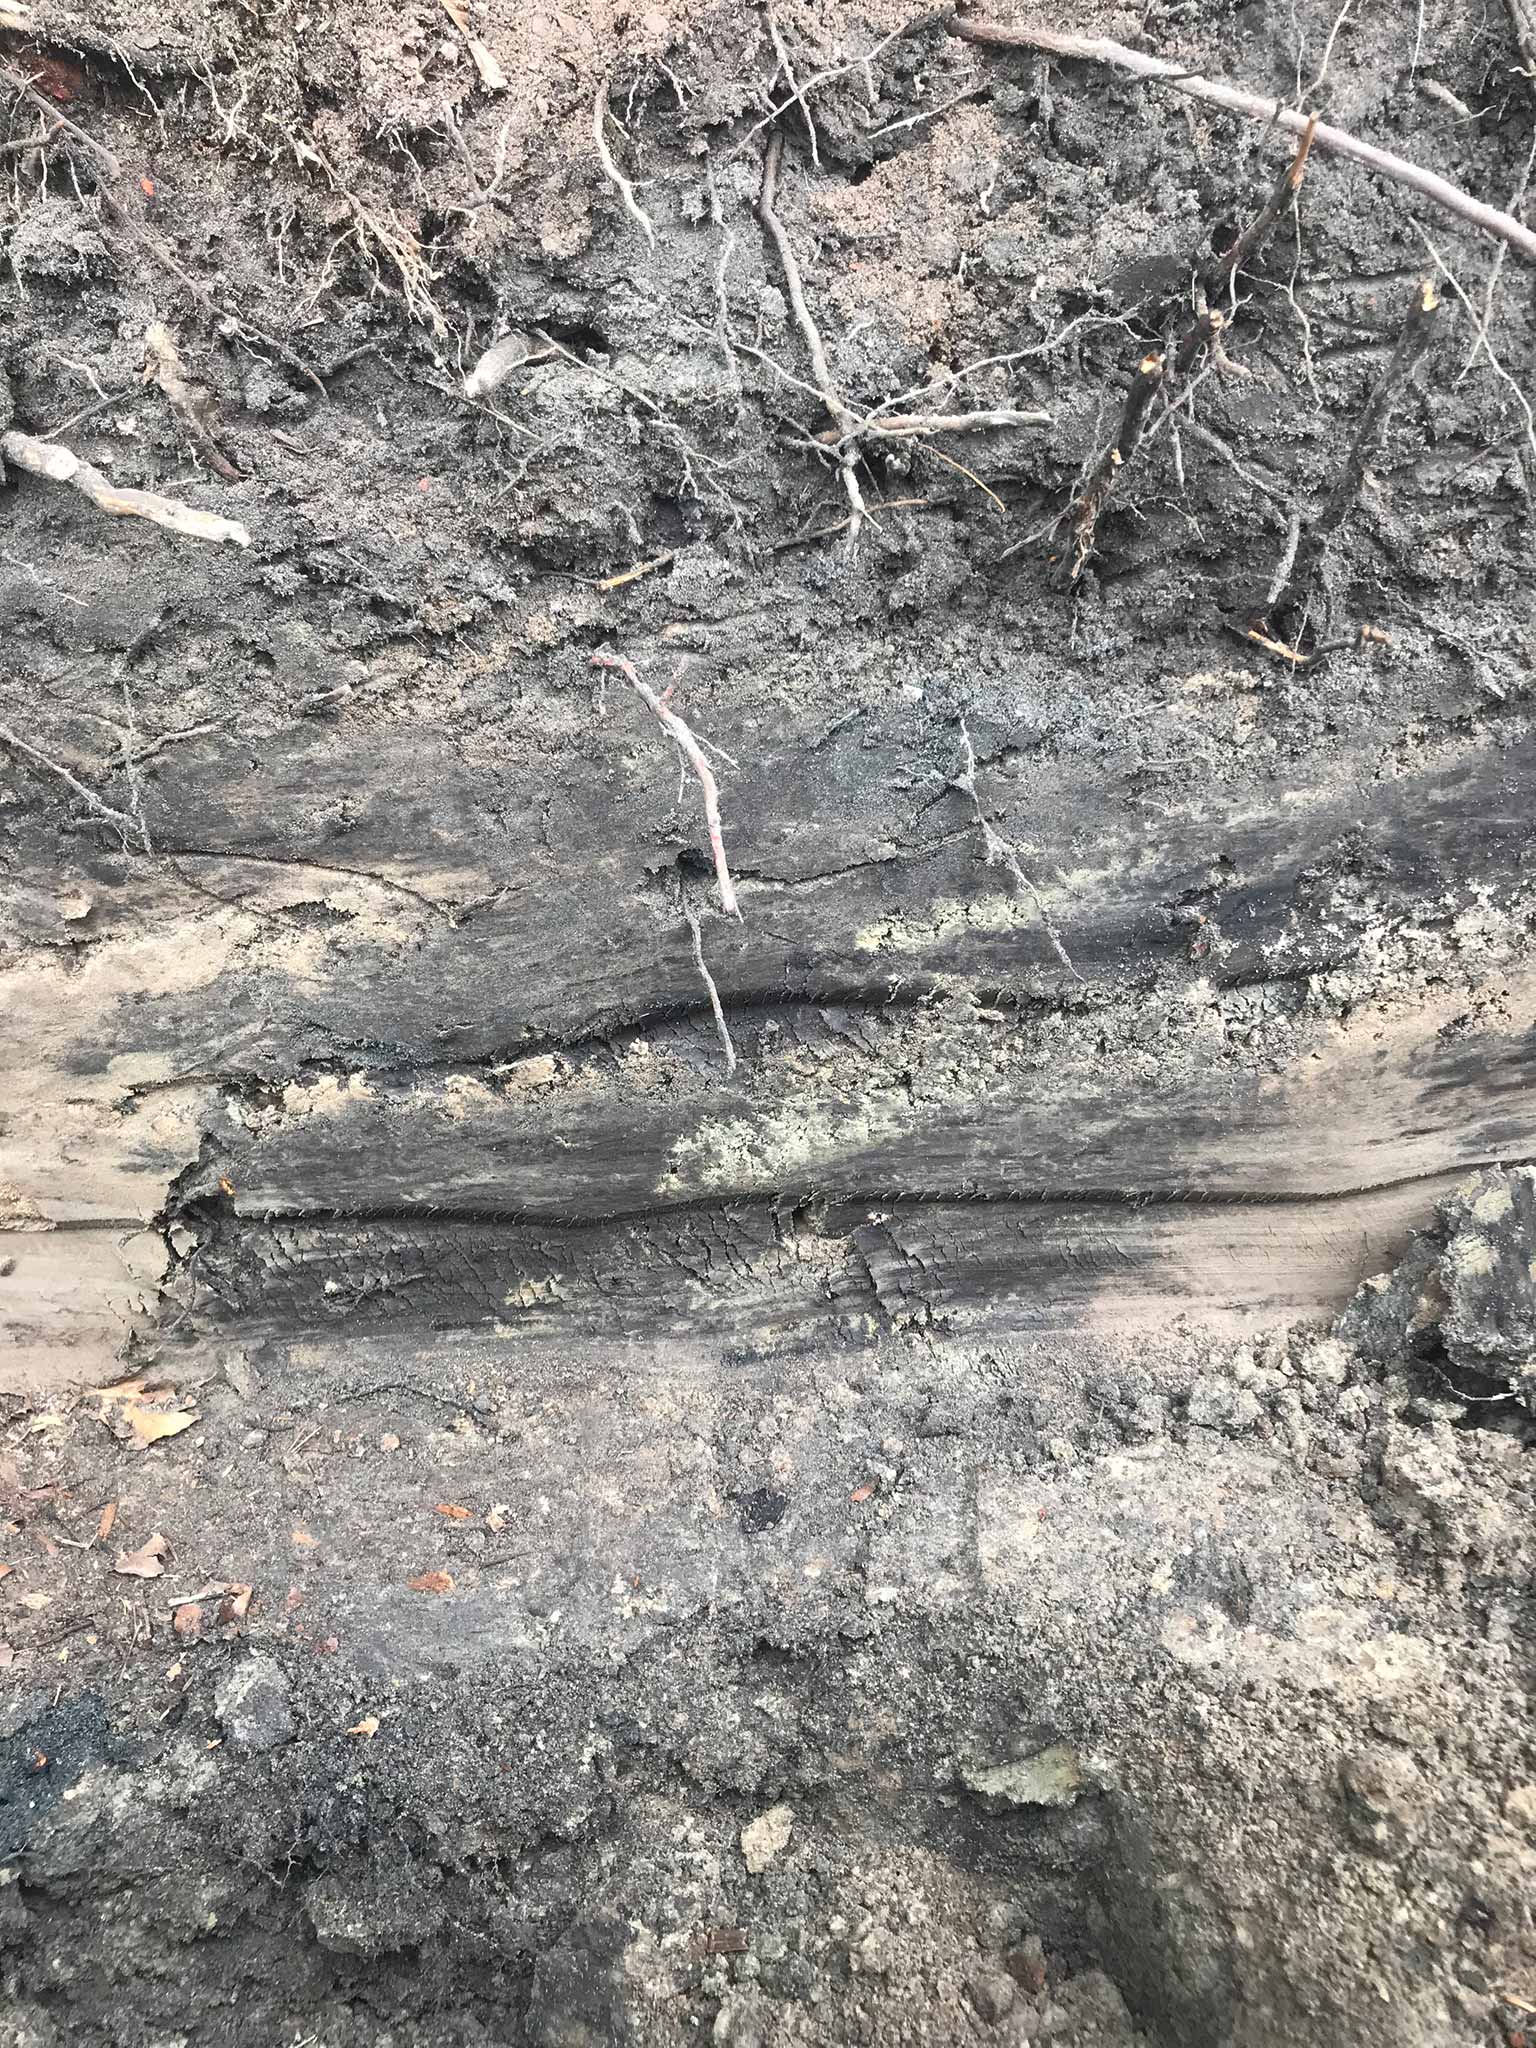
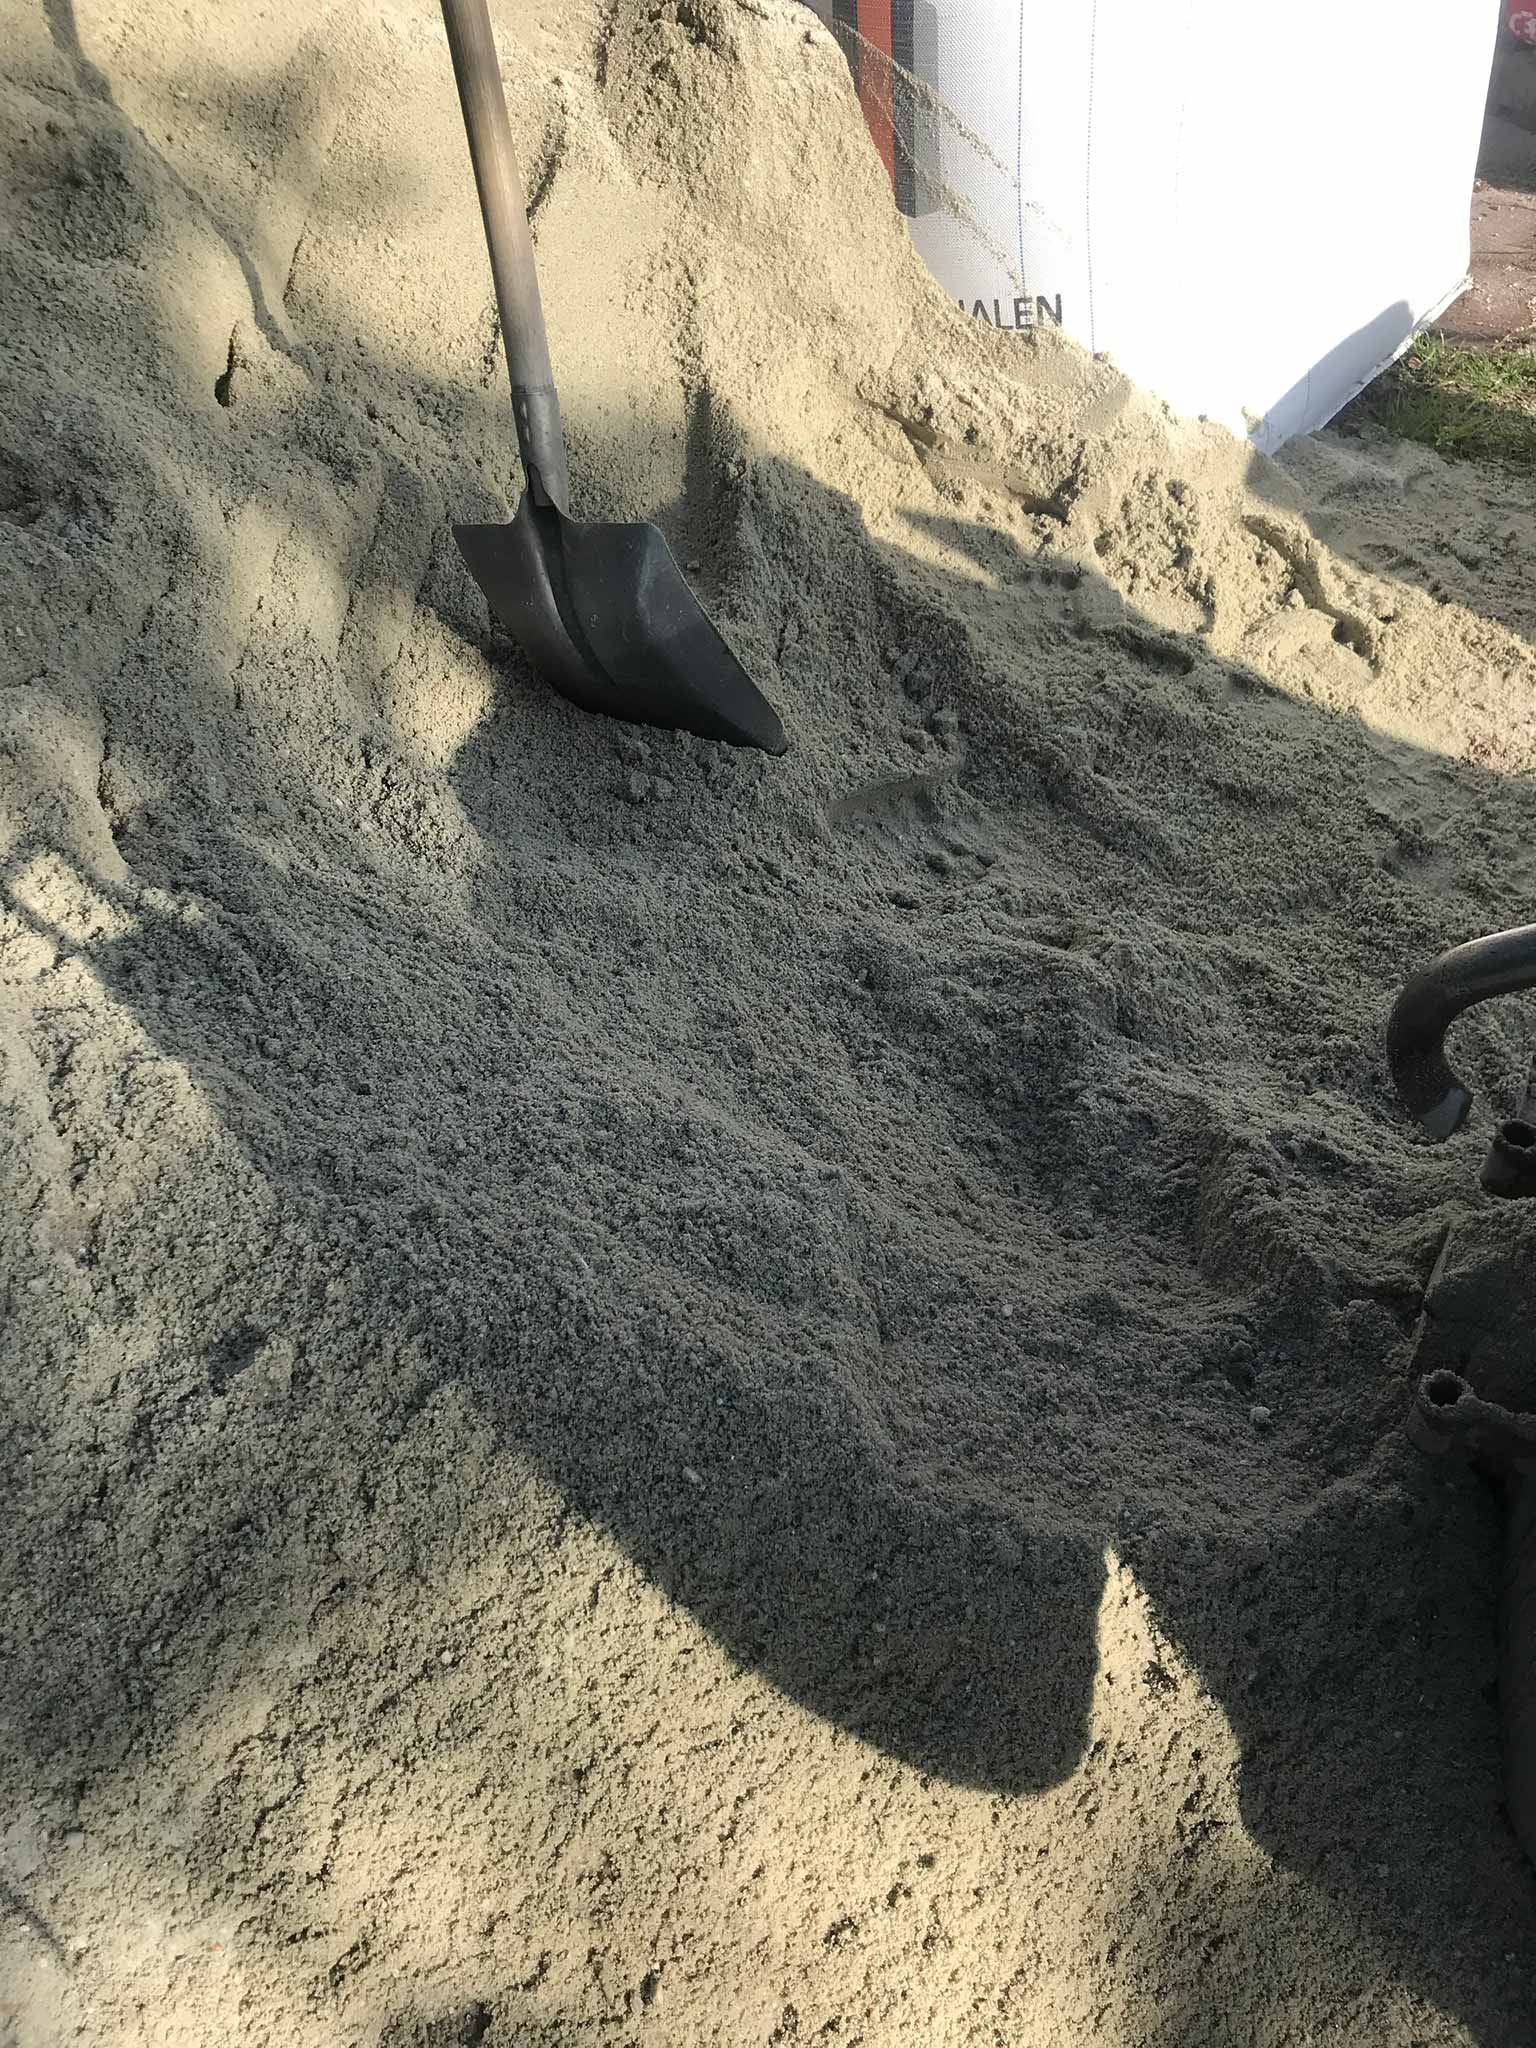
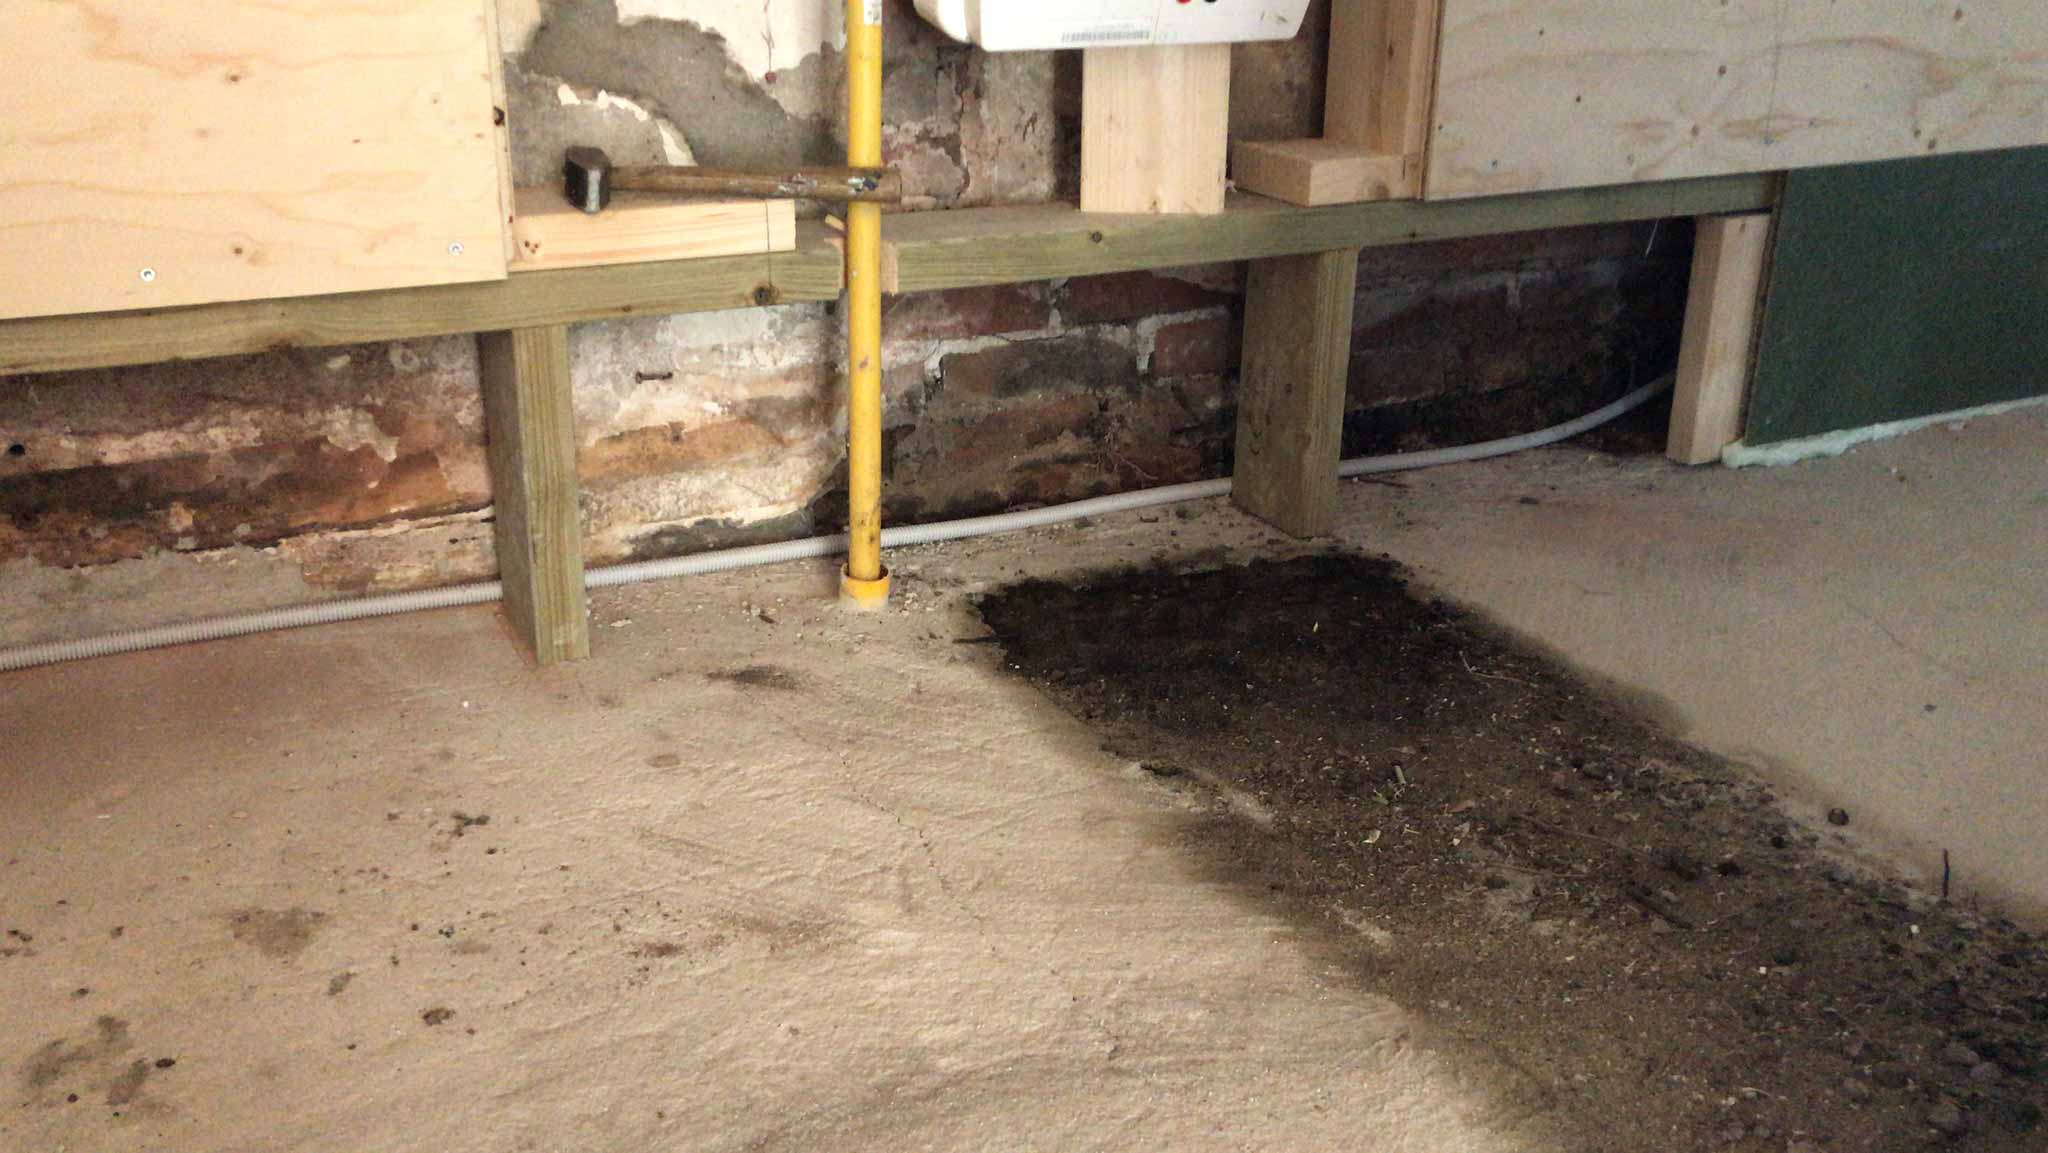
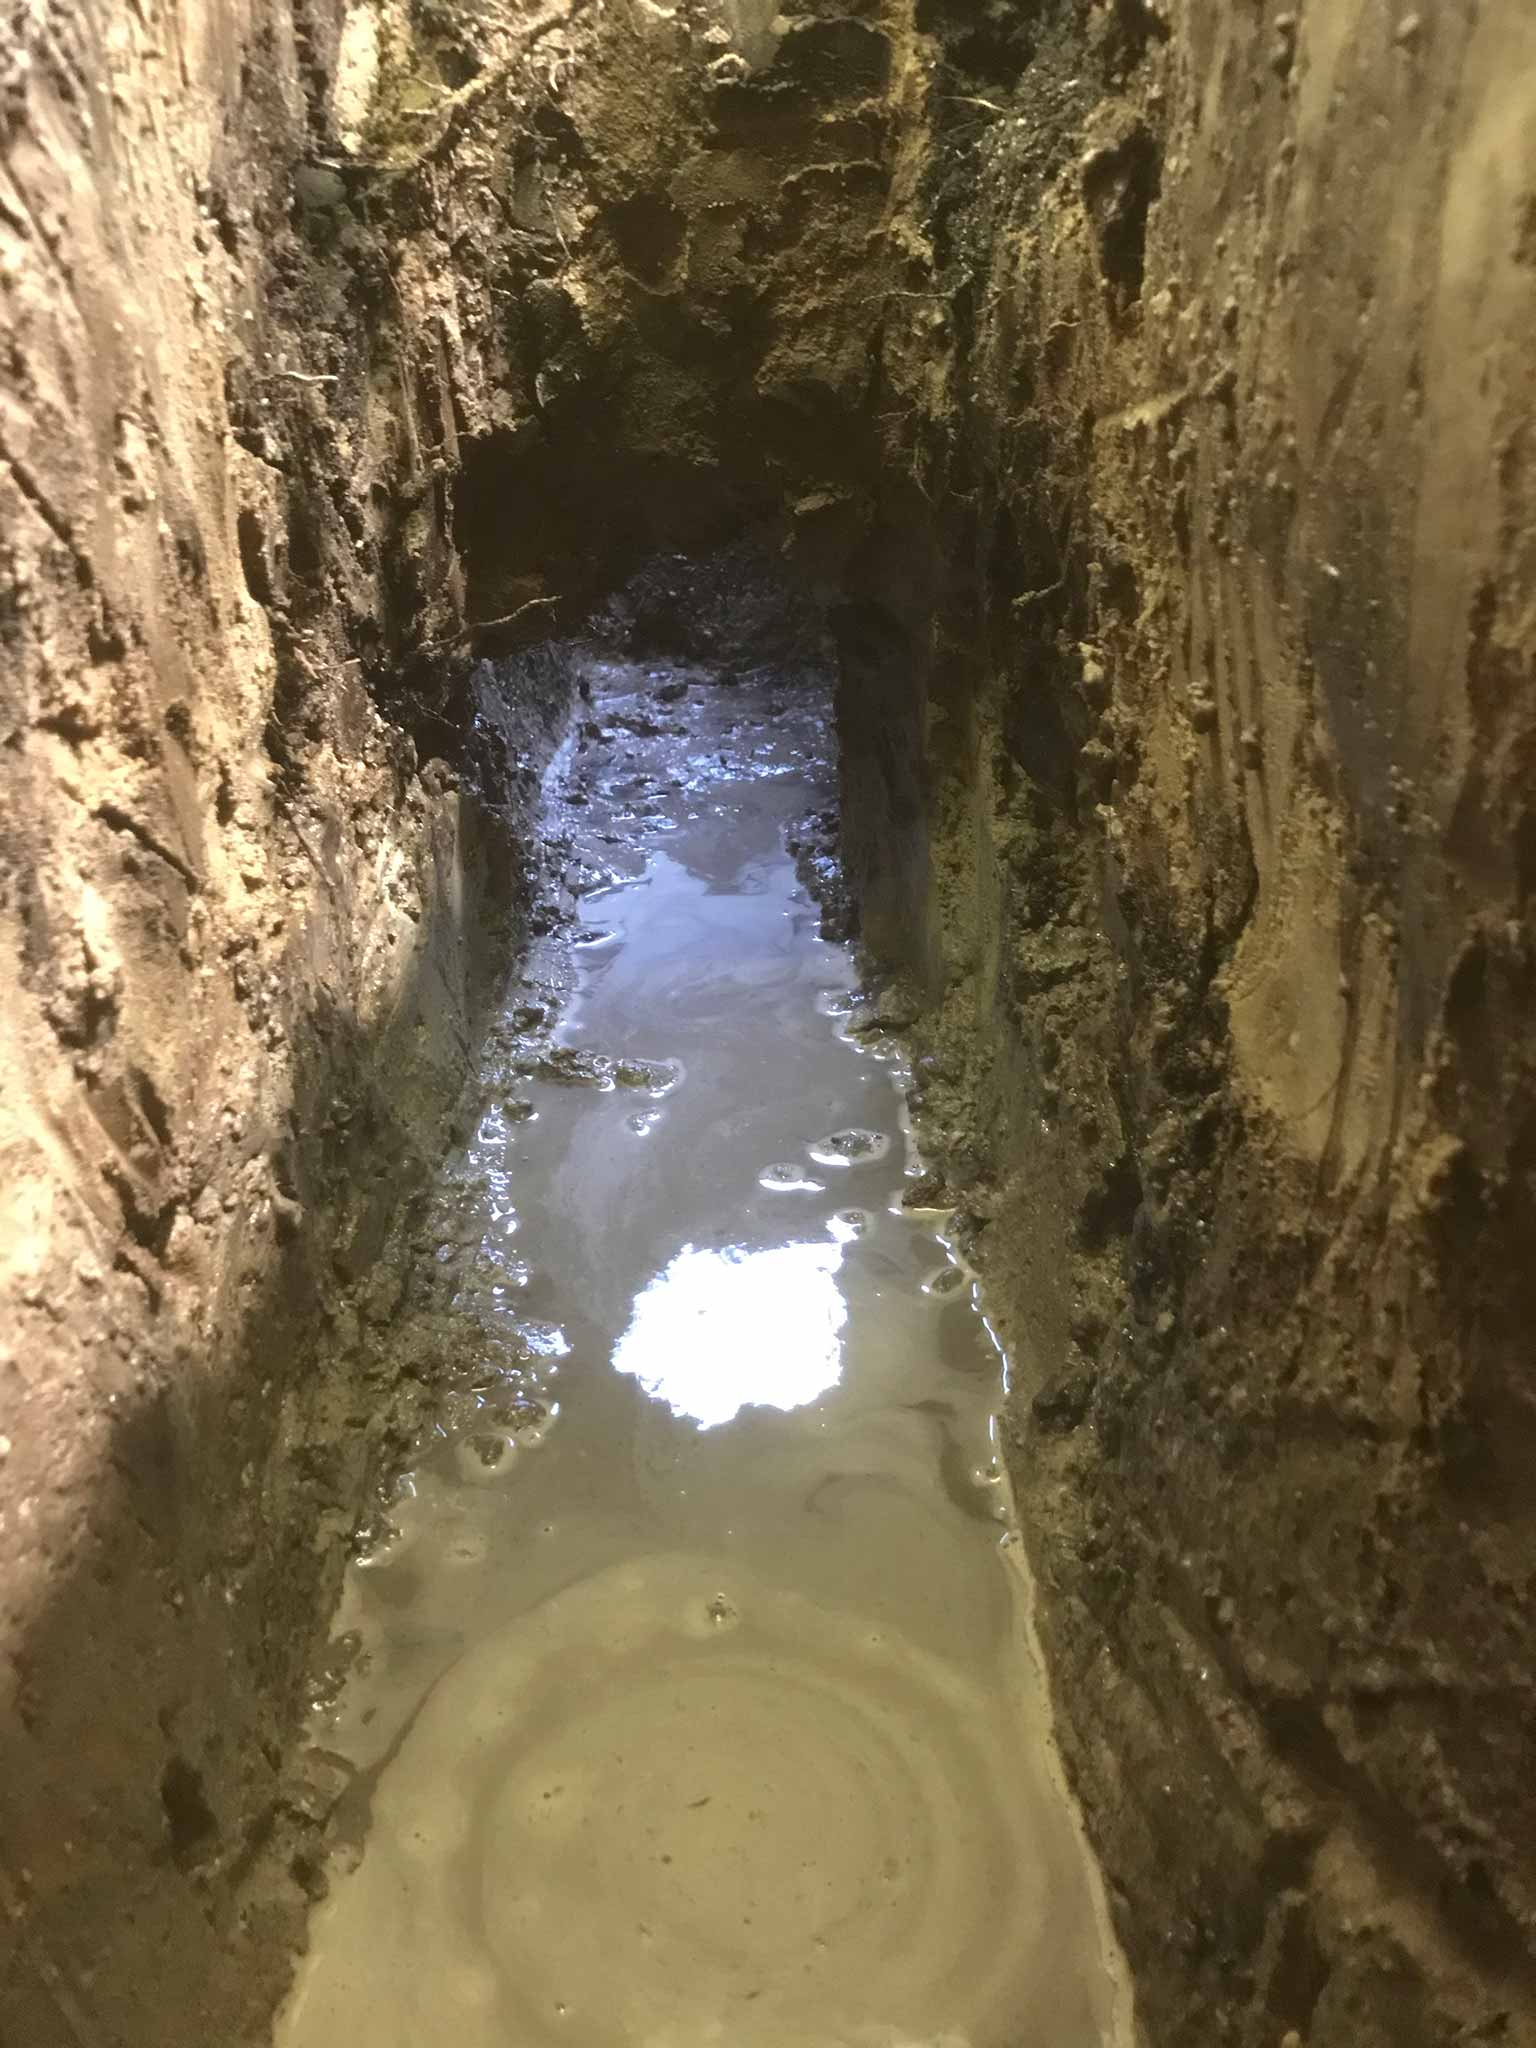
Fun fact: It may look a little bit like work relief, having one person on the mini crane, and one looking at the digging leaning on a shovel, but there is a purpose for it. As the above shows that it is not always clear where pipes are laid out, the digging needs to be done carefully. The one standing by keeps a keen eye out on the profile of the ground and its layering for hints of earlier digs and thus where pipes actually are. In the fourth picture you can clearly see a dark interruption in the horizontal layer of light clay/loam. That’s where the old pipe towards the house runs.
water pipes schemaditchlooking for the water pipesDark section in profile where water pipe must beall done!
Two days of setting up time lapse cameras and at the moment supreme, the Raspberry Pis did not have internet and the crontabs did not run. No time lapse of the ‘pouring’ of the cement floor 😡. Somehow the router was off. Should teach me to mind my own things first before other things. Oh, wait… The floor is ‘my thing’.
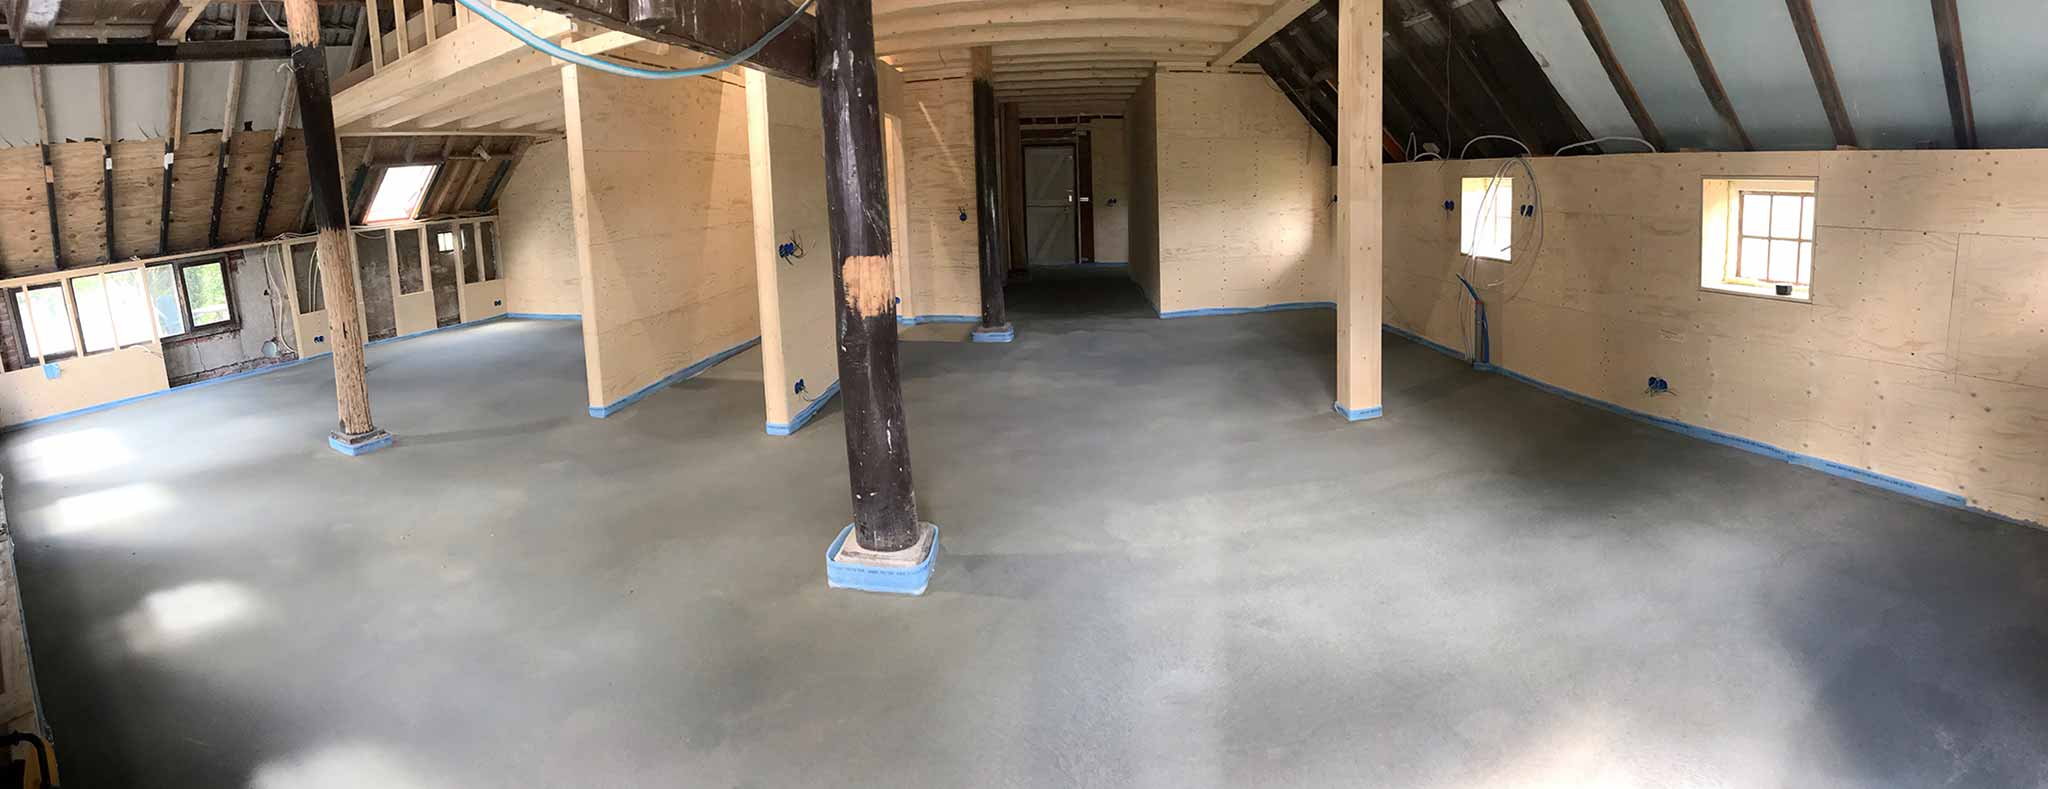
Oh well, the floor is in. Most important, I know…
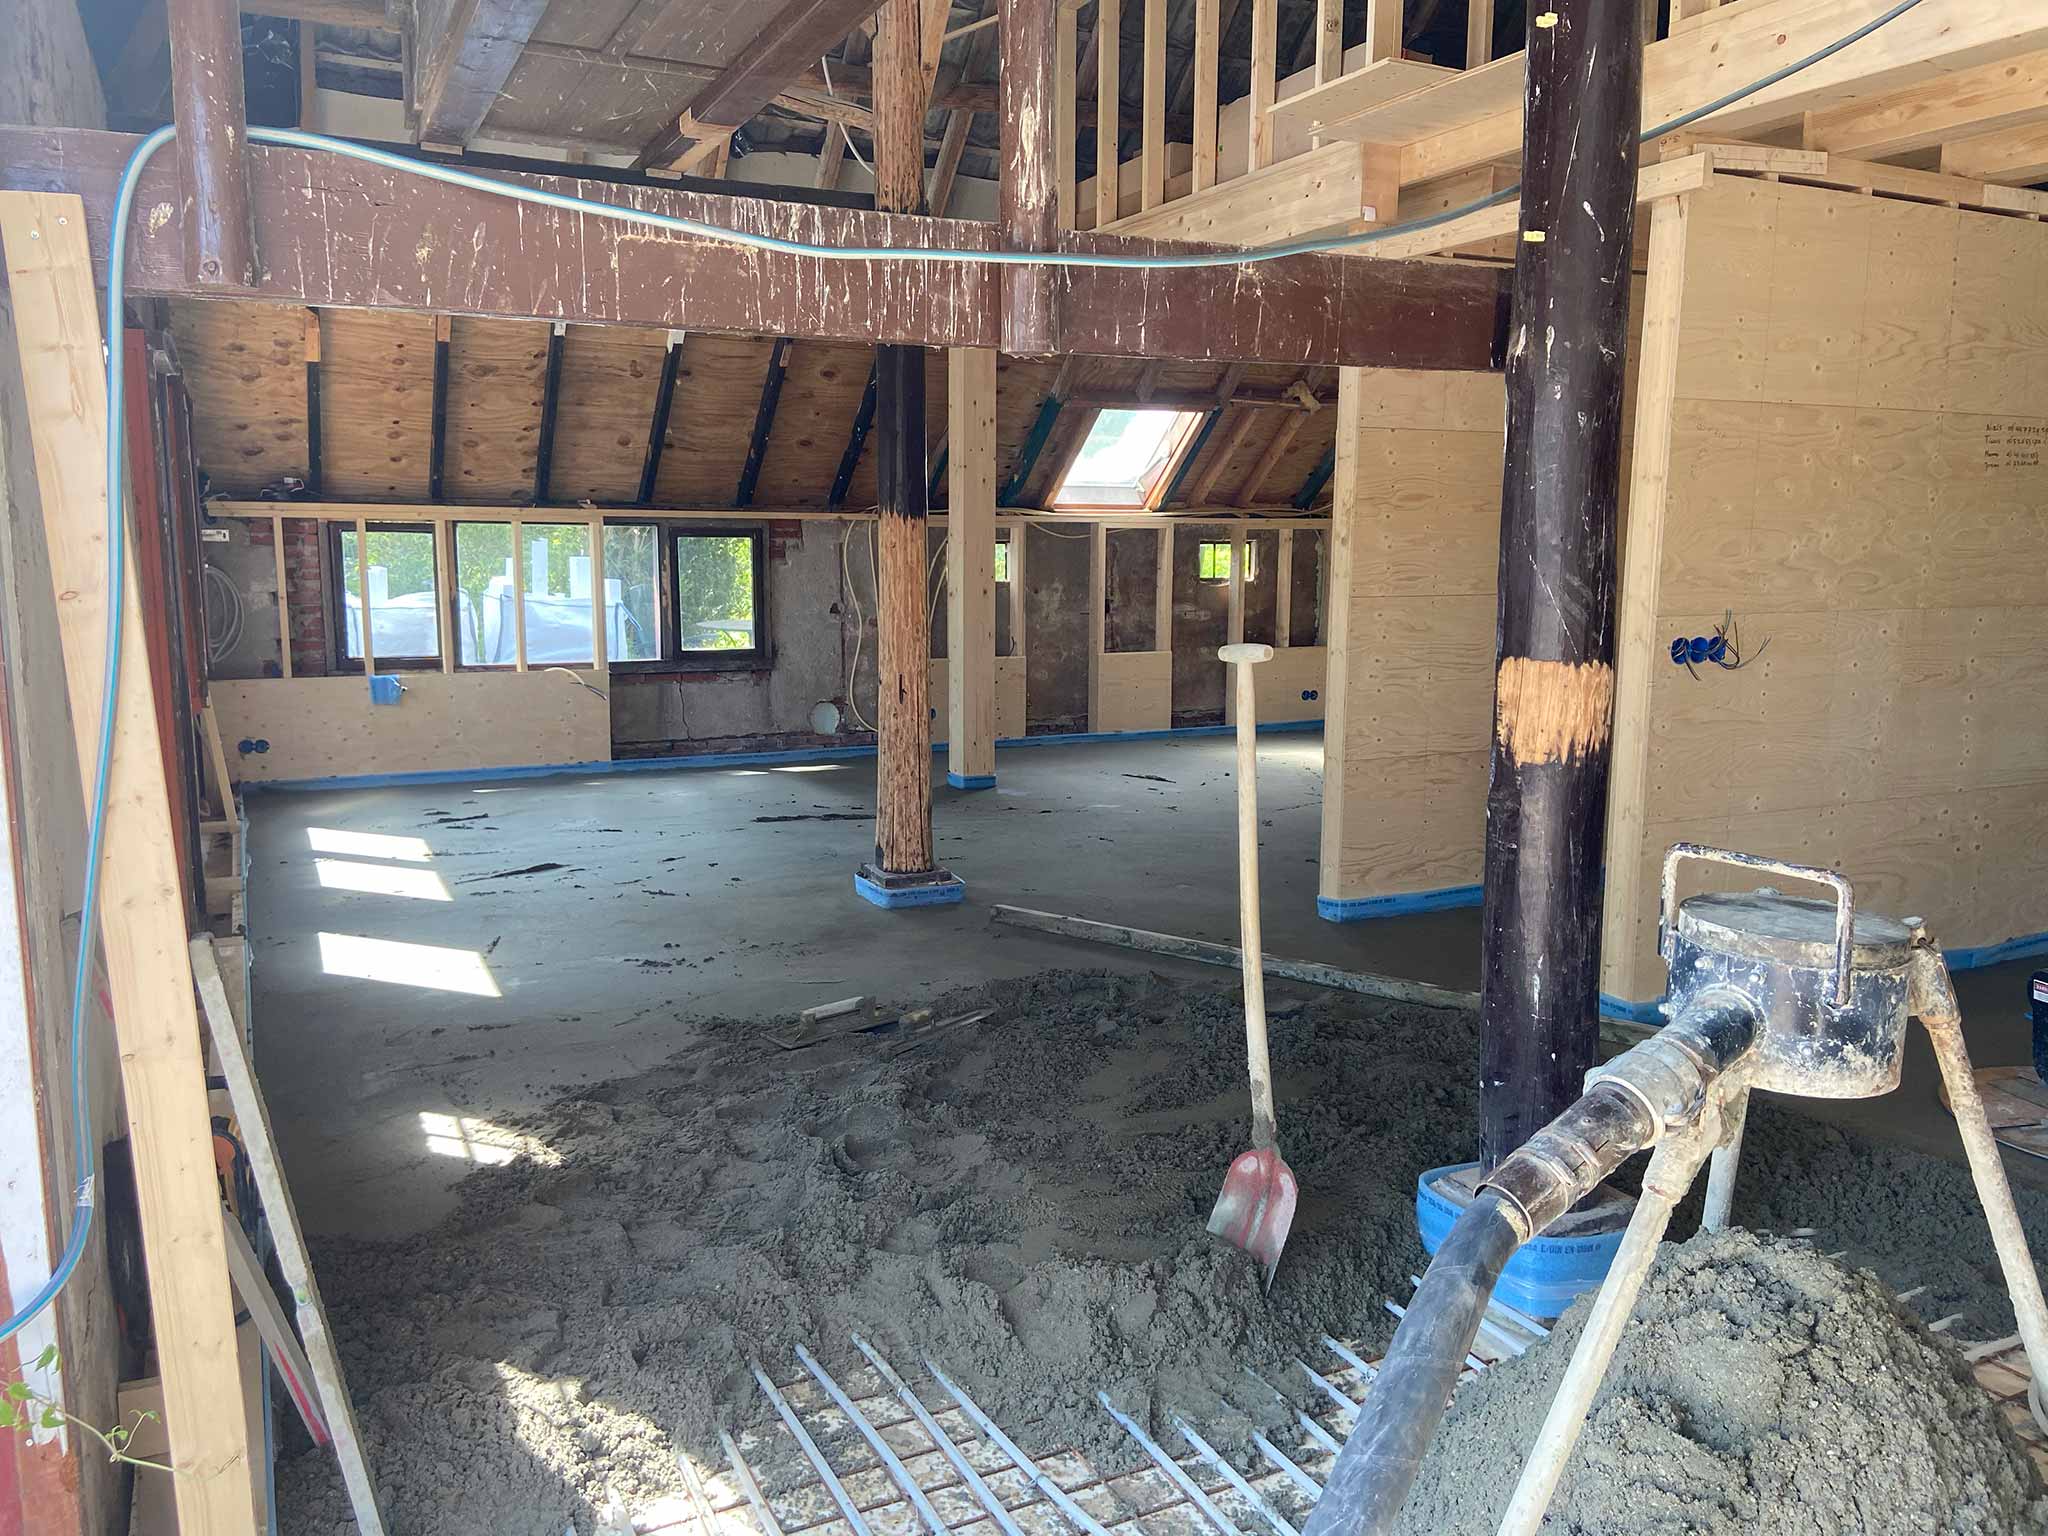
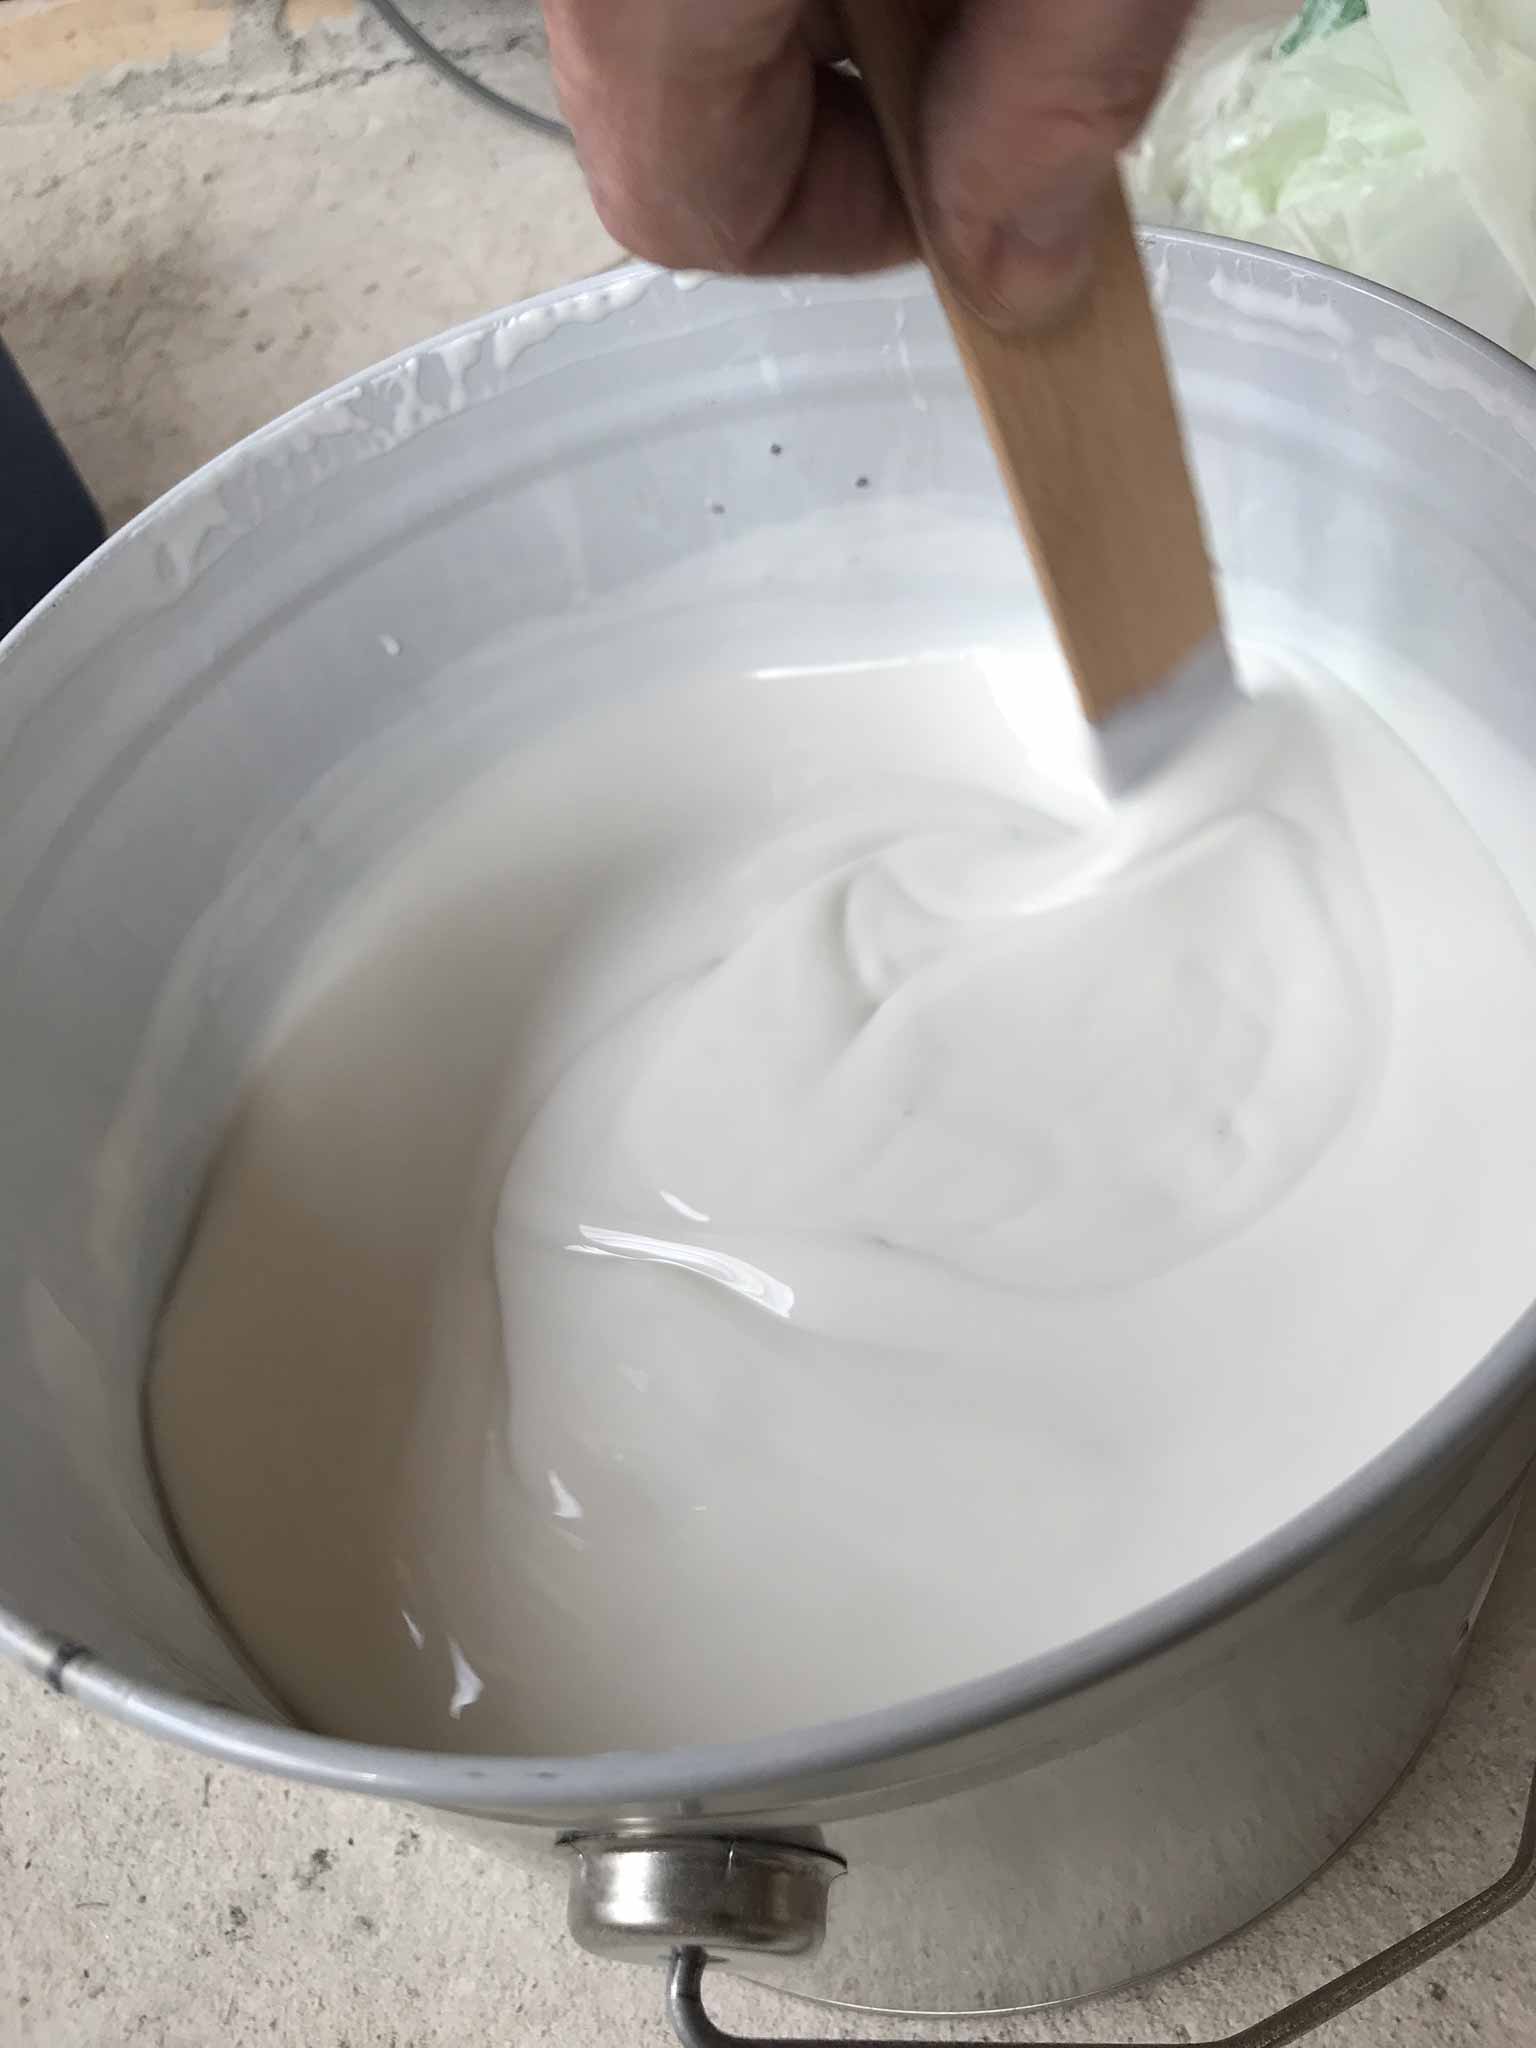
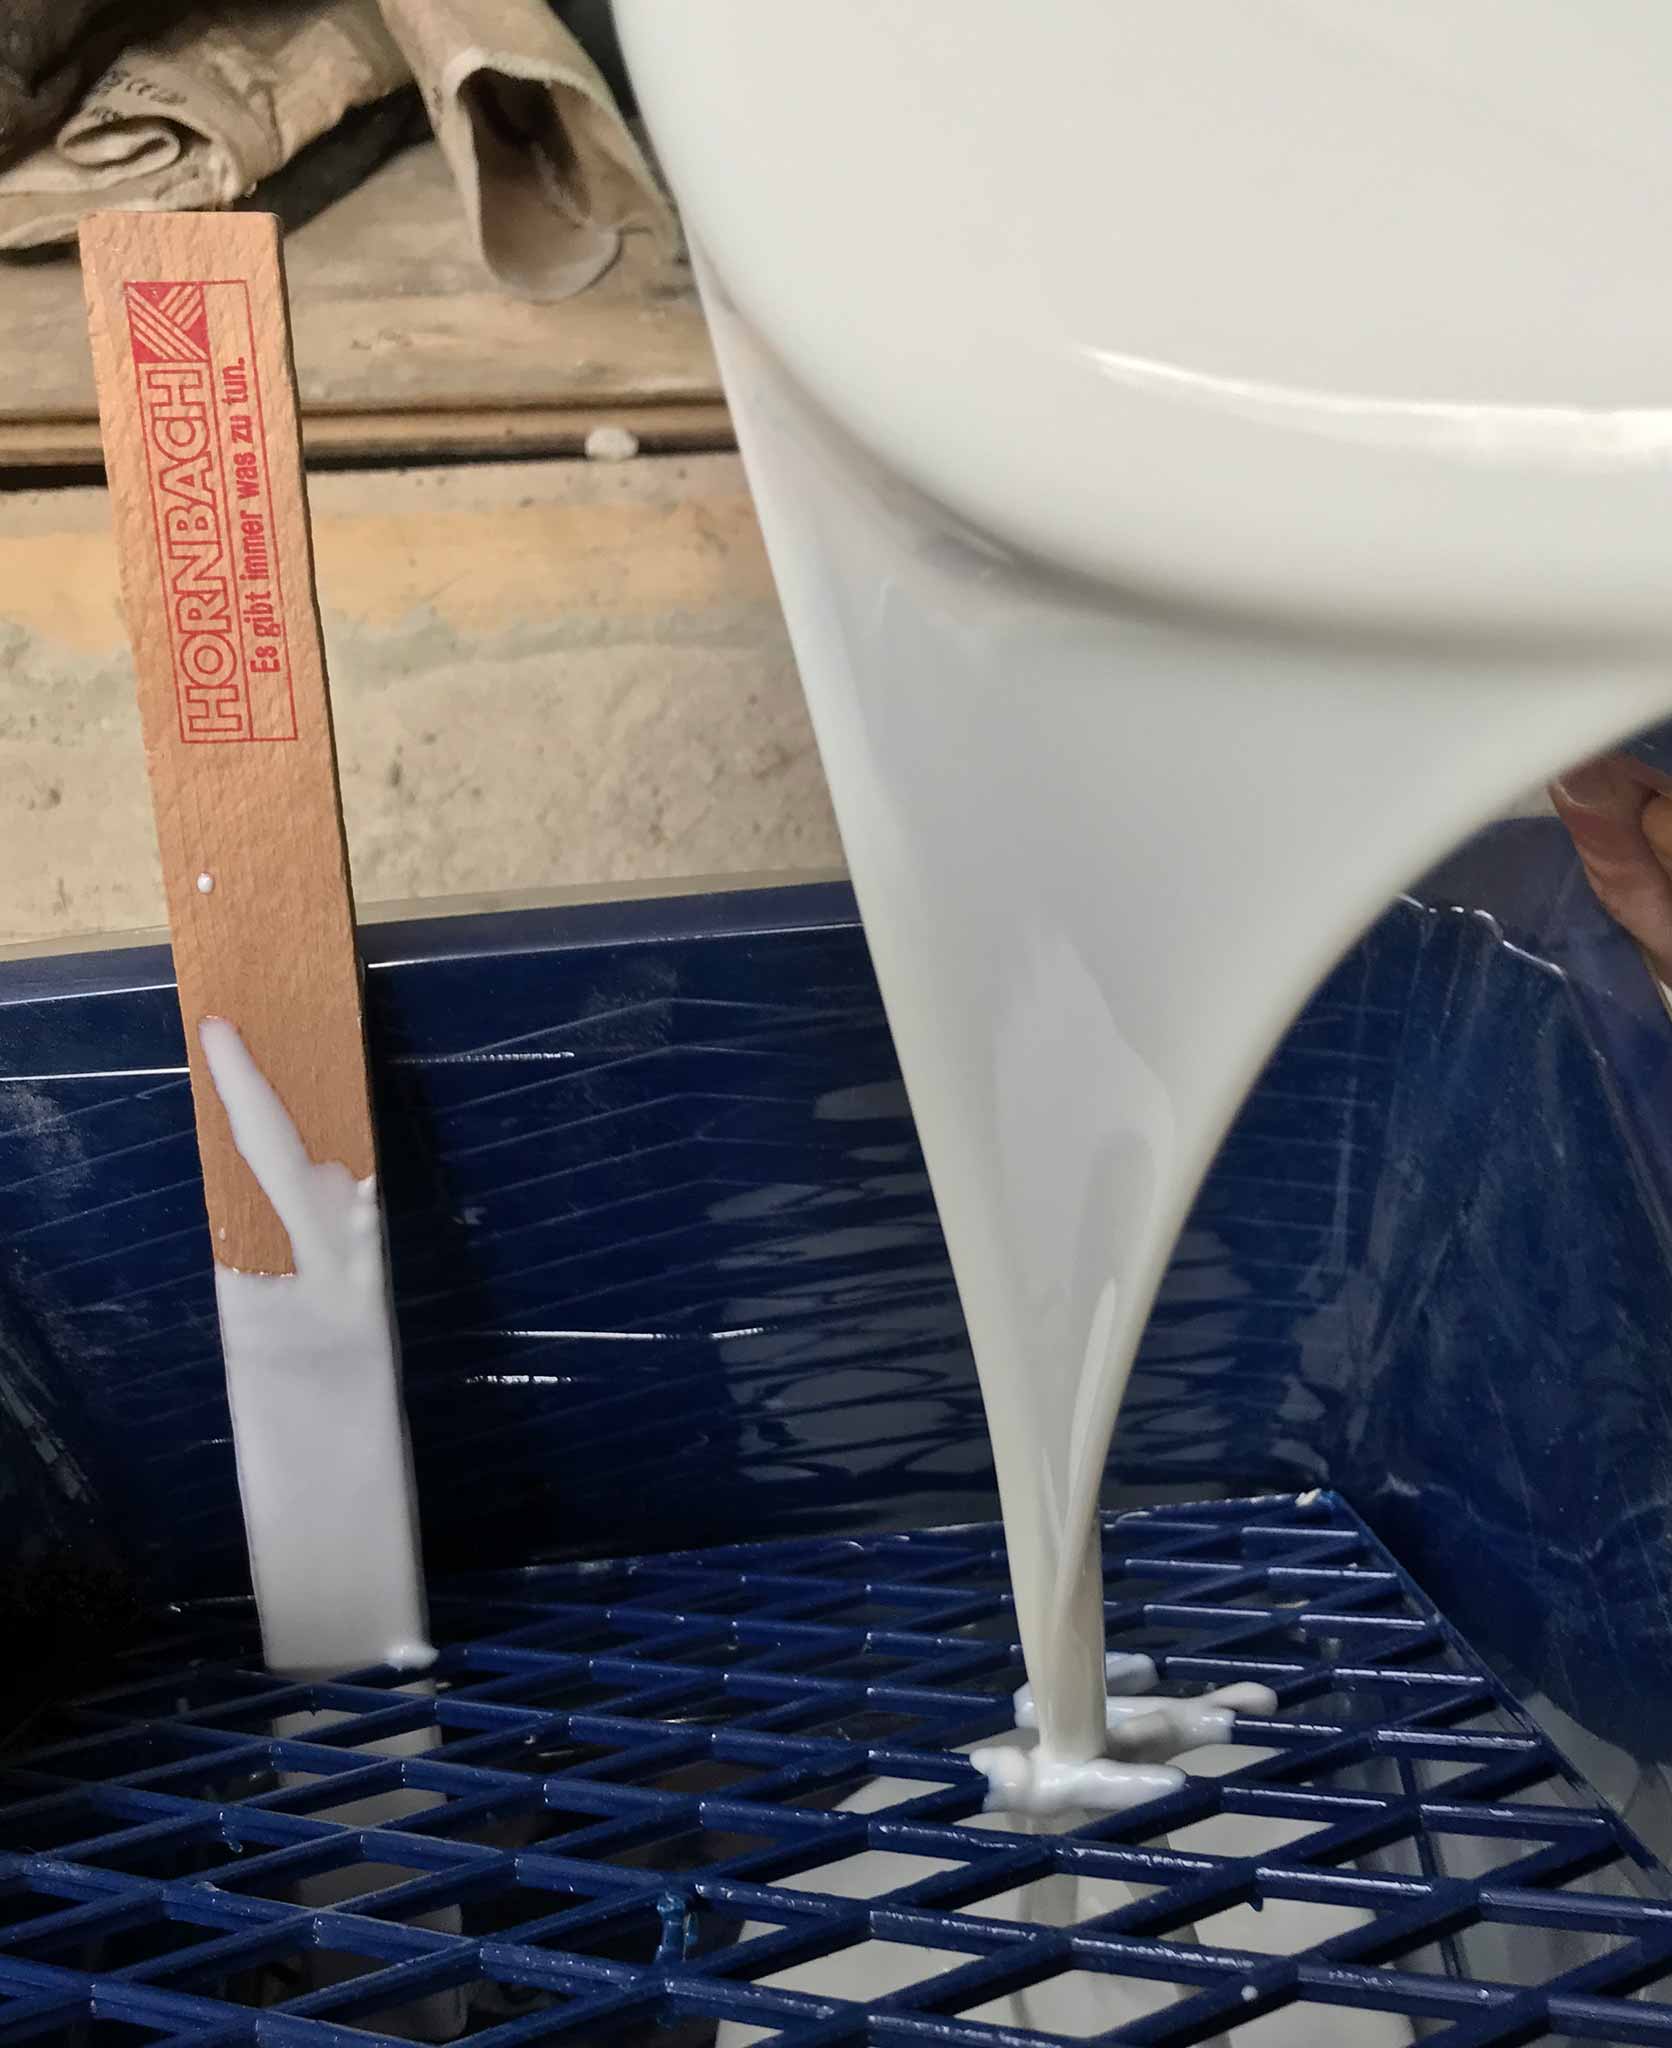
It is incredible, the ease with which a pile of cement is made into a horizontal surface of well over 100 square meters! Ok, I have not done the marble test yet, but it looks mighty straight.
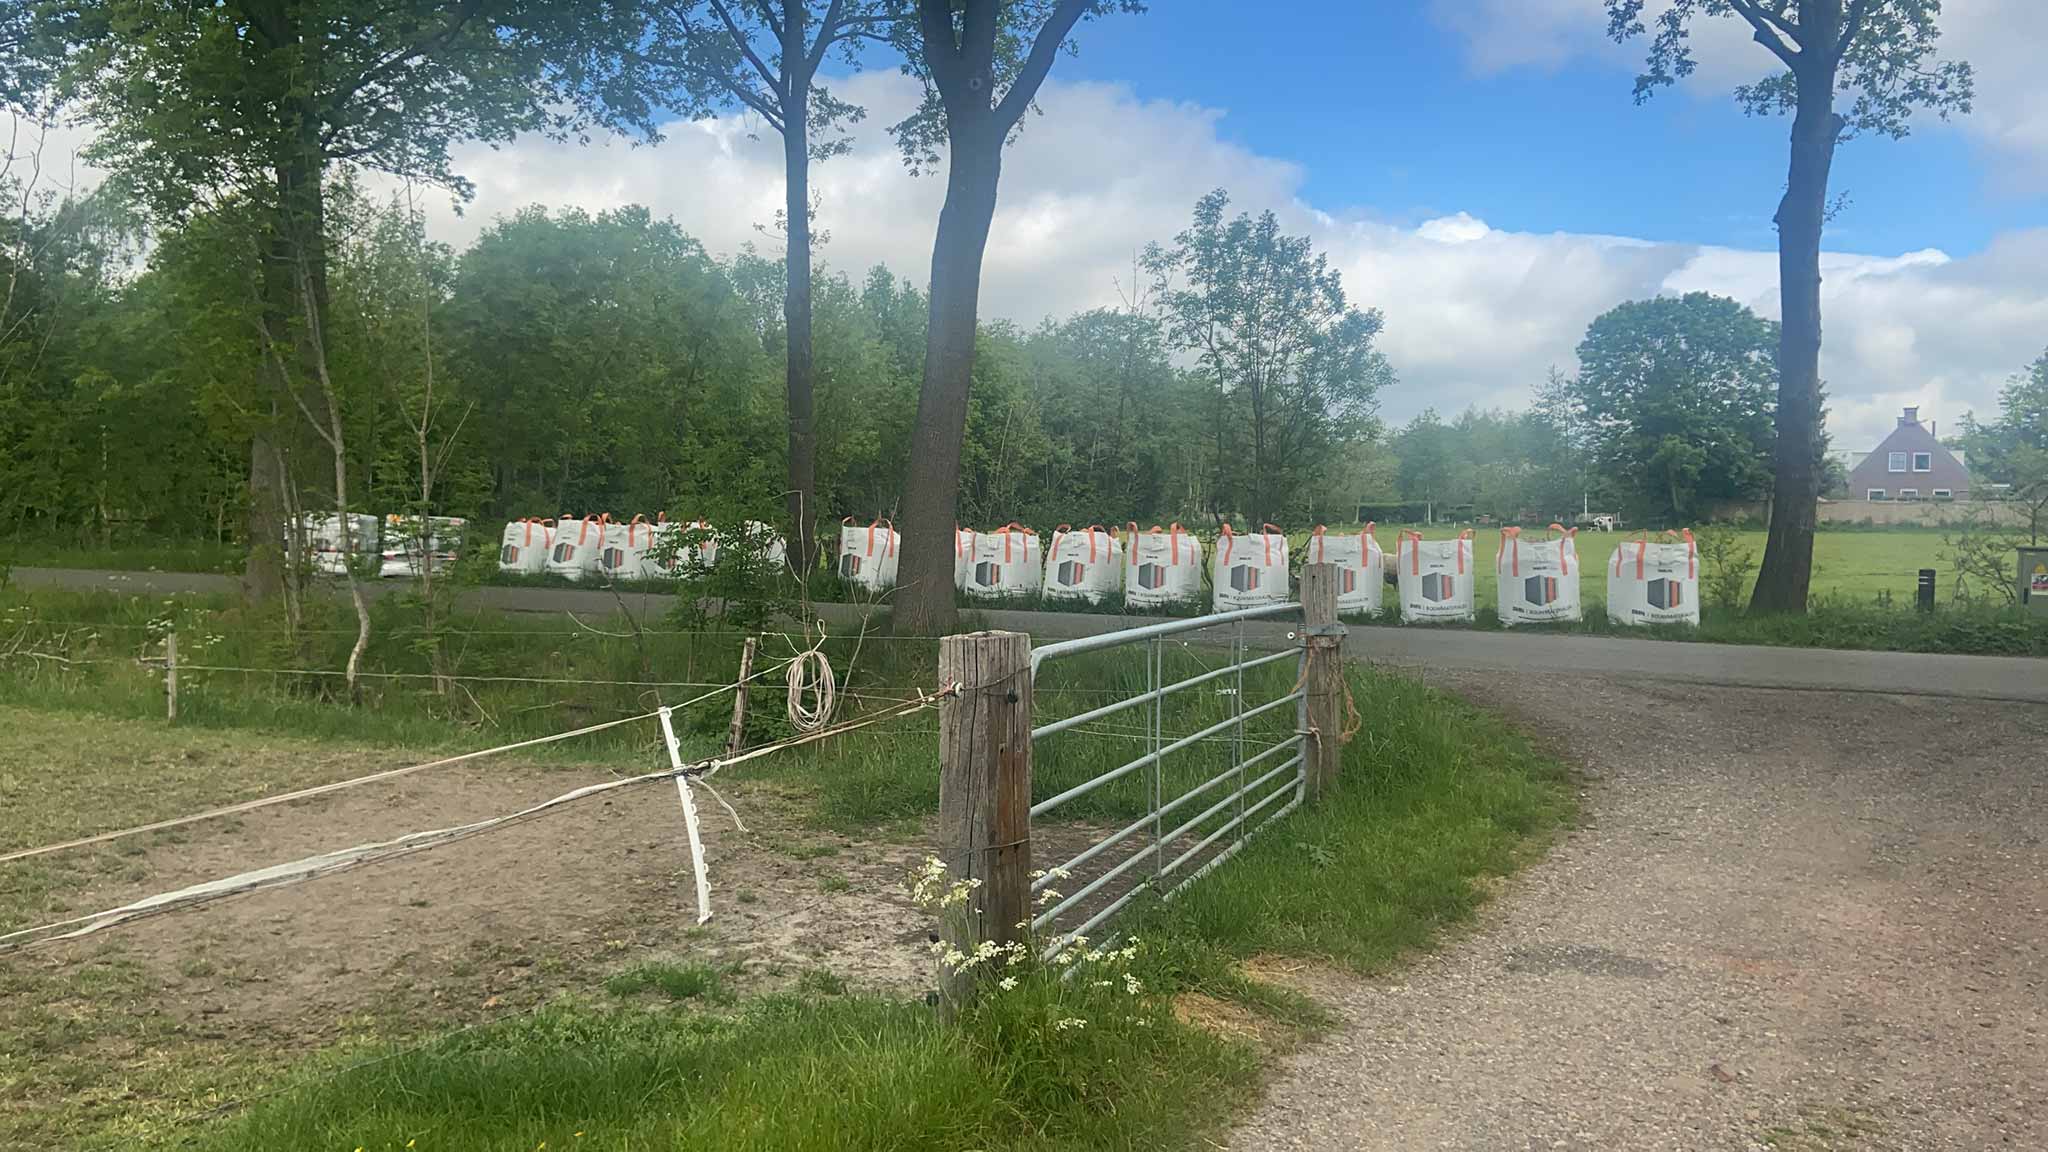
The cement, water and sand is scooped into the mixer. Once mixed, it is sent through a ‘hose’ into the house and dumped onto a pile. This pile of cement is distributed with a shovel, flattened it with a bit aluminum beam and that’s it!
14 big bags (1 cubic meter each) of sand
about 72 bags of cement
an unknown amount of water
Lined up, ready to be hauled over to the houseSand for the floor piled up at the houseShovelling it into the mixerNearly doneDone!
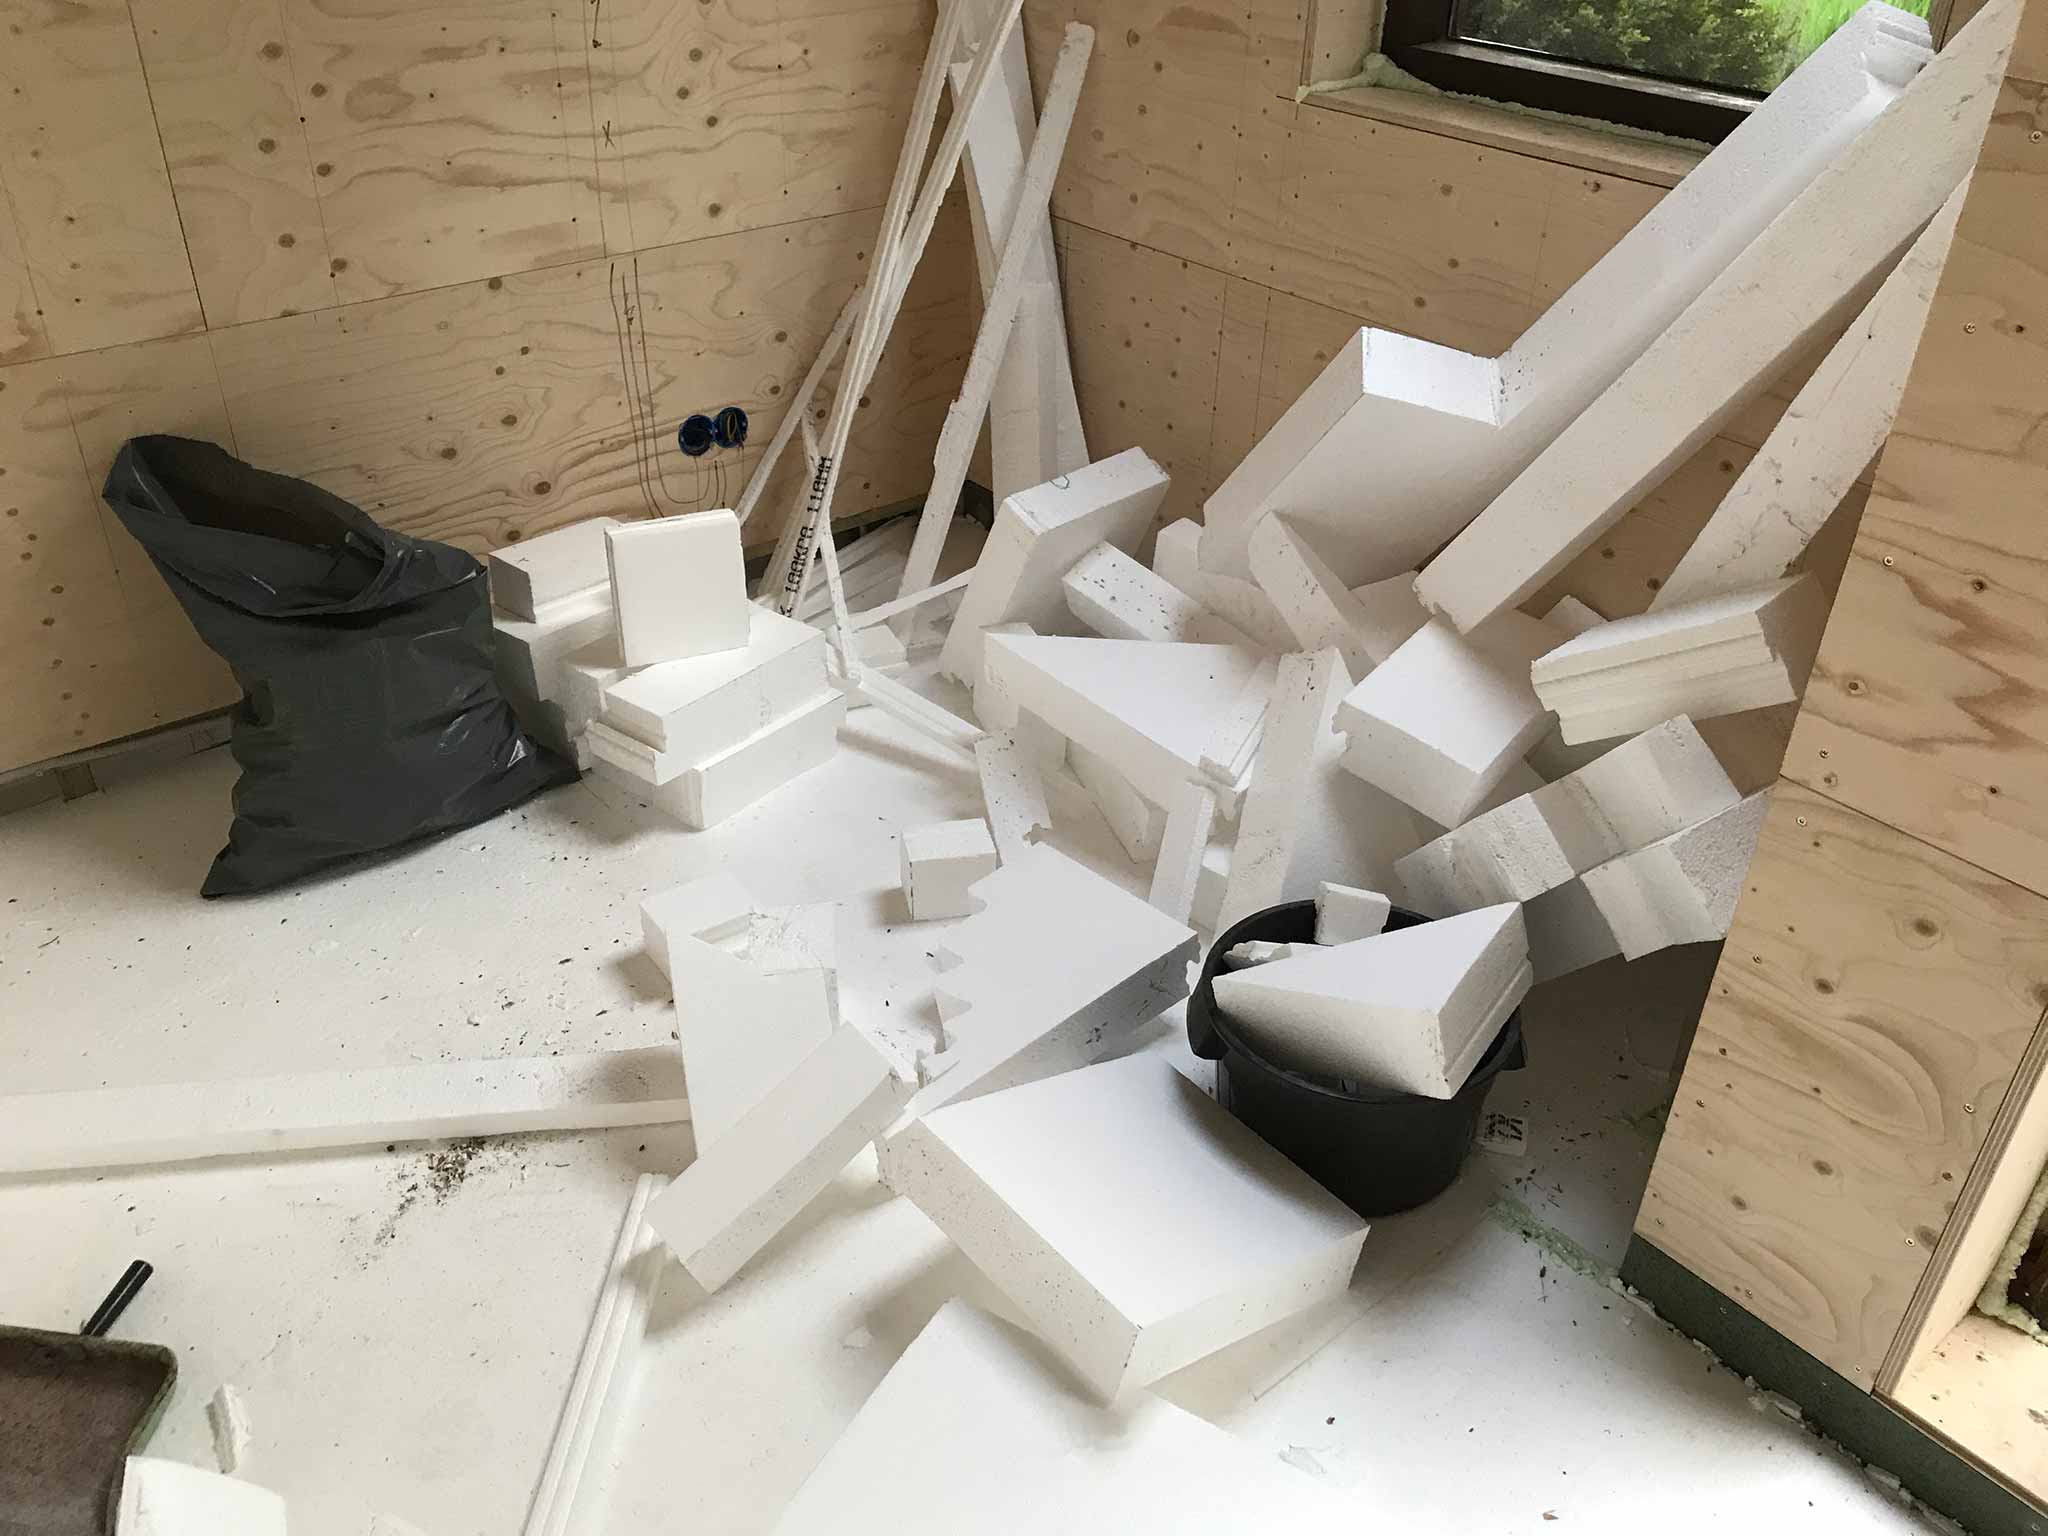
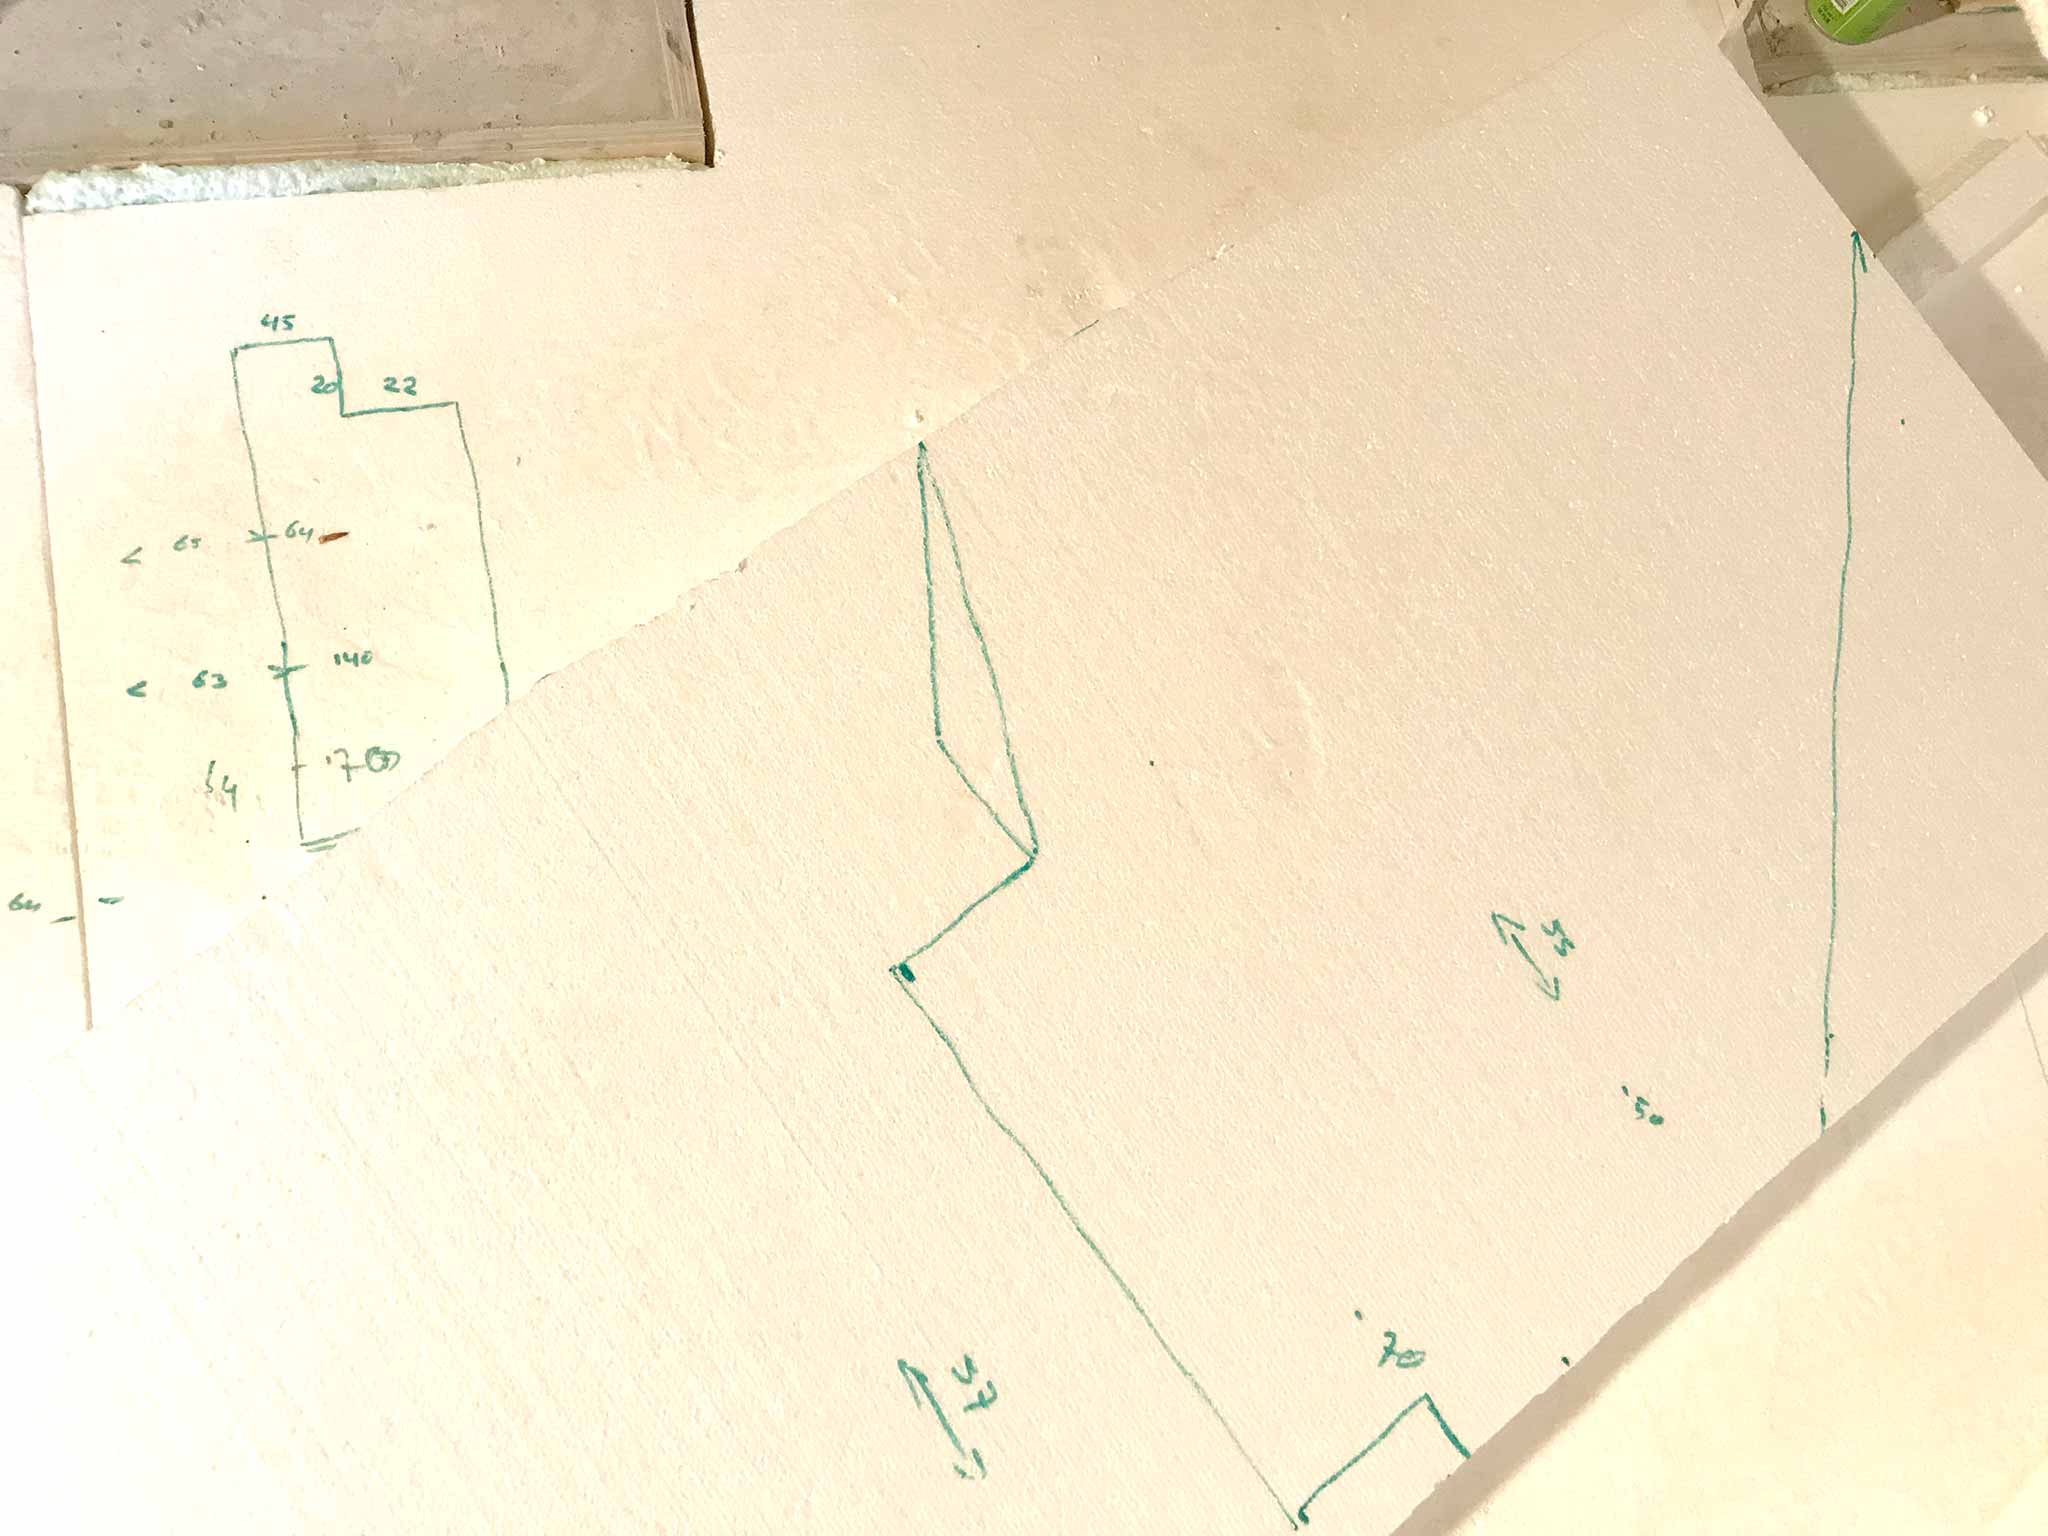
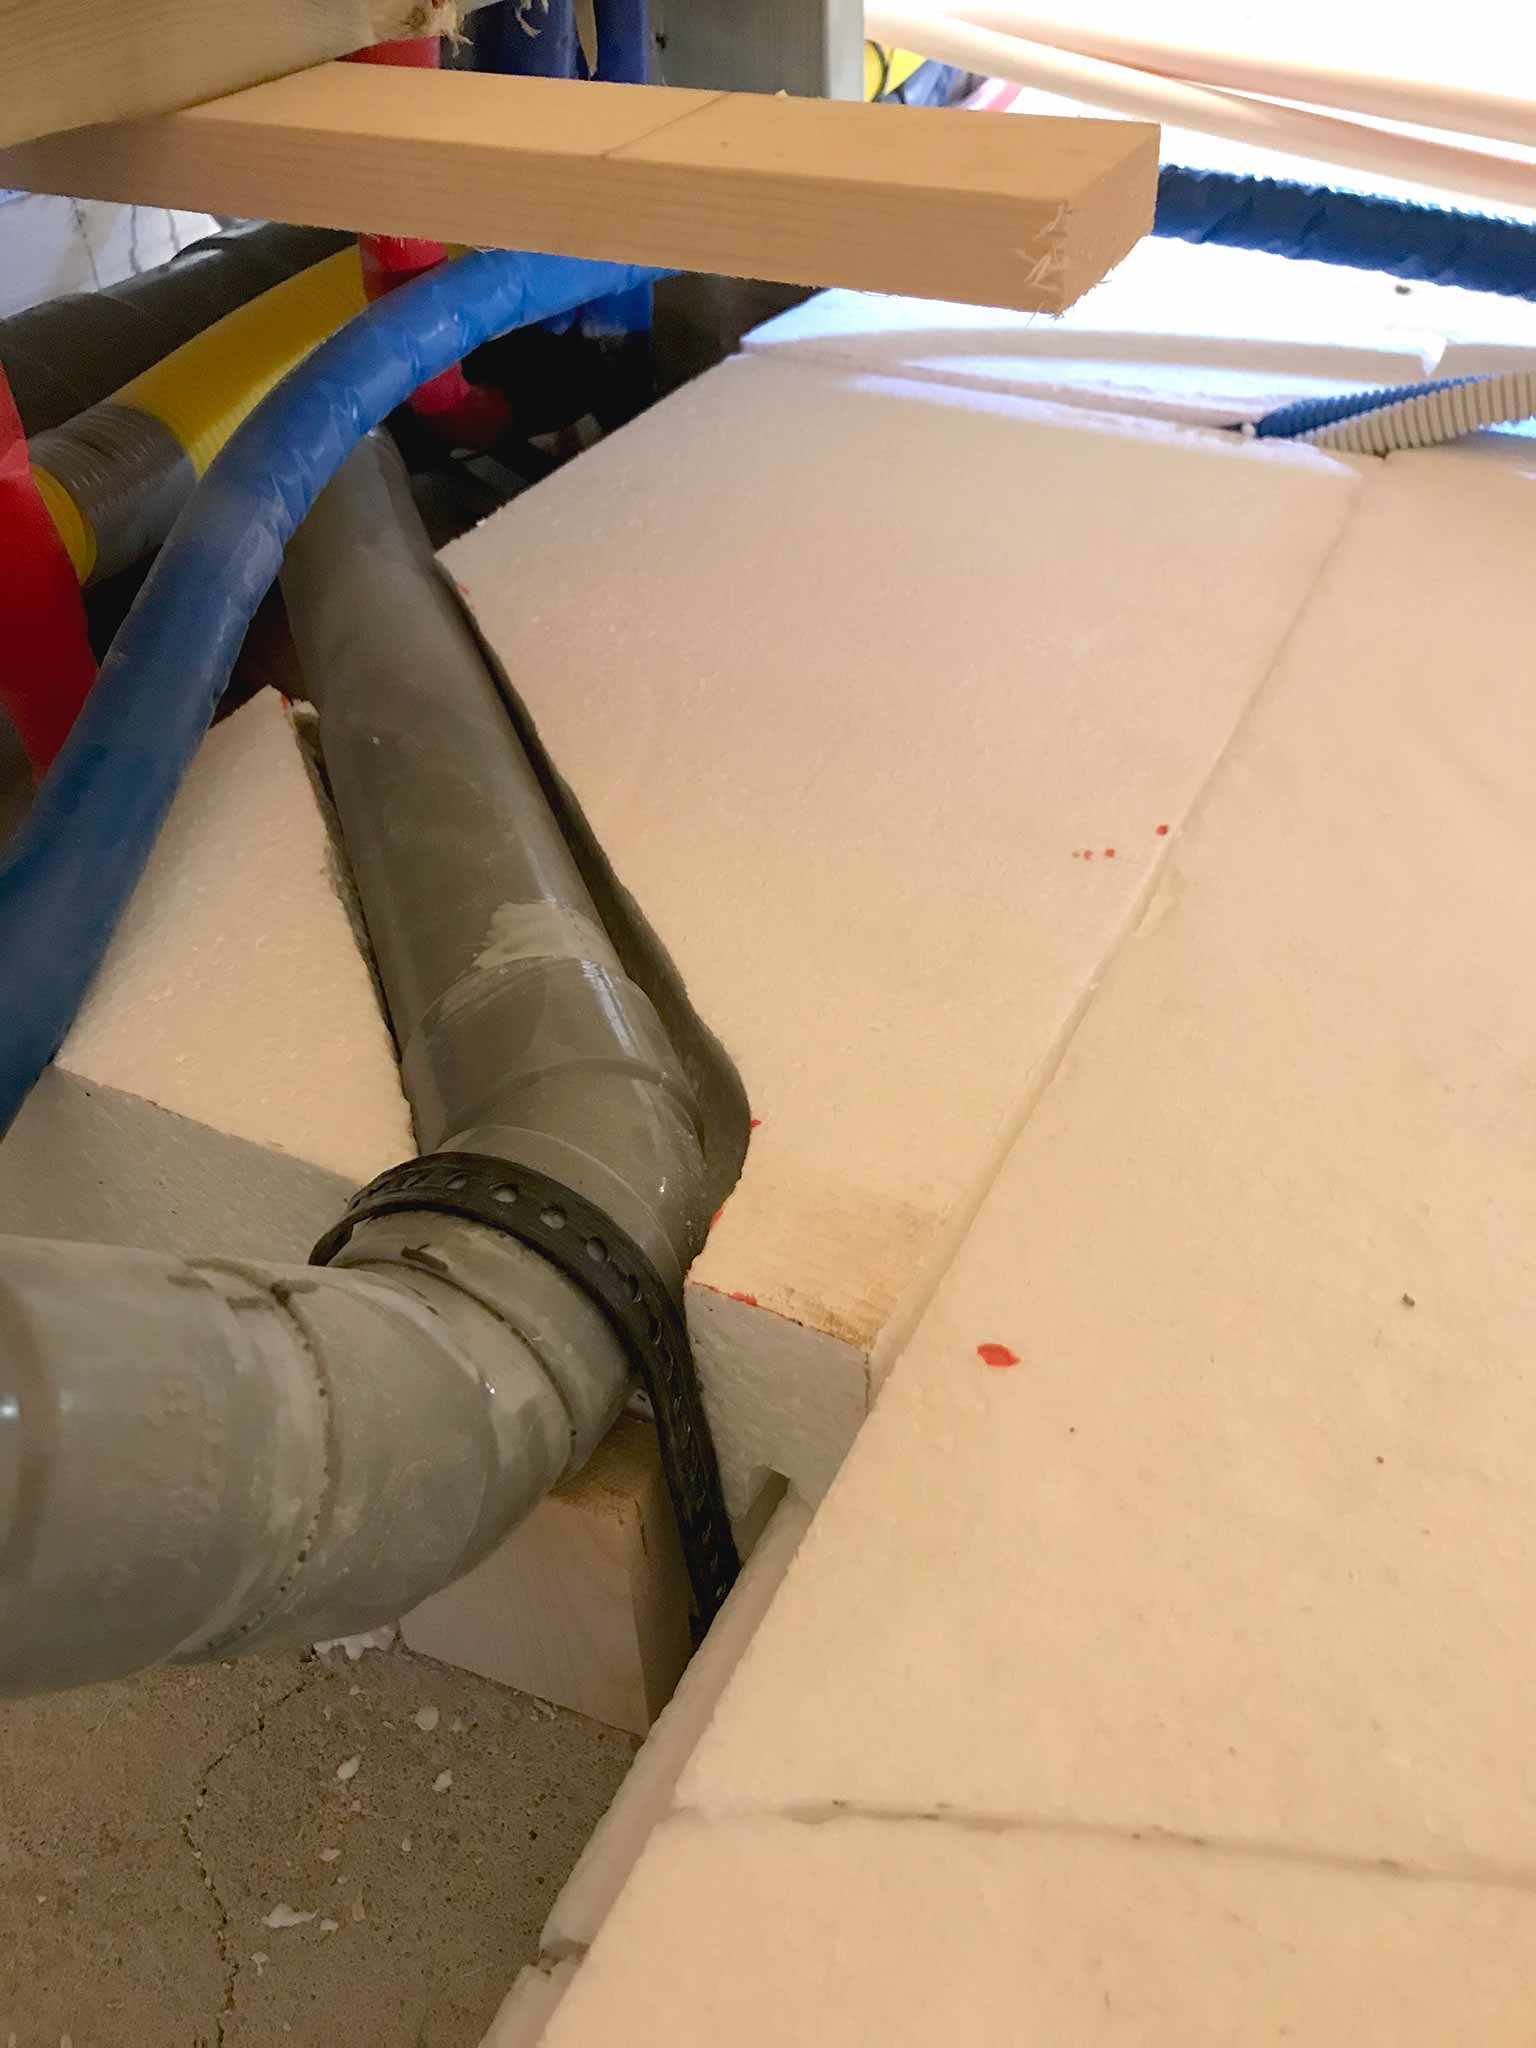
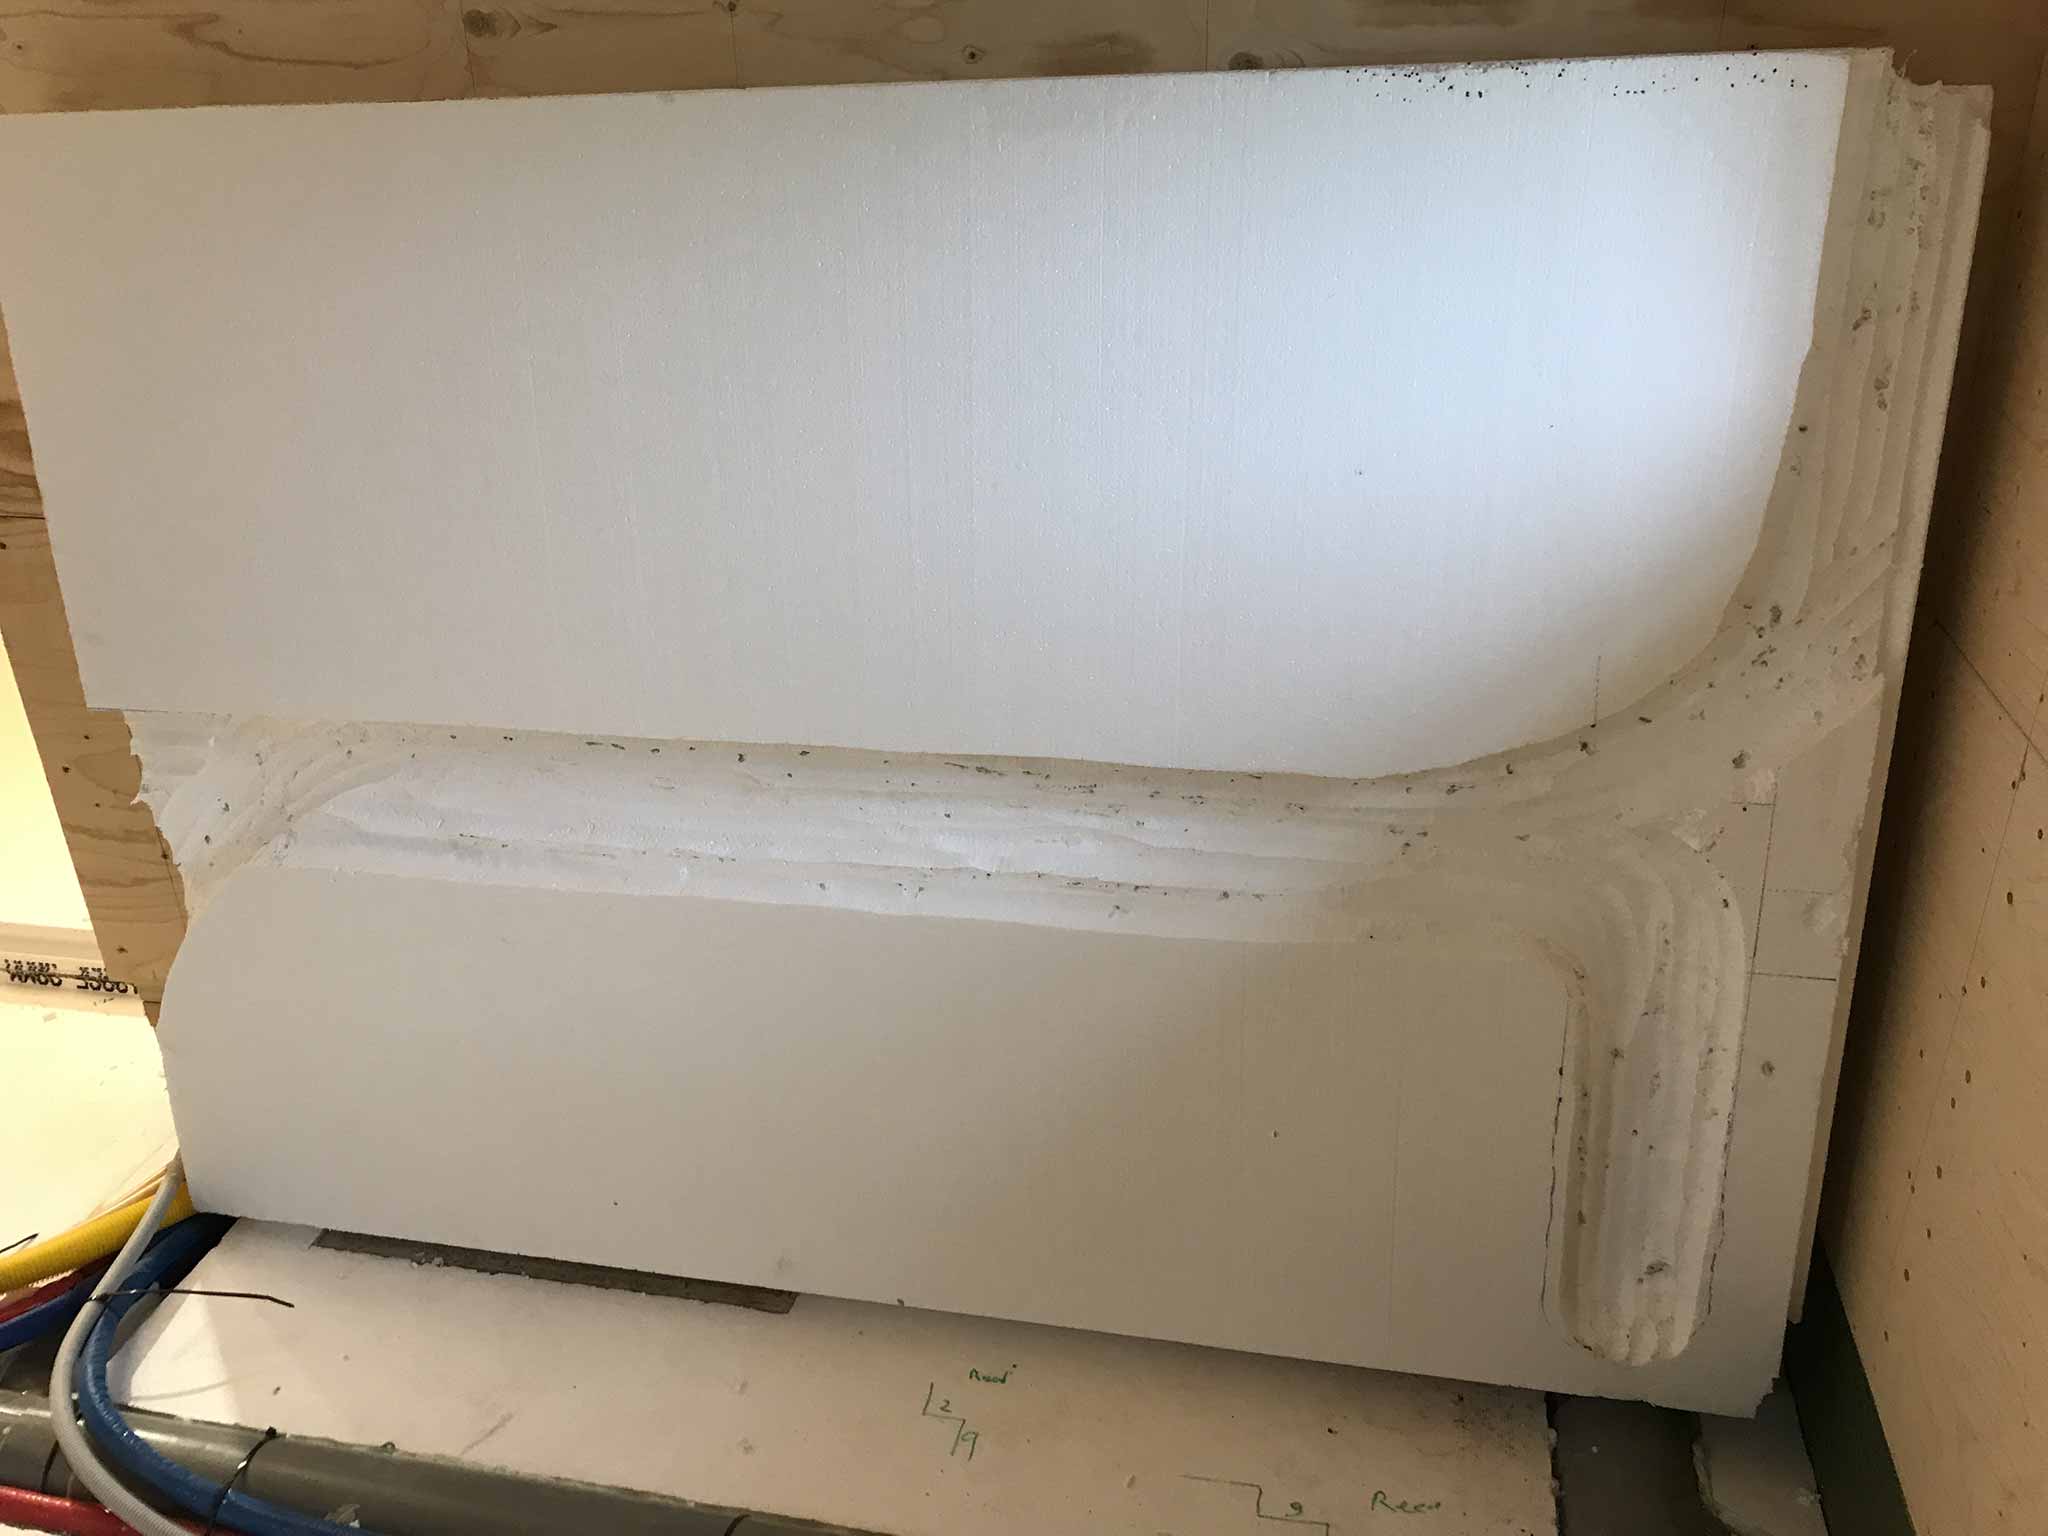
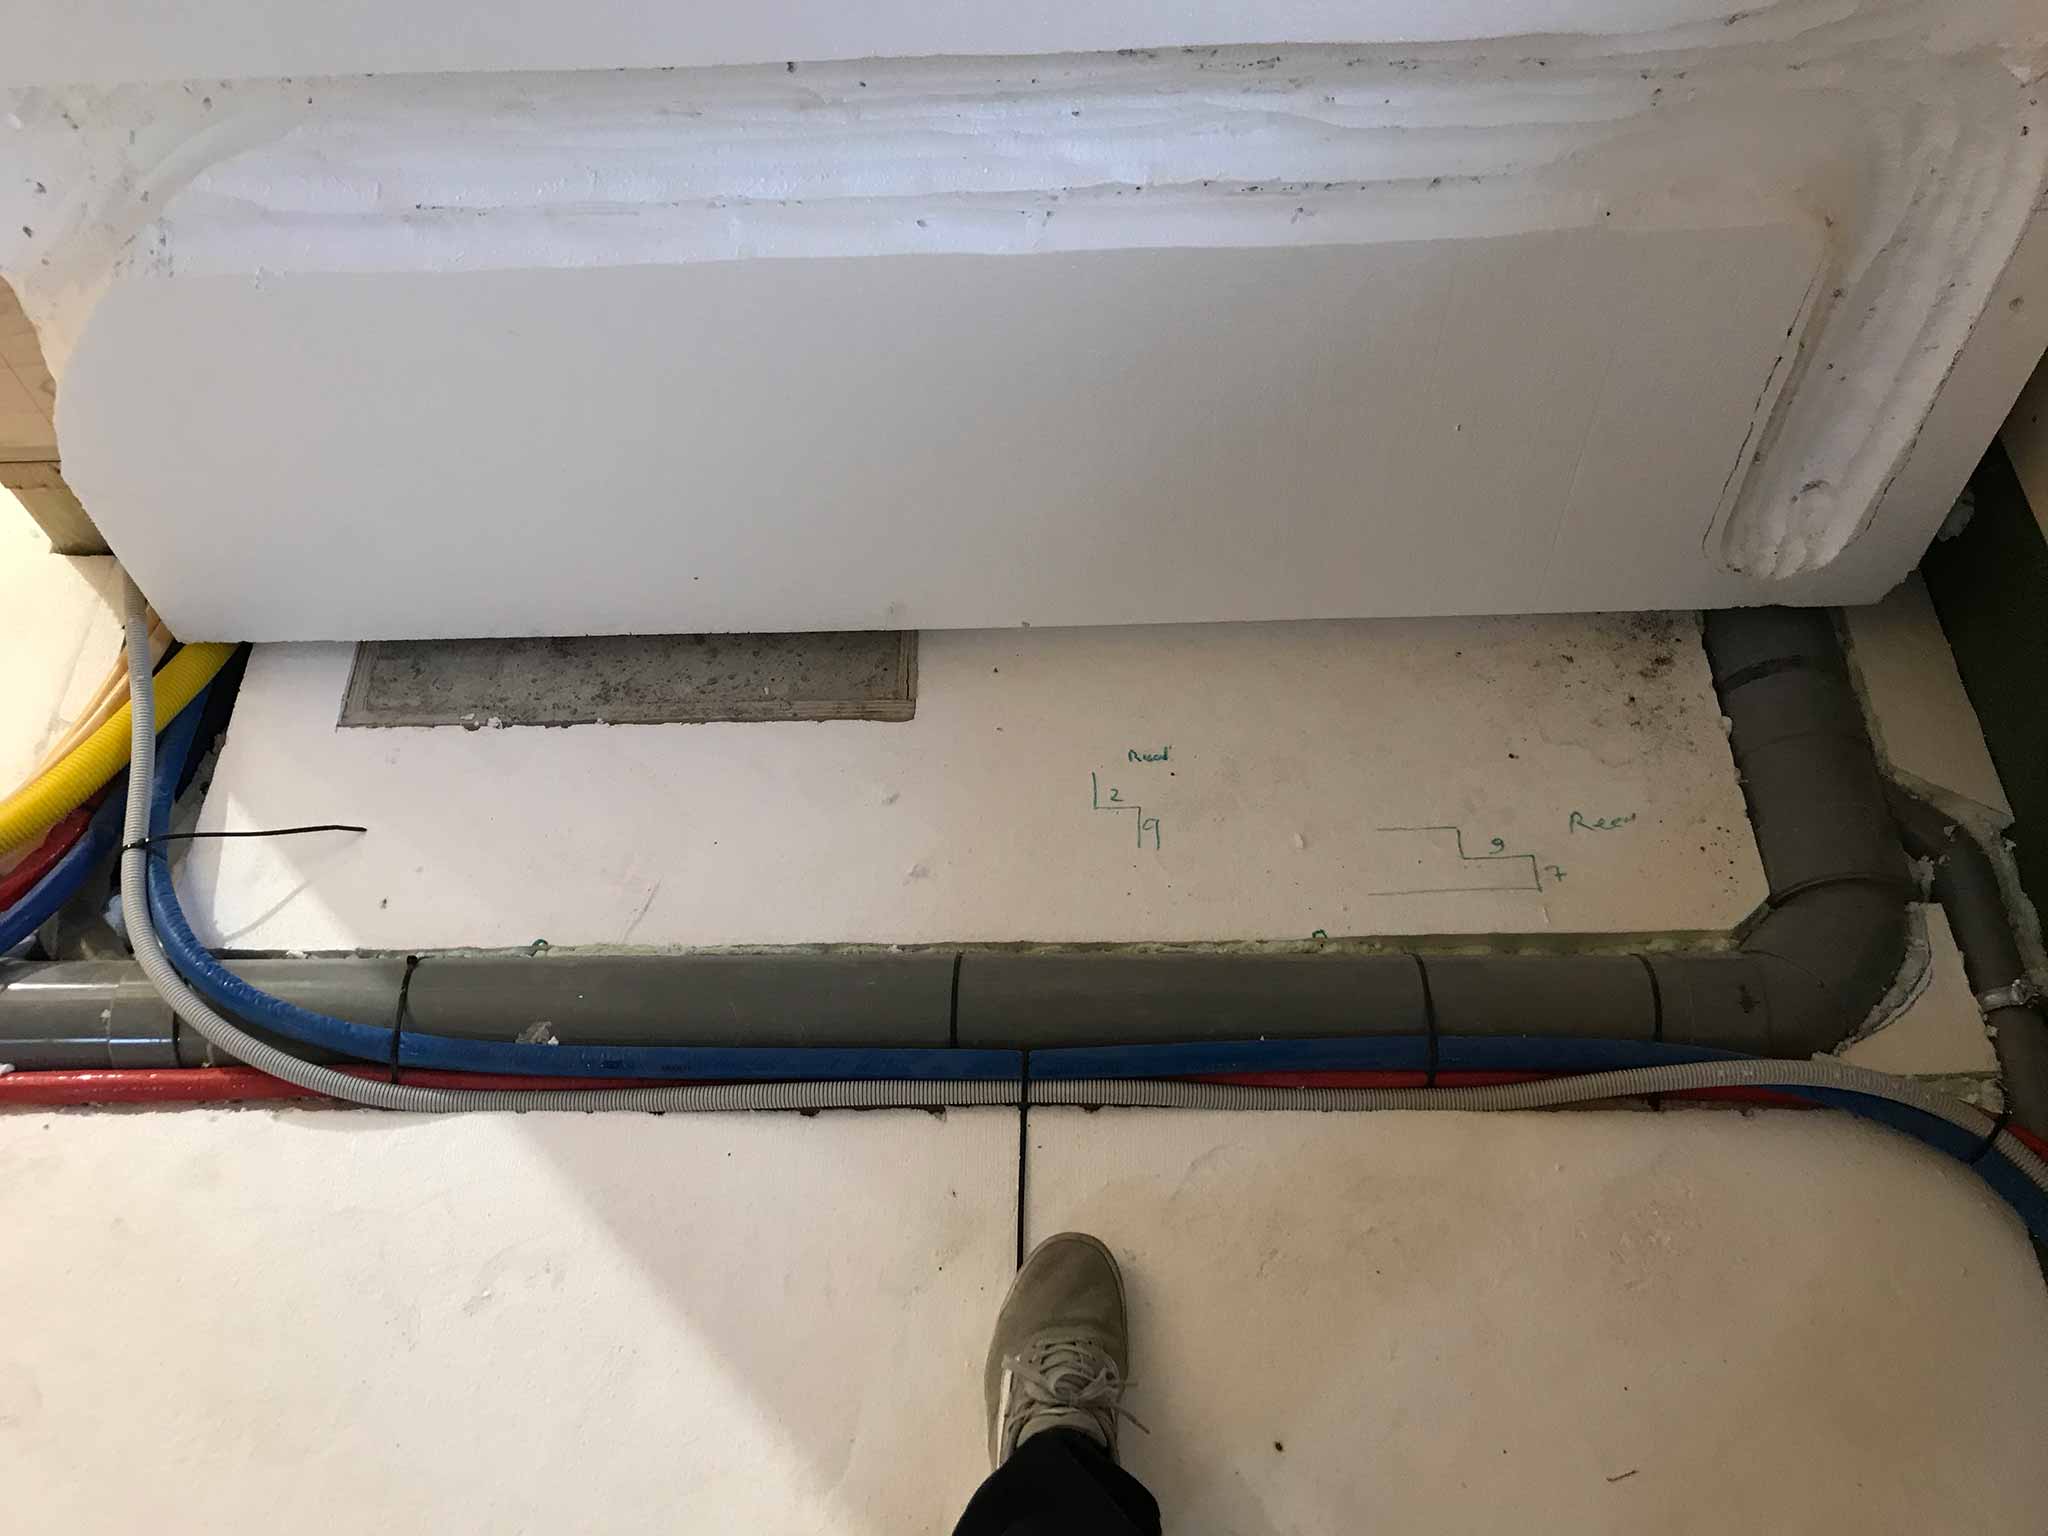
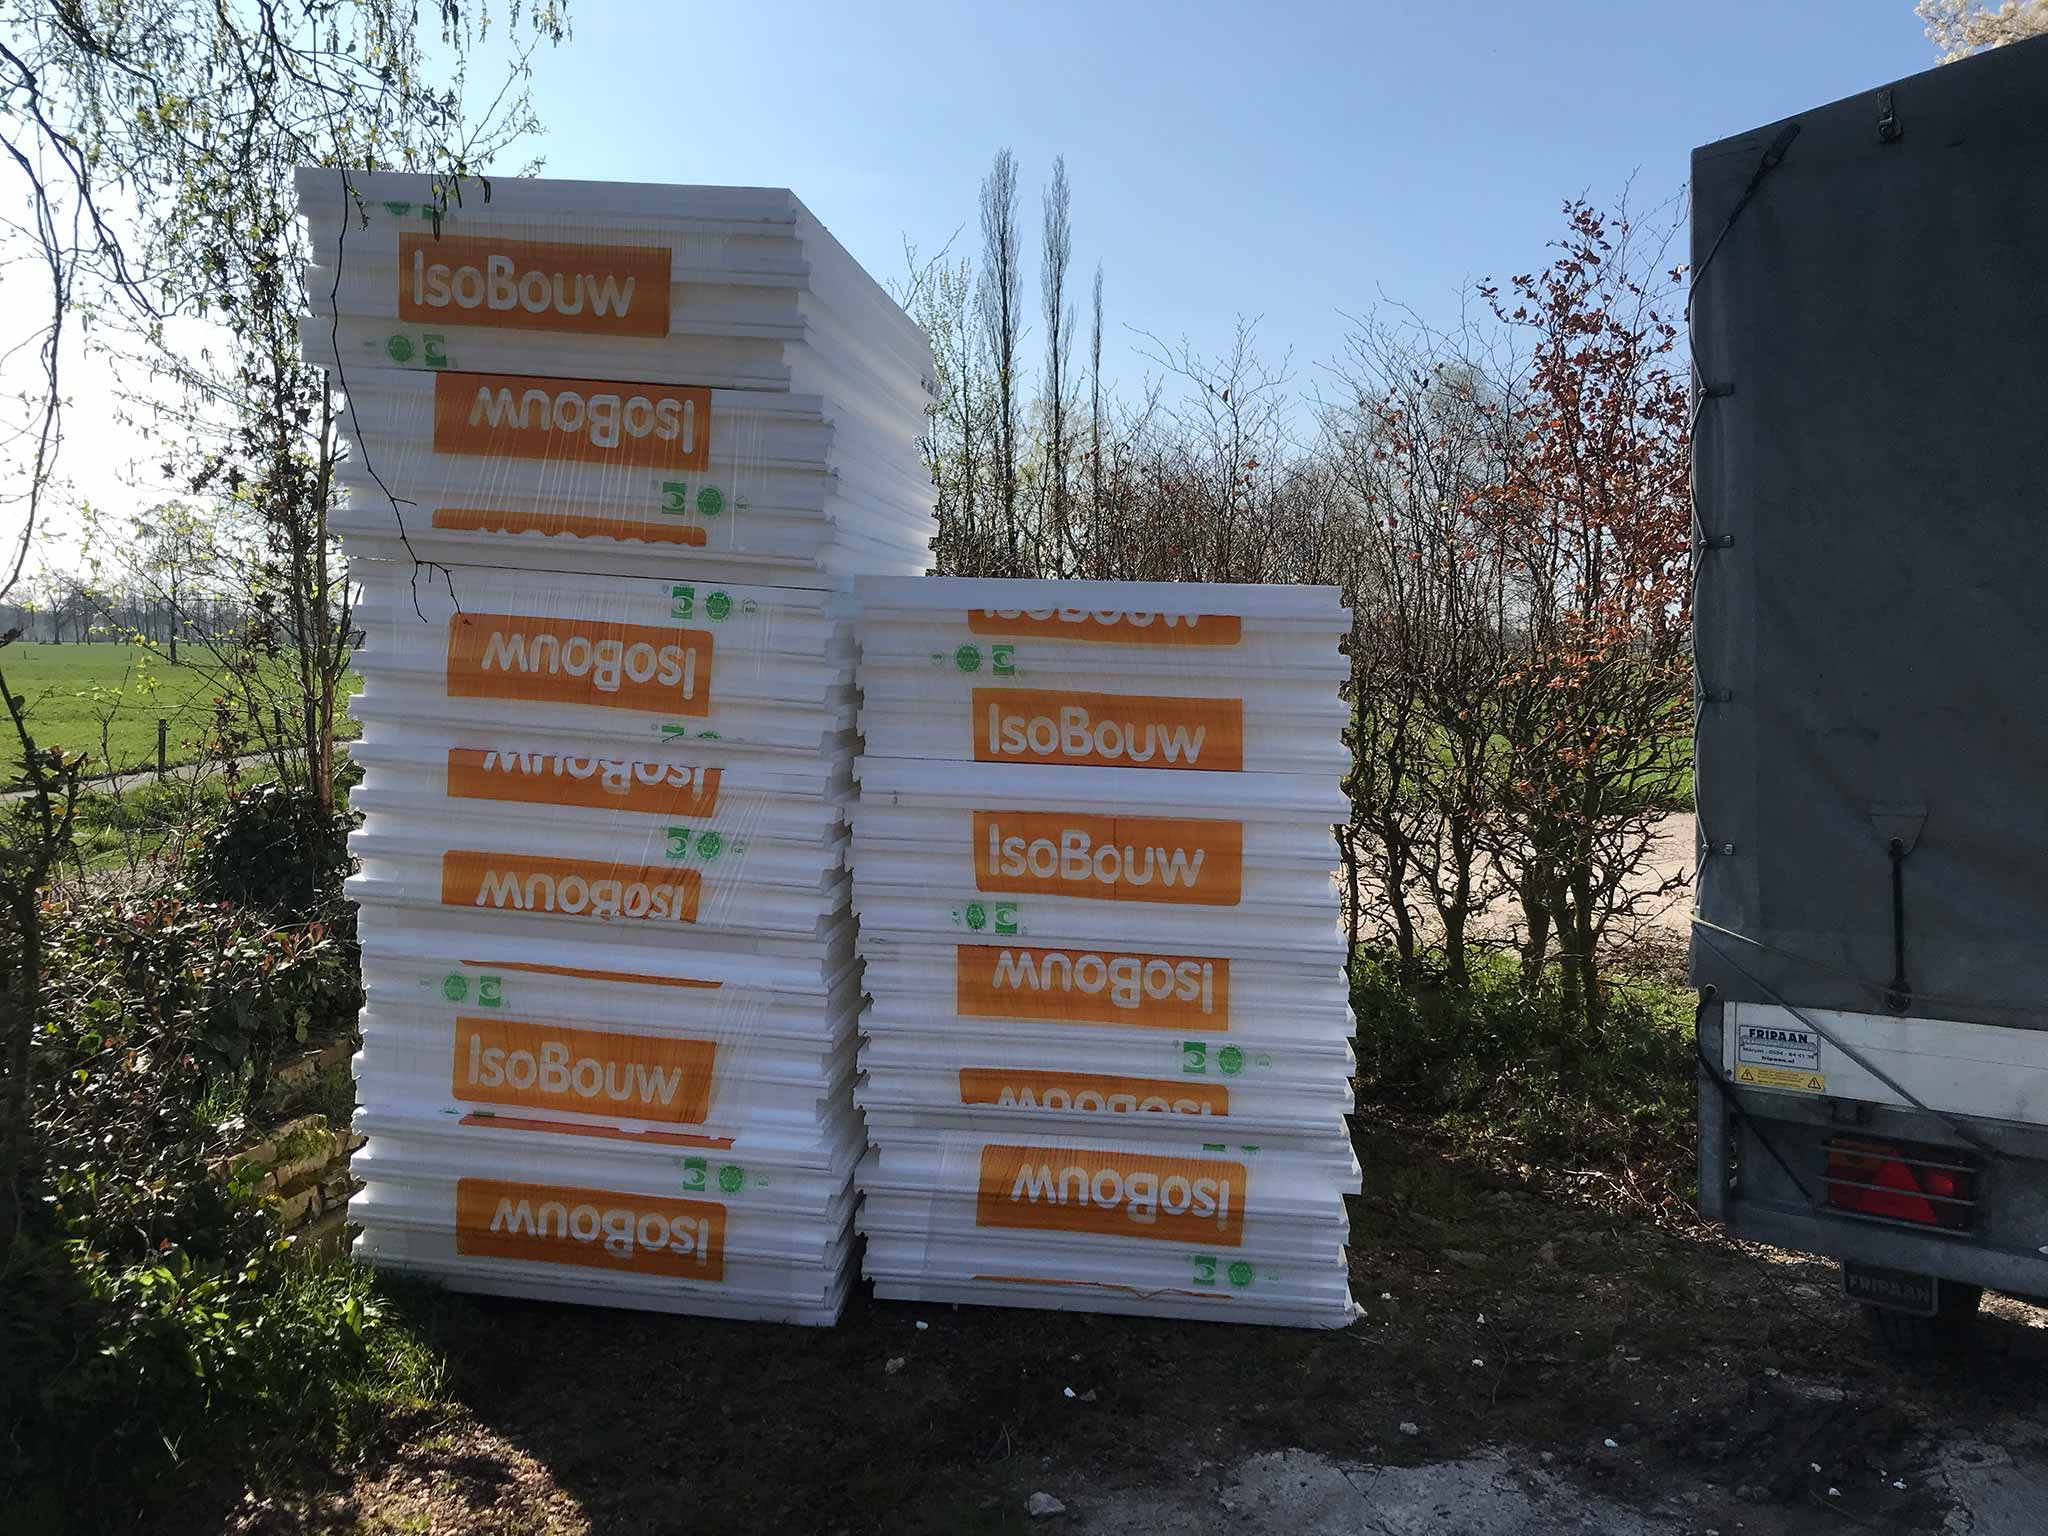
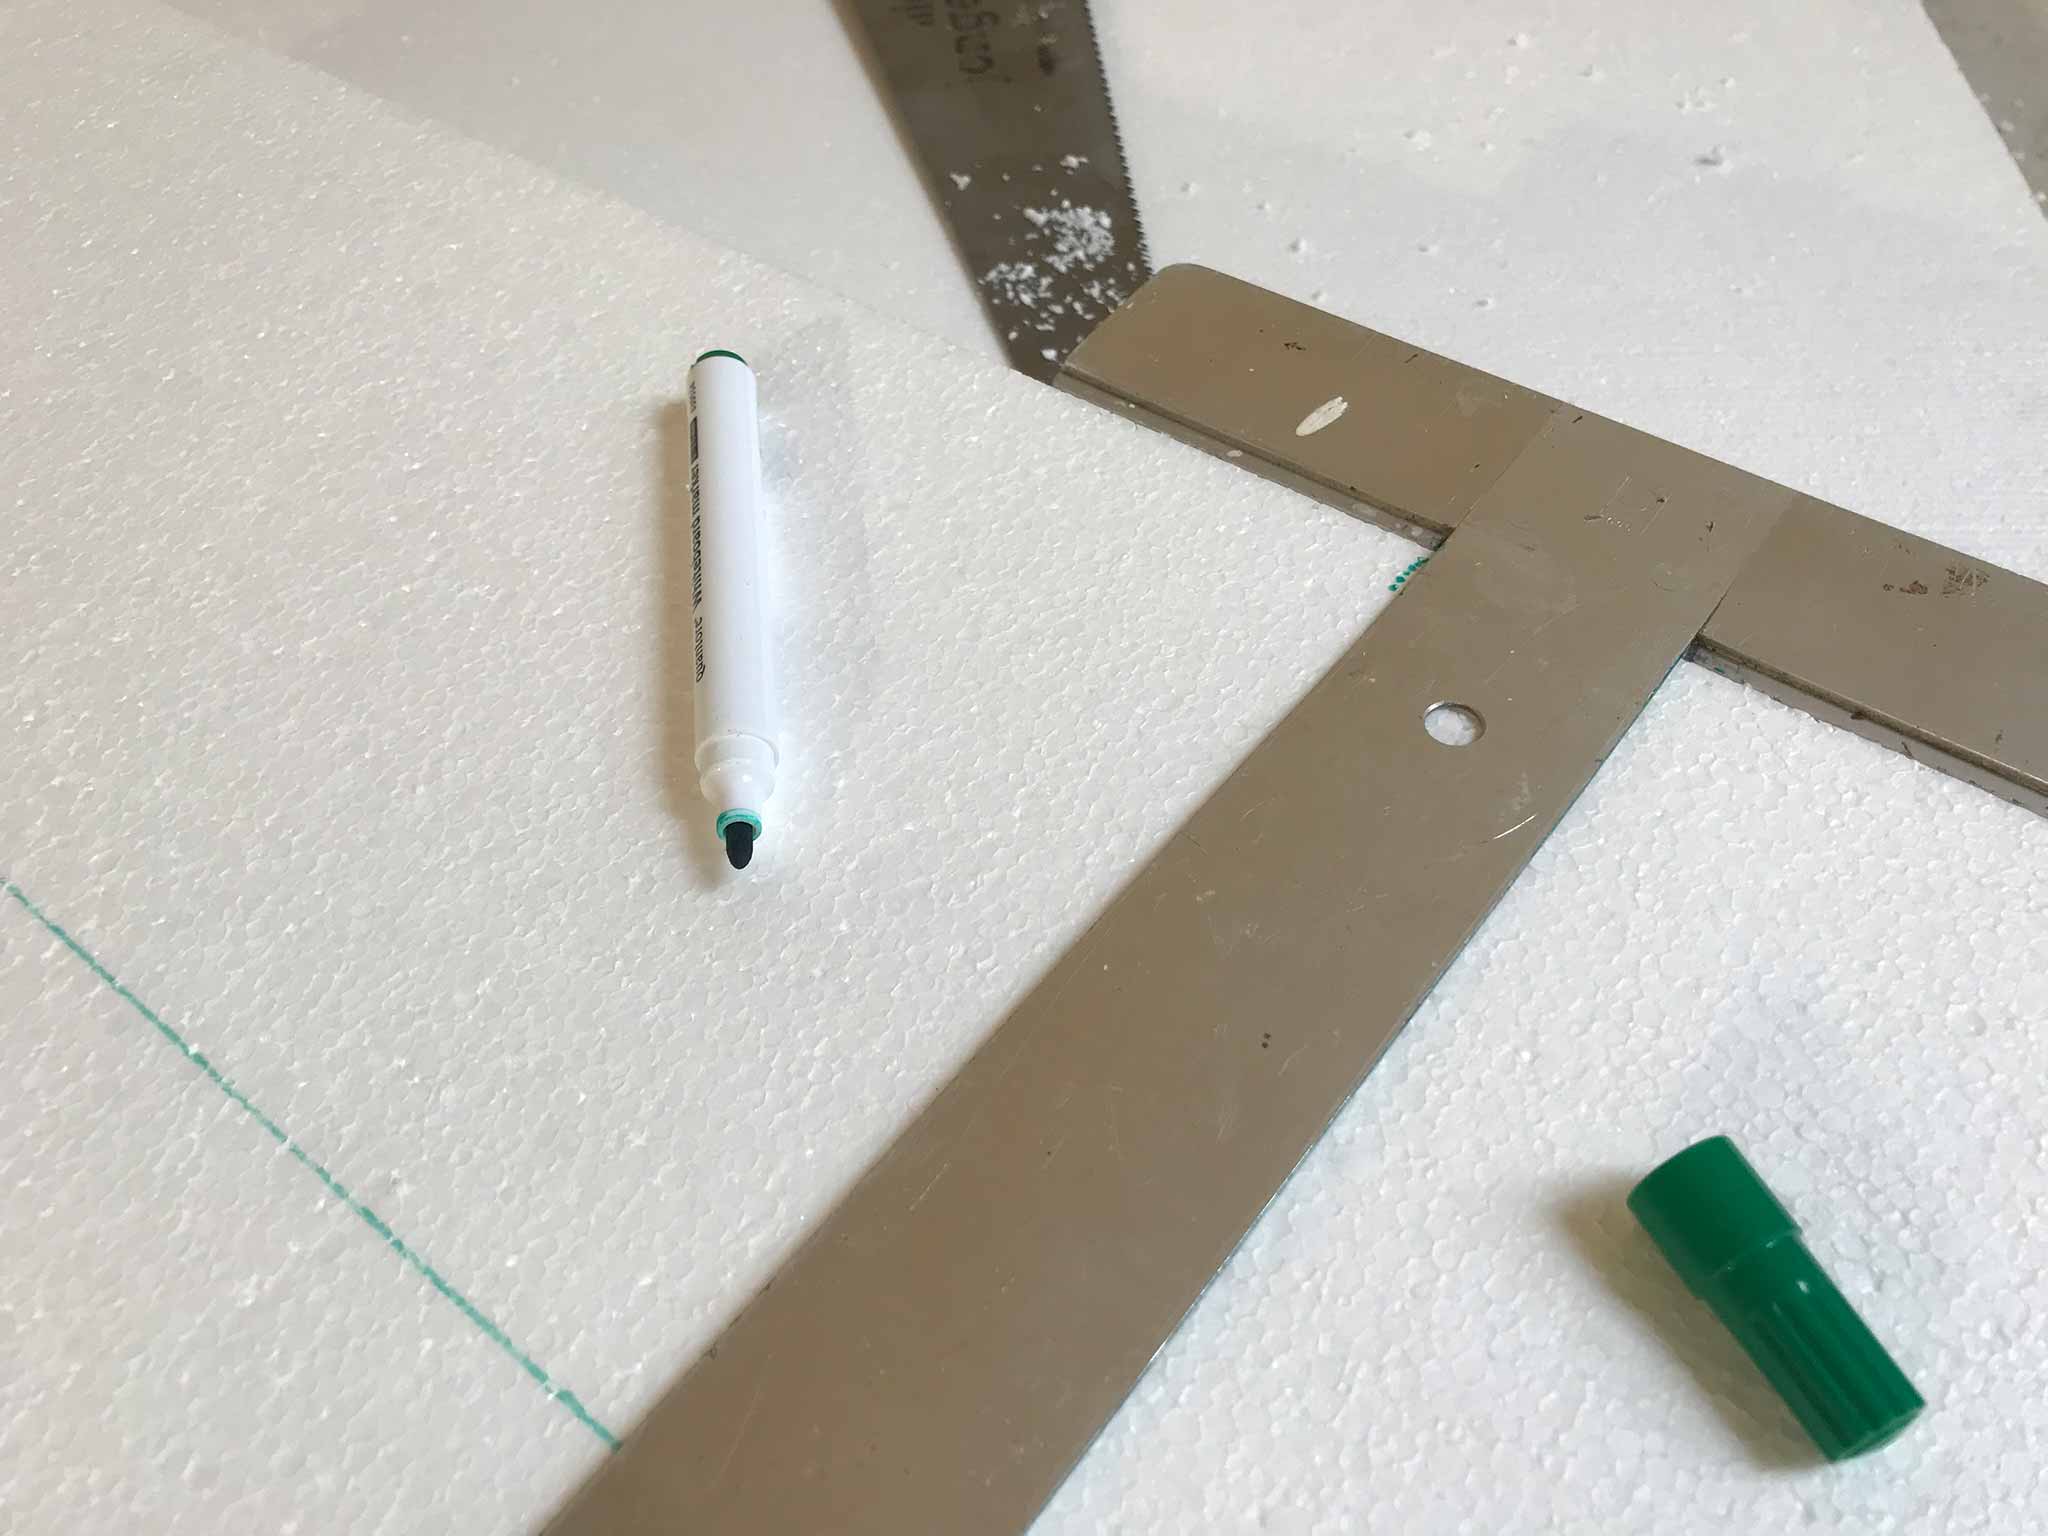
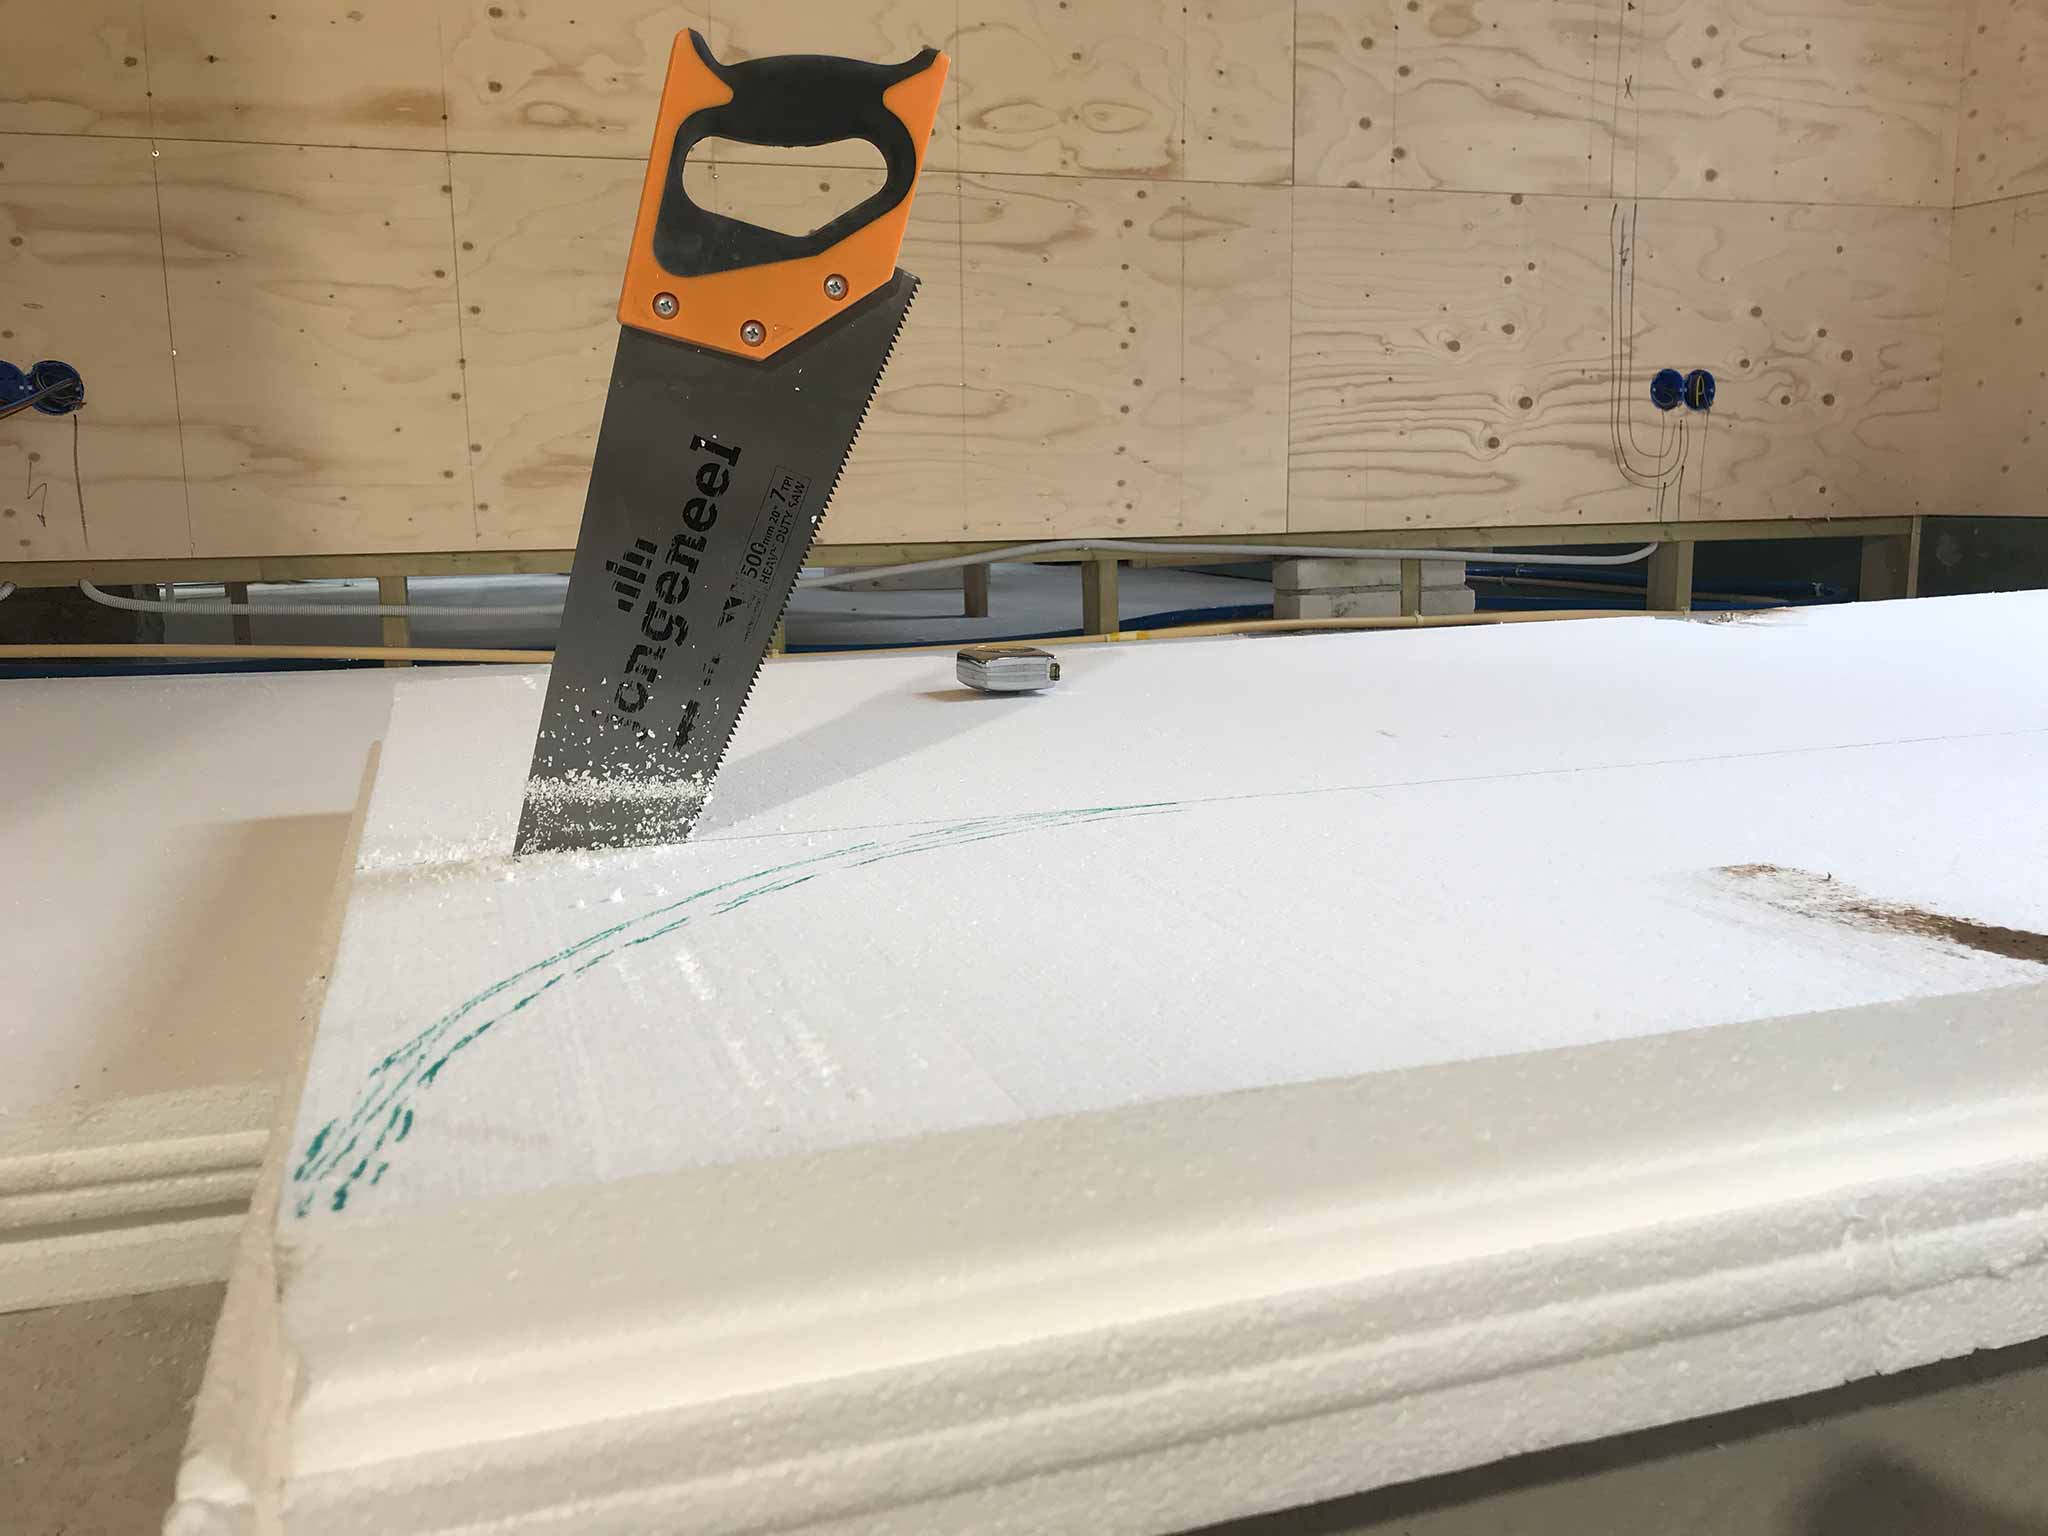
26 m^2 of styrofoam, thought it would be easier. The large flat areas are a breeze but there is plenty of corners, pipes and connections that need careful measuring. We were told it may have been done a bit too precise. Rougher around the edges and then filling with builders foam does the trick too. Oh well.
One of the stacks ready to be cut“Waar gehakt wordt vallen spaanders”Measurements for the recordDetail of isolation around the plumbingMore plumbing that needed wrapping
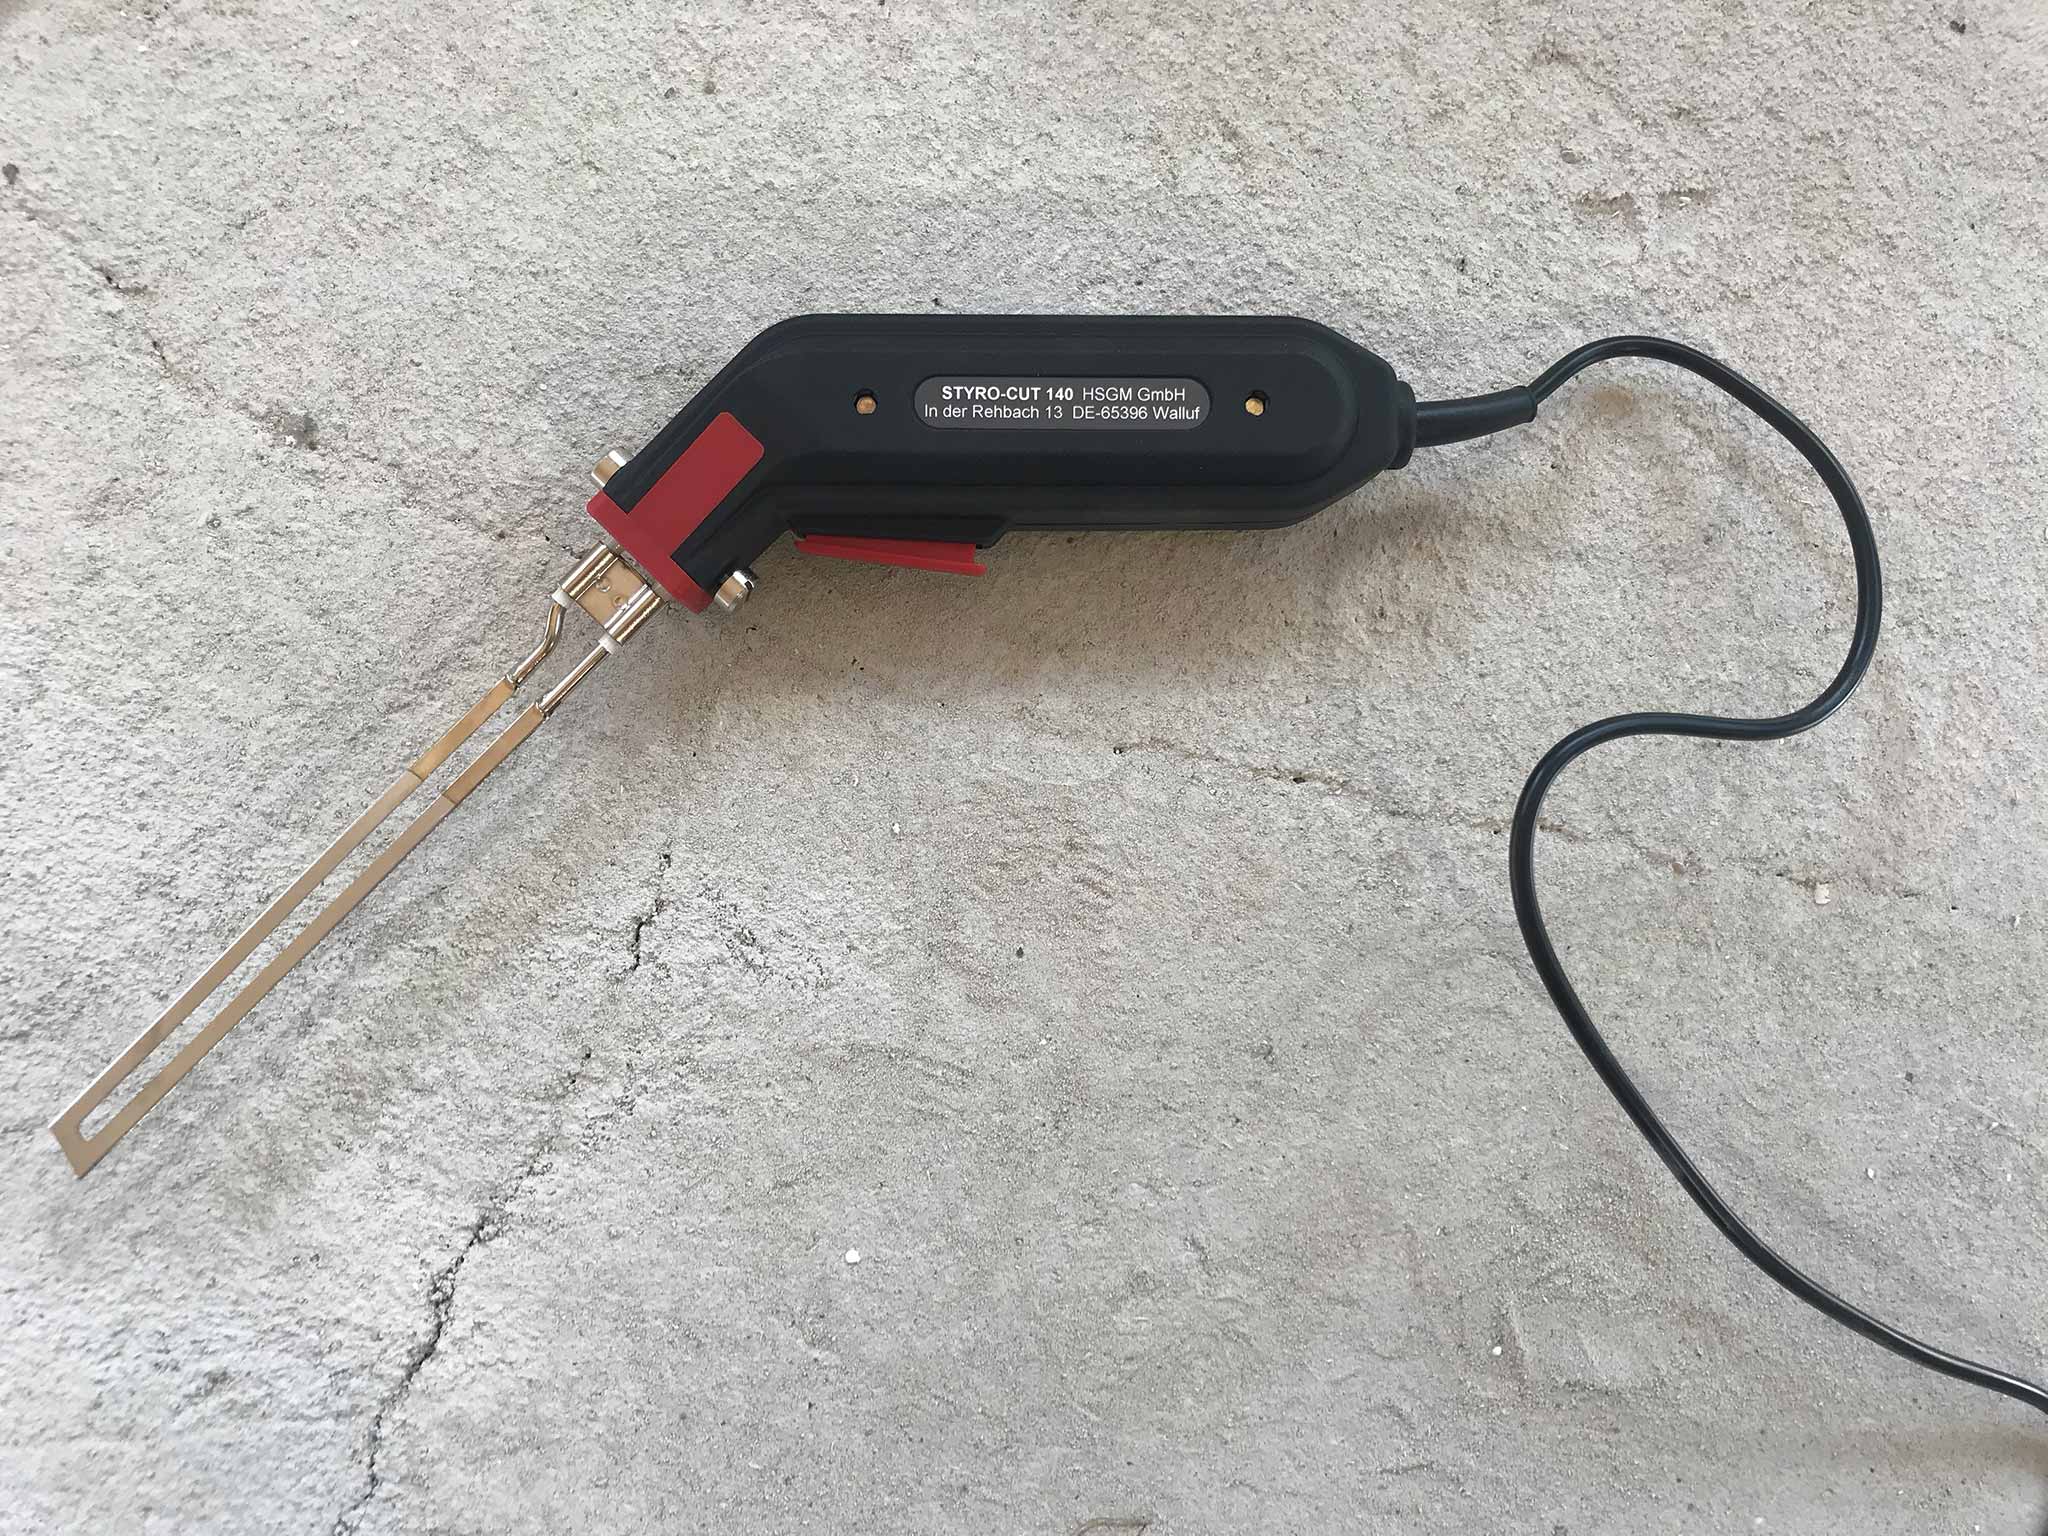
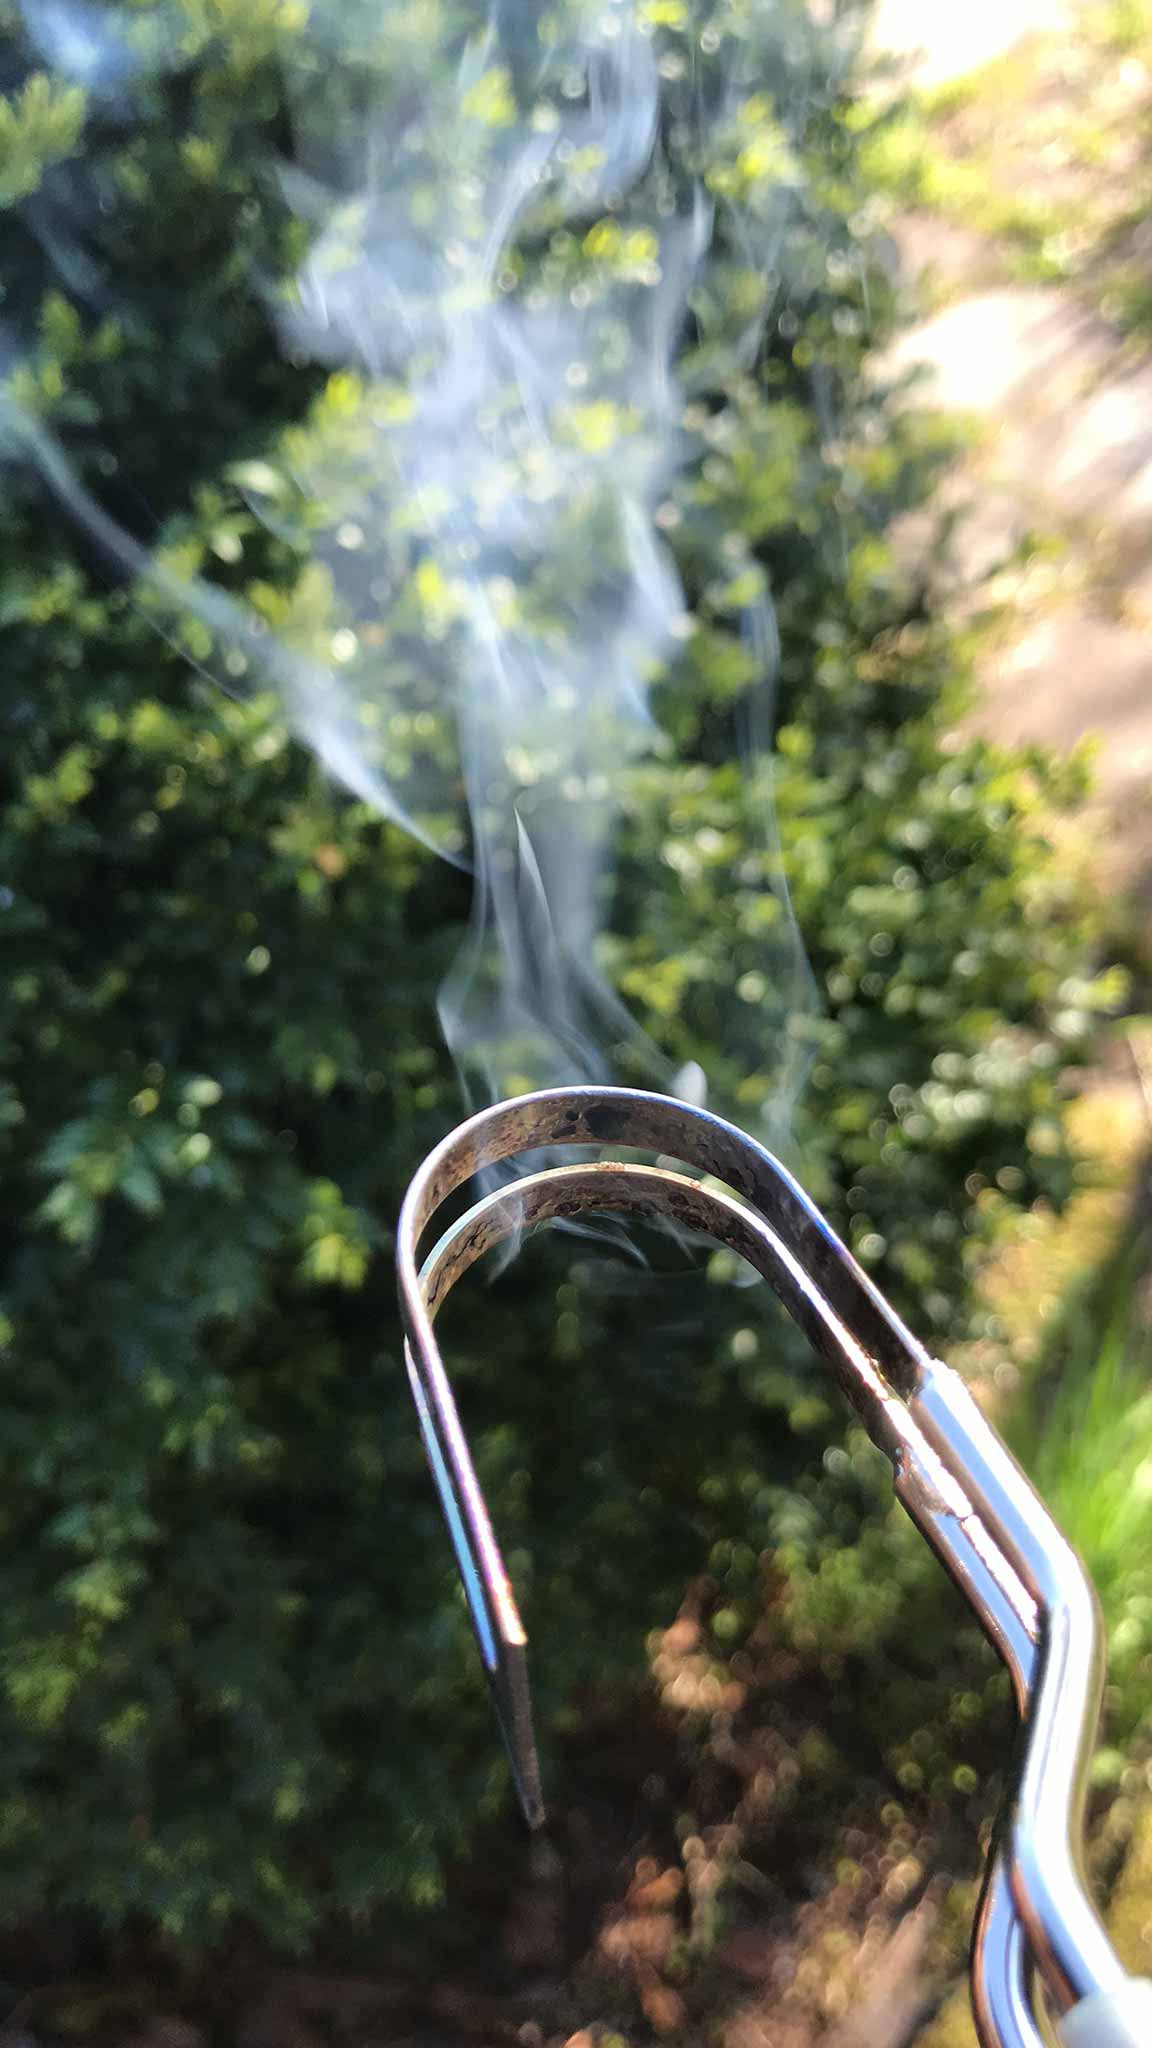
The most annoying pieces actually were where the styrofoam needed to be carved. The hot-knife was running so hot it was impossible to hold it with bare hands. And often it took more than a few attempts before it would actually fit.
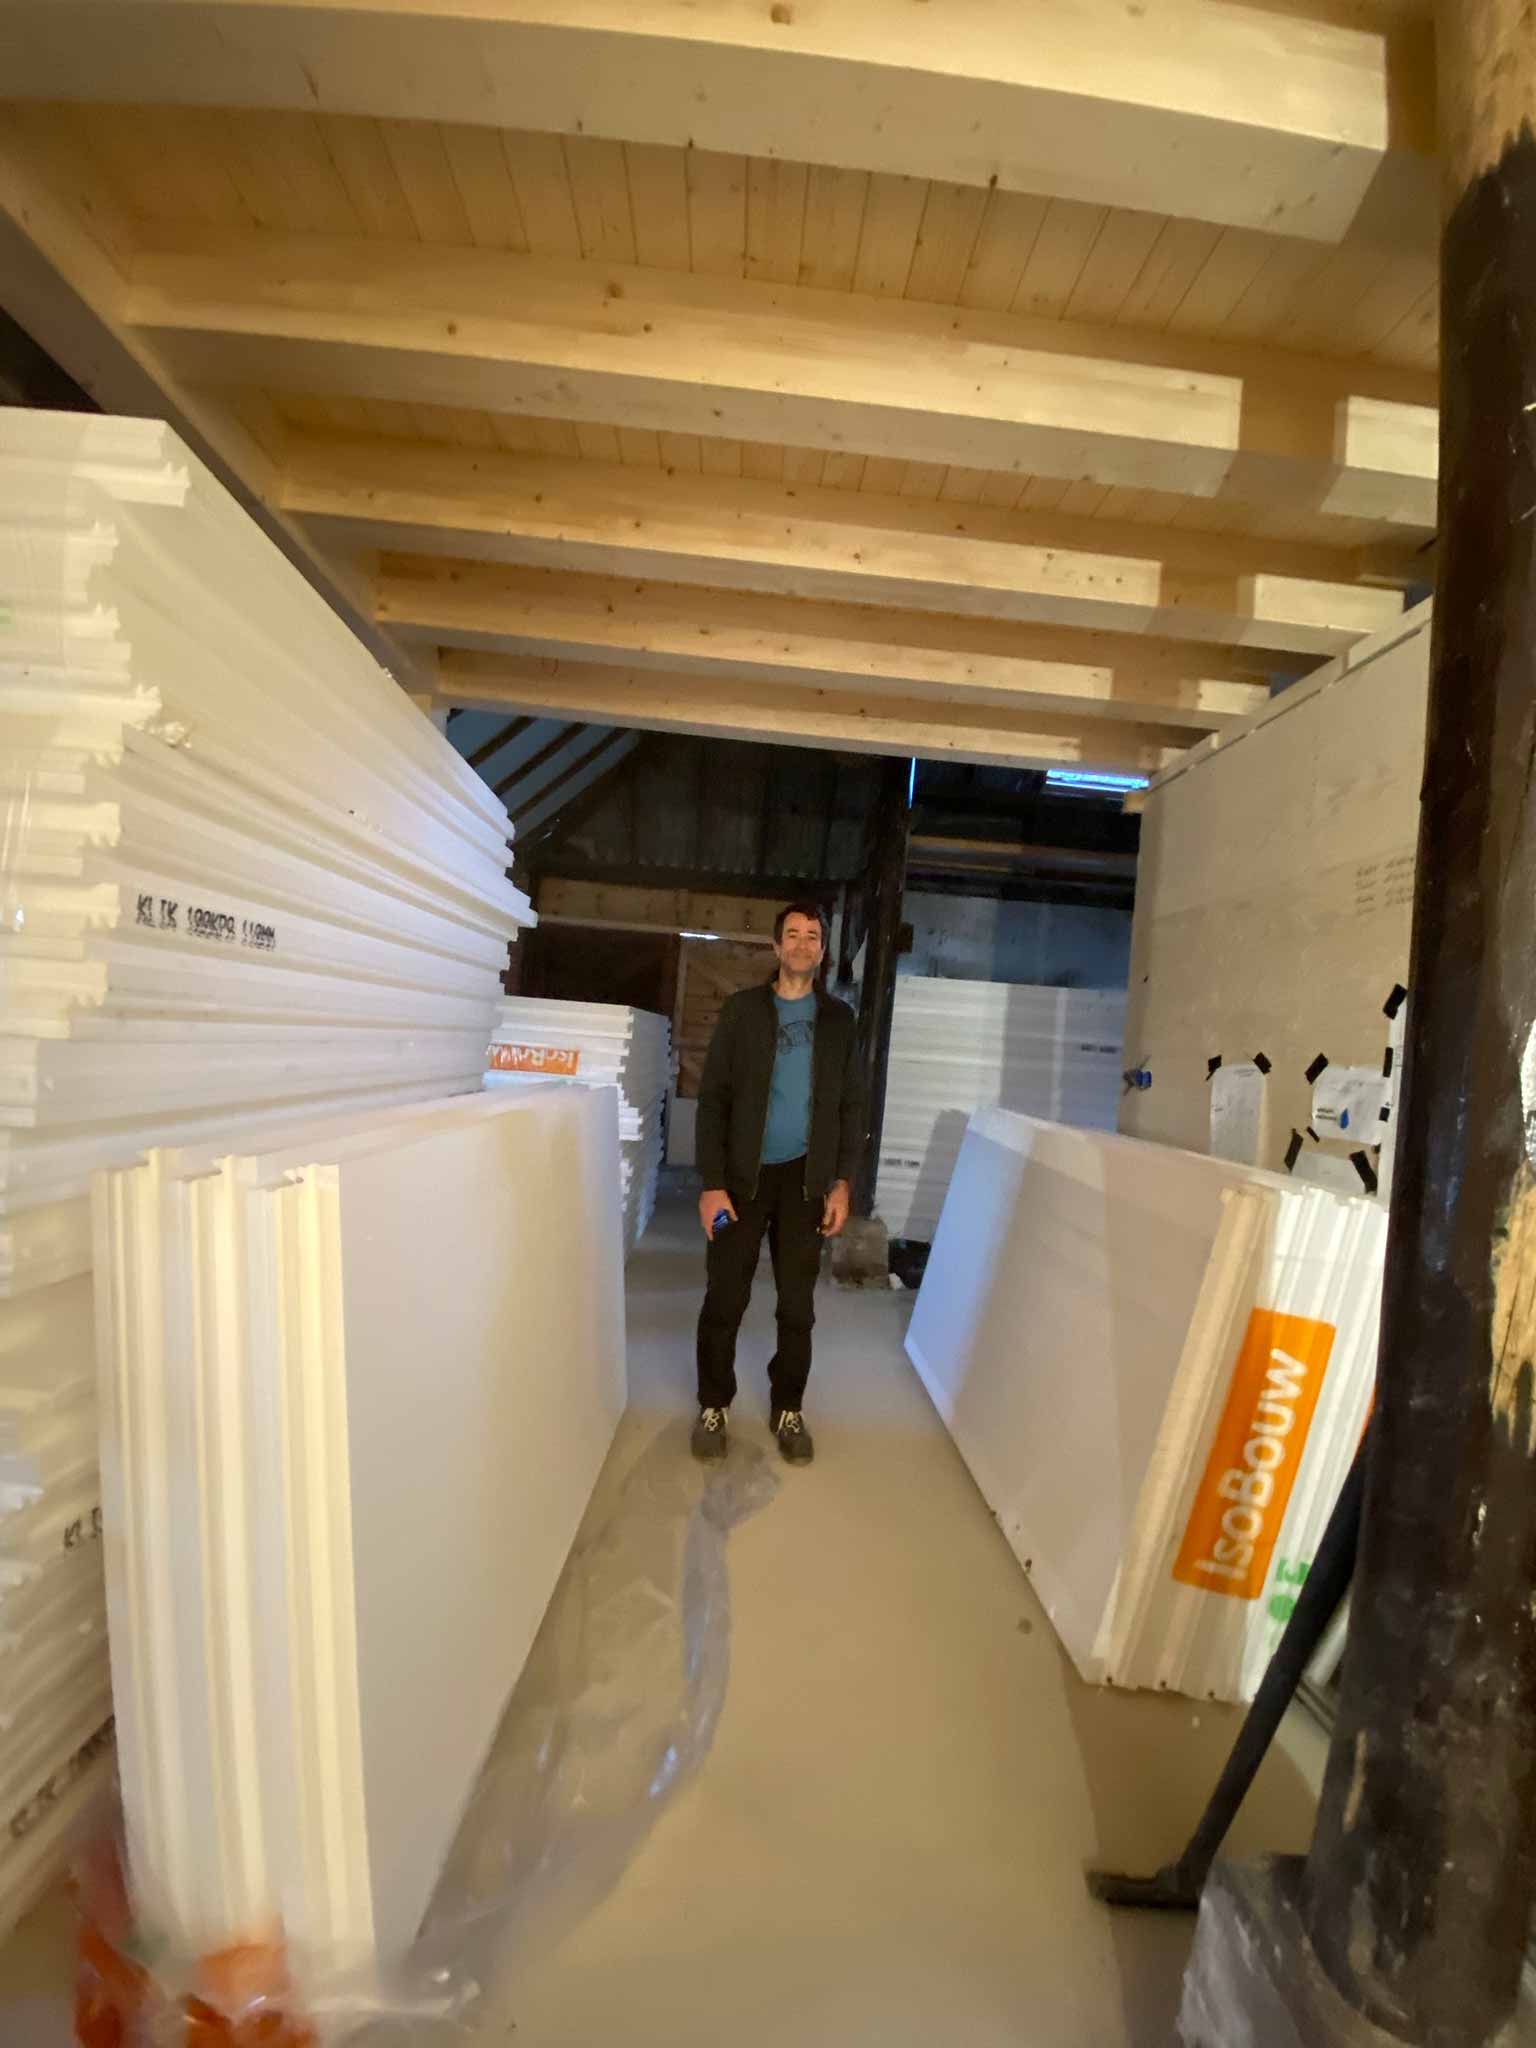
Cutting halfway through a board with the curved hot-knifeSnug fit!Such … big … stacks
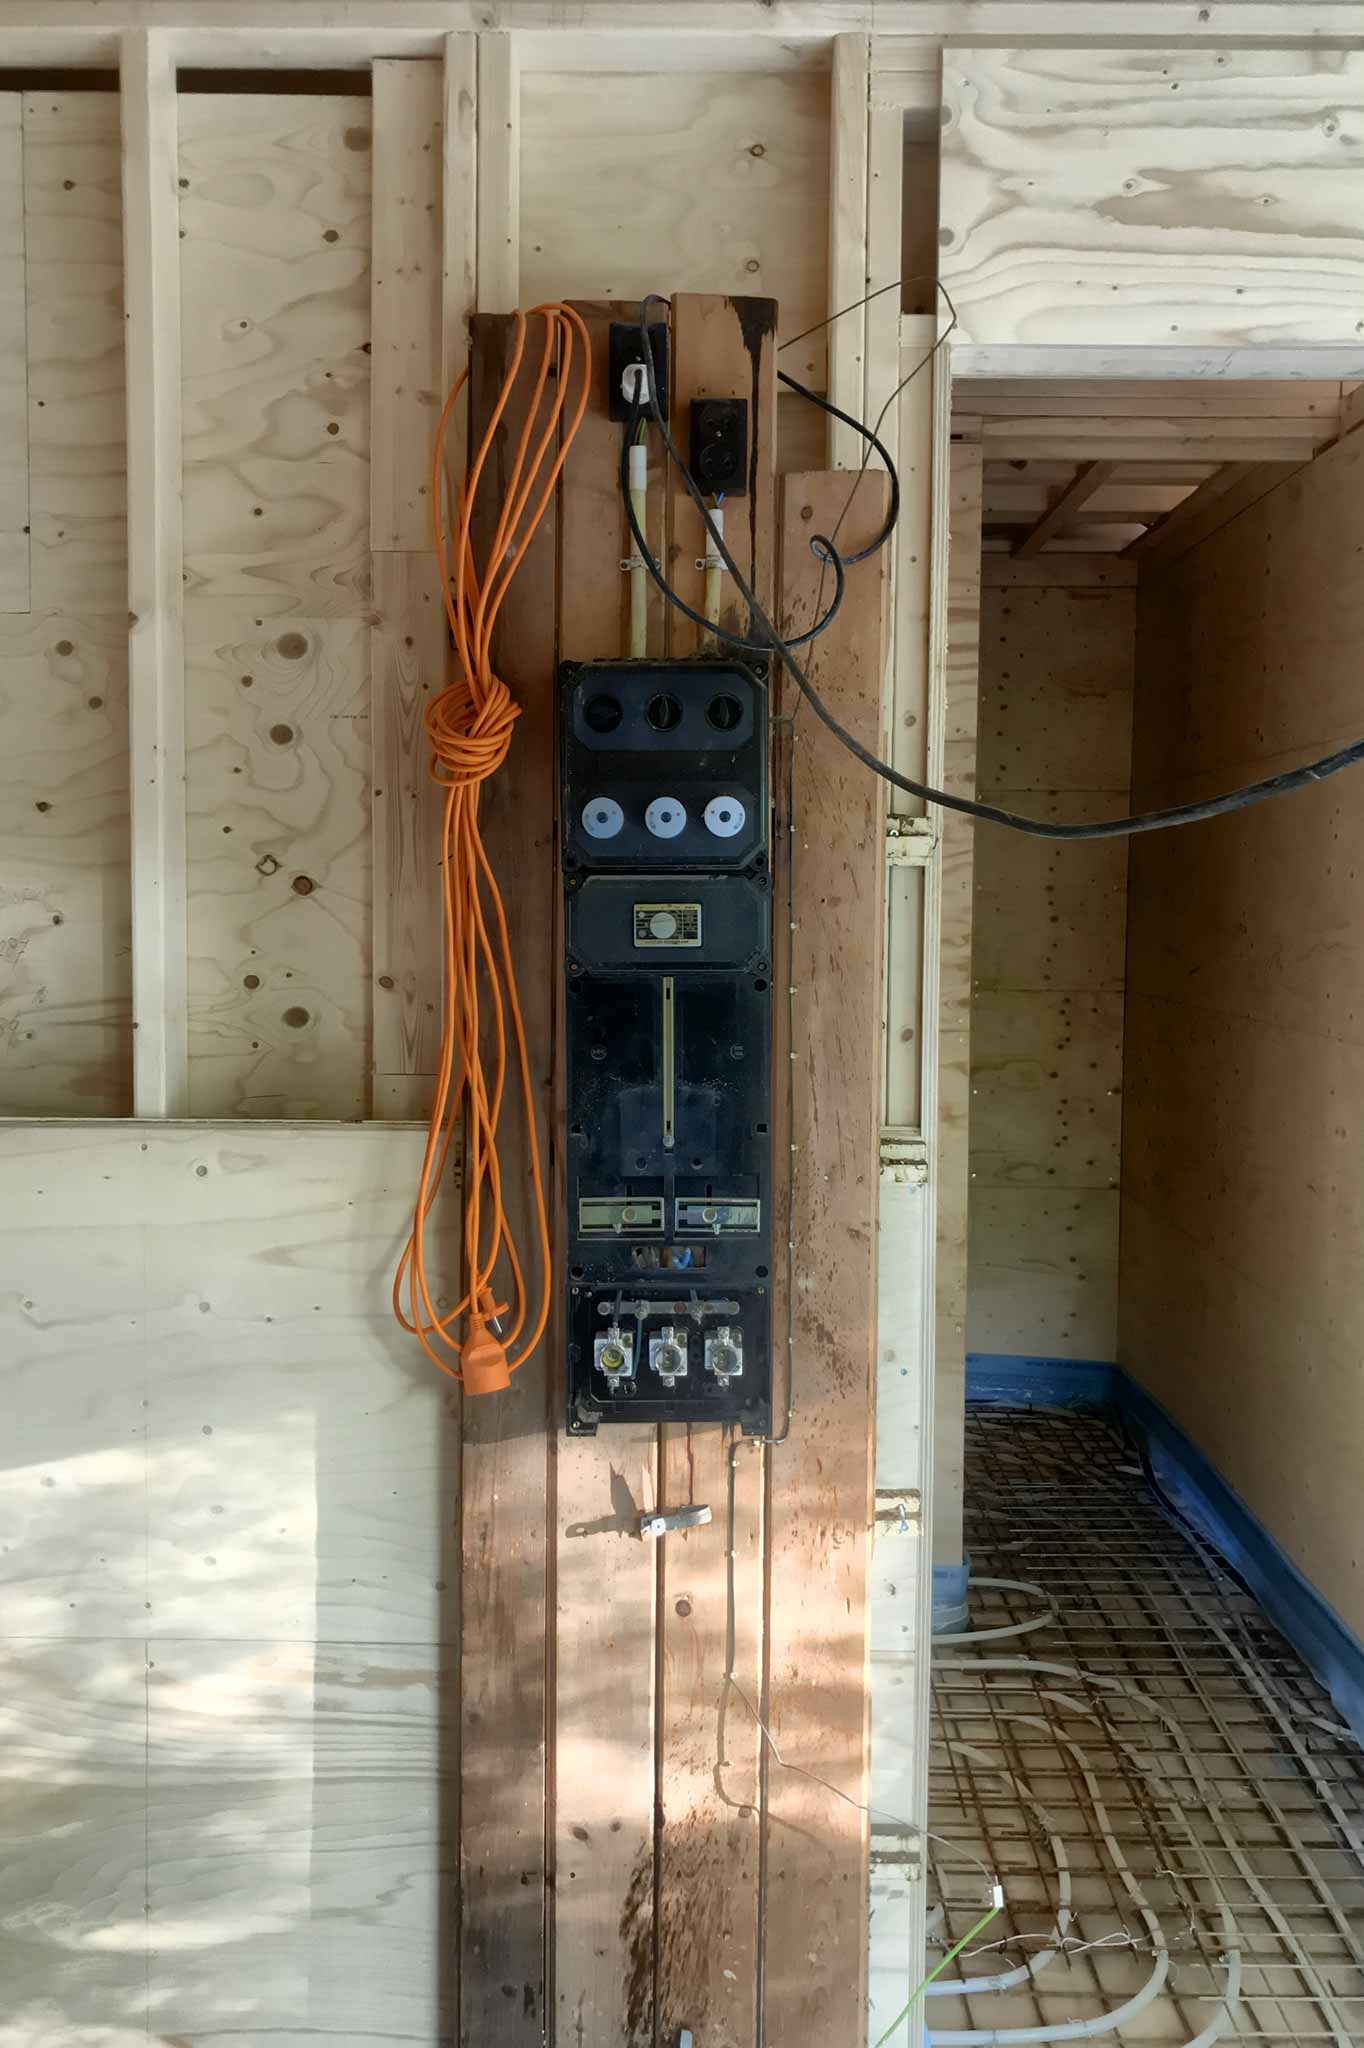
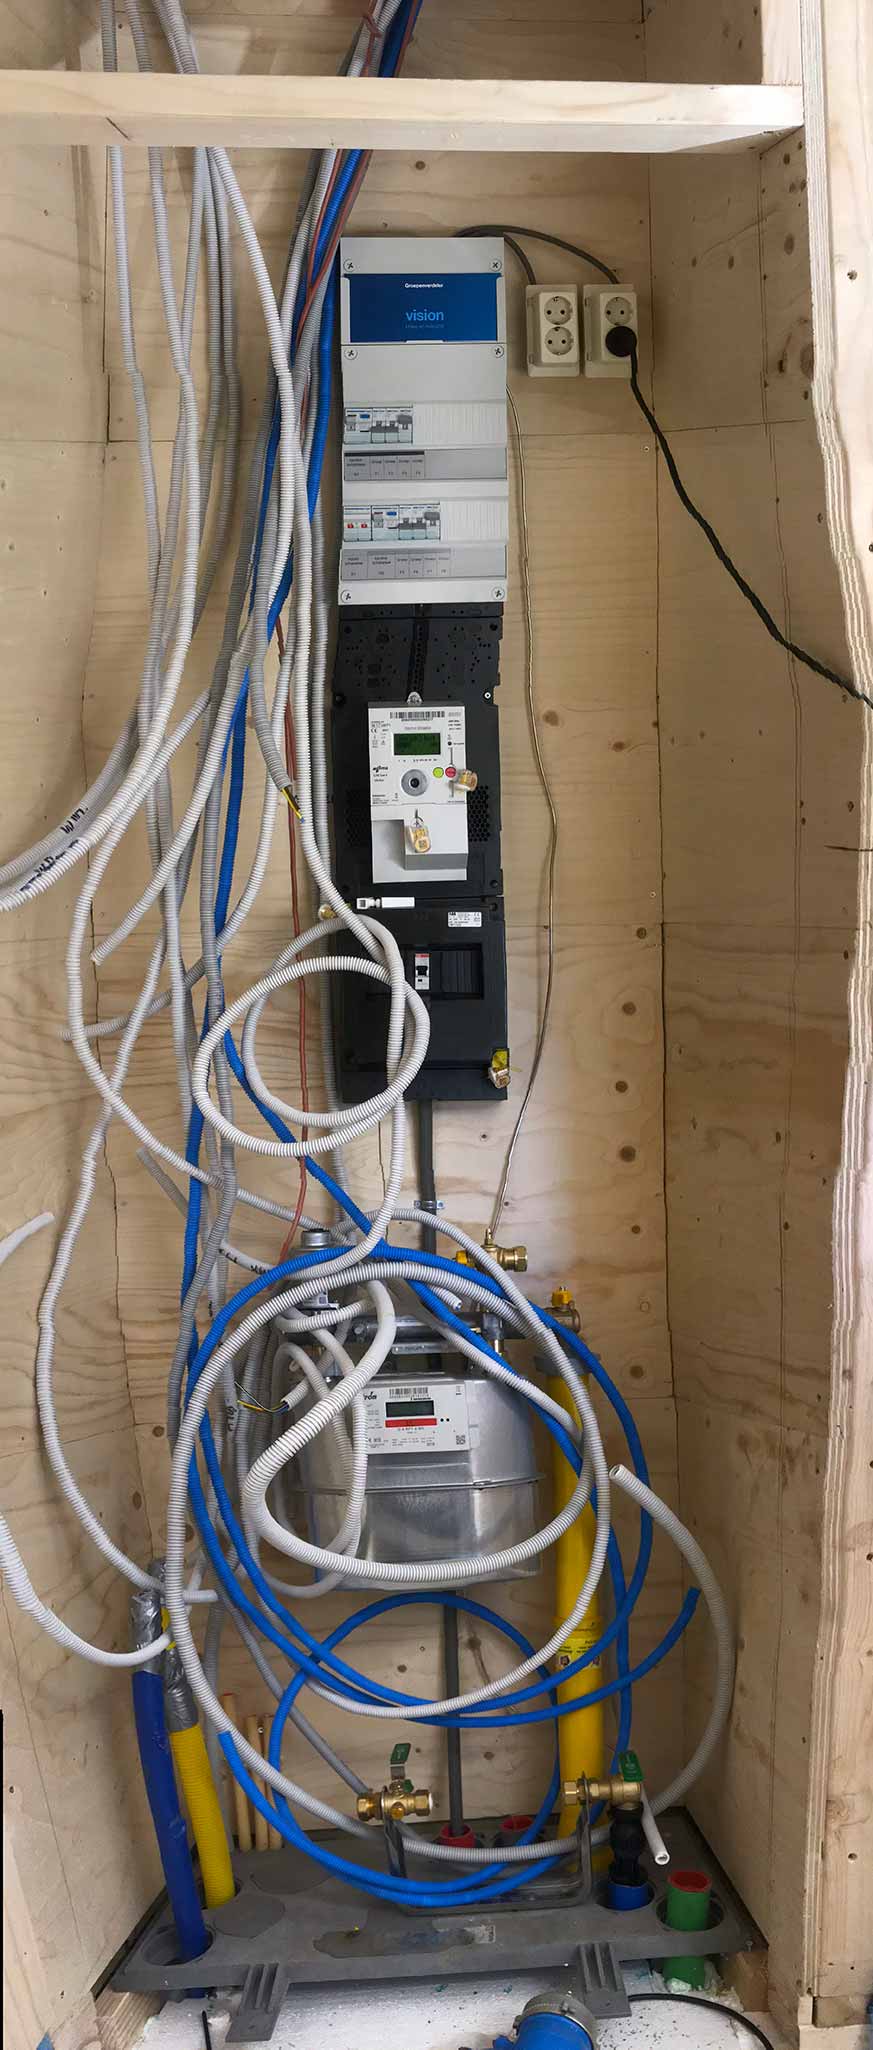
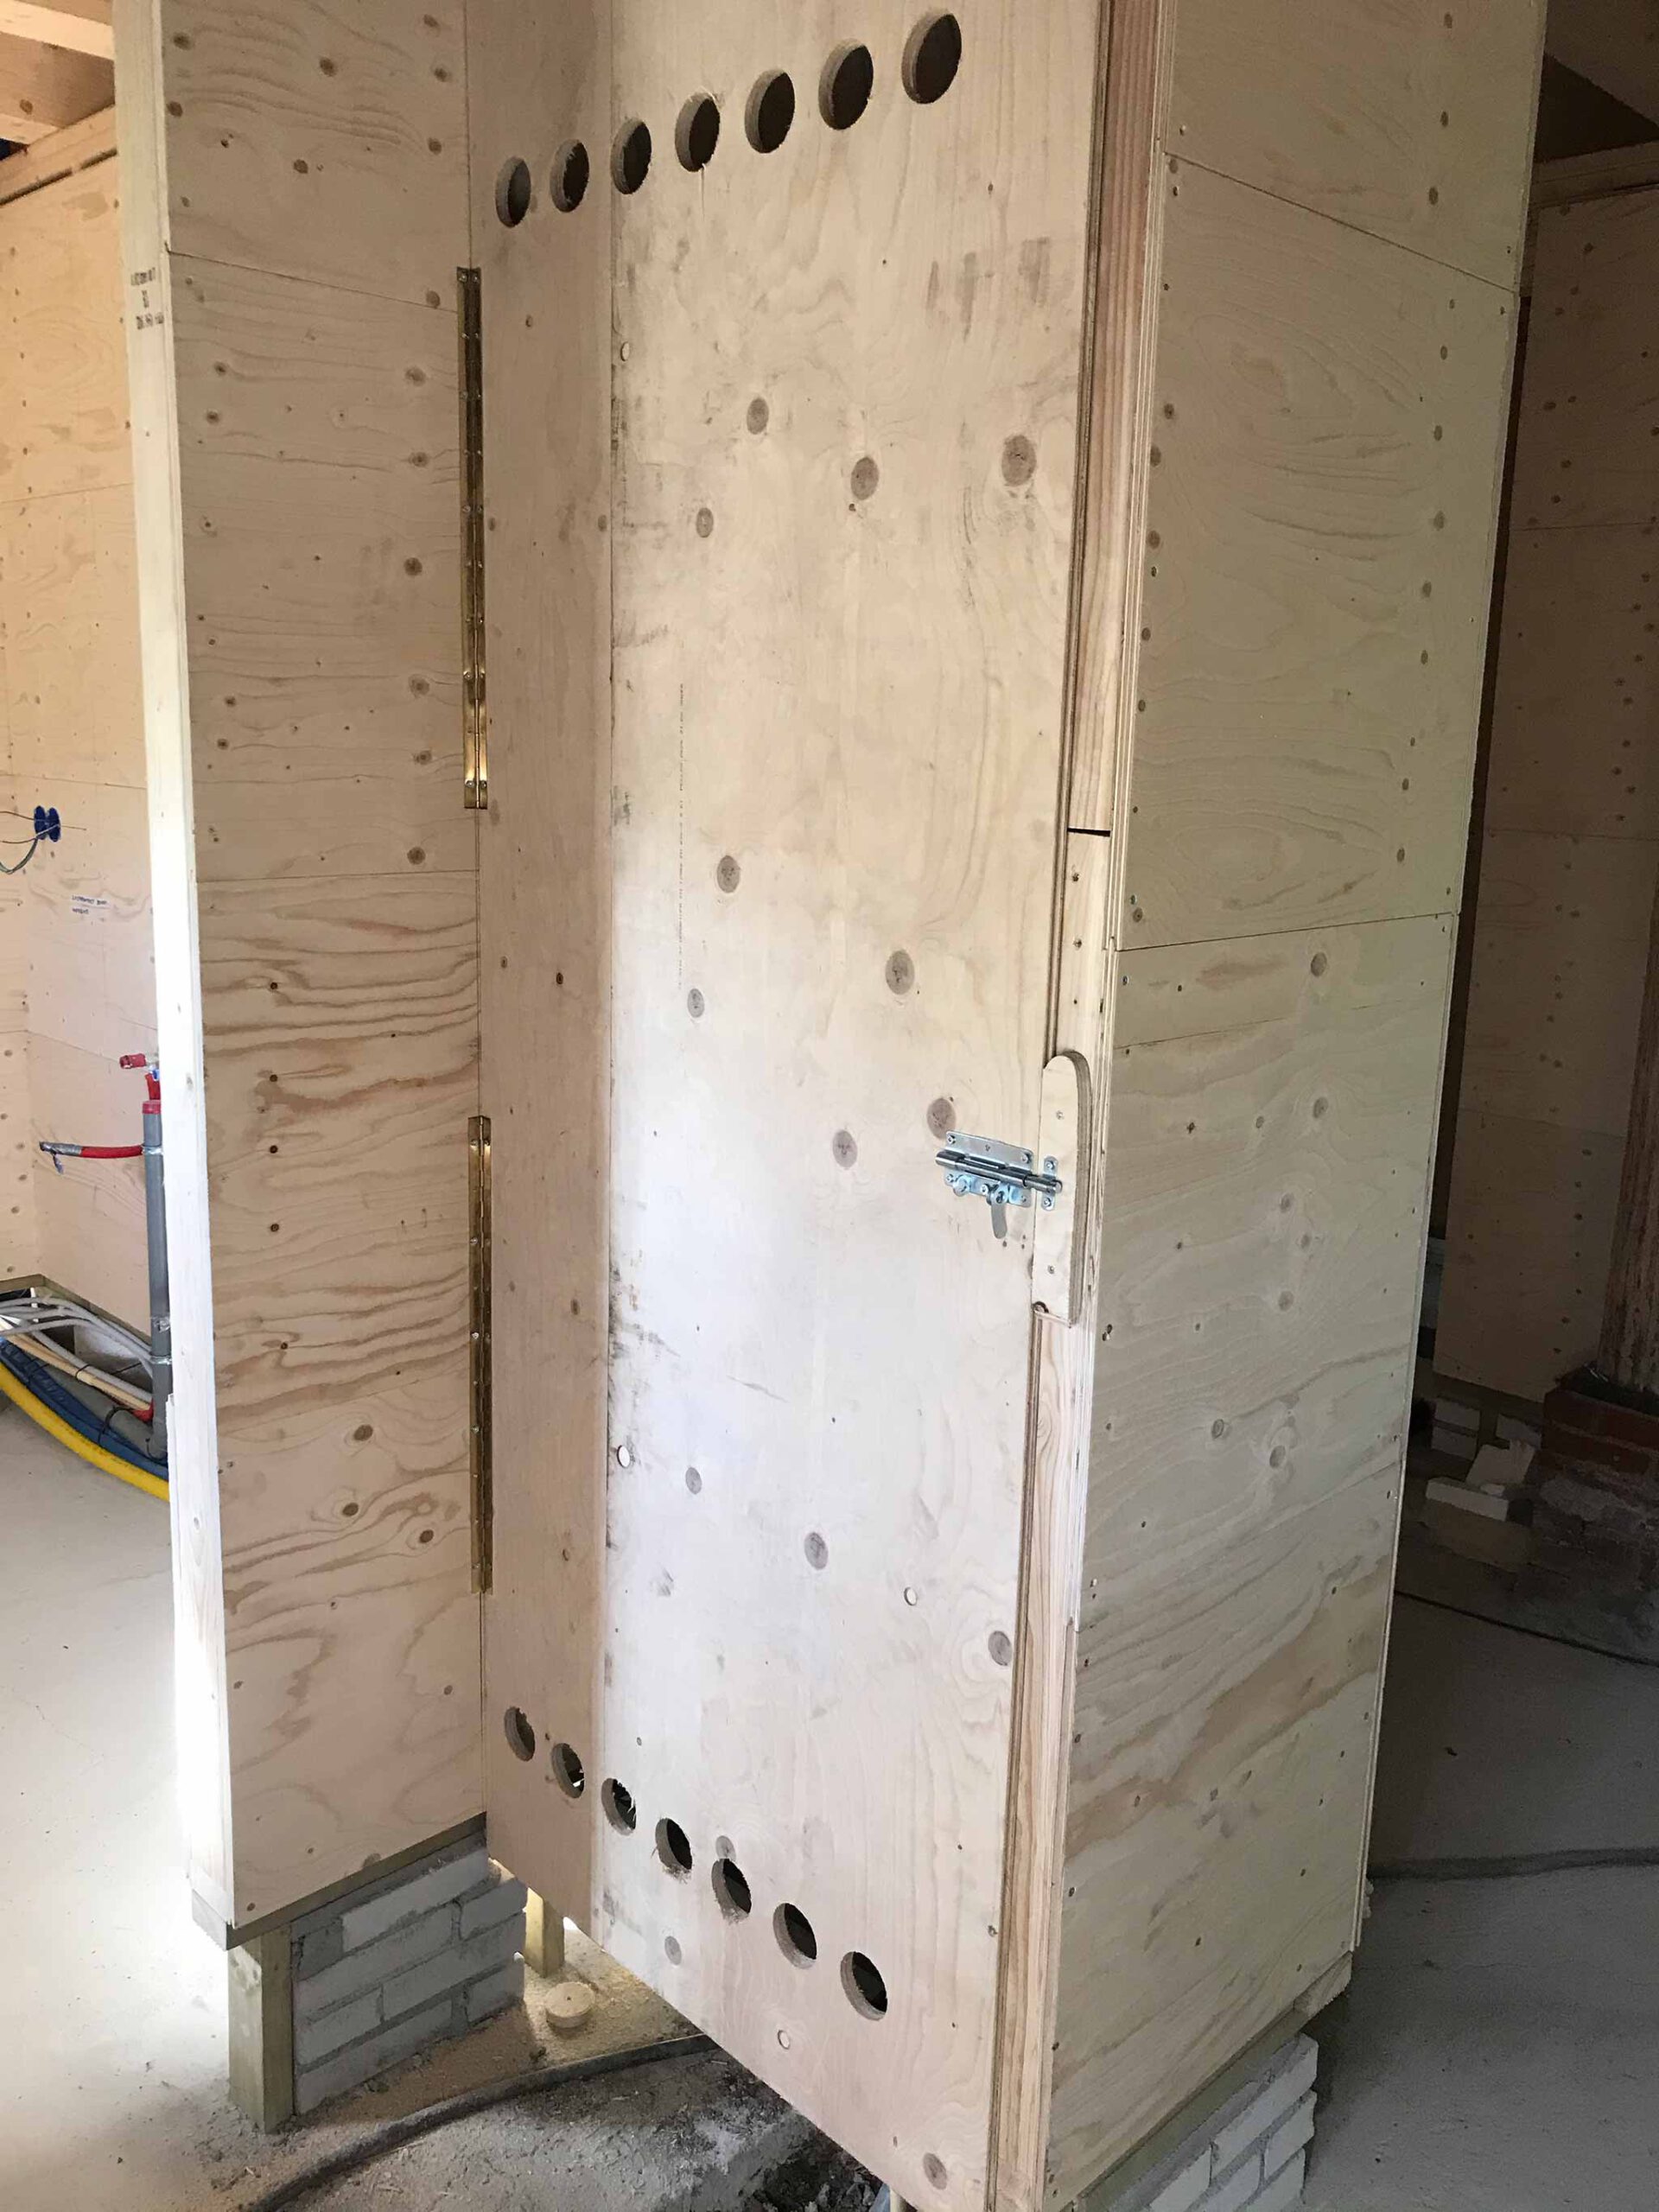
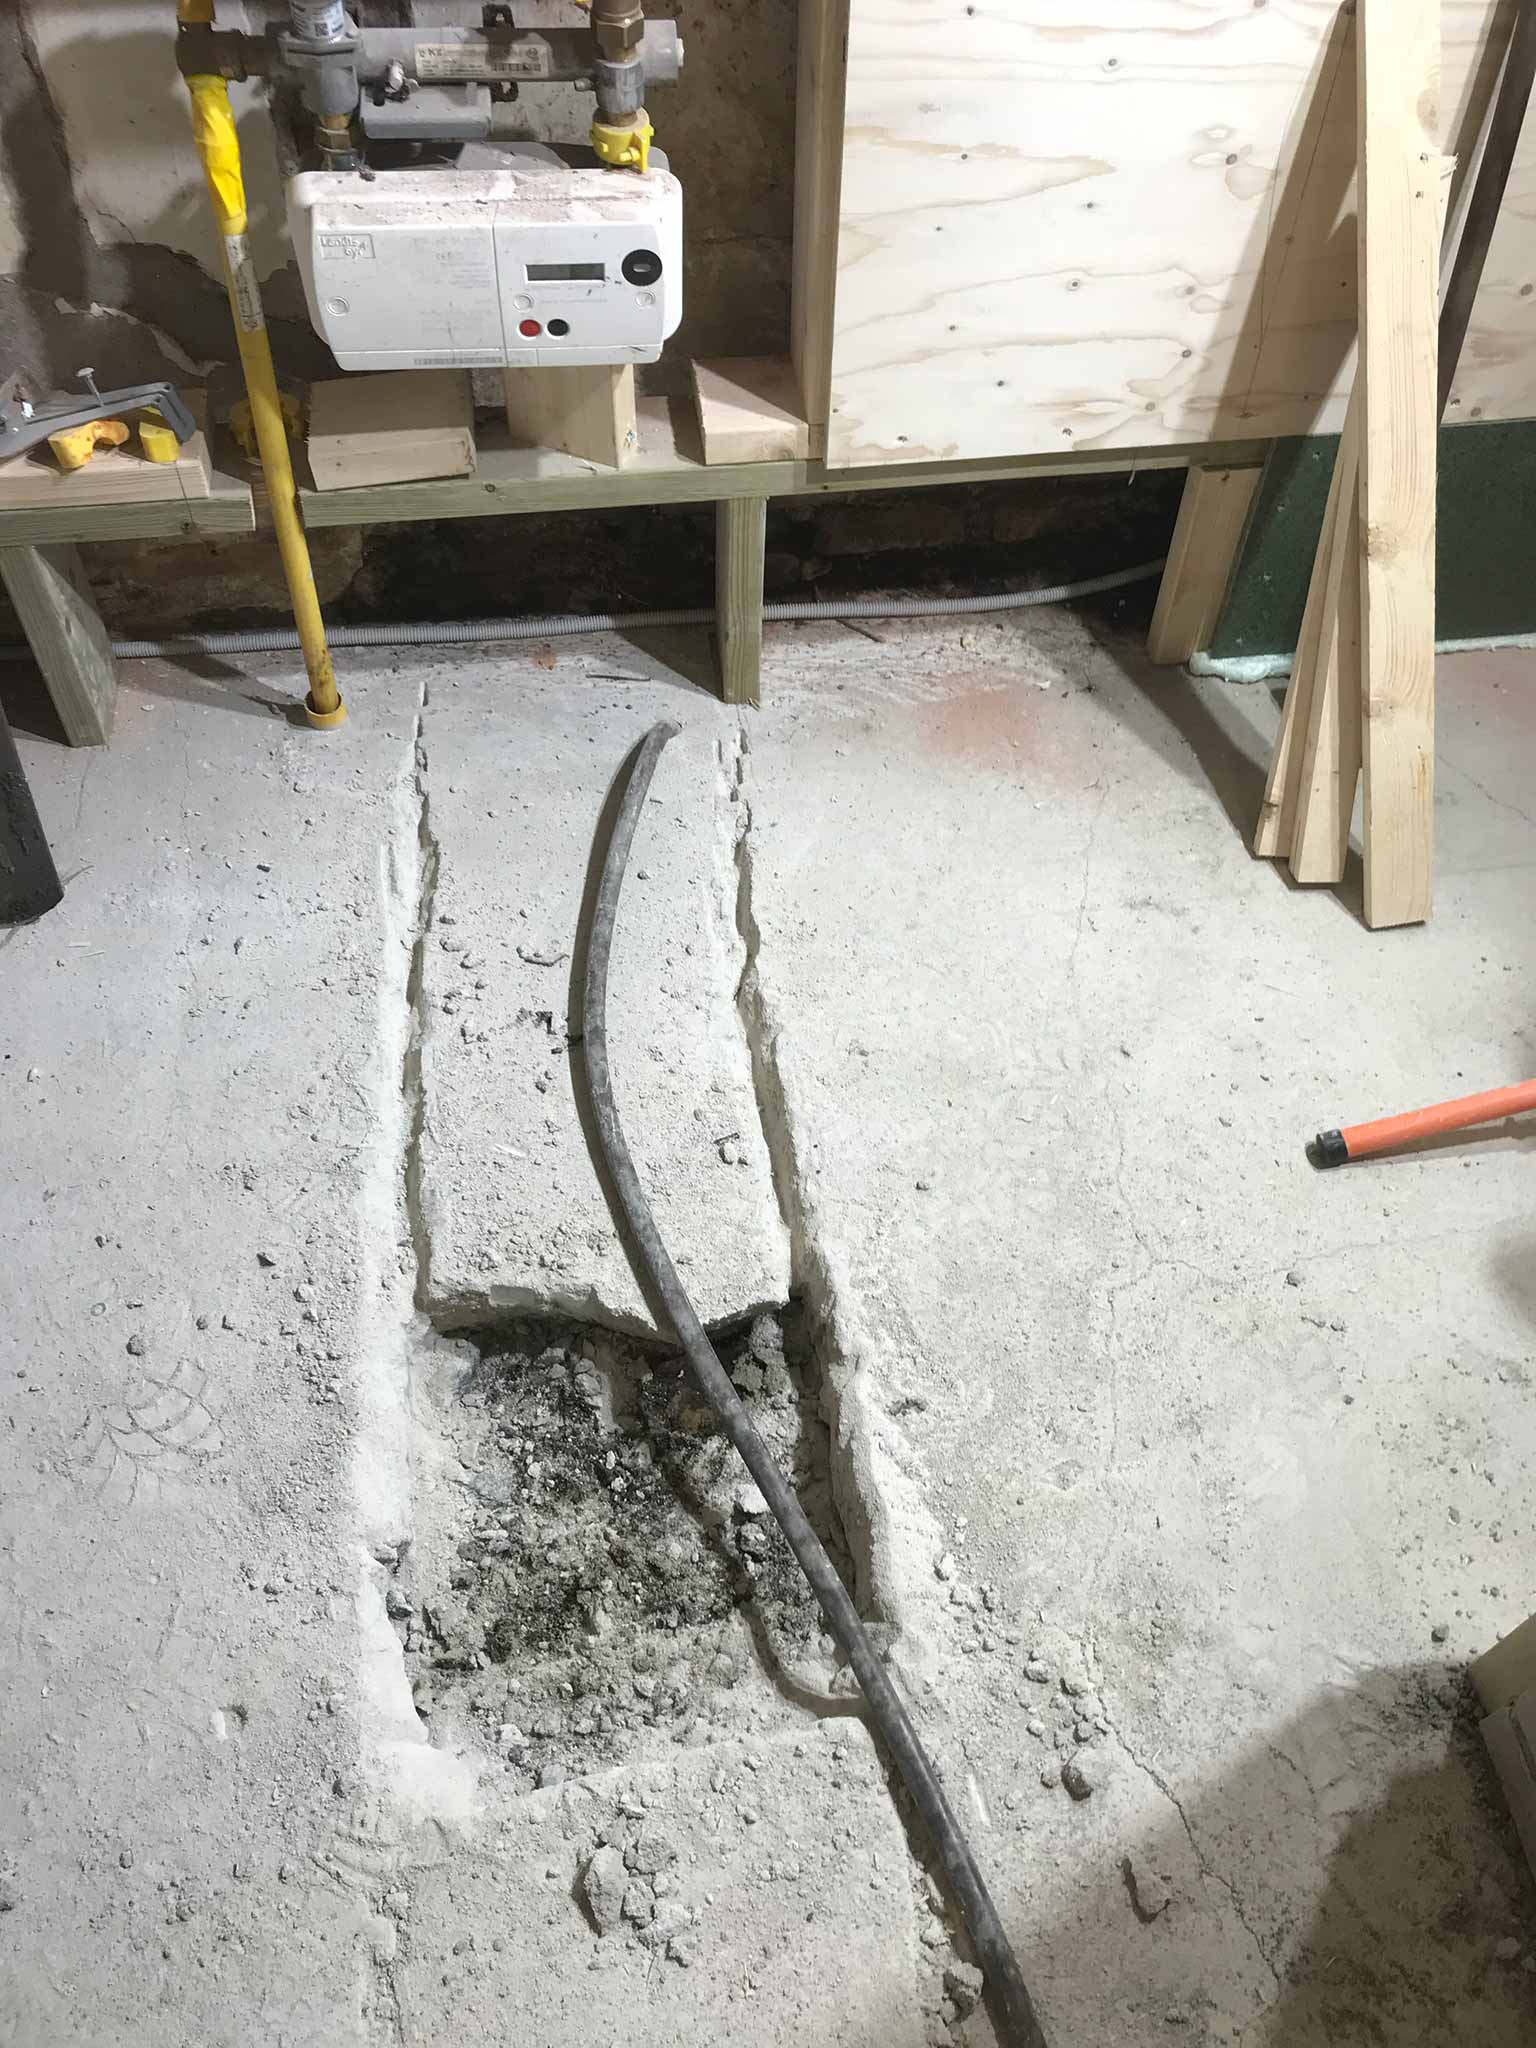
After an initial disapproval on two points, the new utilities pipes got connected through the earlier dug ditch. The missing points were that there needed to be a door closing the meter cupboard. One with holes in it so gas would be able to get out of there in case of a leak. The second thing was that there needed to be a foundation blocking gas from potential gas leaks to run onder the house. There needed to be some concrete. for the pipes to run through. Things people did not really care about 50 years ago.
The whole process is fairly easy. Create a request for all utilities at one website, get a quote from one company that you have no choice but to accept and then wait until they com ’round. Only the water is a bit of a problem apparently. The pipes needed a longer detour than expected apparently and ‘they’ are thinking of what the best way will be.
The defunct meter box. The ditch neatly filled againThe “gas leak prevention measures”The new meter boxClosed and ‘locked’
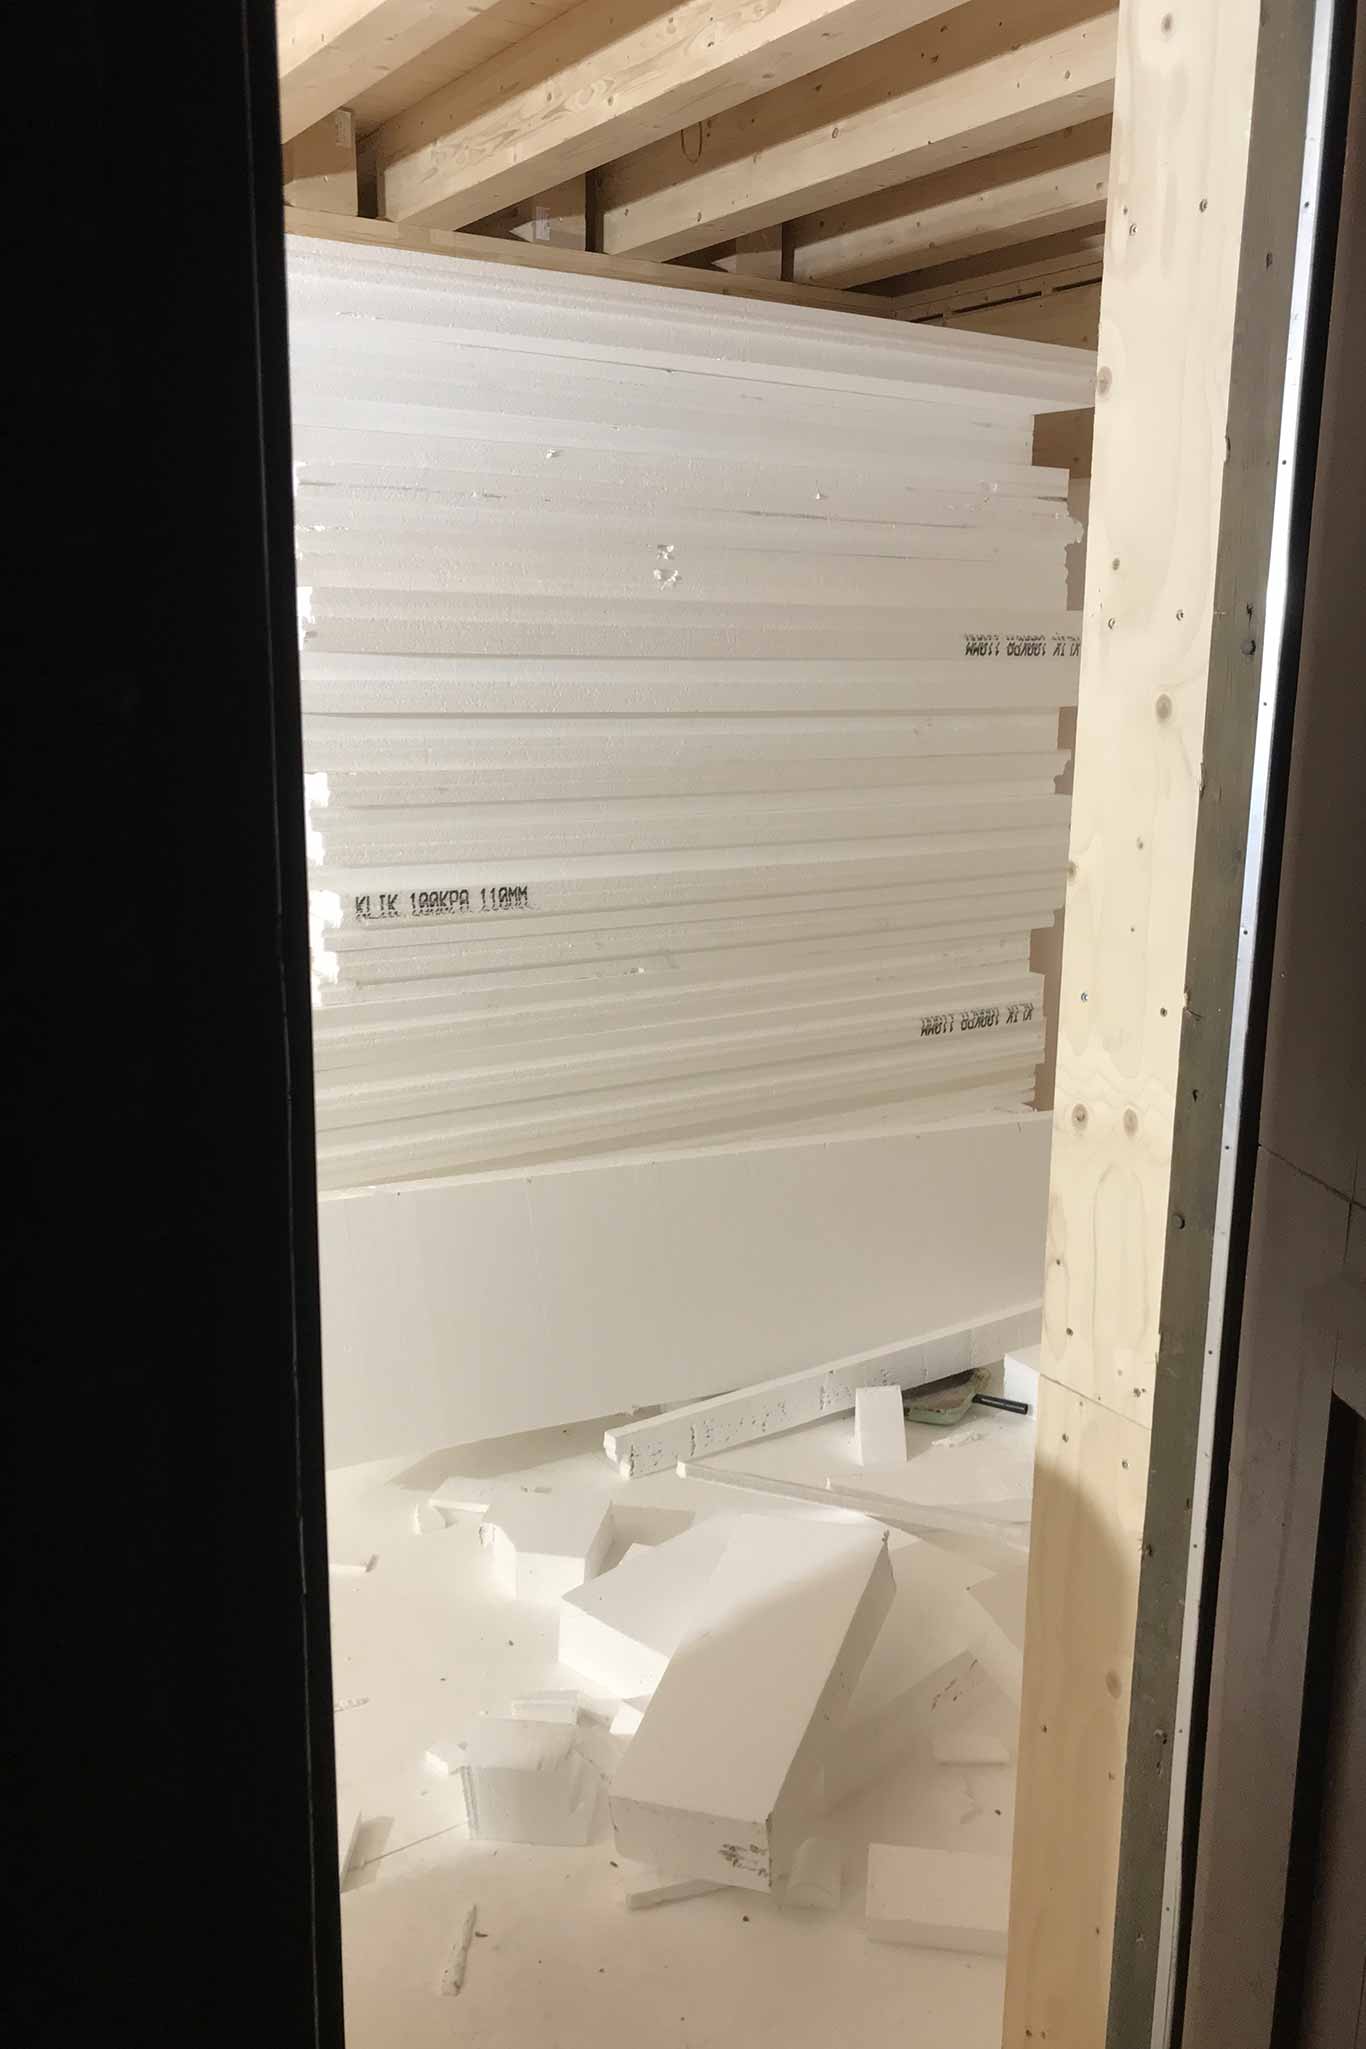
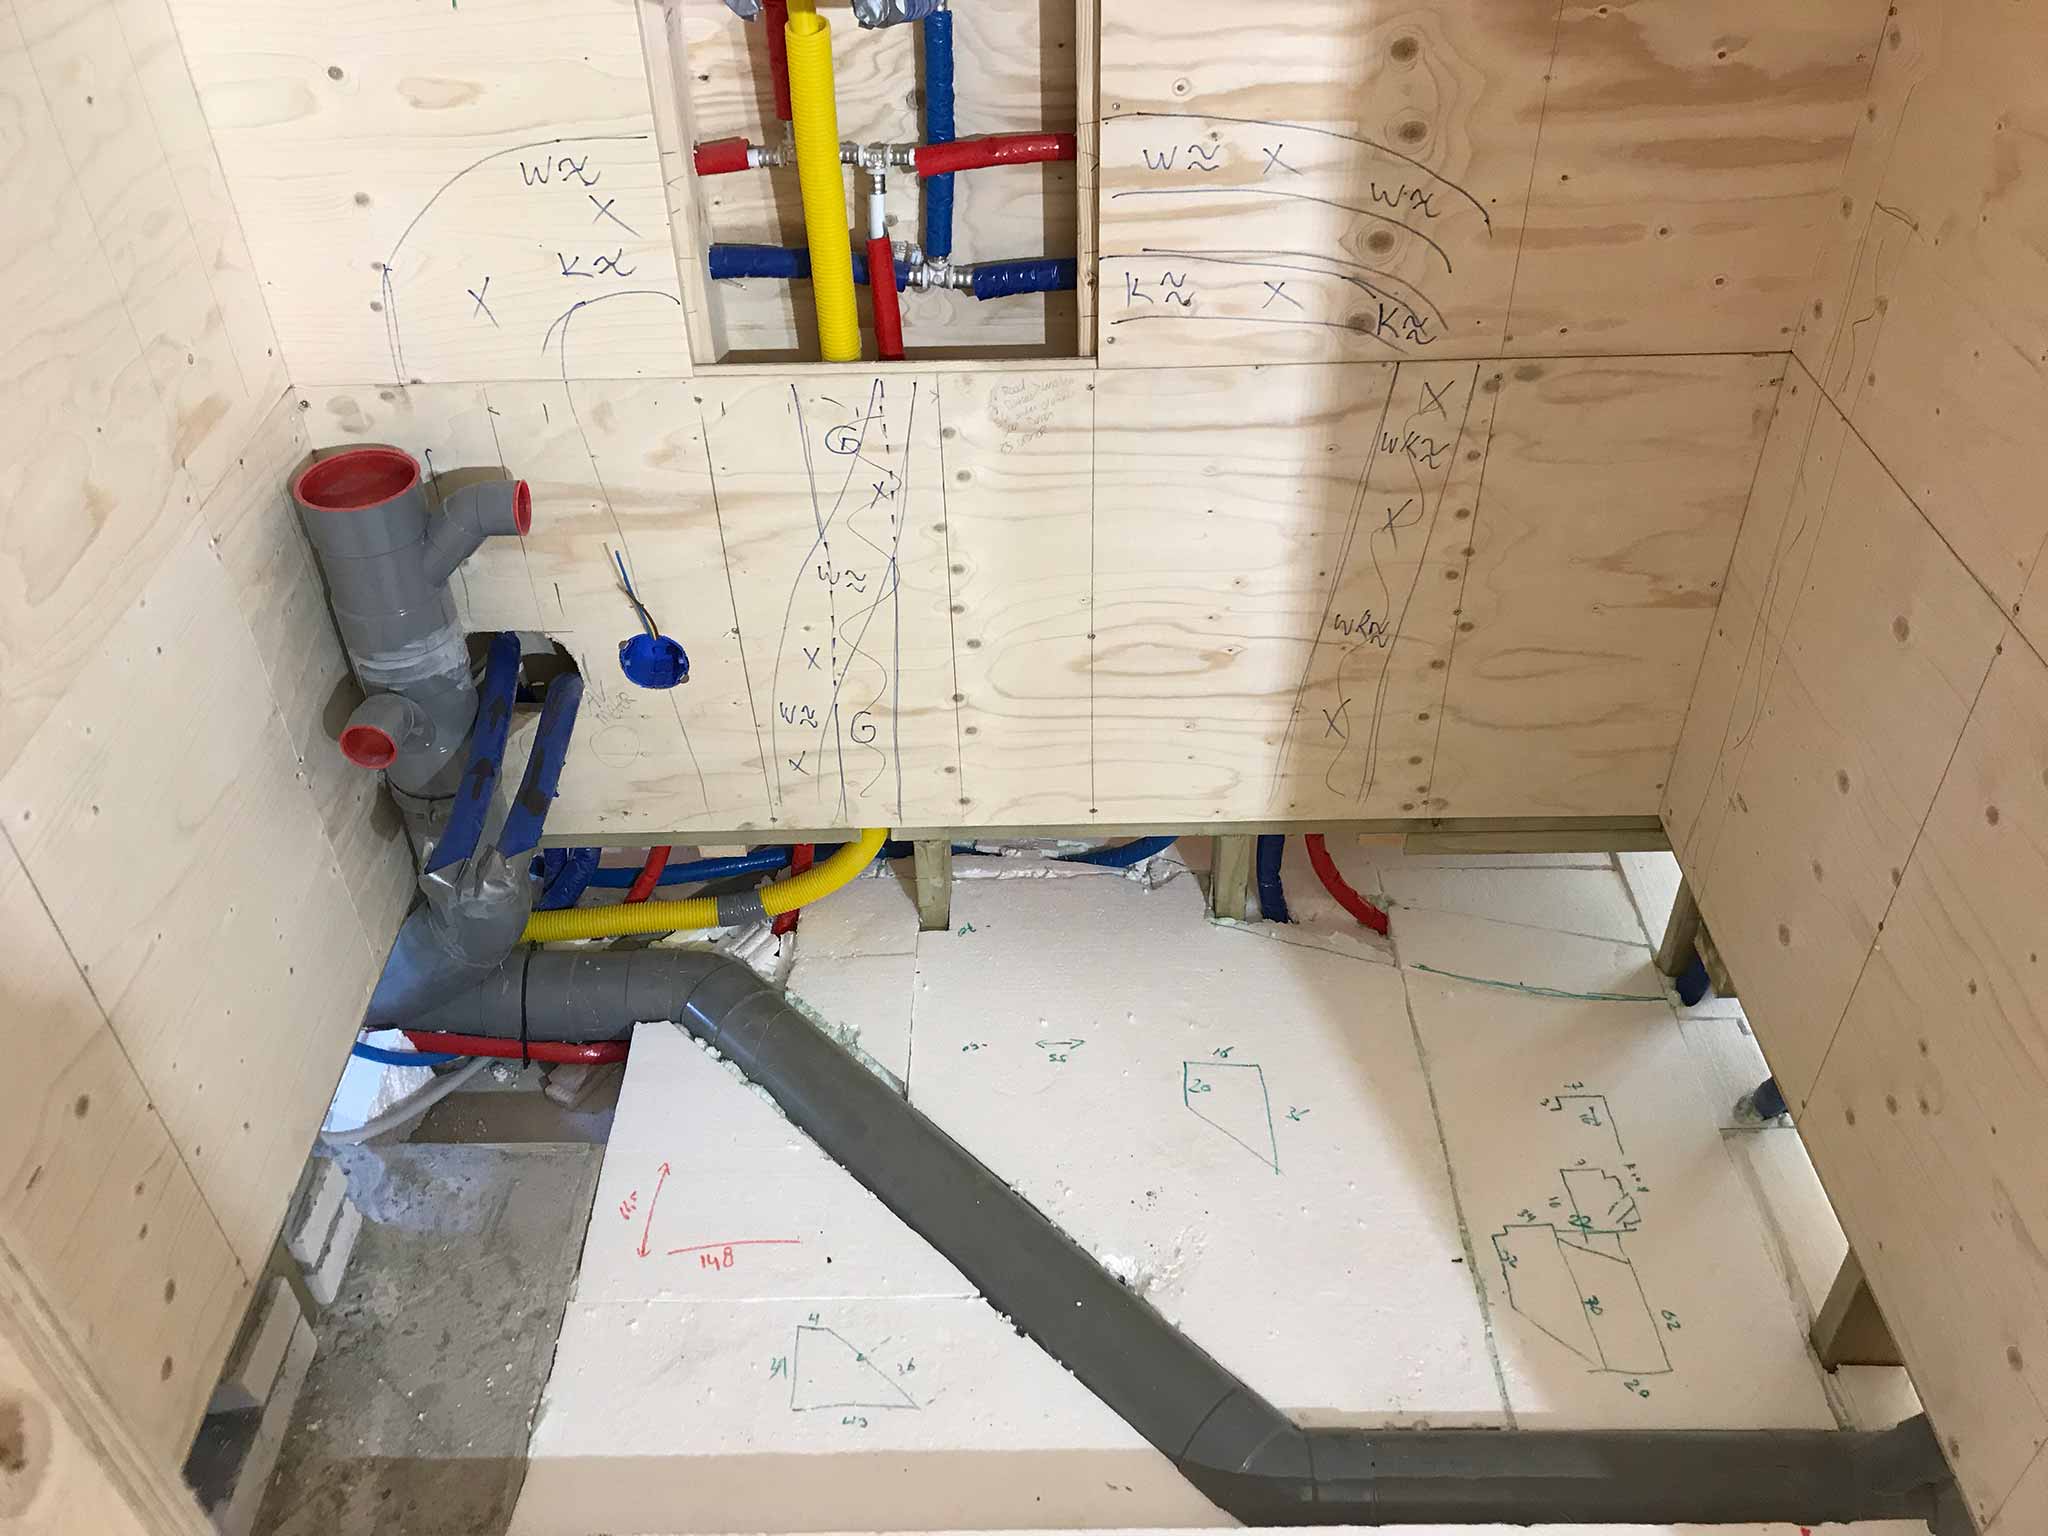
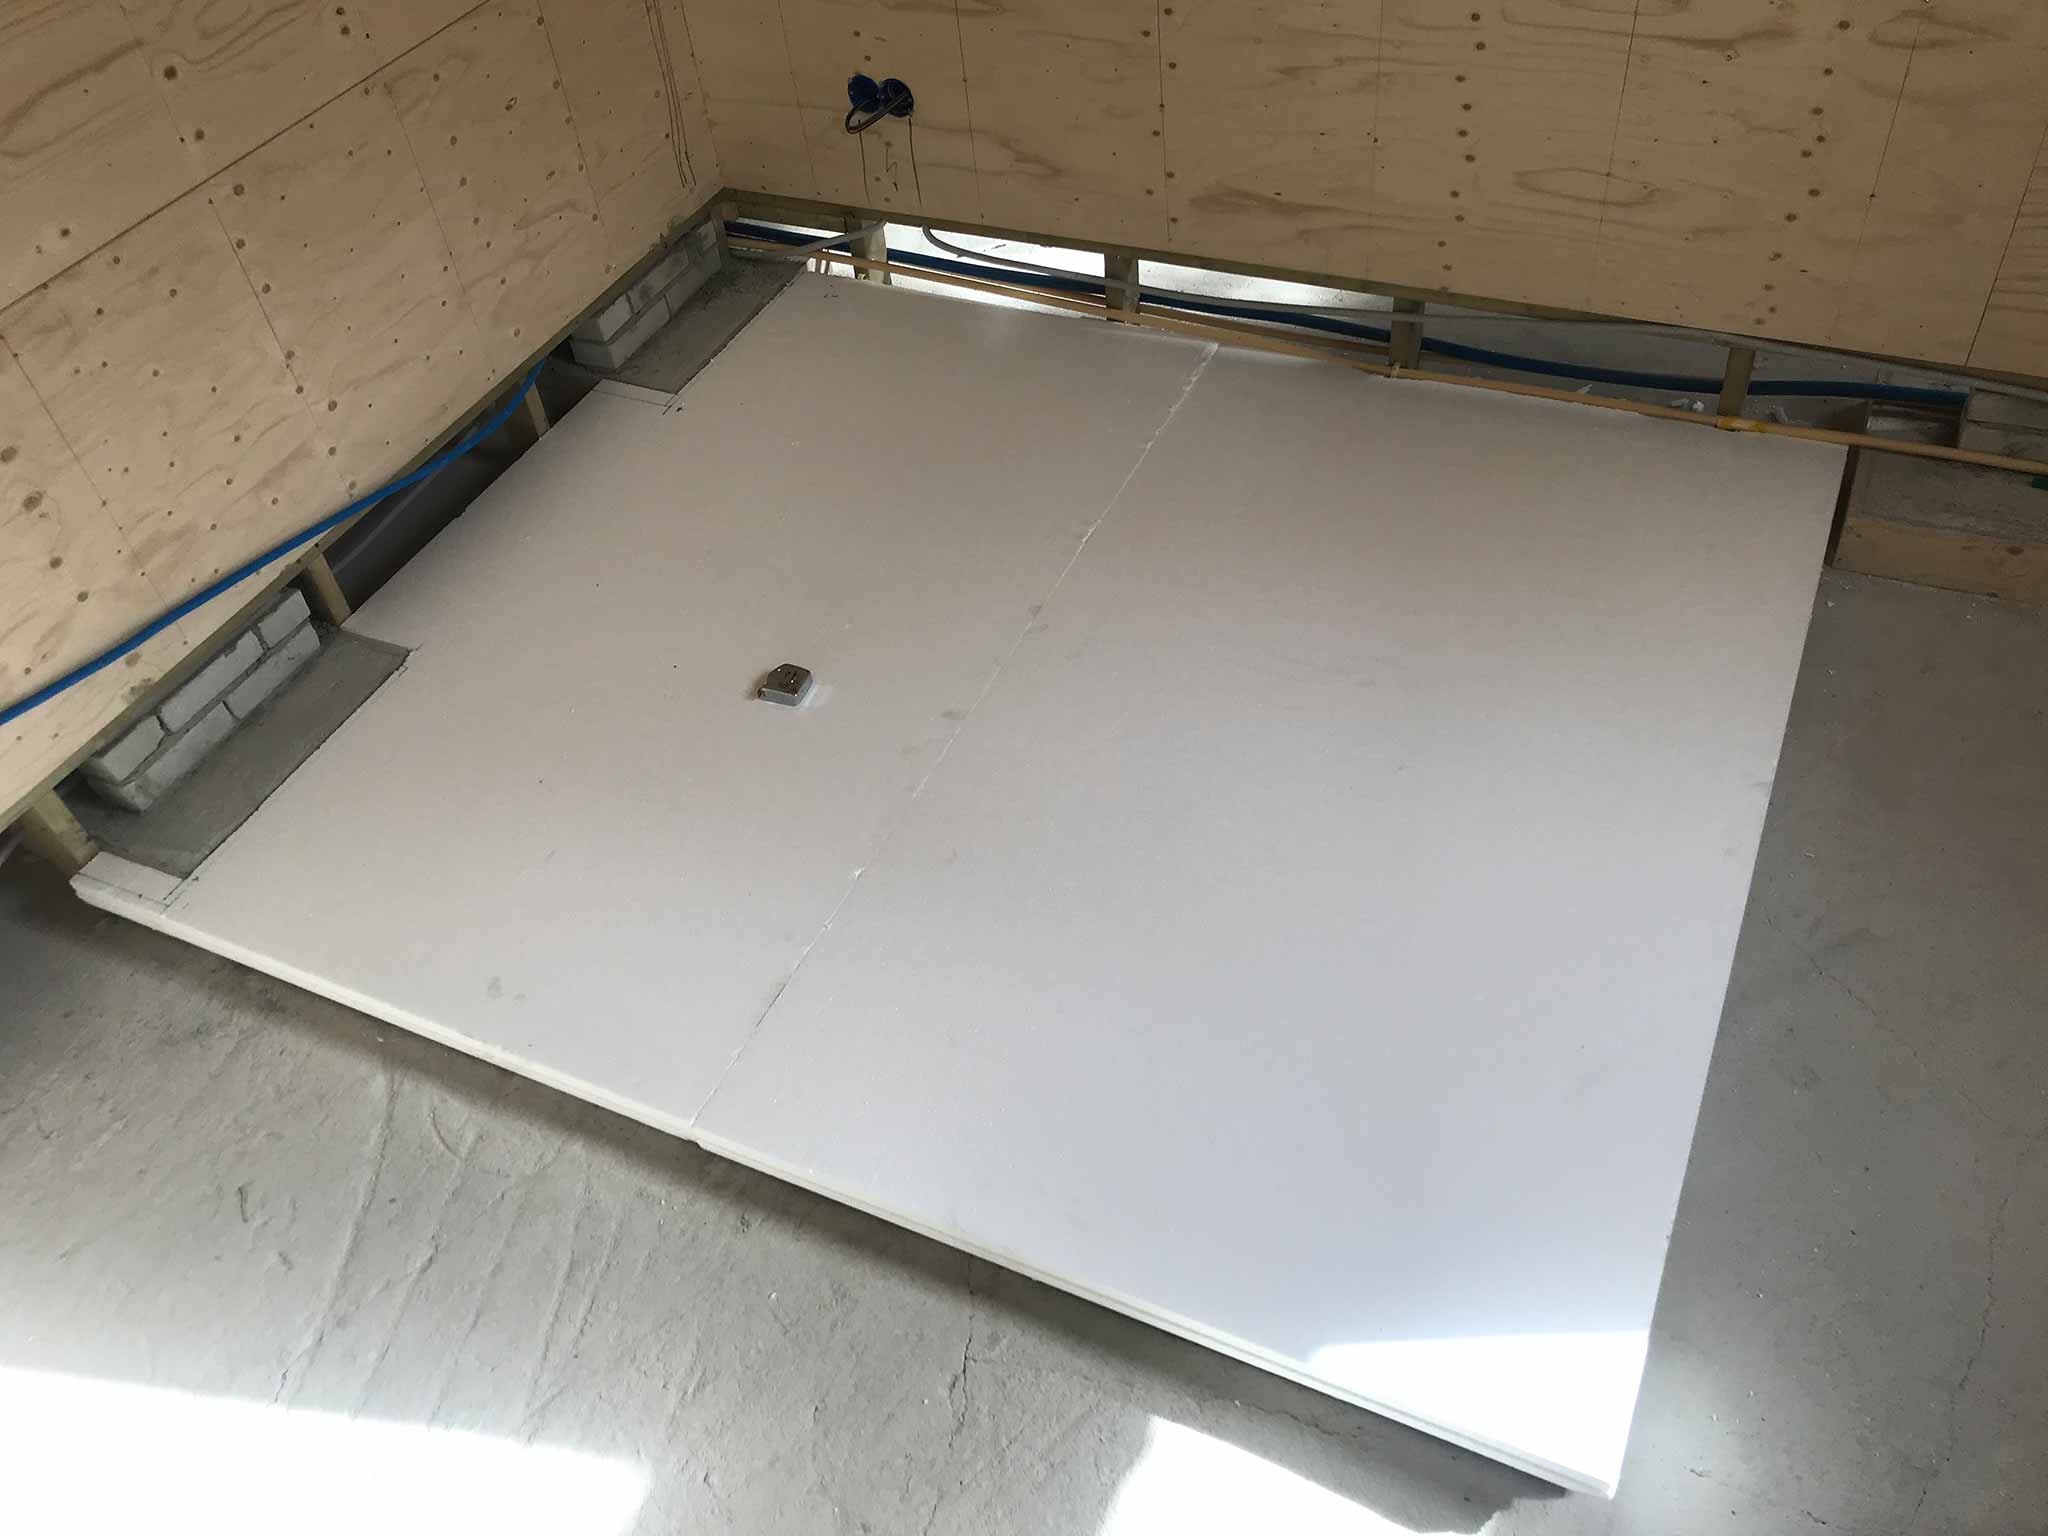
Near (what should be) 300 square meters of styrofoam arrived, it will become one layer of 11cm plates and one of 9cm plates.
Measuring and cutting is at times pretty hard. All the straight stuff is no problem, but plumbing and electricity is hard to cut out of the plates. Especially if you can’t quite see the pipes anymore when you put the plate against is to estimate the cutting lines. Things get messy real quick with a cloud of statically charged pellets everywhere you look.
Hot knifes are a real improvement there. Cleaner cuts and spacings for the pipes are way easier to cut with the proper shaped knifes. Downside there is that IT SMELLS (and probably are not the best fumes to breathe). Fortunately the weather is still good and cutting can be done outside.
The finishing touch is done shoving the remains that were cut away in the gaps and filling it with some construction foam to keep things nicely in place and have no thermal bridges.
Beginners mistakes to watch out for:
Do not catch a piece of styrofoam mid air which you just used to used to smooth out some construction foam right before you dropped it.
Take care you start working in the right direction with the styrofoam plates. Do NOT do it so every next plate needs to be placed _under_ the previous. Especially working your way into nasty corners.
… but I guess it needs to happen. 12 litres of colourless stain is all over the ceiling now. One base layer and one finishing layer. Pretty damn hard to see what you have and have not done yet. When still somewhat wet, a well positioned lamp shows the glistering but that’s about it. Together with our ‘smart’ choice of ceiling (beams, planks with small grooves between them), it makes for a dirty job that someone has got to do. All for a good cause of course!
Stain is pretty expensive btw. Make sure you need it before you decide on amounts etc….
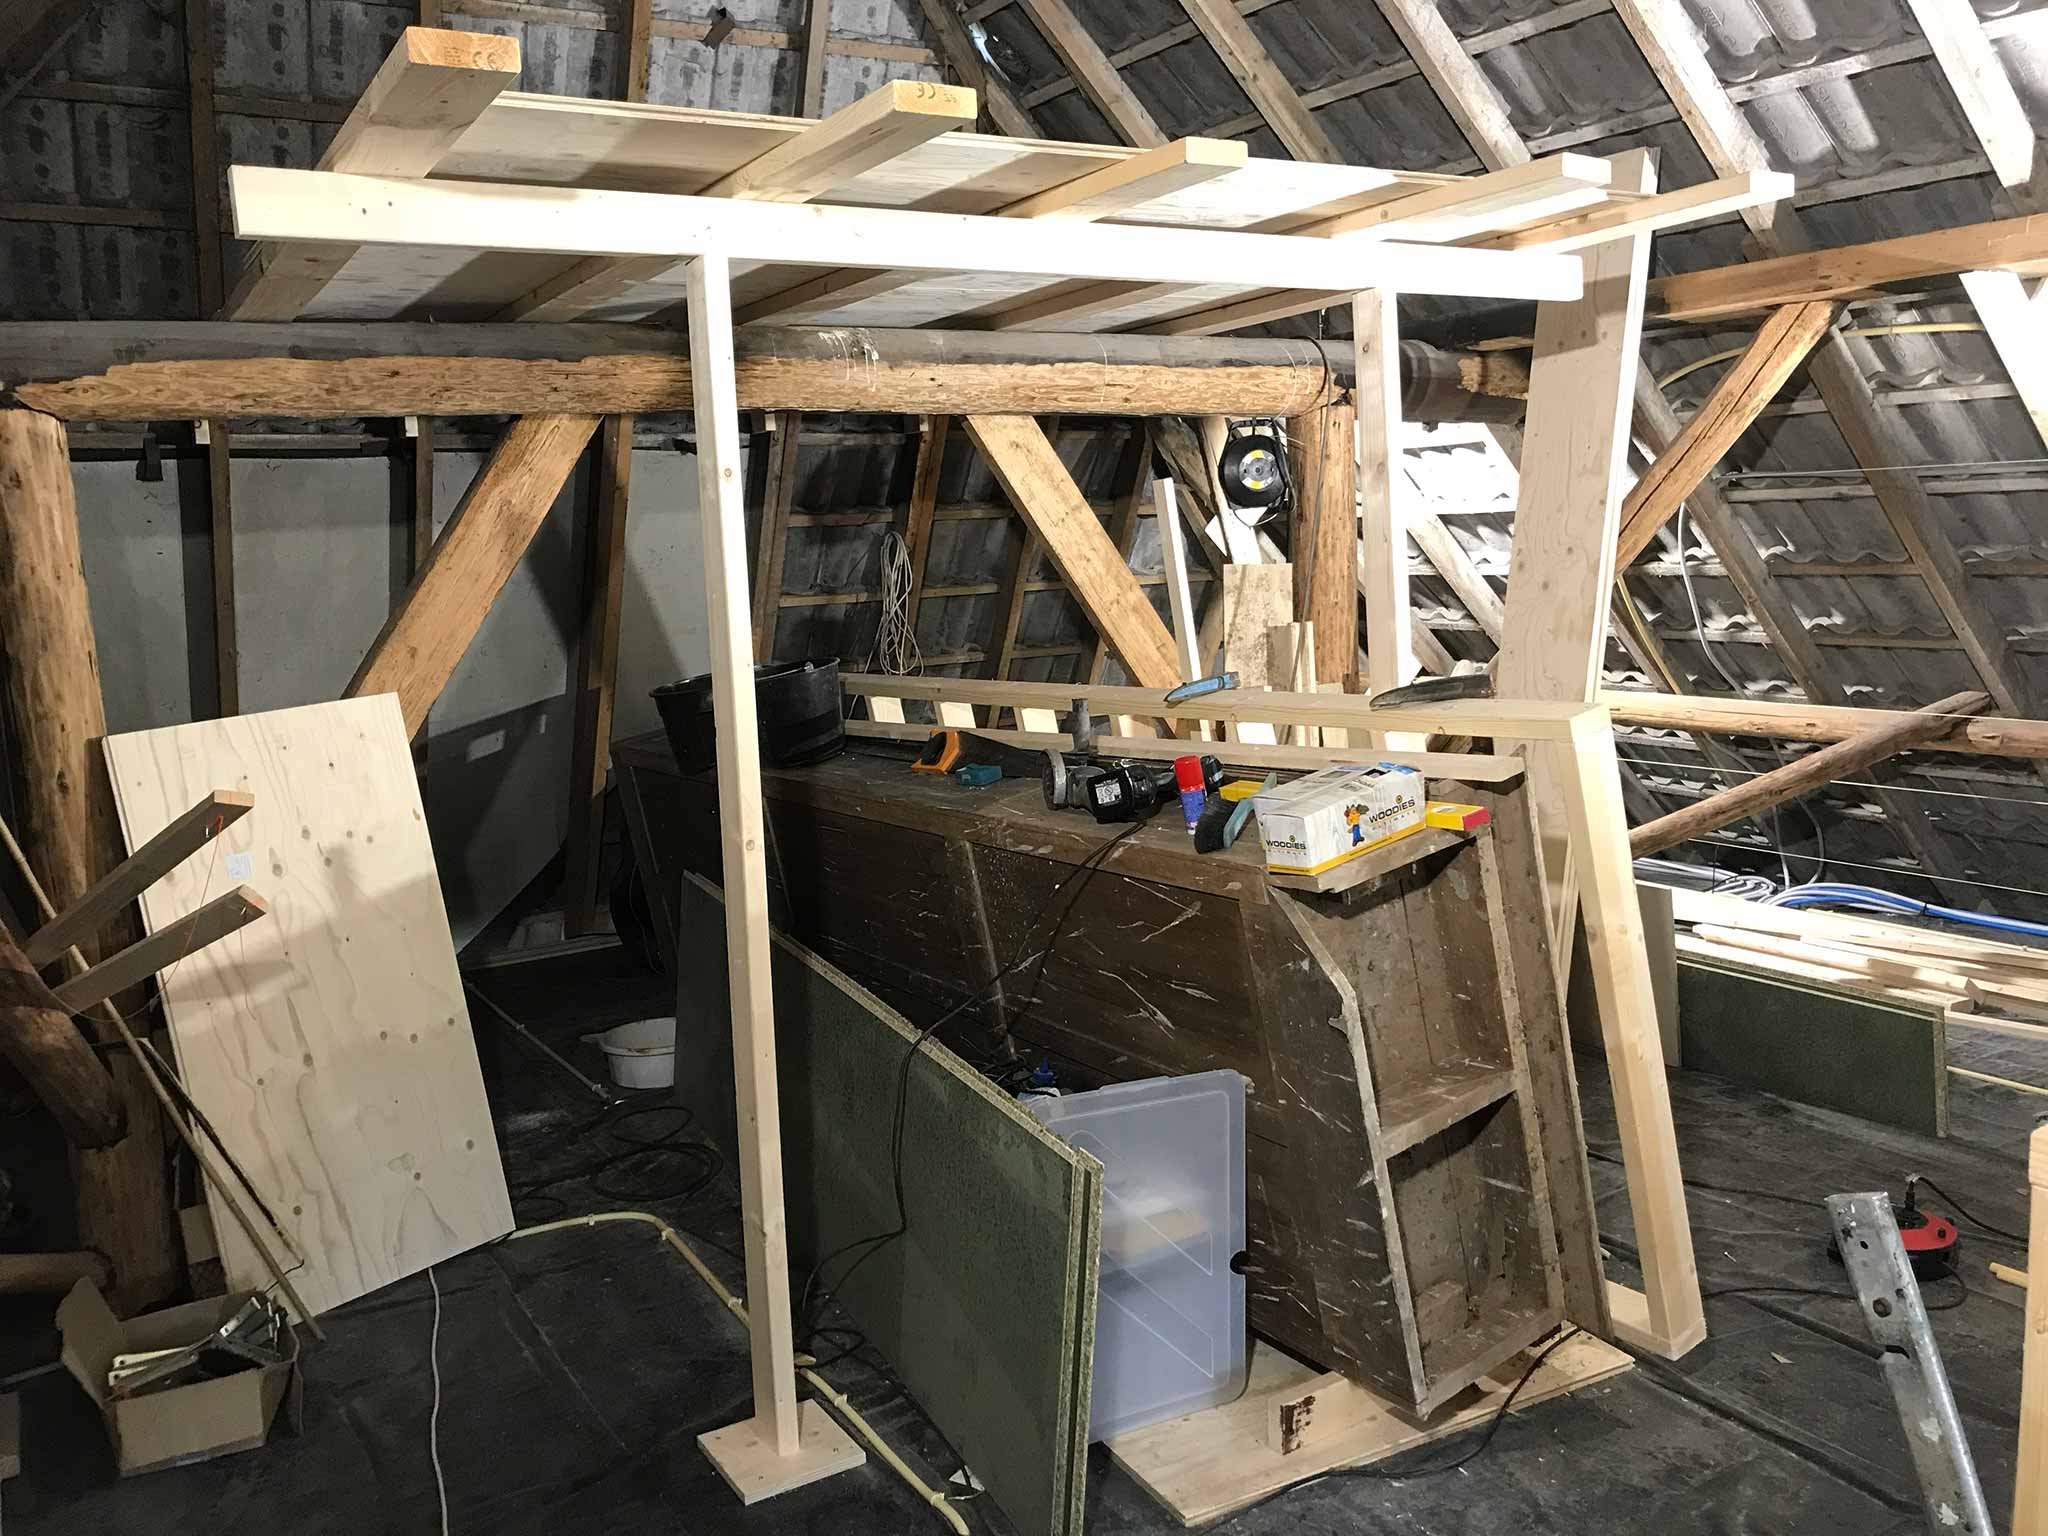
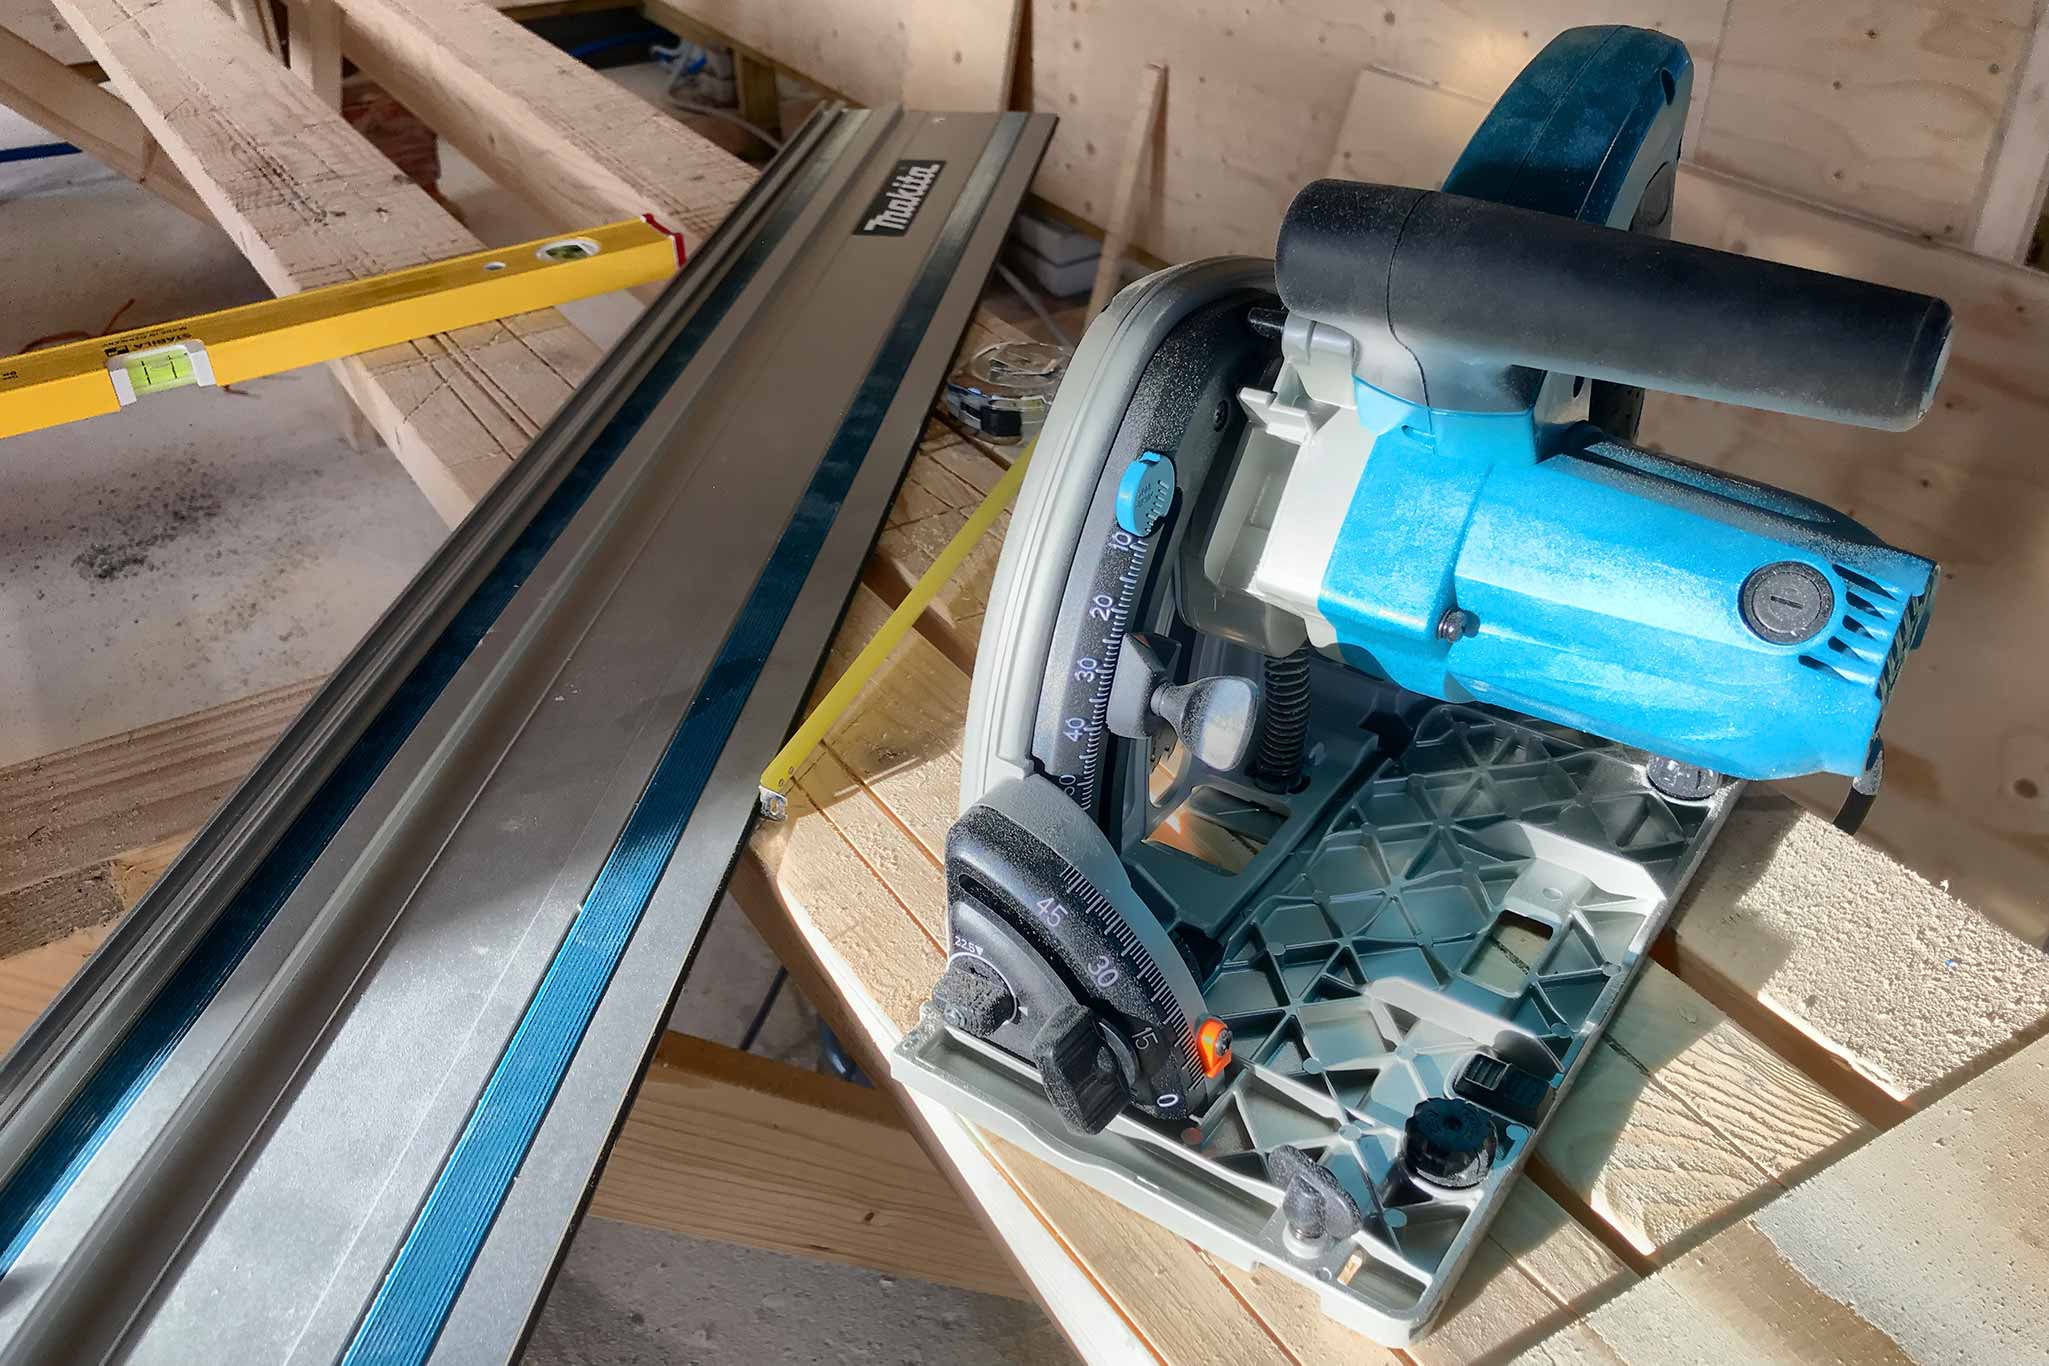
At least, I’m doing carpentry. Panelling the walls and thus clearing the floor from the stacked underlayment panels. It needs to be on the walls anyway and the floors need to be cleared to store and then place the floor isolation.
Takes some getting used to being consistent in having the right side up, measuring and sawing correct etc. but it is pretty satisfying to do. Especially with the proper tools :).
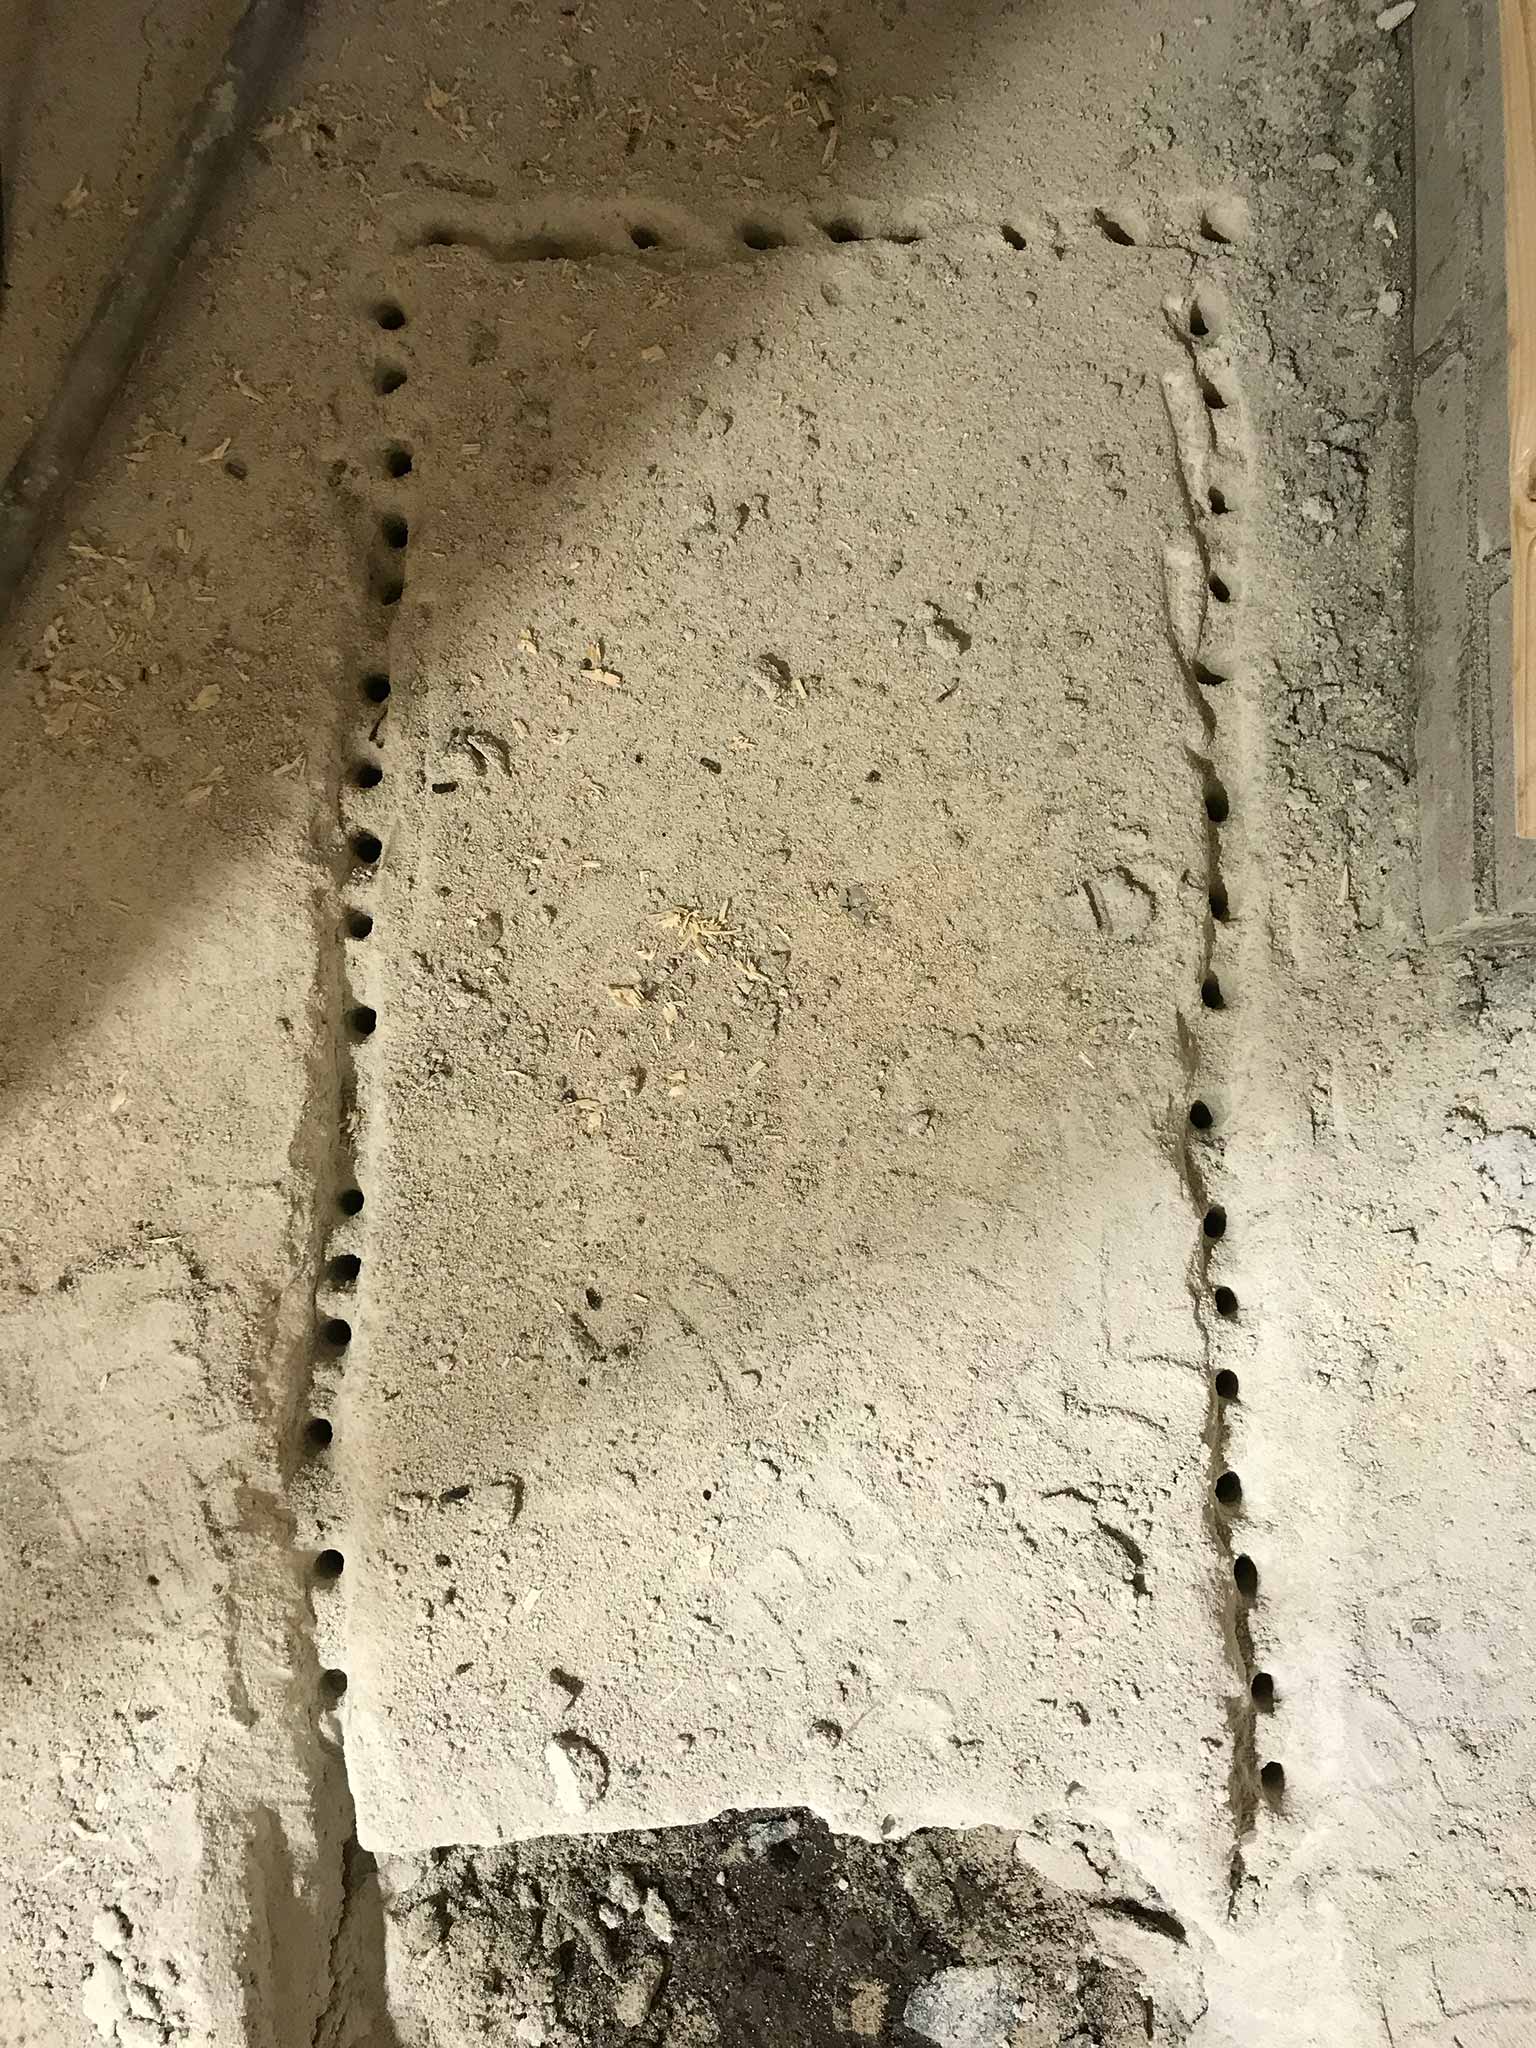
That felt pretty weird. Digging through the poured concrete and underneath the wall of the house.
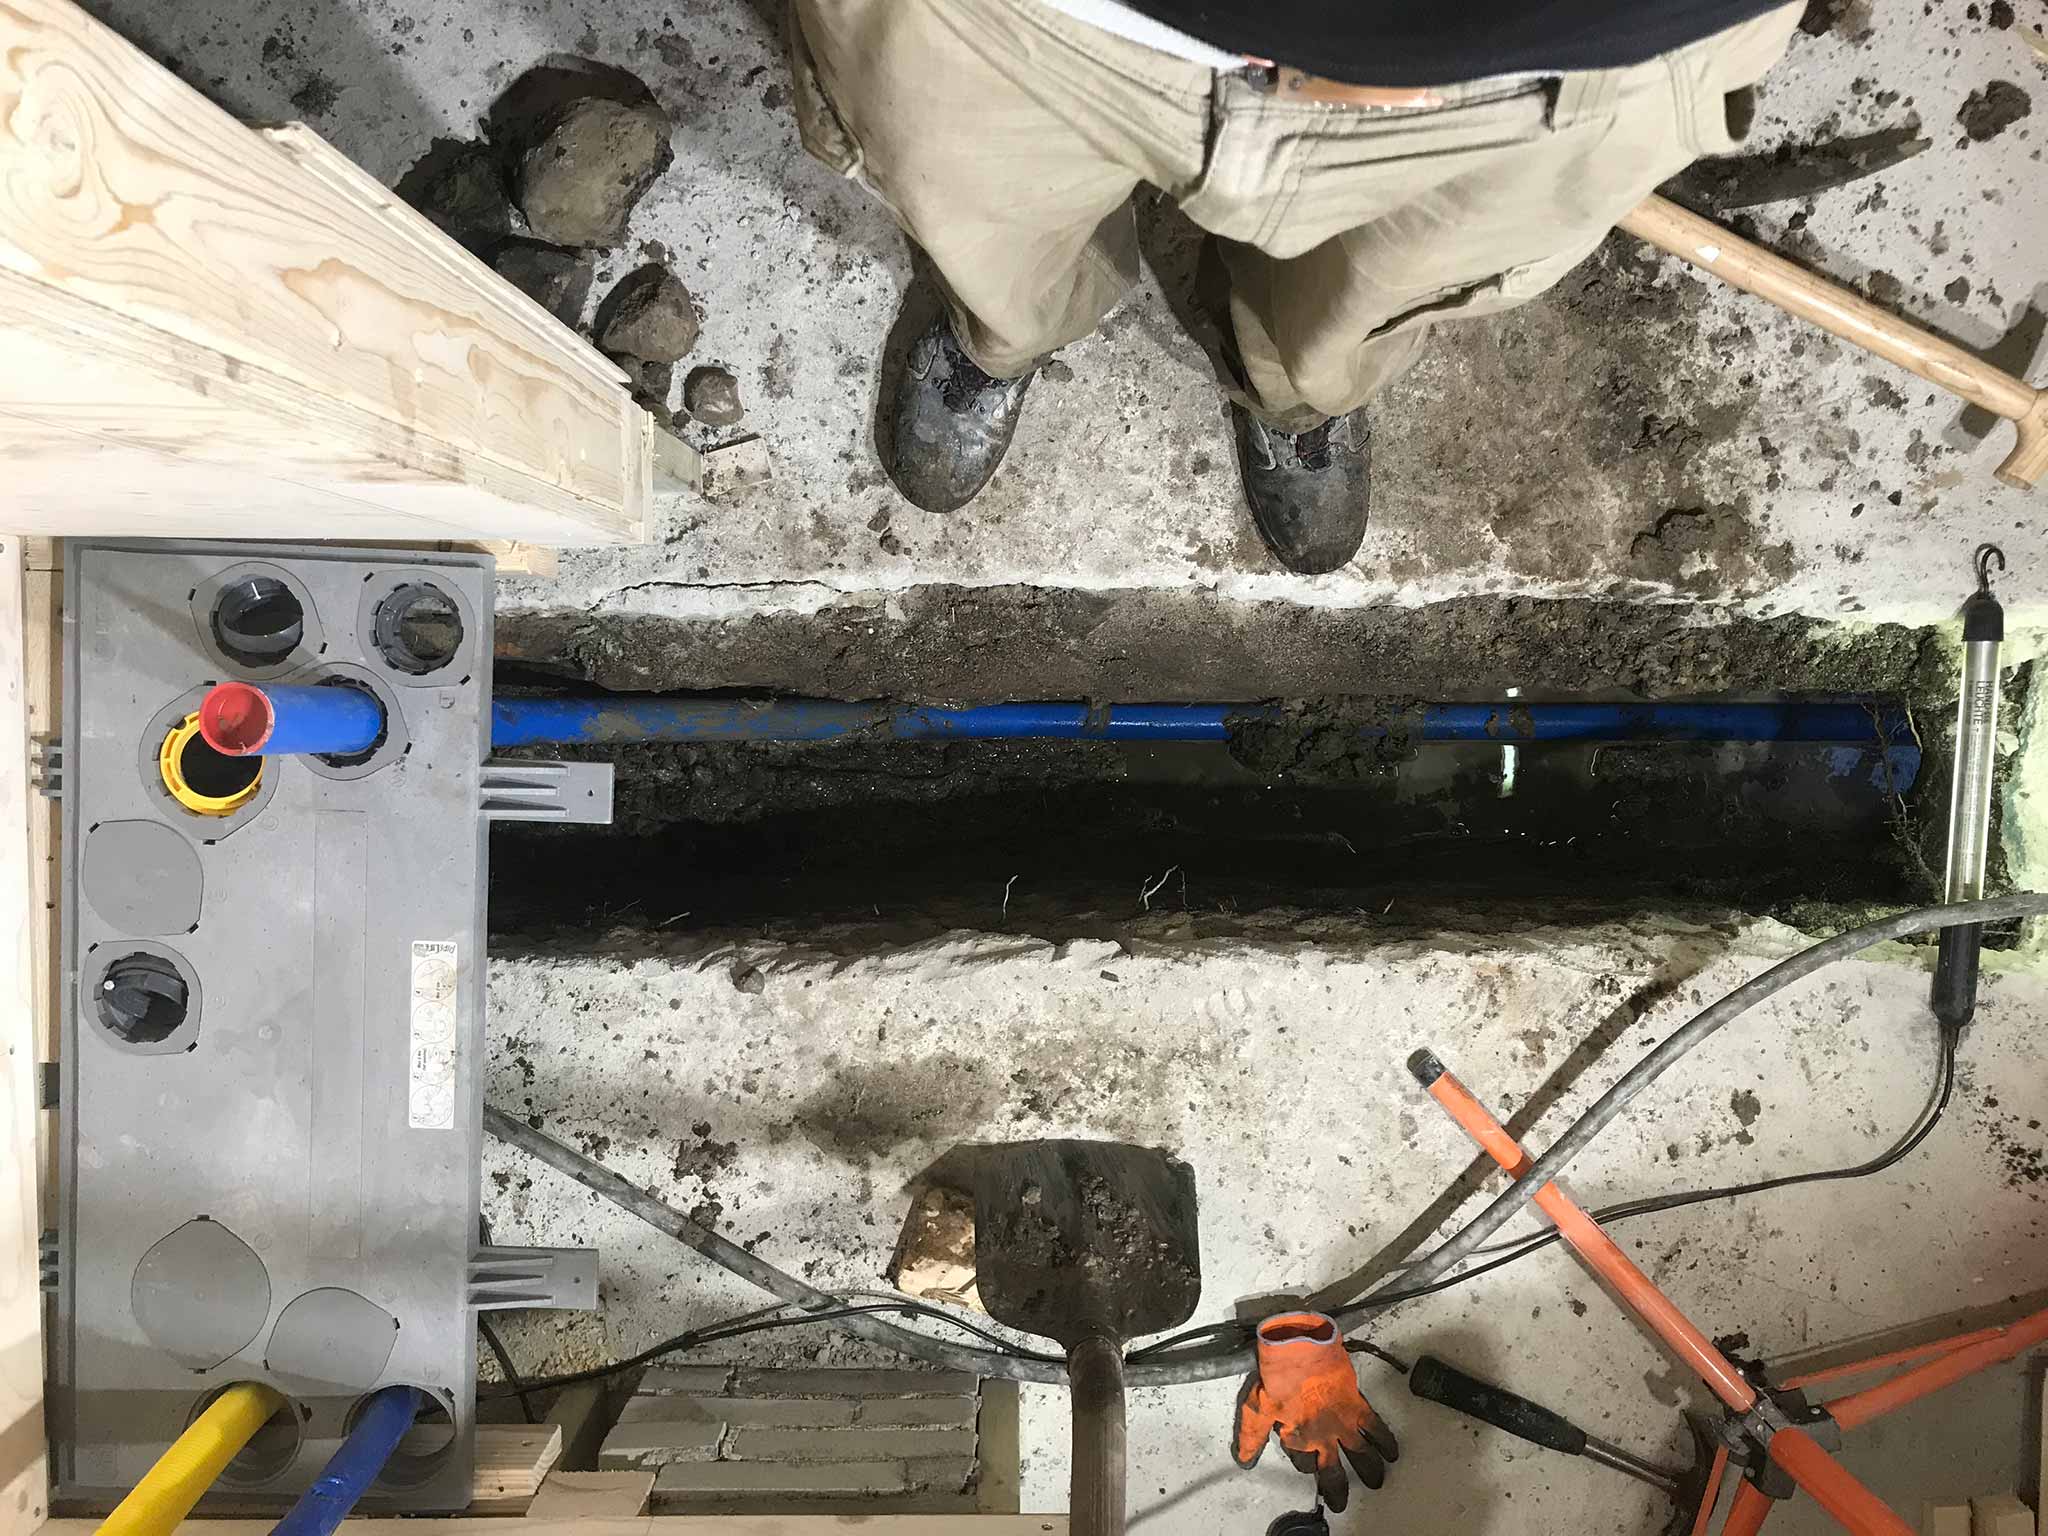
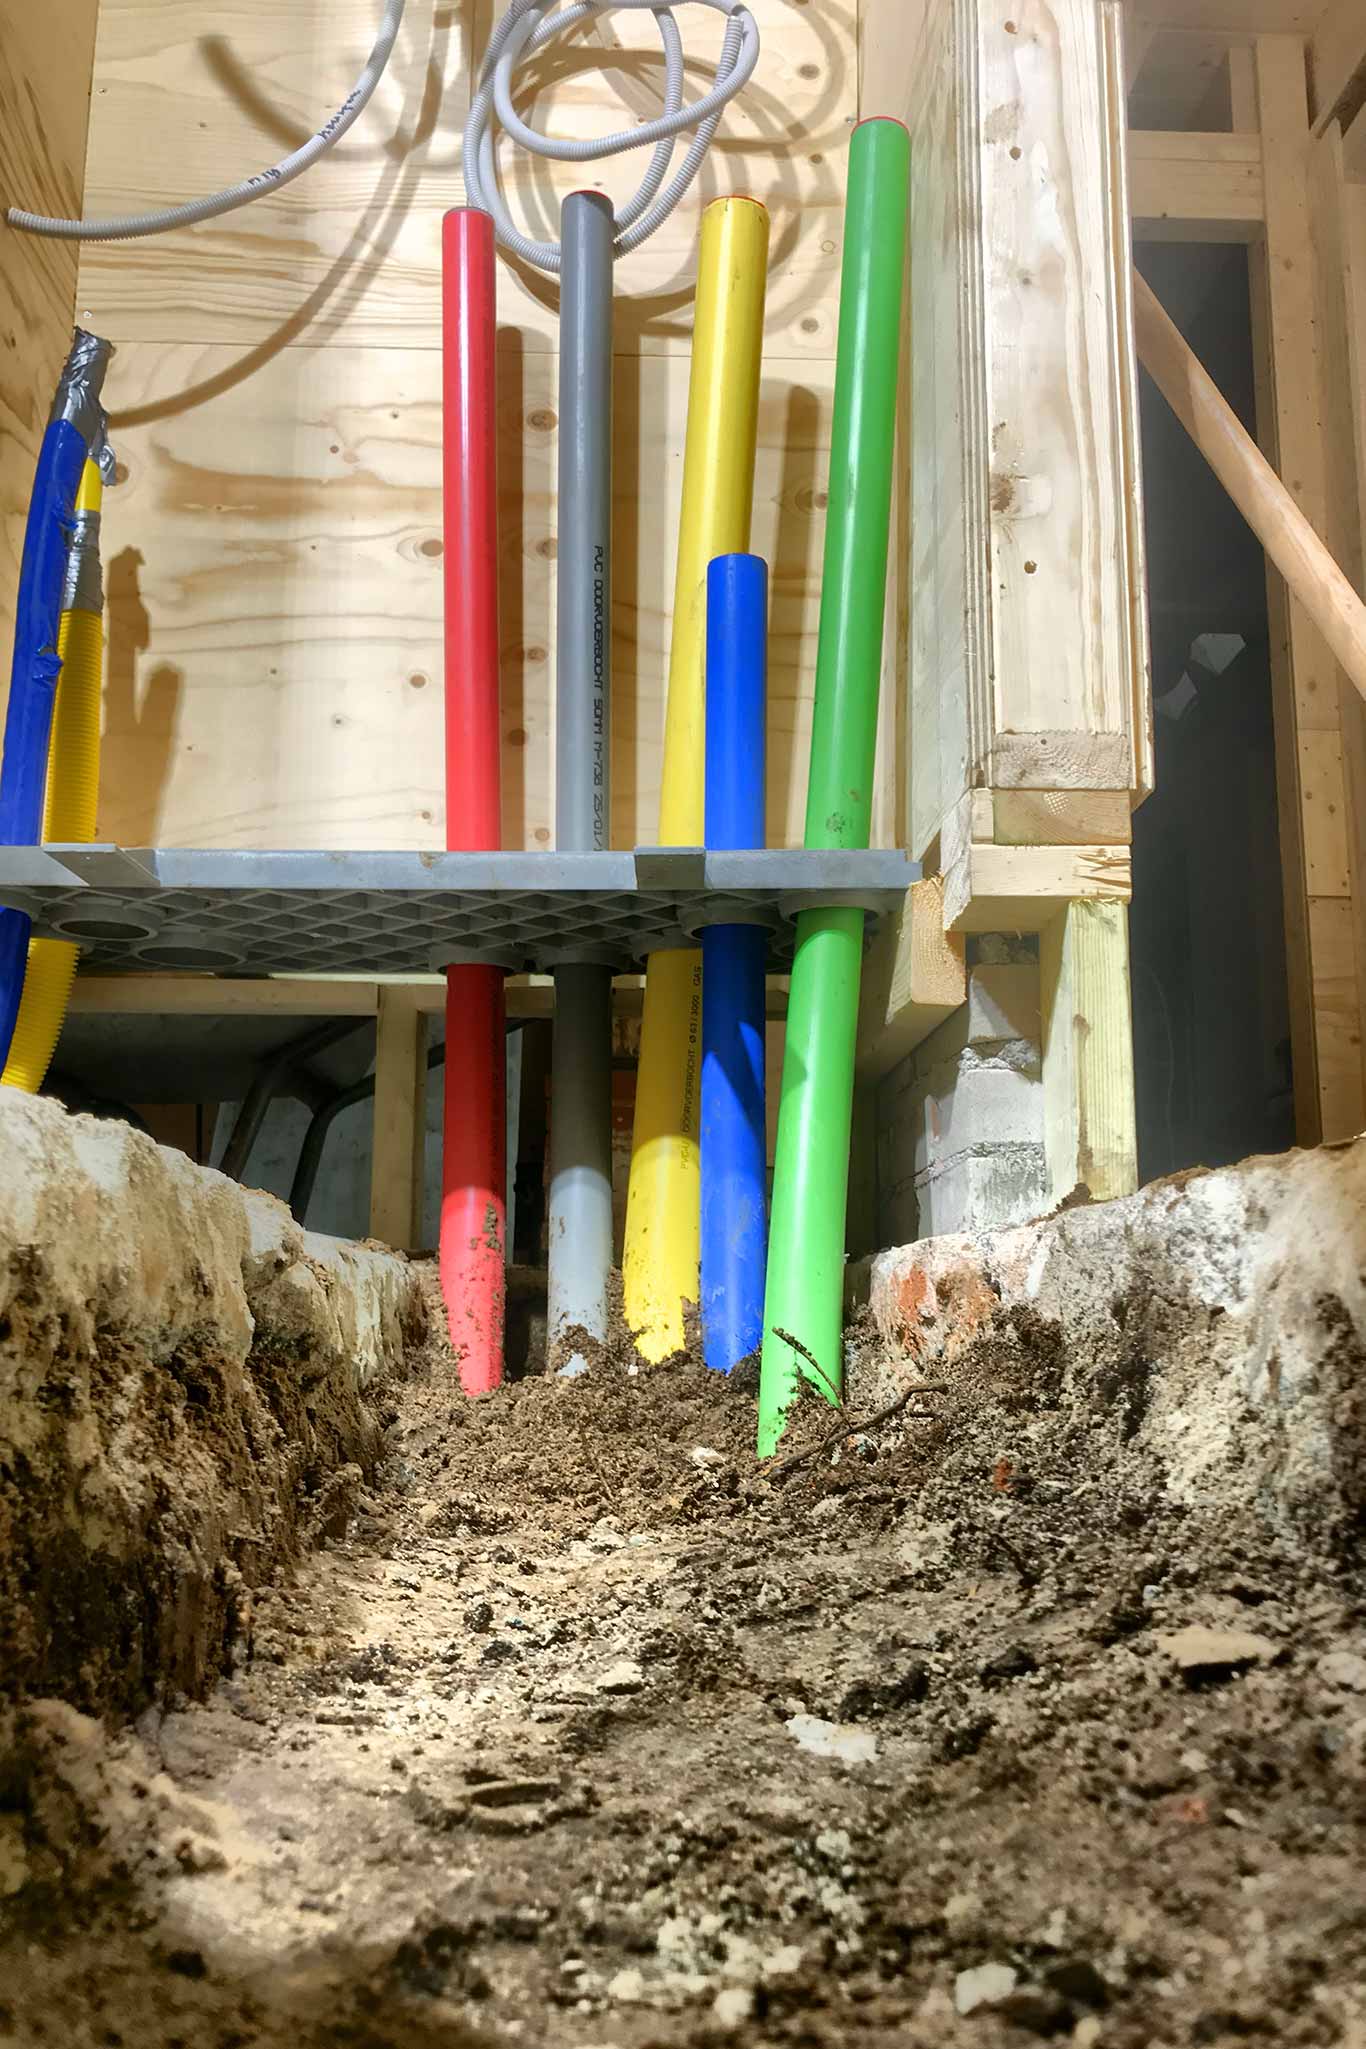
The new pipes for the all connections had to be dug in. As the current connections do not live up to now a days standards and the meter box will be moved, everything has to be done according to new standards. Heavy duty pipes at specific depths etc. into a standard template meter box floor. Almost gone with the four different entry points for all the different pipes.
Freed some erratic boulders from the clay while I was at it. Guess they had not seen the light of day in a few thousand years…
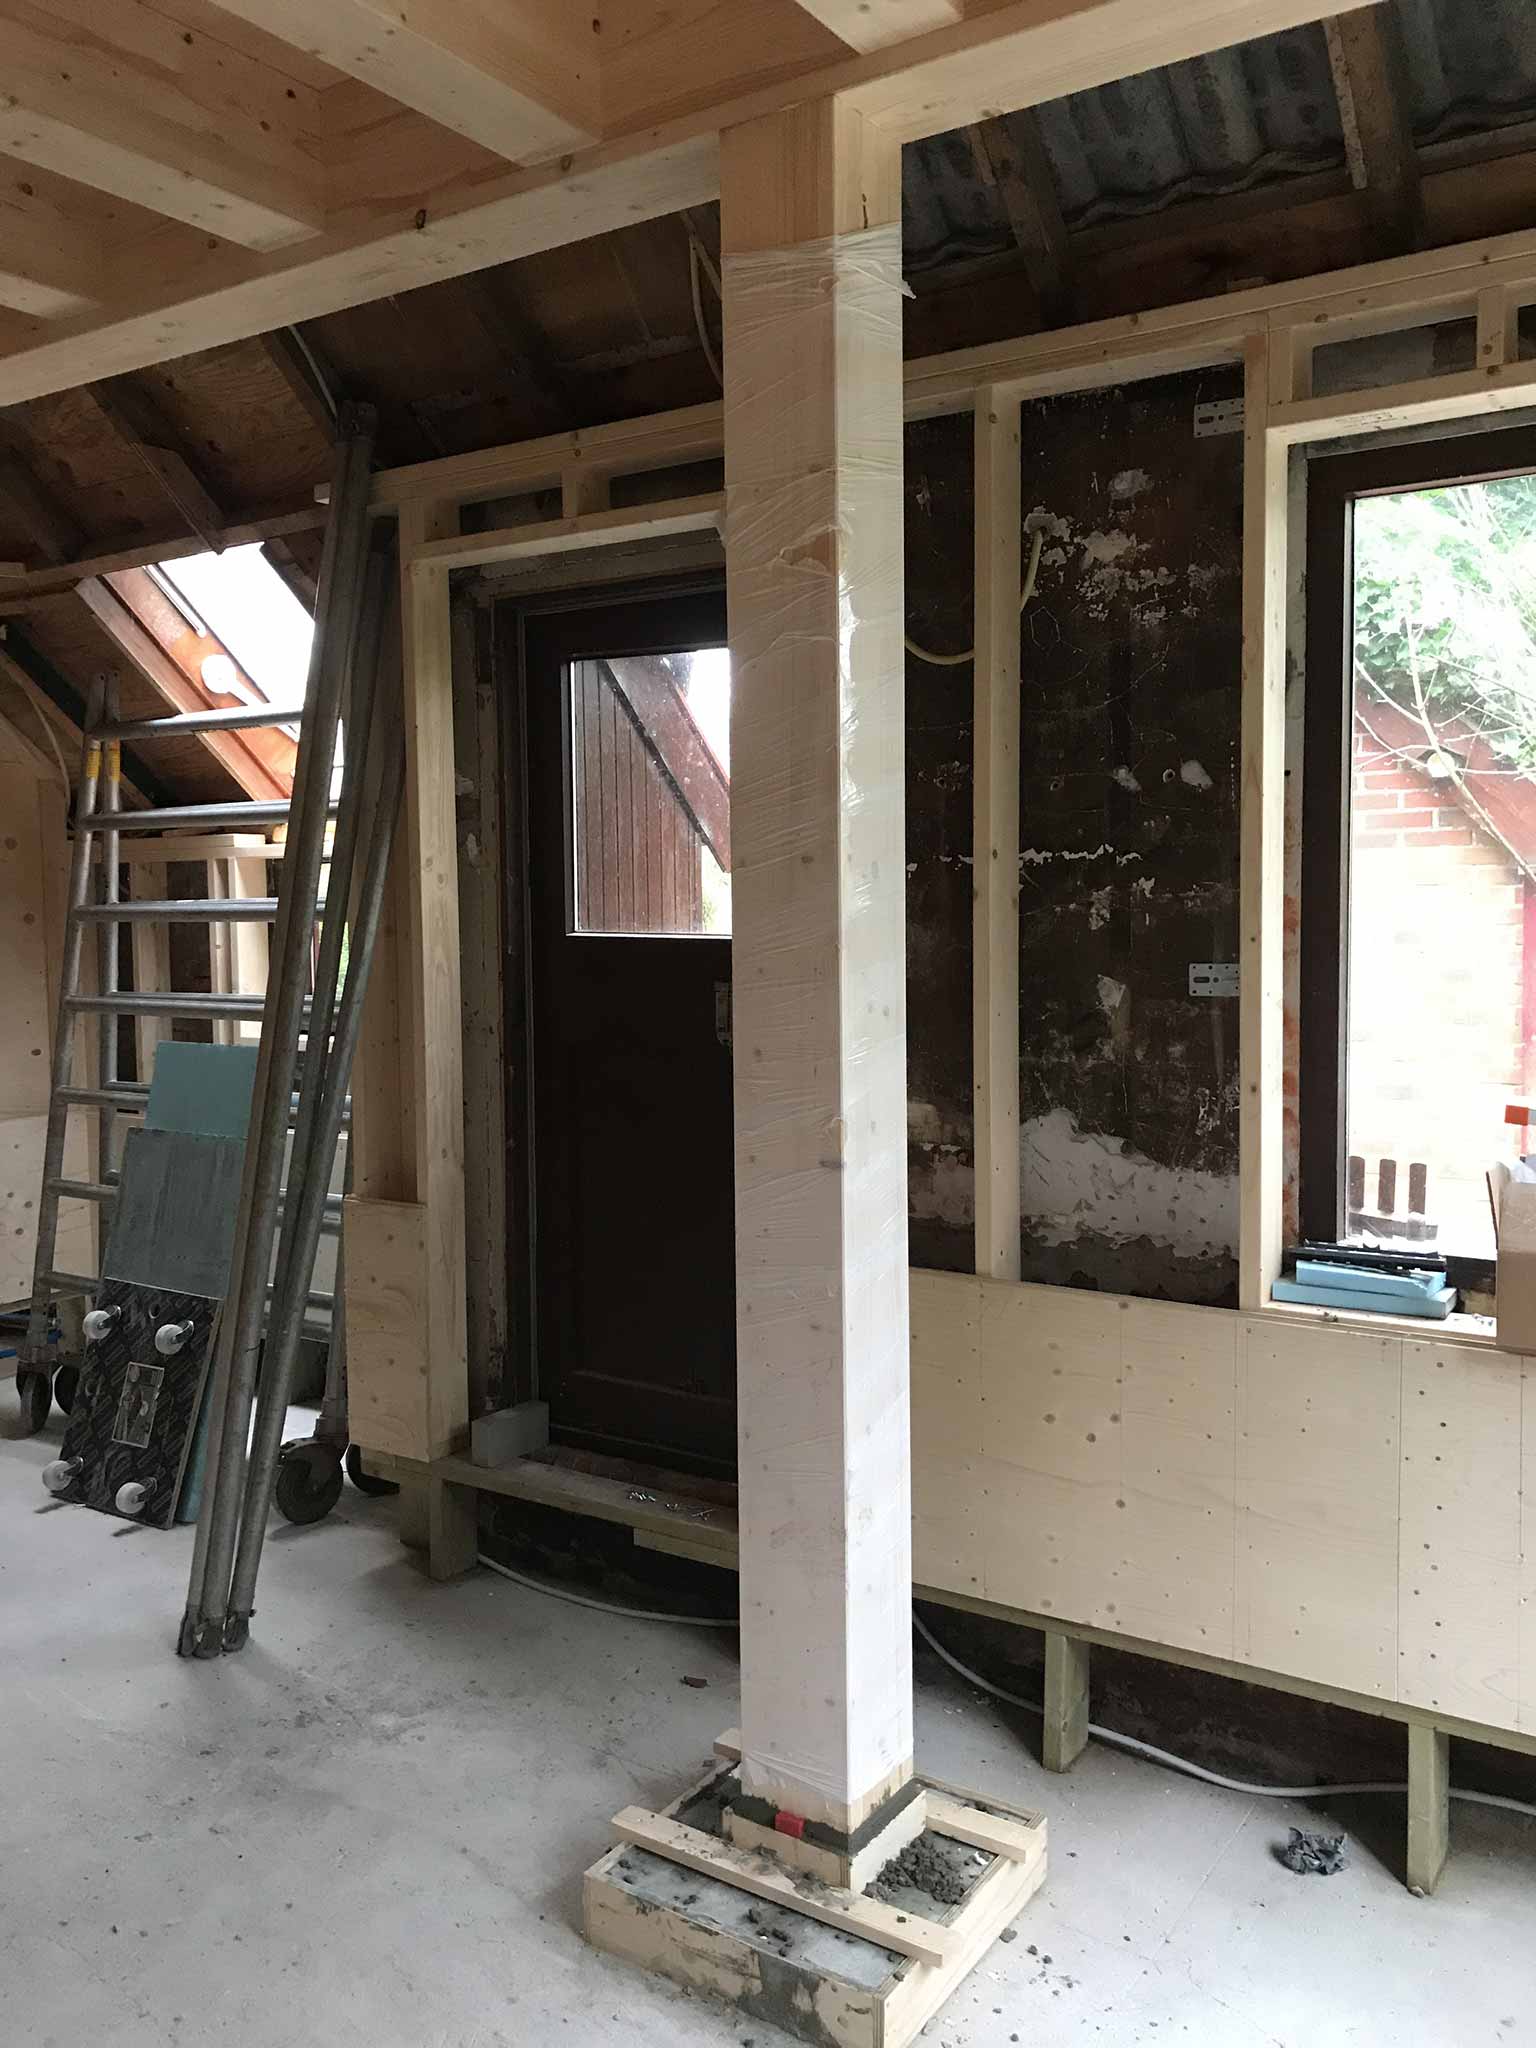
The first column is placed onto its support. It is positioned into the beam it supports by means of a small piece of concrete reinforcement combined with a bit of glue.
At the bottom there is two wedges for the first support. Remaining space is filled with concrete.
So, from the bottom up:
Foam concrete (approx 10cm)
50x50cm concrete foot, 11cm high
20x20cm foot
two wedges to fill the last few centimeters between foot and column and concrete as a filler around the wedges
A big 20x20cm, vertical beam
A horizontal 6 meter beam onto which the ceiling rests