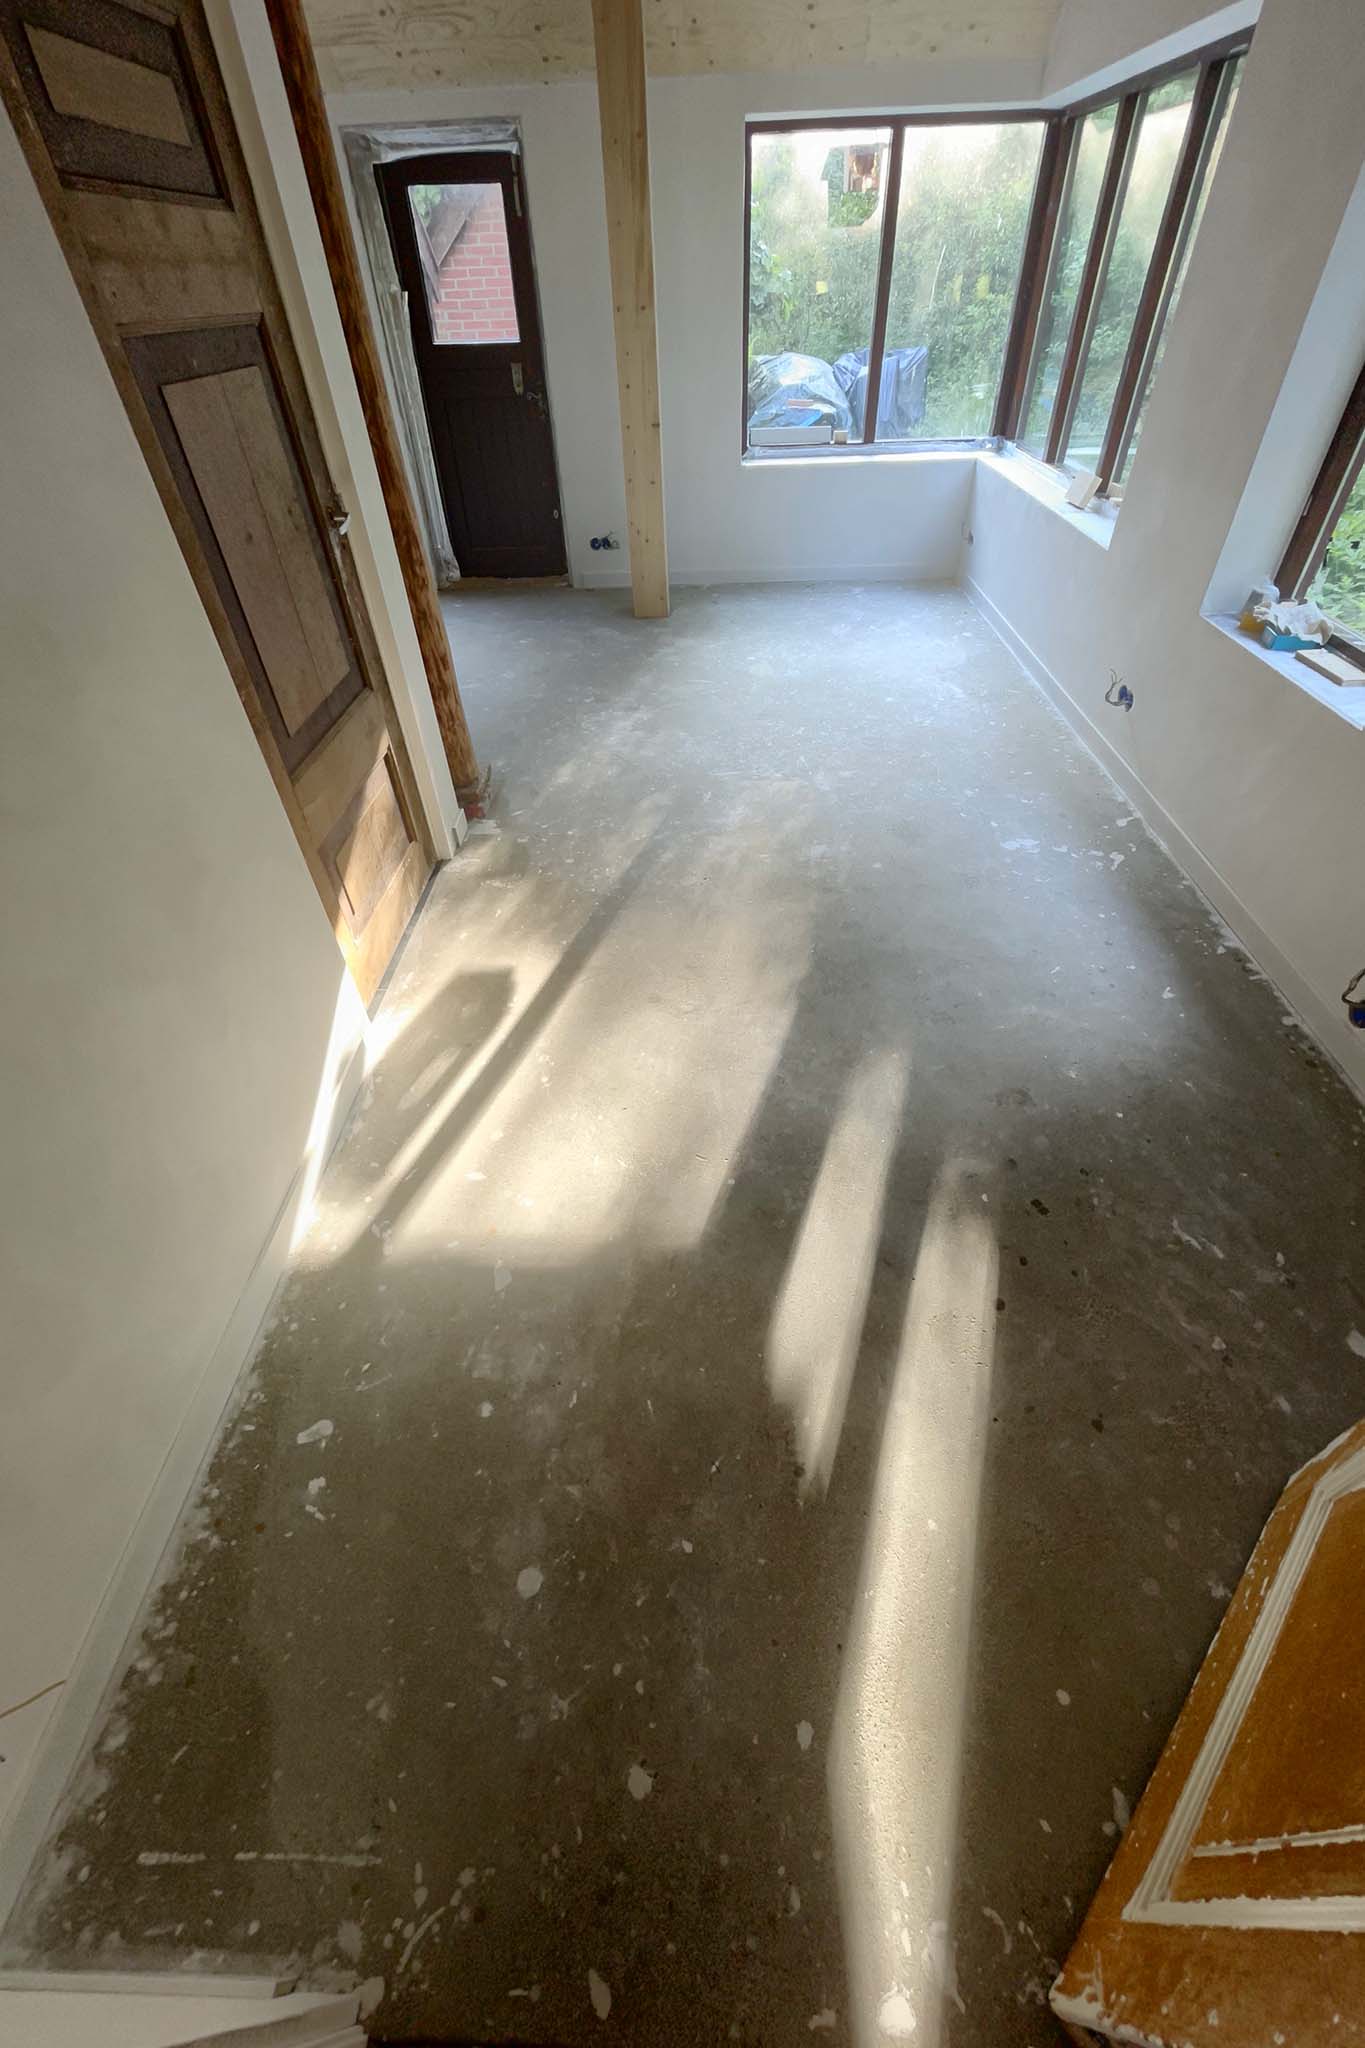
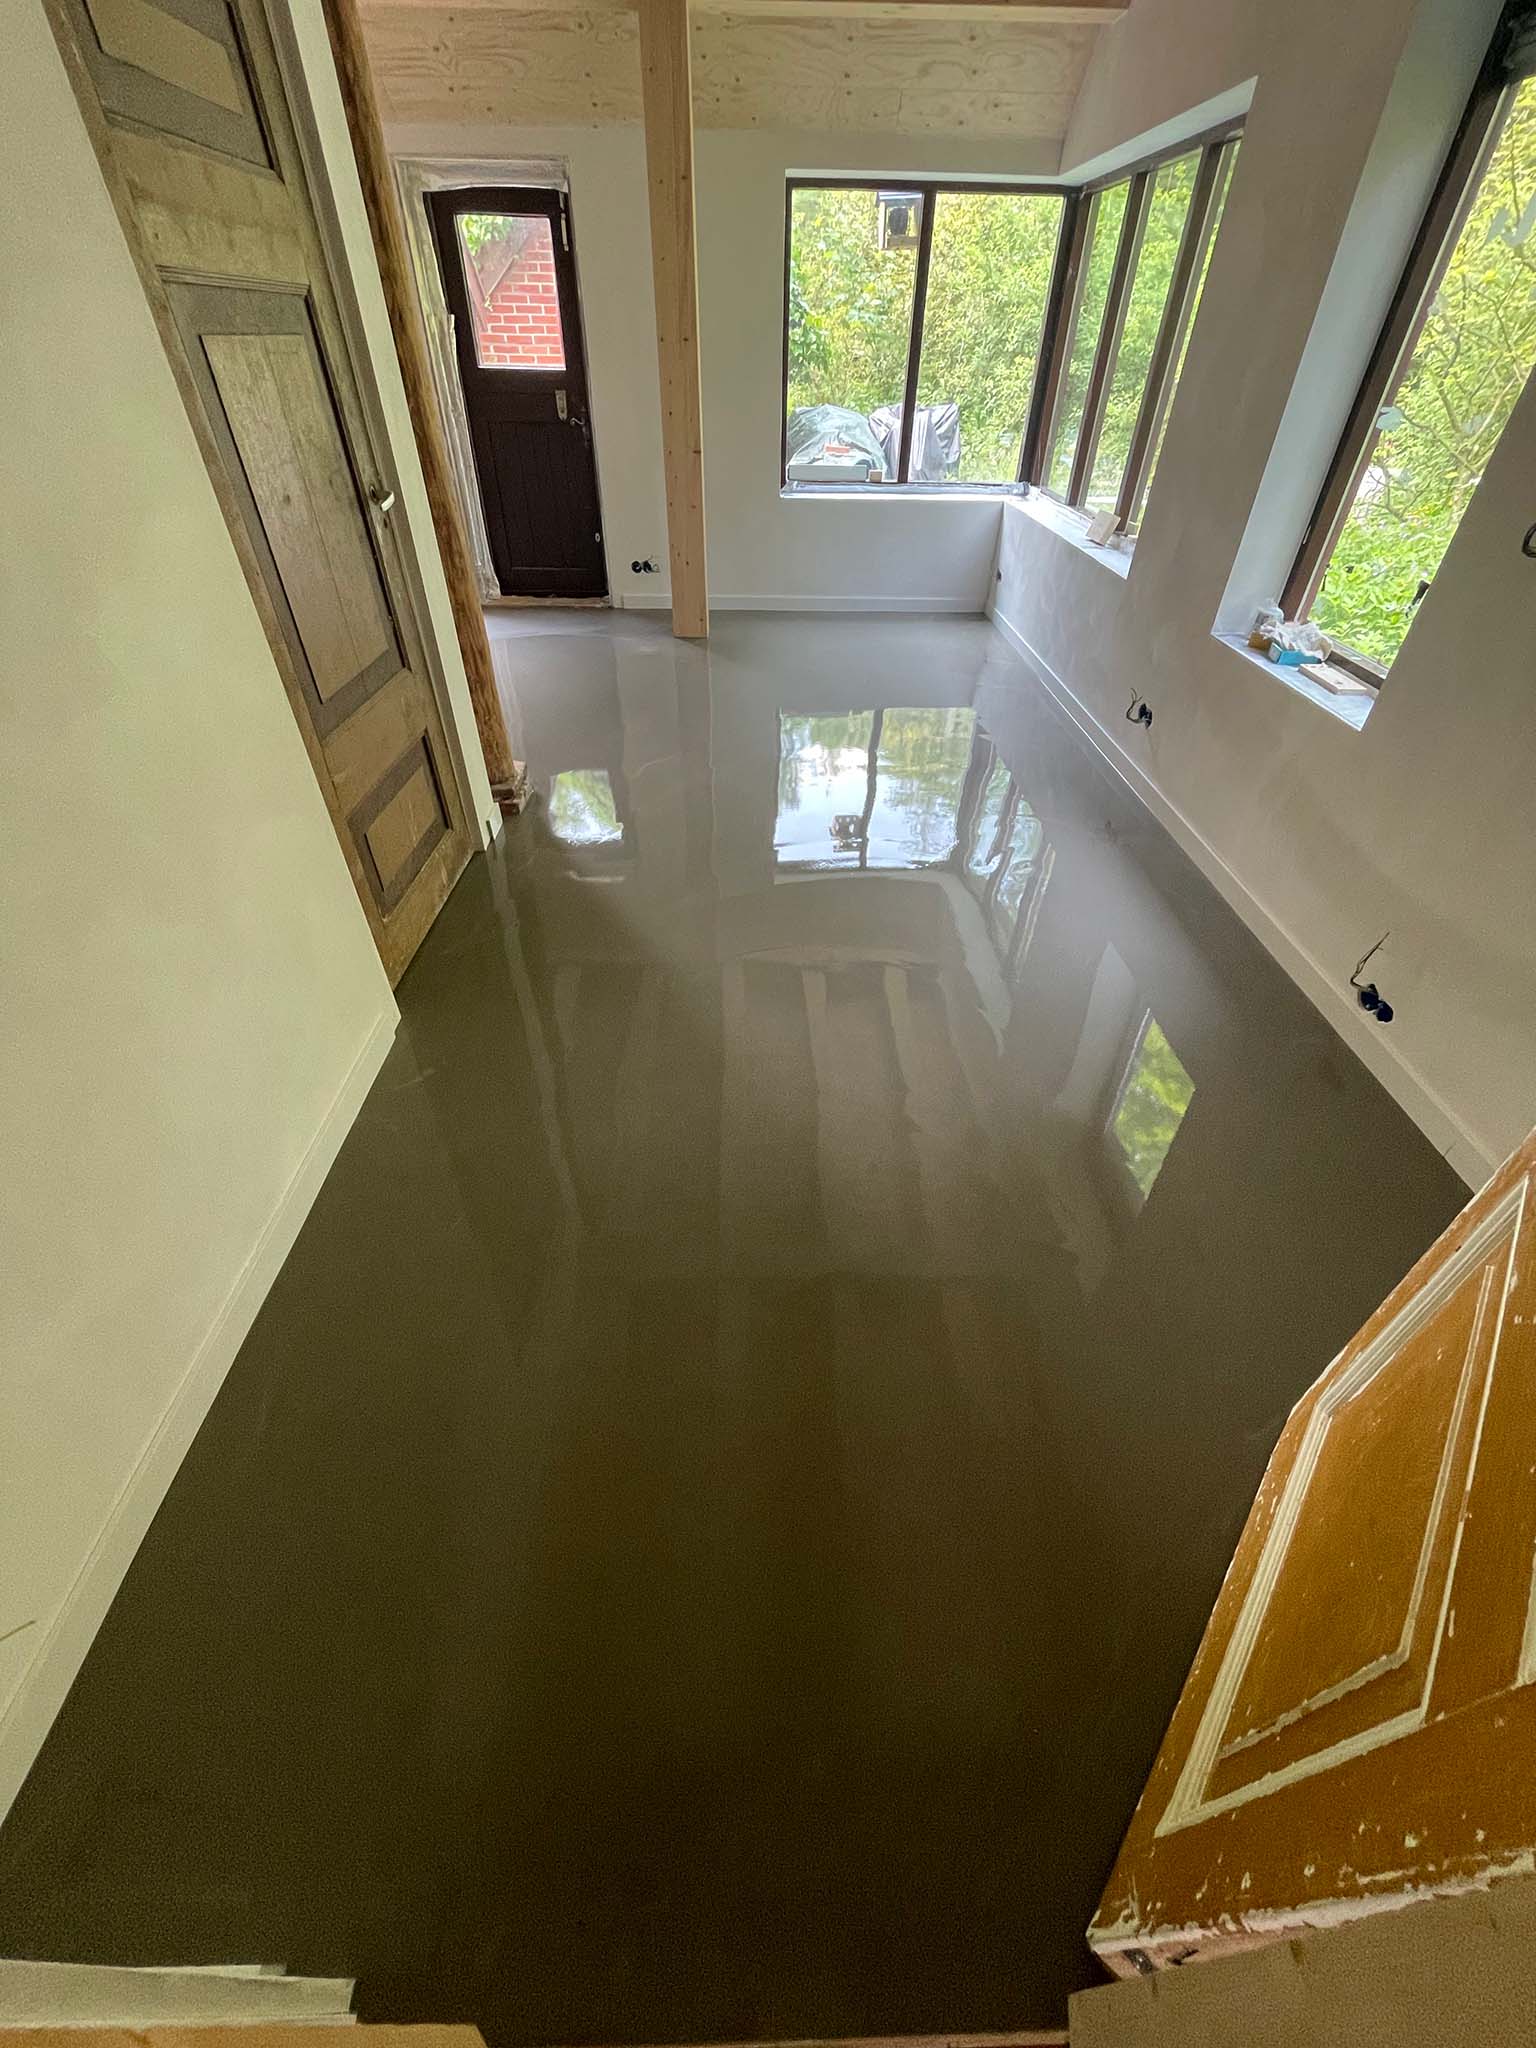
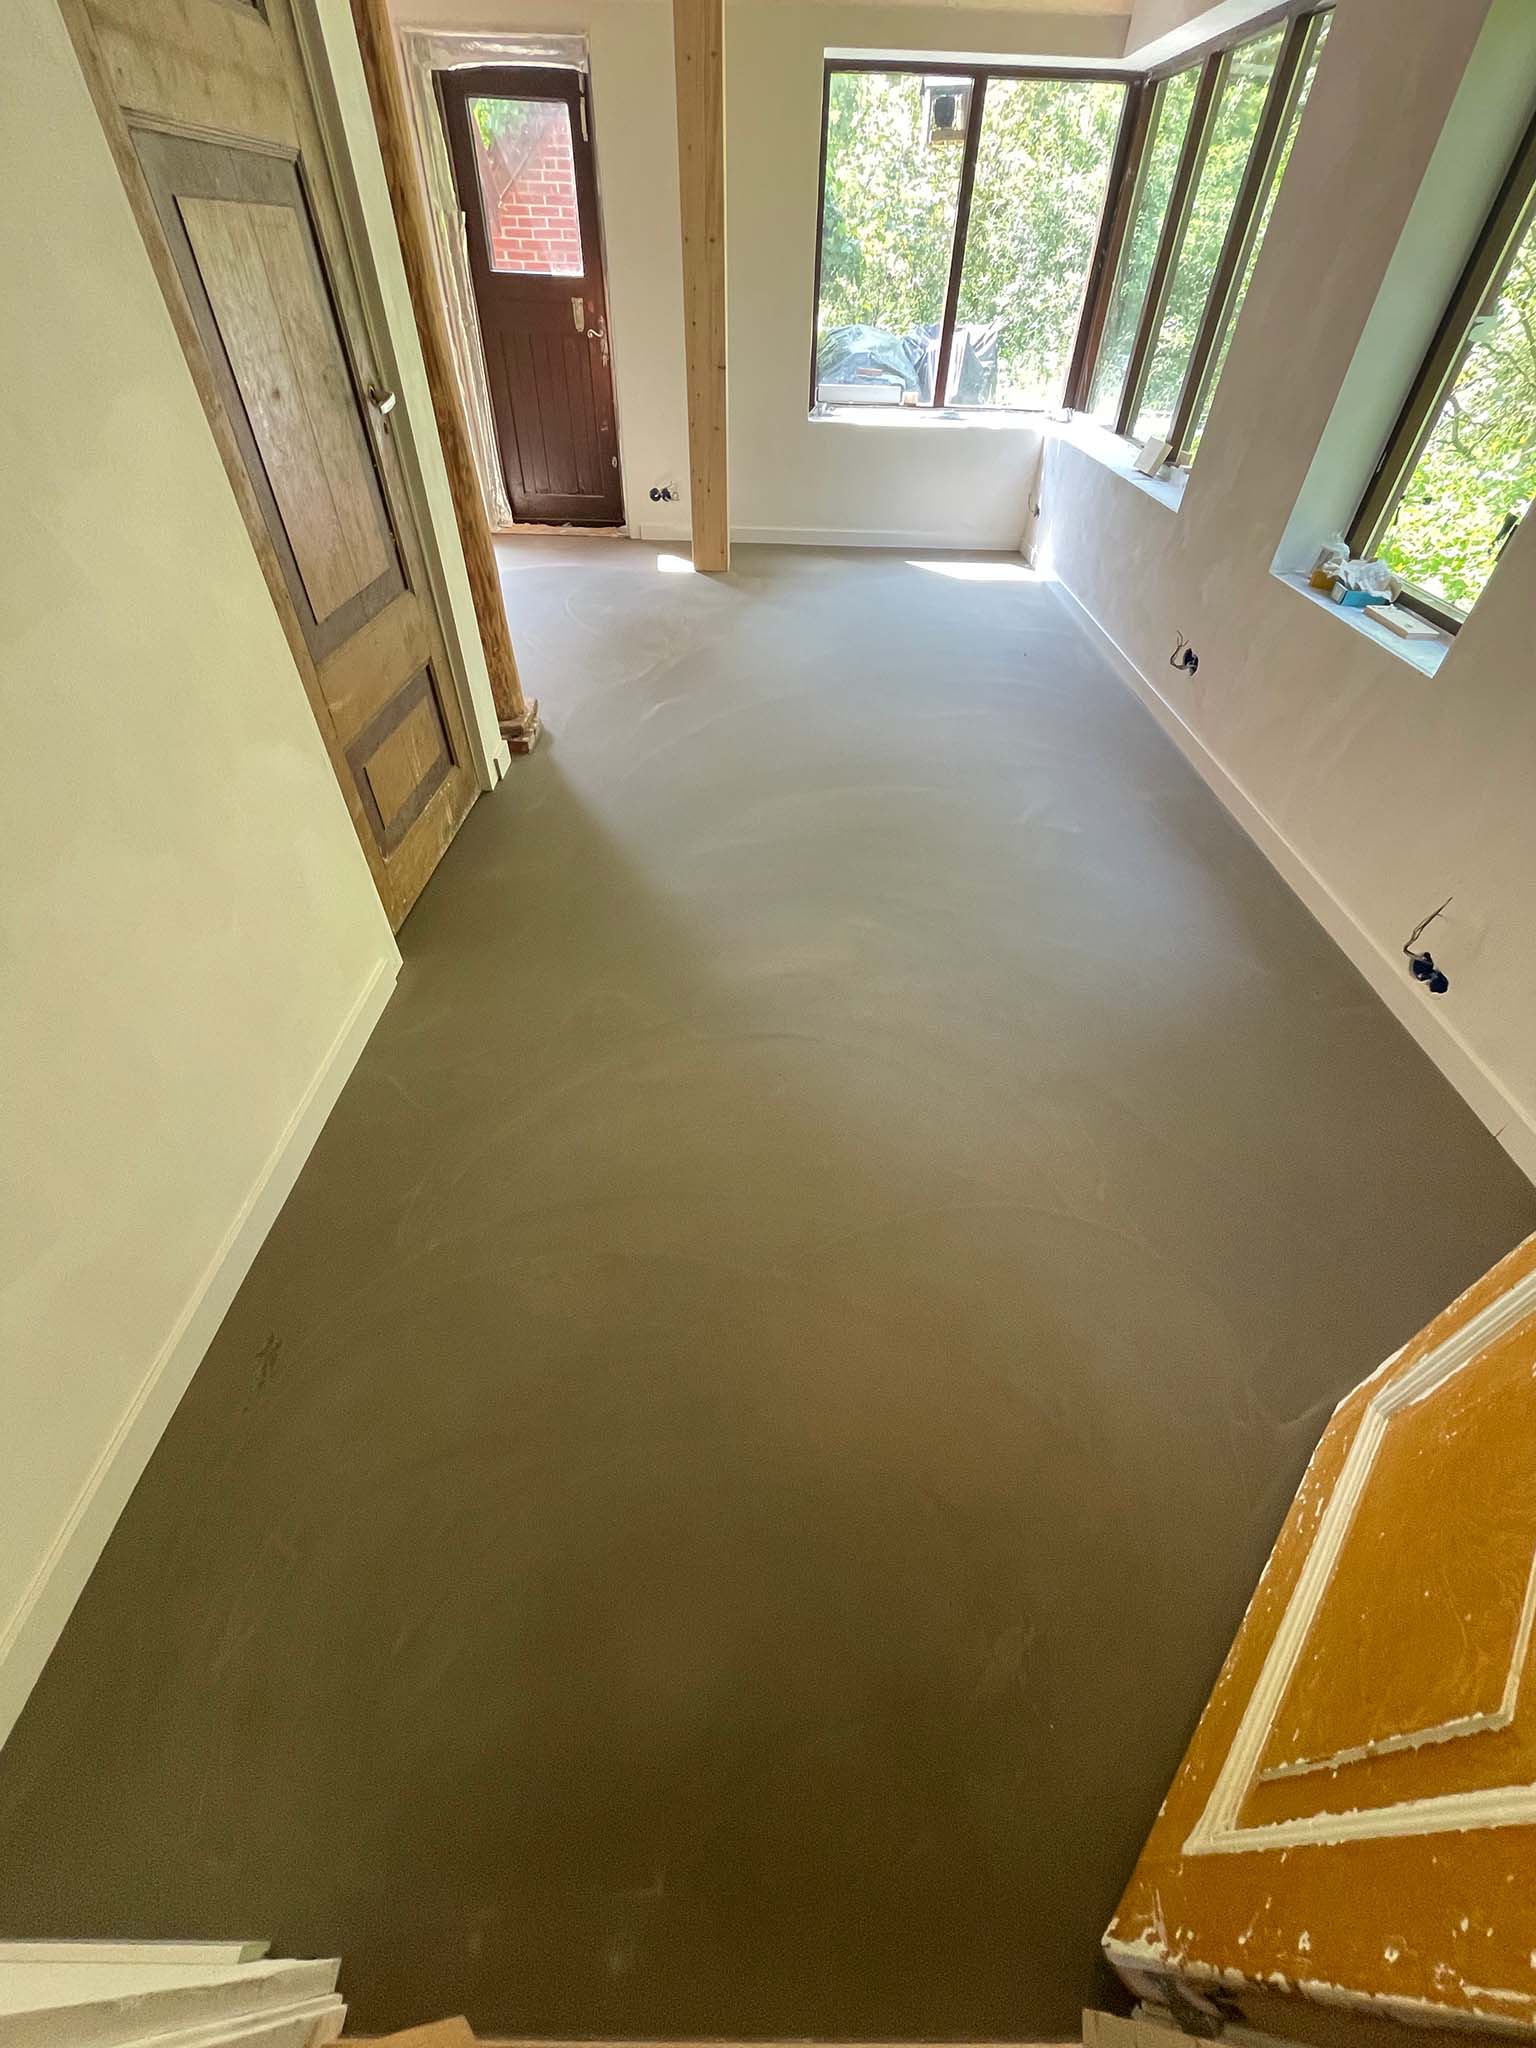
The floor needs a finish too before moving in. The cement floor will get another type of cement finish (egaline) and then some coating layers. Actually this is more meant as a base layer for wooden floors, but everyone seems to like it enough so that the wood is left out of the process…
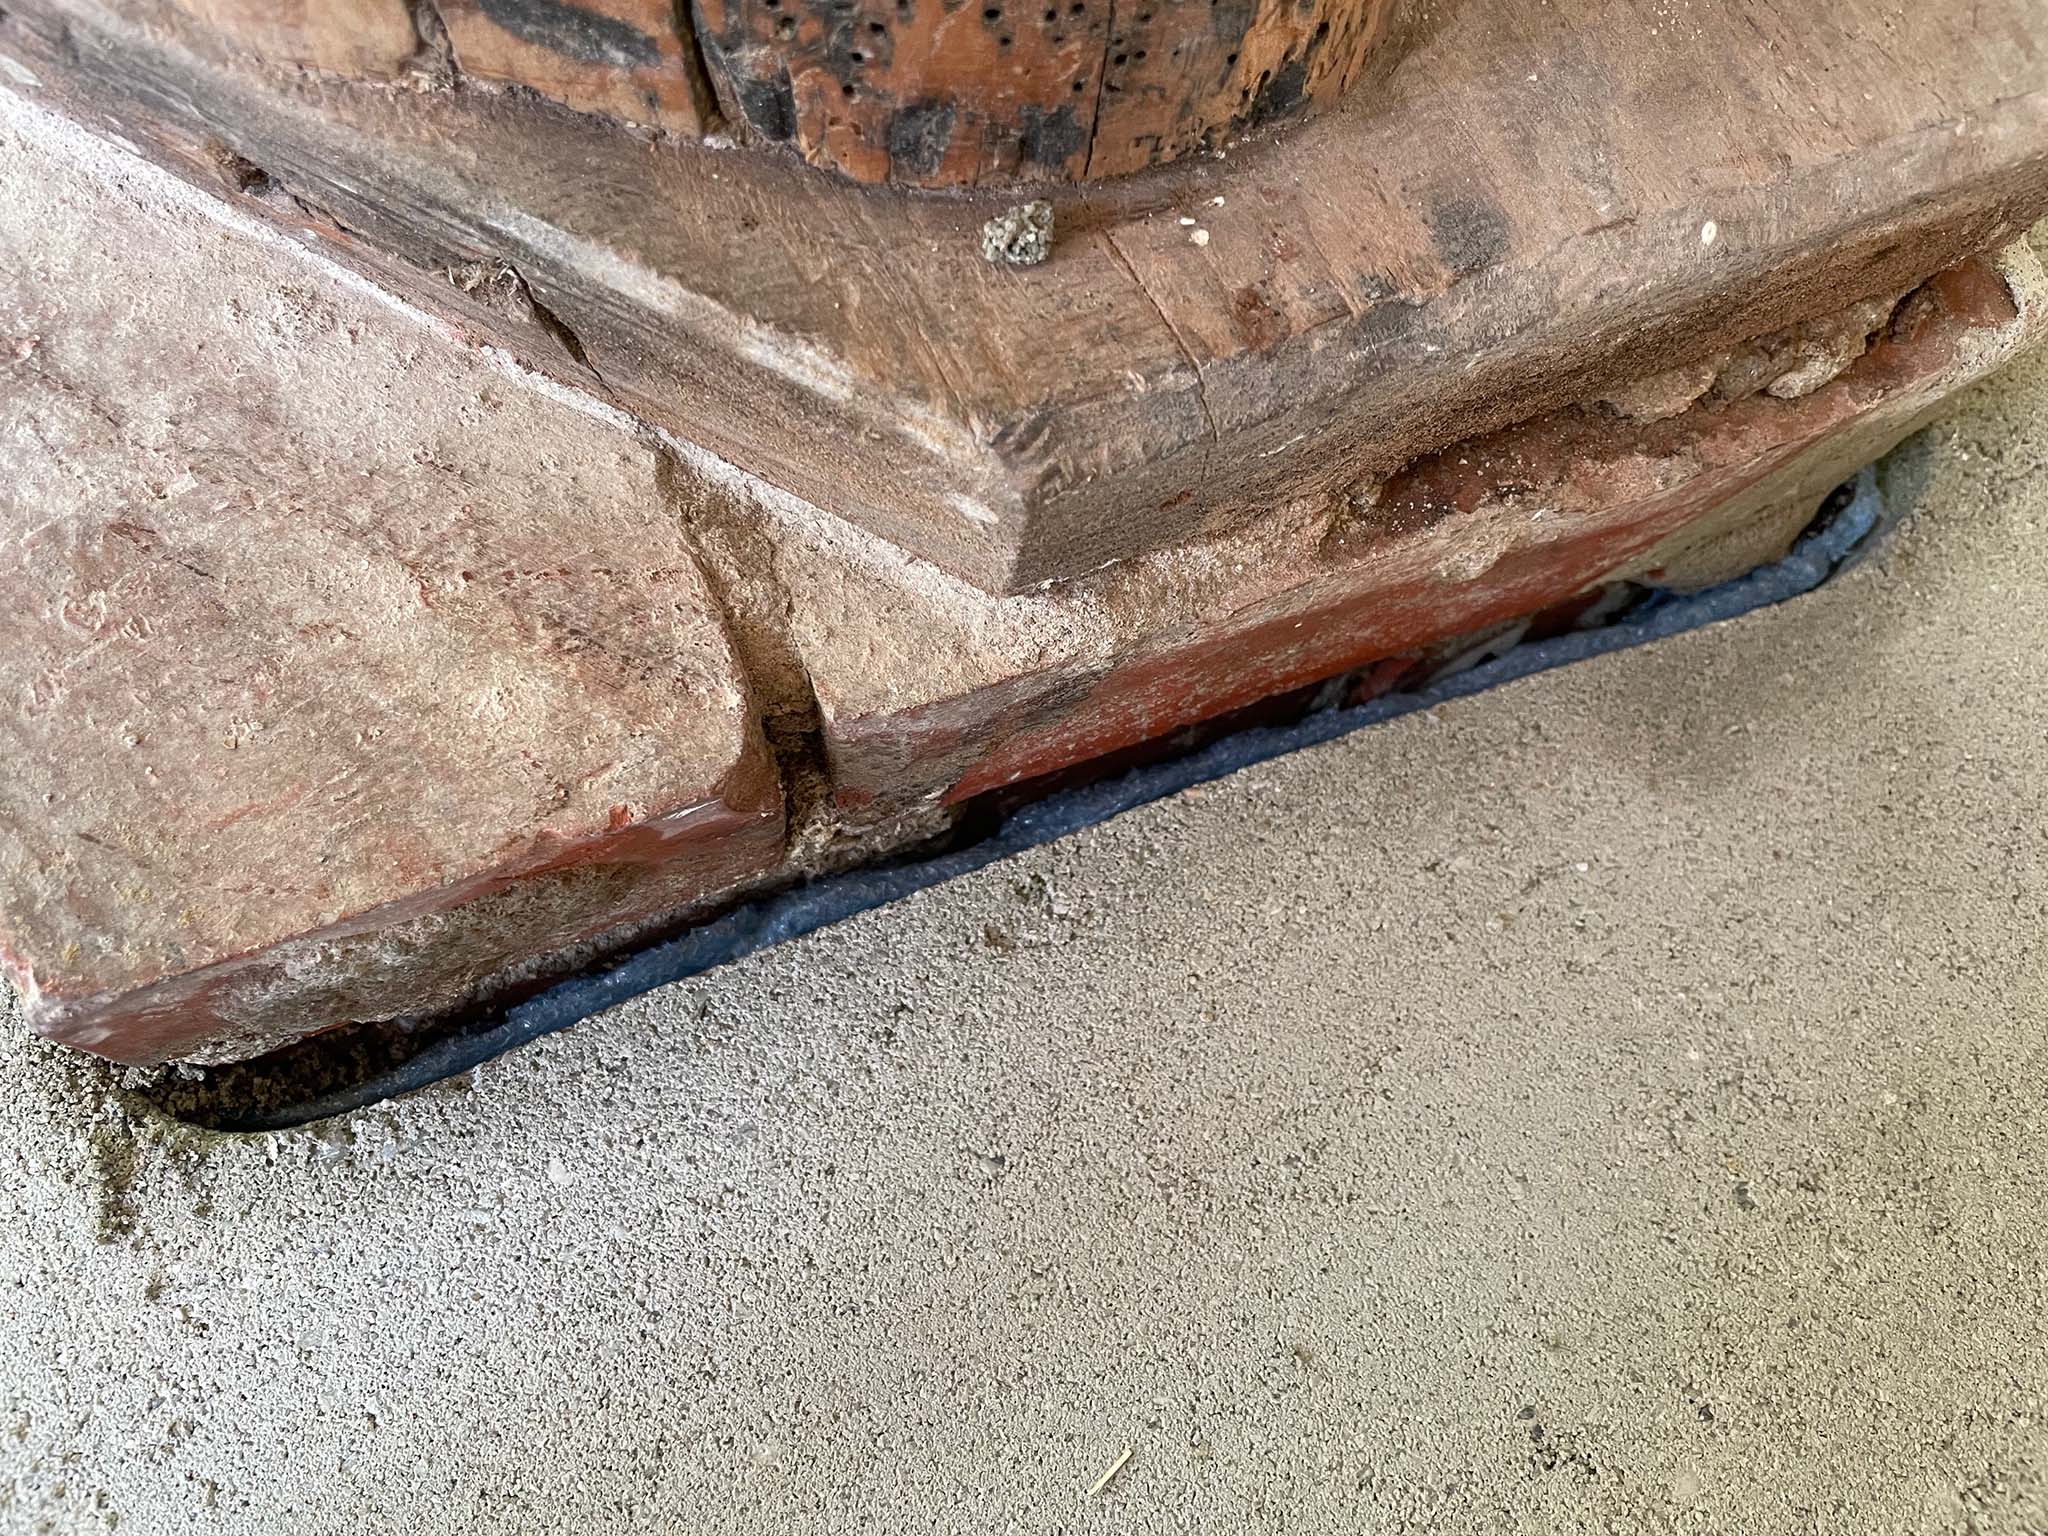
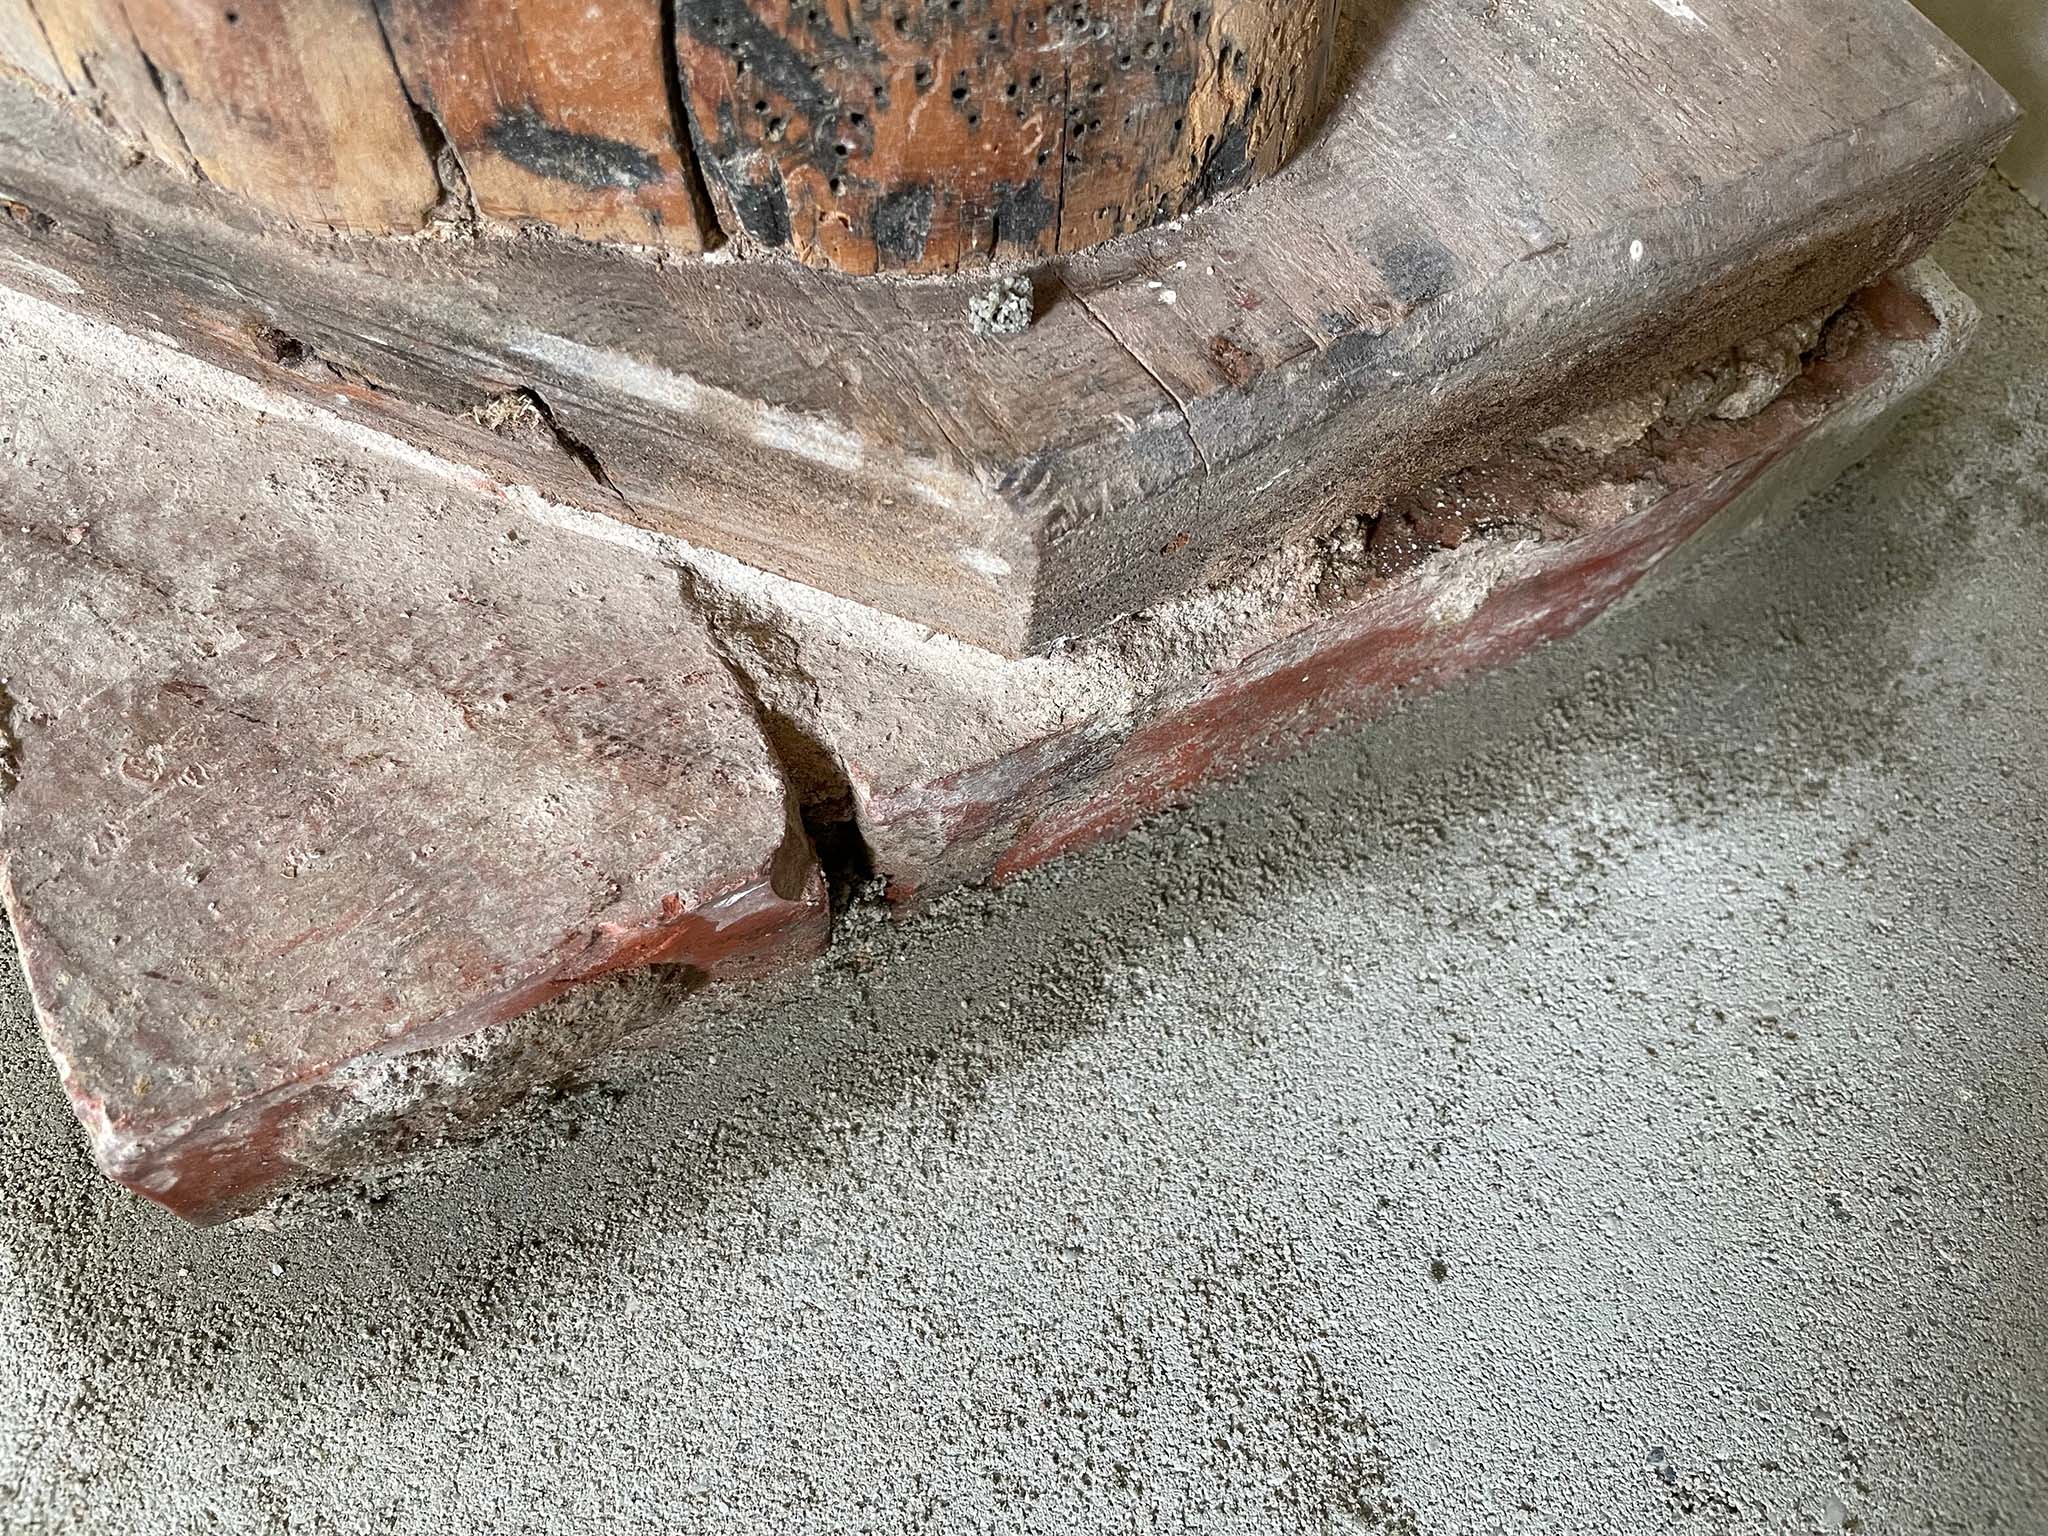
In order to let the stuff not leak into the isolation, some gaps had to be closed first.
bumper tape gap left between floor and original structurebumper tape gap between floor and original structure closedFloor without finishing layerFloor with wet finishing layerFloor with drying finishing layerFloor with dry finishing layer
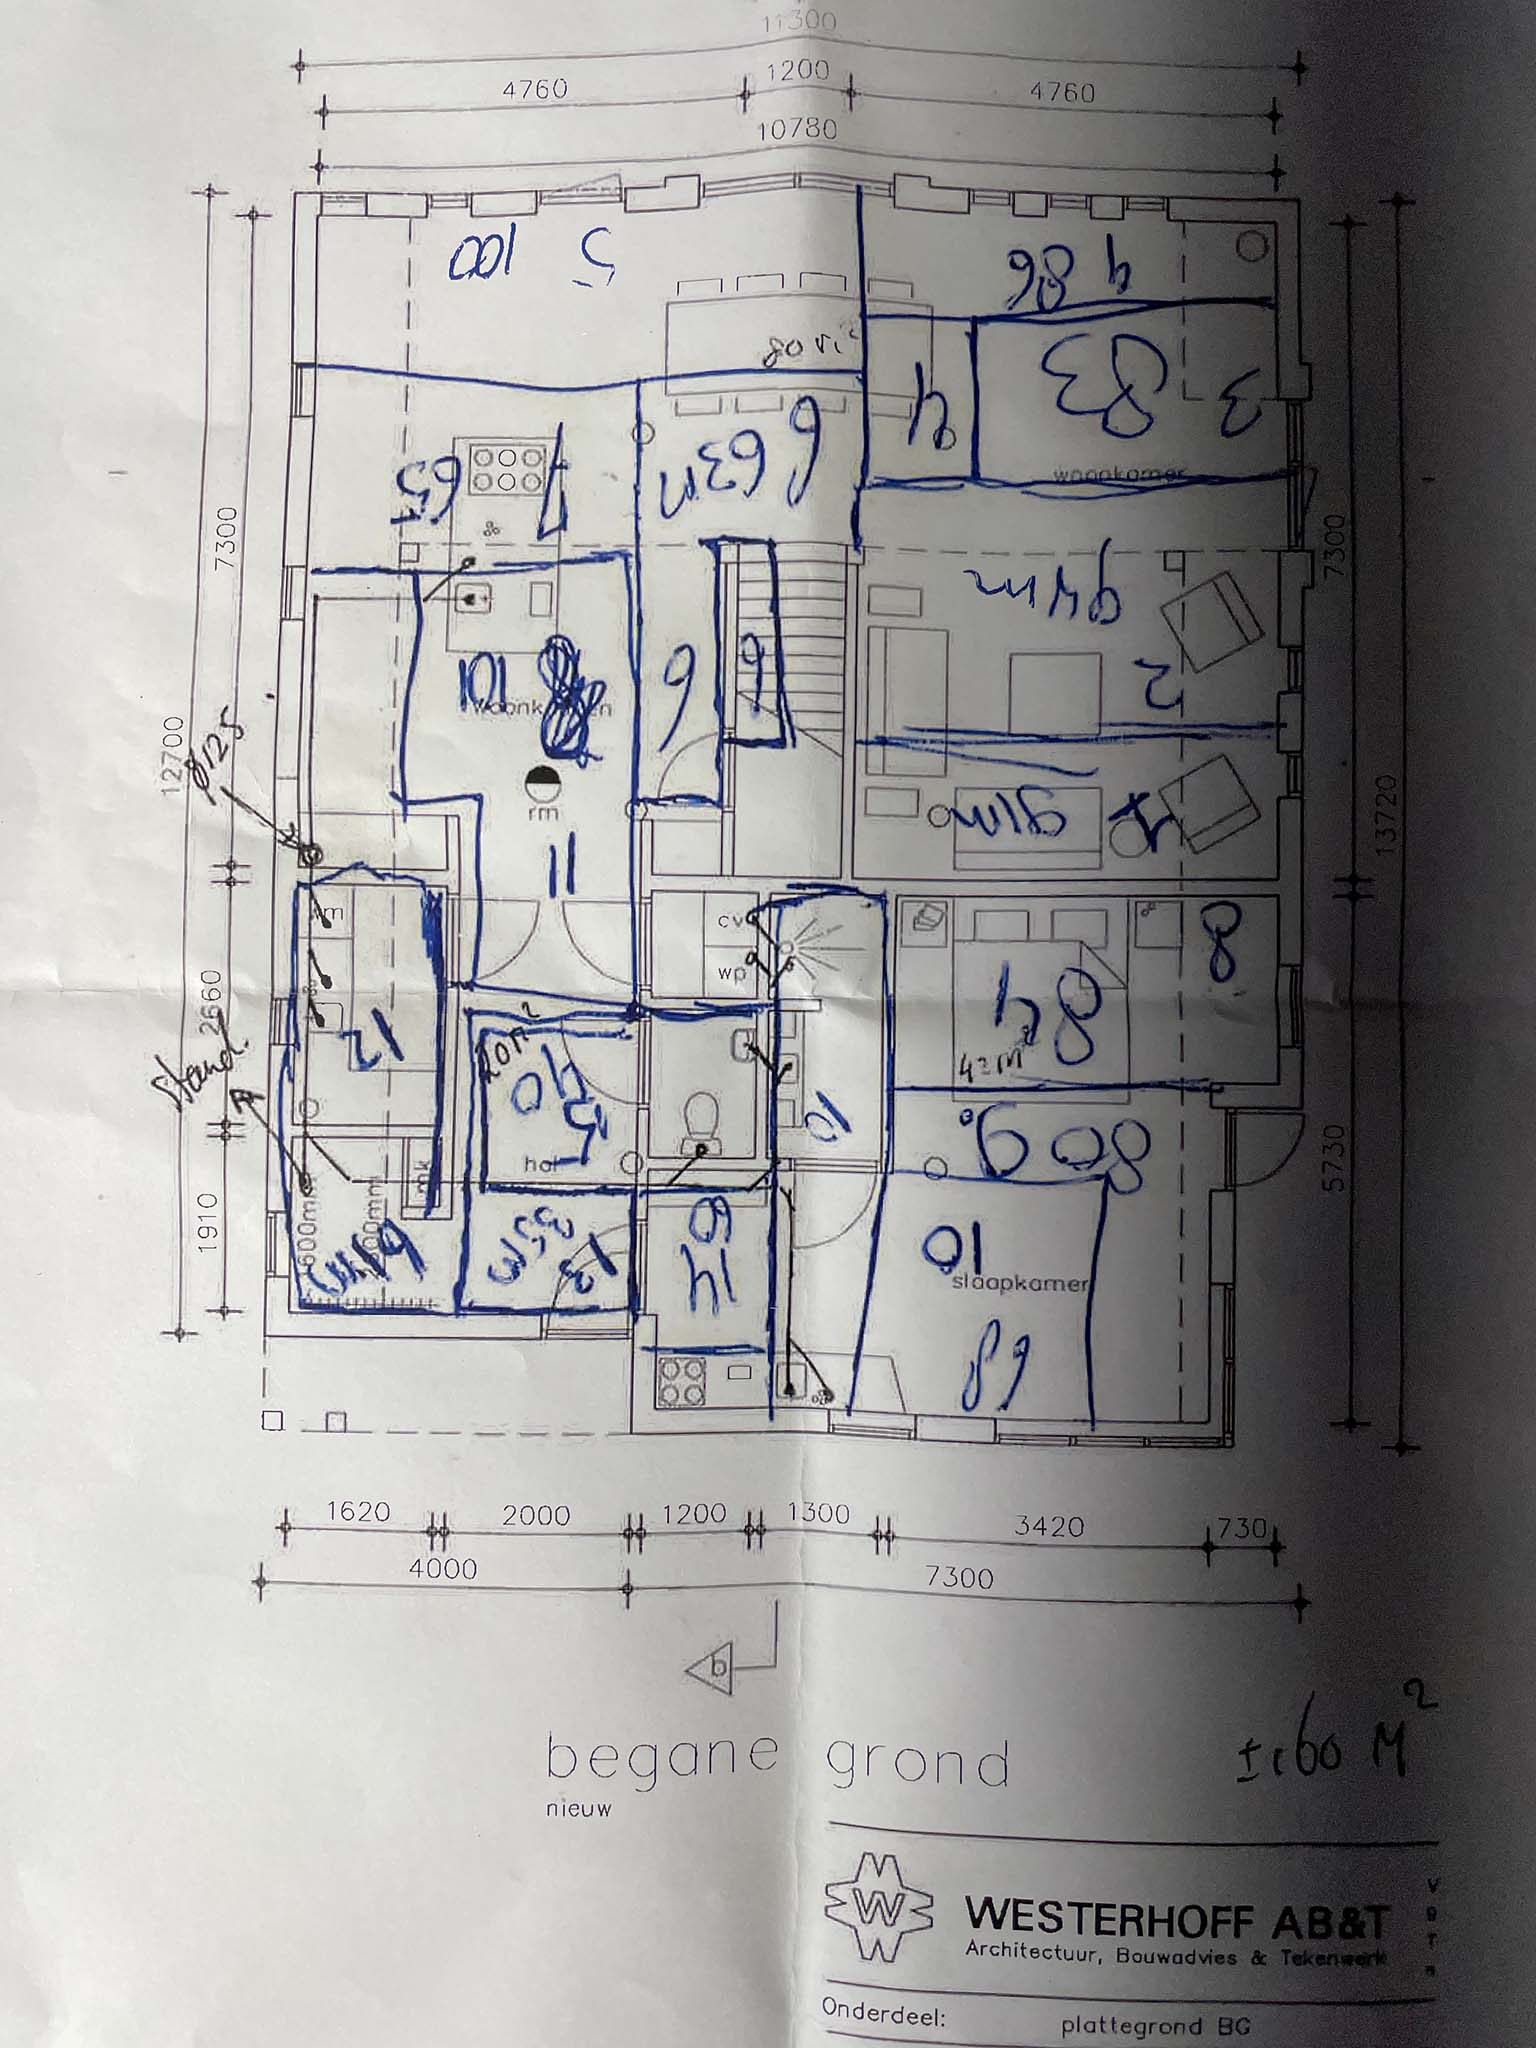
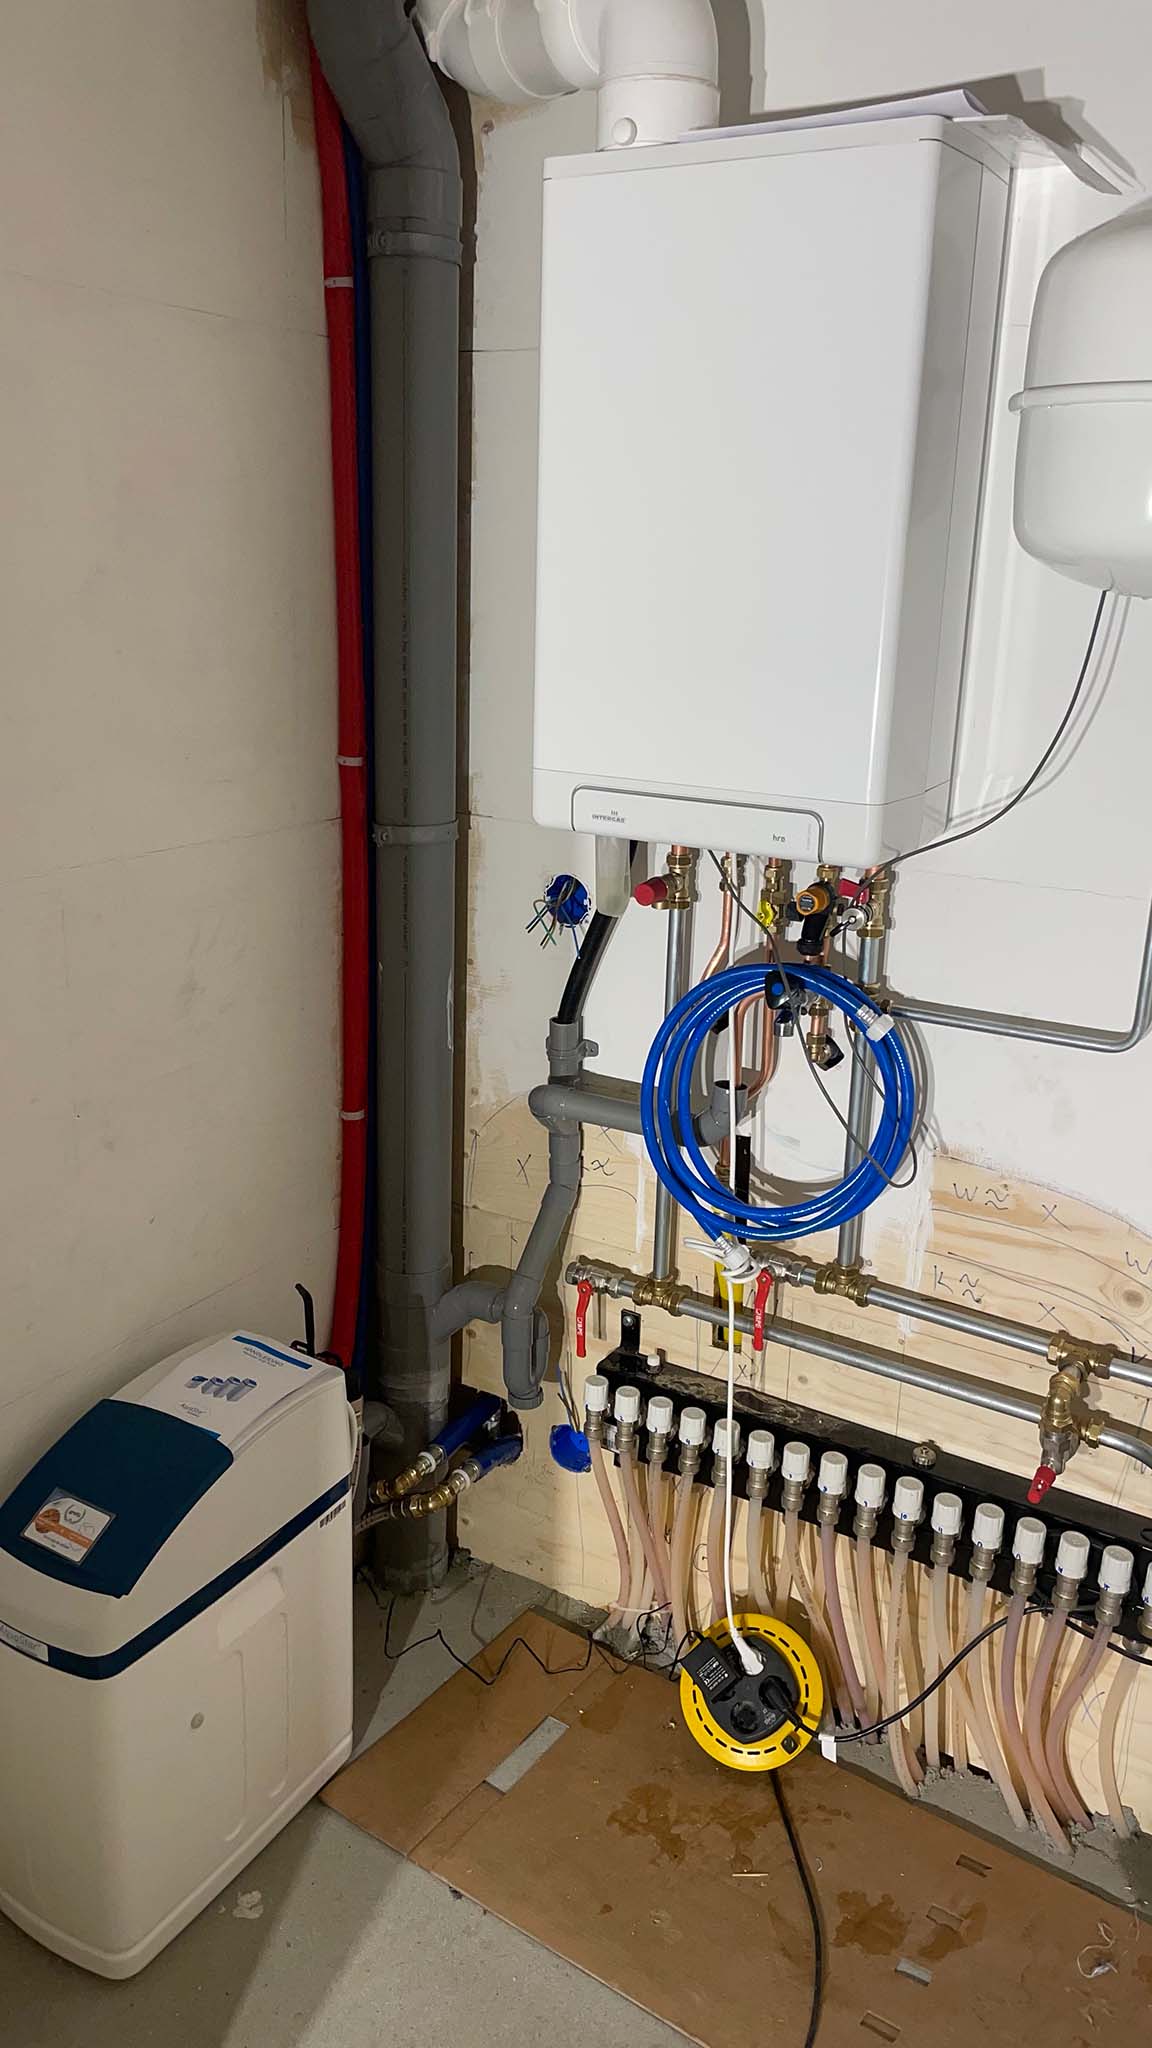
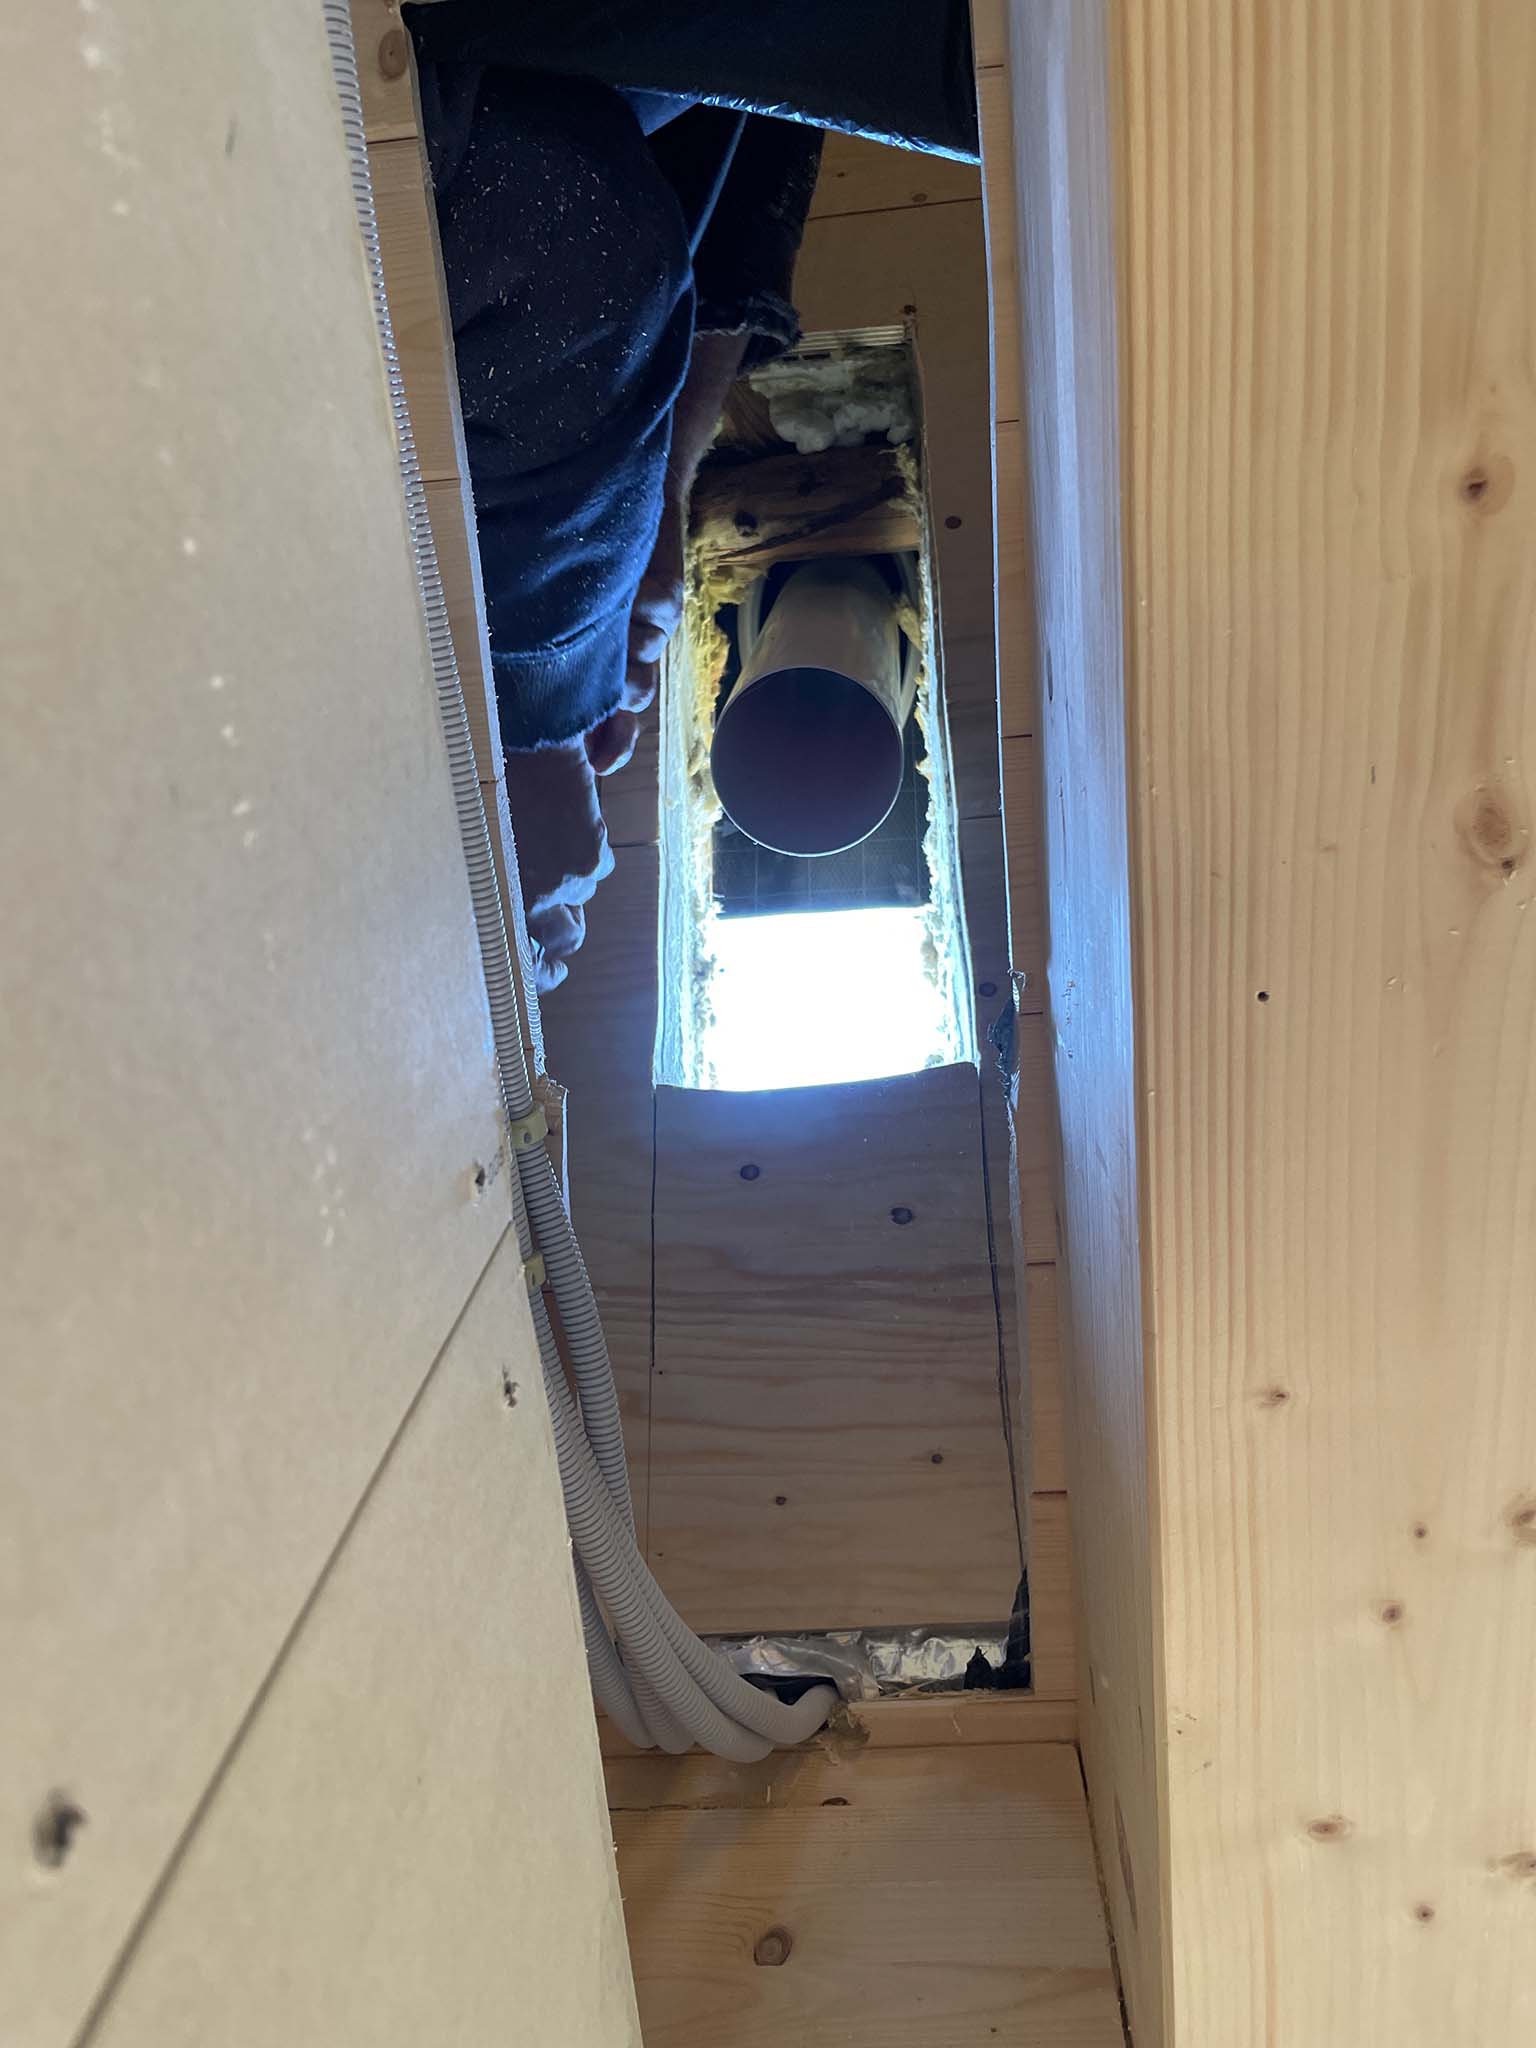
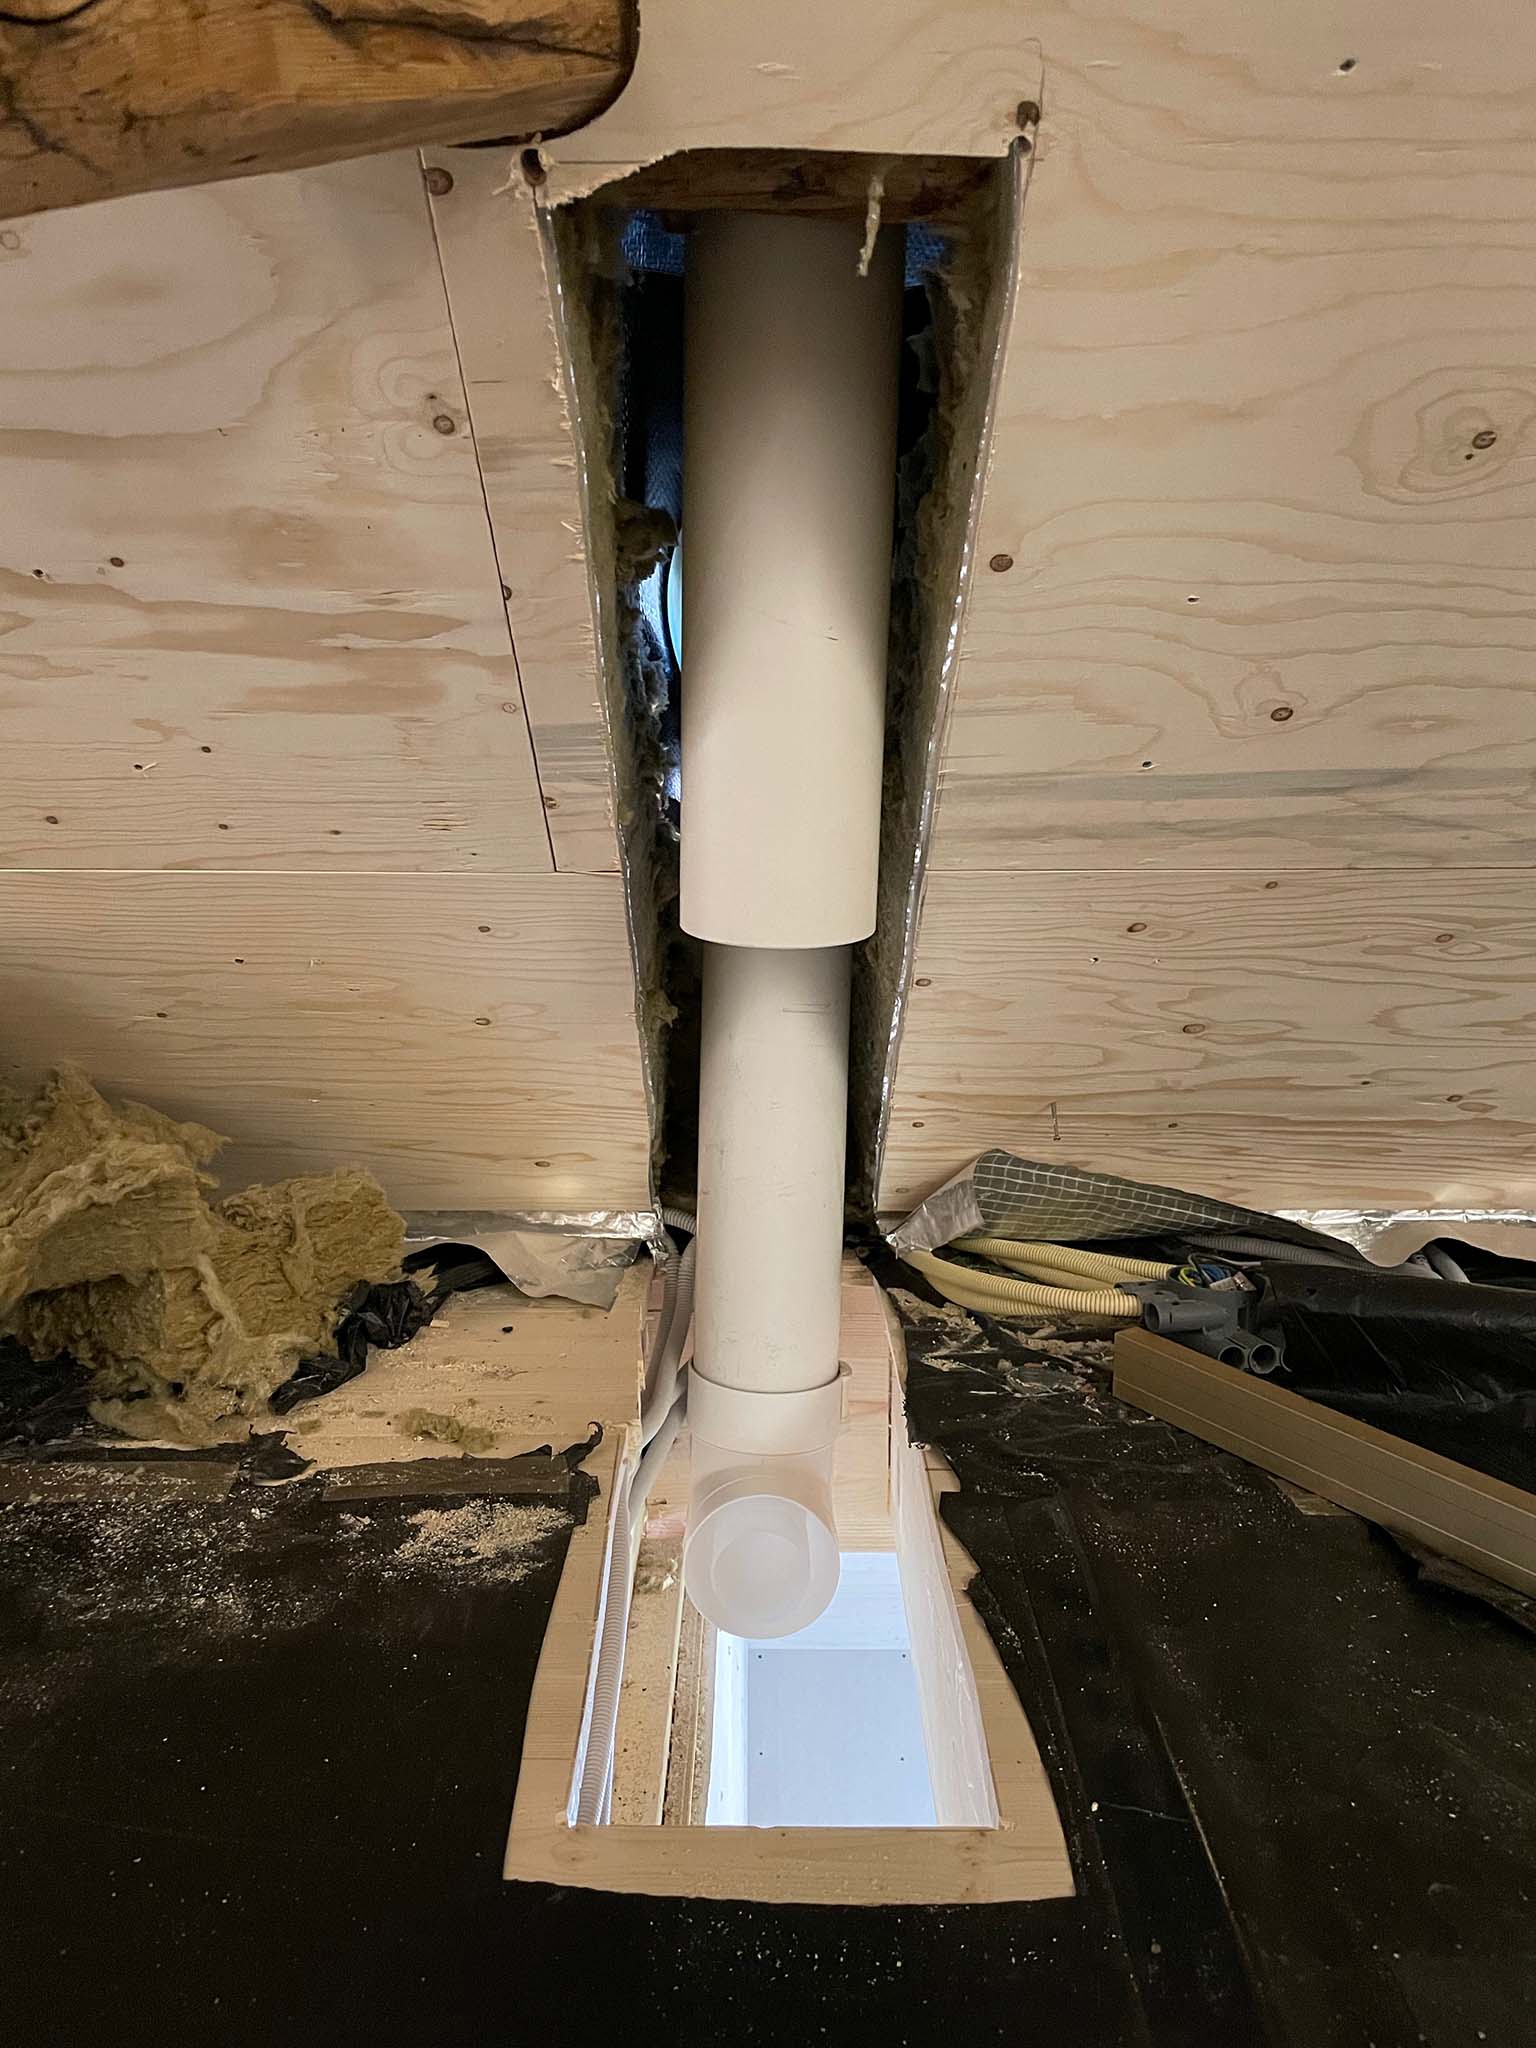
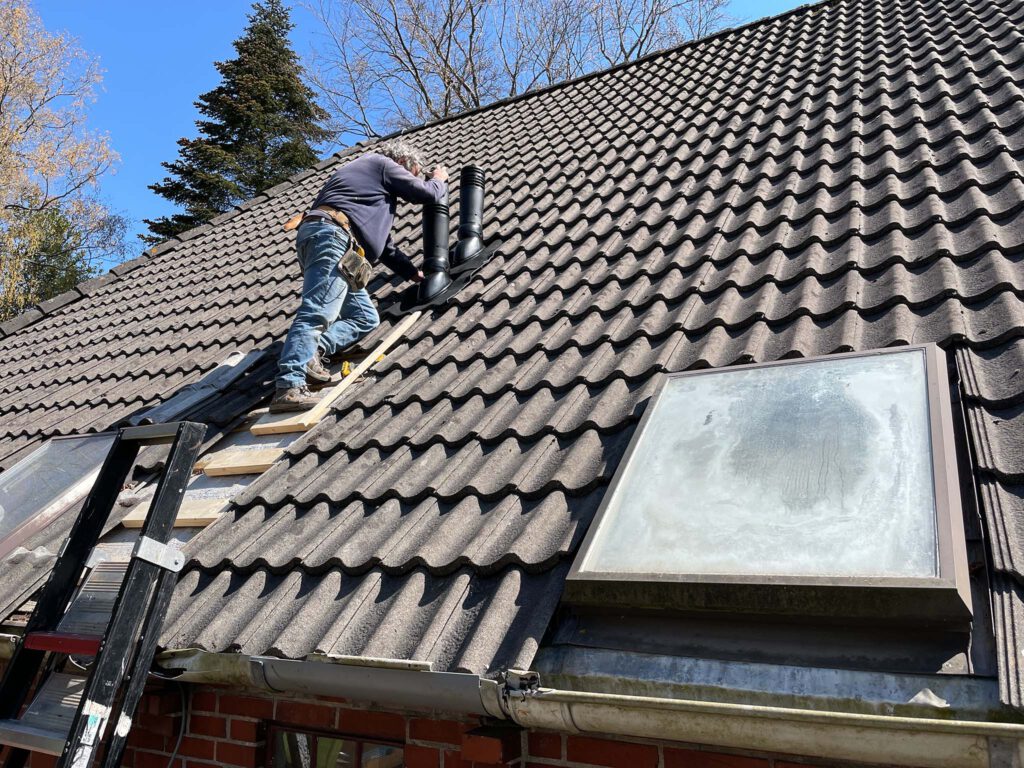
The heating is installed! The boiler connected to all the underfloor heating below and above to the chimneys. Next to that all the other water and air related things were connected.
underfloor heating planBoilerHole in the roofHole in the roofChimneys placed
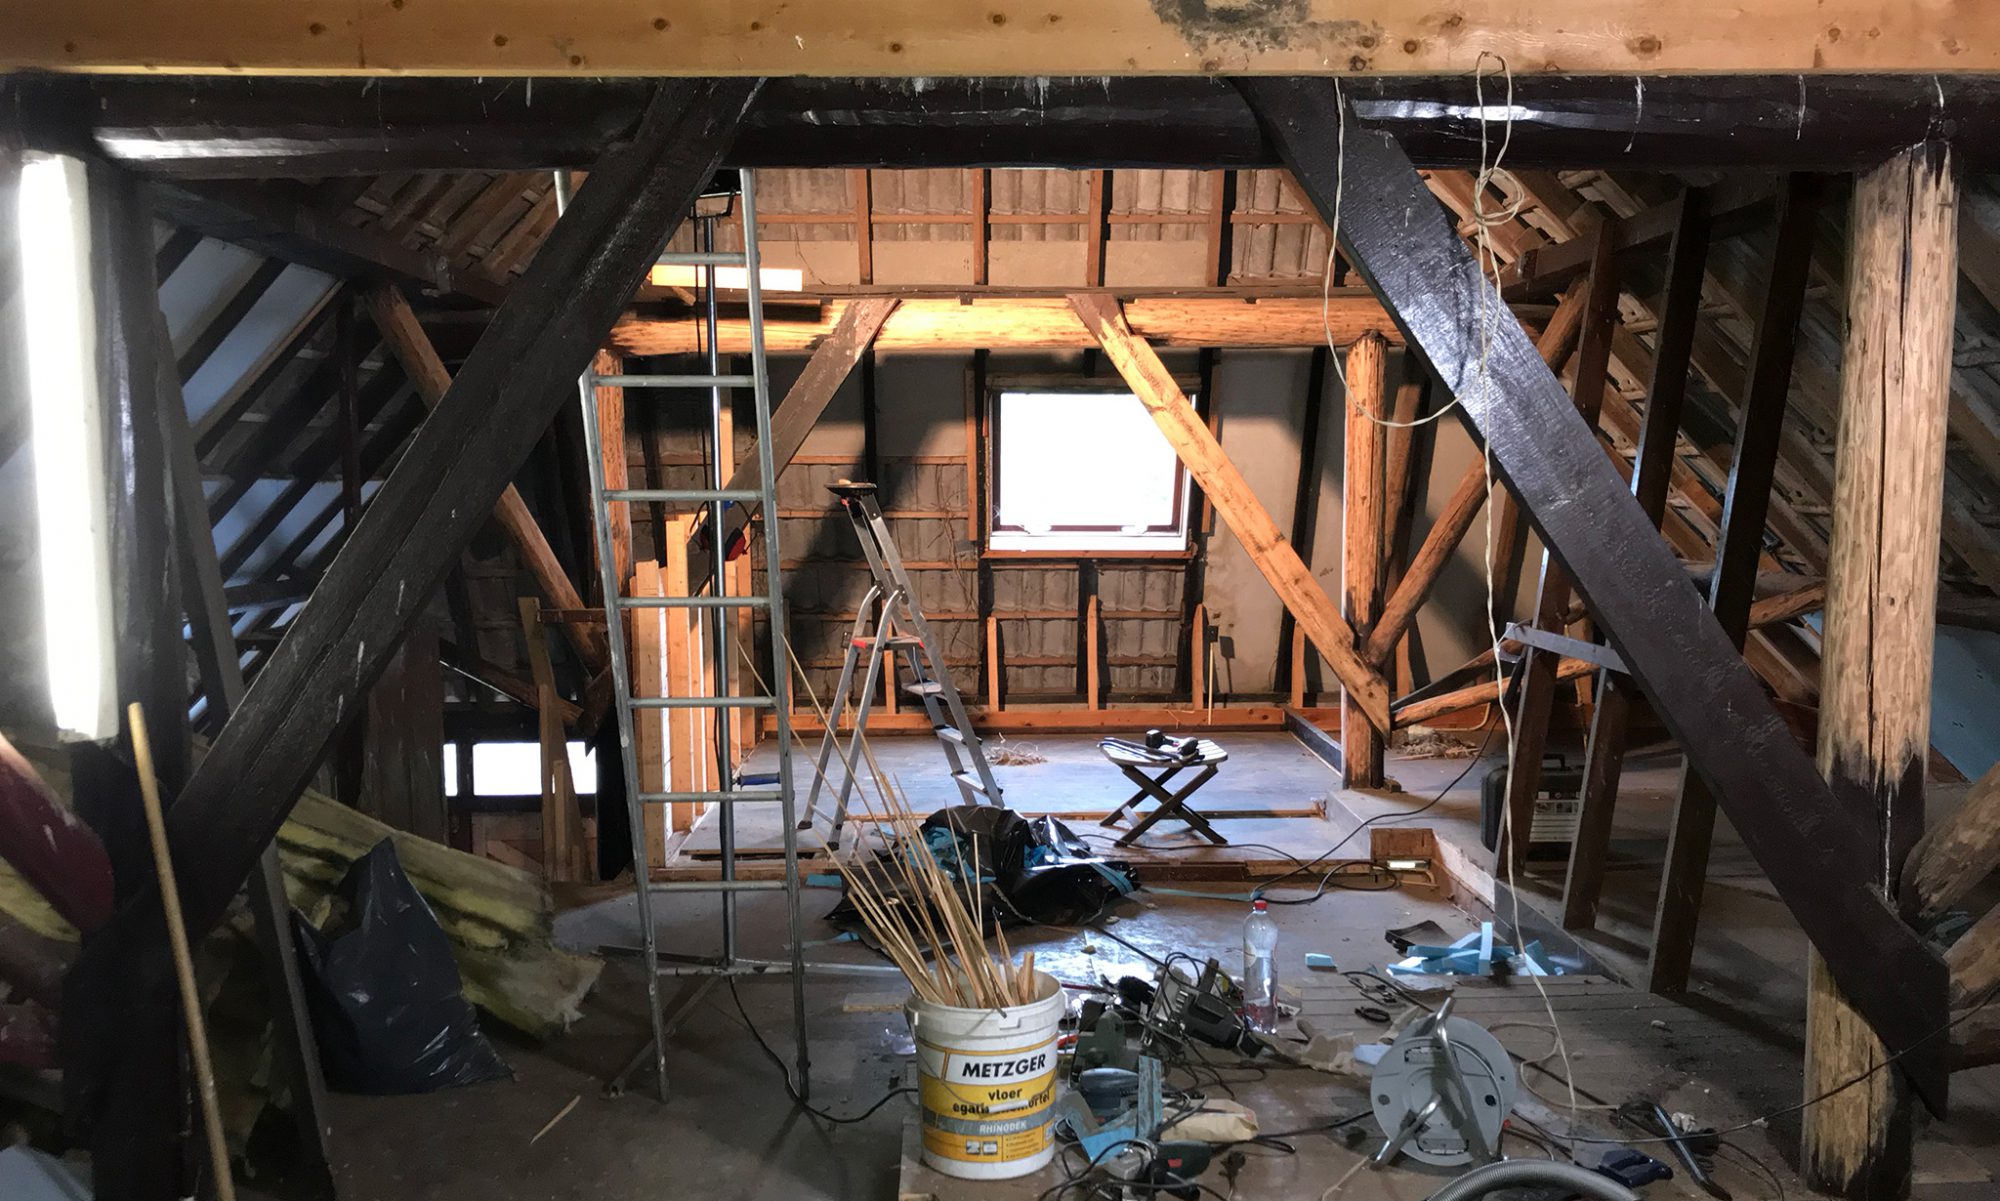
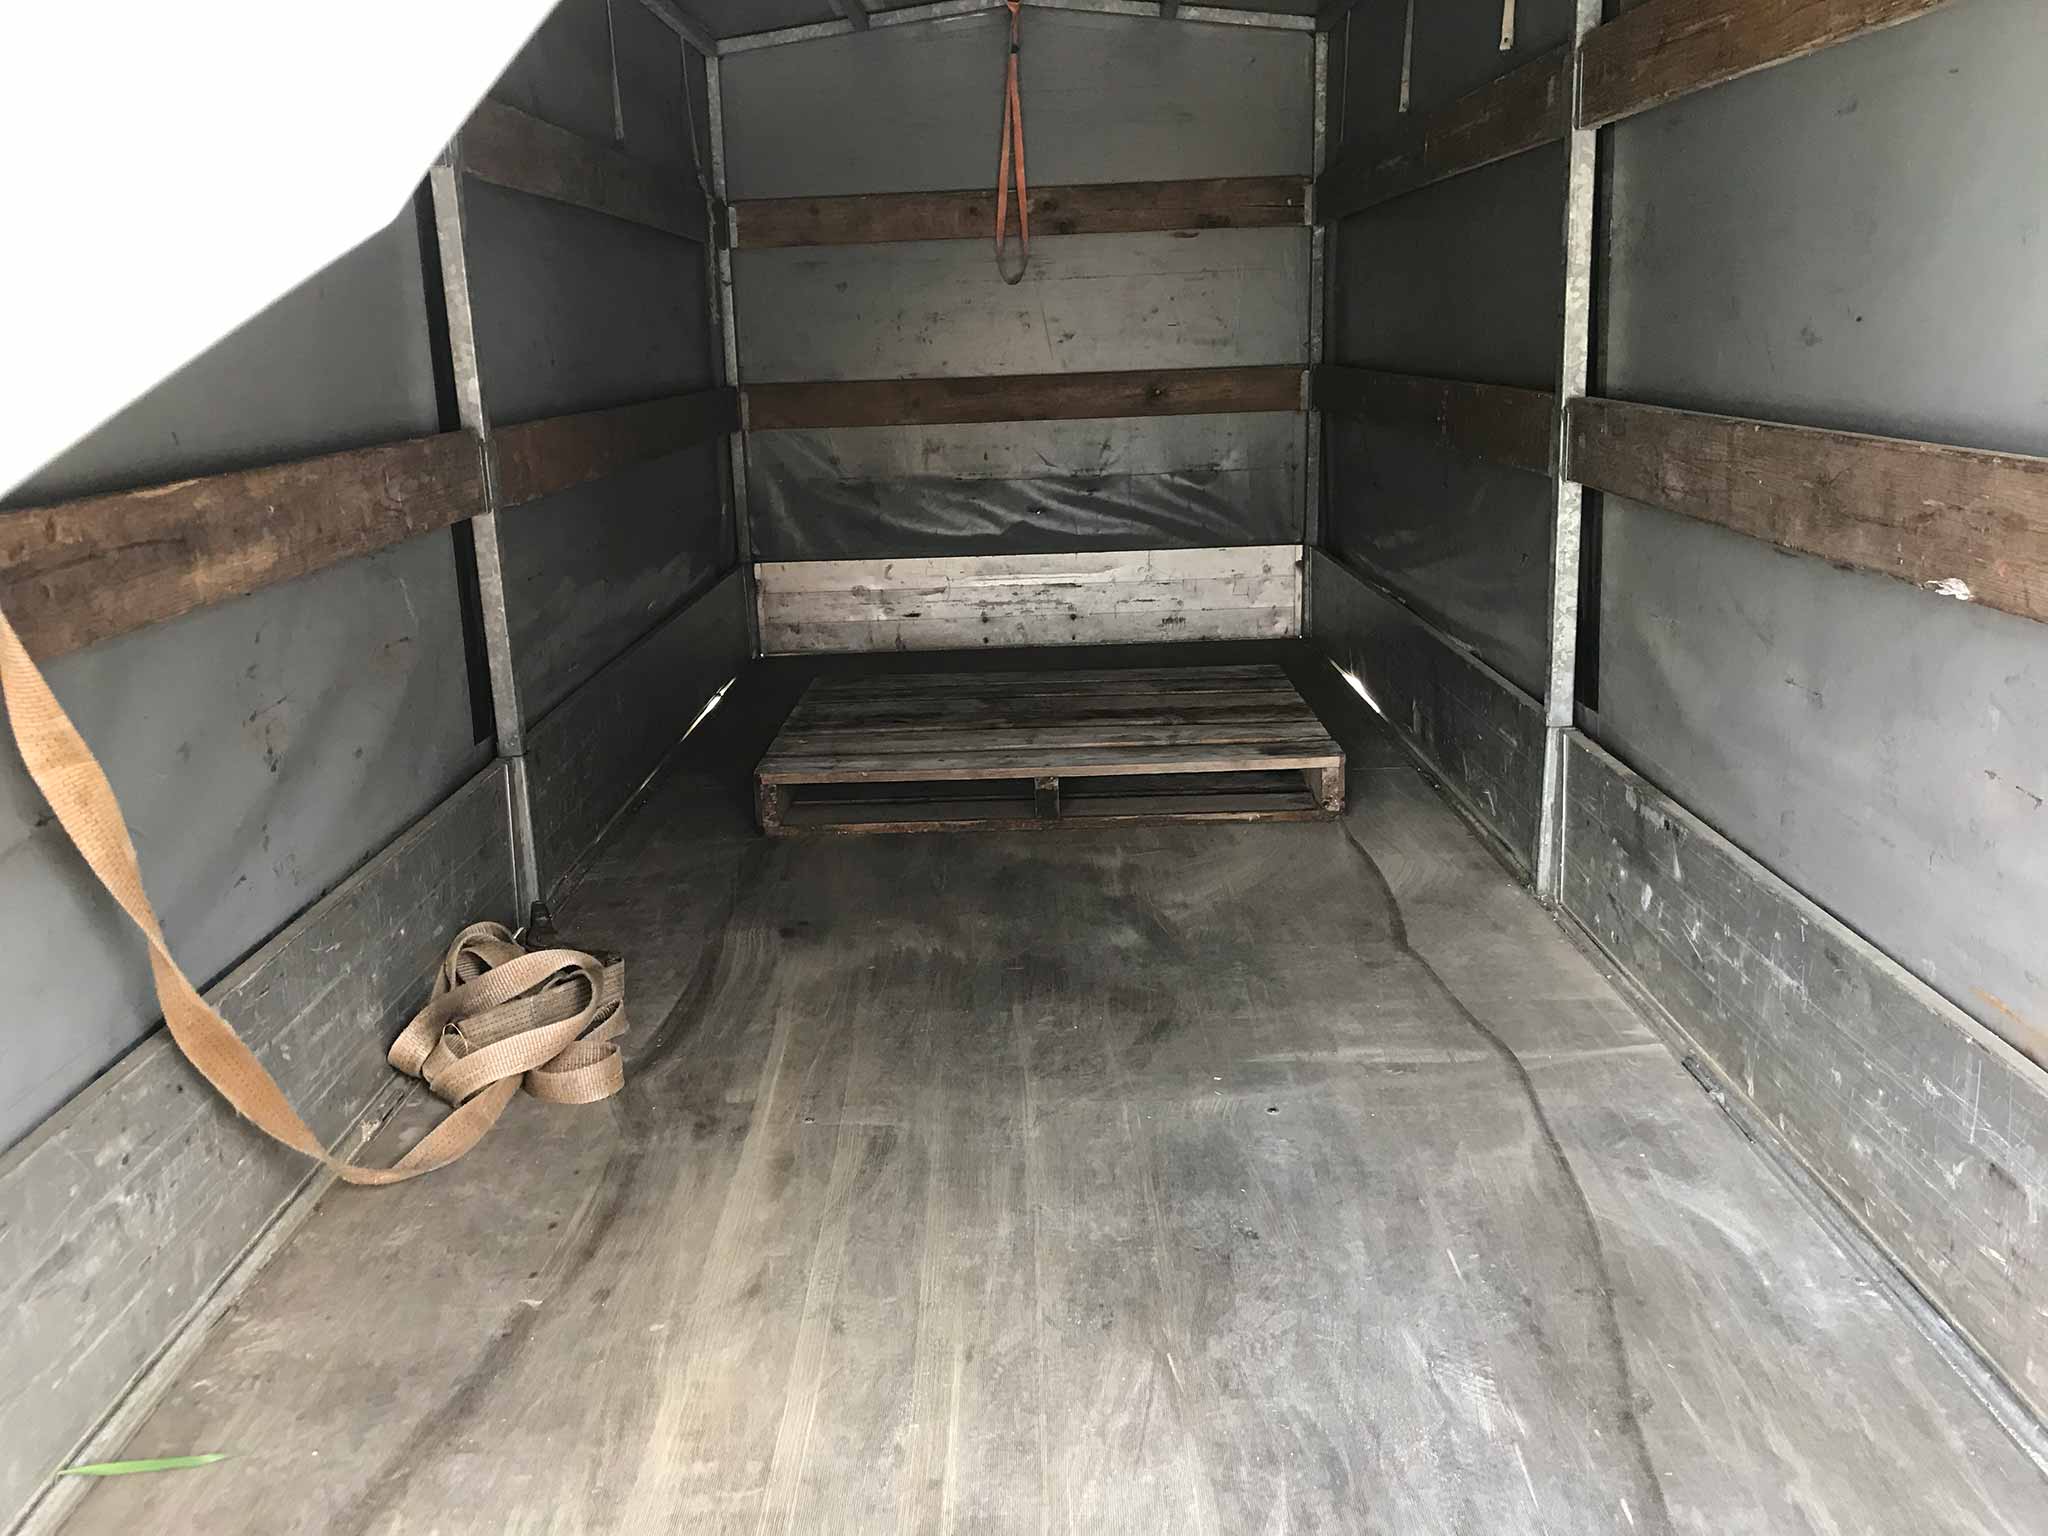
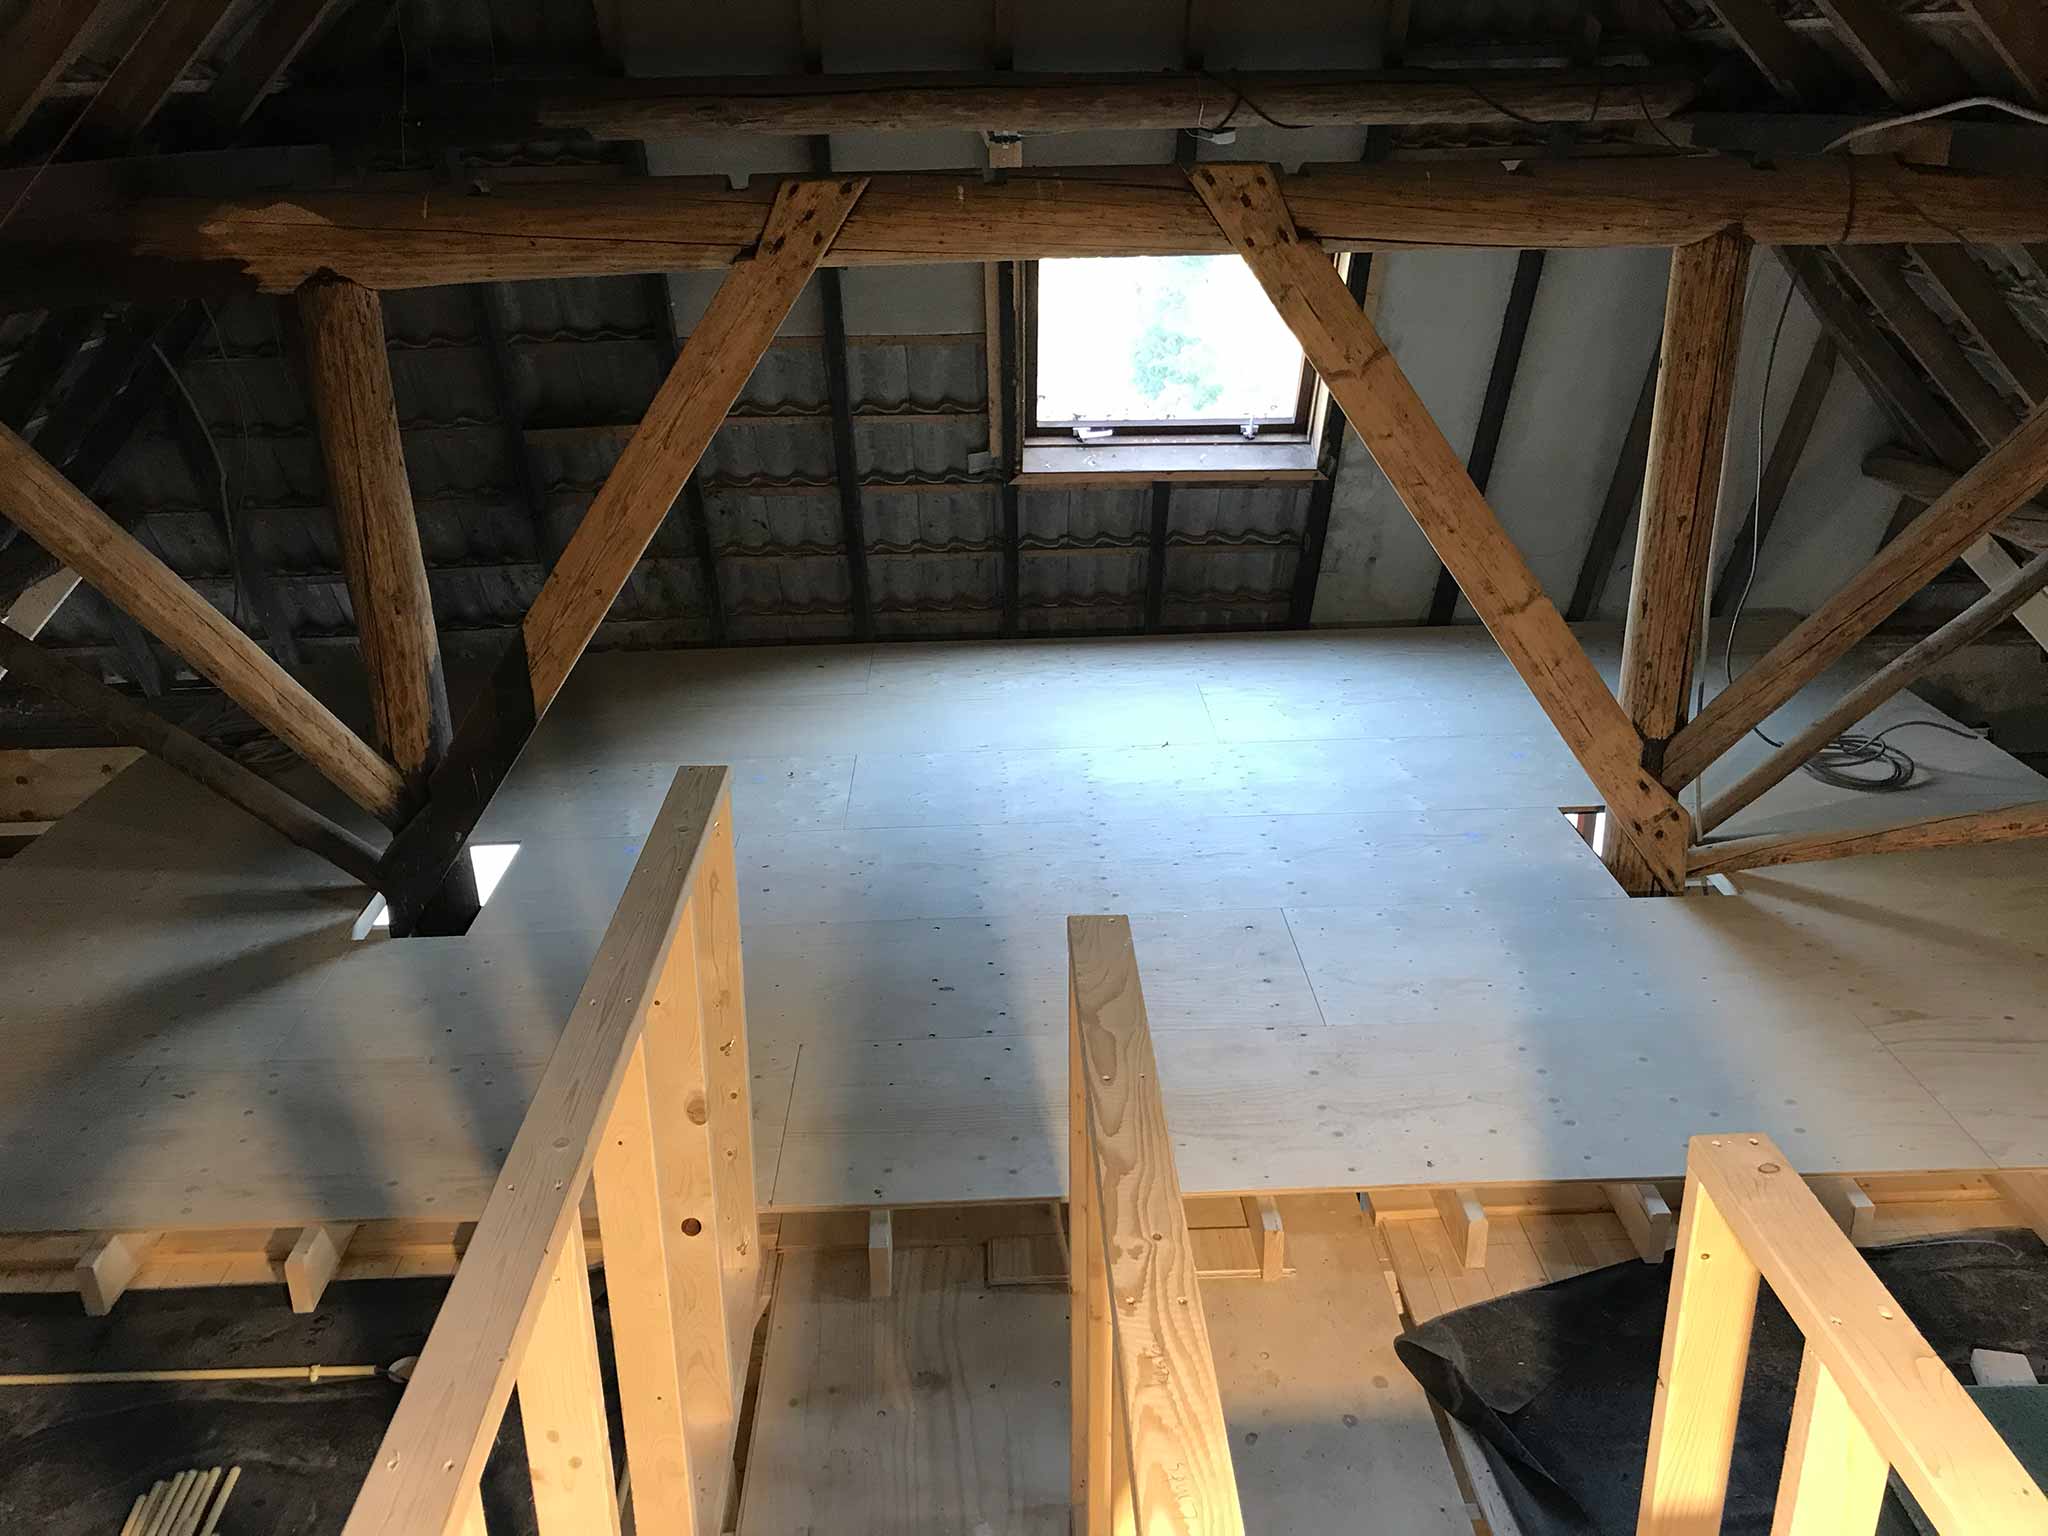
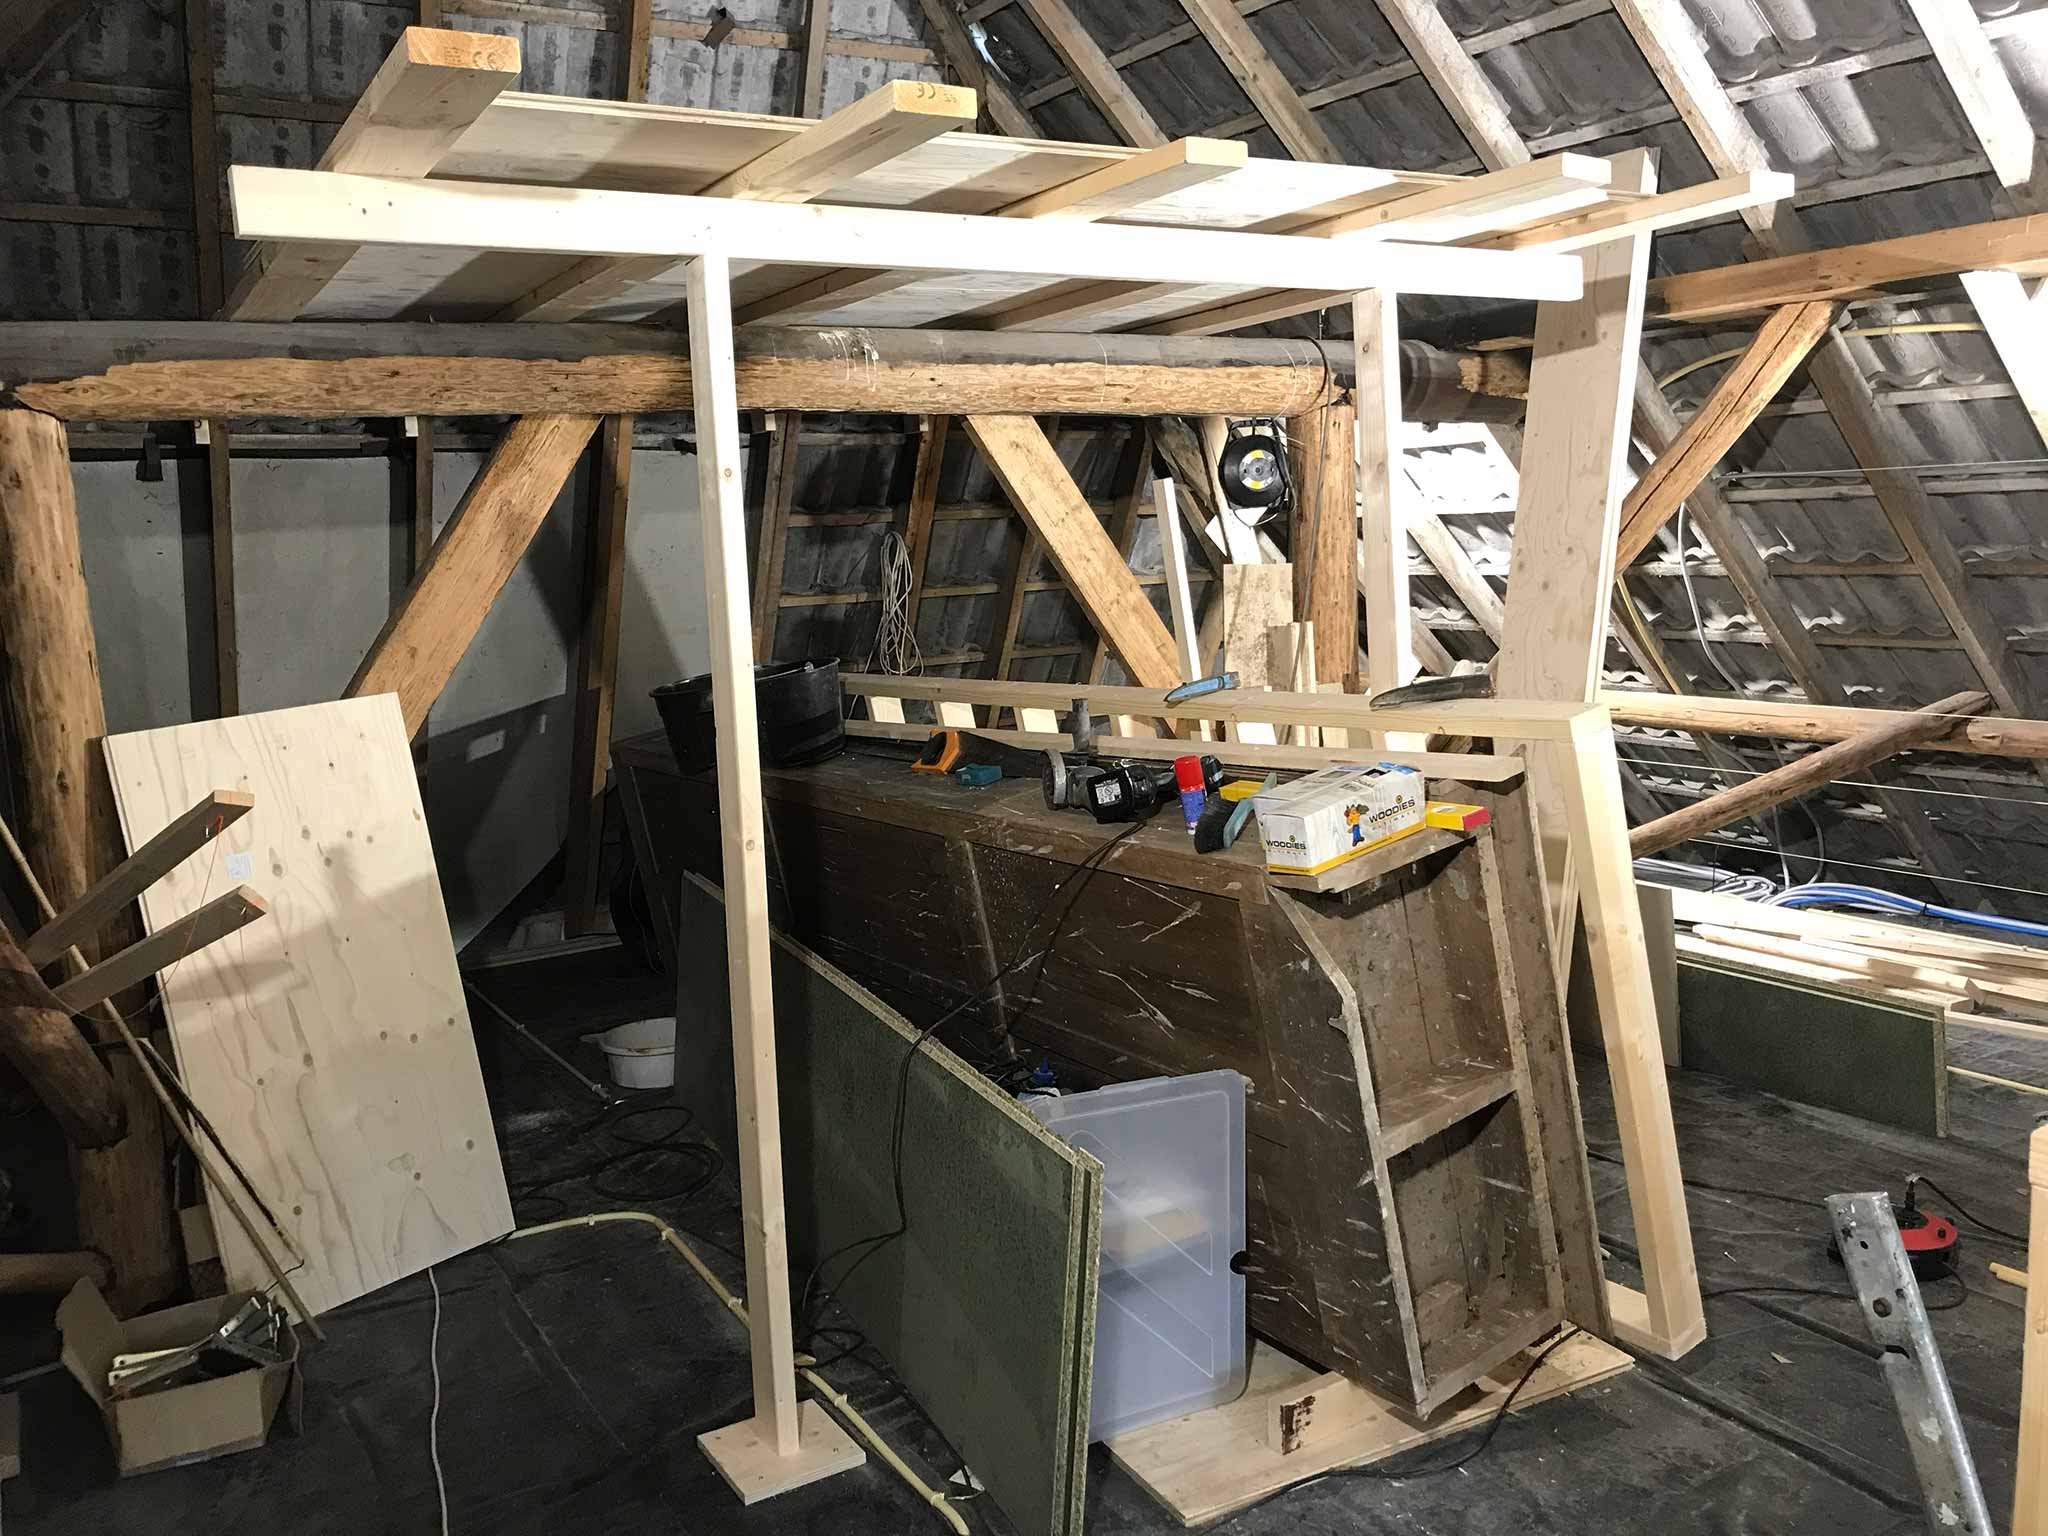
In stead of having to cart a mobile scaffolding around all the time, it was decided to build temporary floors. 👍.
Way faster in the end. After all, the vertical beams of the roof need to be made thicker, the insulation needs to be placed, the wooden boards need to be placed and then the staining needs to happen…
Two days of setting up time lapse cameras and at the moment supreme, the Raspberry Pis did not have internet and the crontabs did not run. No time lapse of the ‘pouring’ of the cement floor 😡. Somehow the router was off. Should teach me to mind my own things first before other things. Oh, wait… The floor is ‘my thing’.
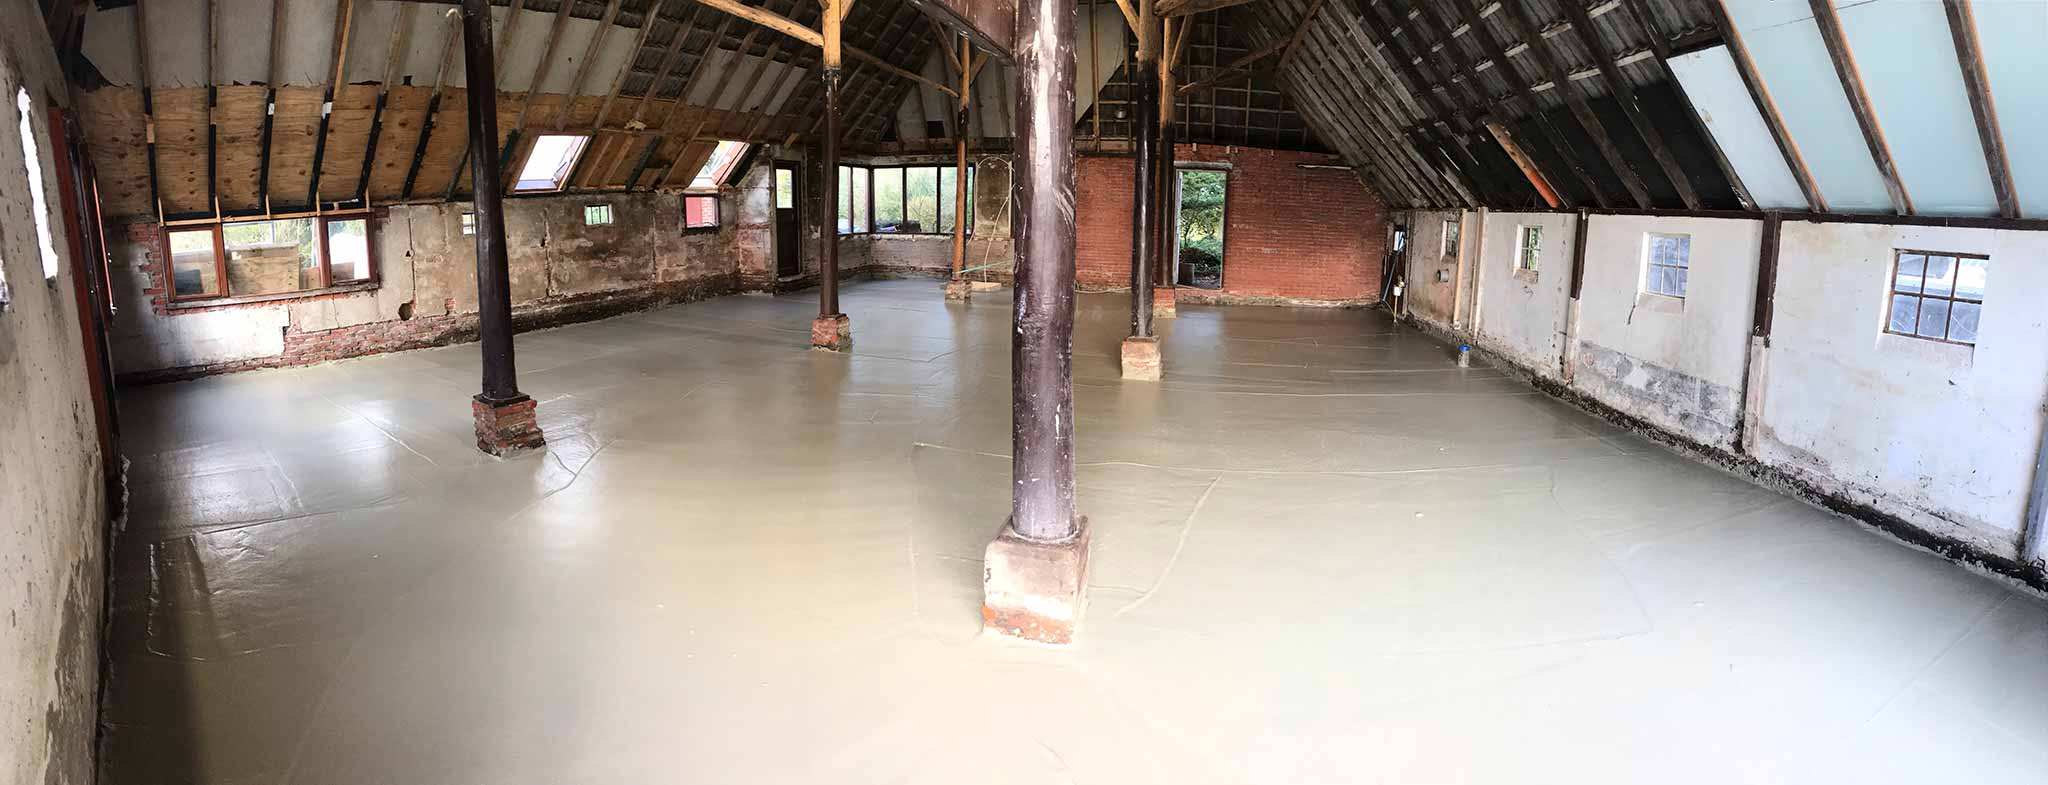
Oh well, the floor is in. Most important, I know…
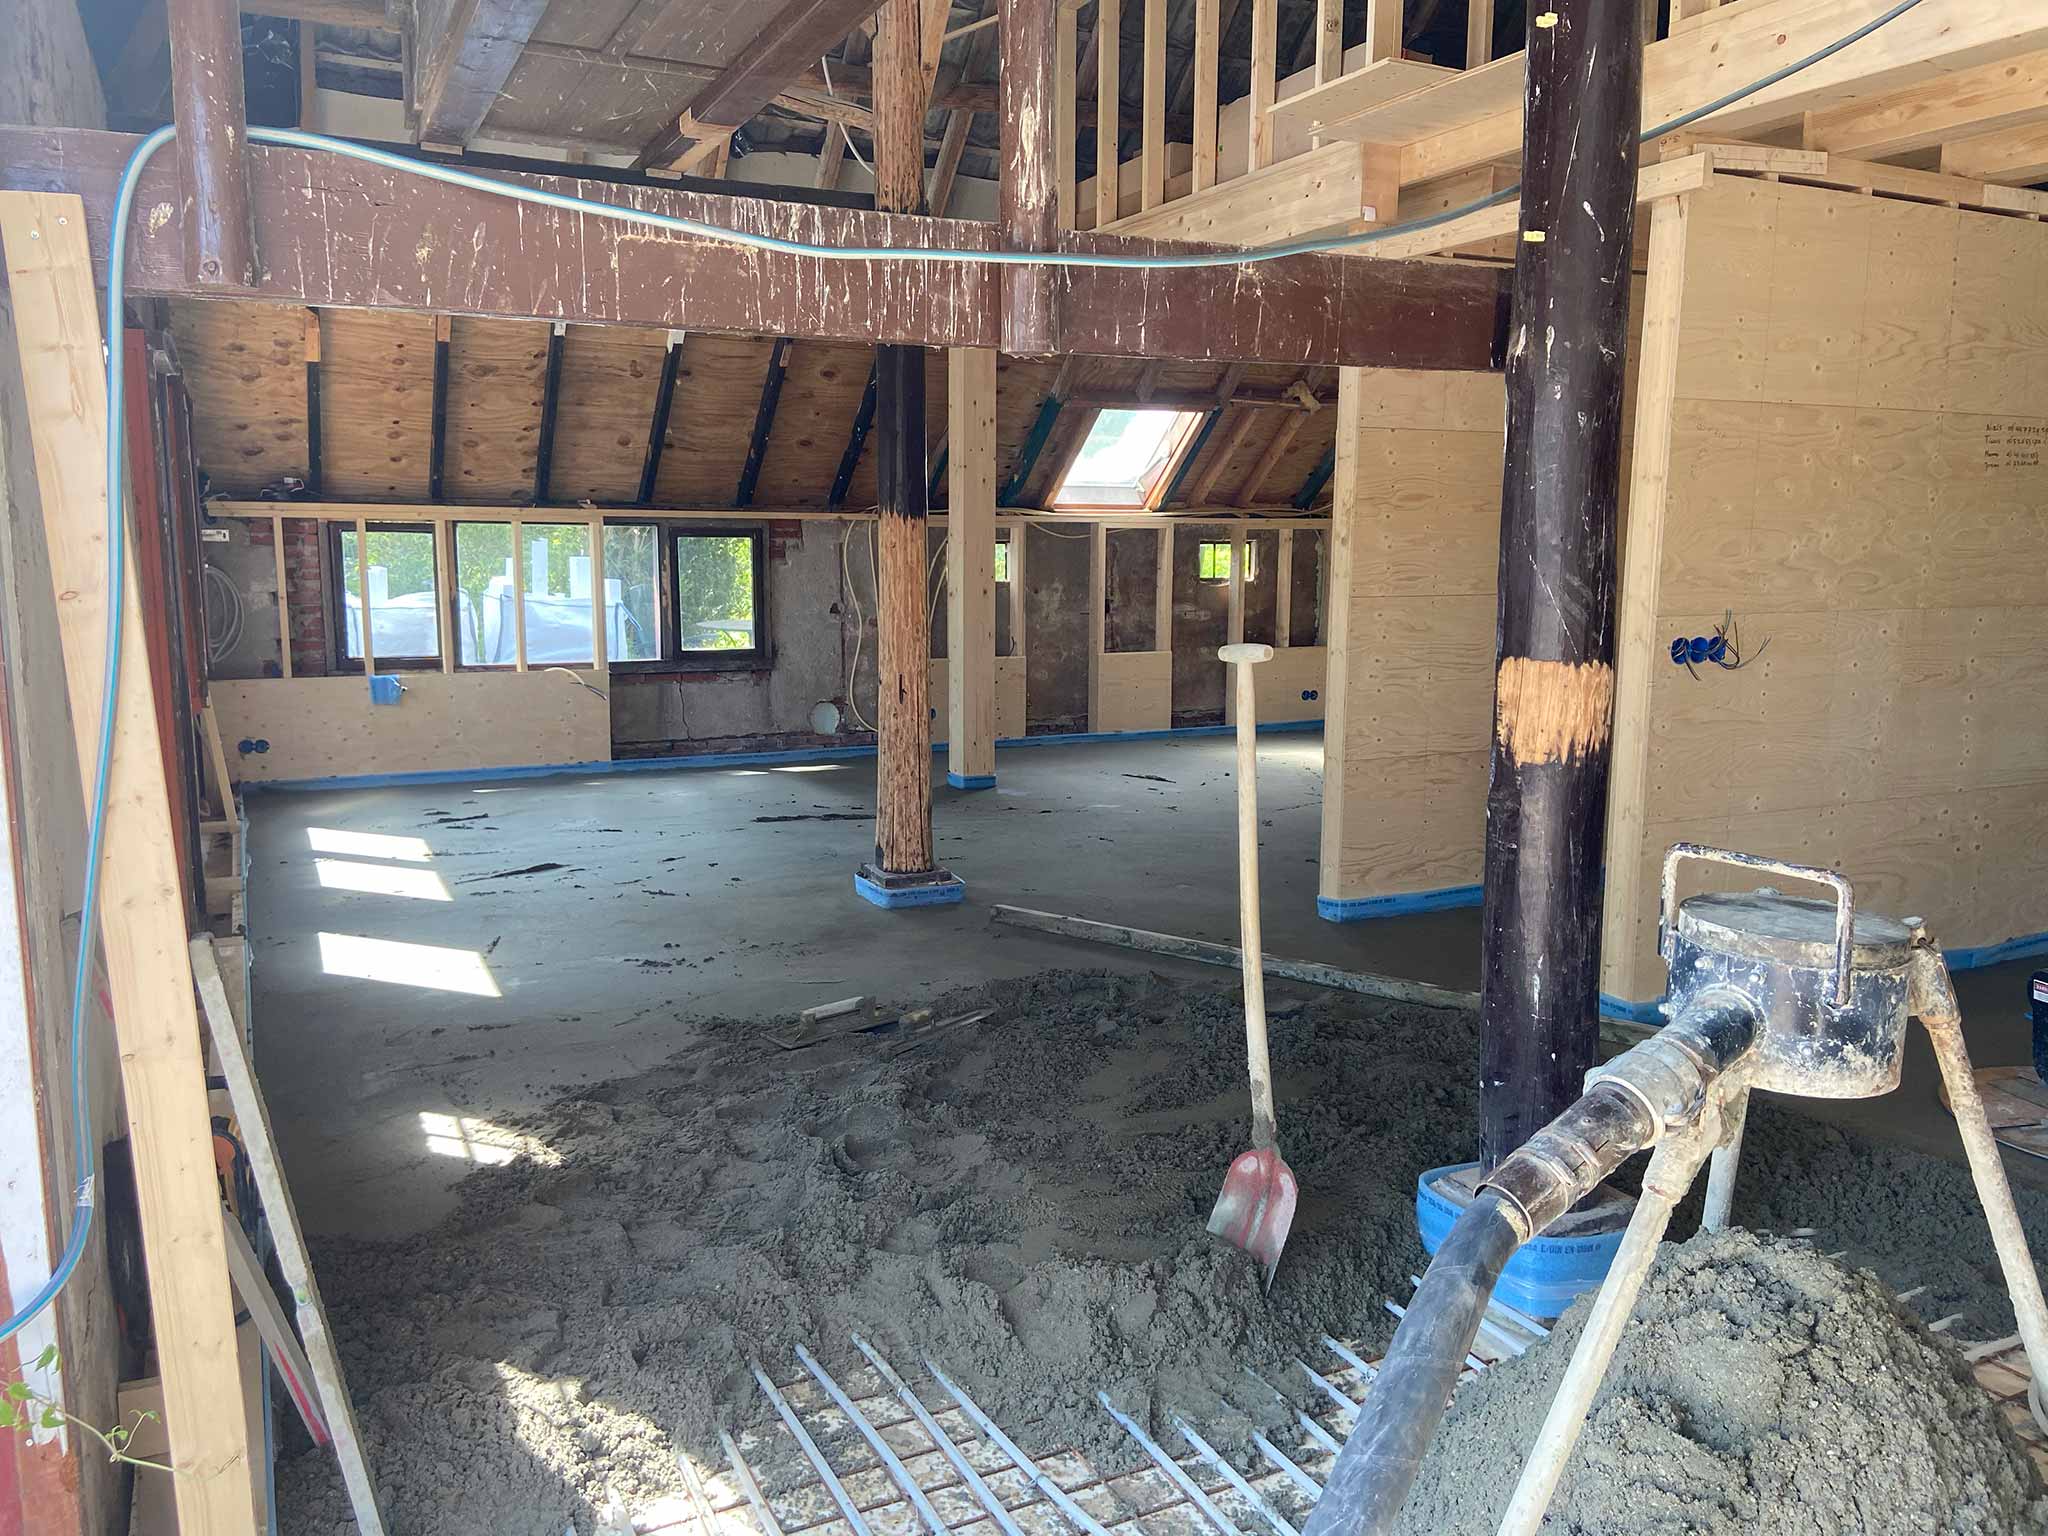
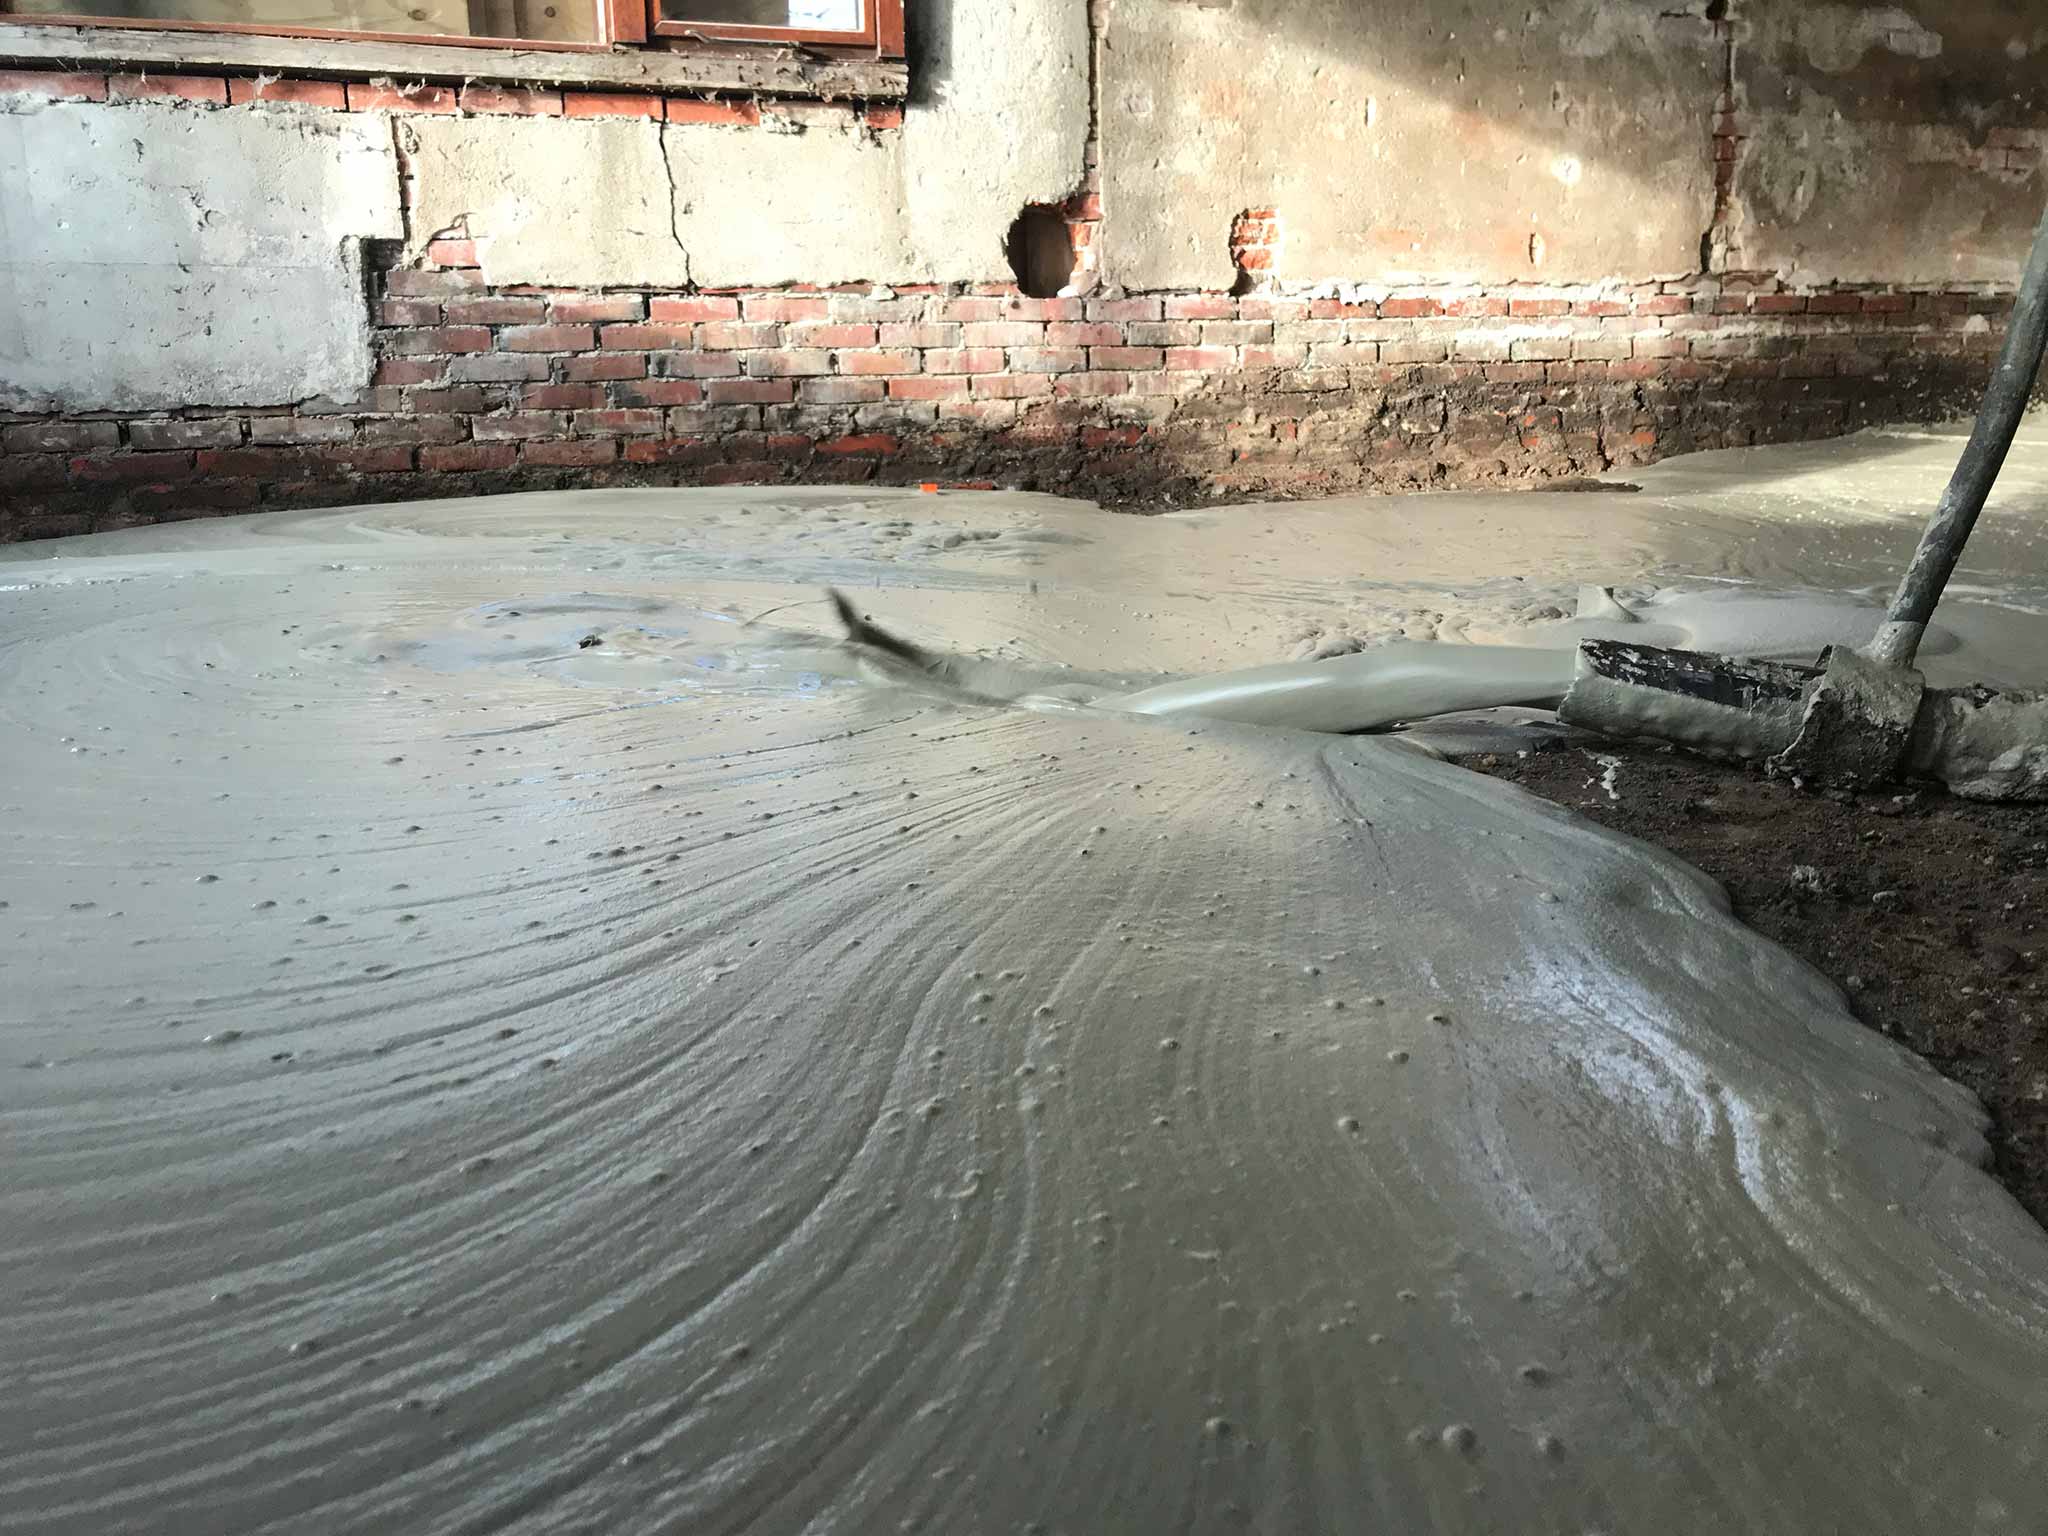
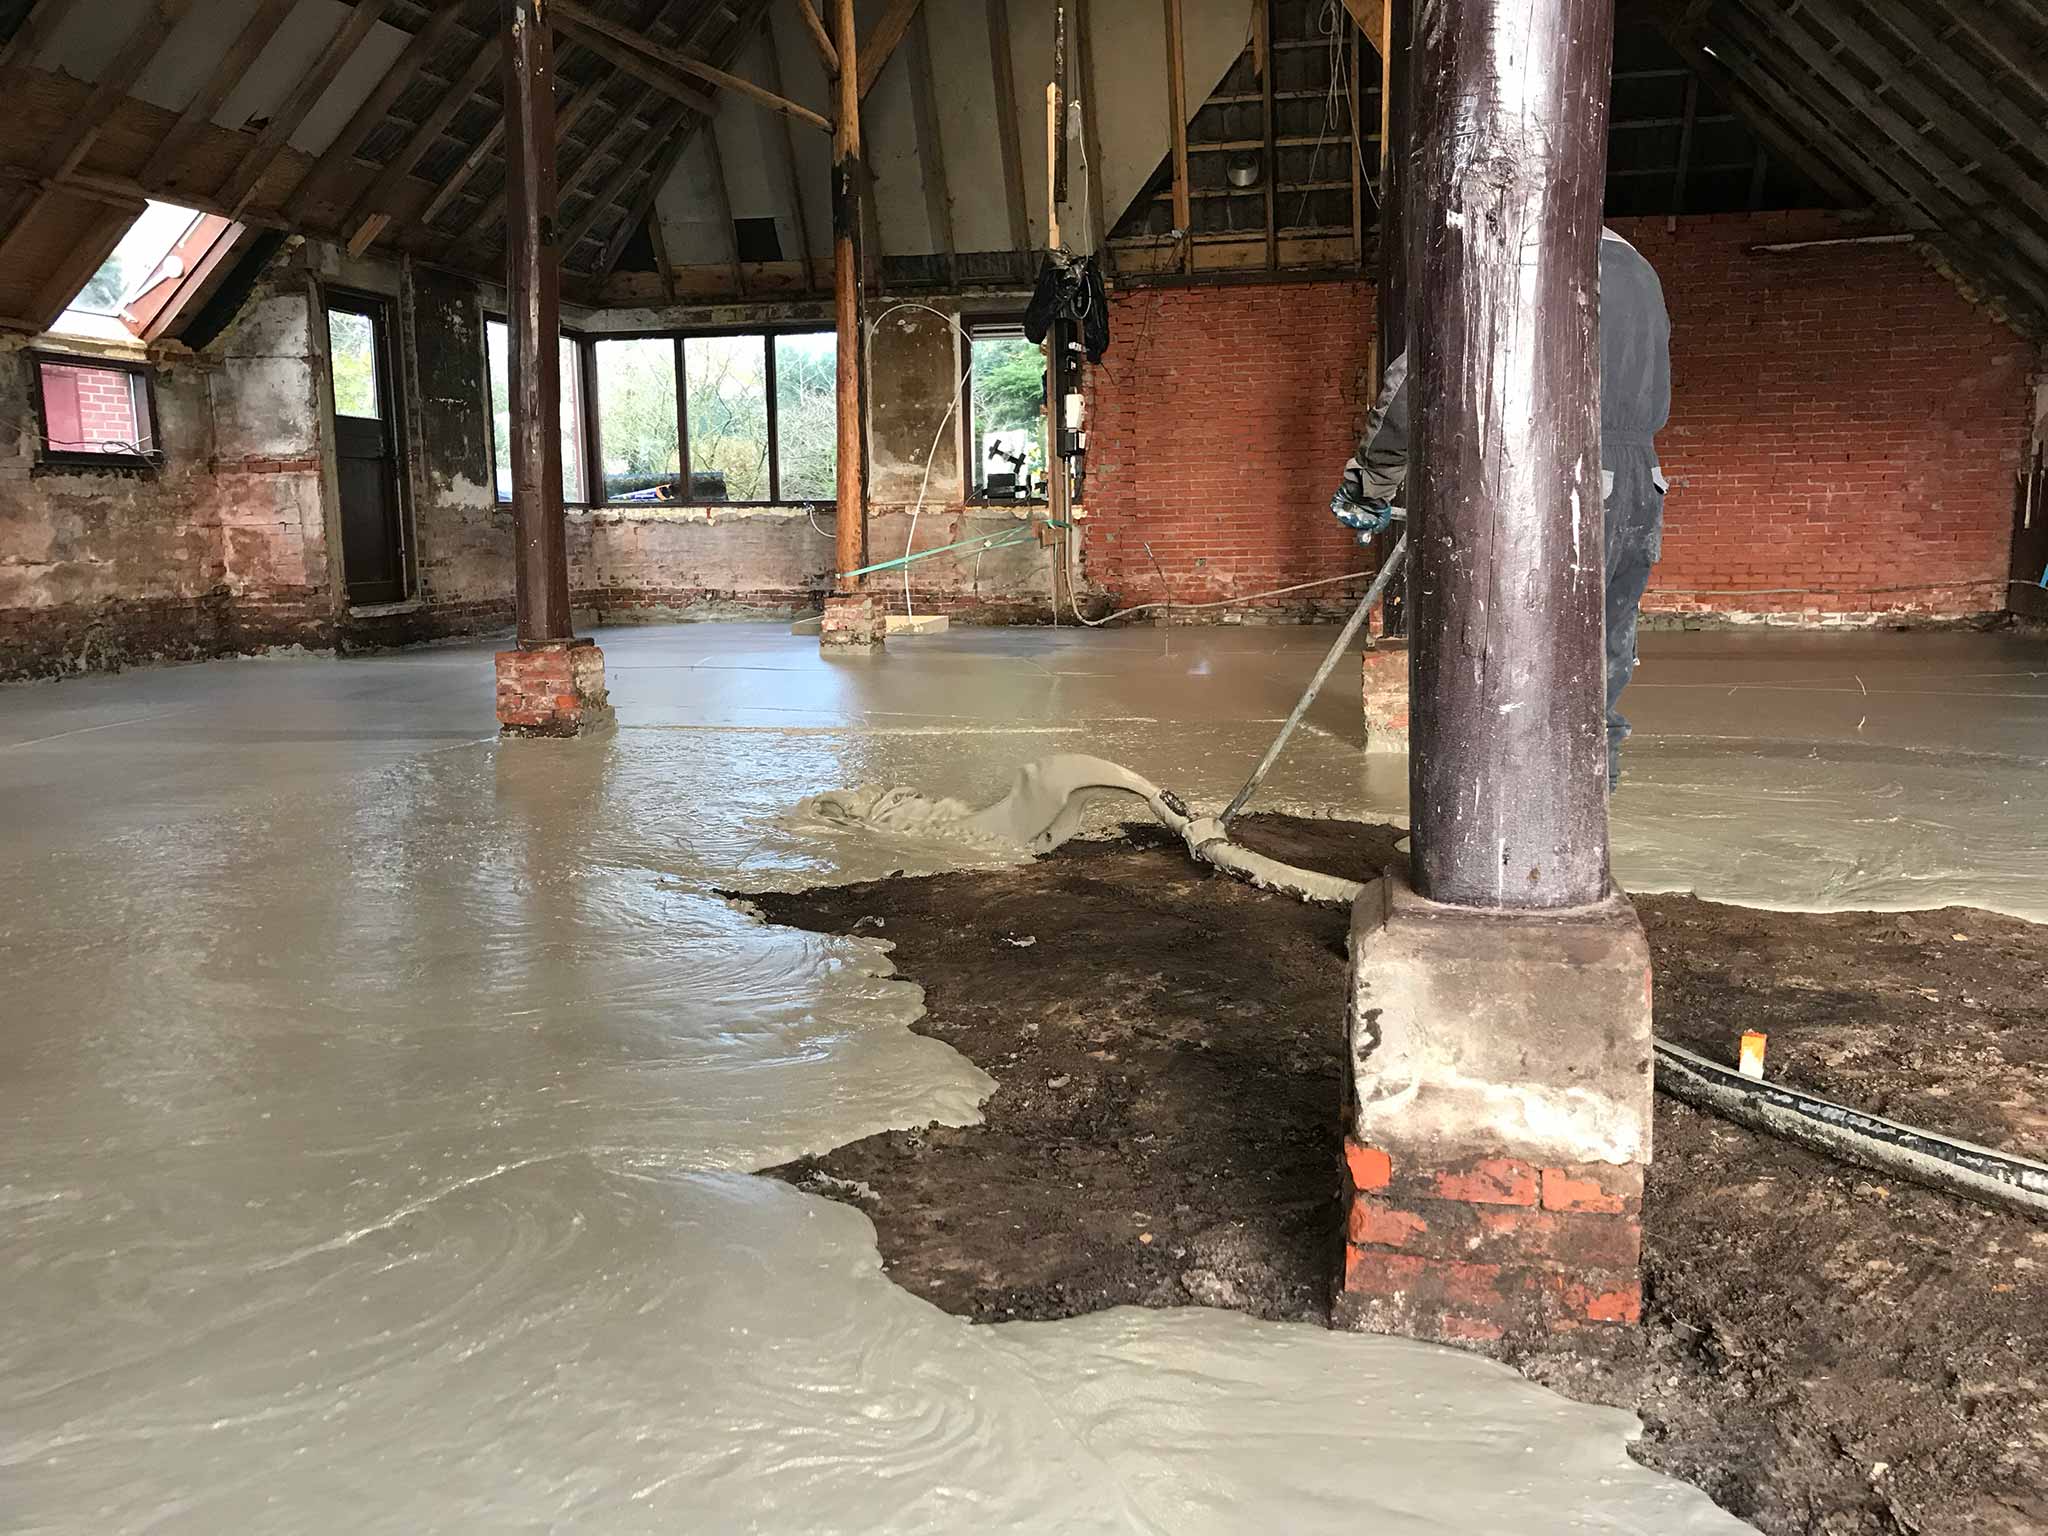
It is incredible, the ease with which a pile of cement is made into a horizontal surface of well over 100 square meters! Ok, I have not done the marble test yet, but it looks mighty straight.
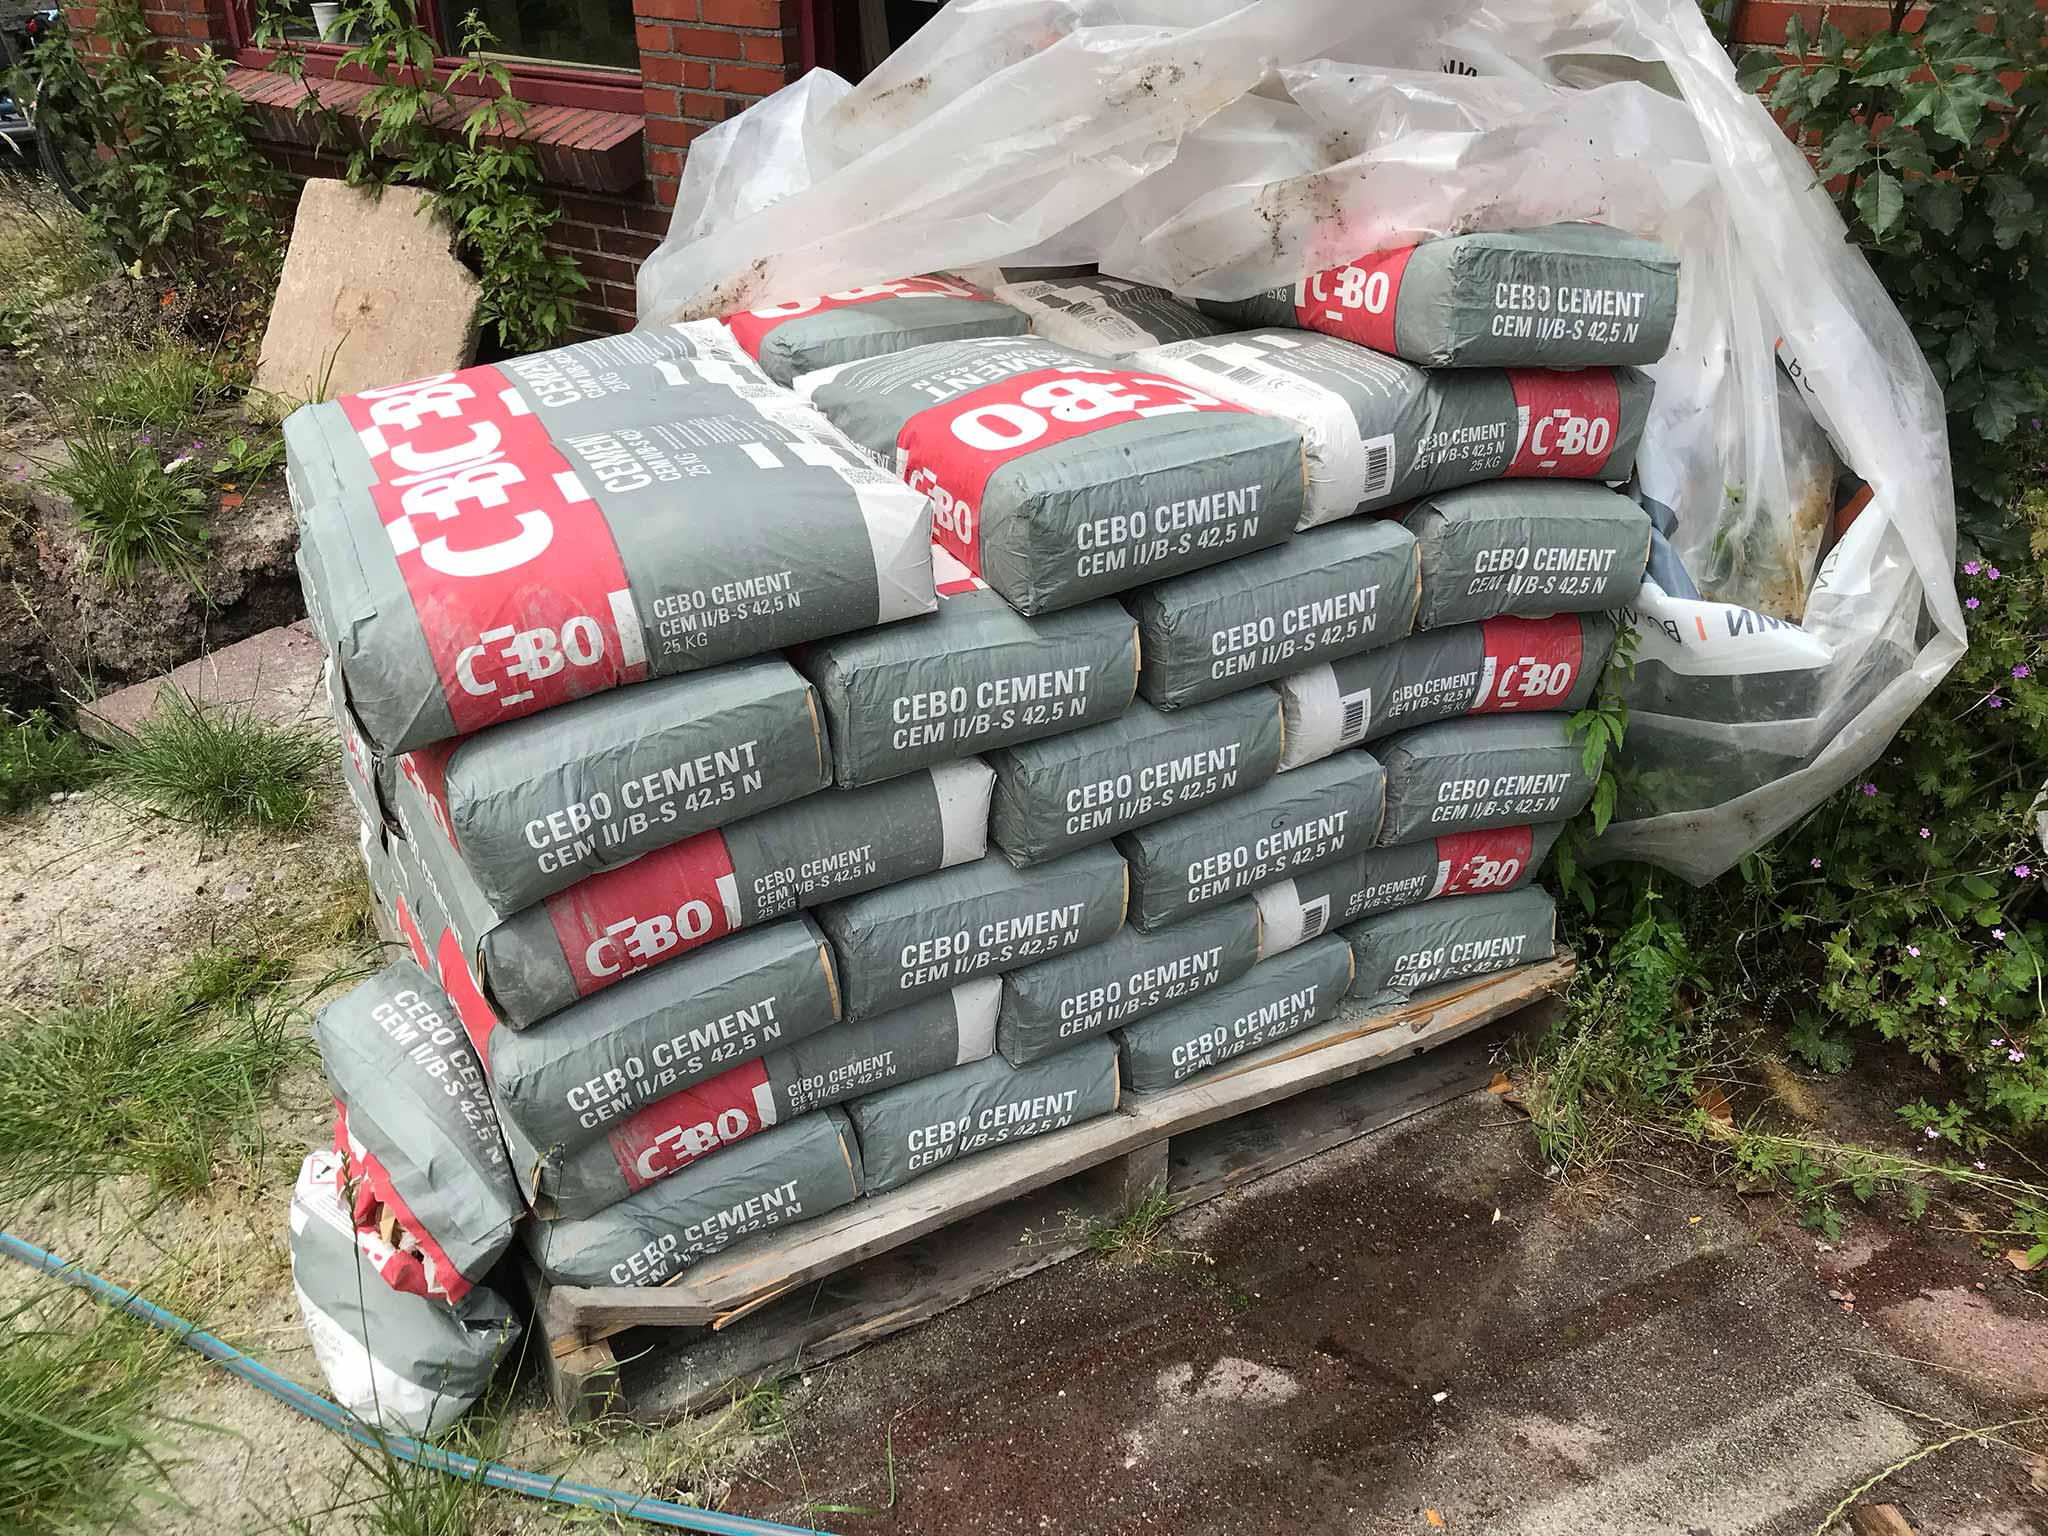
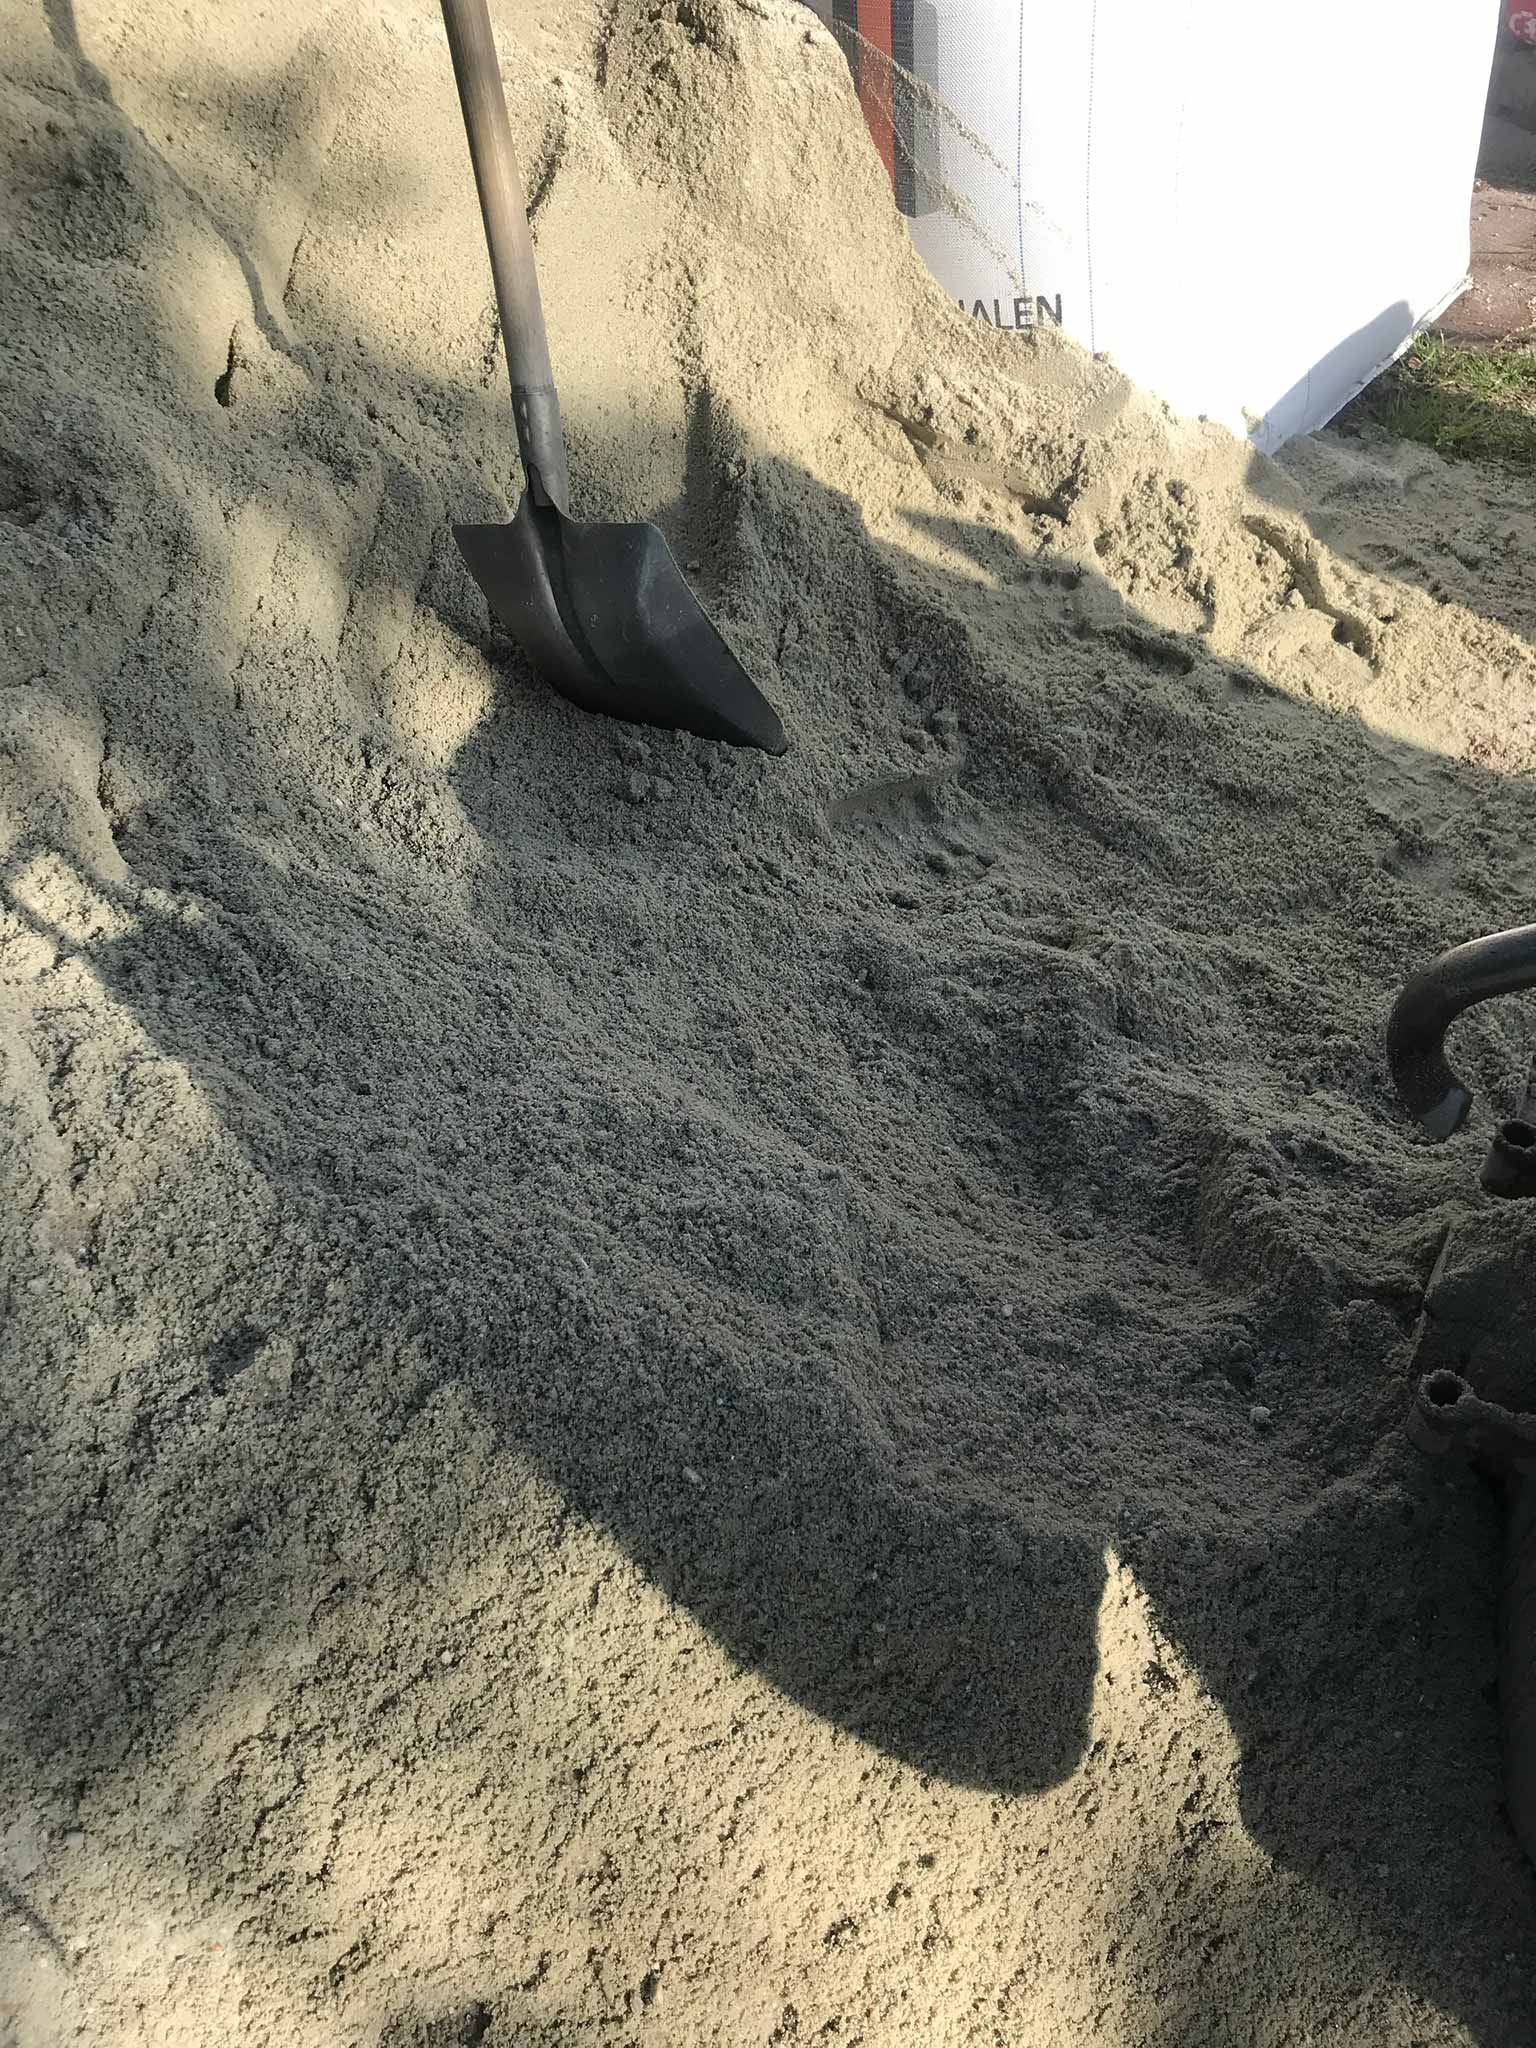
The cement, water and sand is scooped into the mixer. Once mixed, it is sent through a ‘hose’ into the house and dumped onto a pile. This pile of cement is distributed with a shovel, flattened it with a bit aluminum beam and that’s it!
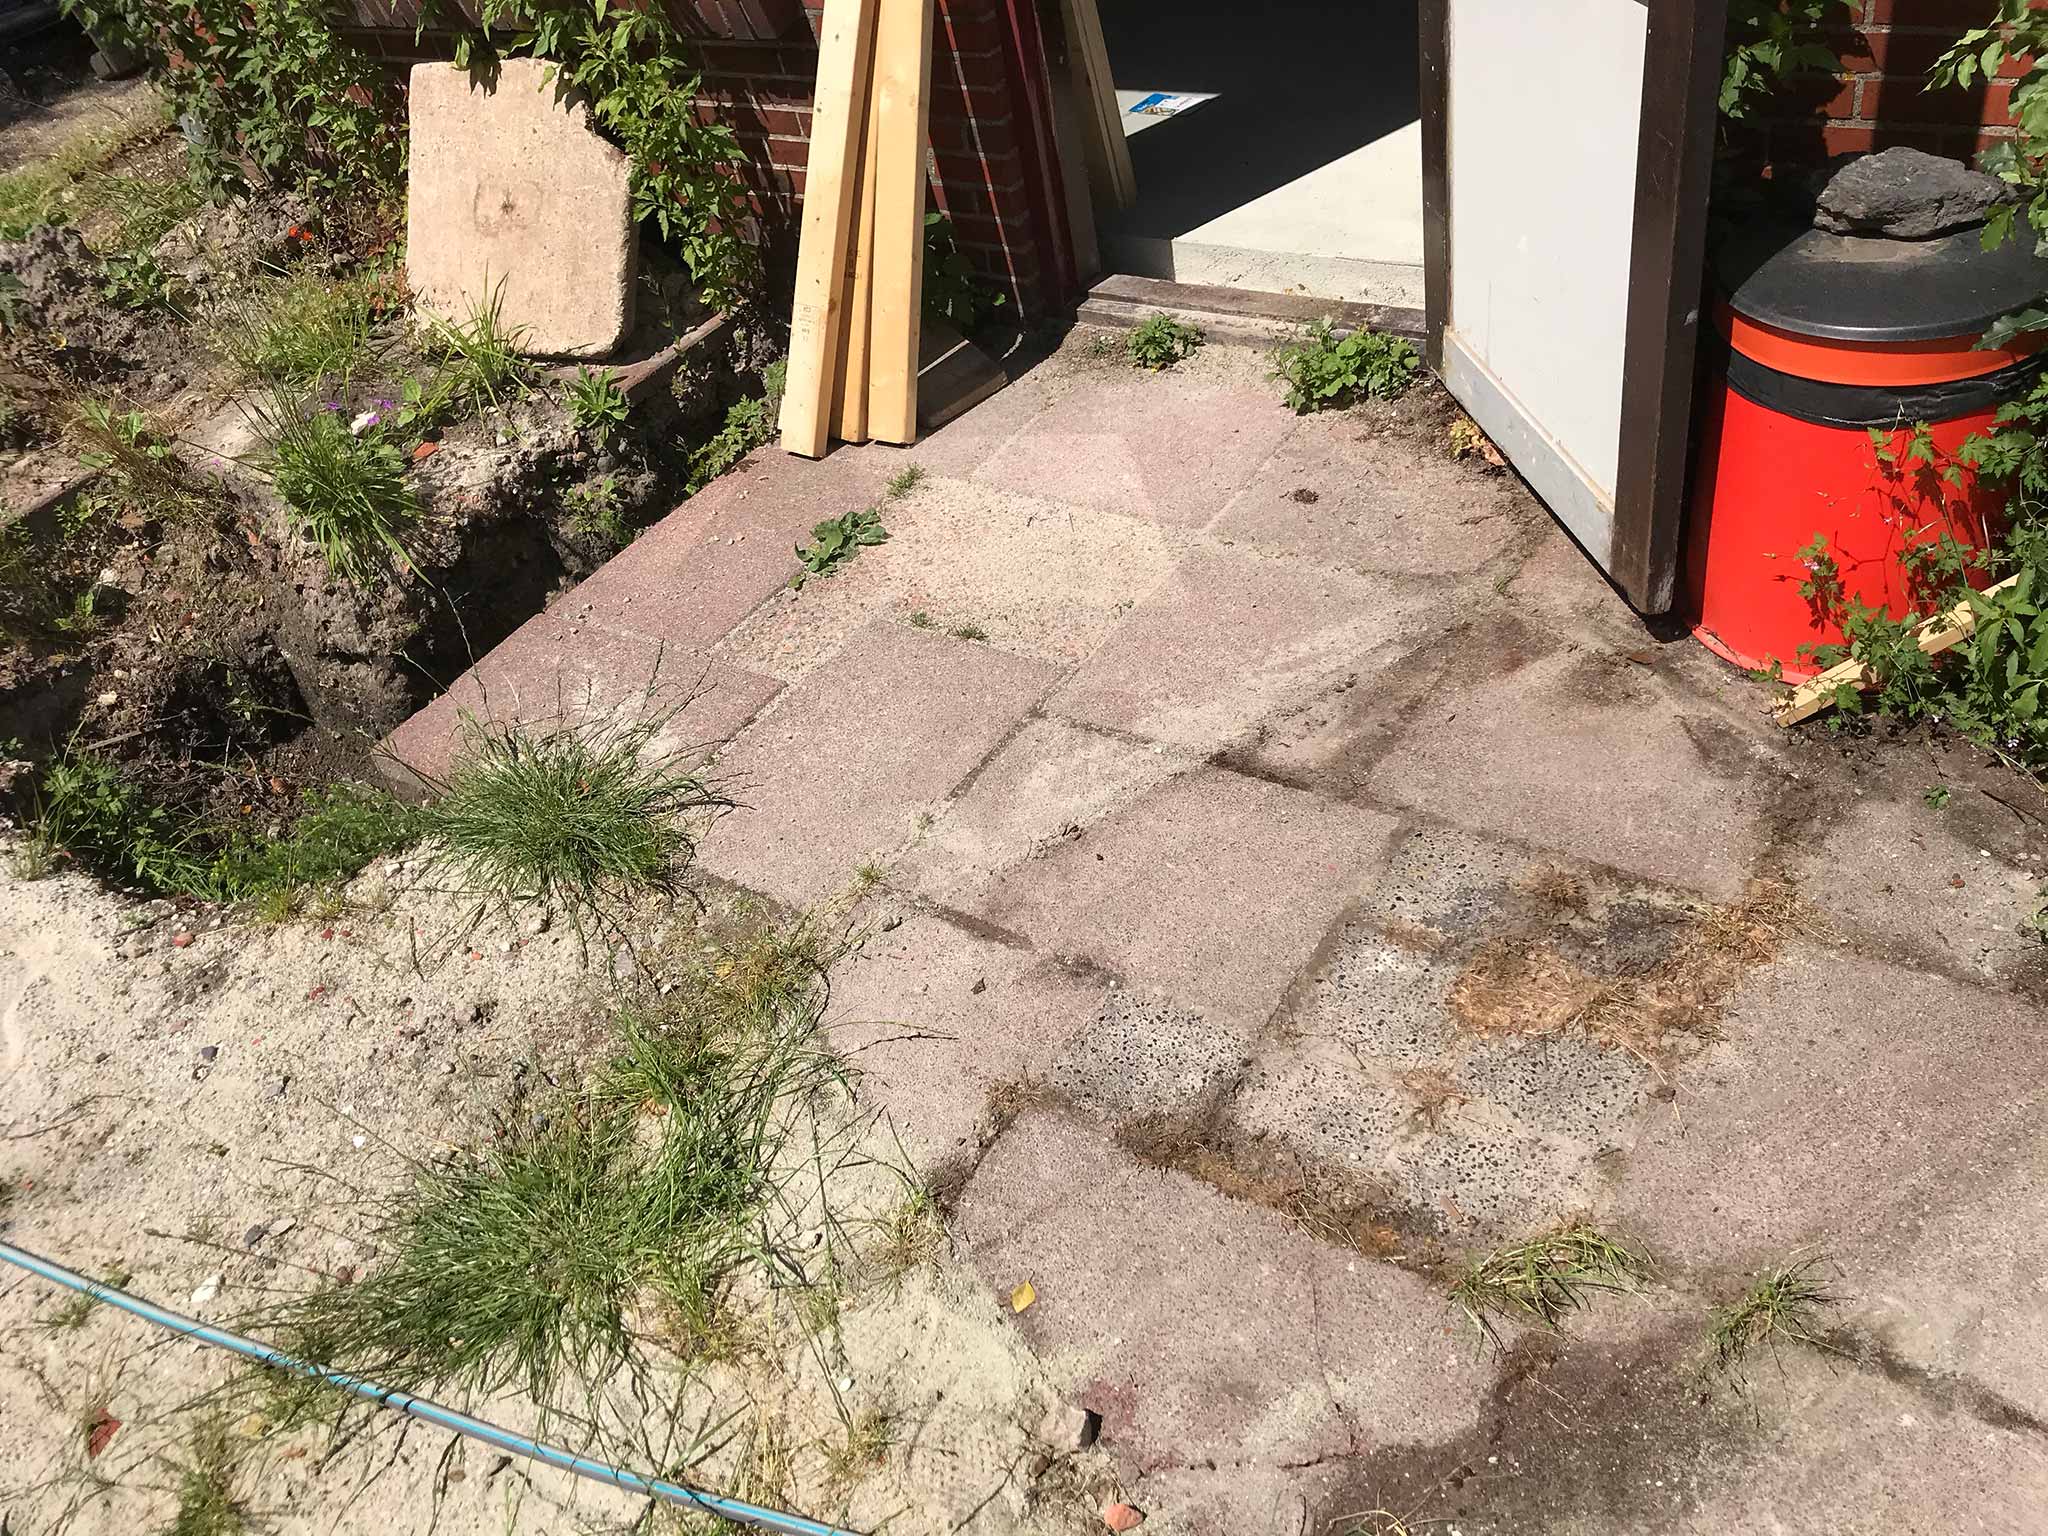
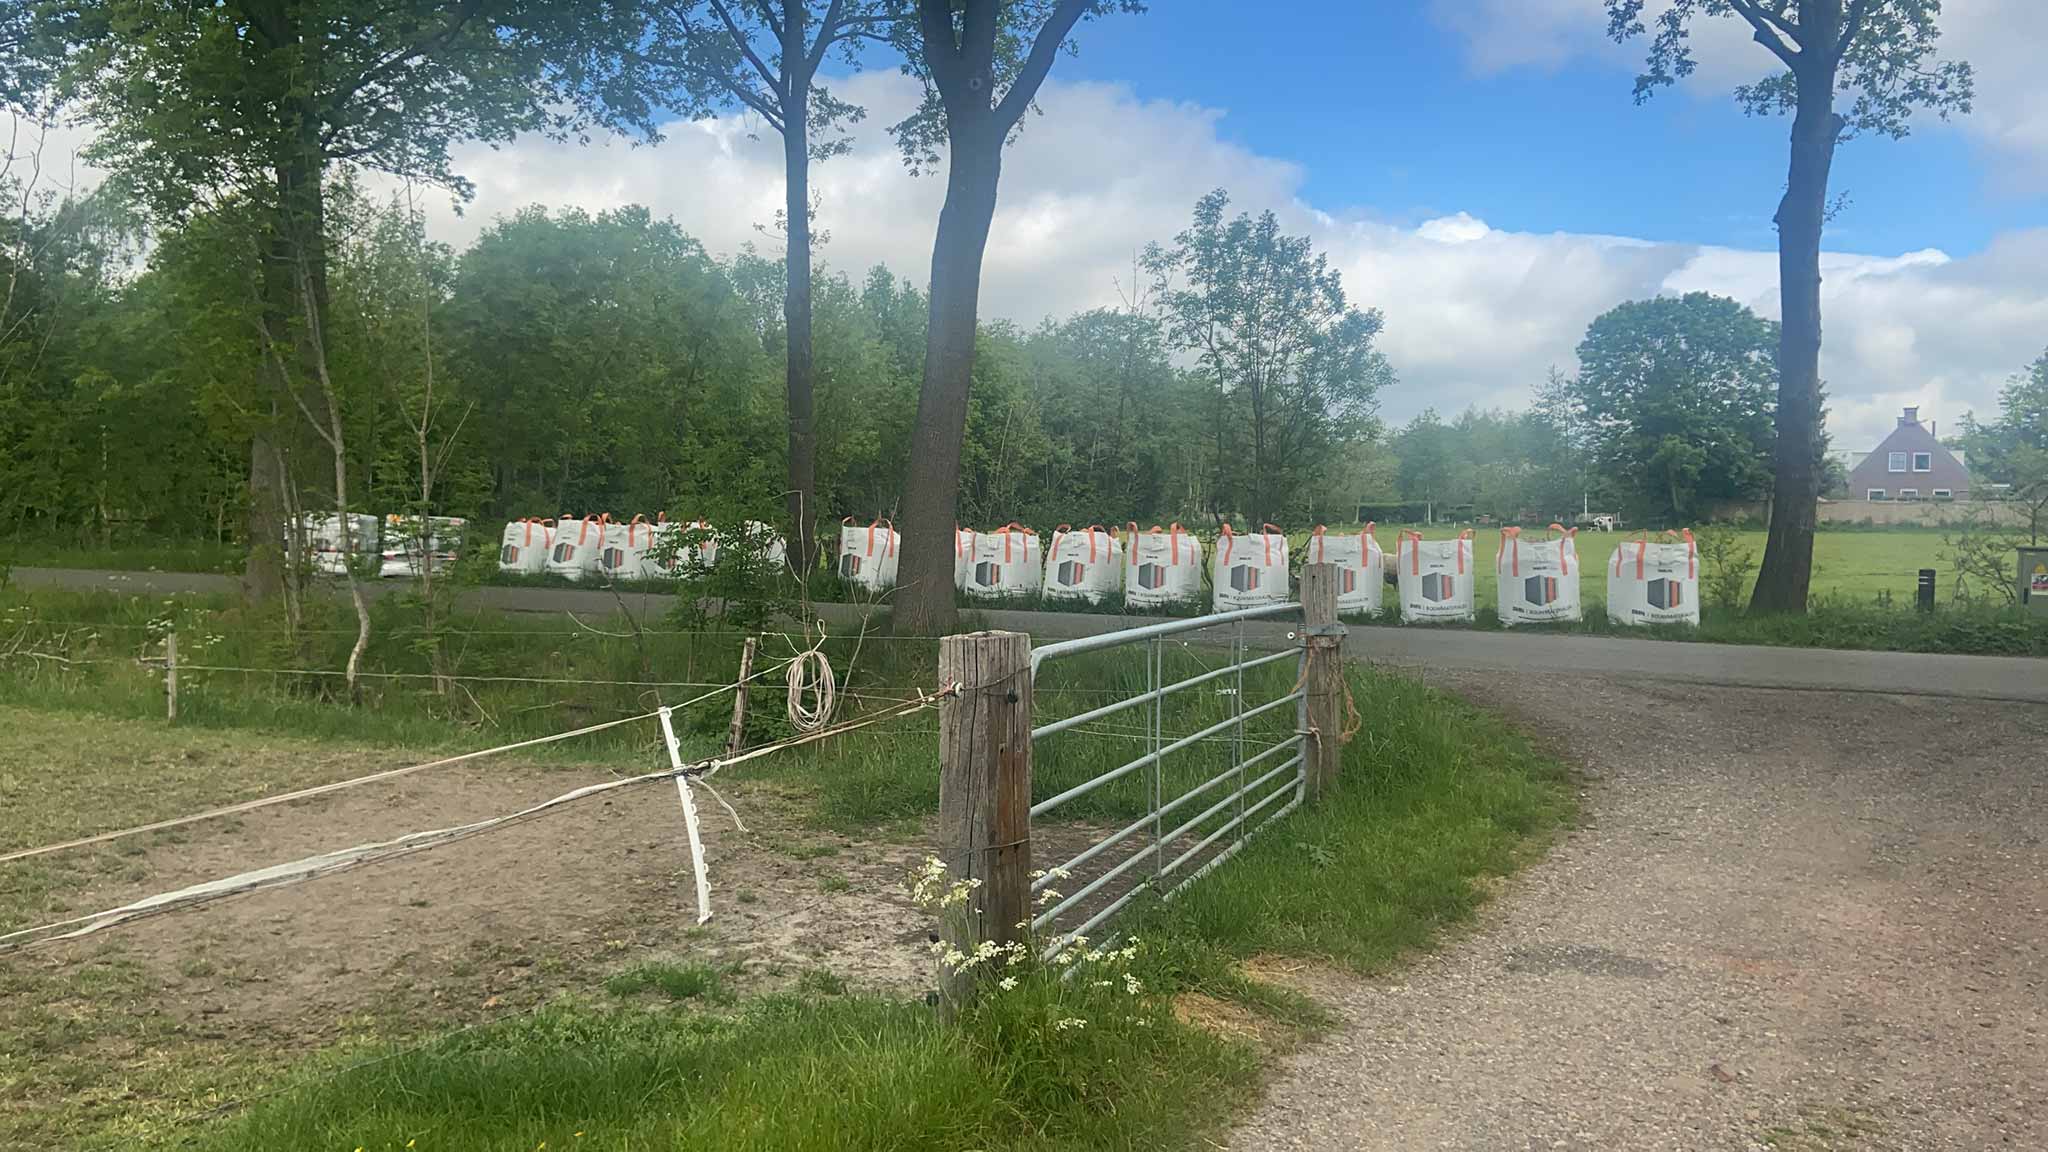
14 big bags (1 cubic meter each) of sand
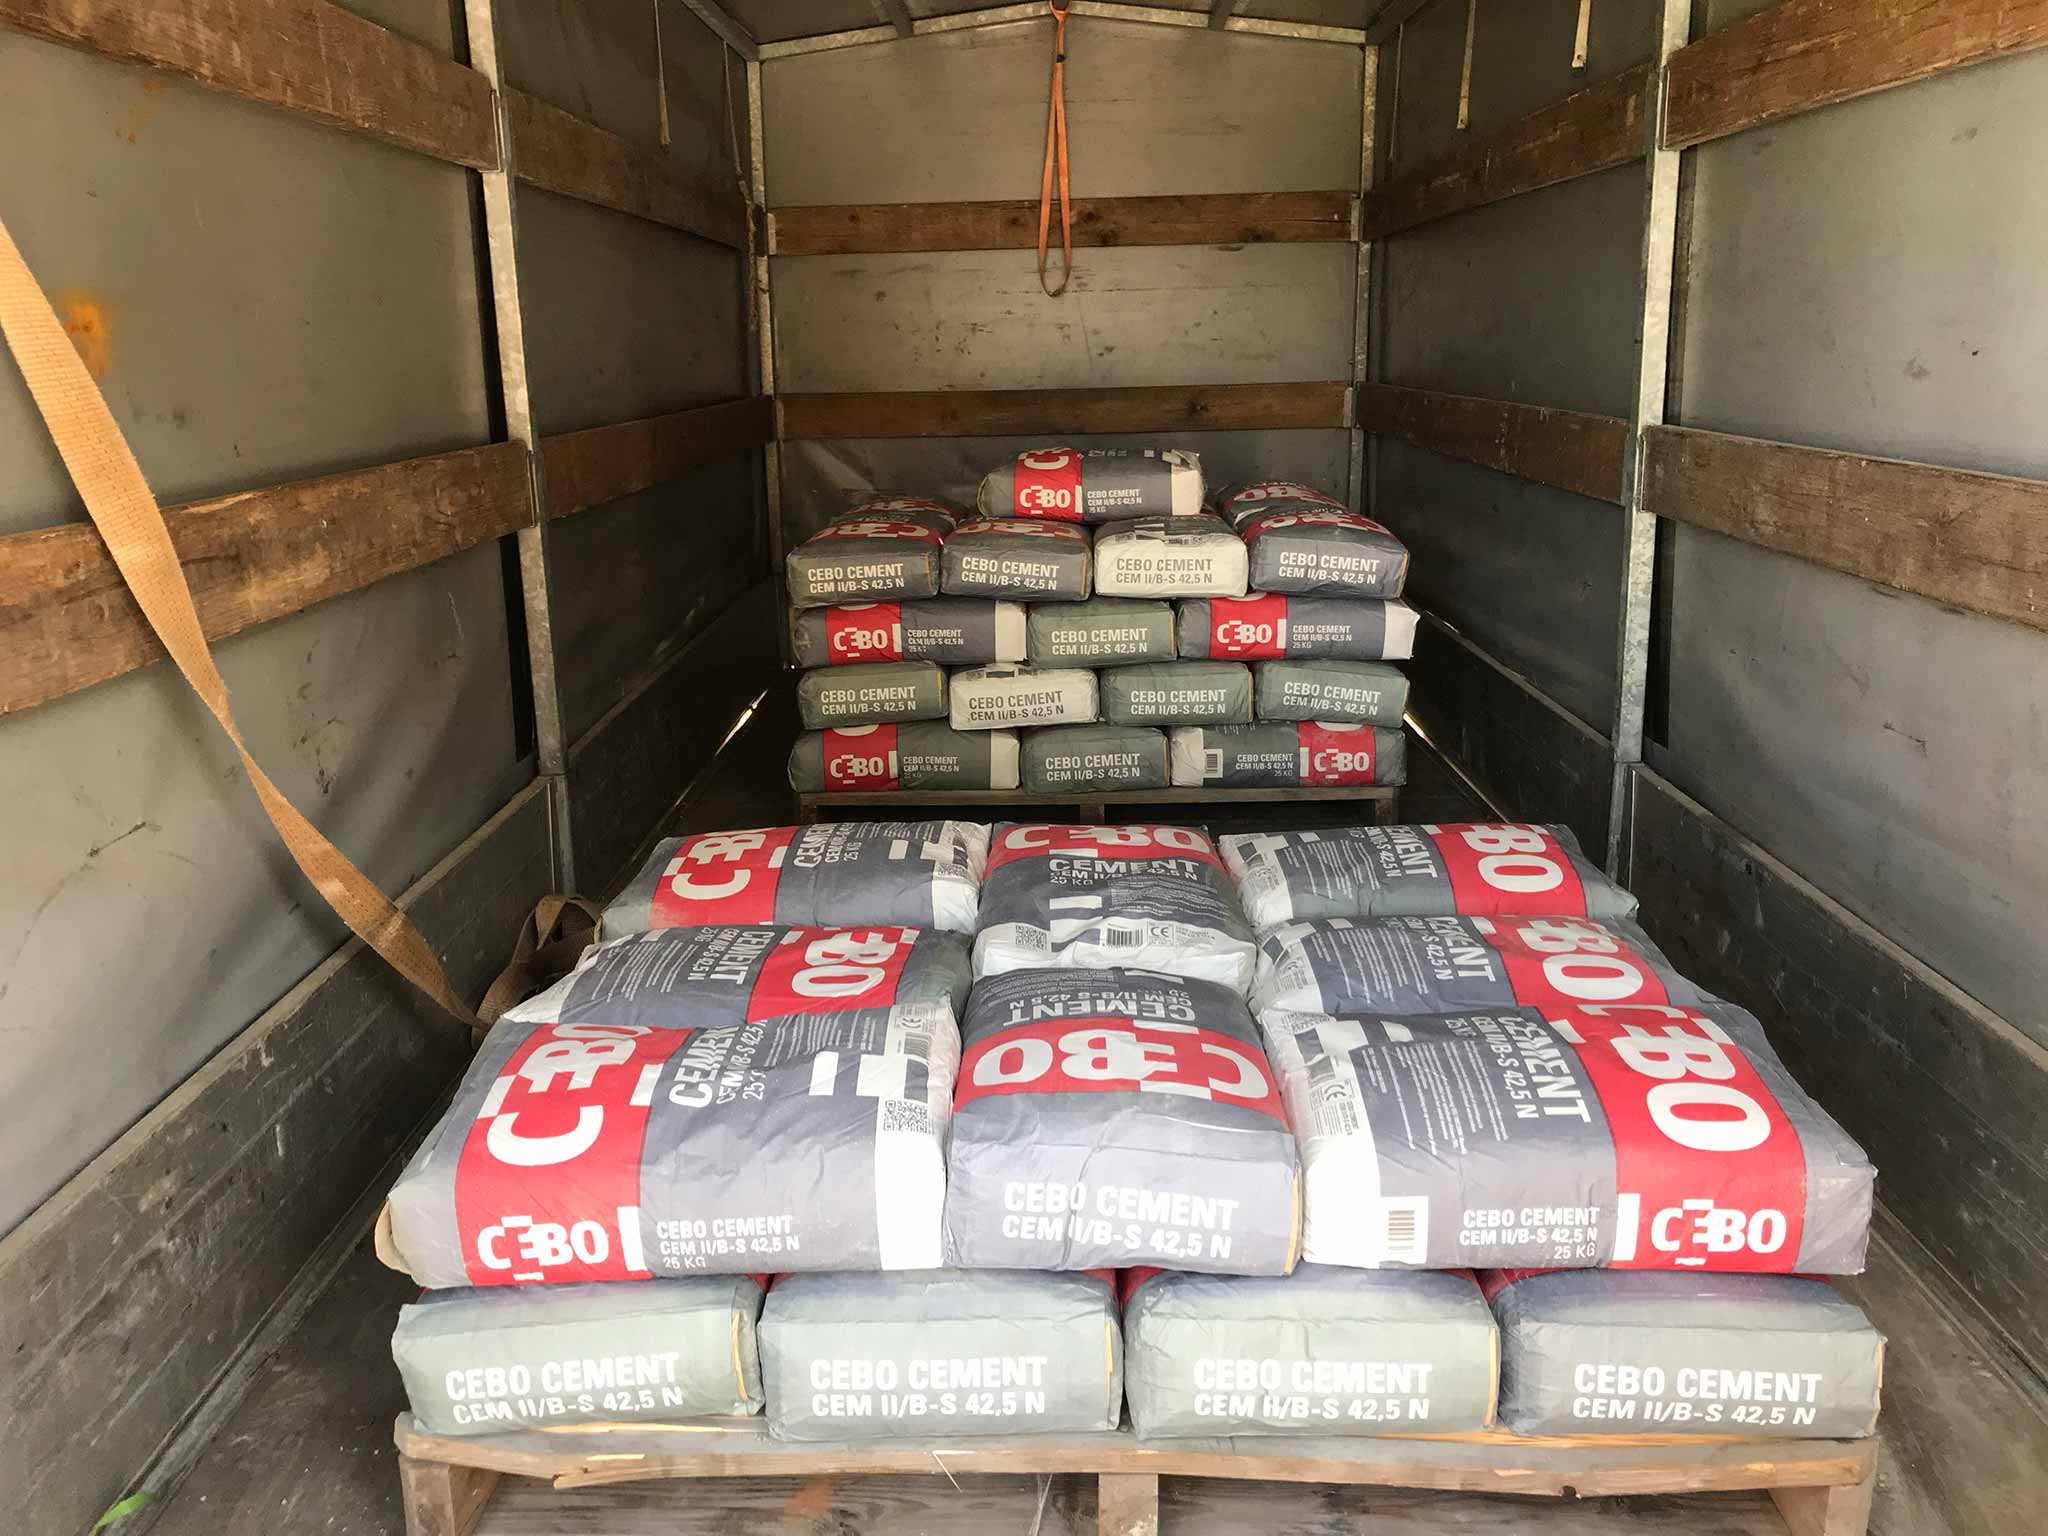
about 72 bags of cement
an unknown amount of water
Lined up, ready to be hauled over to the houseSand for the floor piled up at the houseShovelling it into the mixerNearly doneDone!
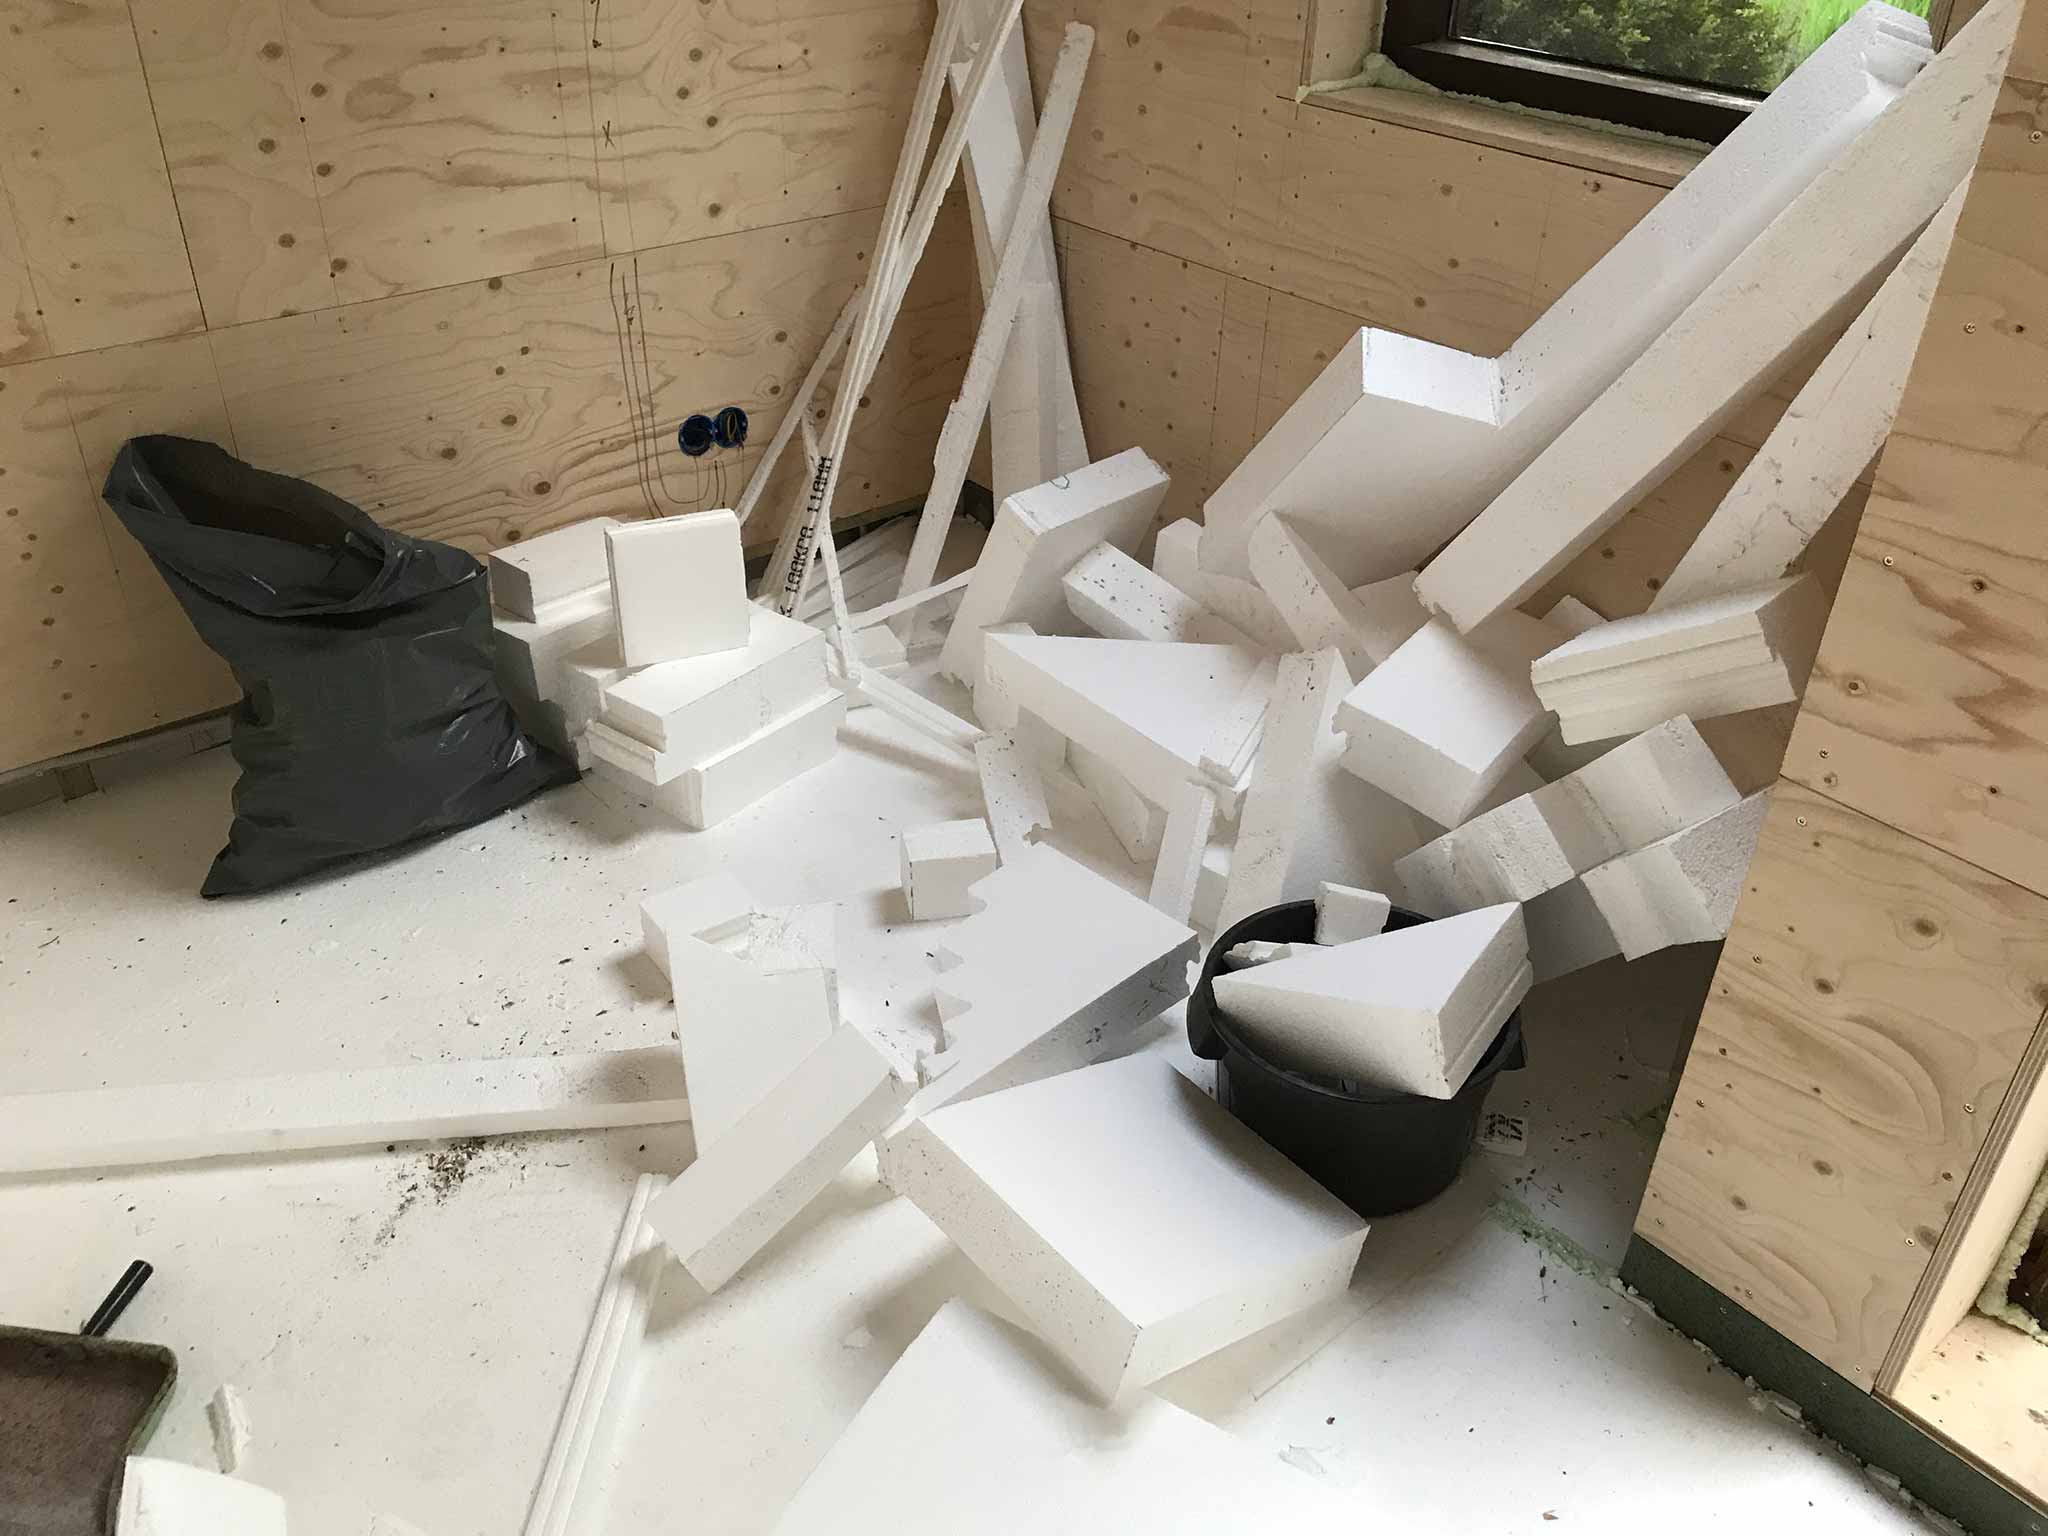
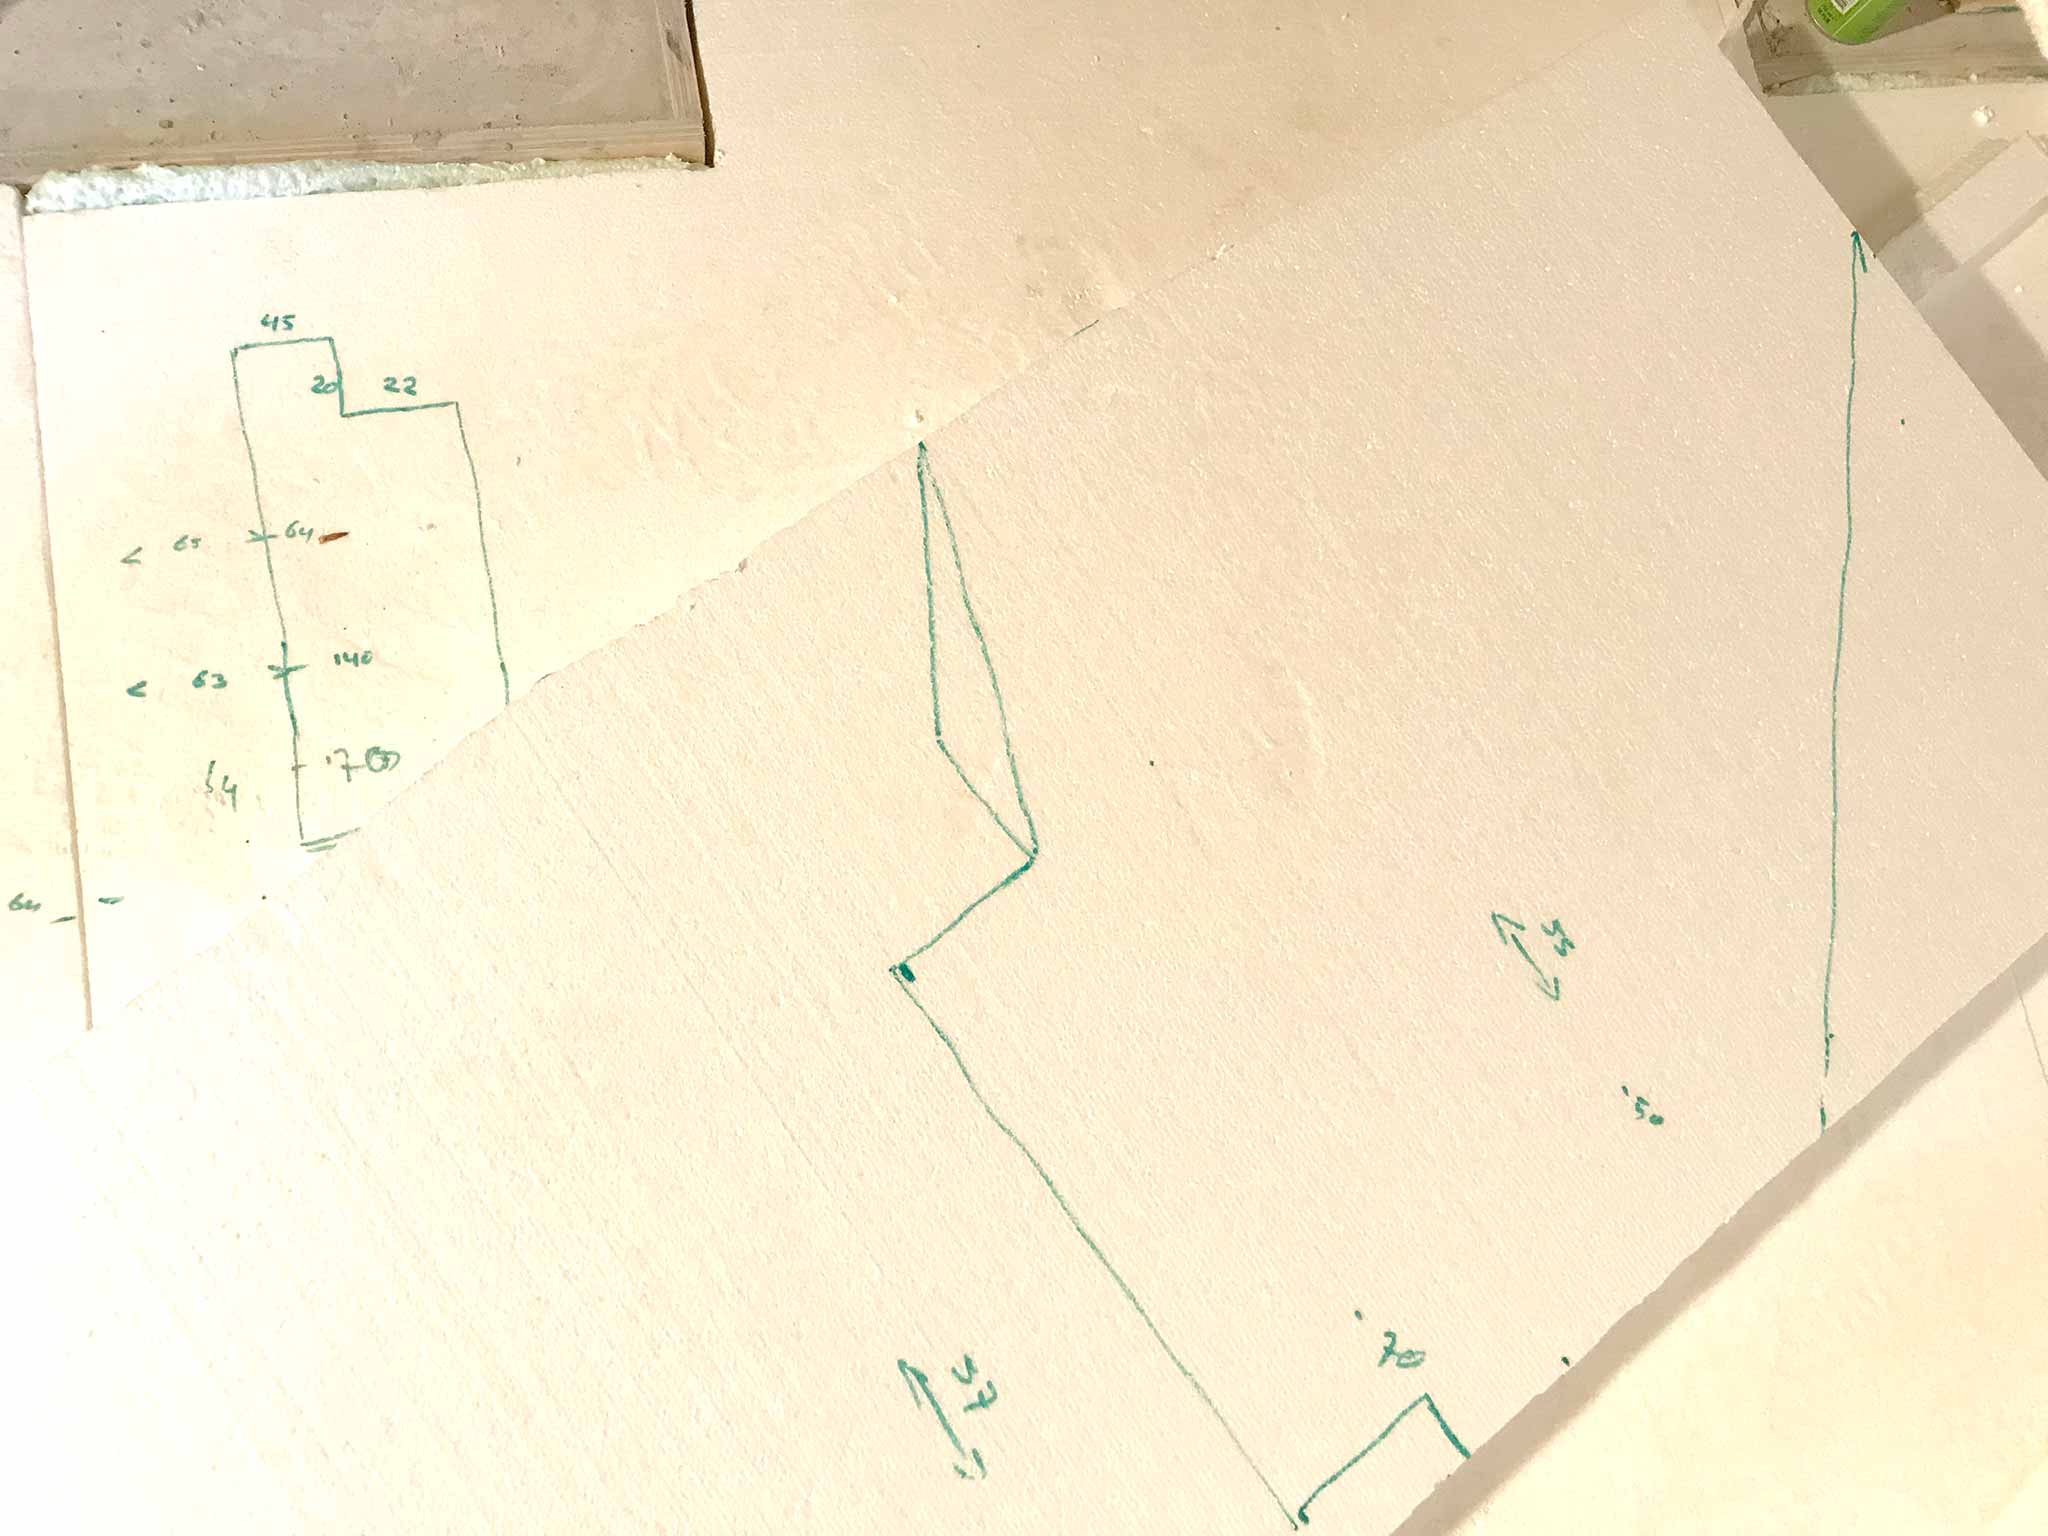
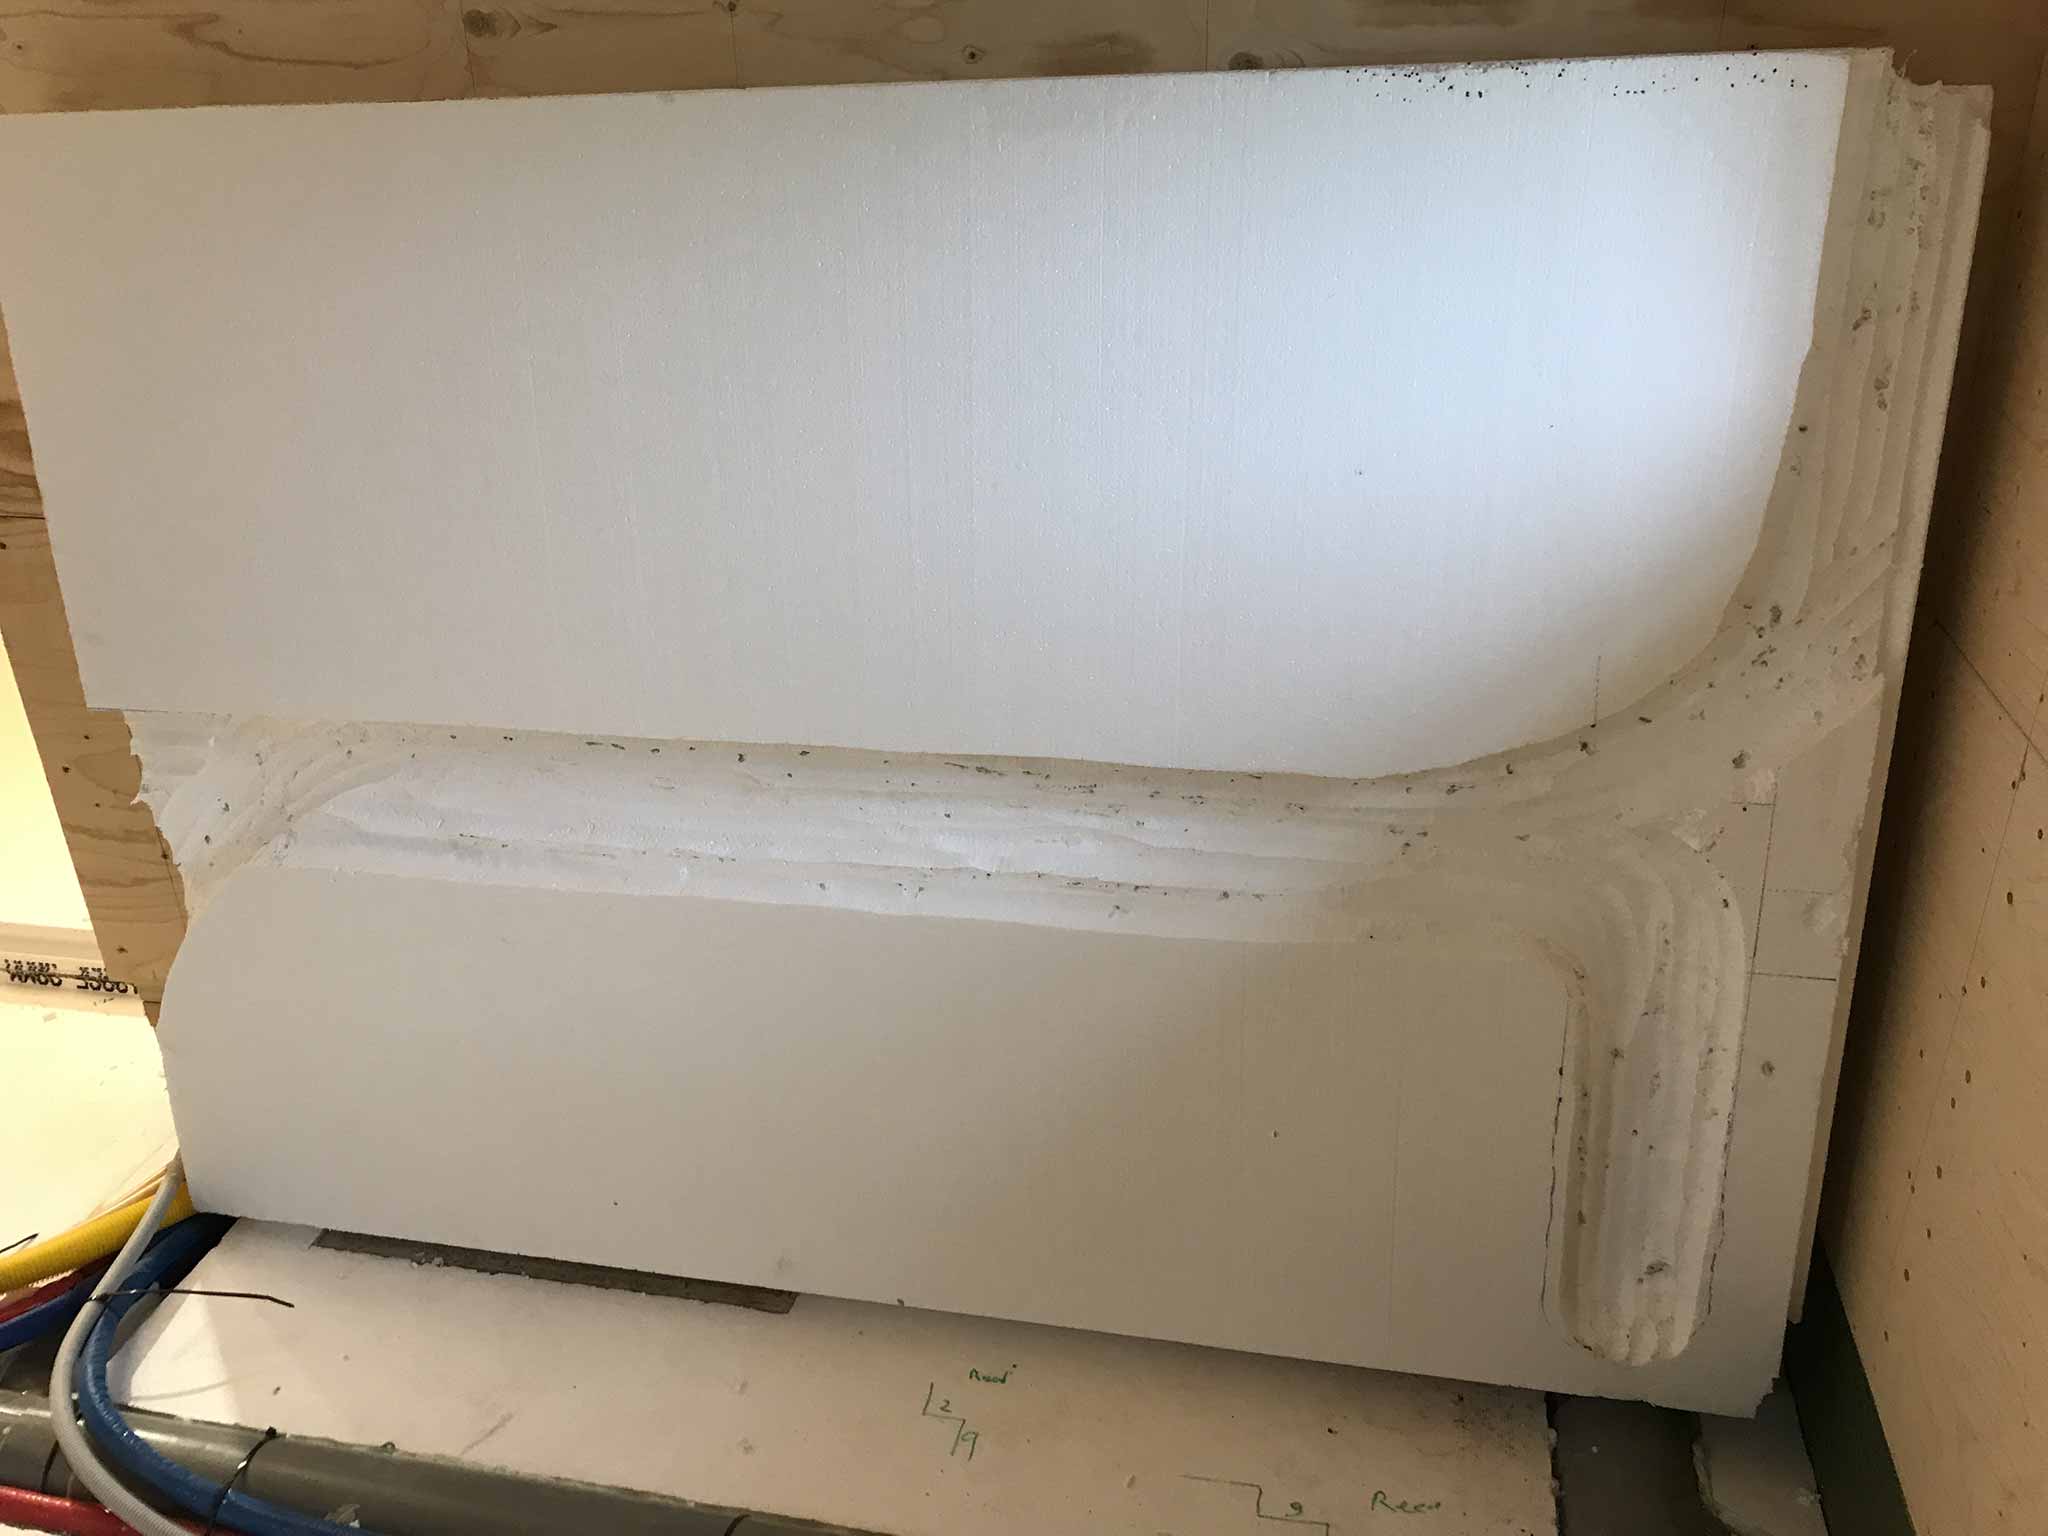
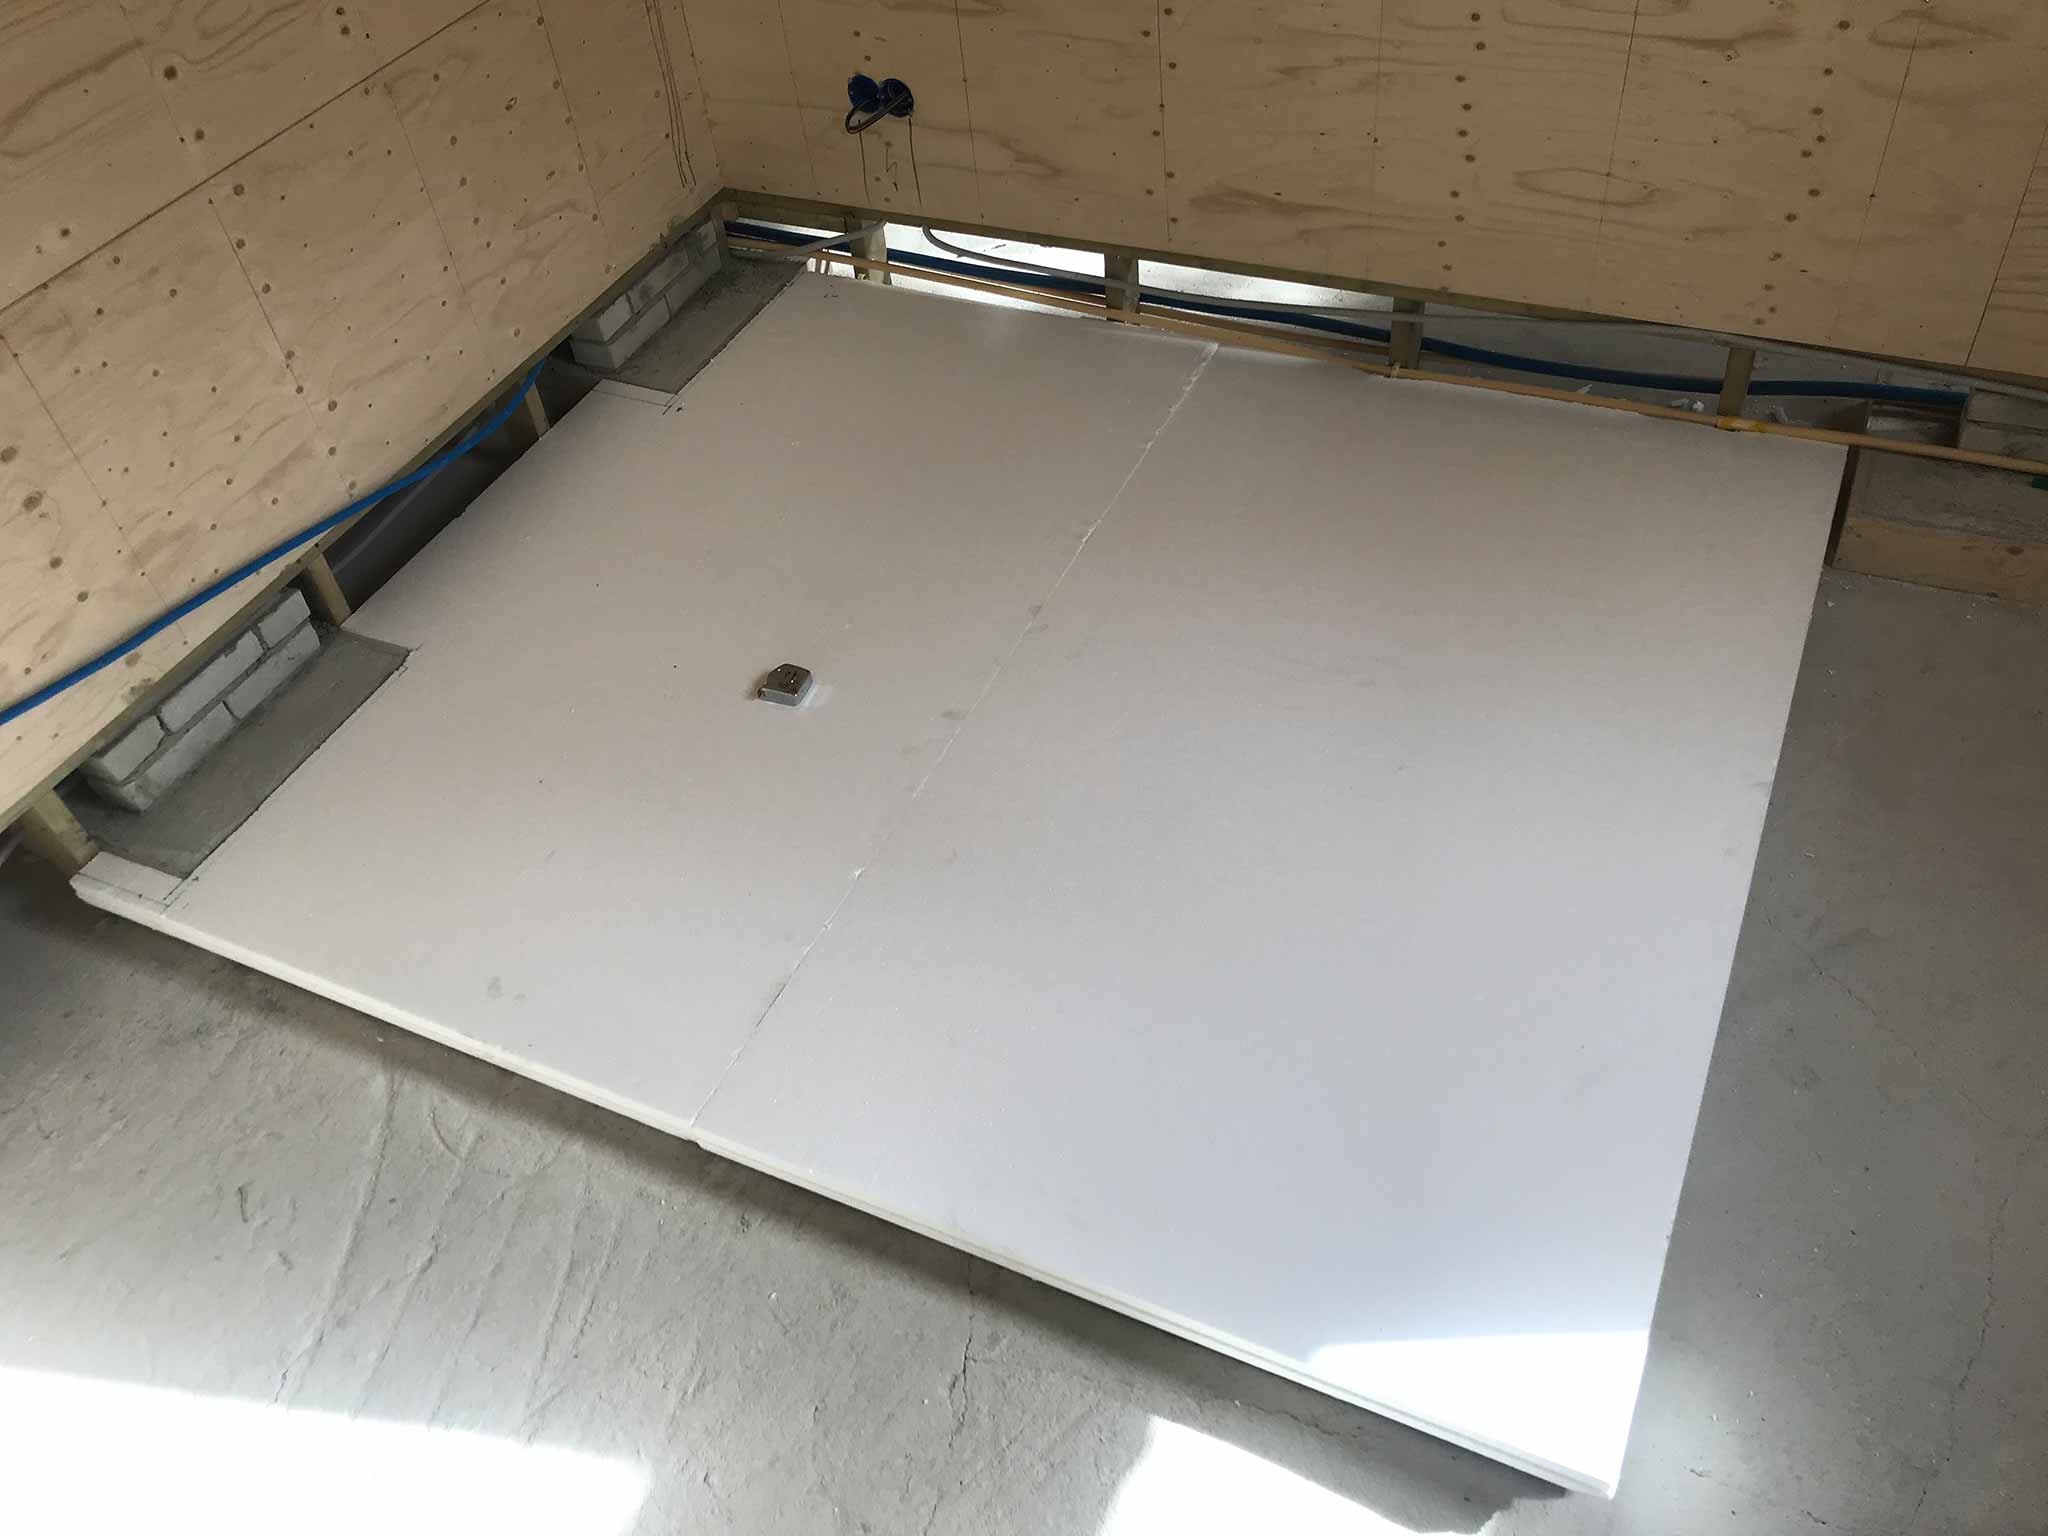
26 m^2 of styrofoam, thought it would be easier. The large flat areas are a breeze but there is plenty of corners, pipes and connections that need careful measuring. We were told it may have been done a bit too precise. Rougher around the edges and then filling with builders foam does the trick too. Oh well.
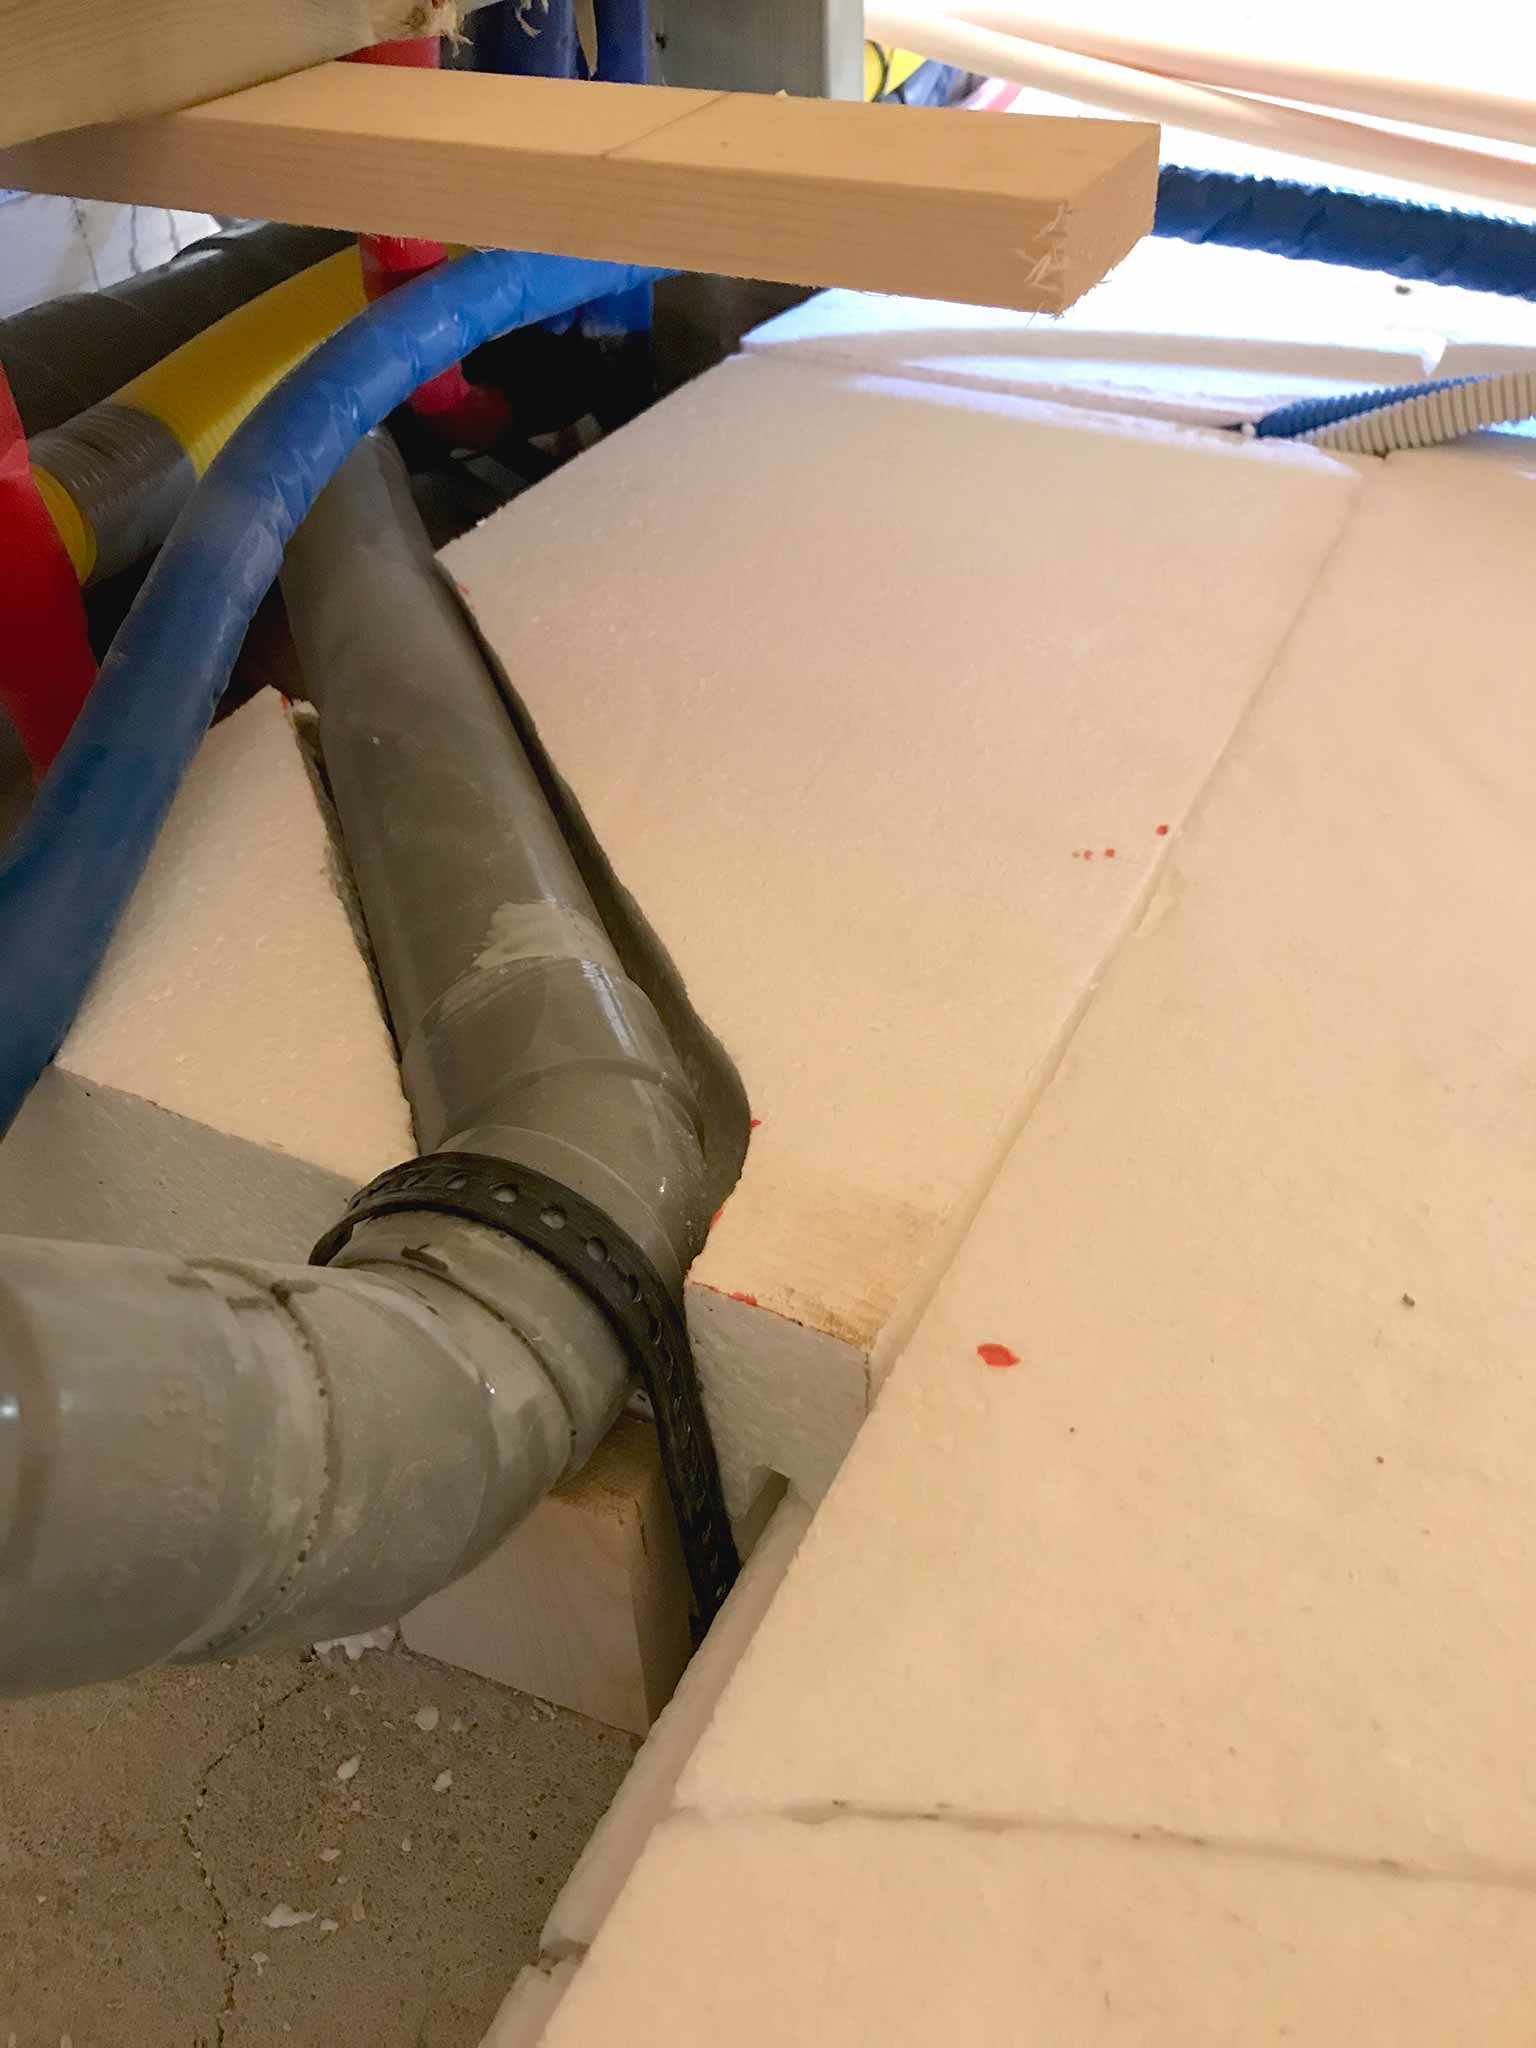
One of the stacks ready to be cut“Waar gehakt wordt vallen spaanders”Measurements for the recordDetail of isolation around the plumbingMore plumbing that needed wrapping
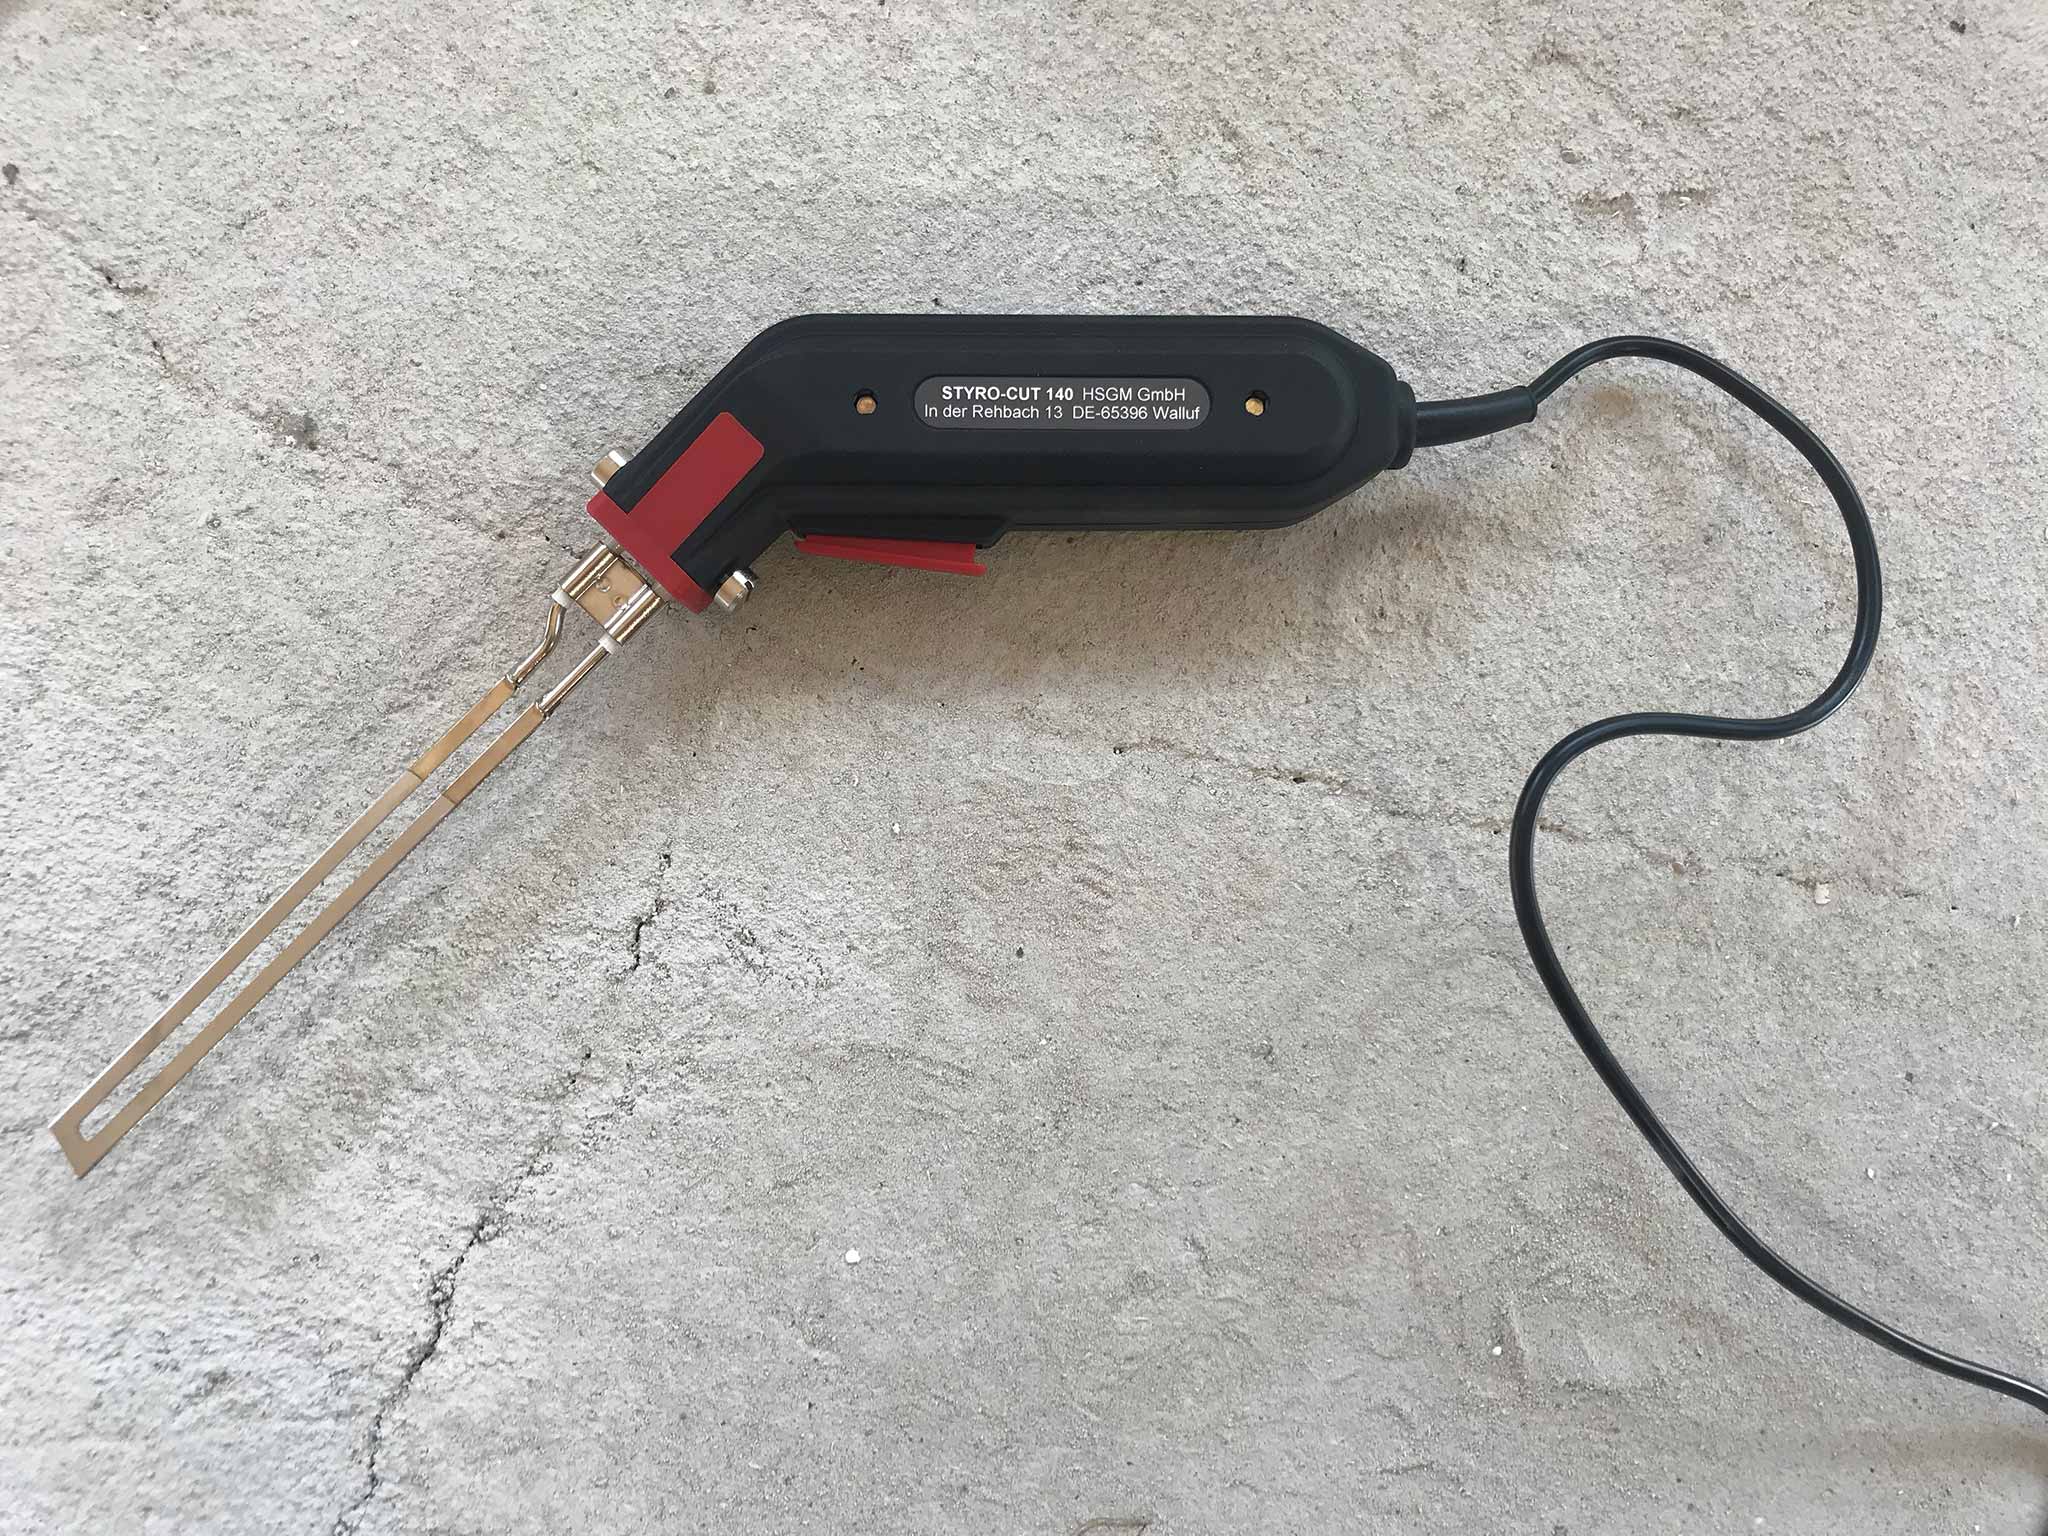
The most annoying pieces actually were where the styrofoam needed to be carved. The hot-knife was running so hot it was impossible to hold it with bare hands. And often it took more than a few attempts before it would actually fit.
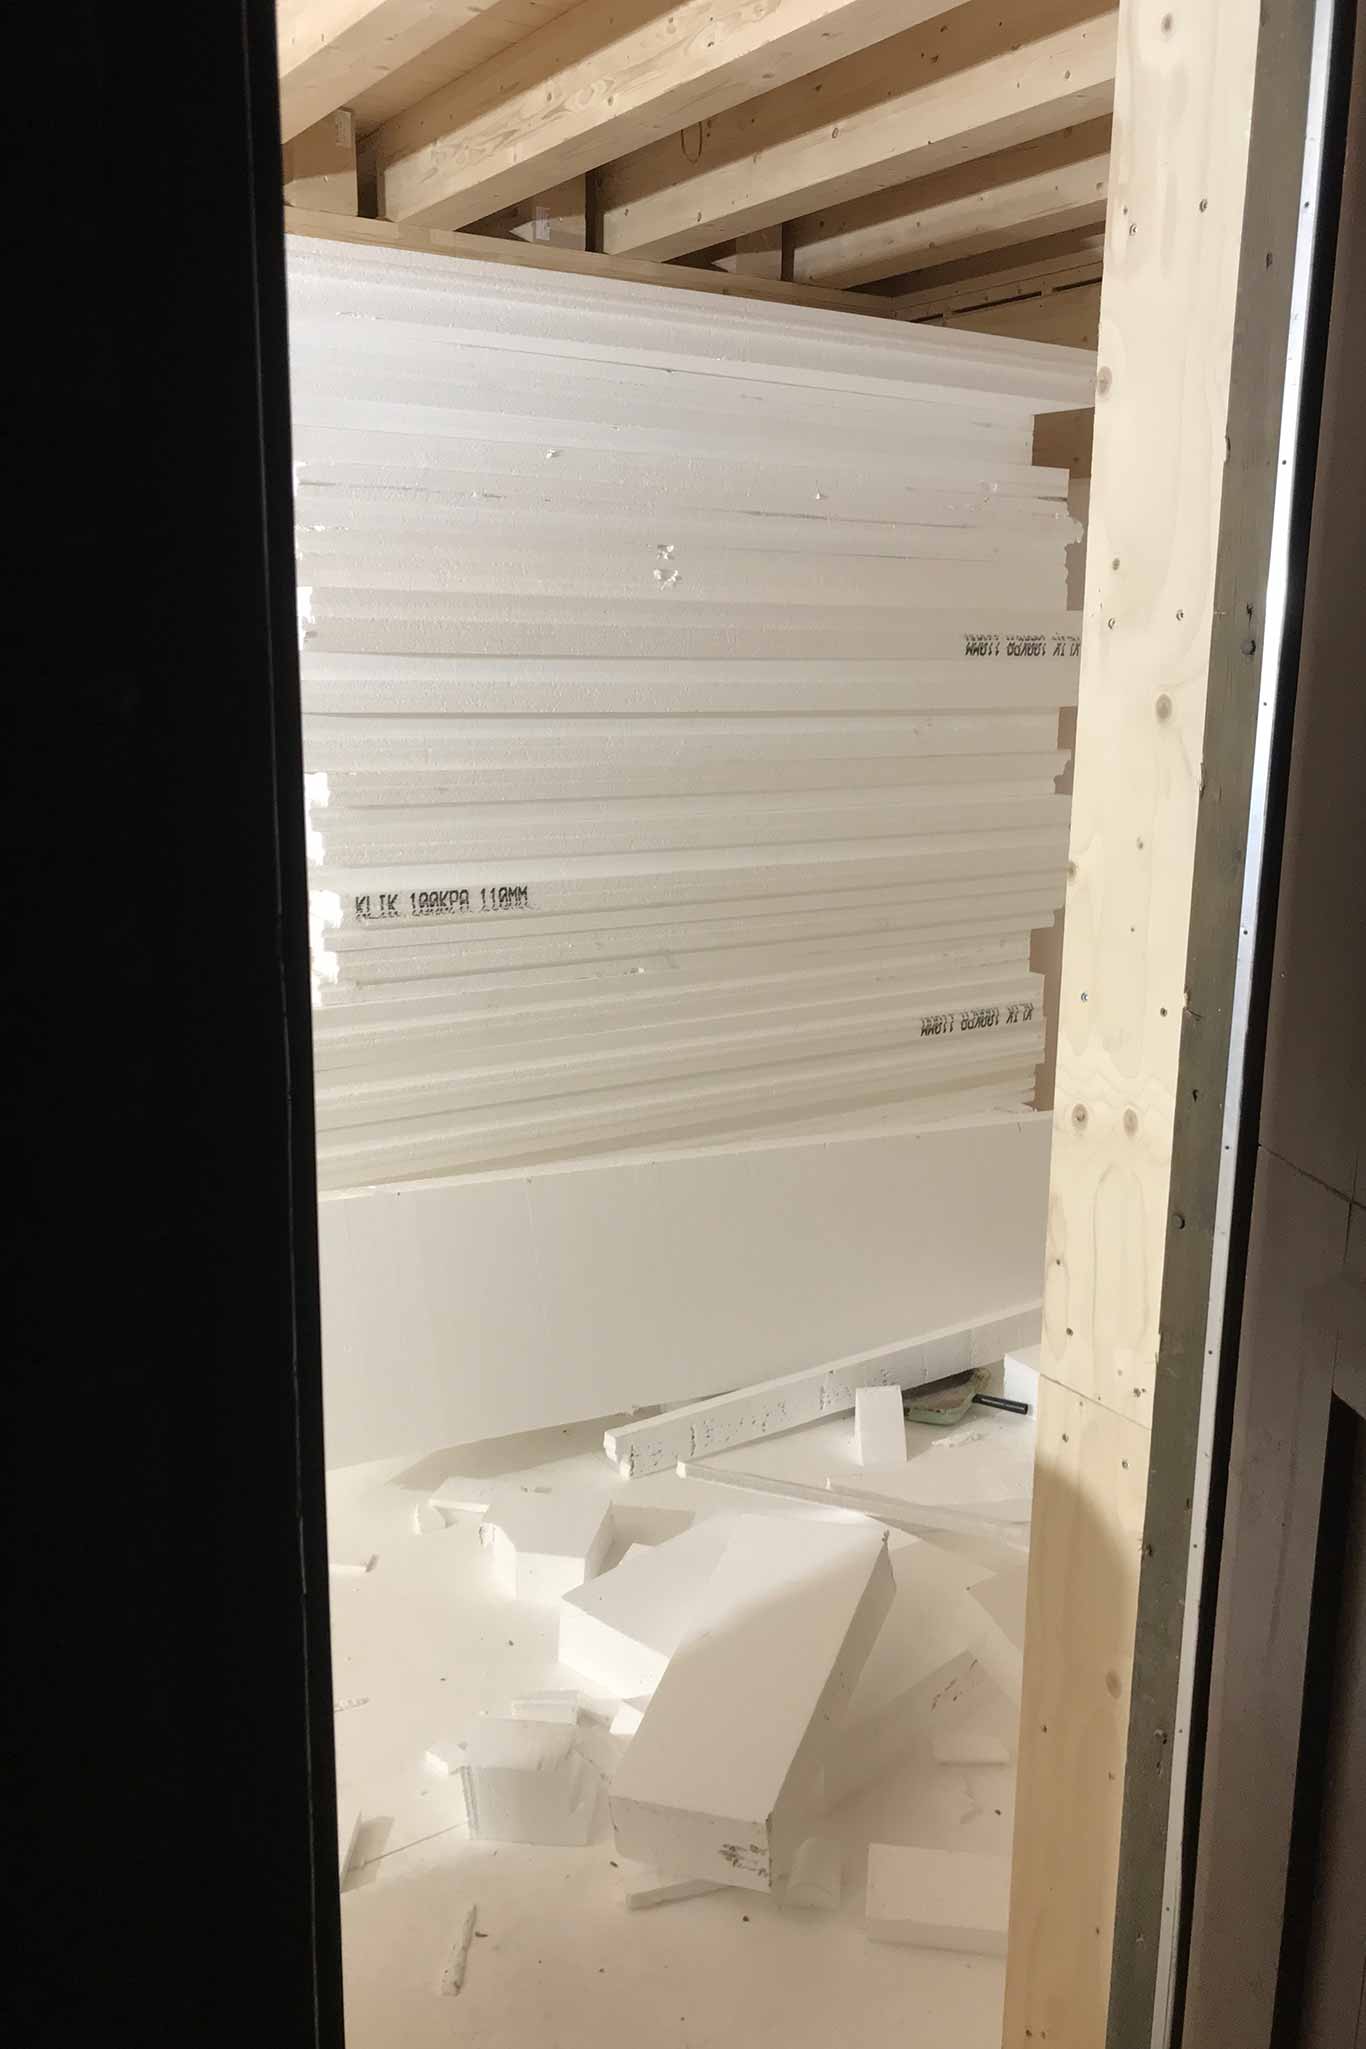
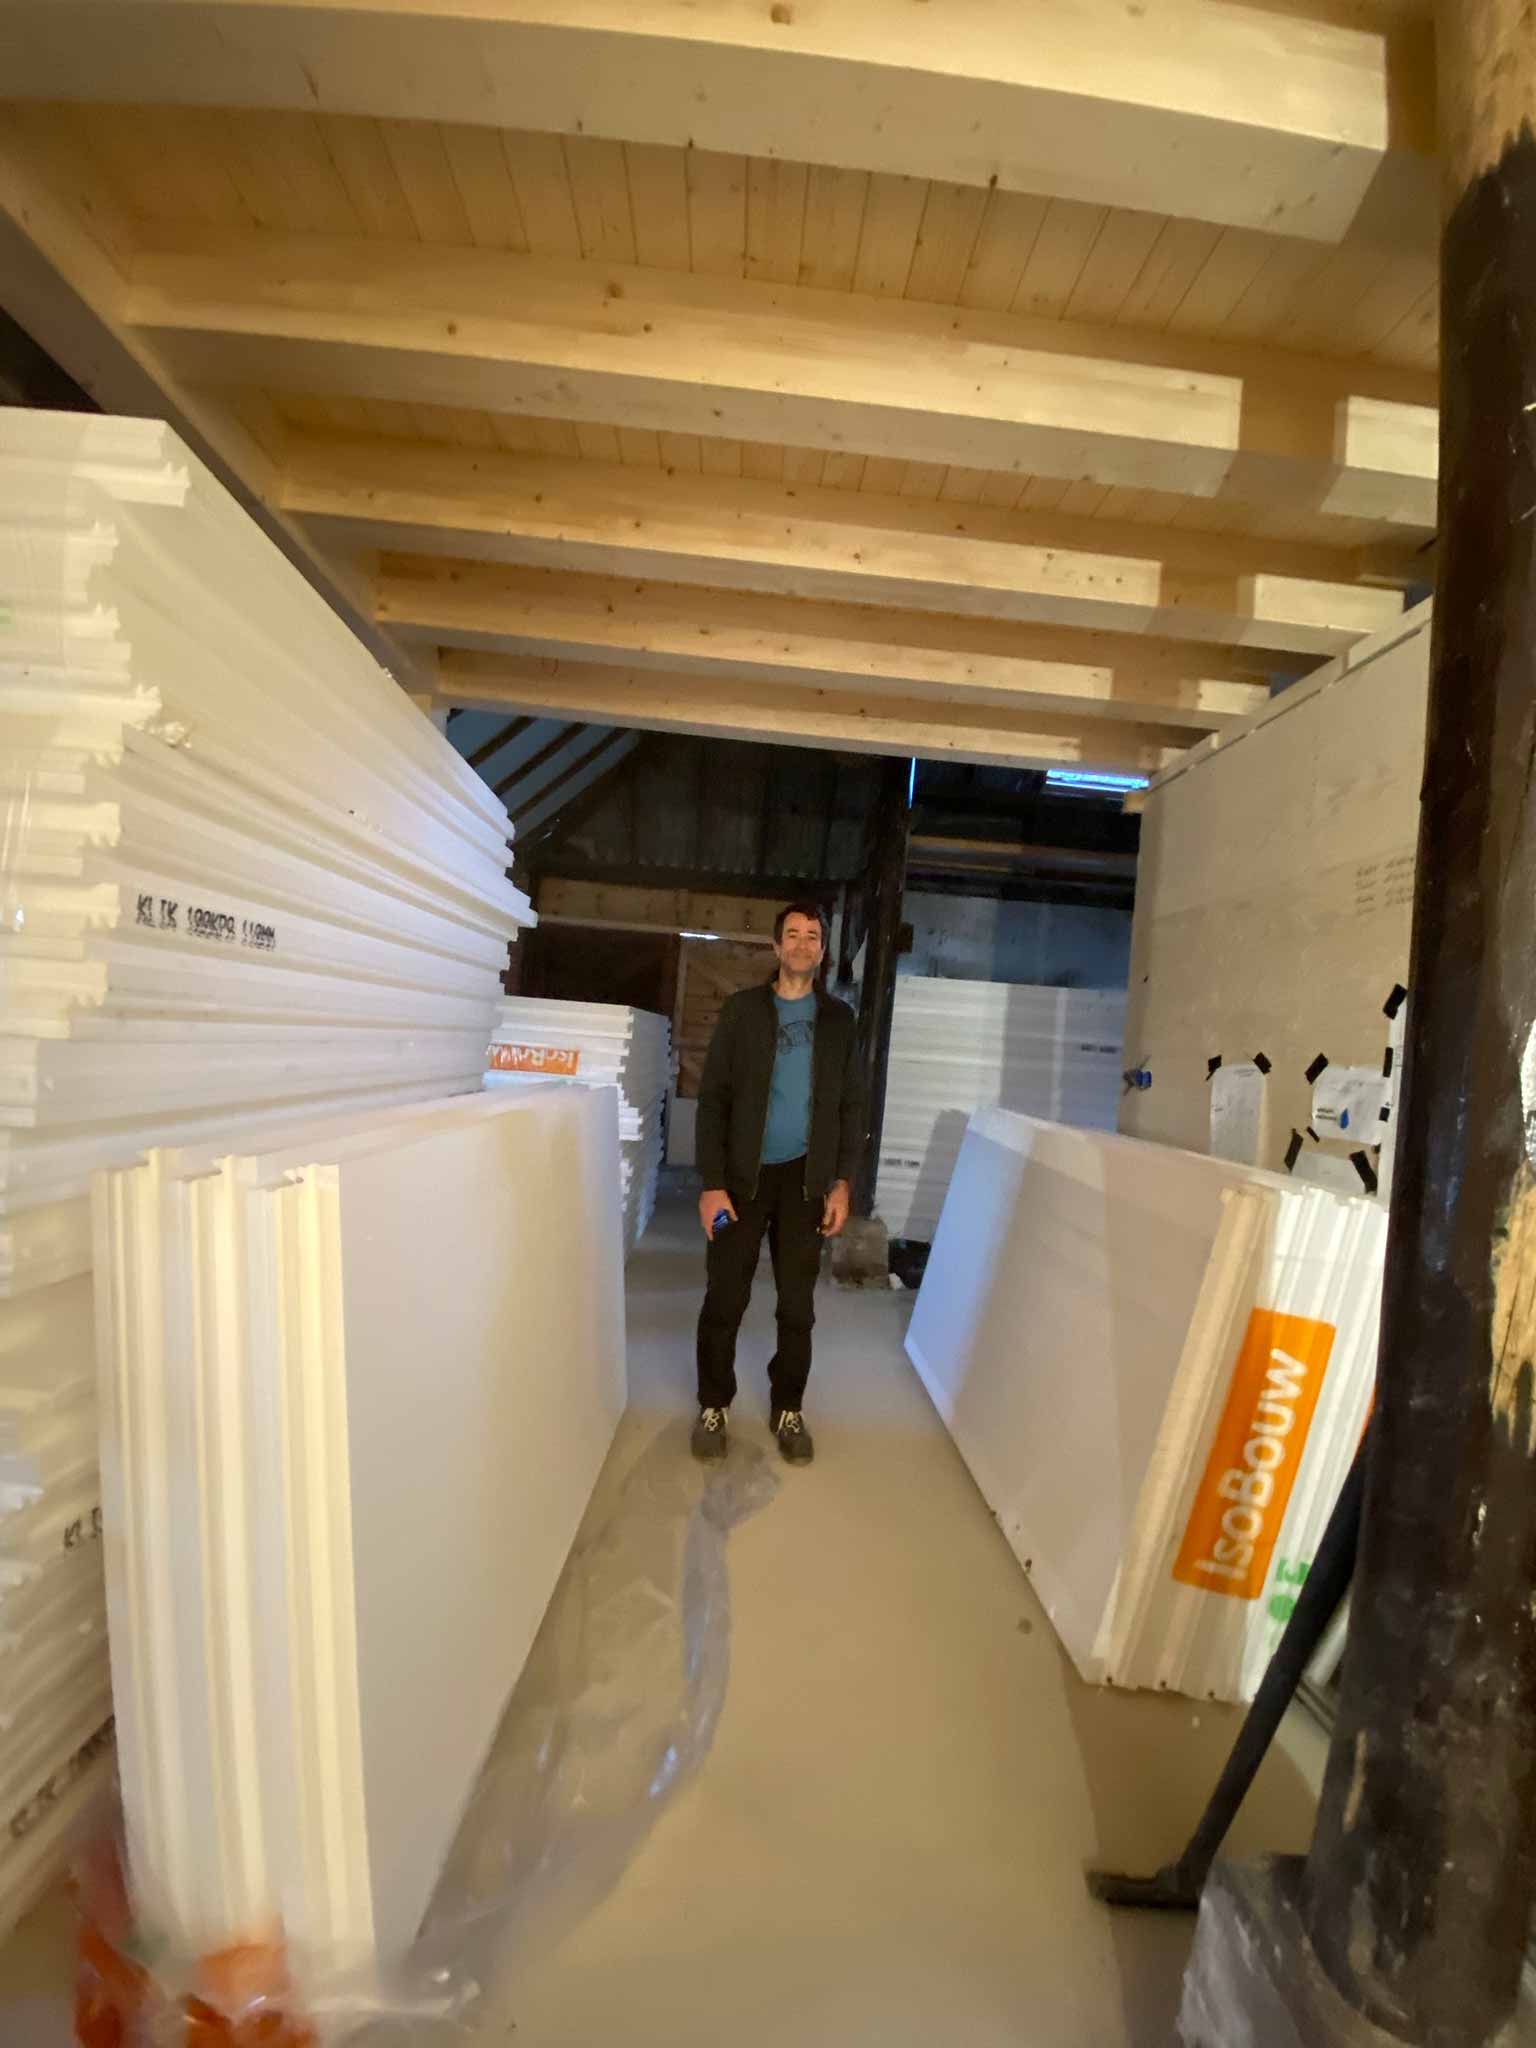
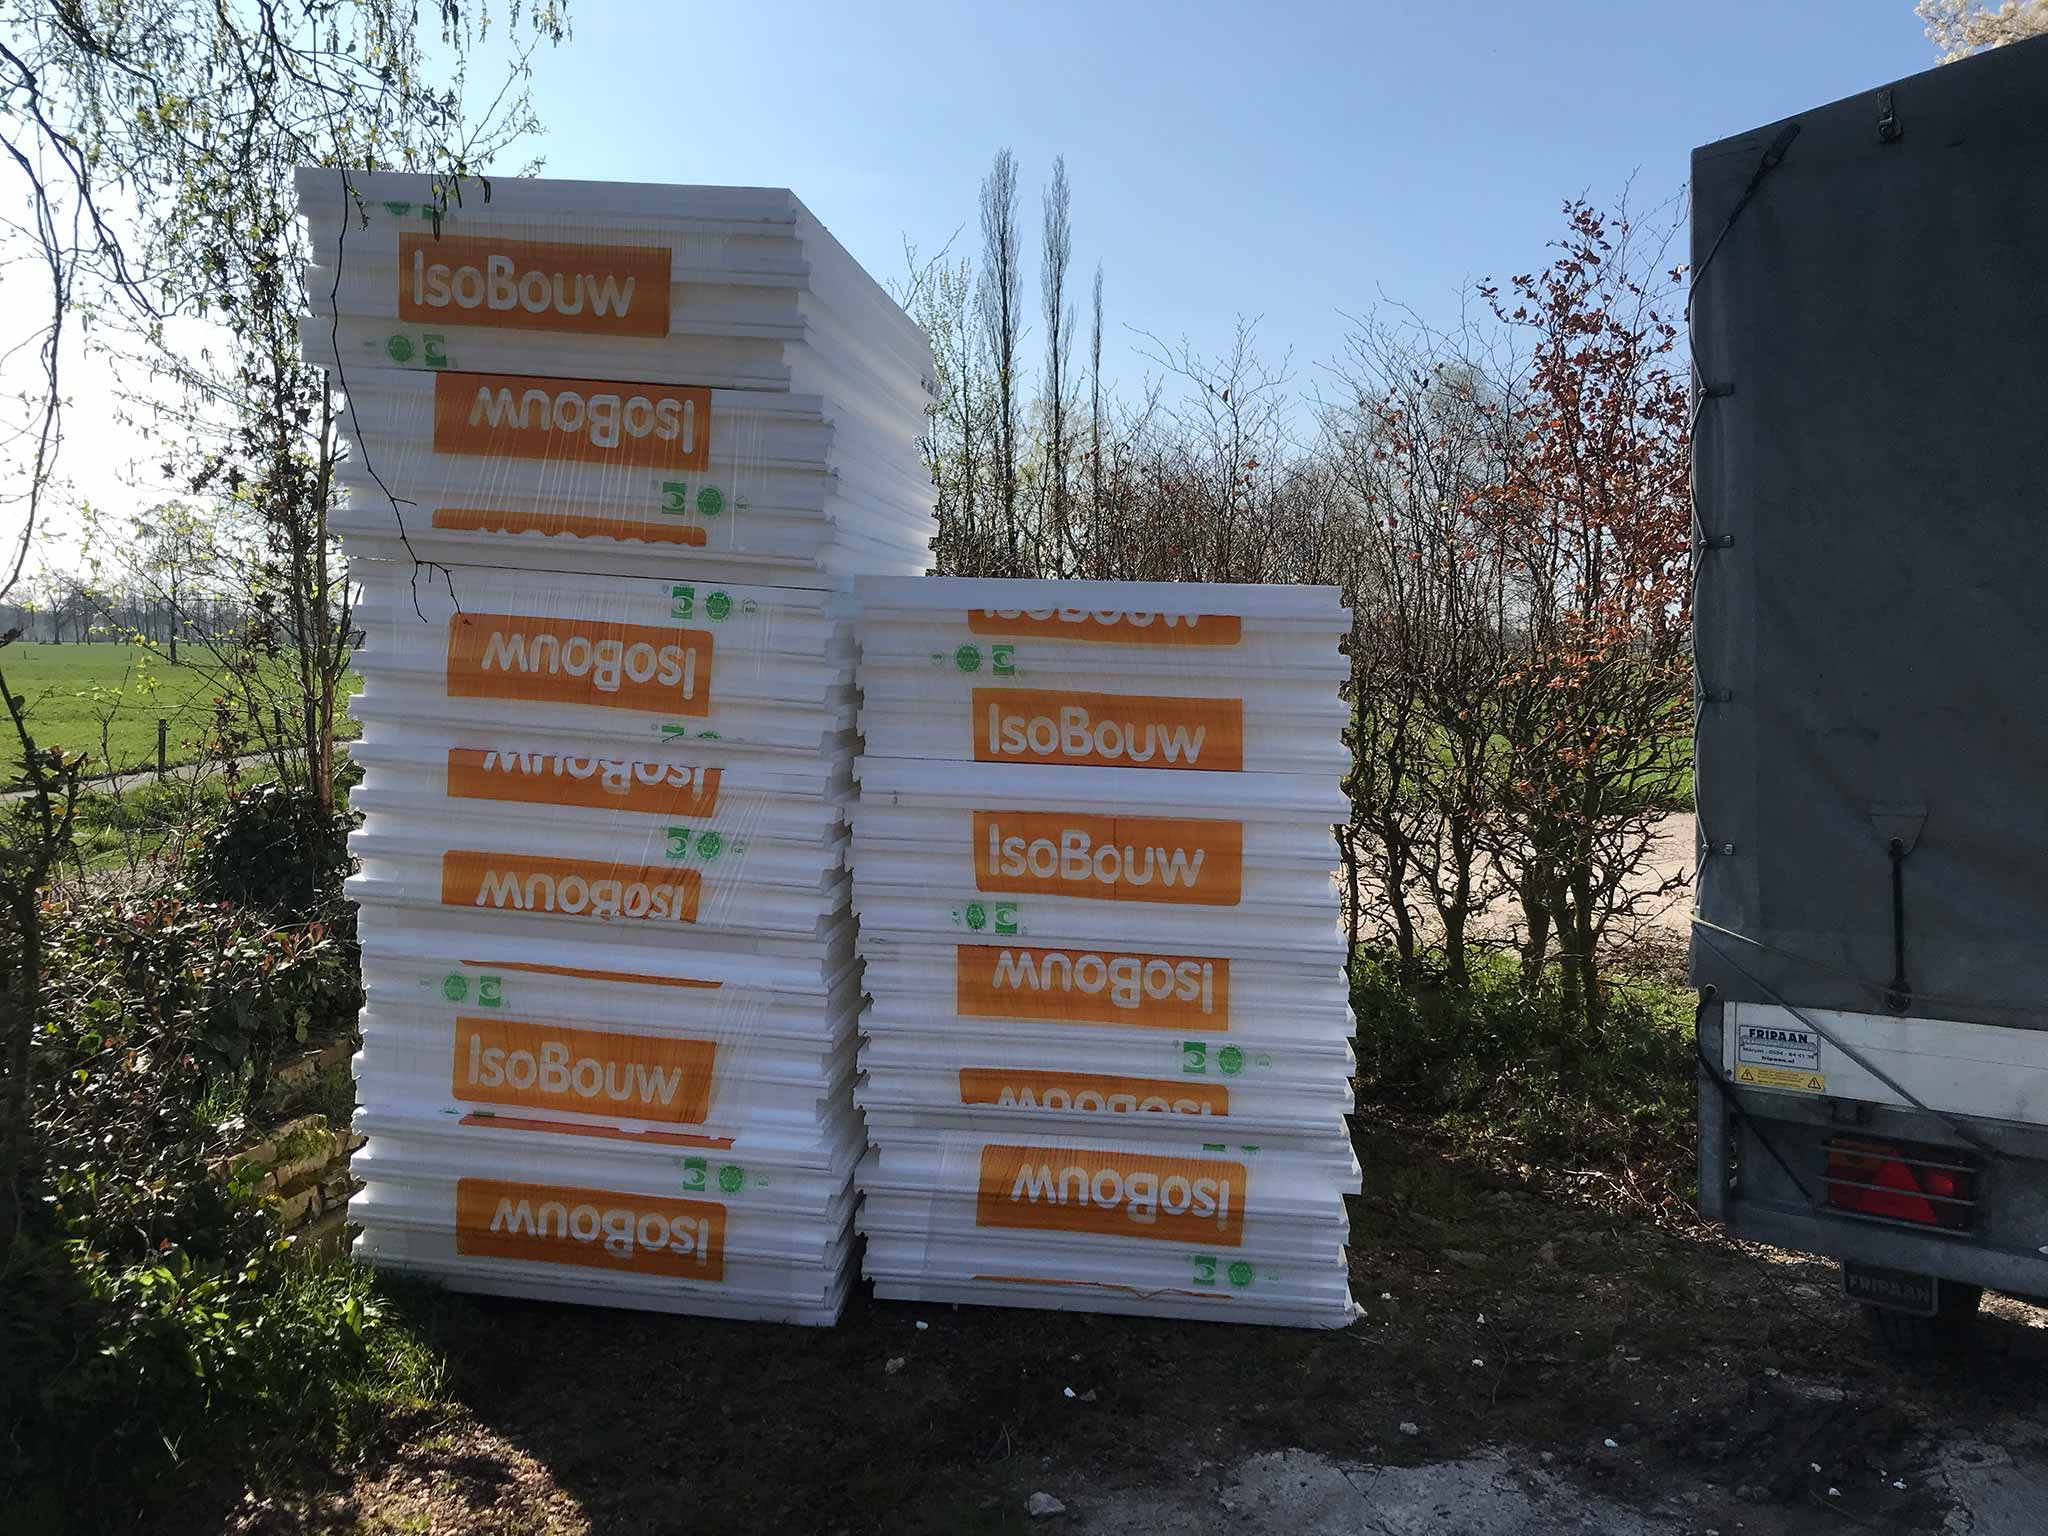
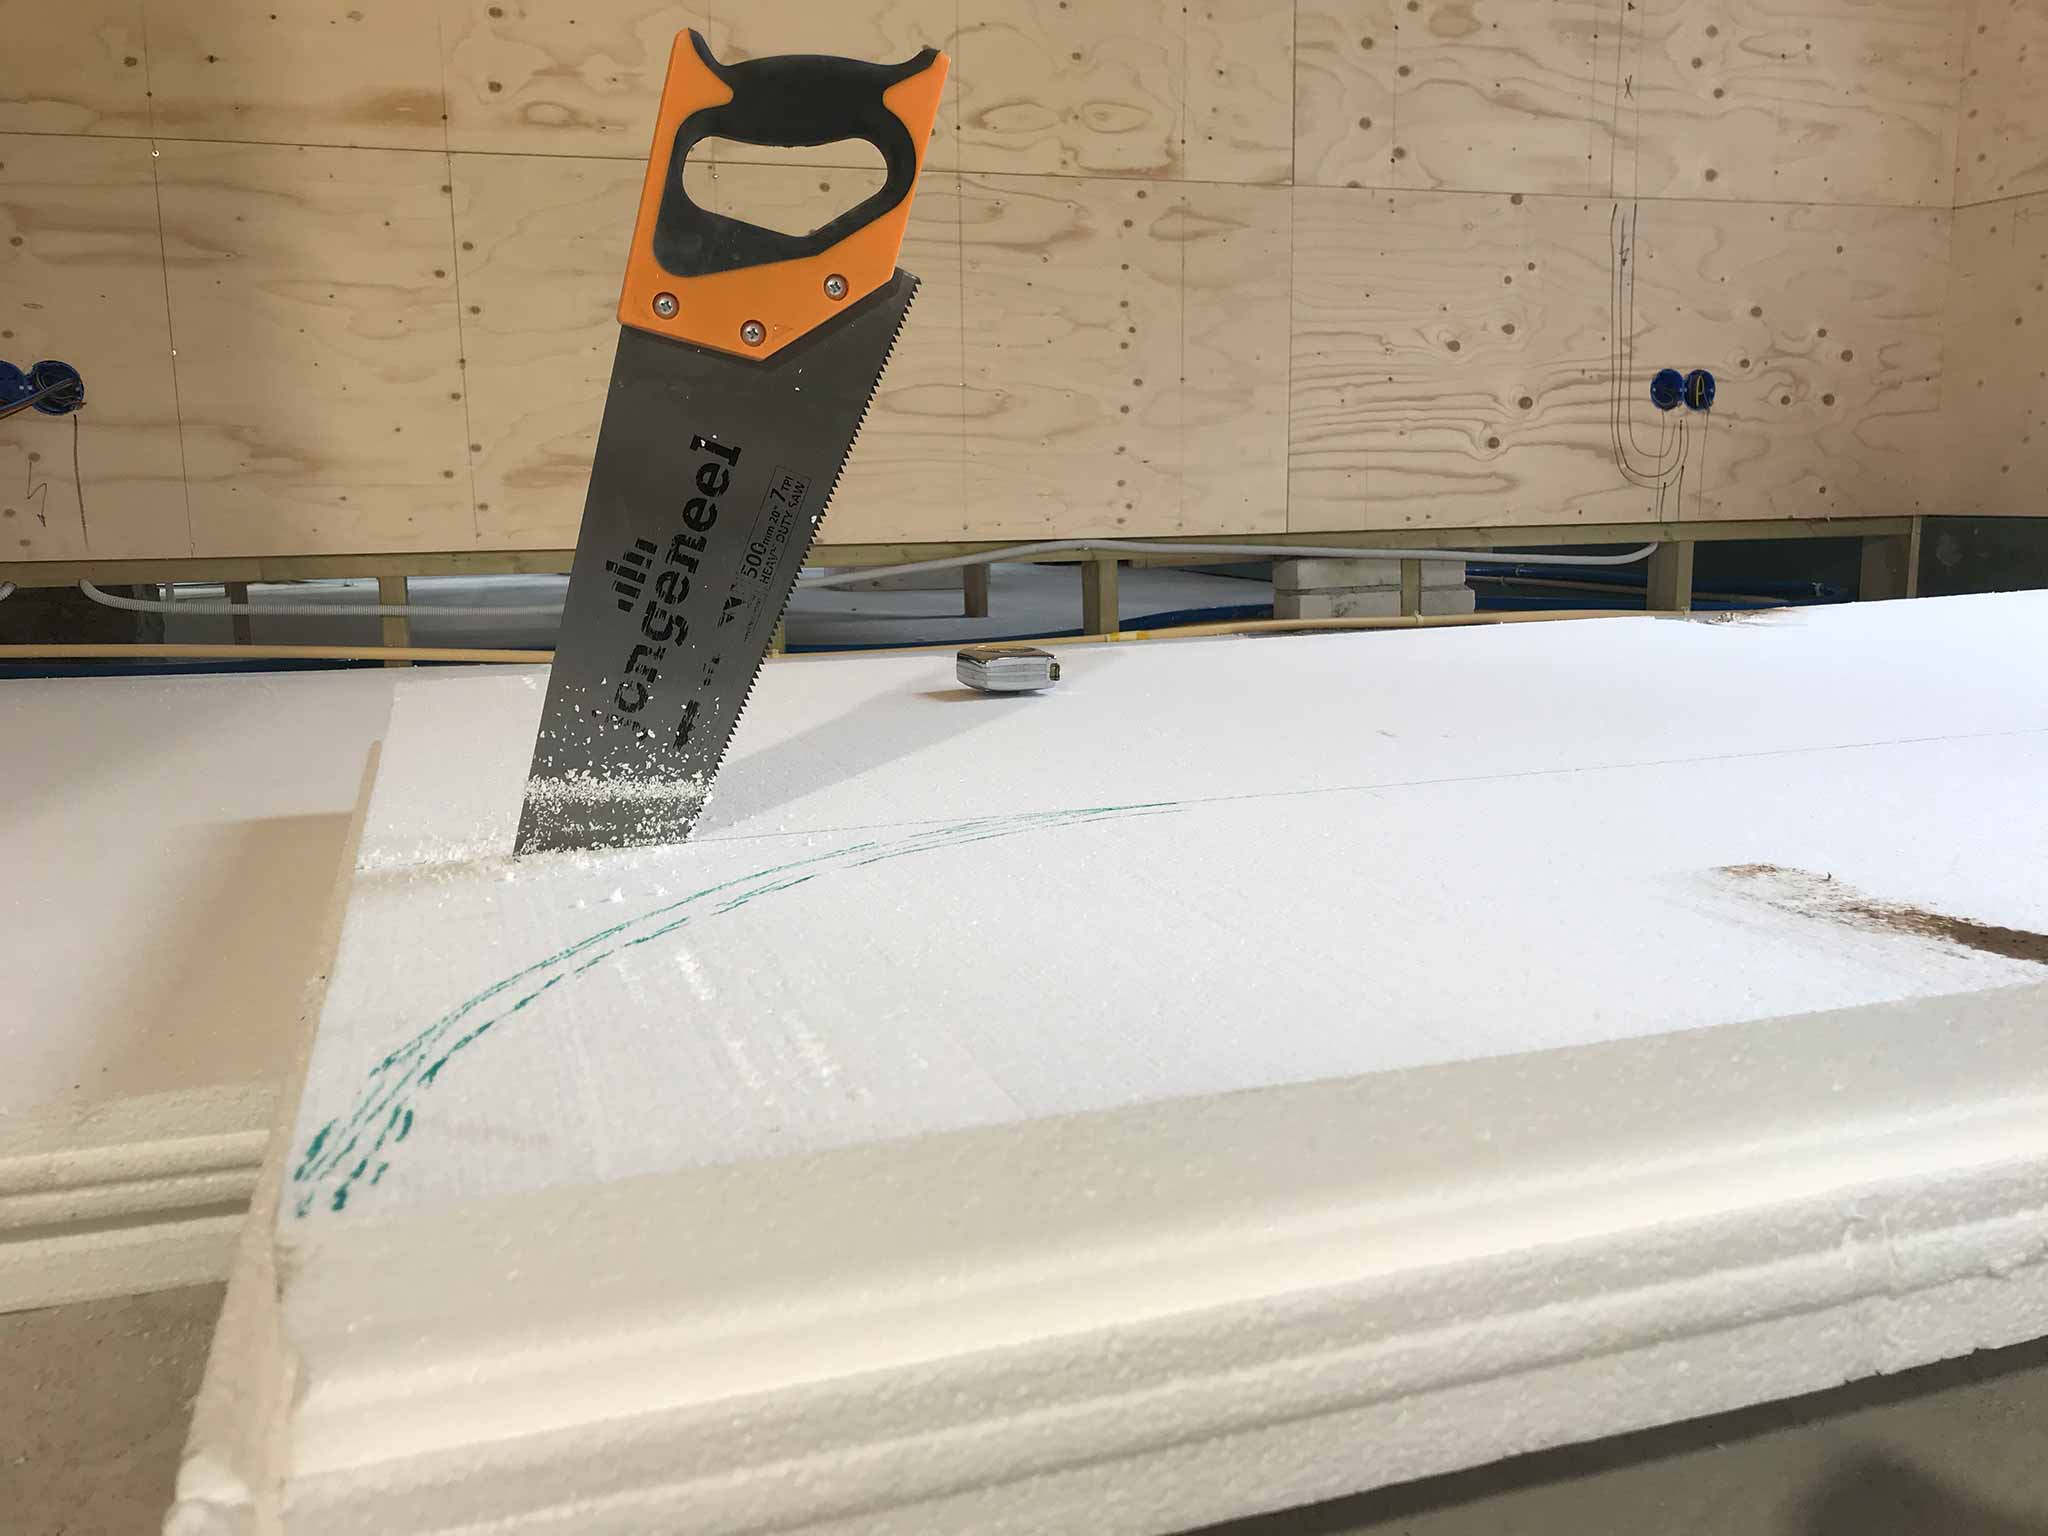
Cutting halfway through a board with the curved hot-knifeSnug fit!Such … big … stacks
Near (what should be) 300 square meters of styrofoam arrived, it will become one layer of 11cm plates and one of 9cm plates.
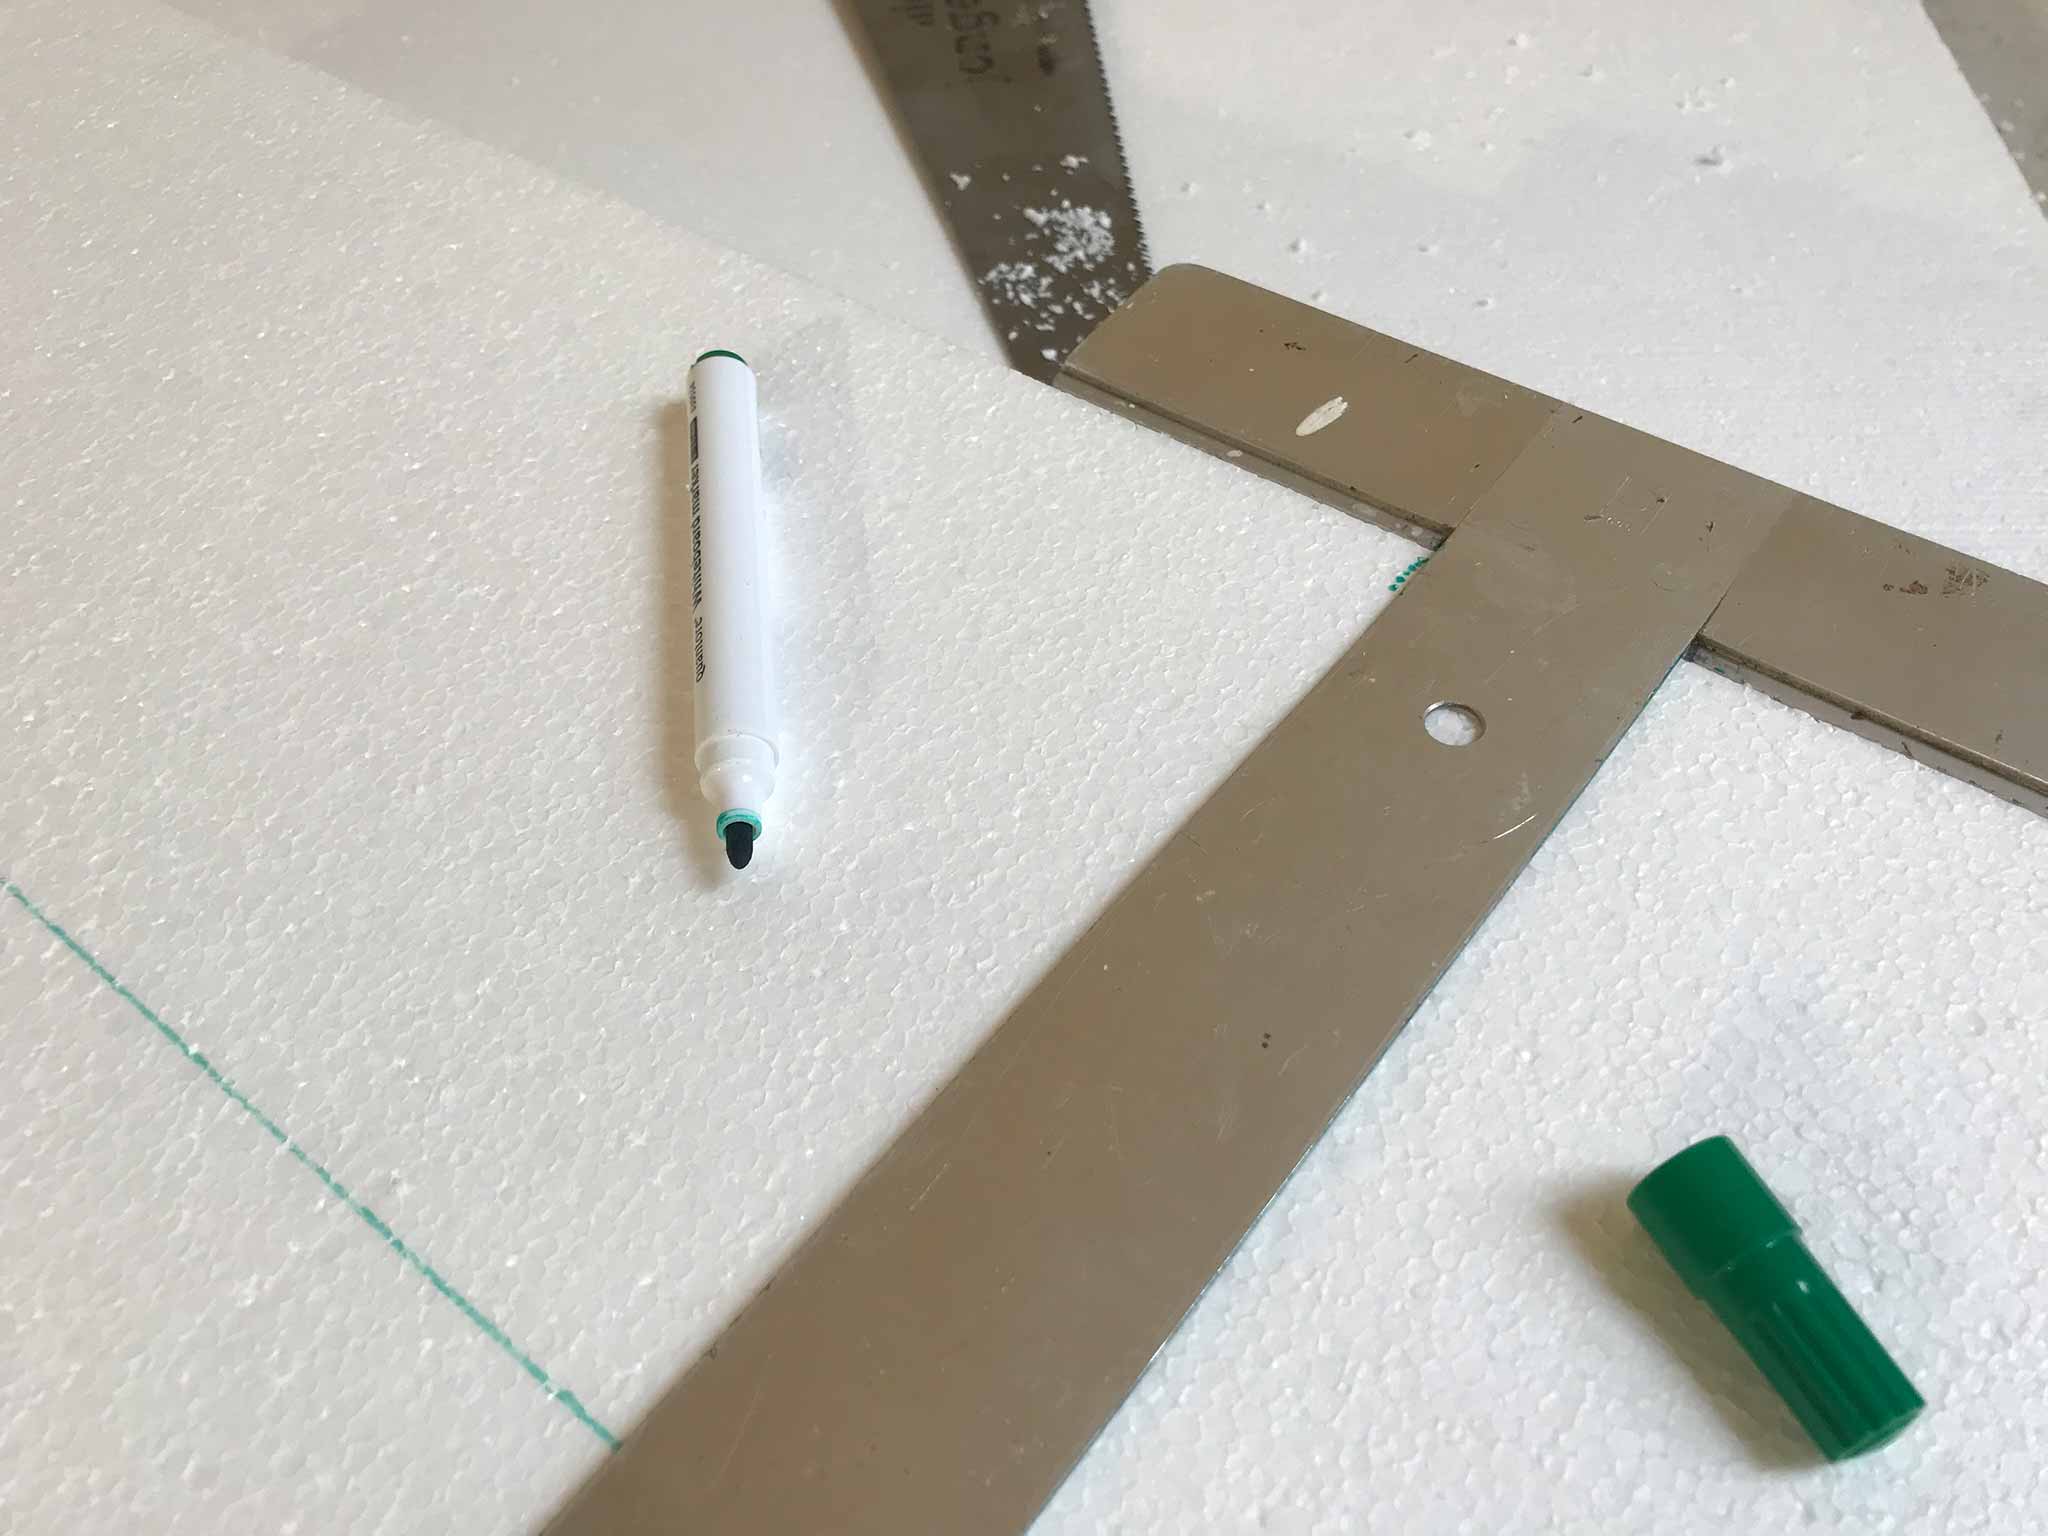
Measuring and cutting is at times pretty hard. All the straight stuff is no problem, but plumbing and electricity is hard to cut out of the plates. Especially if you can’t quite see the pipes anymore when you put the plate against is to estimate the cutting lines. Things get messy real quick with a cloud of statically charged pellets everywhere you look.
Hot knifes are a real improvement there. Cleaner cuts and spacings for the pipes are way easier to cut with the proper shaped knifes. Downside there is that IT SMELLS (and probably are not the best fumes to breathe). Fortunately the weather is still good and cutting can be done outside.
The finishing touch is done shoving the remains that were cut away in the gaps and filling it with some construction foam to keep things nicely in place and have no thermal bridges.
Beginners mistakes to watch out for:
Do not catch a piece of styrofoam mid air which you just used to used to smooth out some construction foam right before you dropped it.
Take care you start working in the right direction with the styrofoam plates. Do NOT do it so every next plate needs to be placed _under_ the previous. Especially working your way into nasty corners.
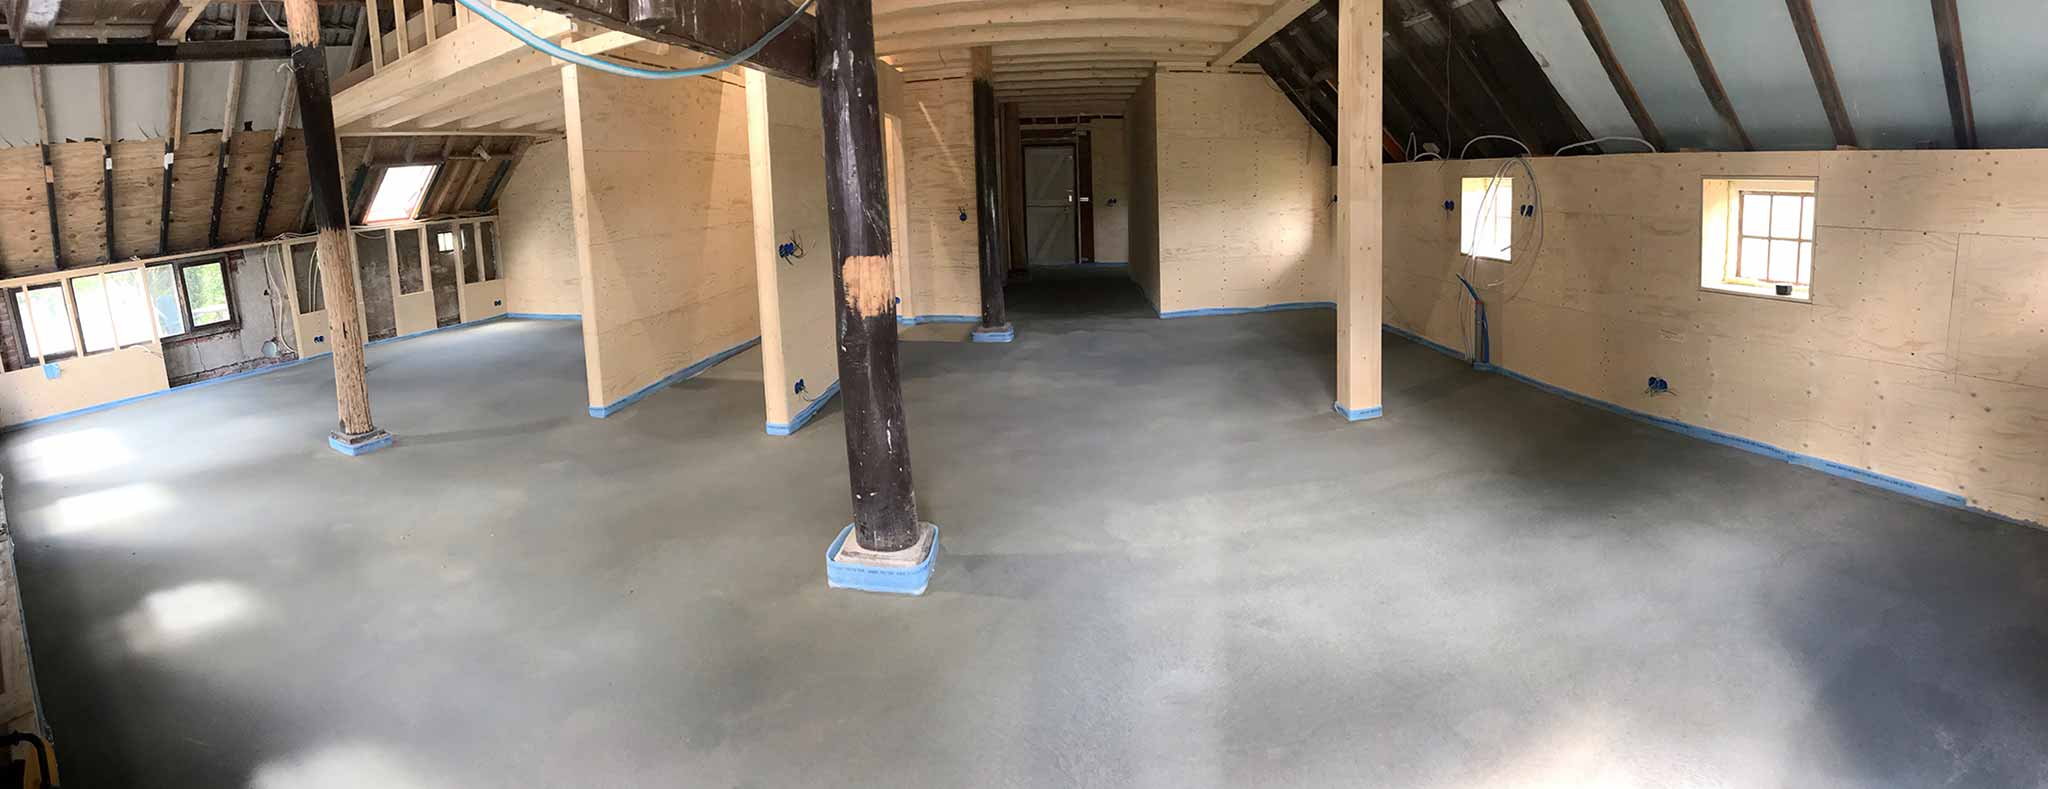
Yay! The first clear signs of construction. The first layer of the floor has been poured. Foam concrete pours like thin whipped cream and the house looks like a roller rink.
Progress, but again a few days of waiting. Temperatures are not ideal for letting it dry fast.
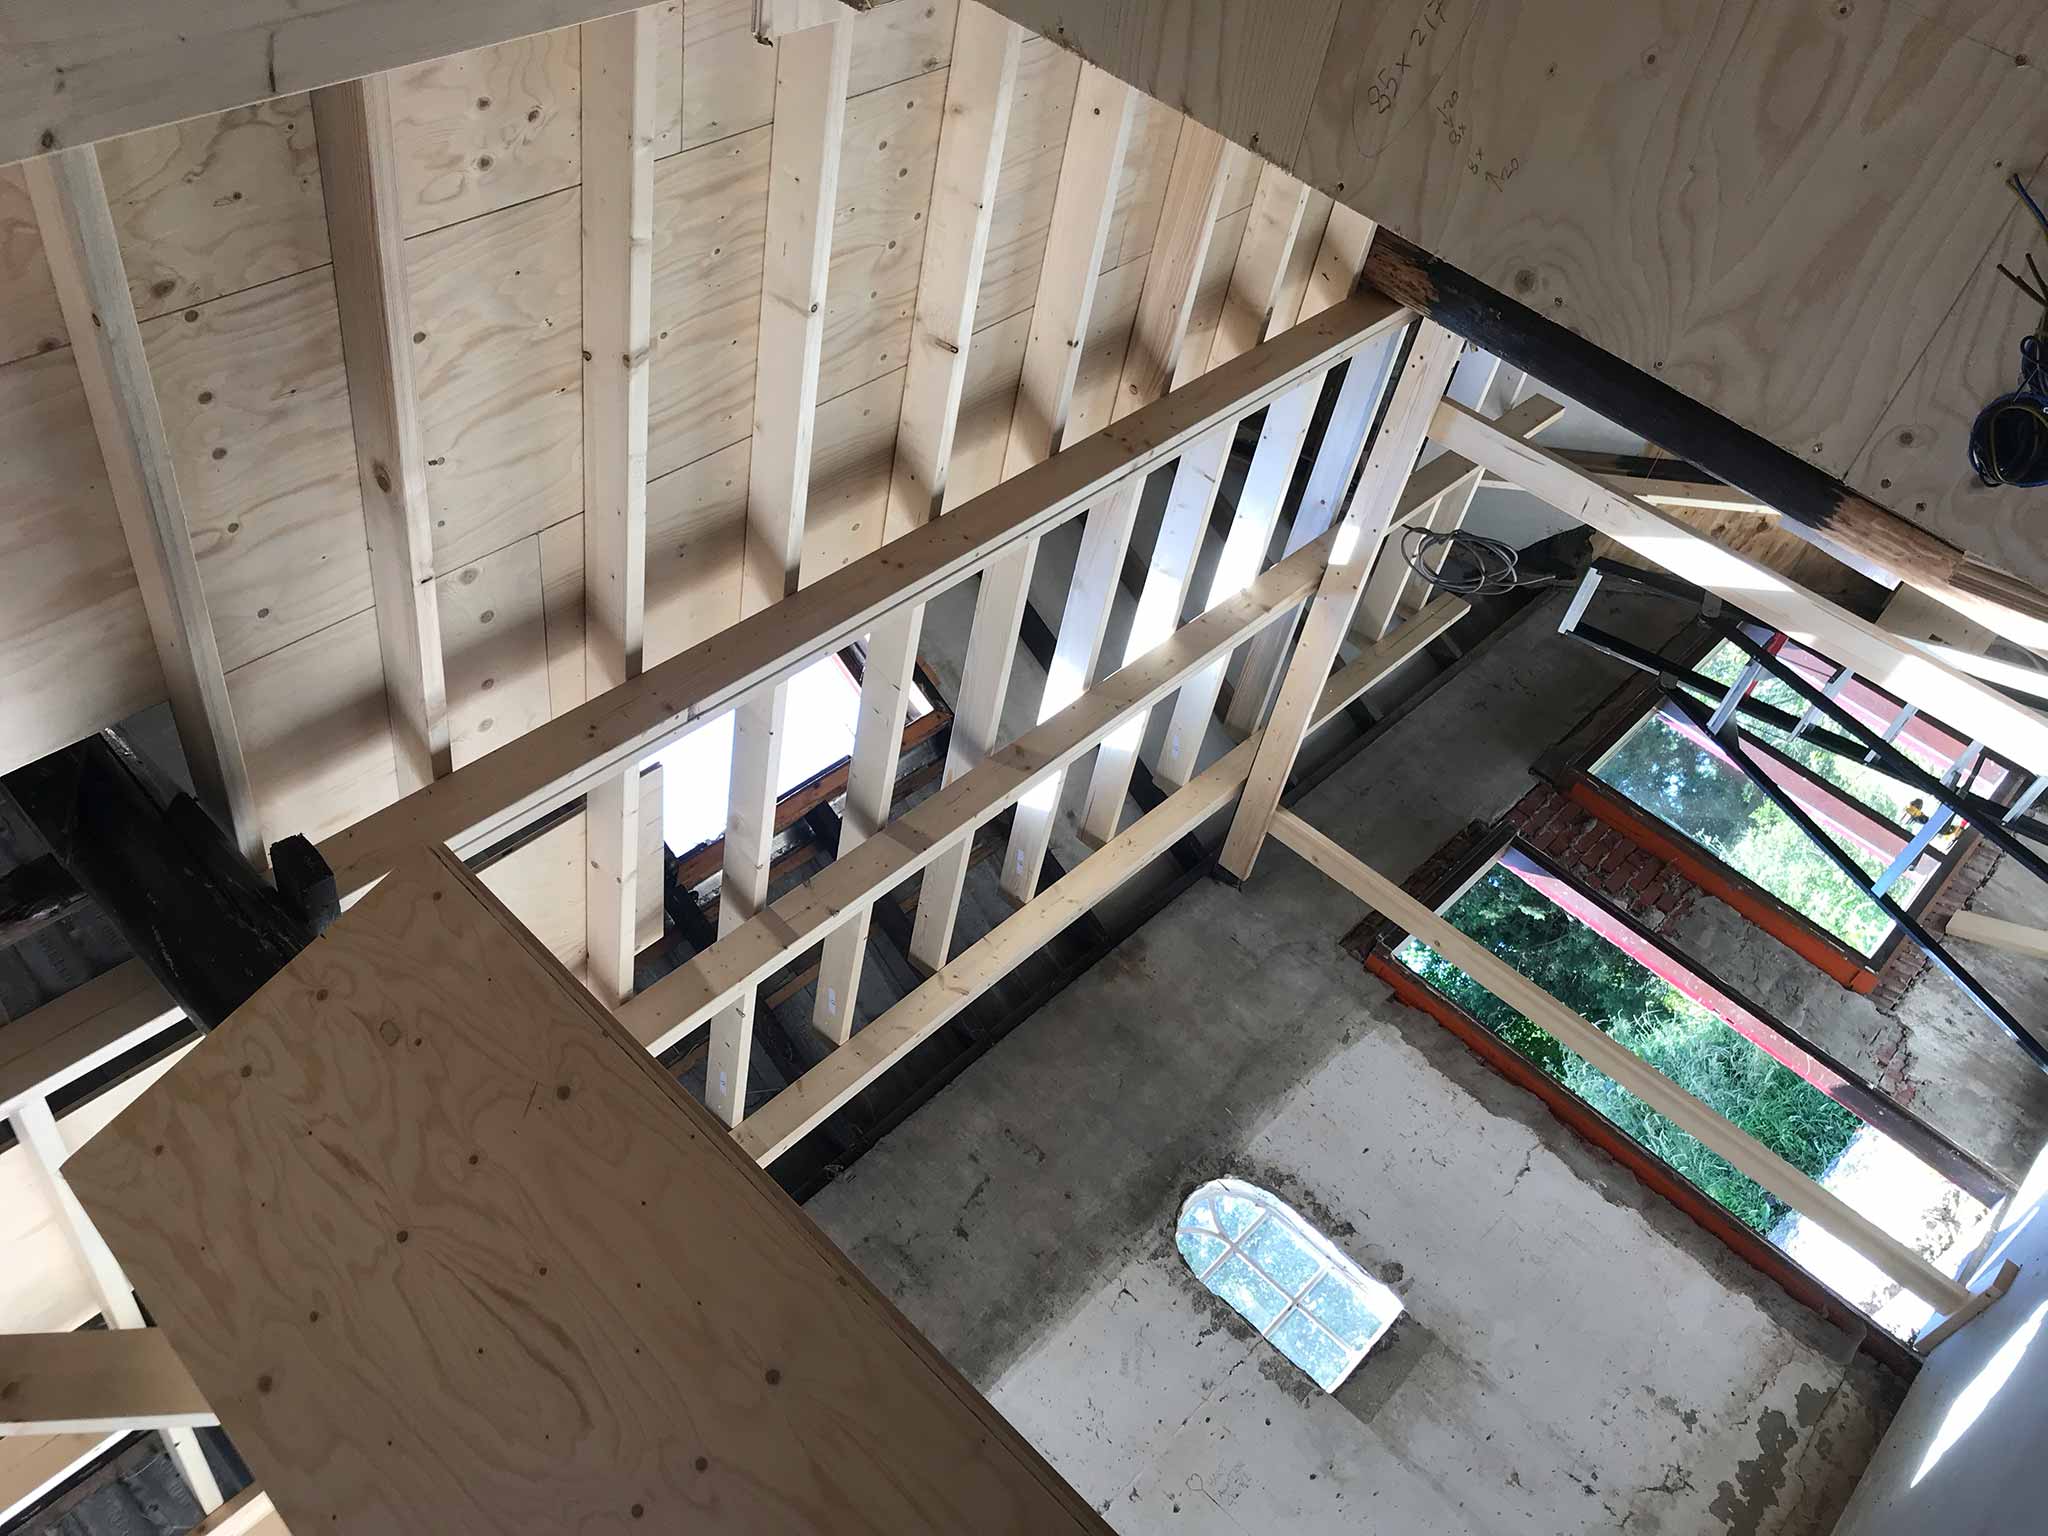
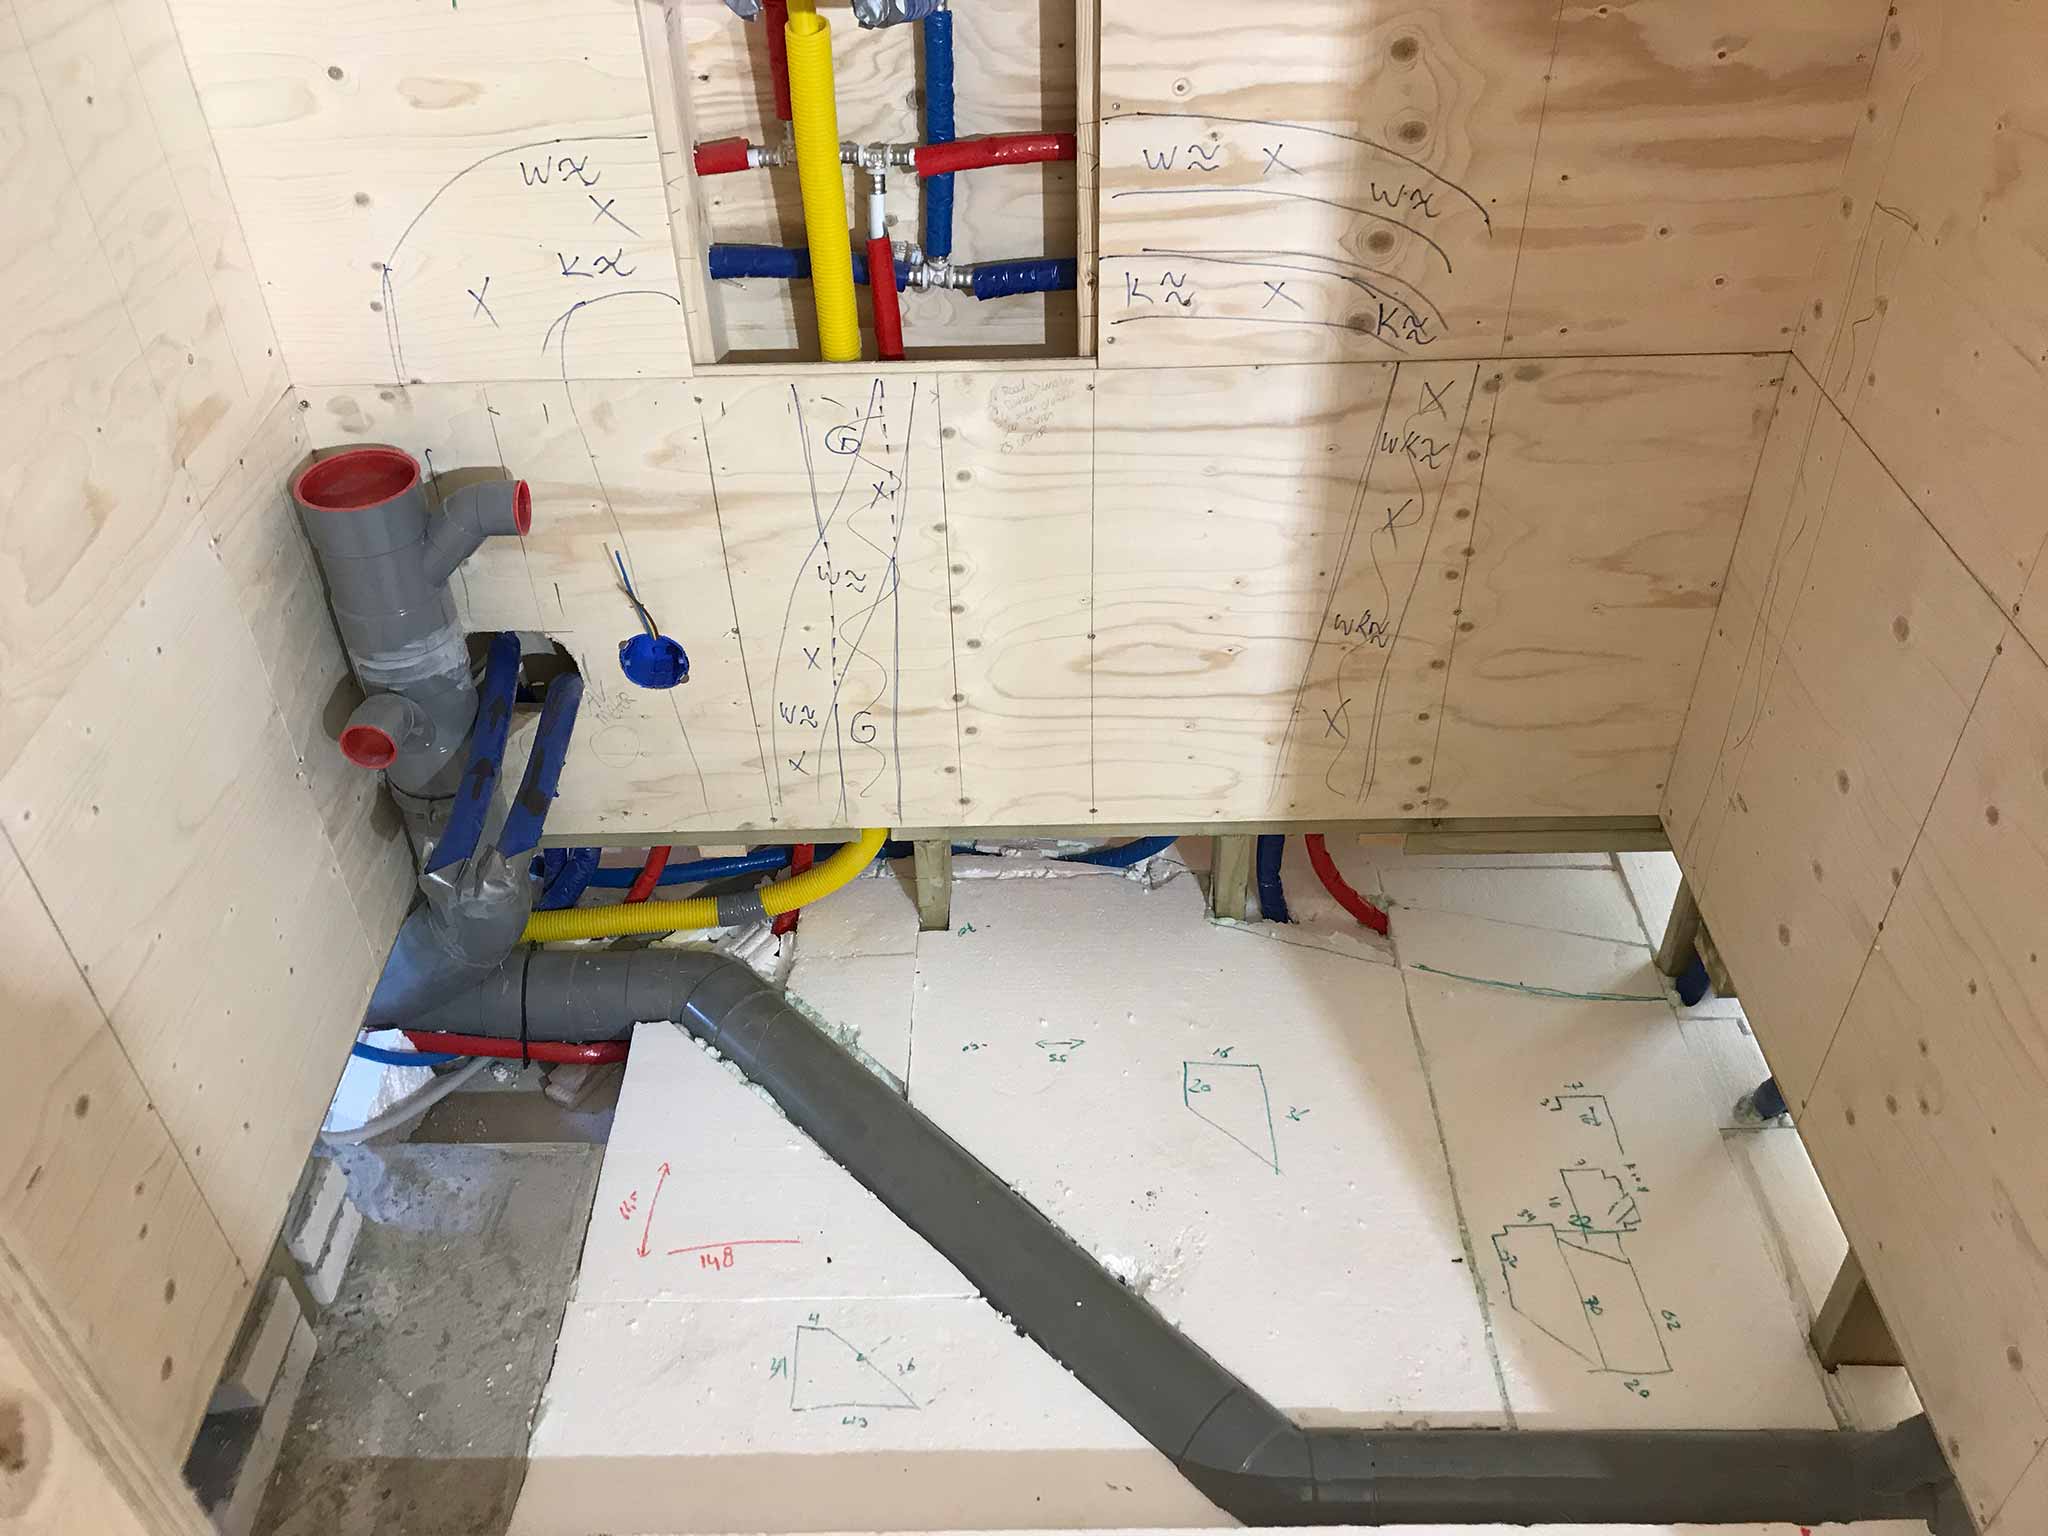
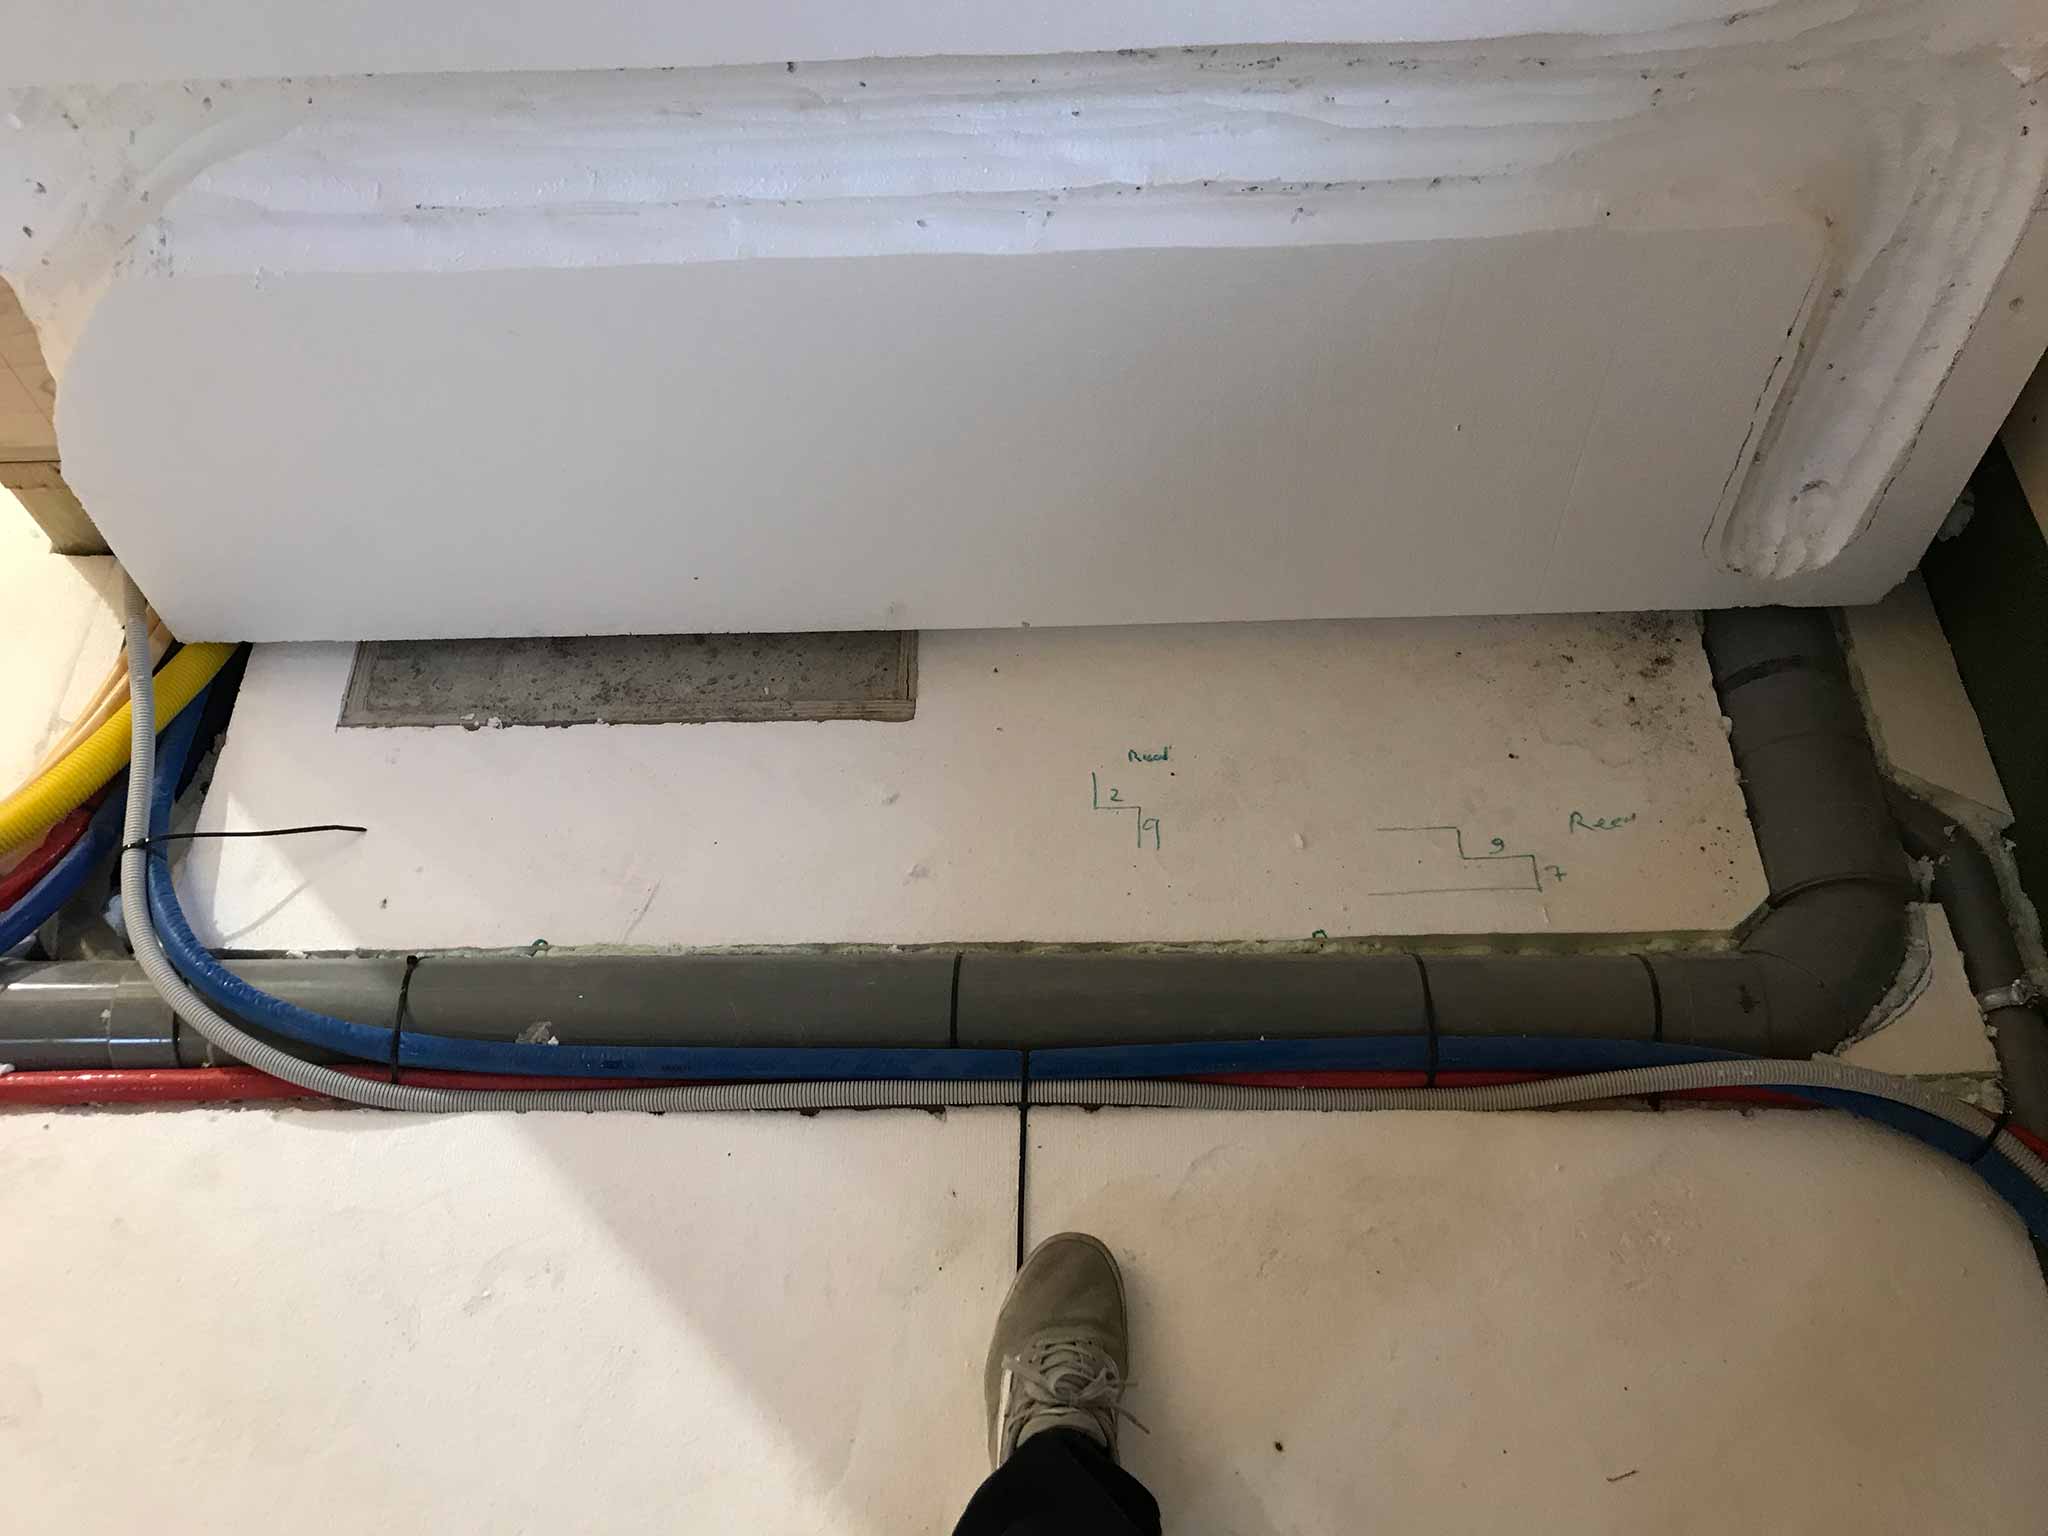
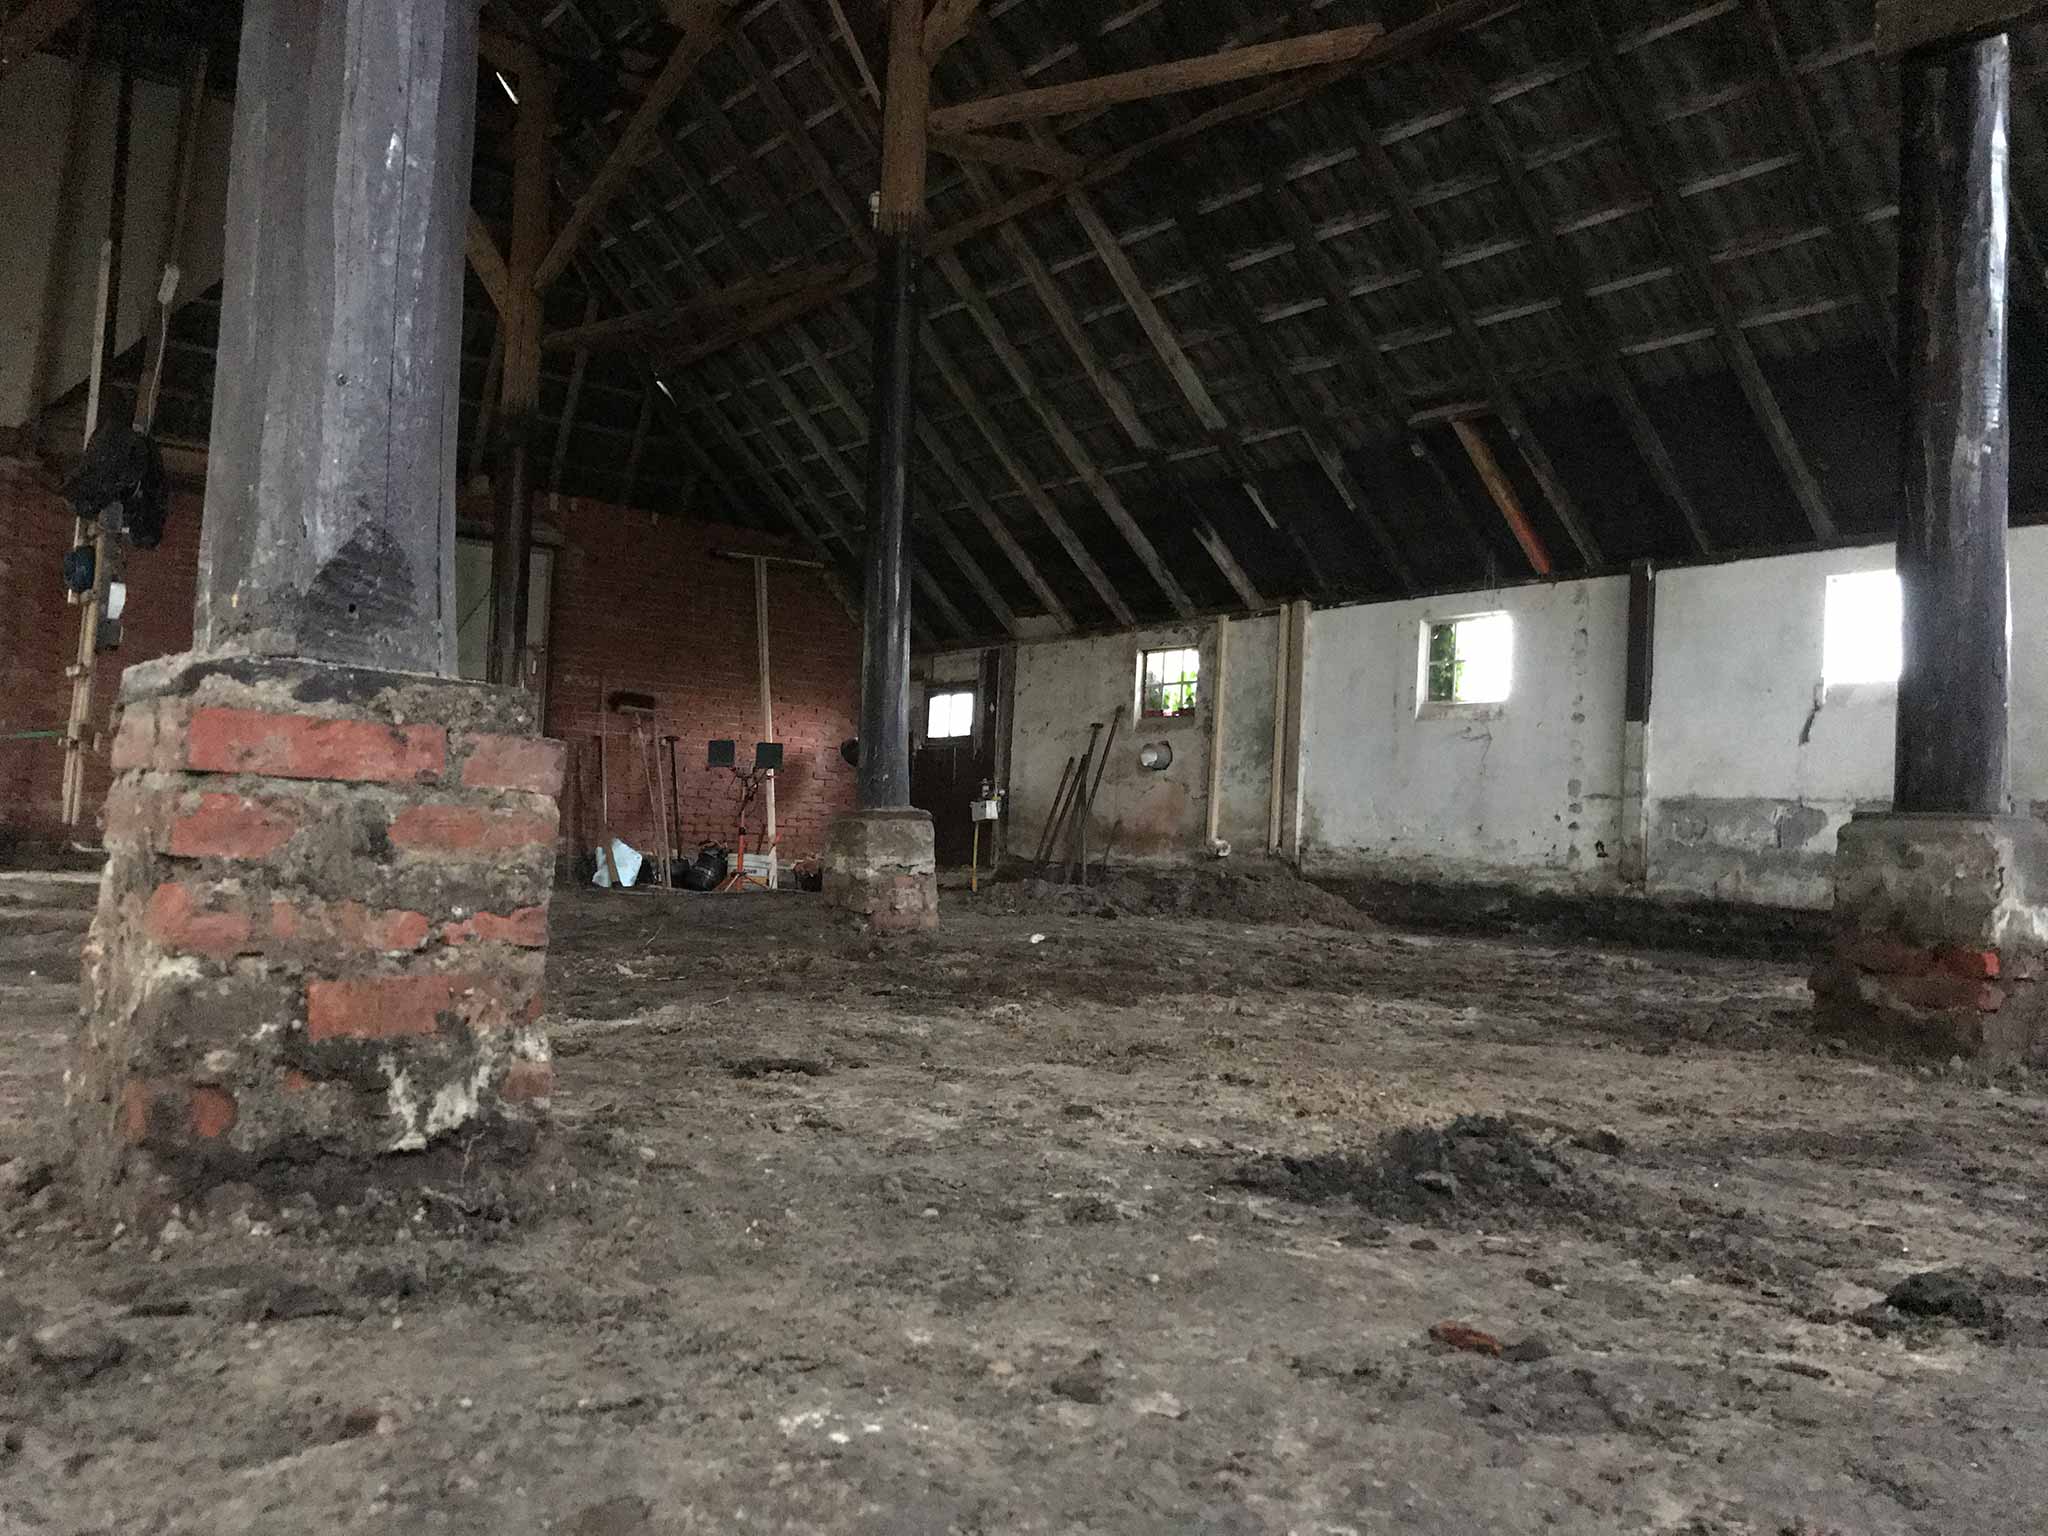
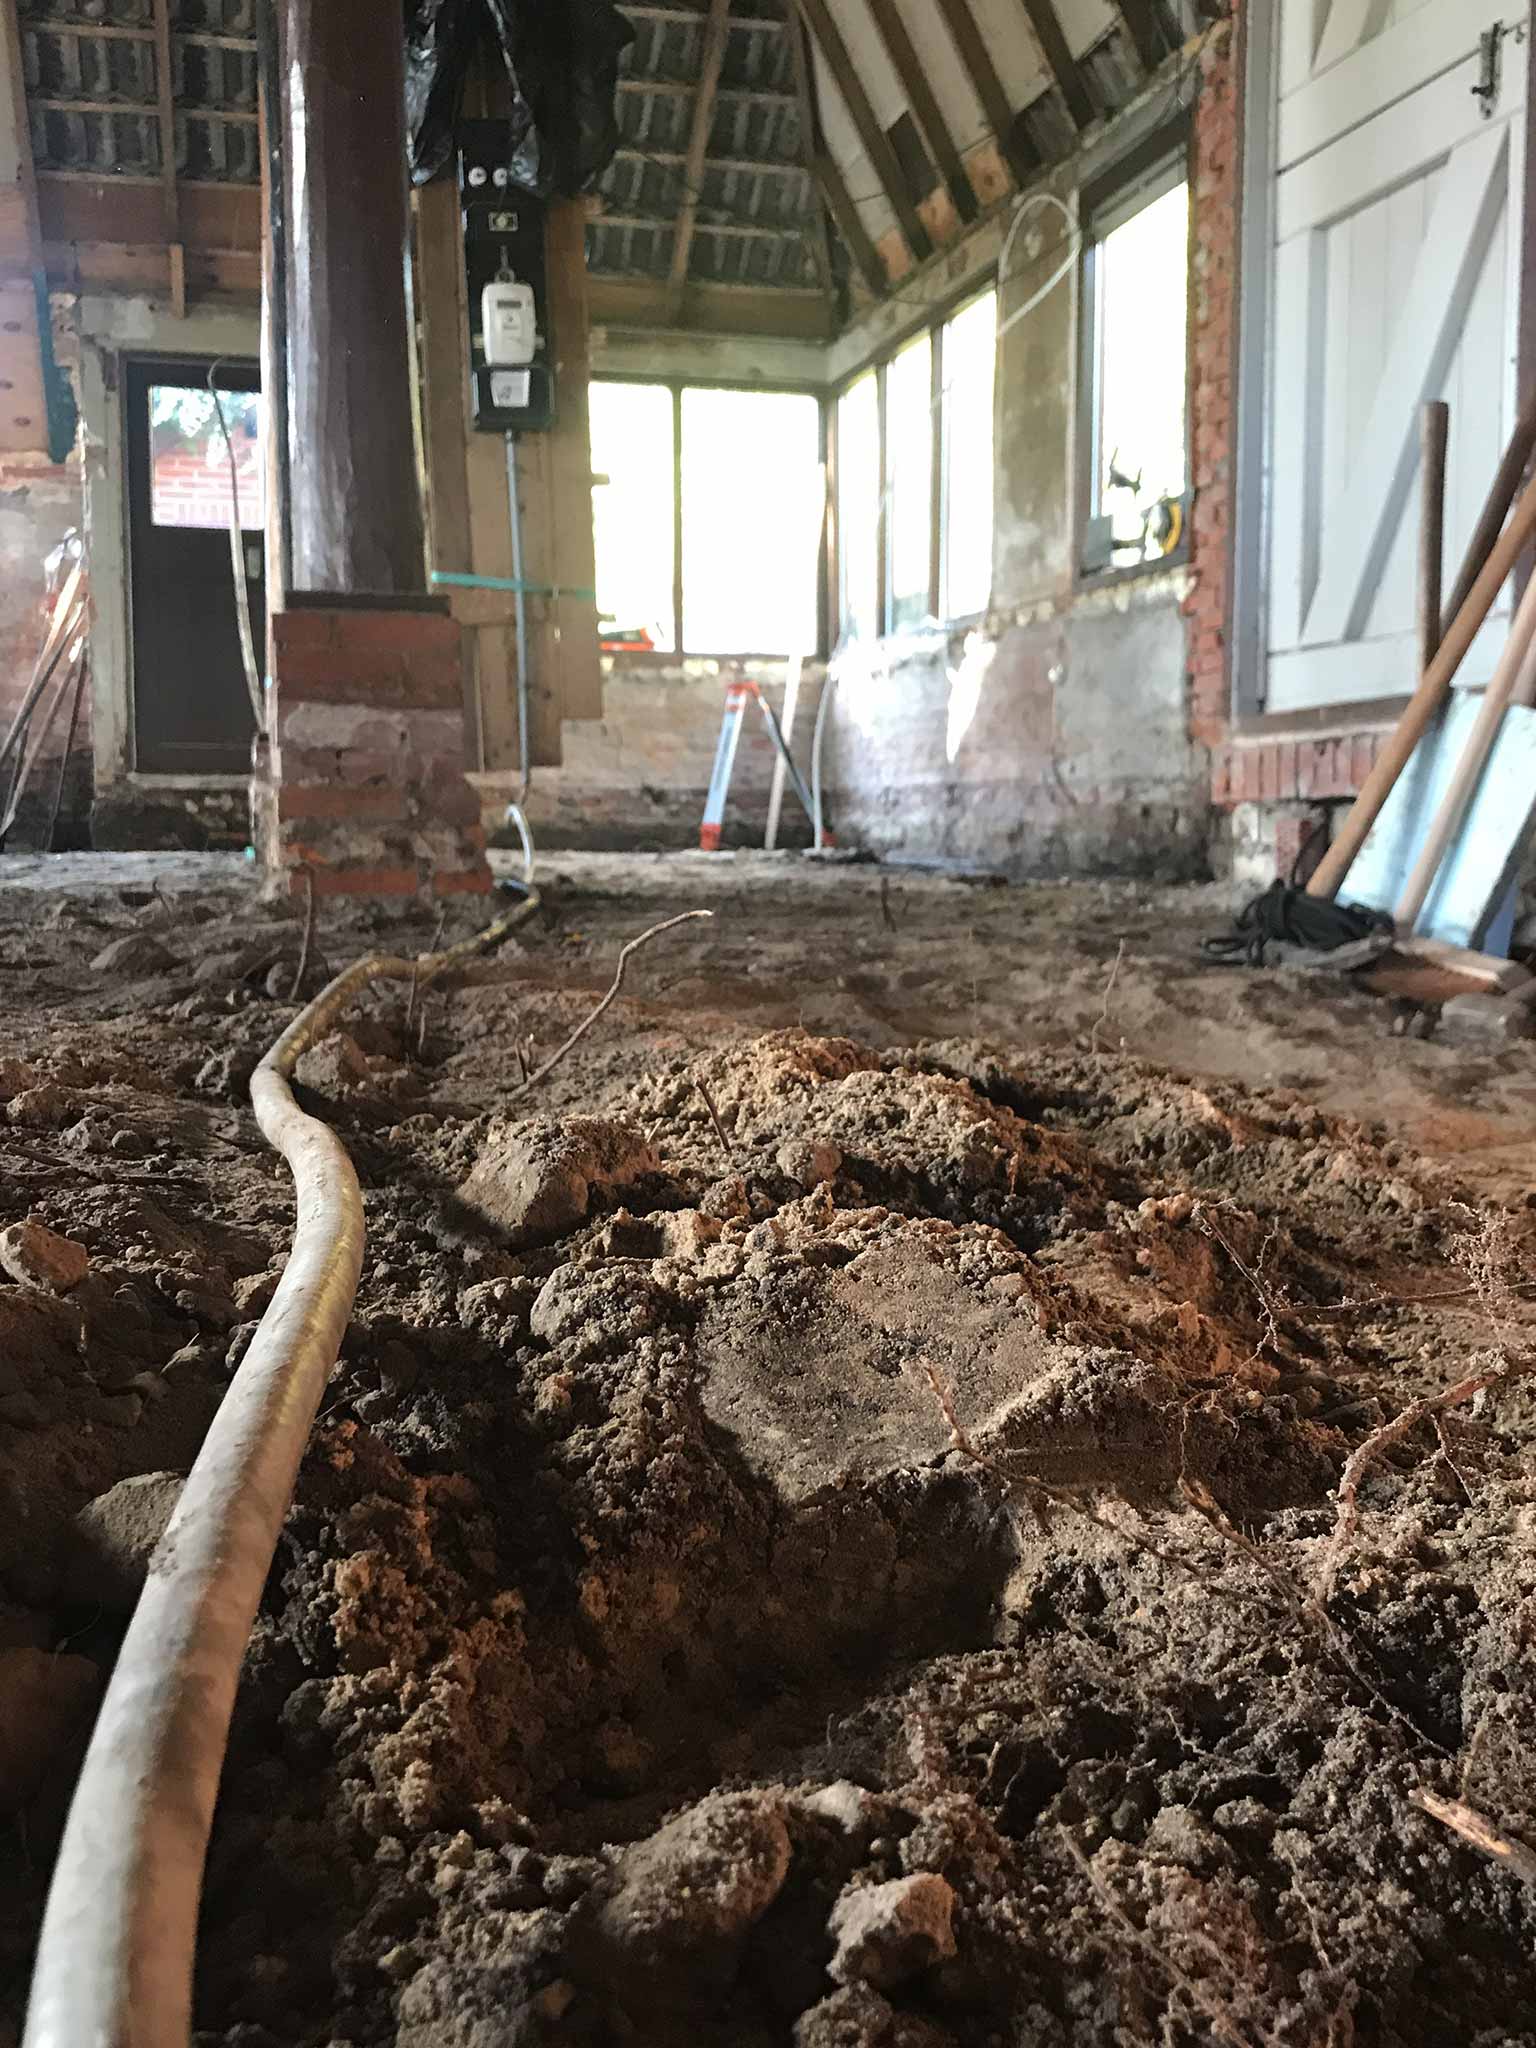
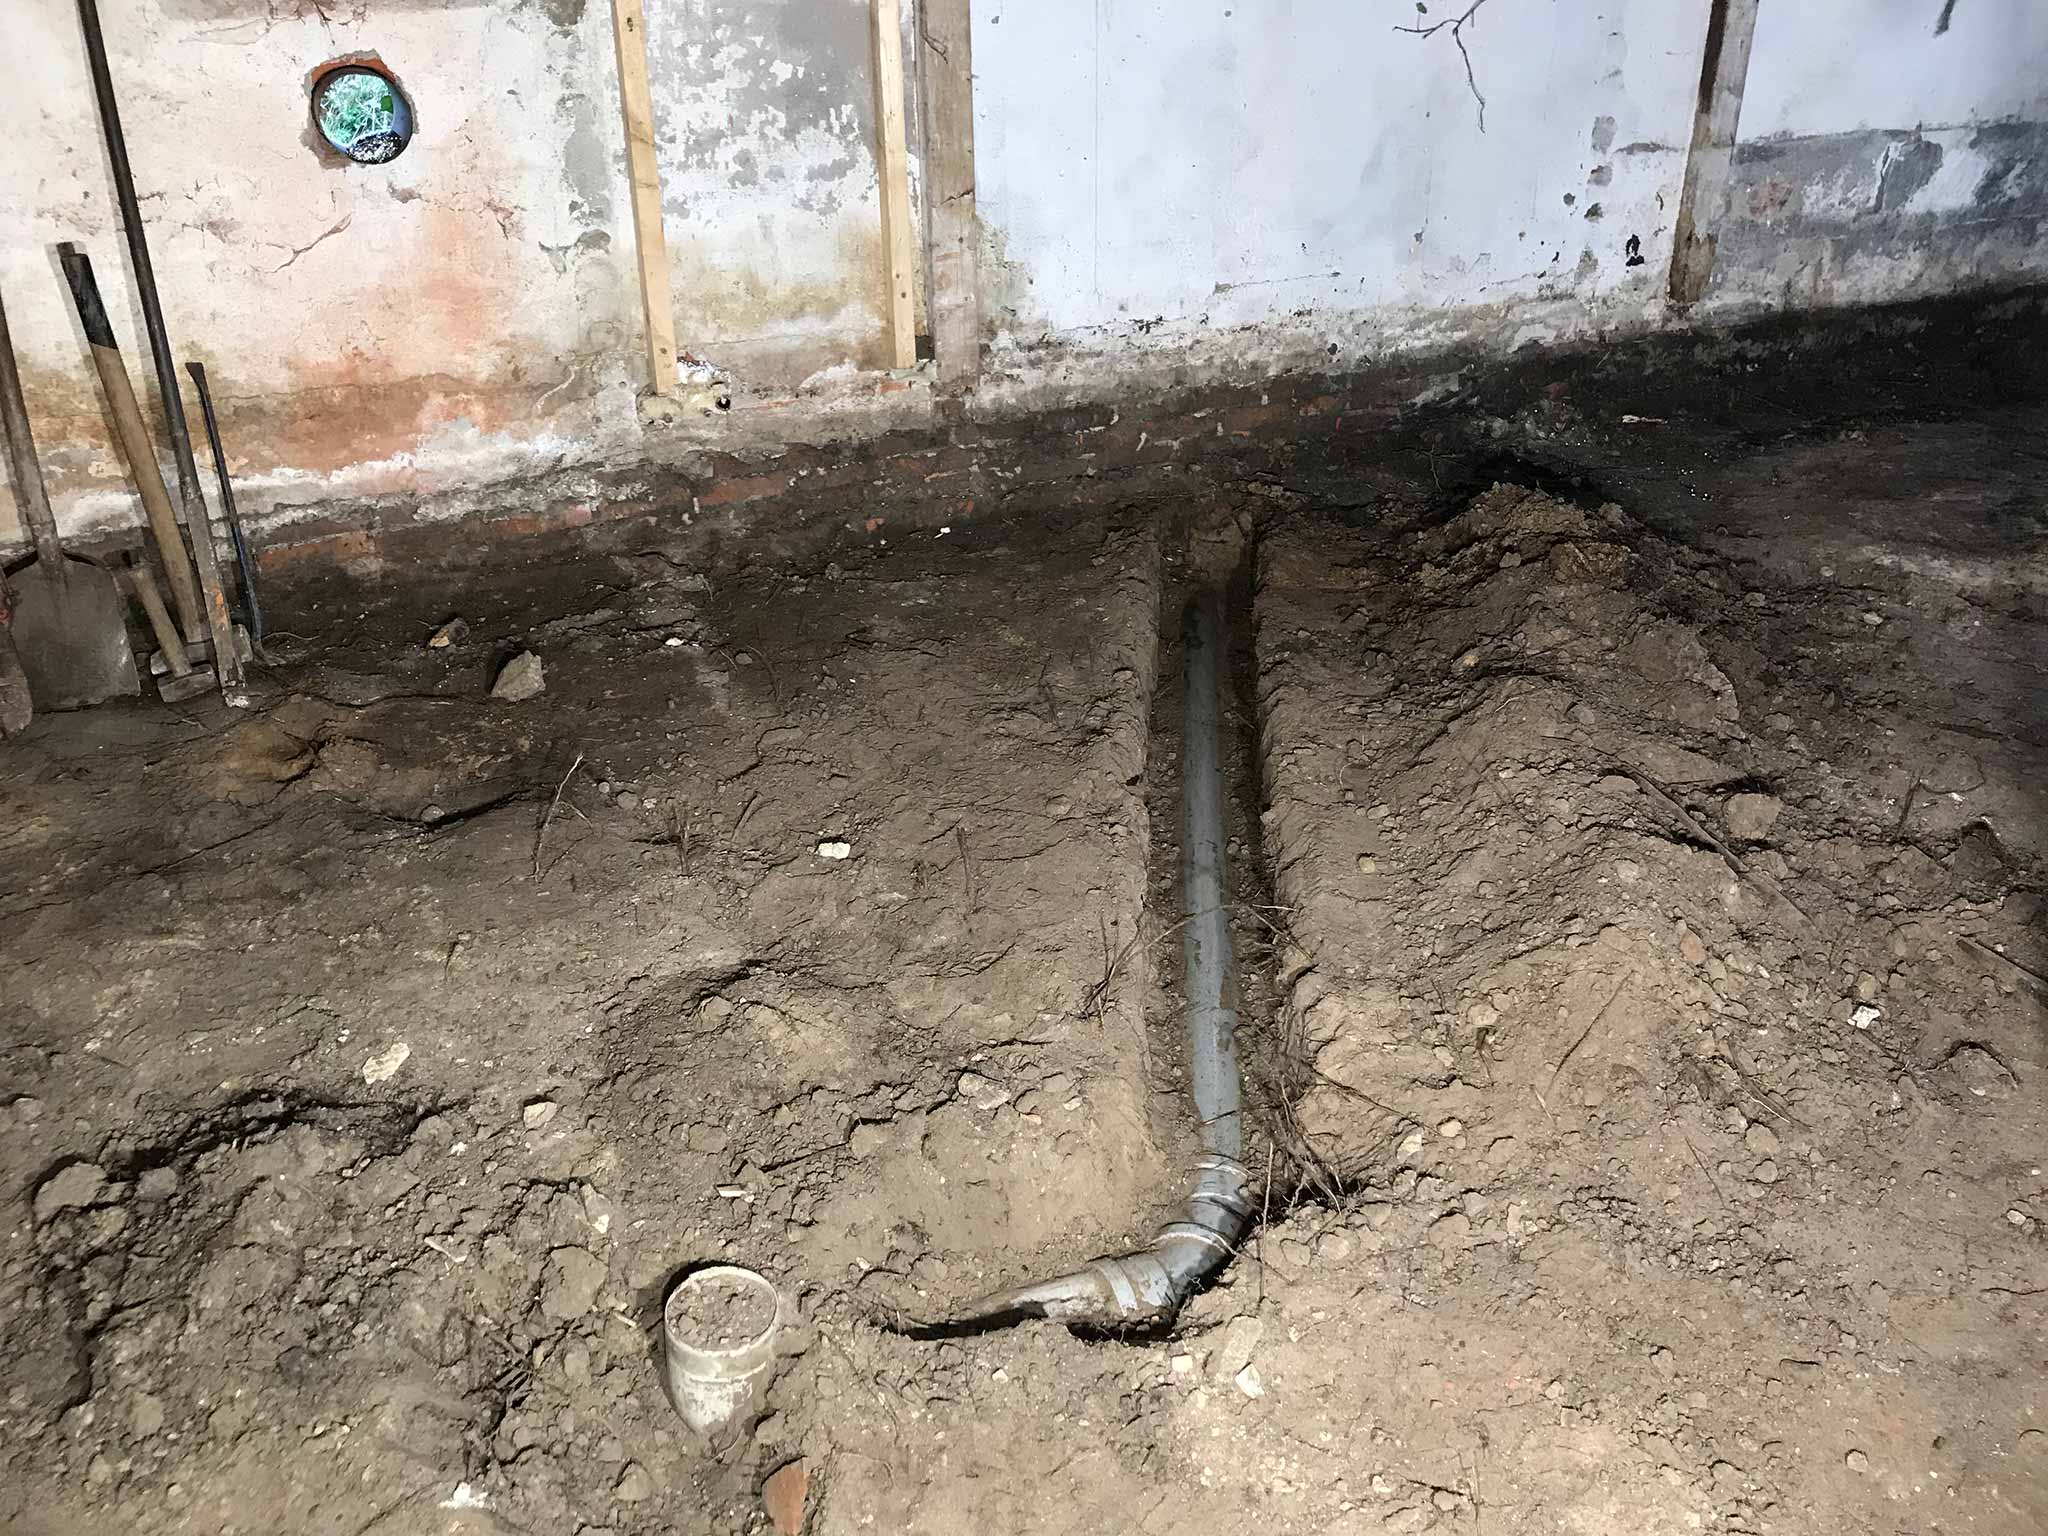
Almost set to pore the new floor. OK, the first part of the floor. The current level is about 30-40cm below the previous one, exposing some of the utilities’ pipes and cables.
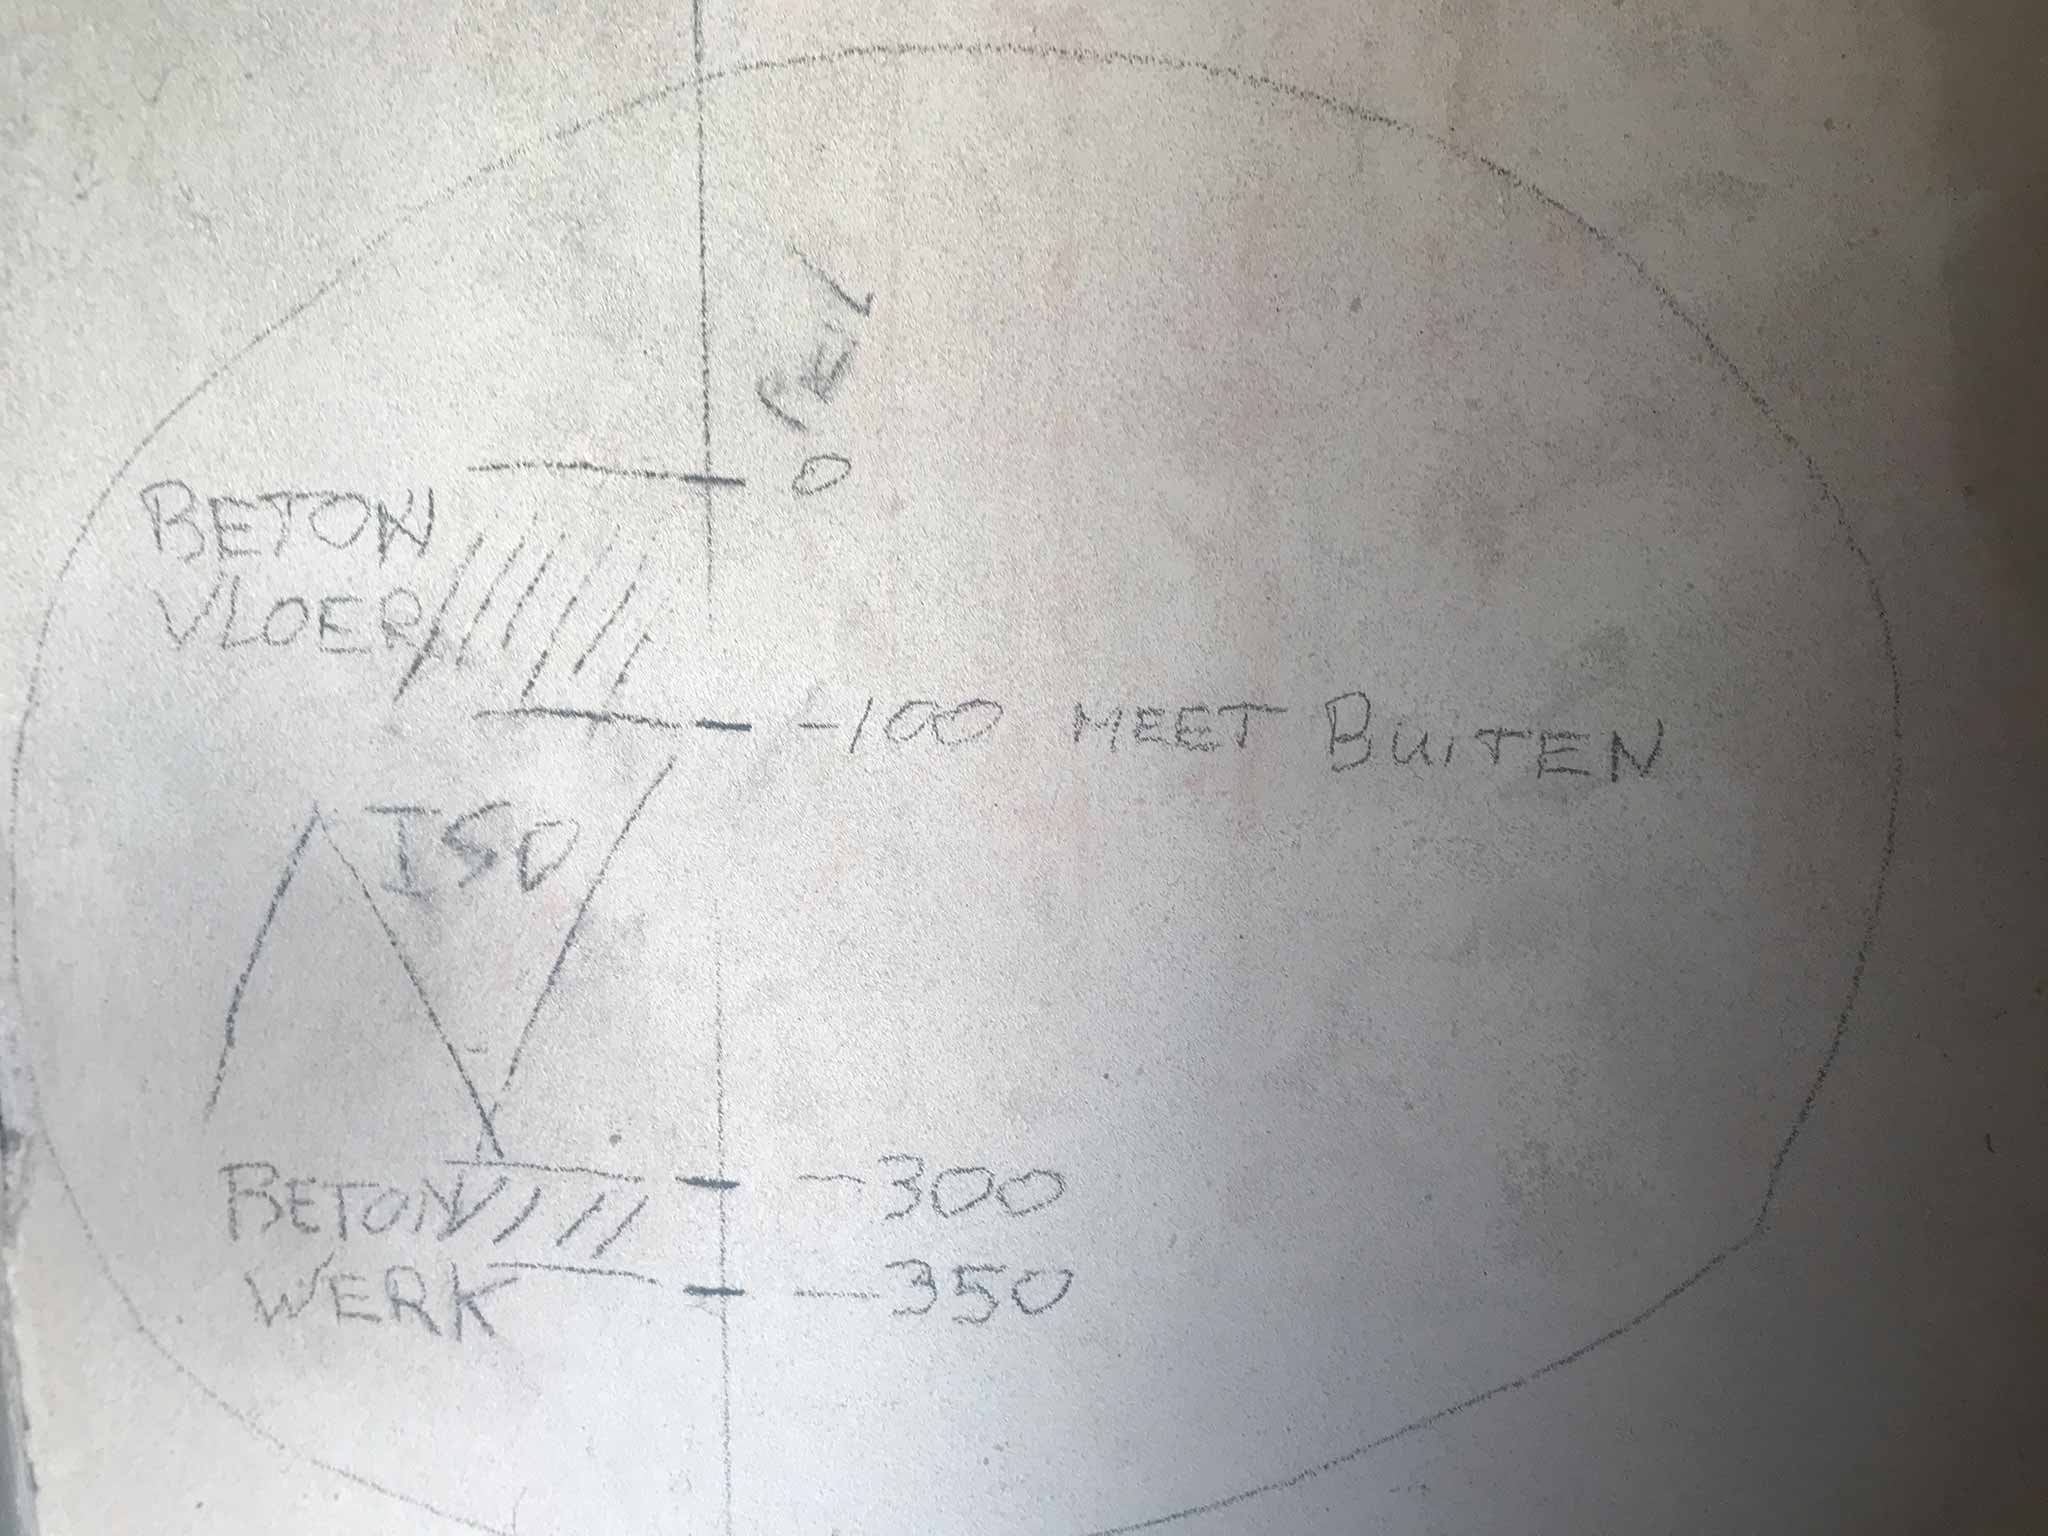
The first part of the floor will be about 5cm concrete. With that in place the wooden skeleton walls will be build so we can already start doing the panelling. Next will be the isolation layer and the cables and plumbing (20cm) which will be topped of with the floor heating and a layer of concrete (10cm).
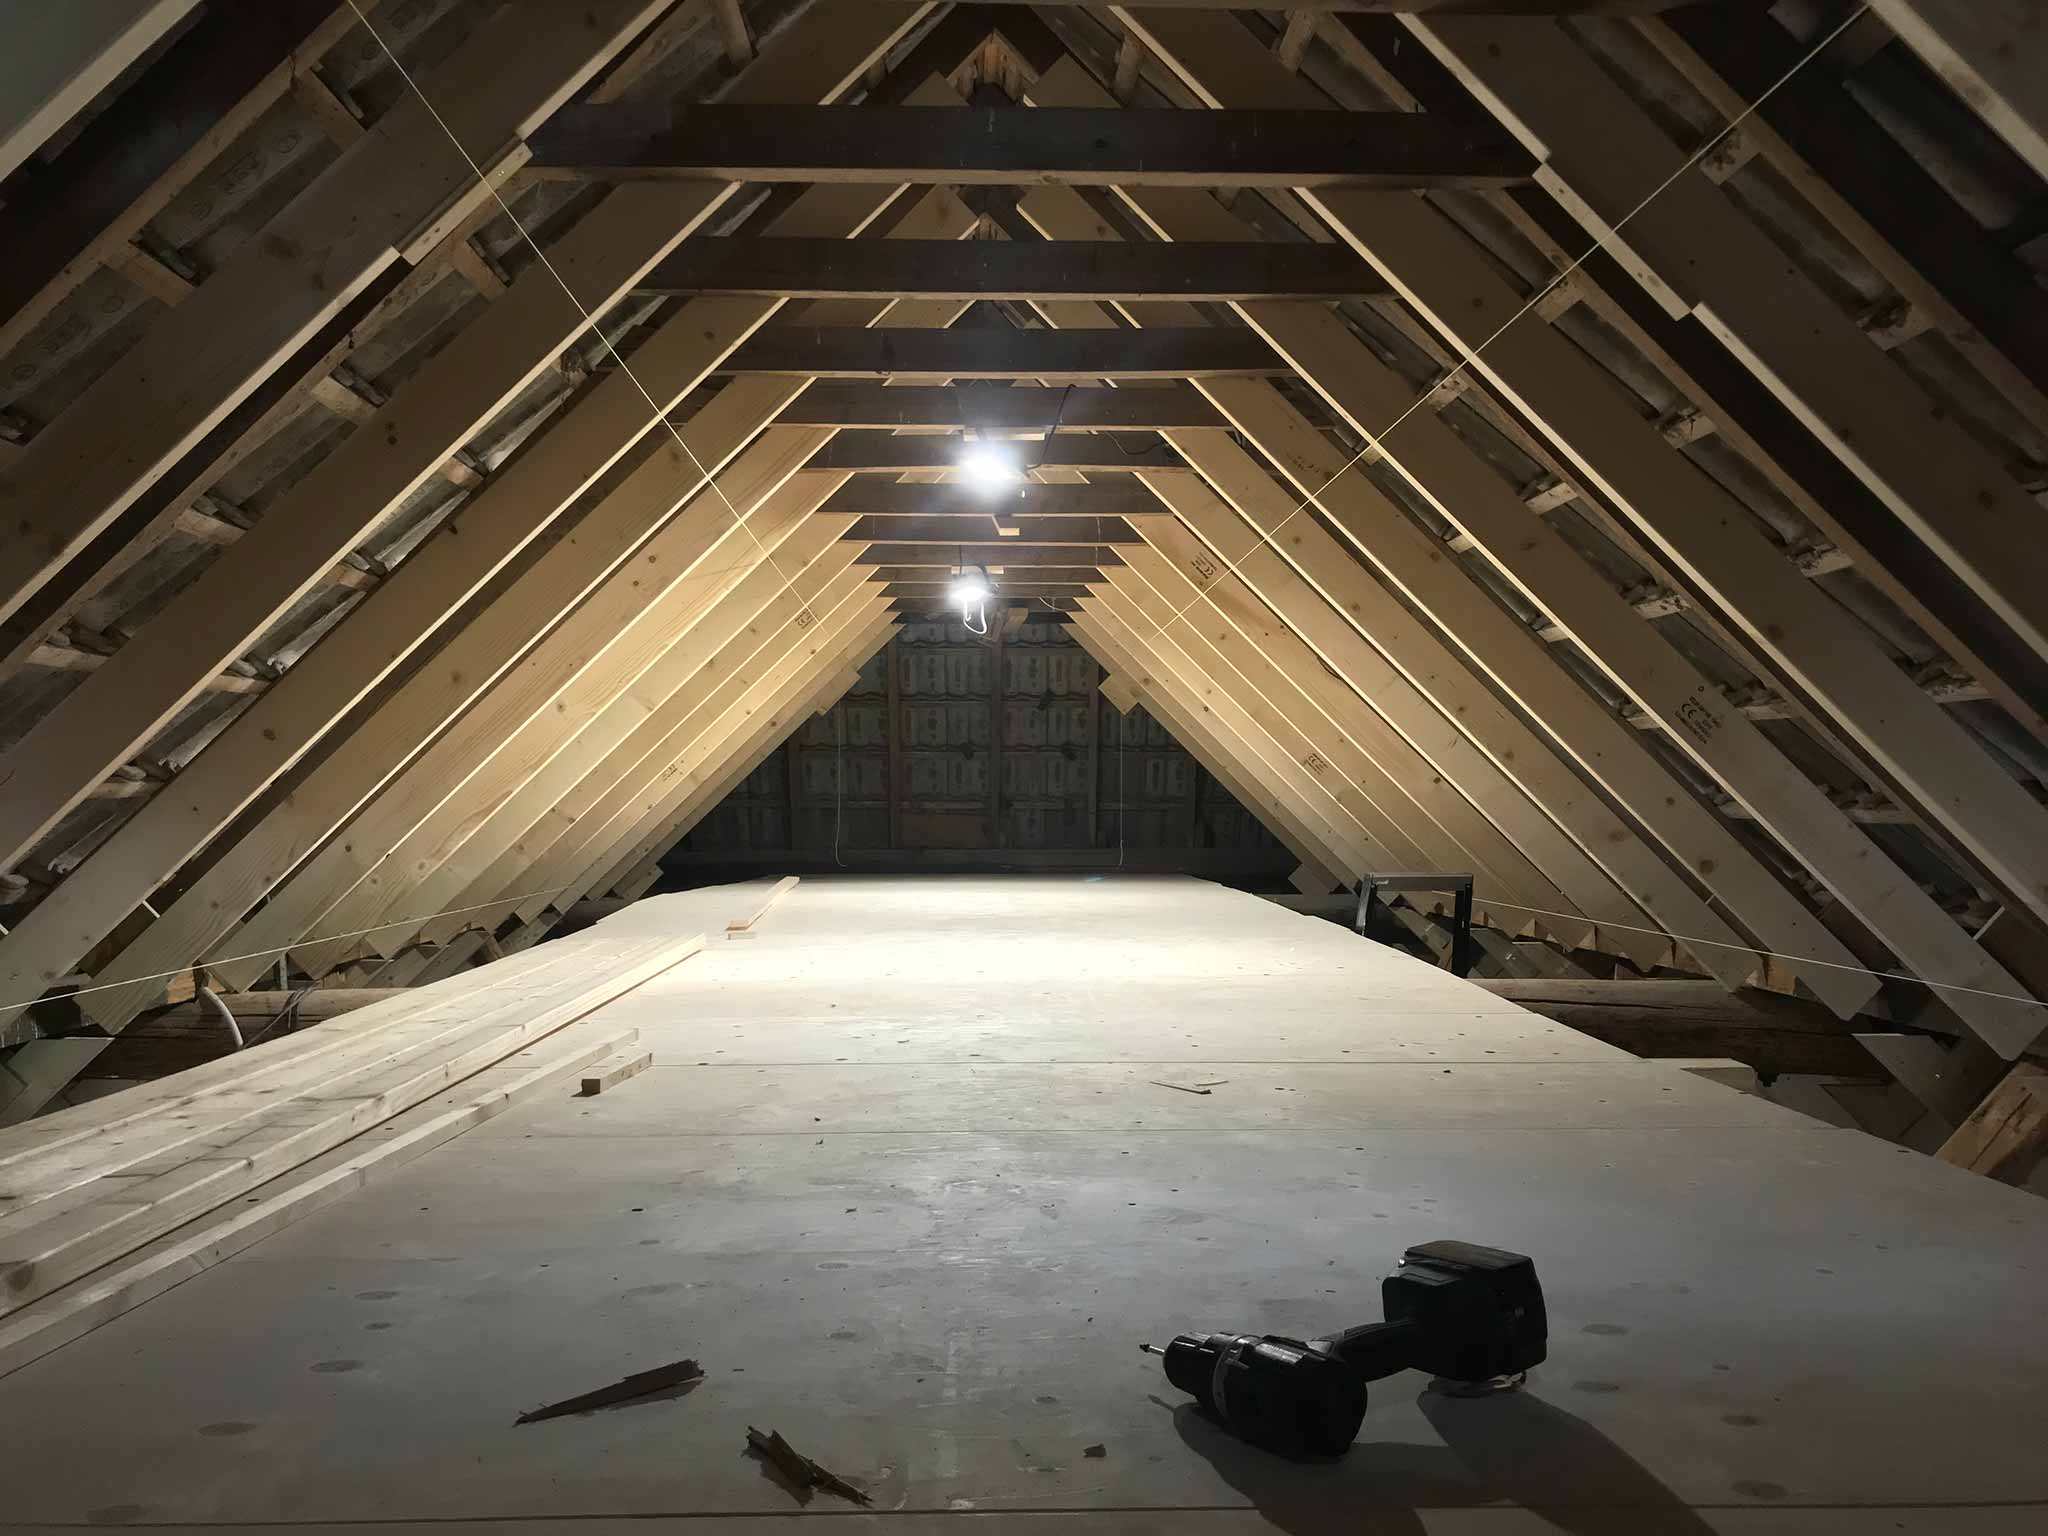
Currently the trusses stand firm and tall but to me it looks a bit fragile…
First there will be approx 5cm of foam concrete to work on. On top of that most pipes and cables will be laid. Then there’s 20cm of isolation on top of which the floor heating and 10cm of concrete for the actual floor will be poured.
The pipes cannot be near the floor heating because of potential problems with legionella bacteria etc. Good to know 🙂