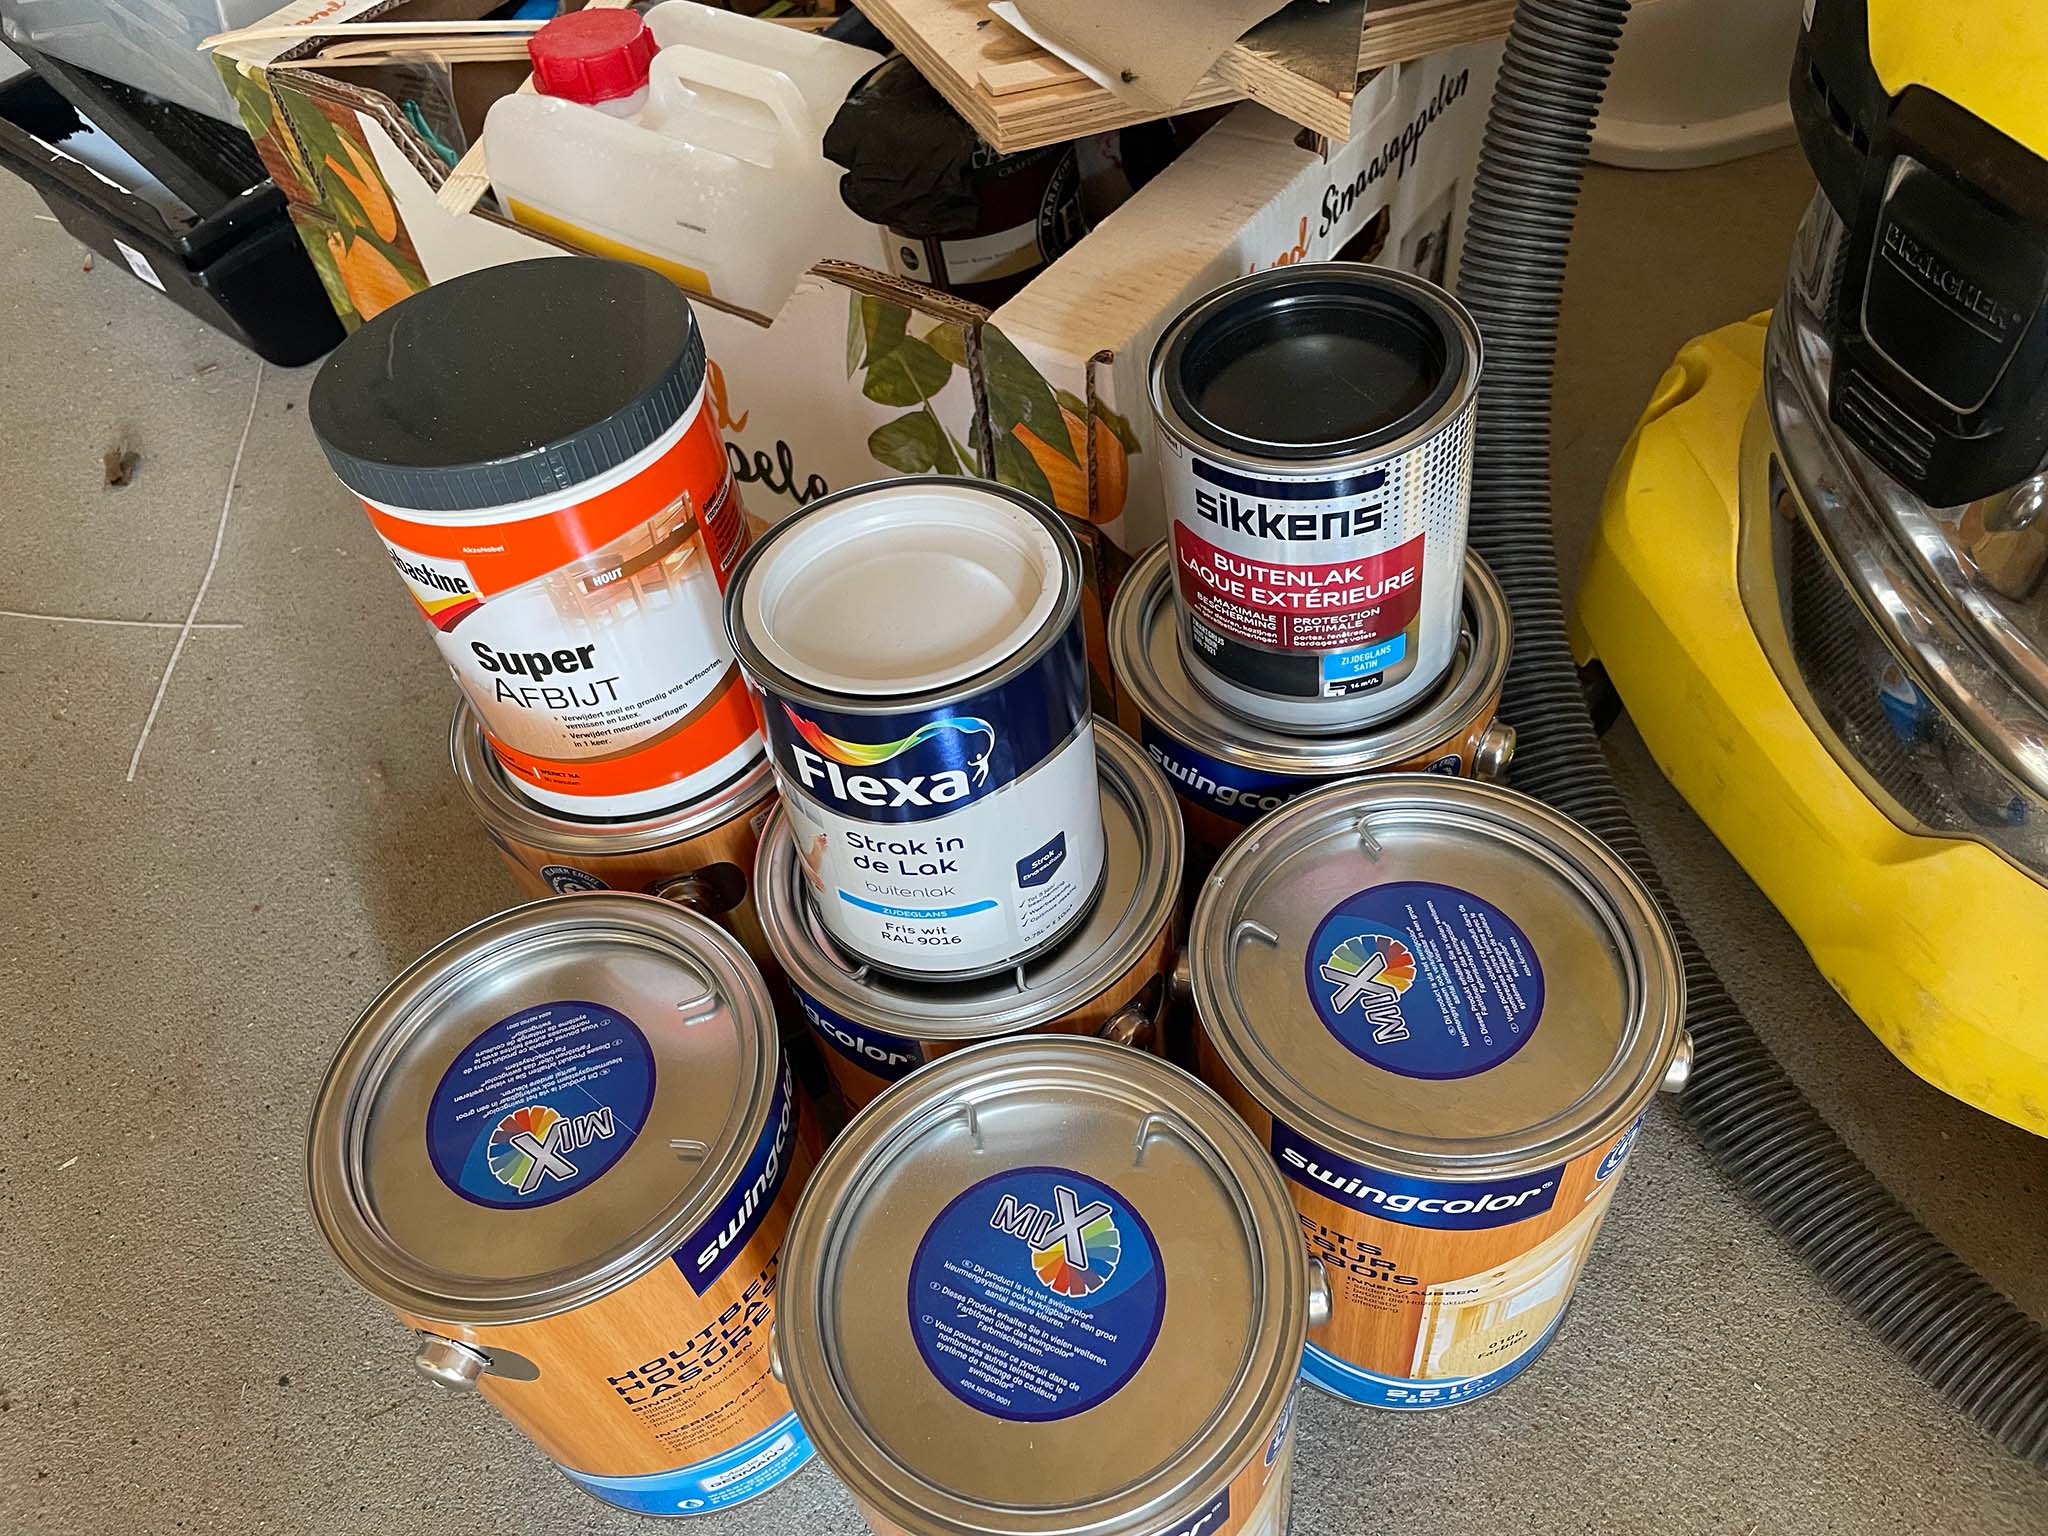
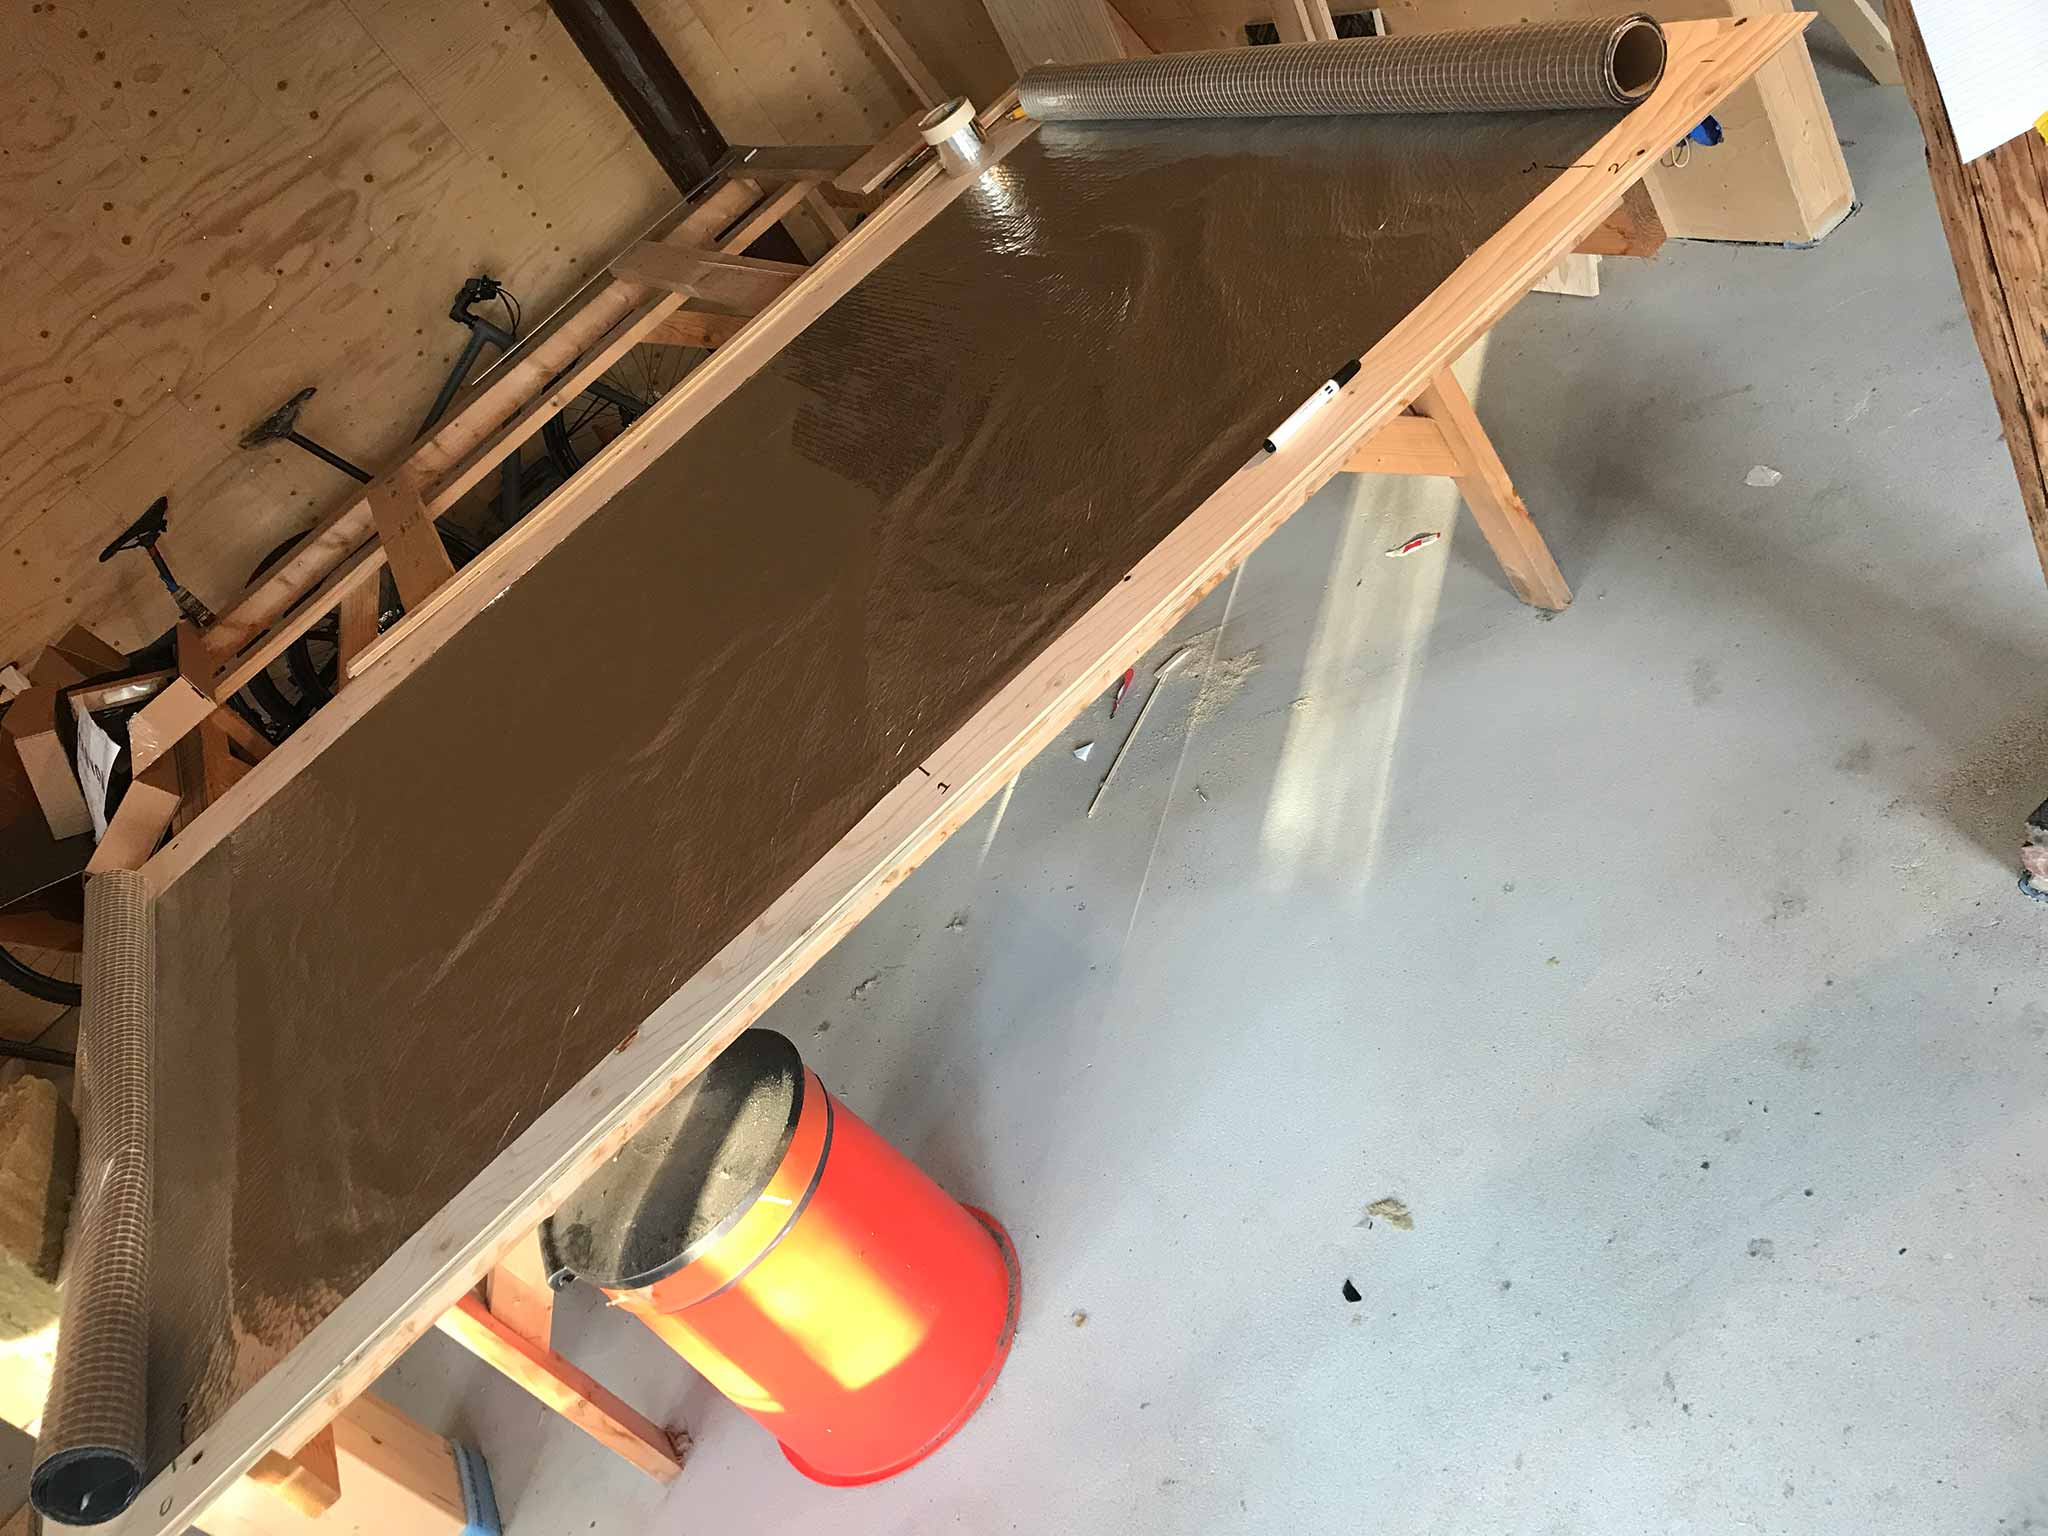
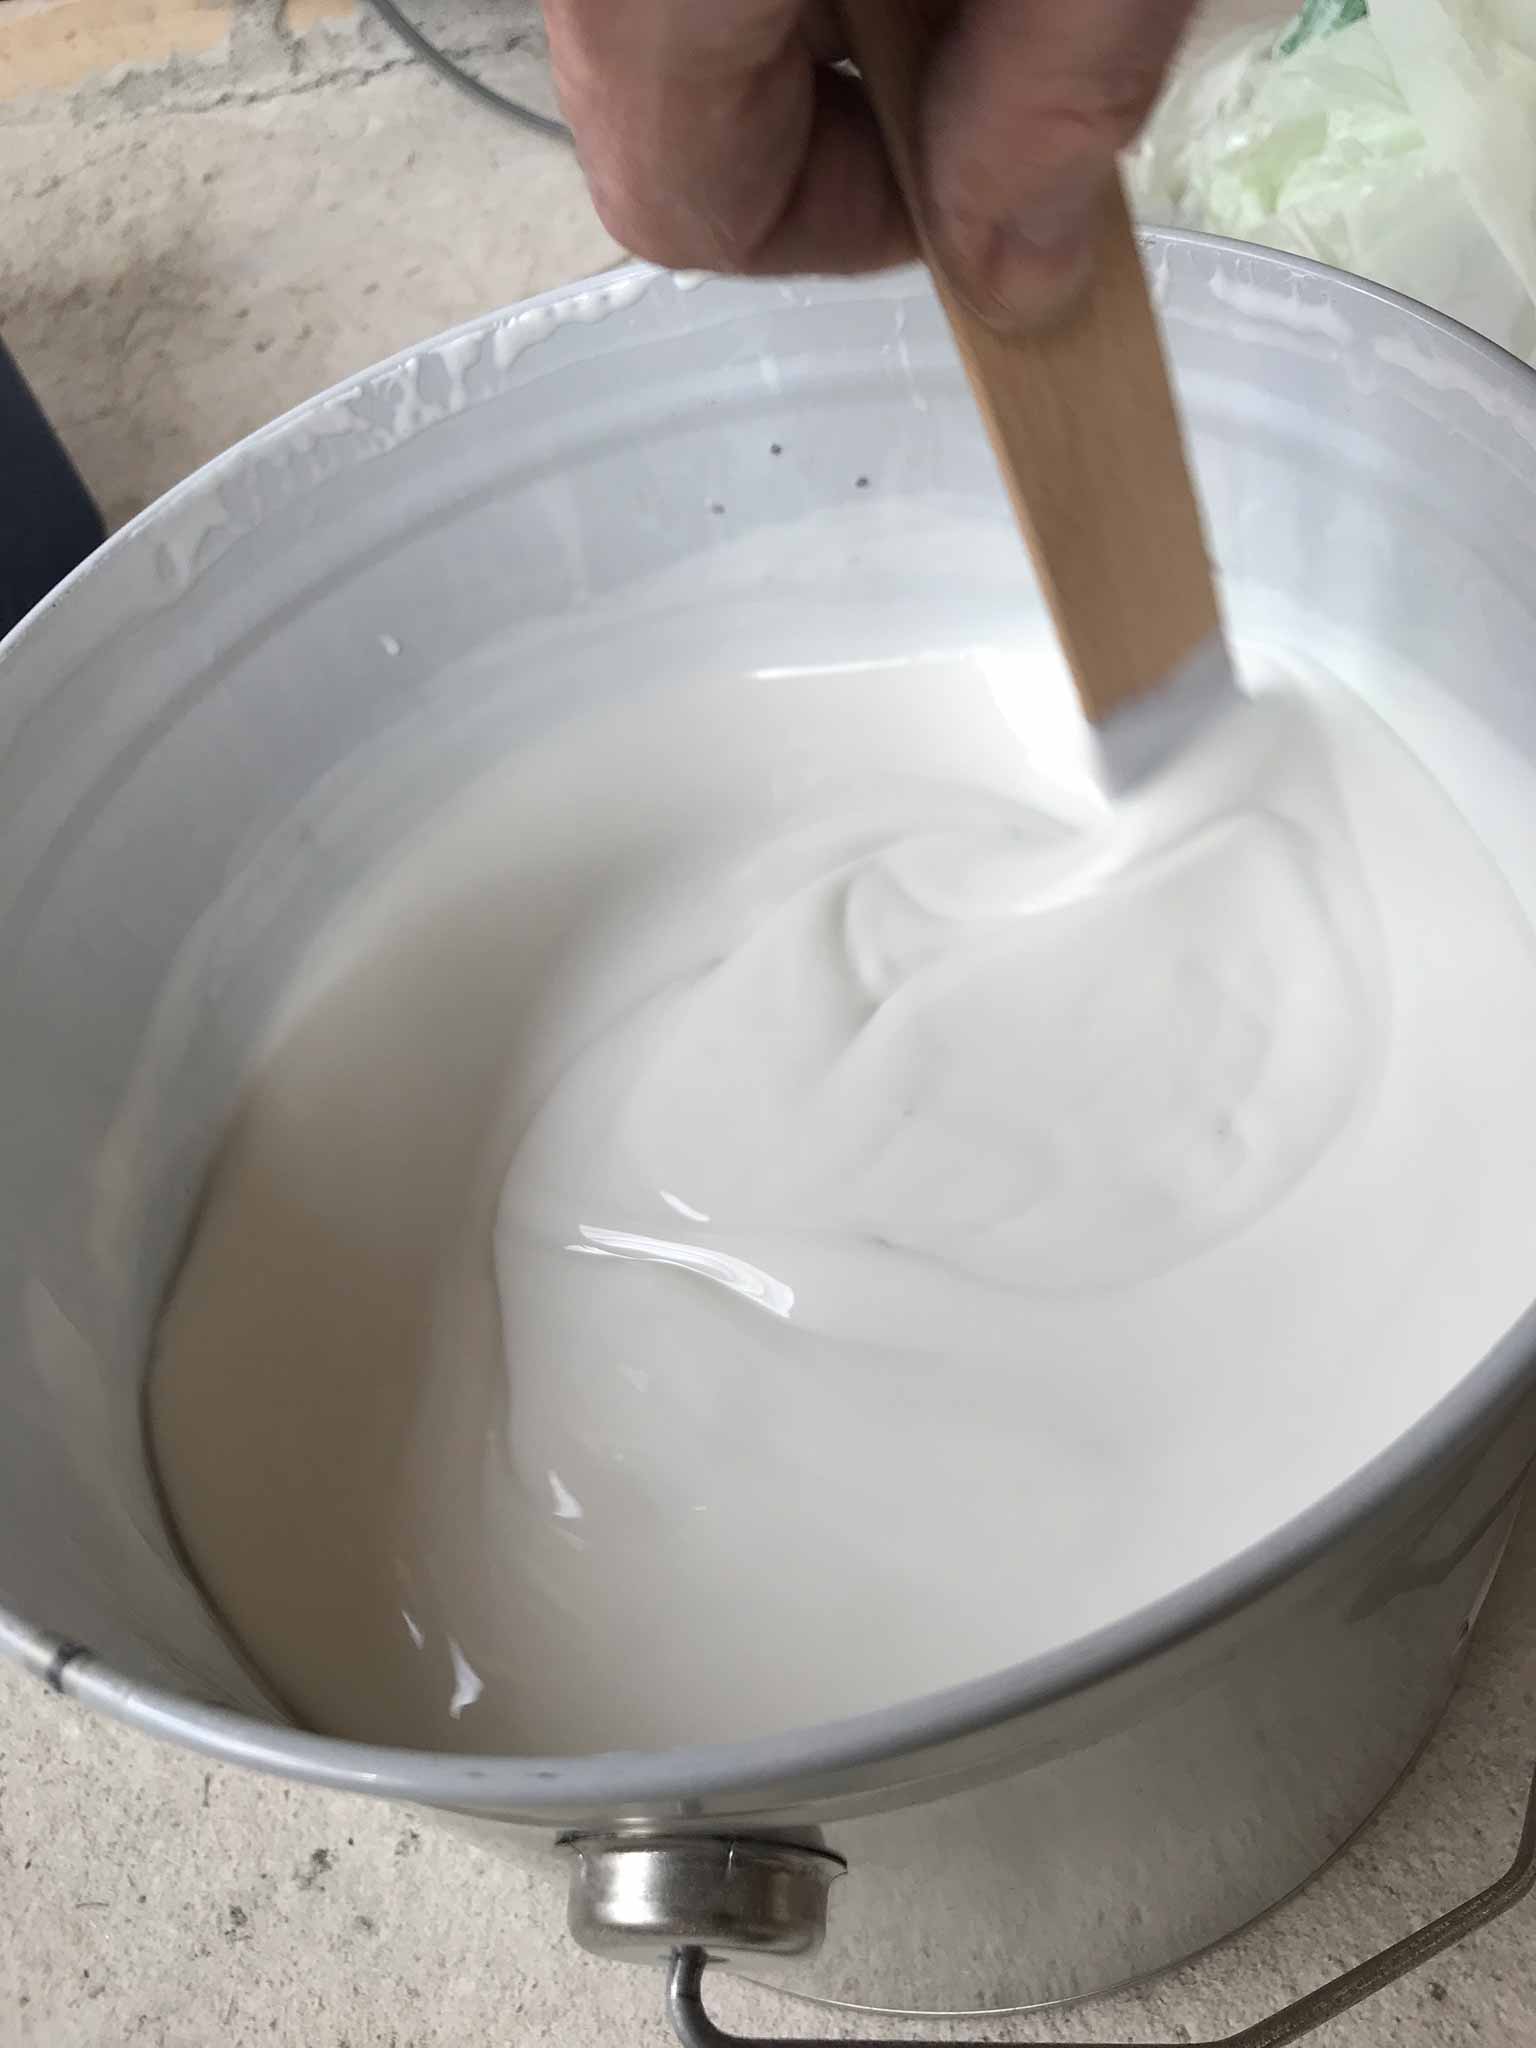
The ceiling needed staining. In total near 250^m and three layers. It took about 12(?) cans. Staining-sanding-staining-sanding-staining. Pfffft…

Renovating a home
The ceiling needed staining. In total near 250^m and three layers. It took about 12(?) cans. Staining-sanding-staining-sanding-staining. Pfffft…
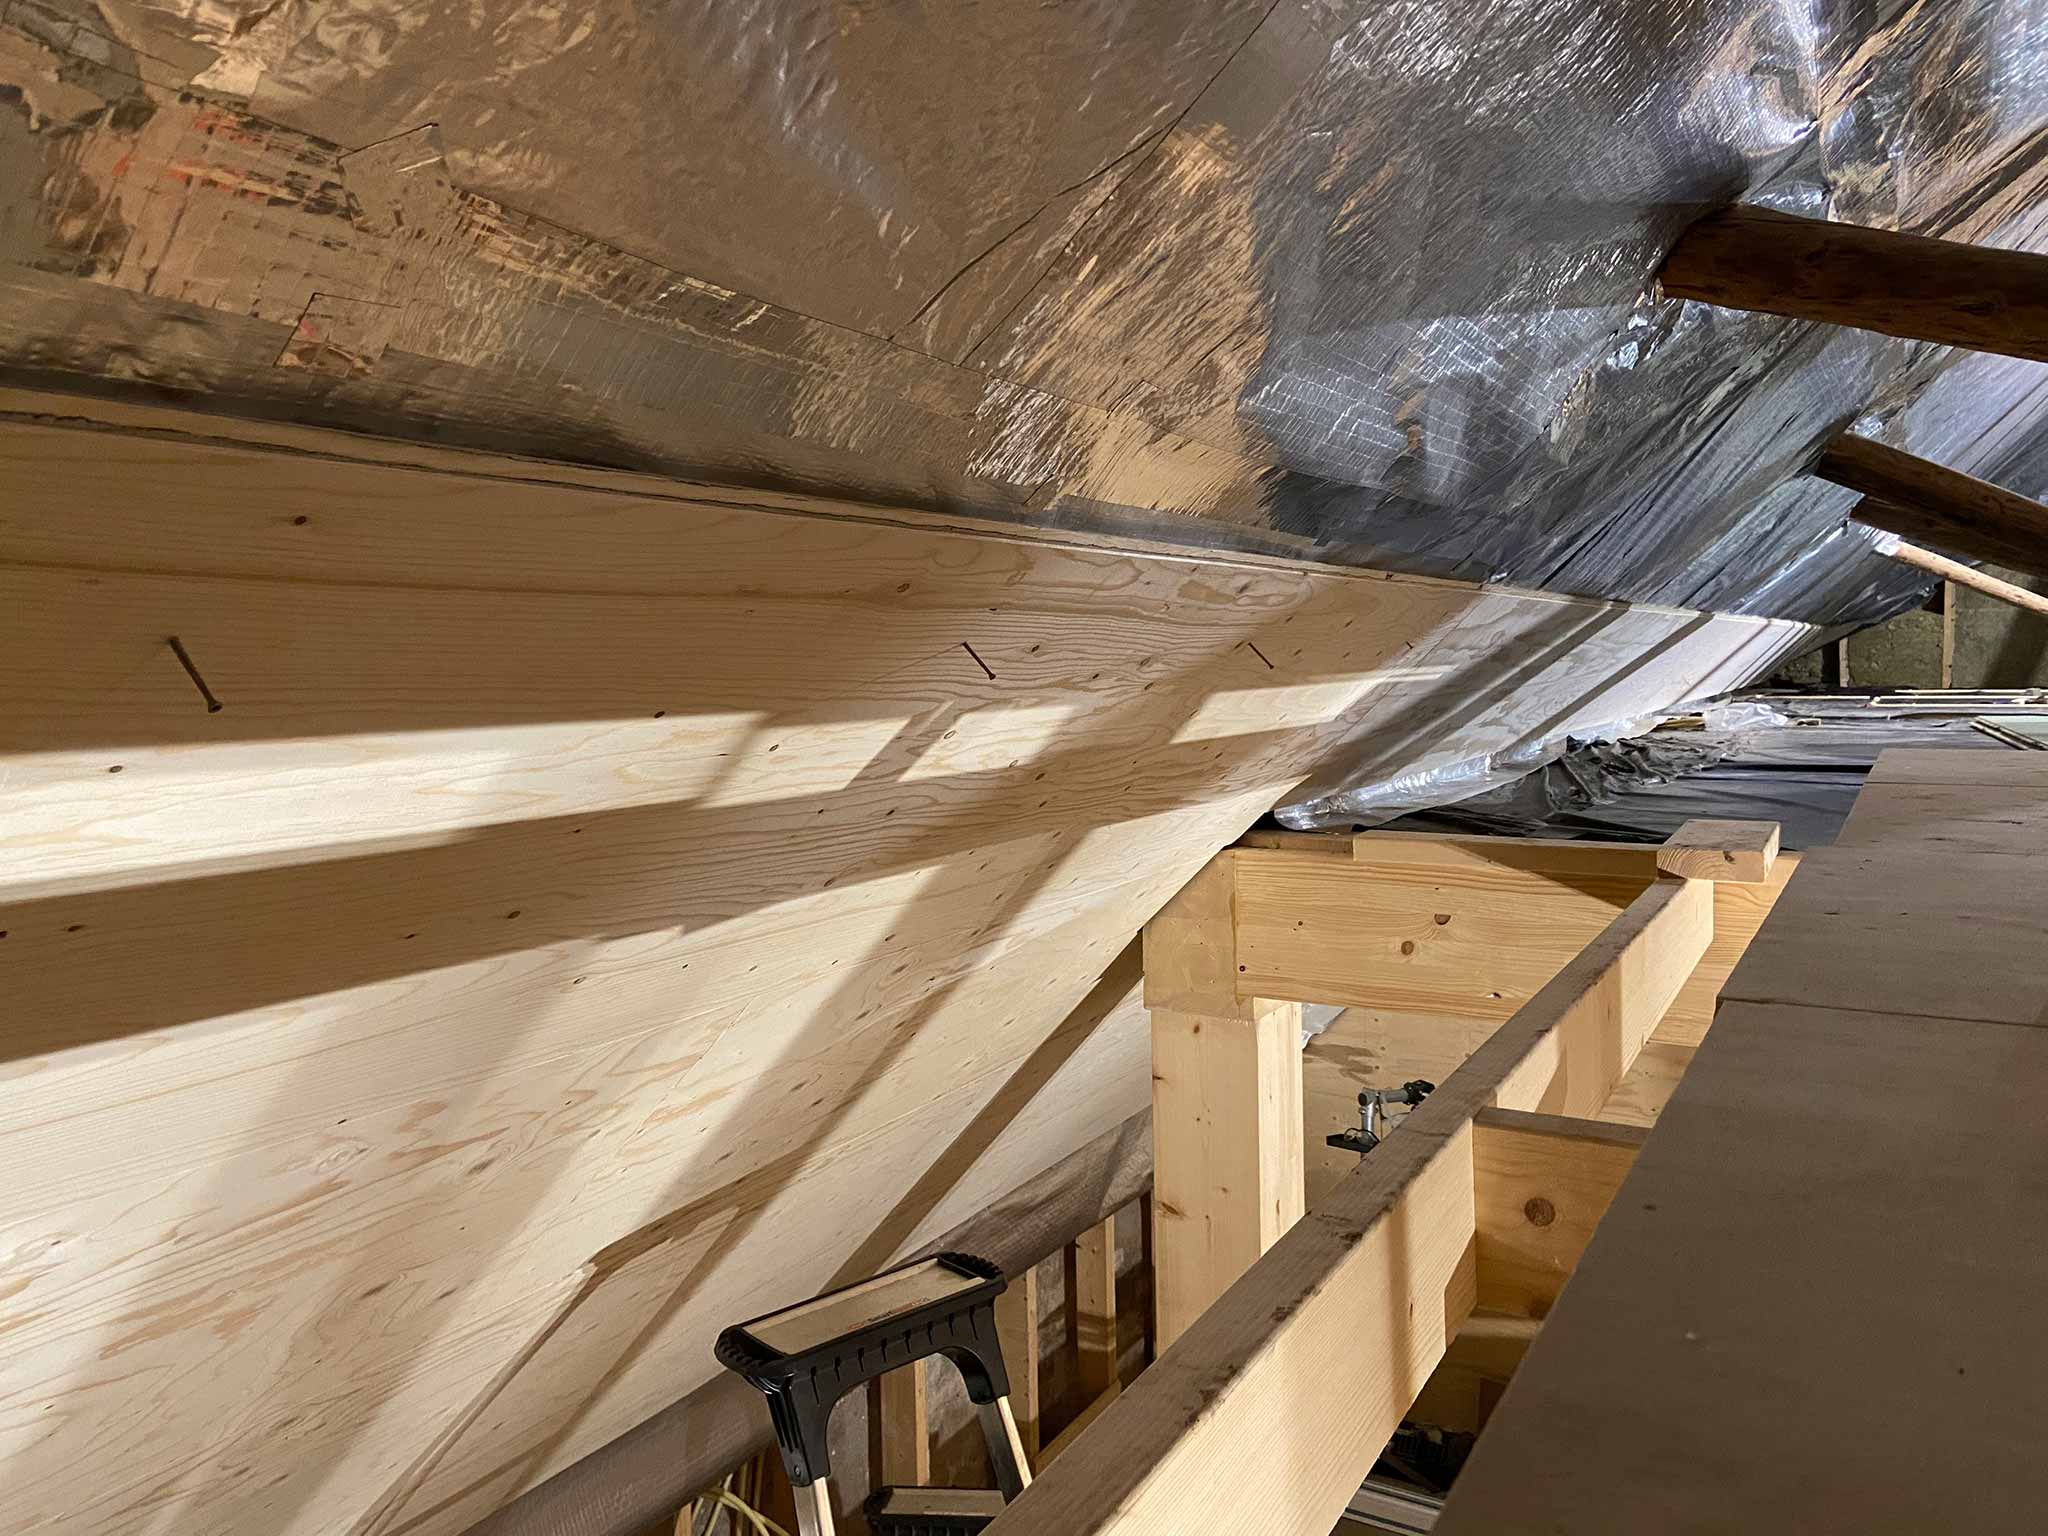
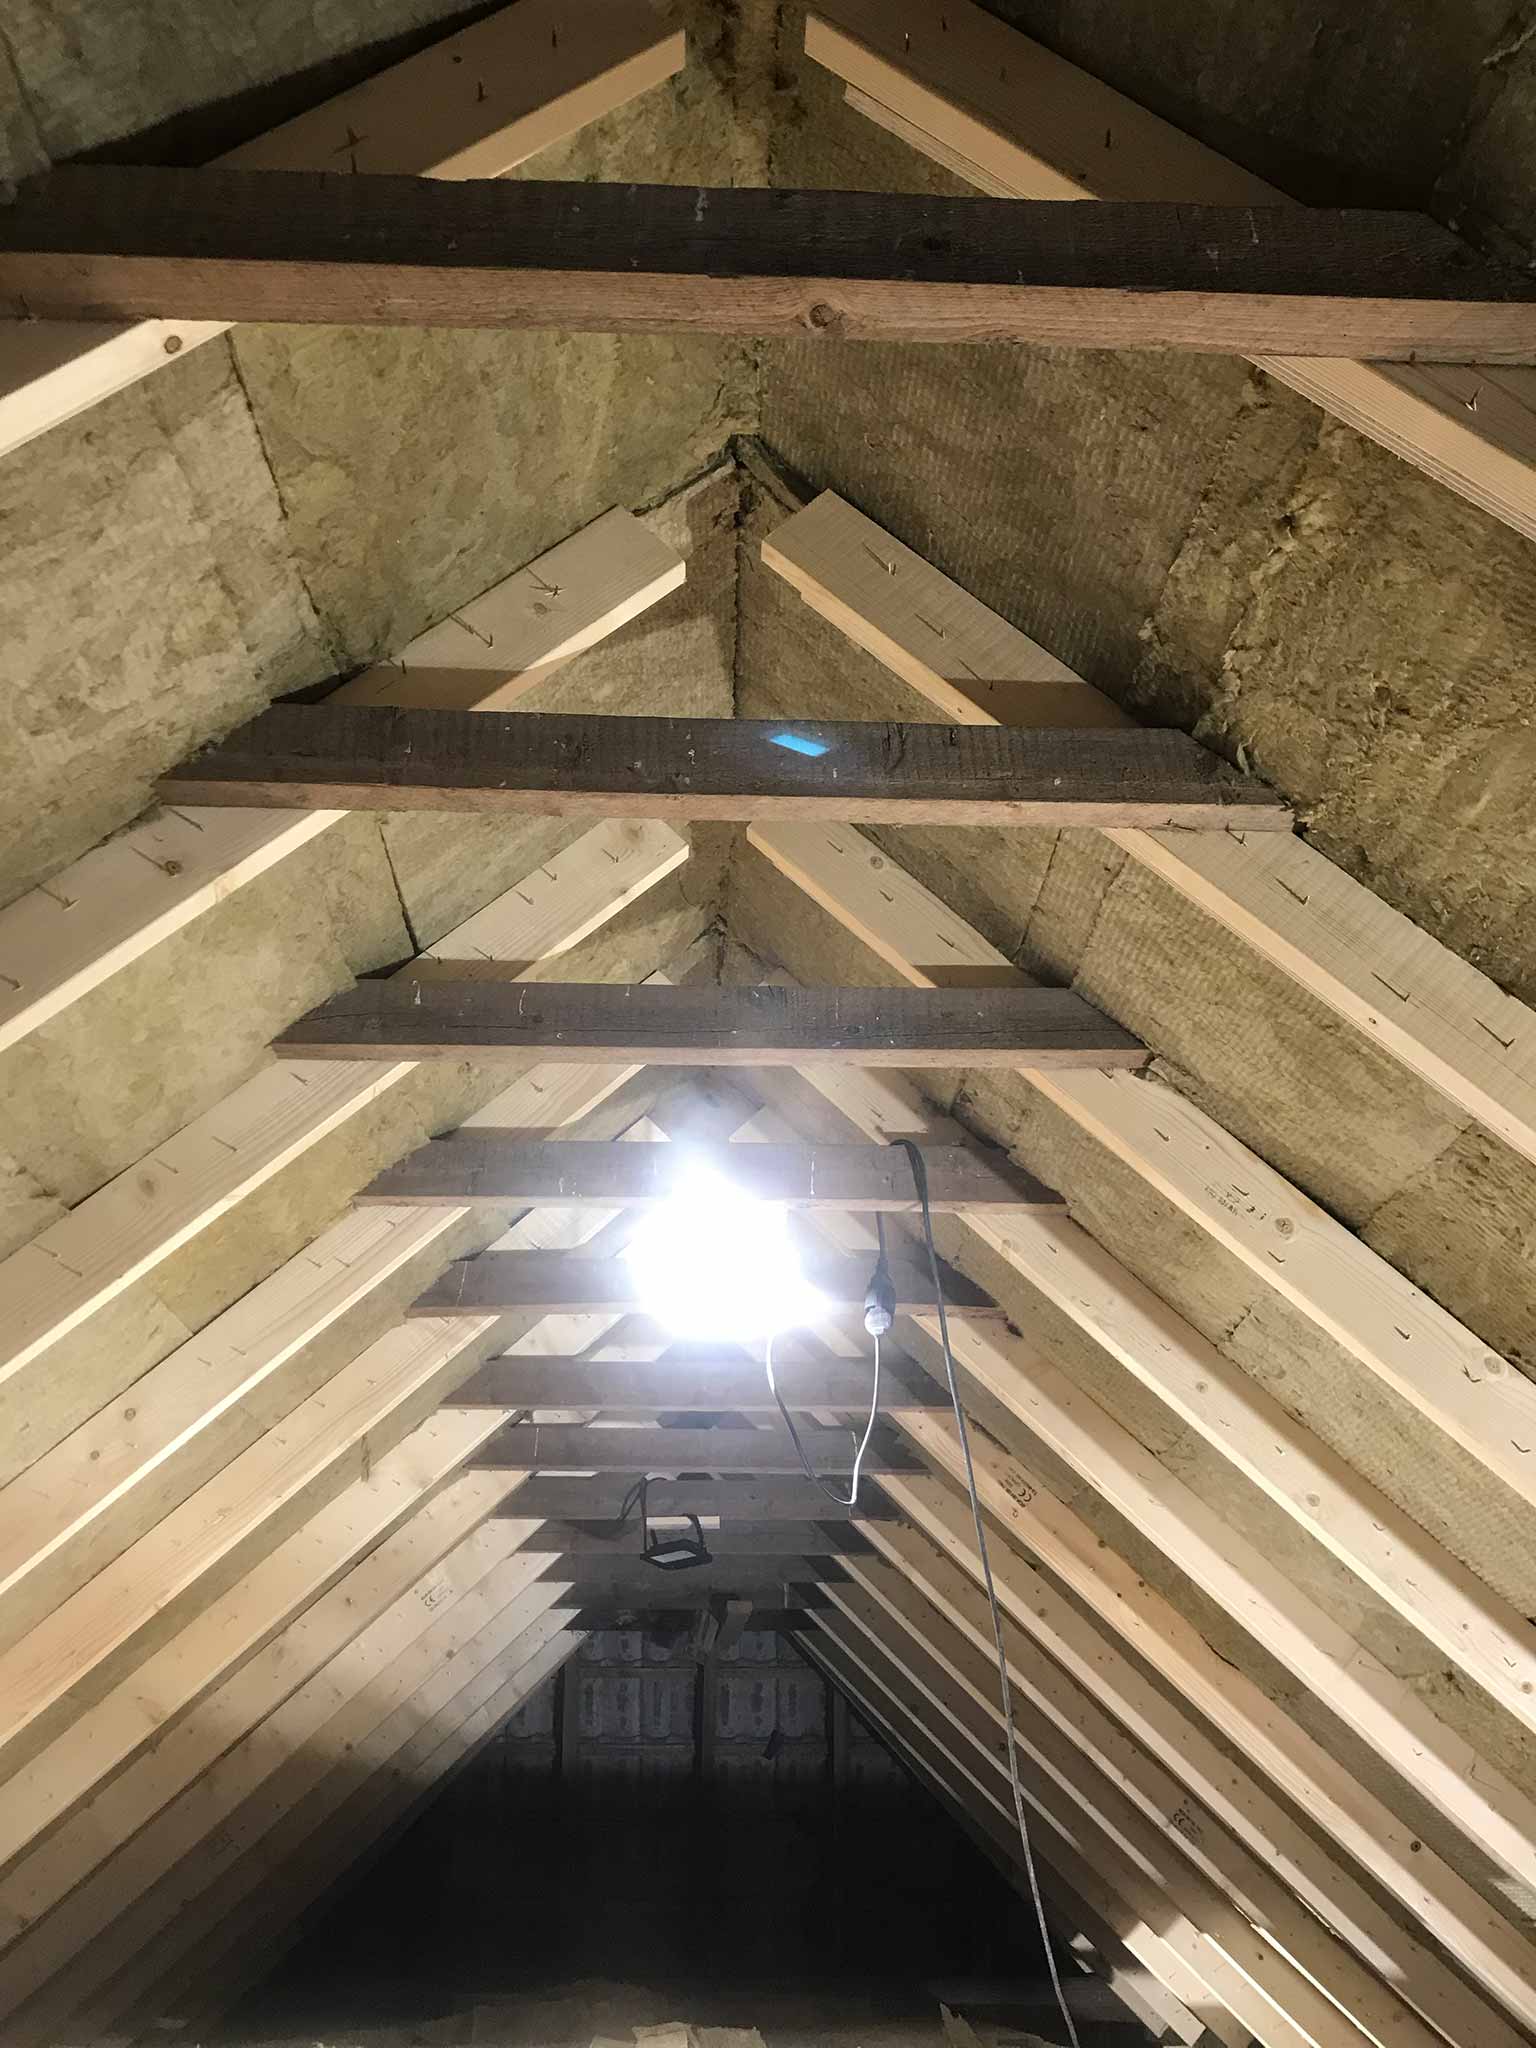
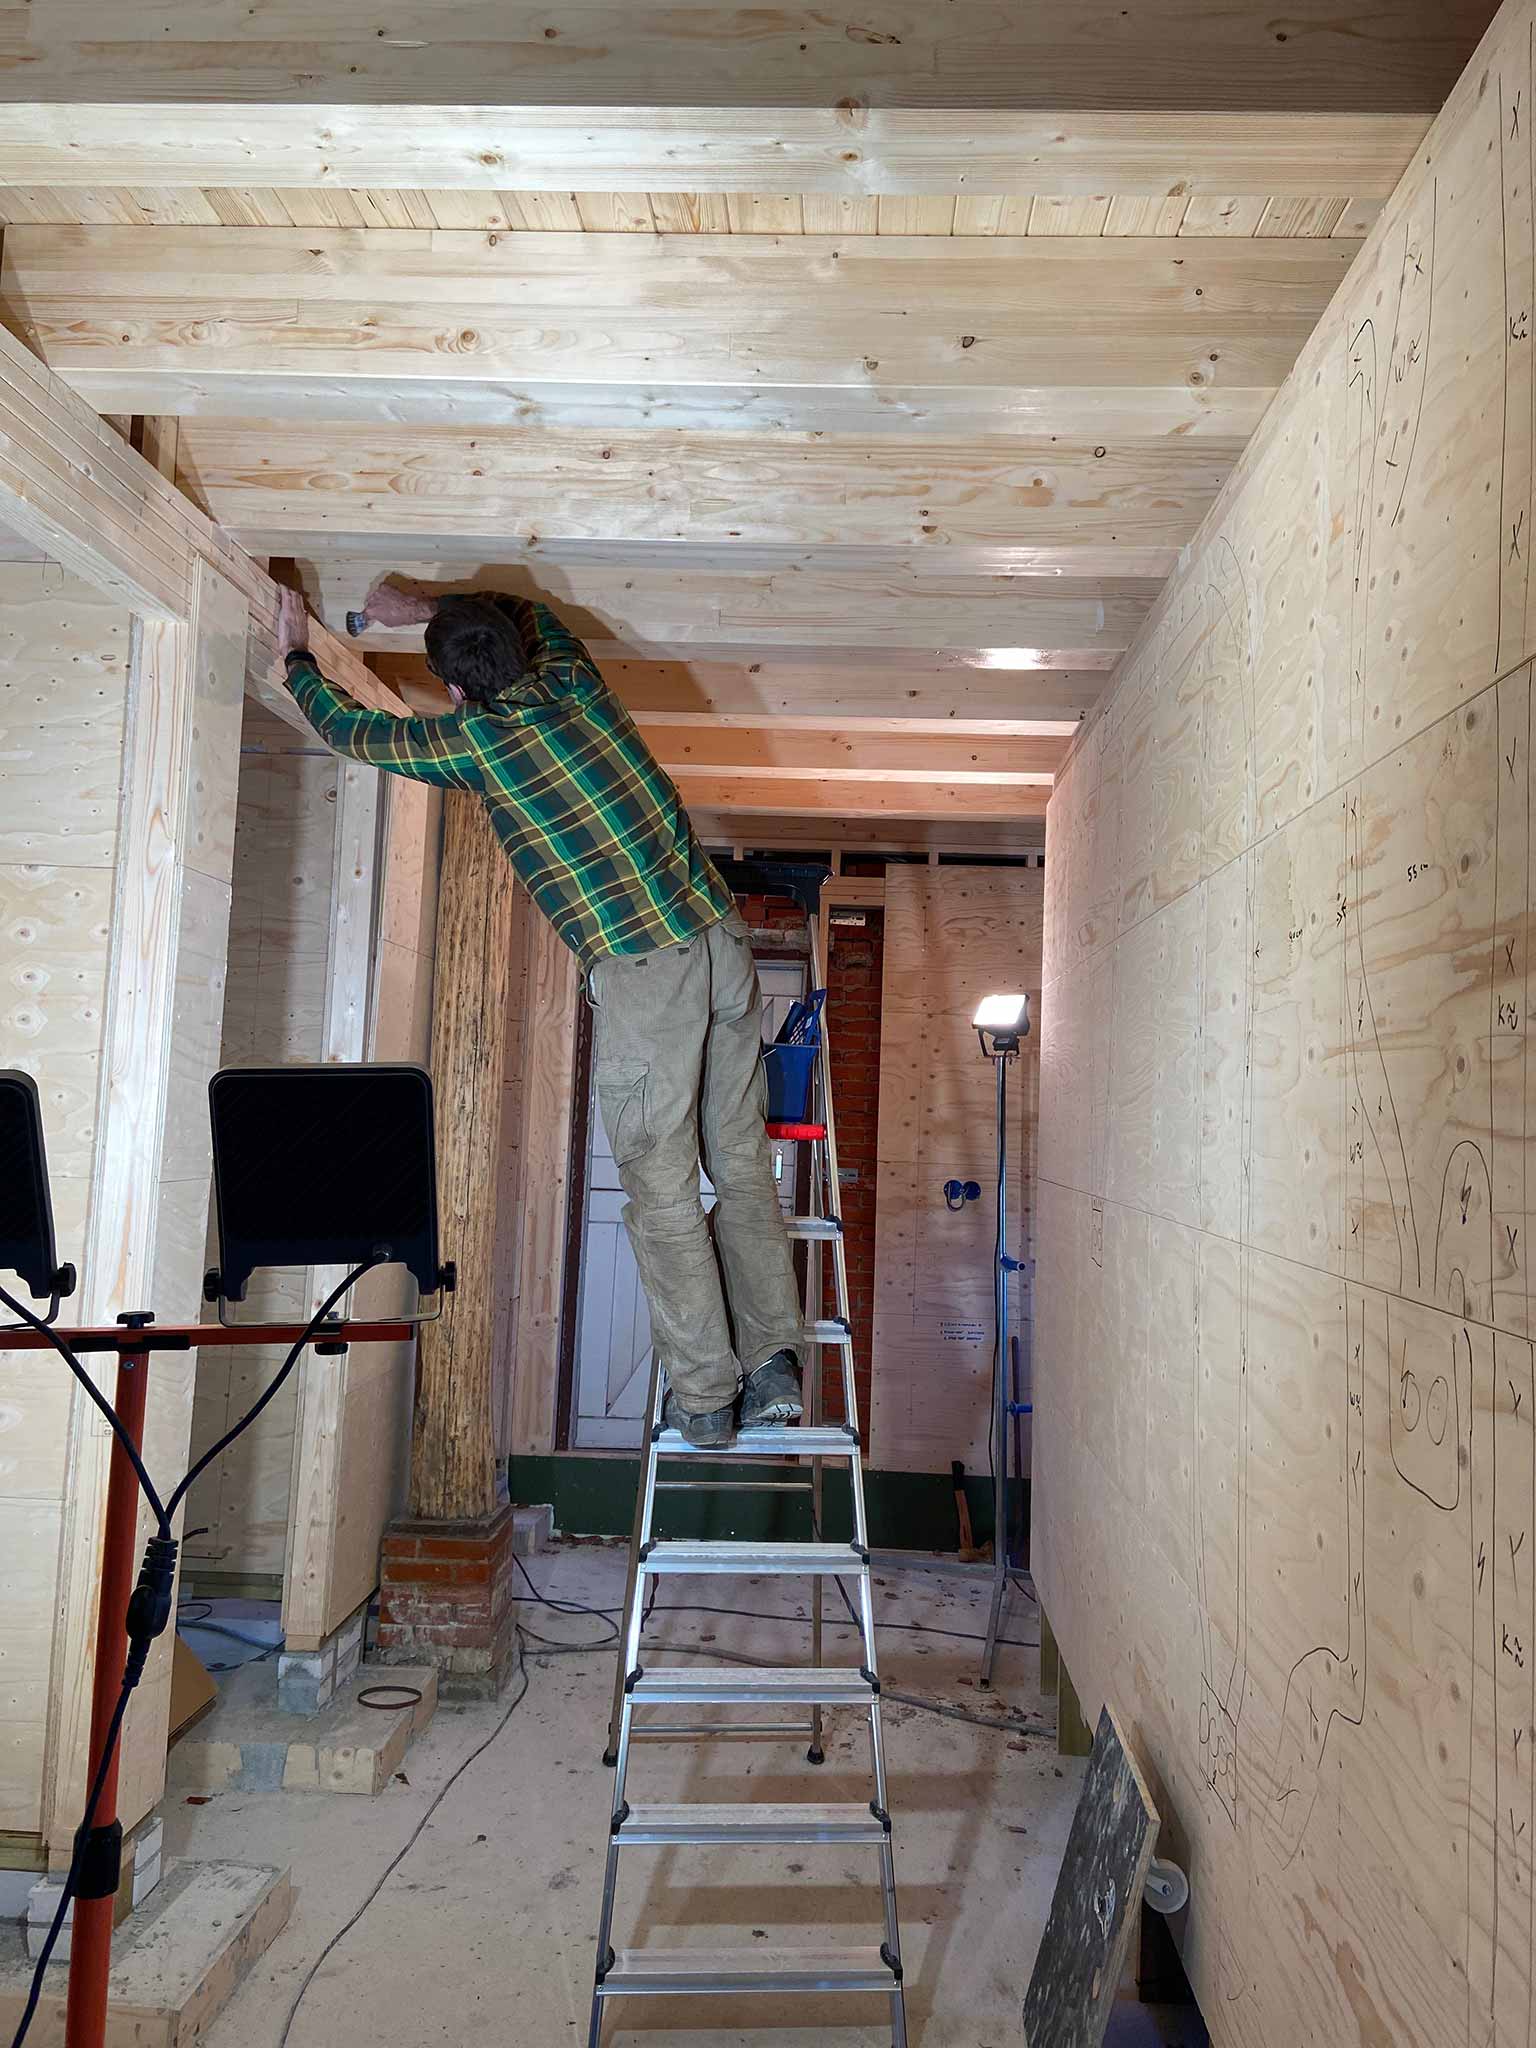
The hardes part of the roof’s paneling is done. All the panels around the trusses are done. Only hard thing left if to fill the cut outs done in order to slide the panels around the trusses. A task left for later… Just as the remaining parts (which are pretty straight forward). First we’ll busy ourselves with the walls of the ground floor so we can finish that part first.
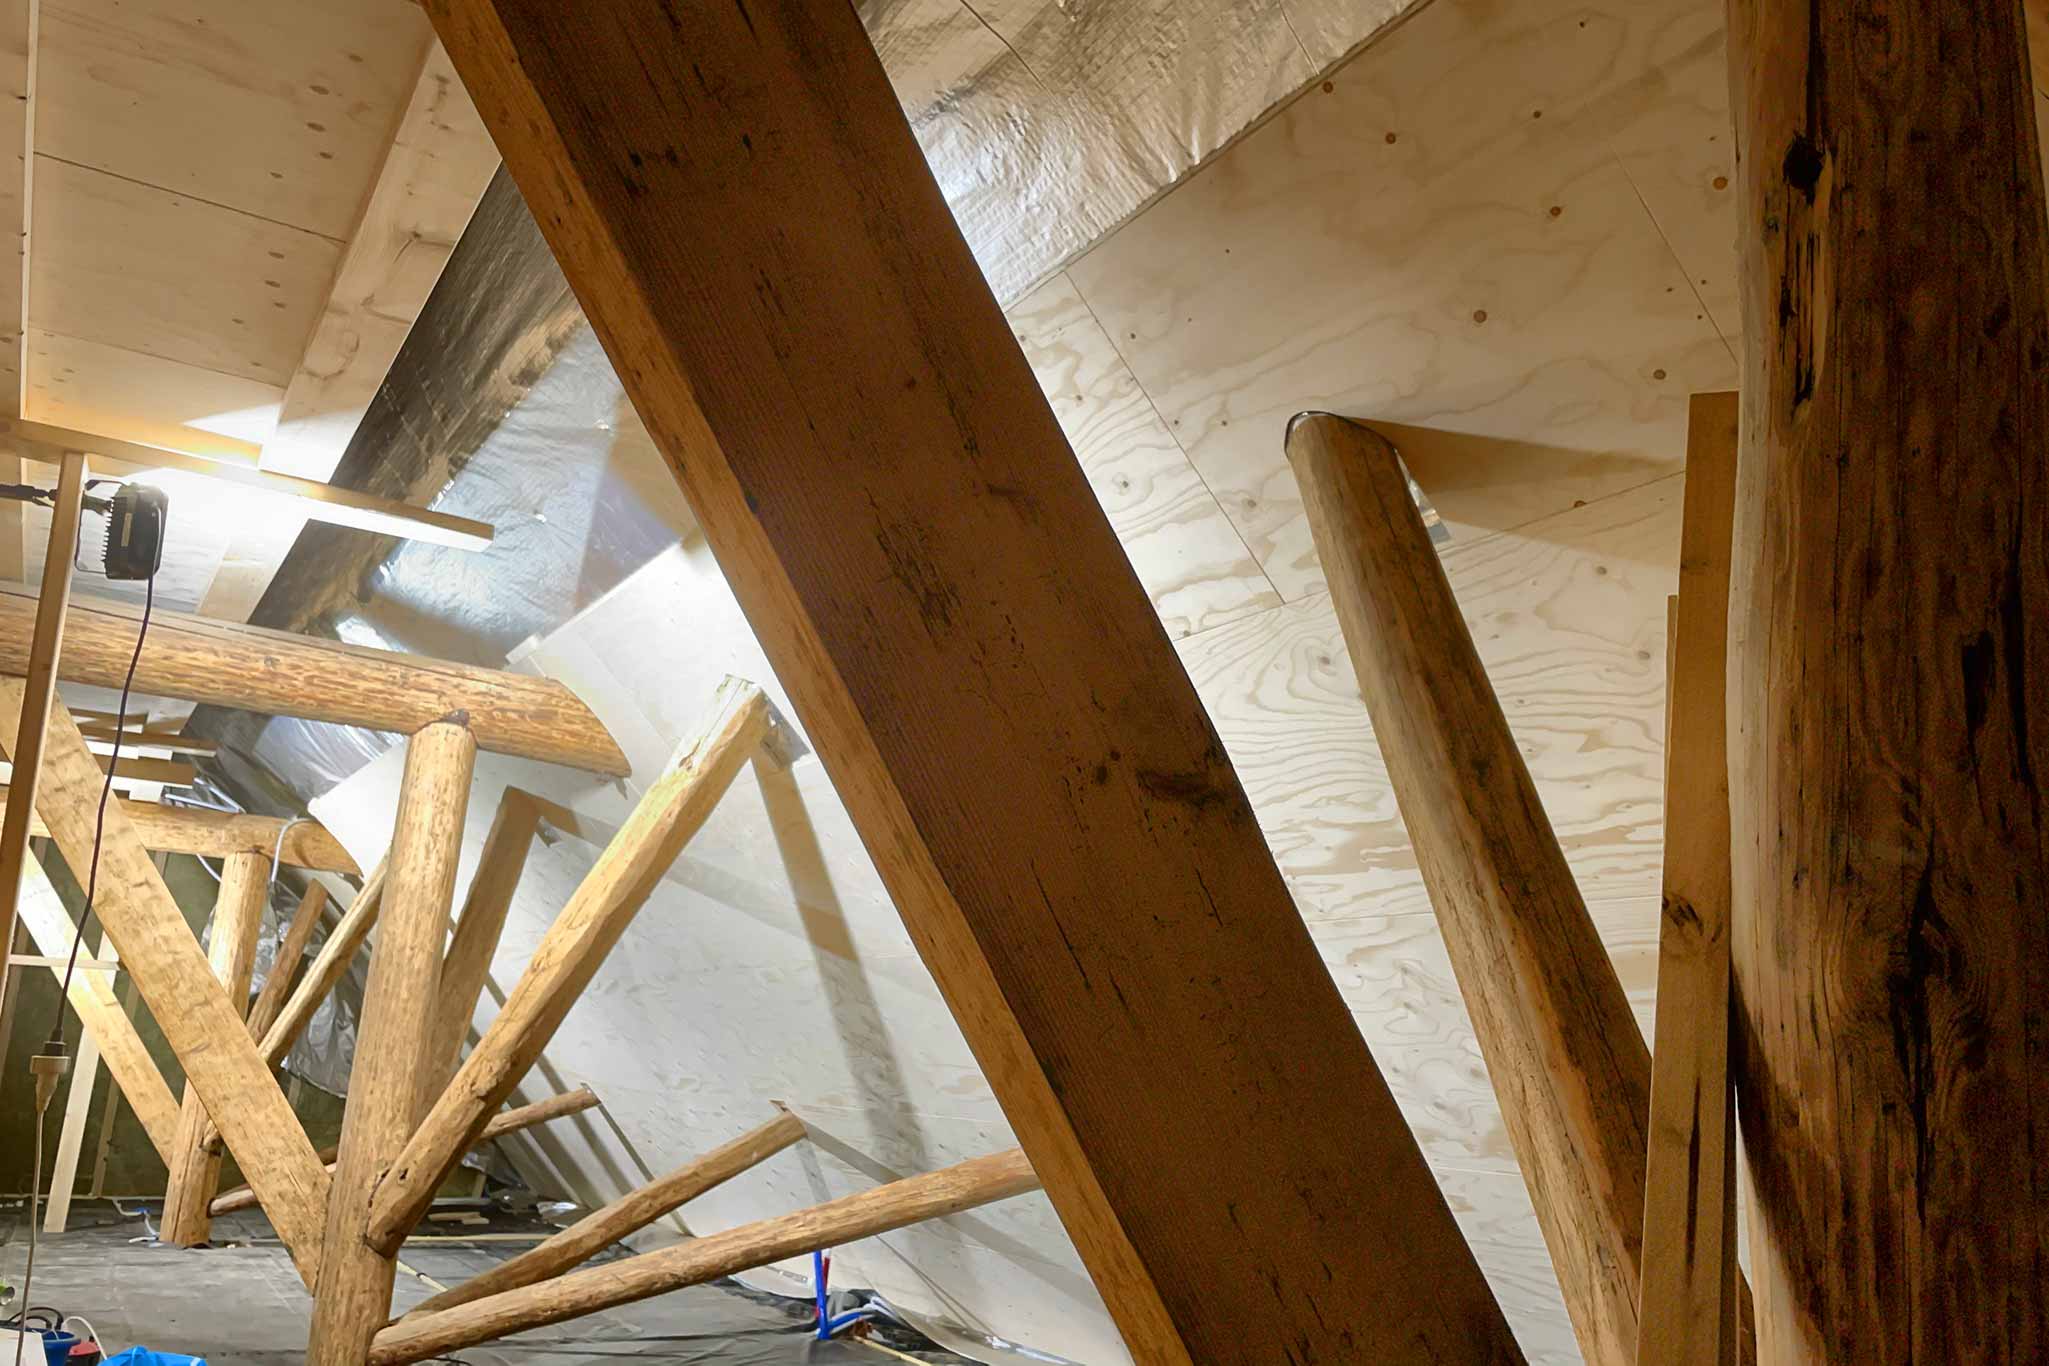
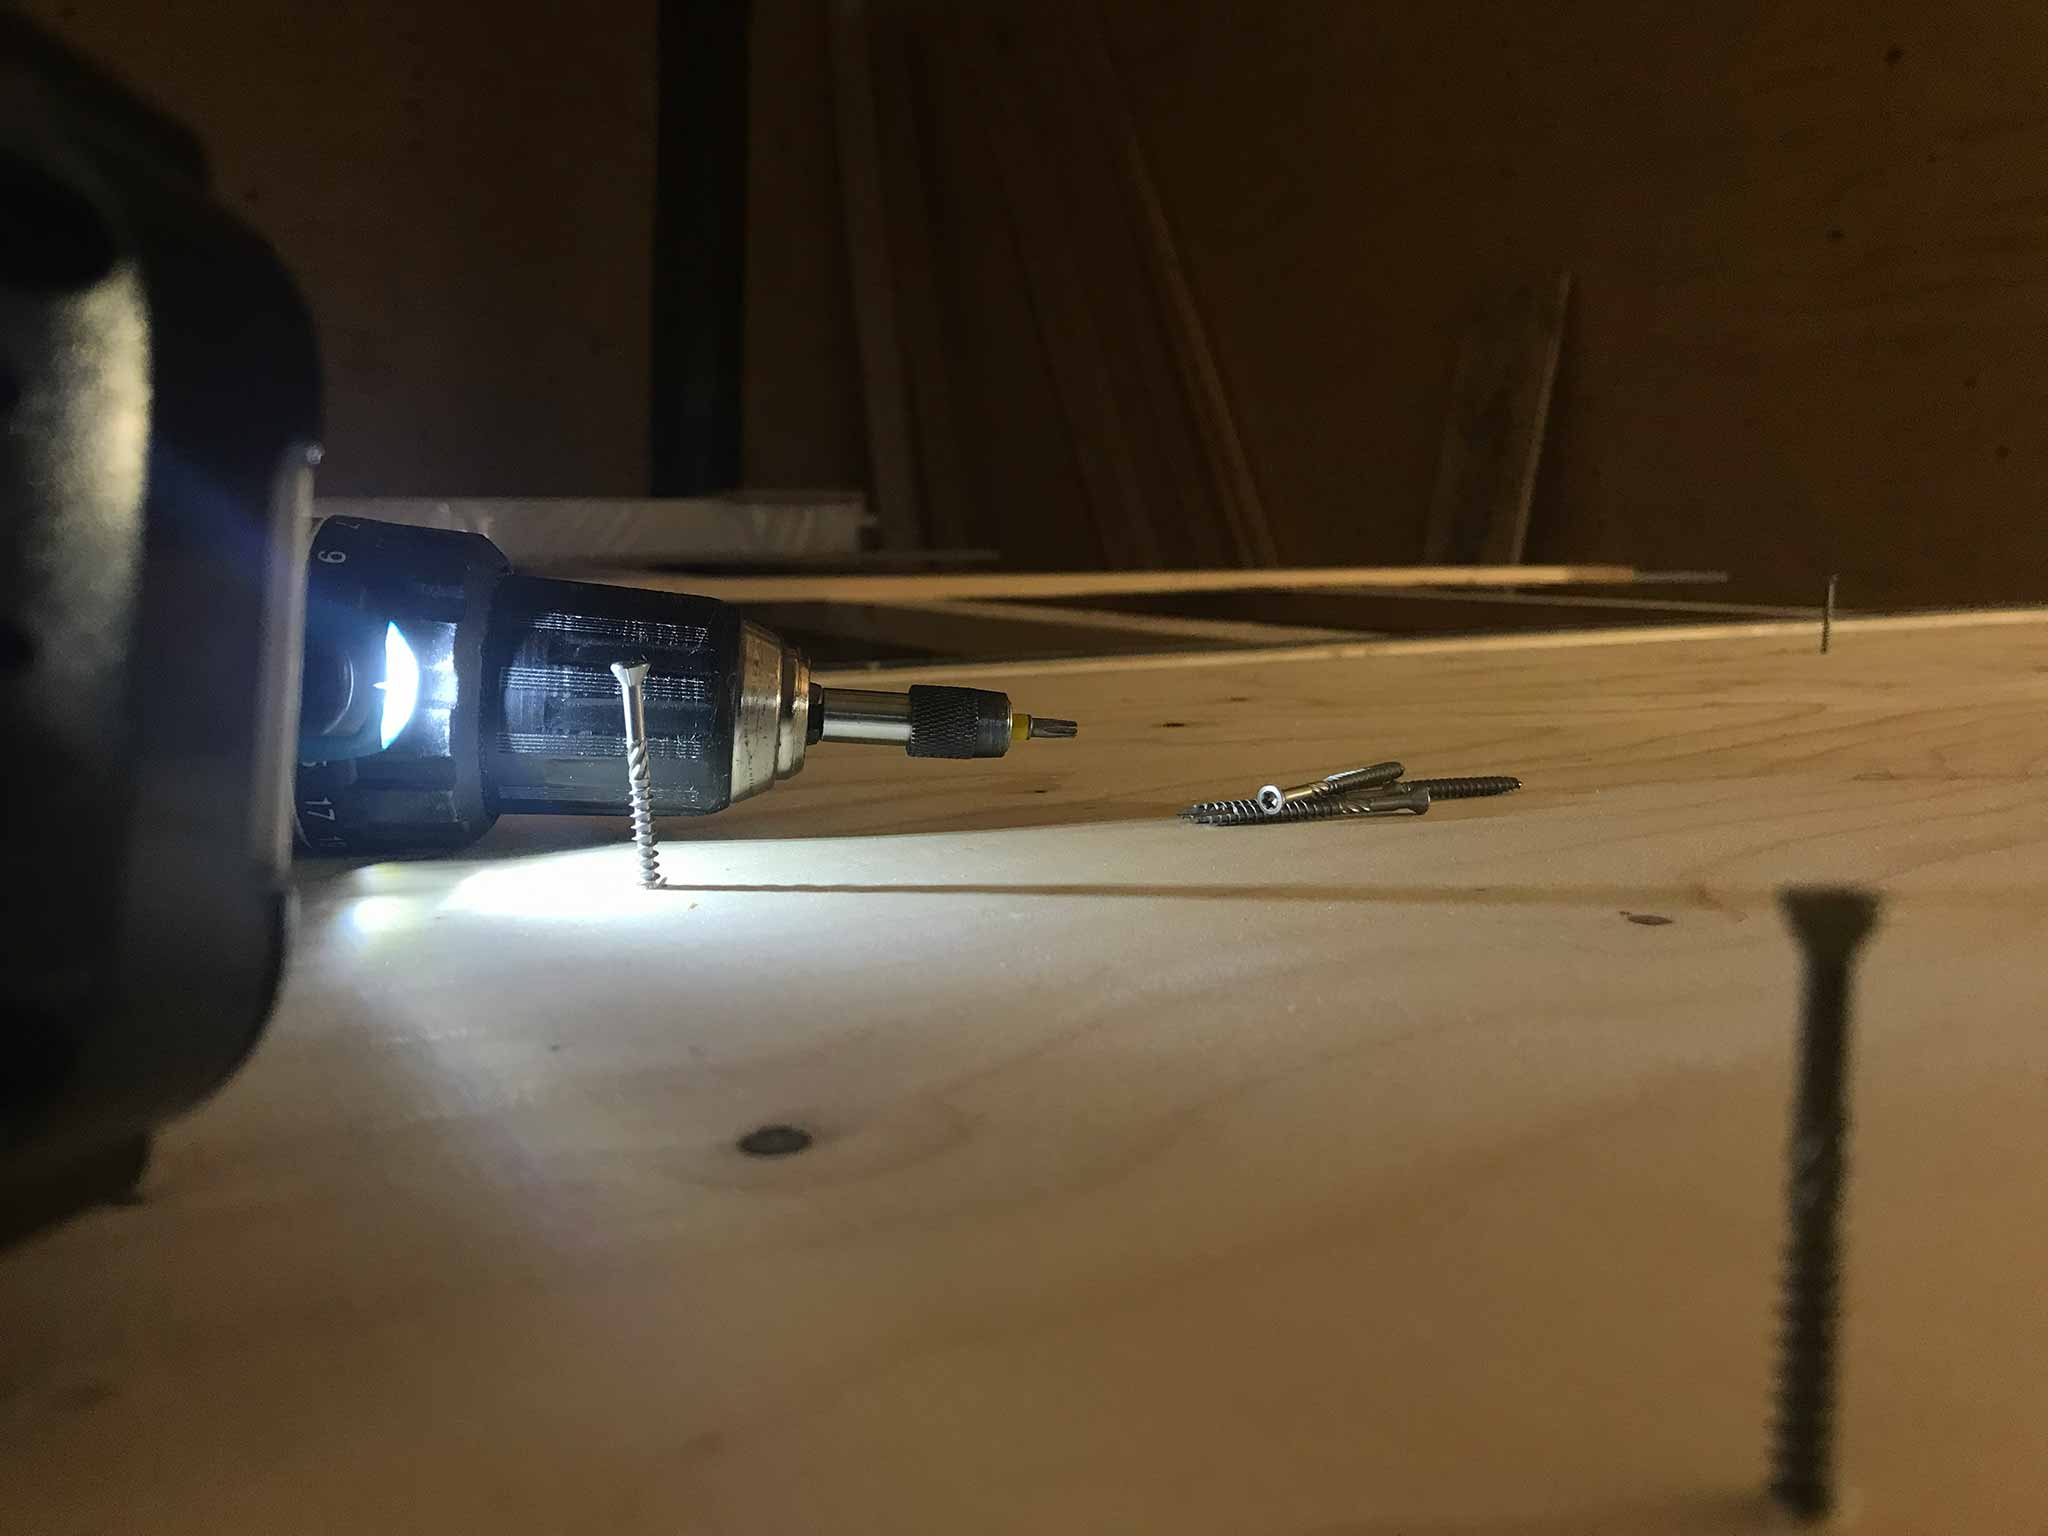
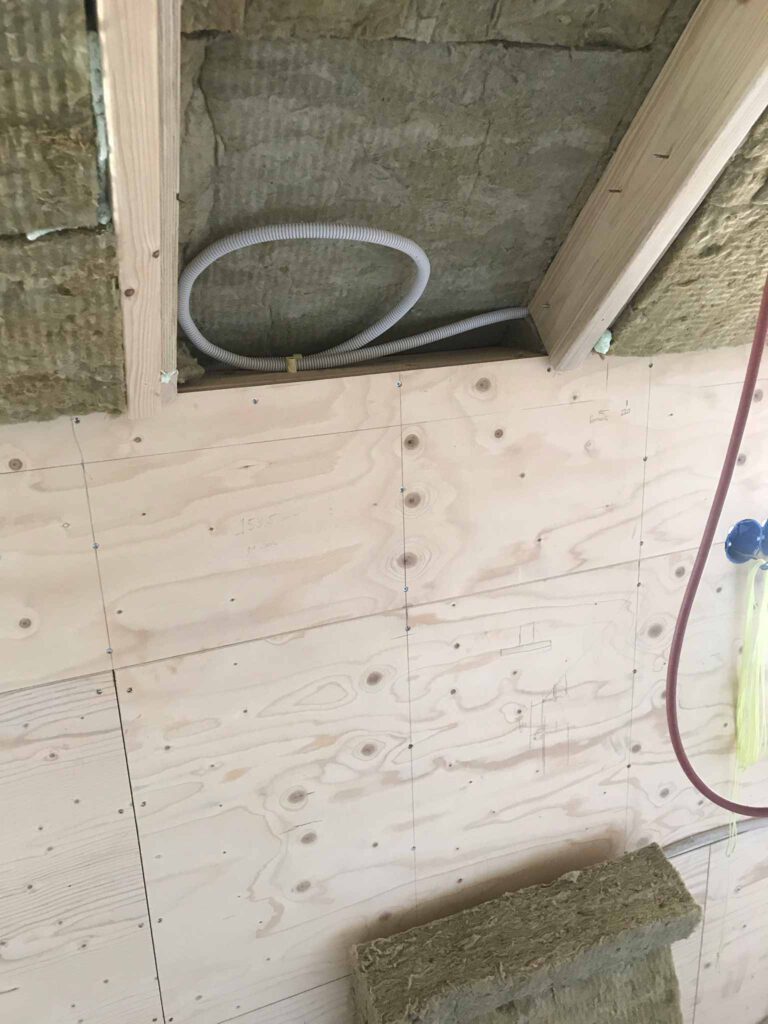
The paneling of the ceiling has started. Approximately 150 panels of 244cm x 60cm. The panels have tongue and groove around it to connect easily. Works perfect until you need to slide them in around beams and such. Bottom line, some are placed easily (just screw ‘m to the beams), and some are hard (fitted in between two angular beams.
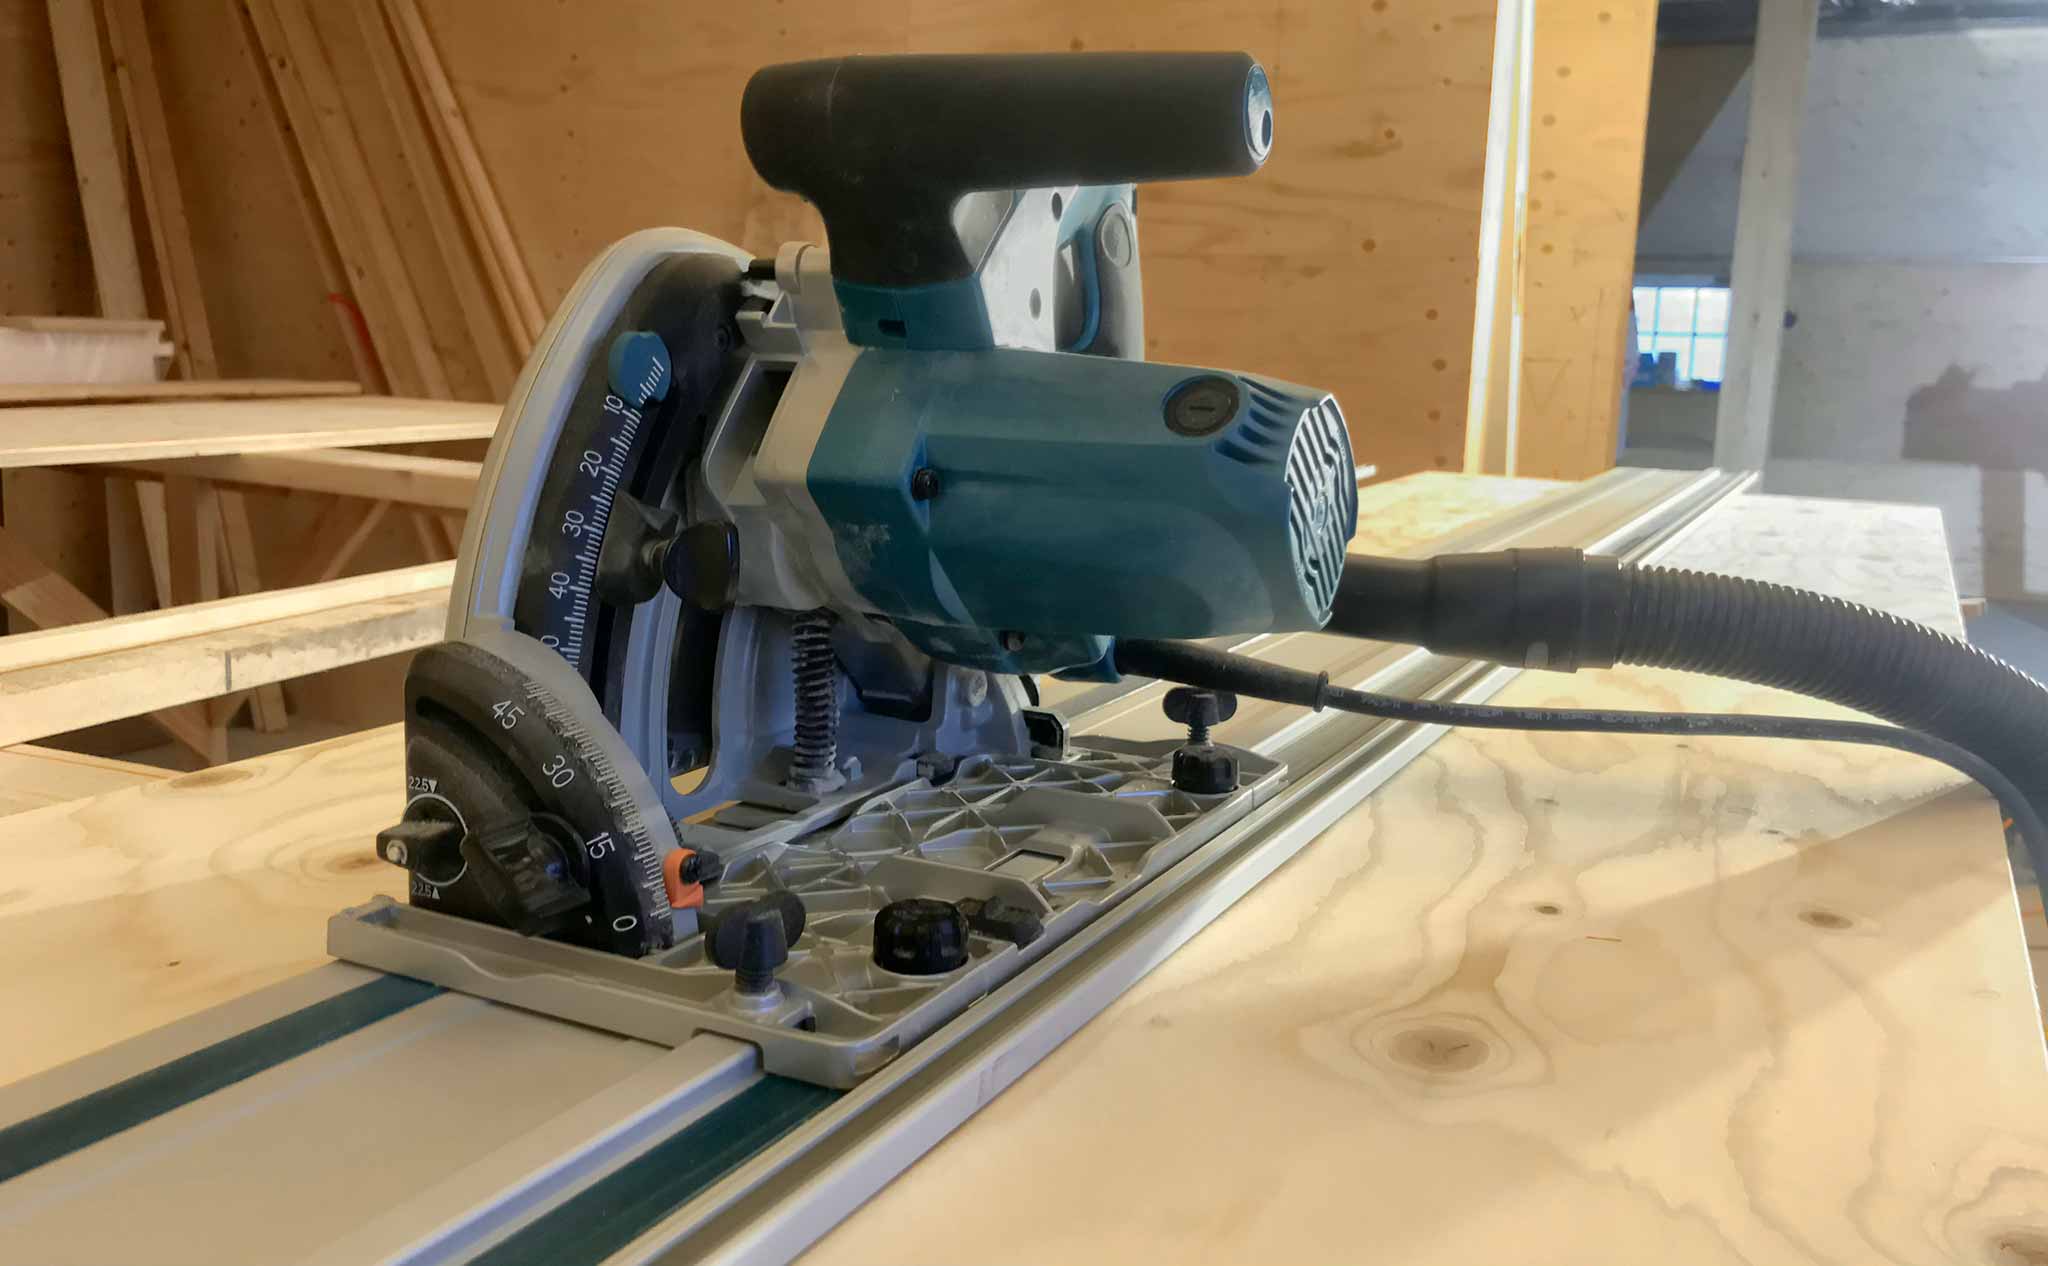
So, power tools are at it again: track saw for the course work and adjusting tongue and groove where needed, jigsaw for the parts around beams, and drill to screw it to the beams with nice stainless steel screws.

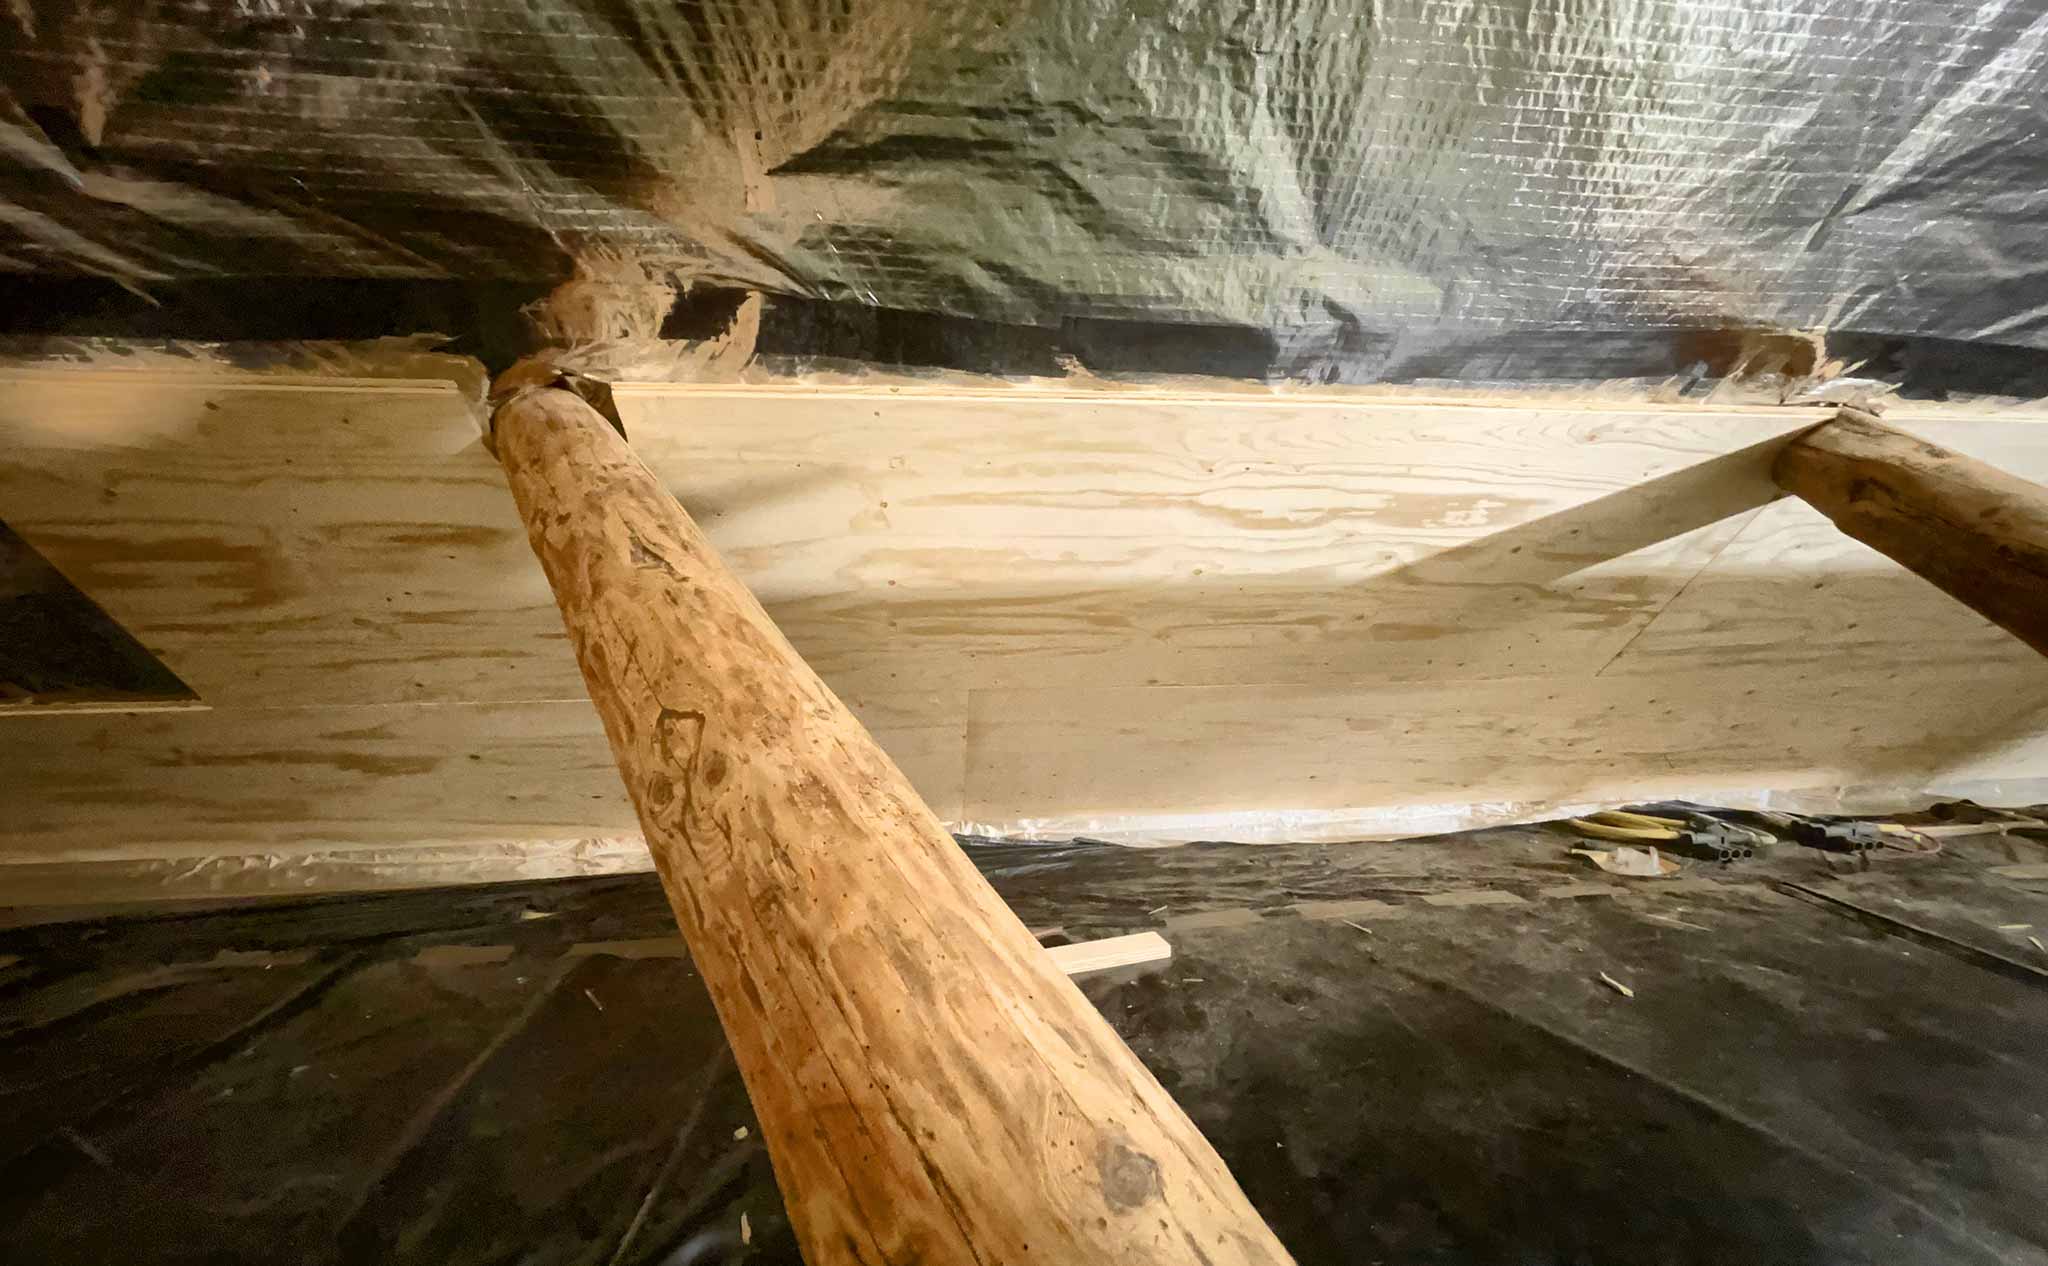
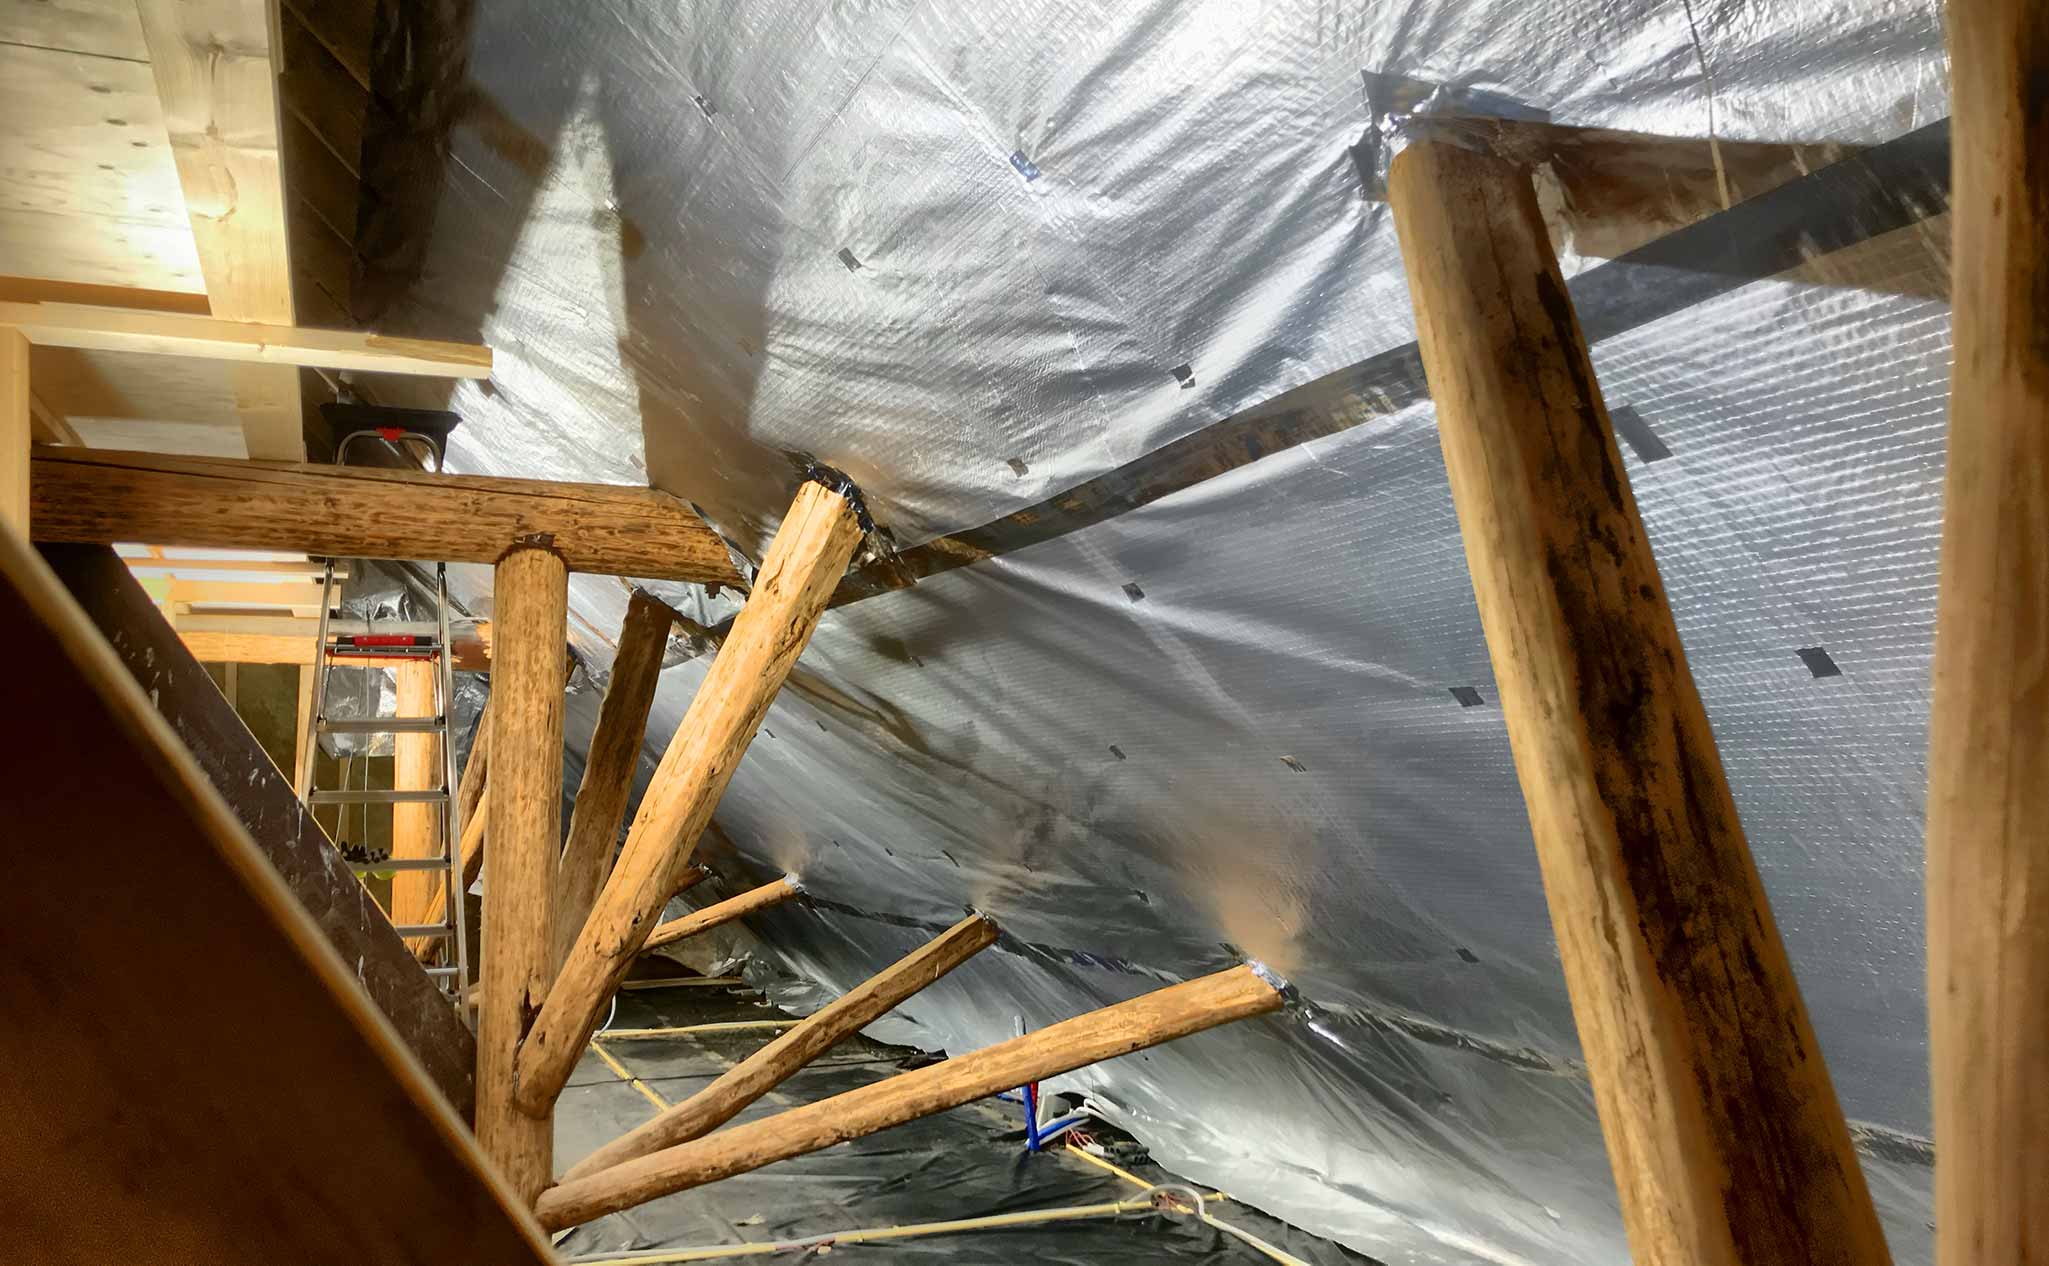
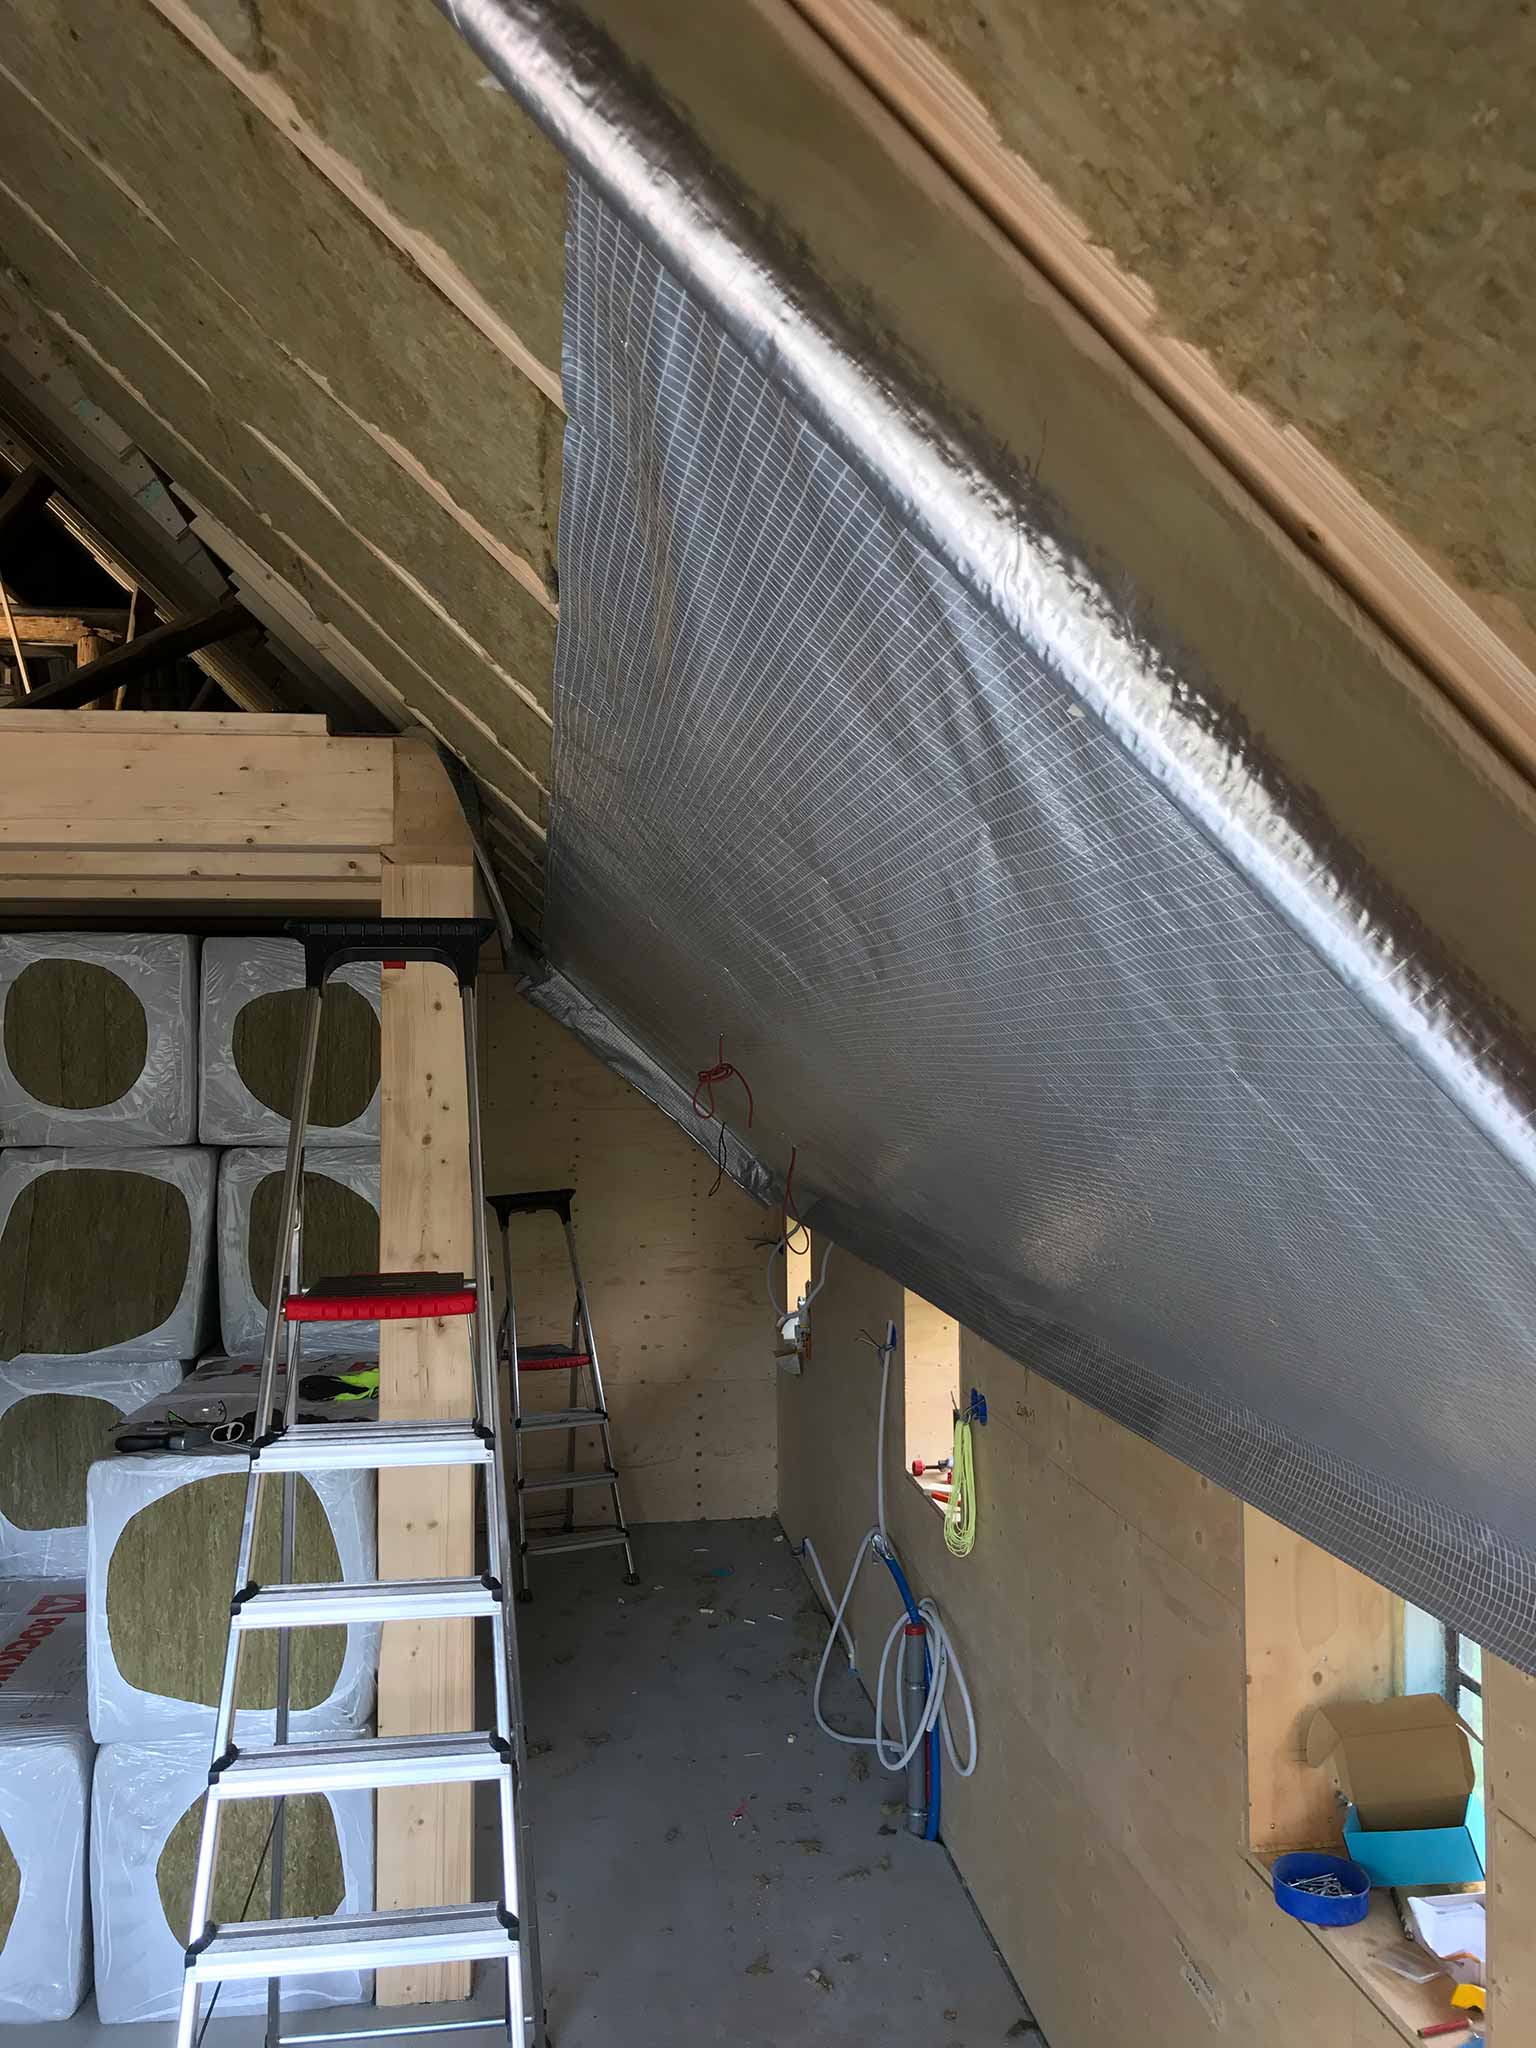
To prevent moisture from getting into the roof isolation (as much as possible) the inside of the roof needs to be covered in foil. It looks a bit like Chuck McGill‘s house in his worst periods. Pretty hard to get totally airtight, but hopefully the outside of the roof will let any trespassing moisture evaporate easy enough…
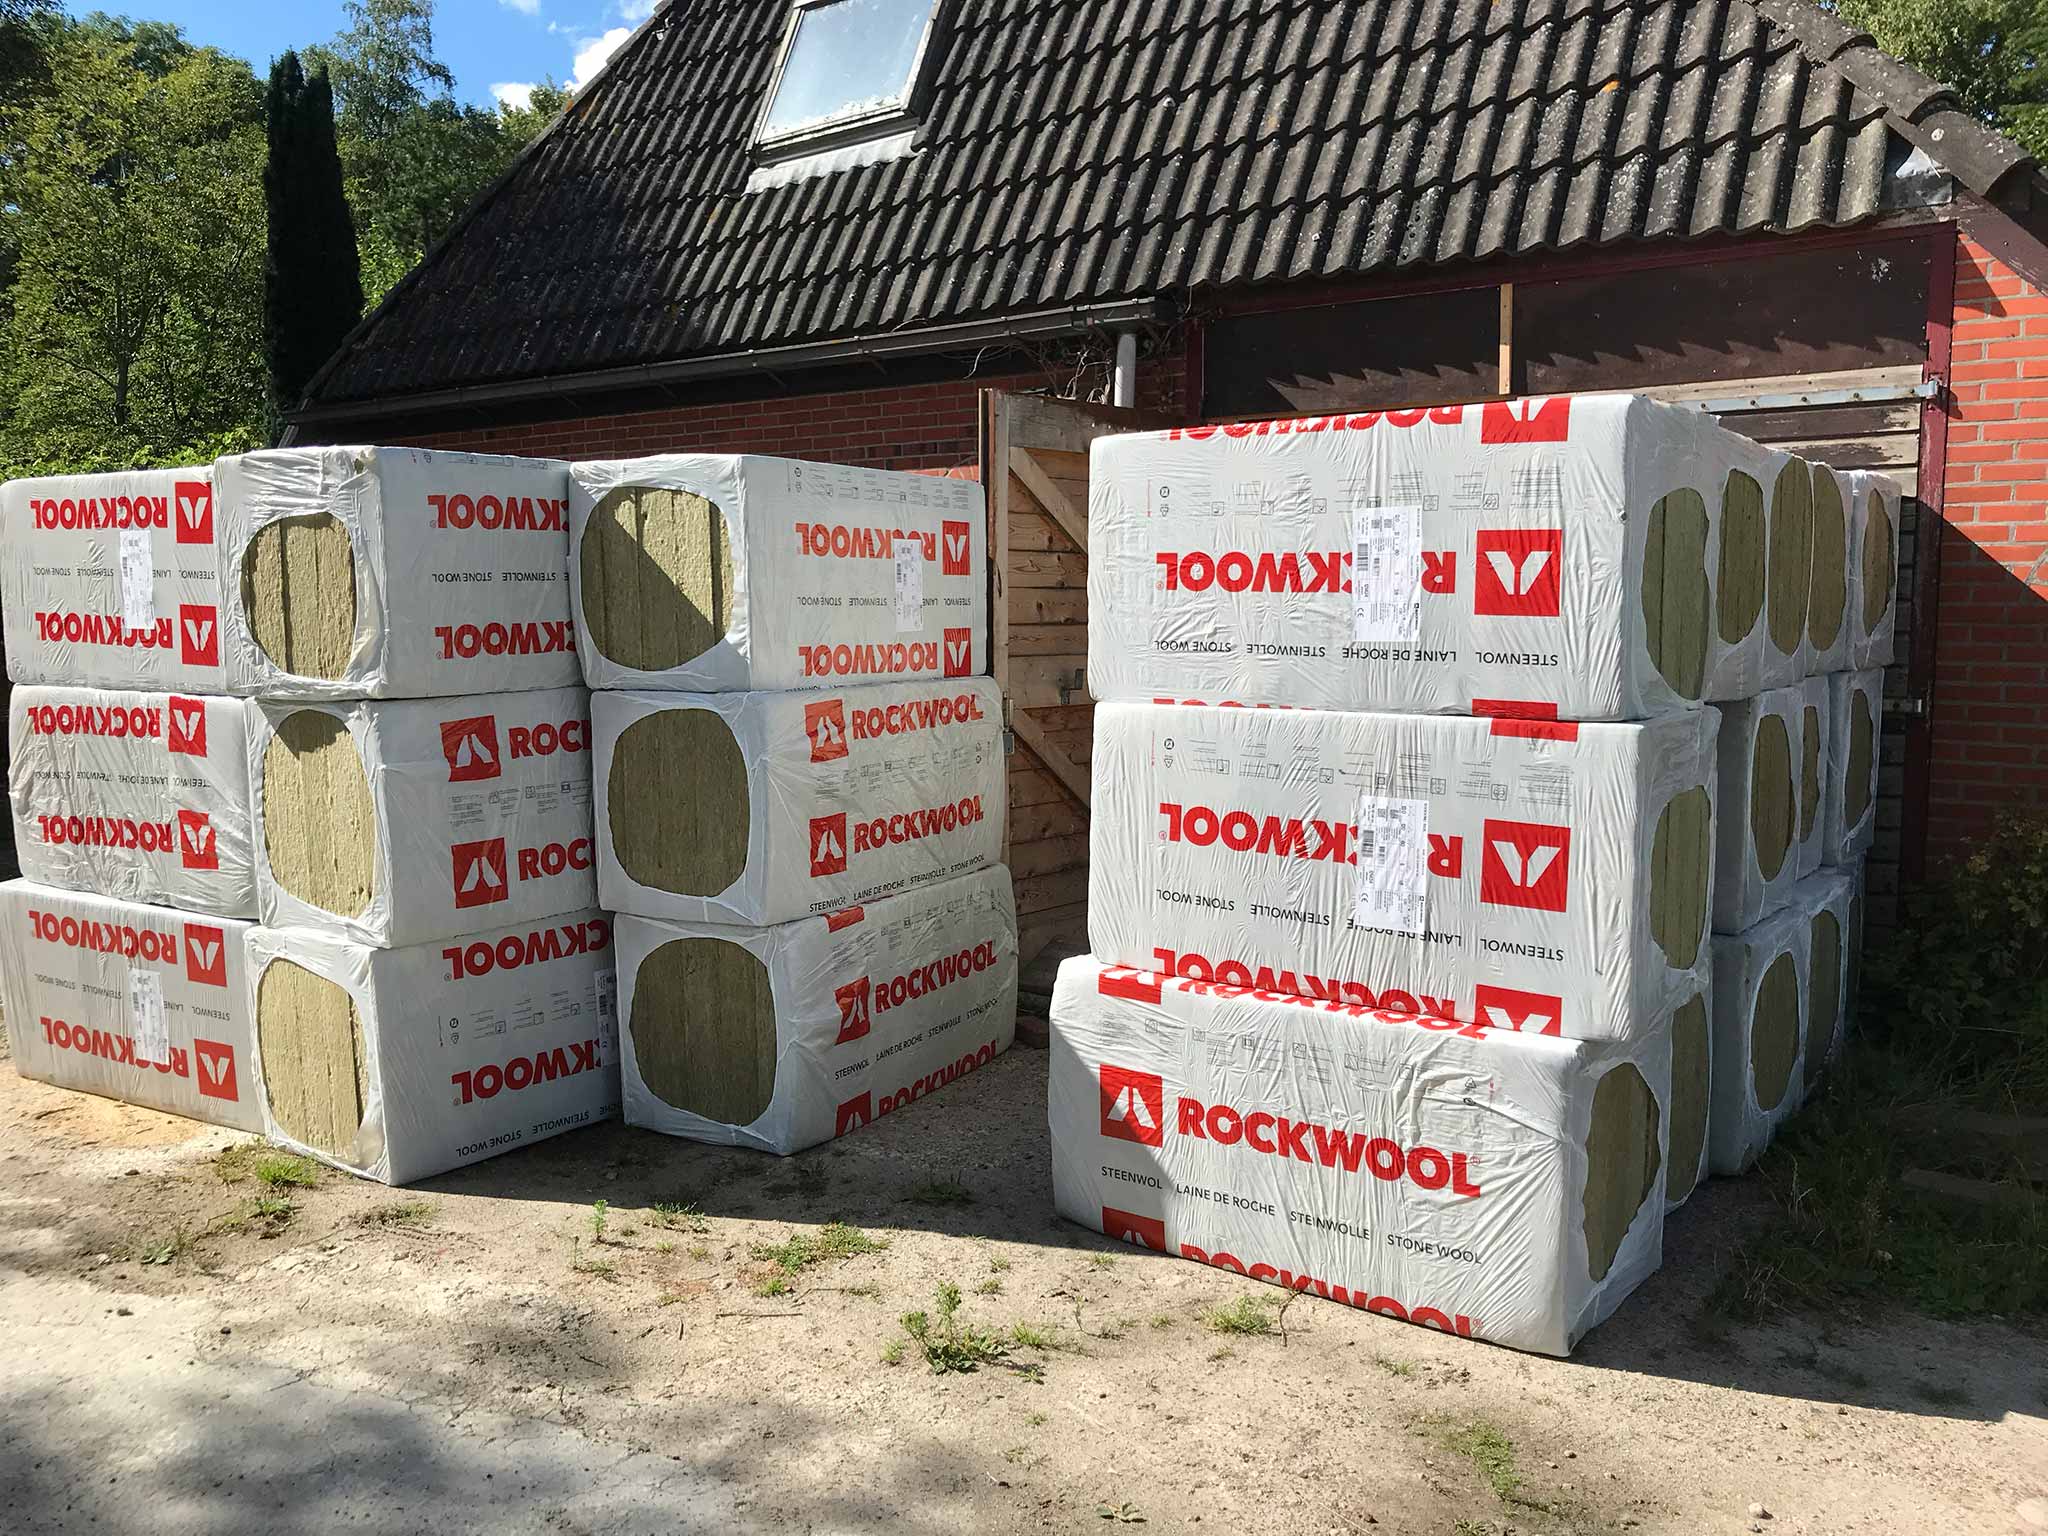
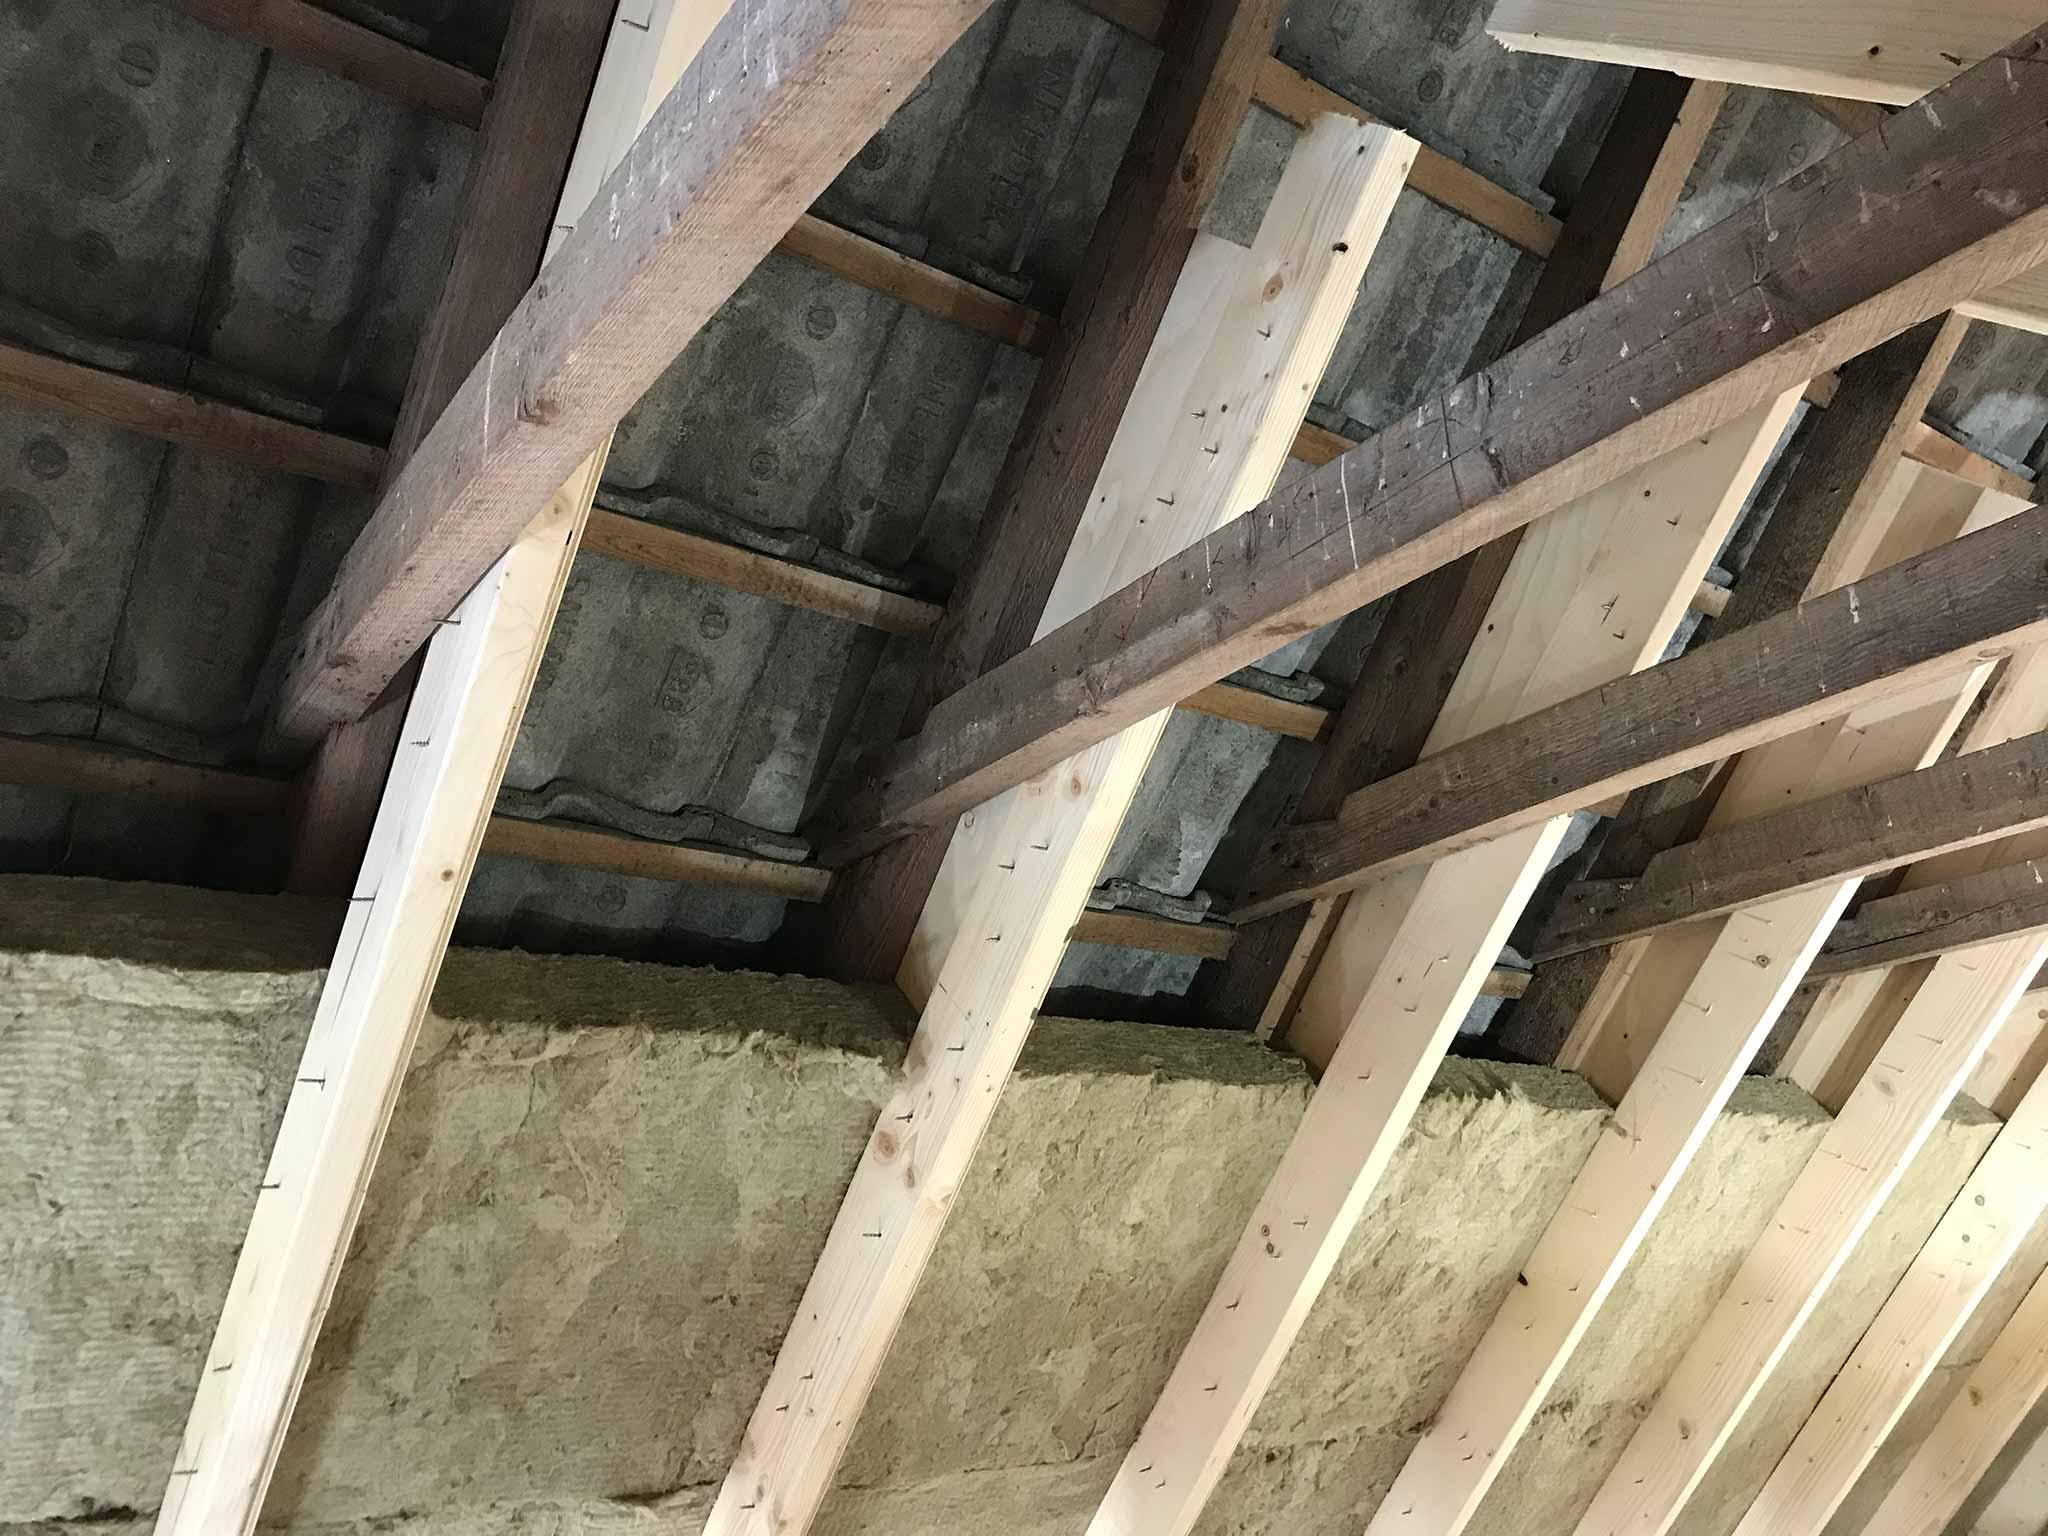
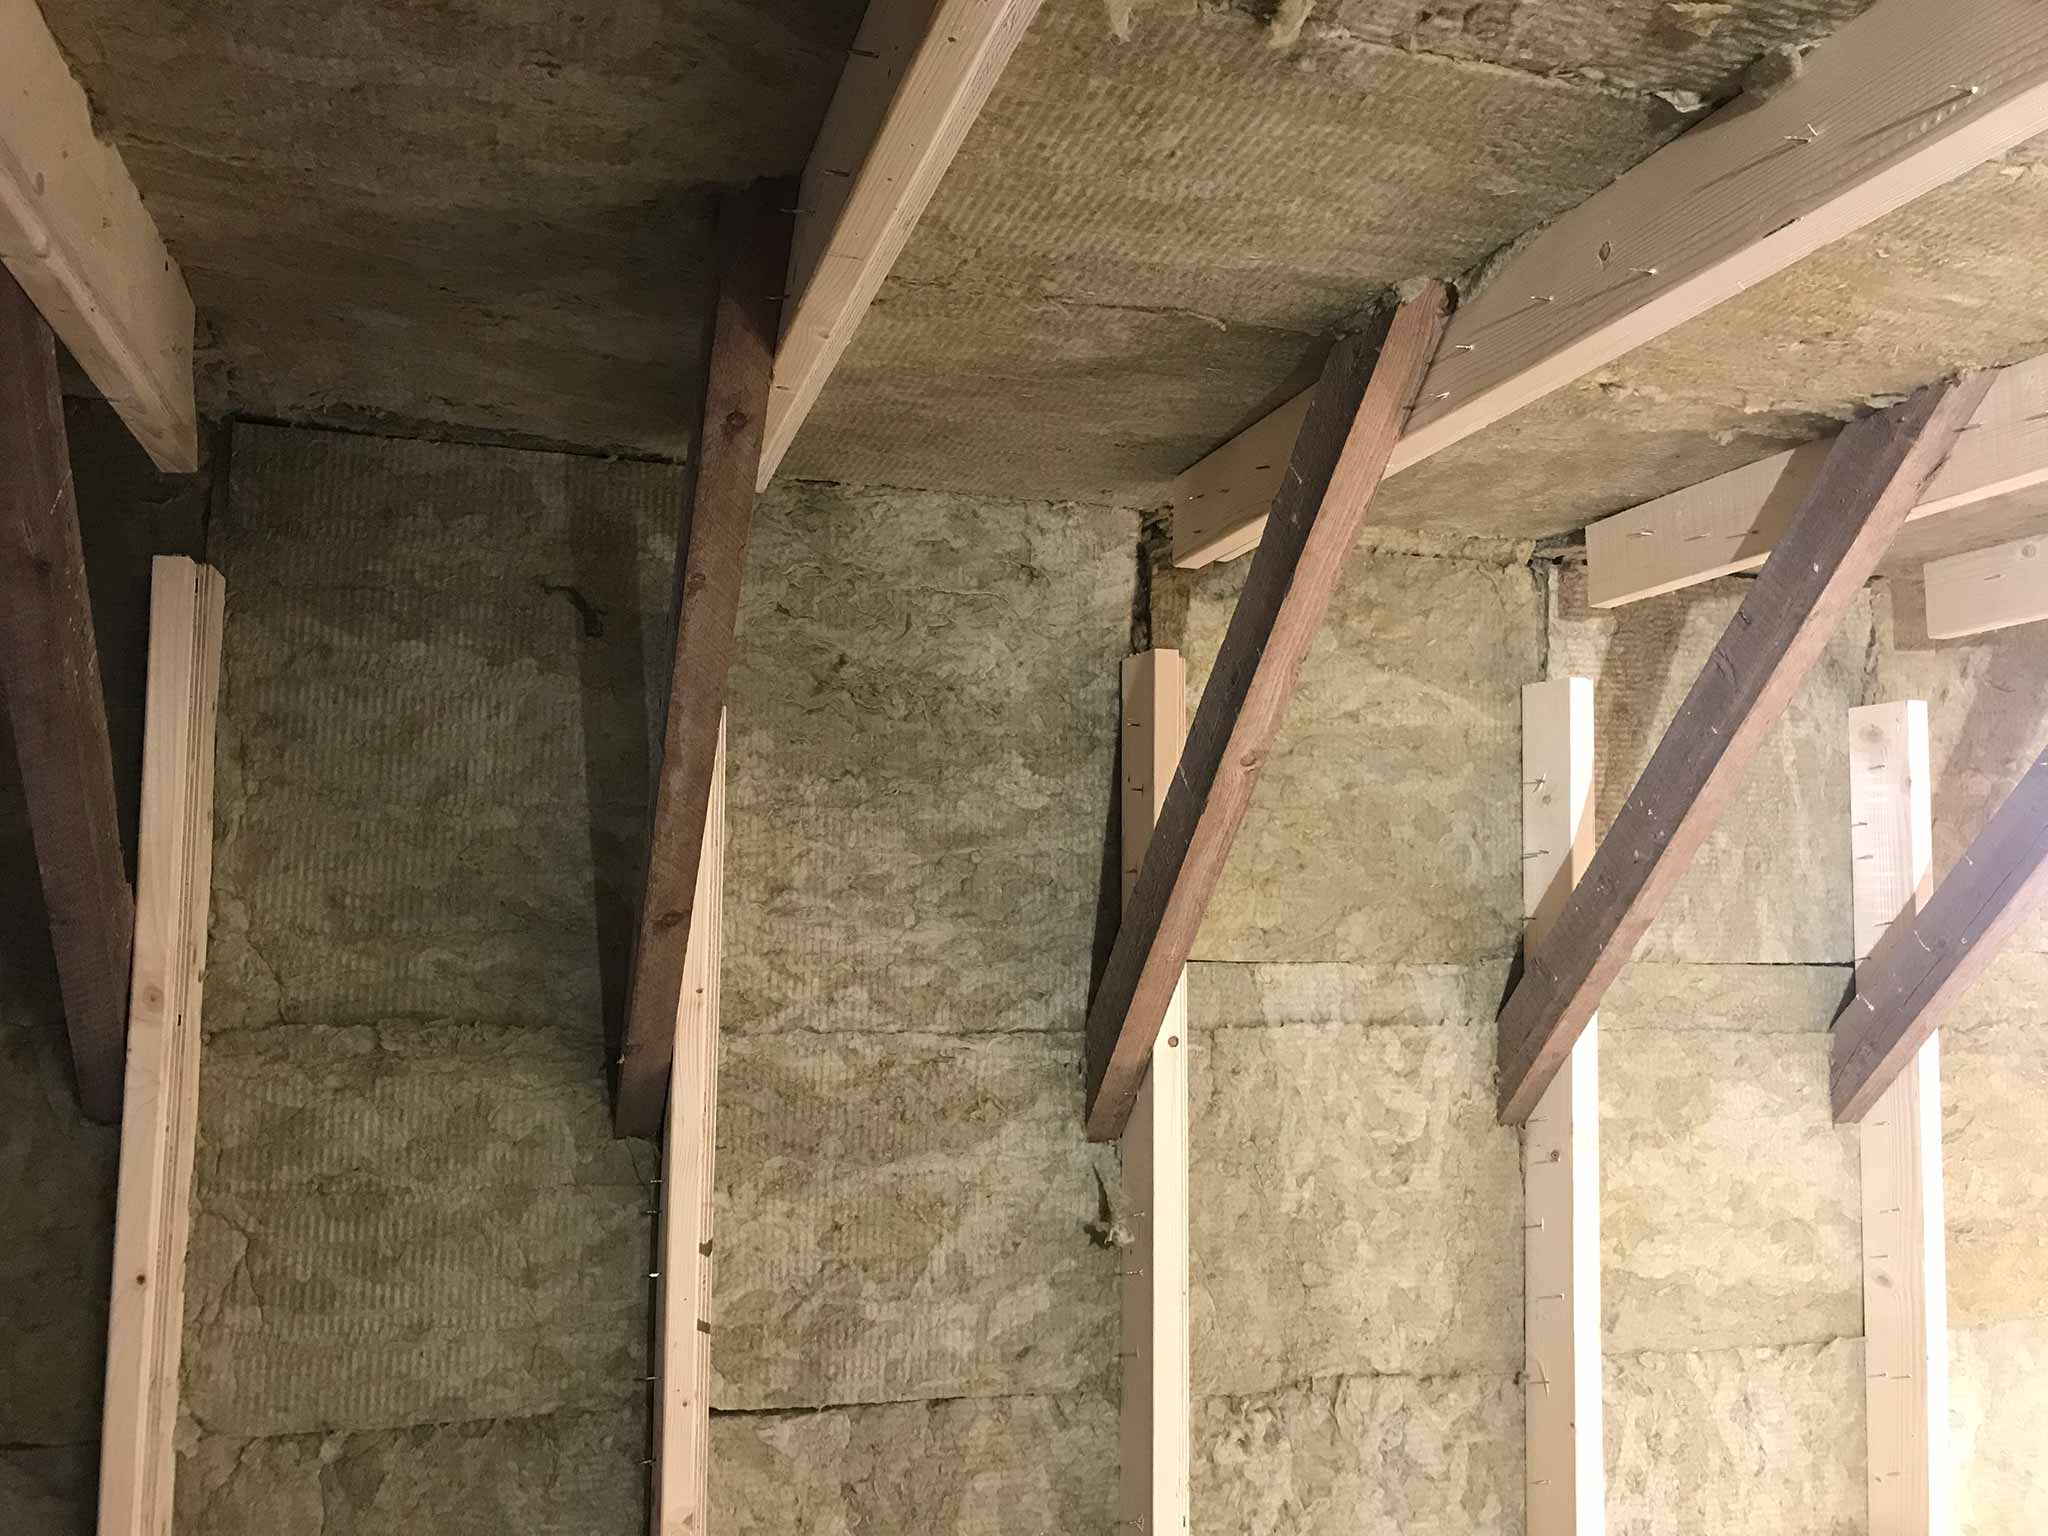
Isolating the roof is quite a job. We have 144 packs of rockwool that, in total can cover 518^m. The layers are 12cm thick and we’ll use a double layer. In total that should make the volume of the house decrease by about 31 cubic meter. So, not only is there less volume to keep warm, there also is an impressive 24cm layer of isolation on (nearly) the entire roof. At a few spots there is not enough room the fit in the entire 24cm.
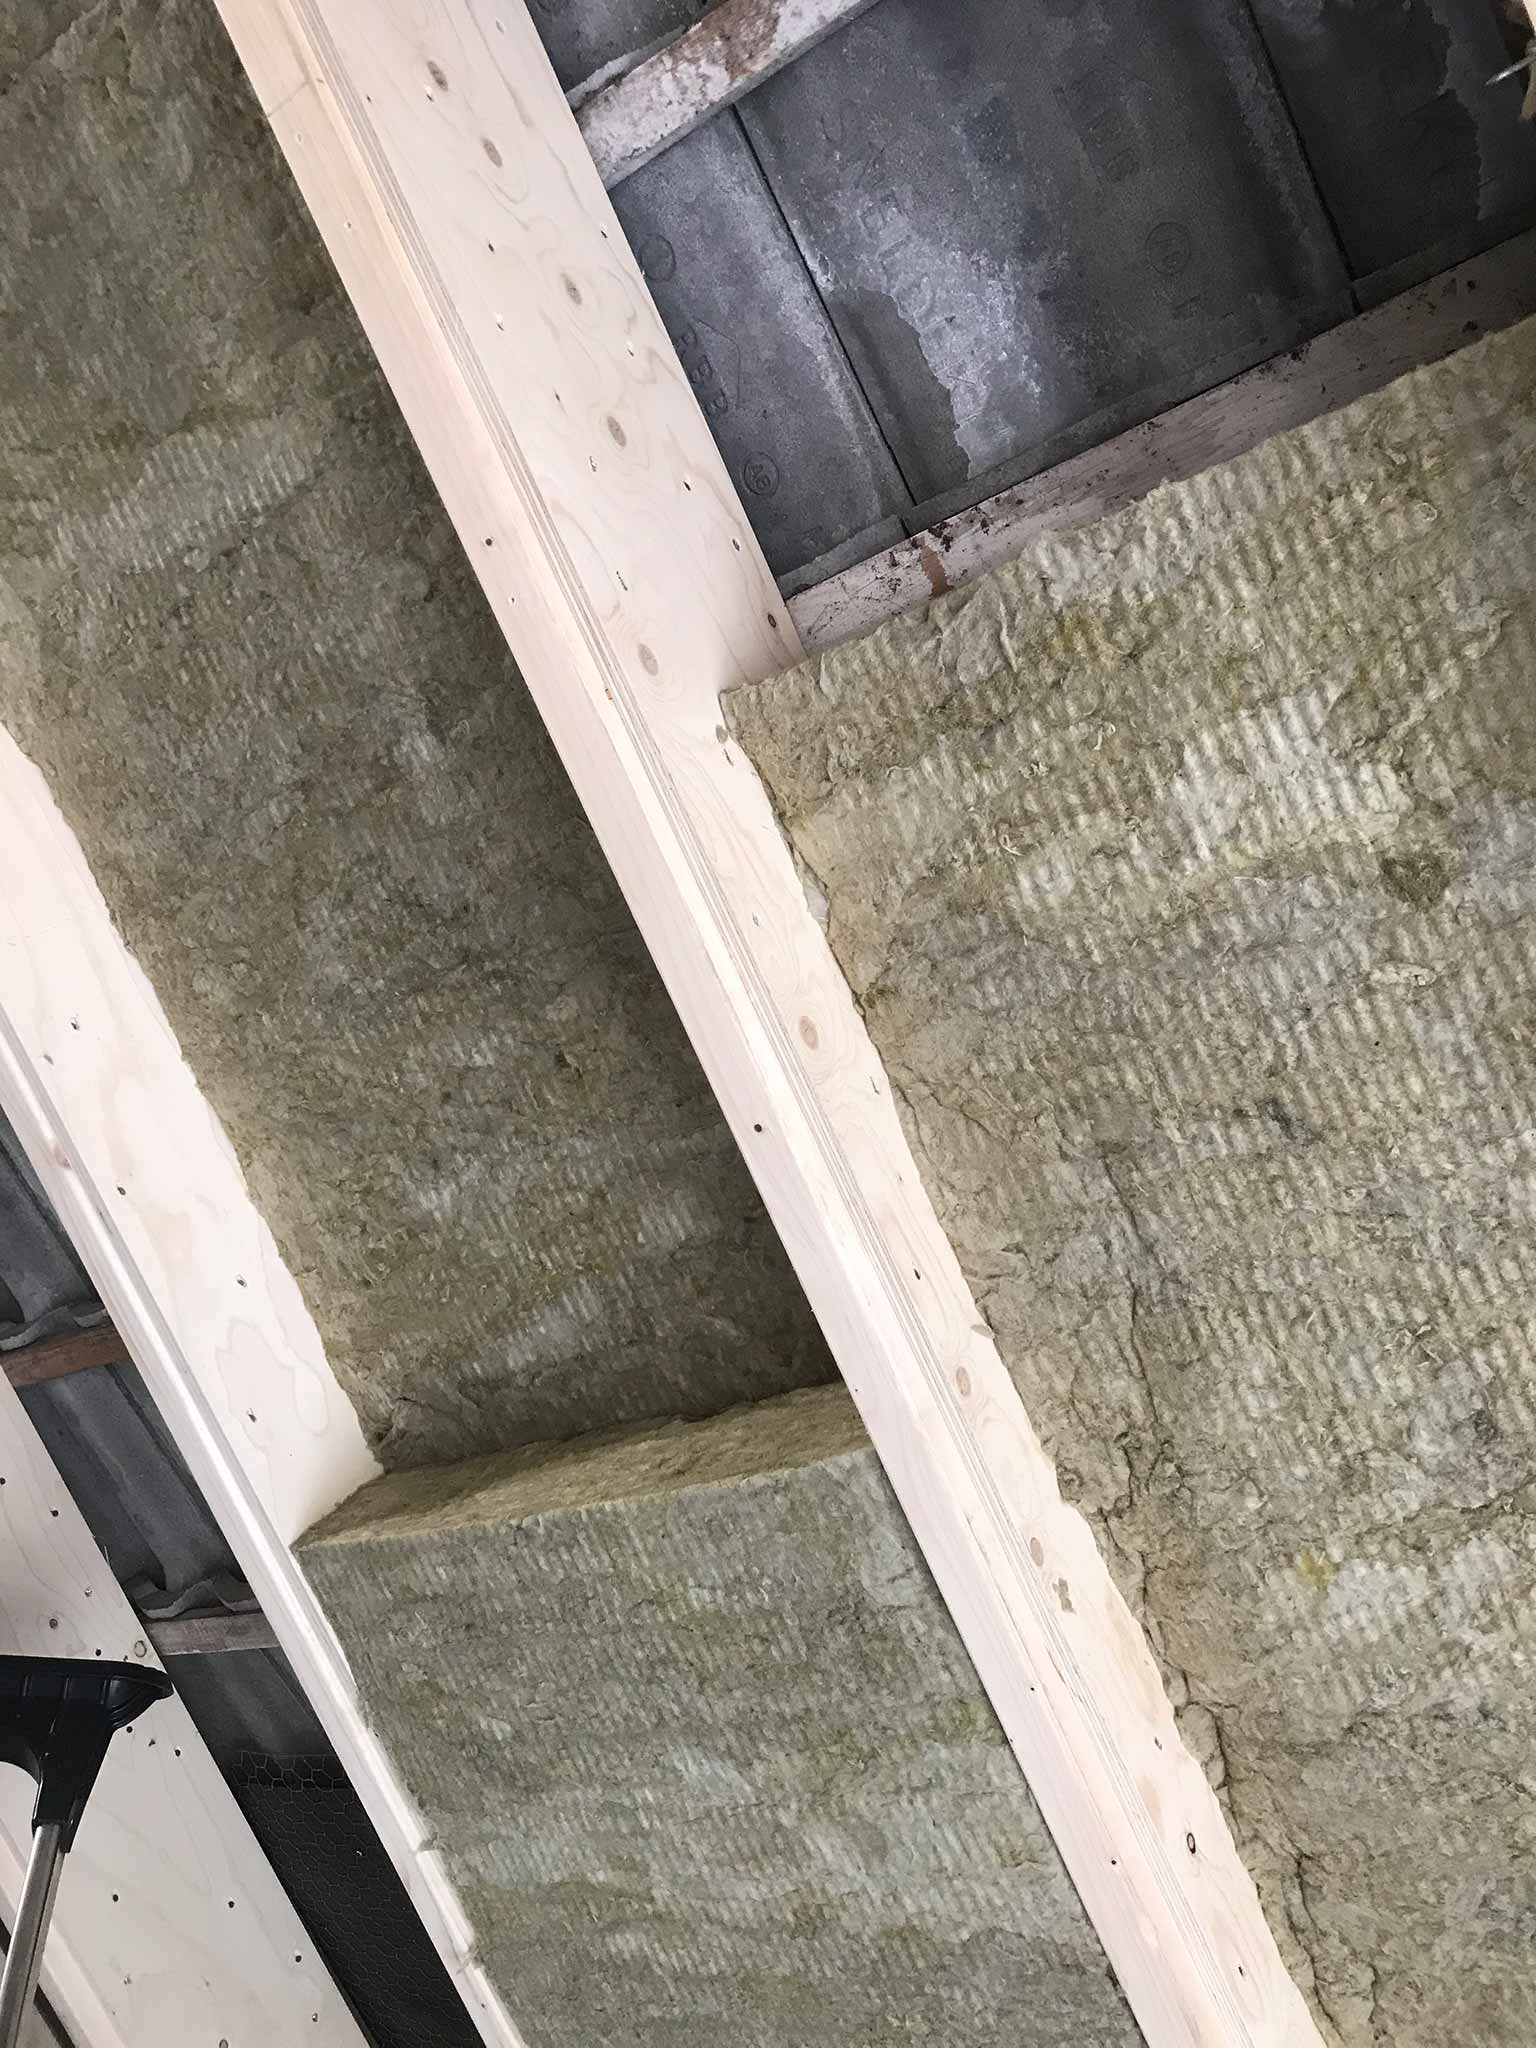
With the isolation, the house becomes more homely. Less ‘hall-like-sounding’ and less direct temperature influence from the heat radiating, black roof tiles (obviously).
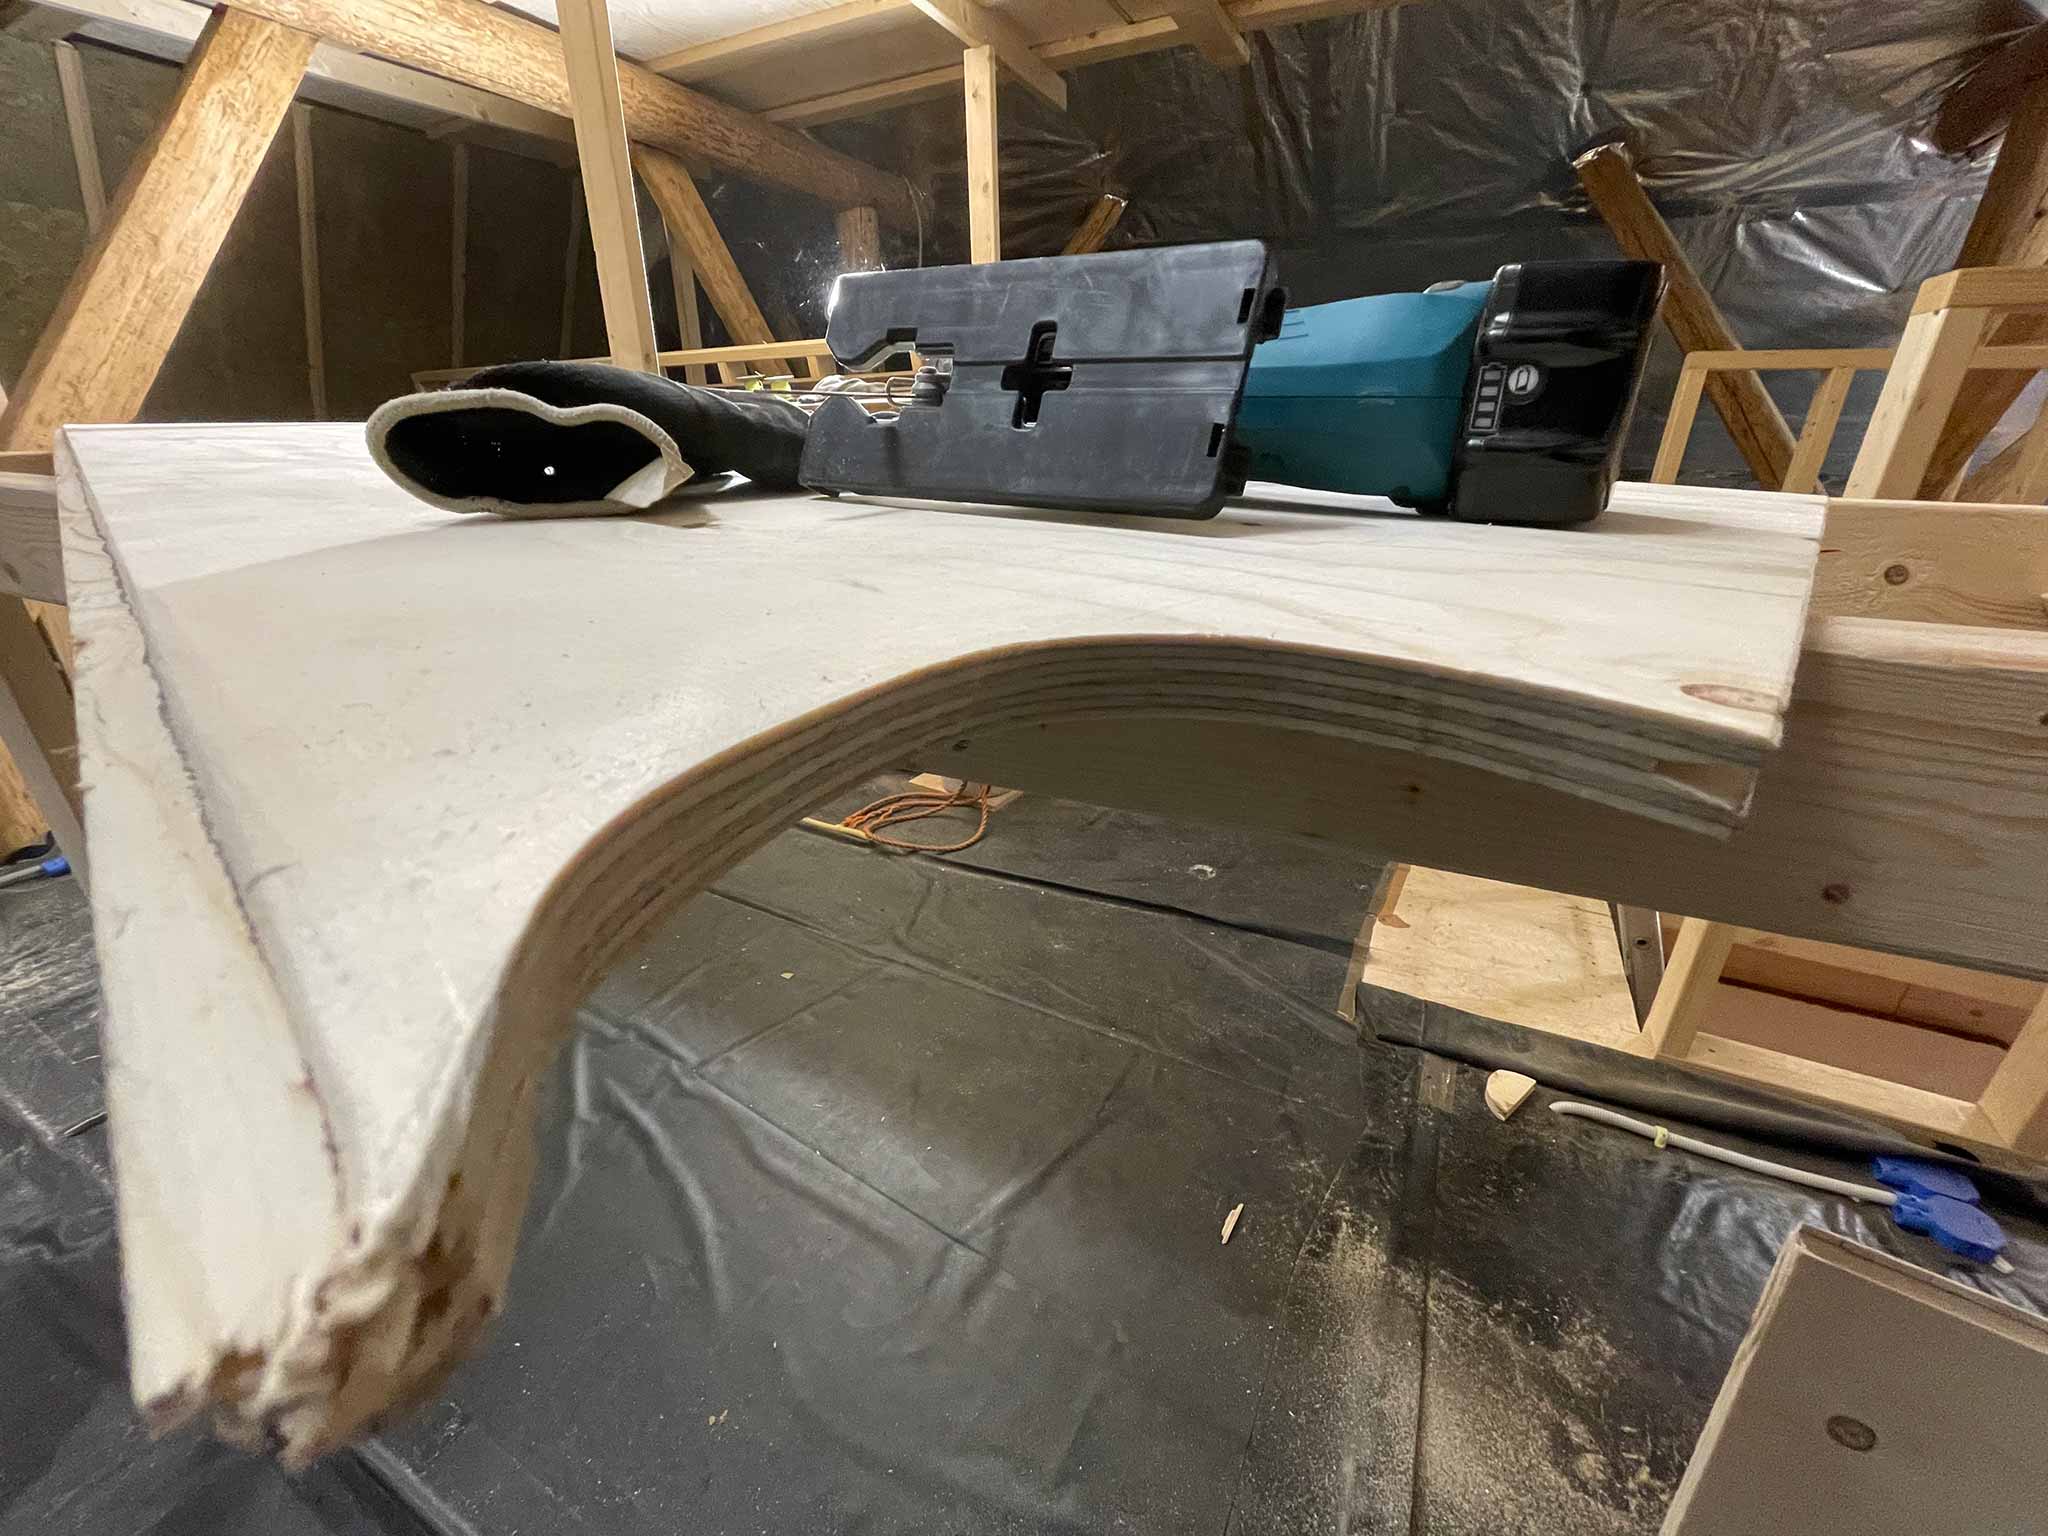
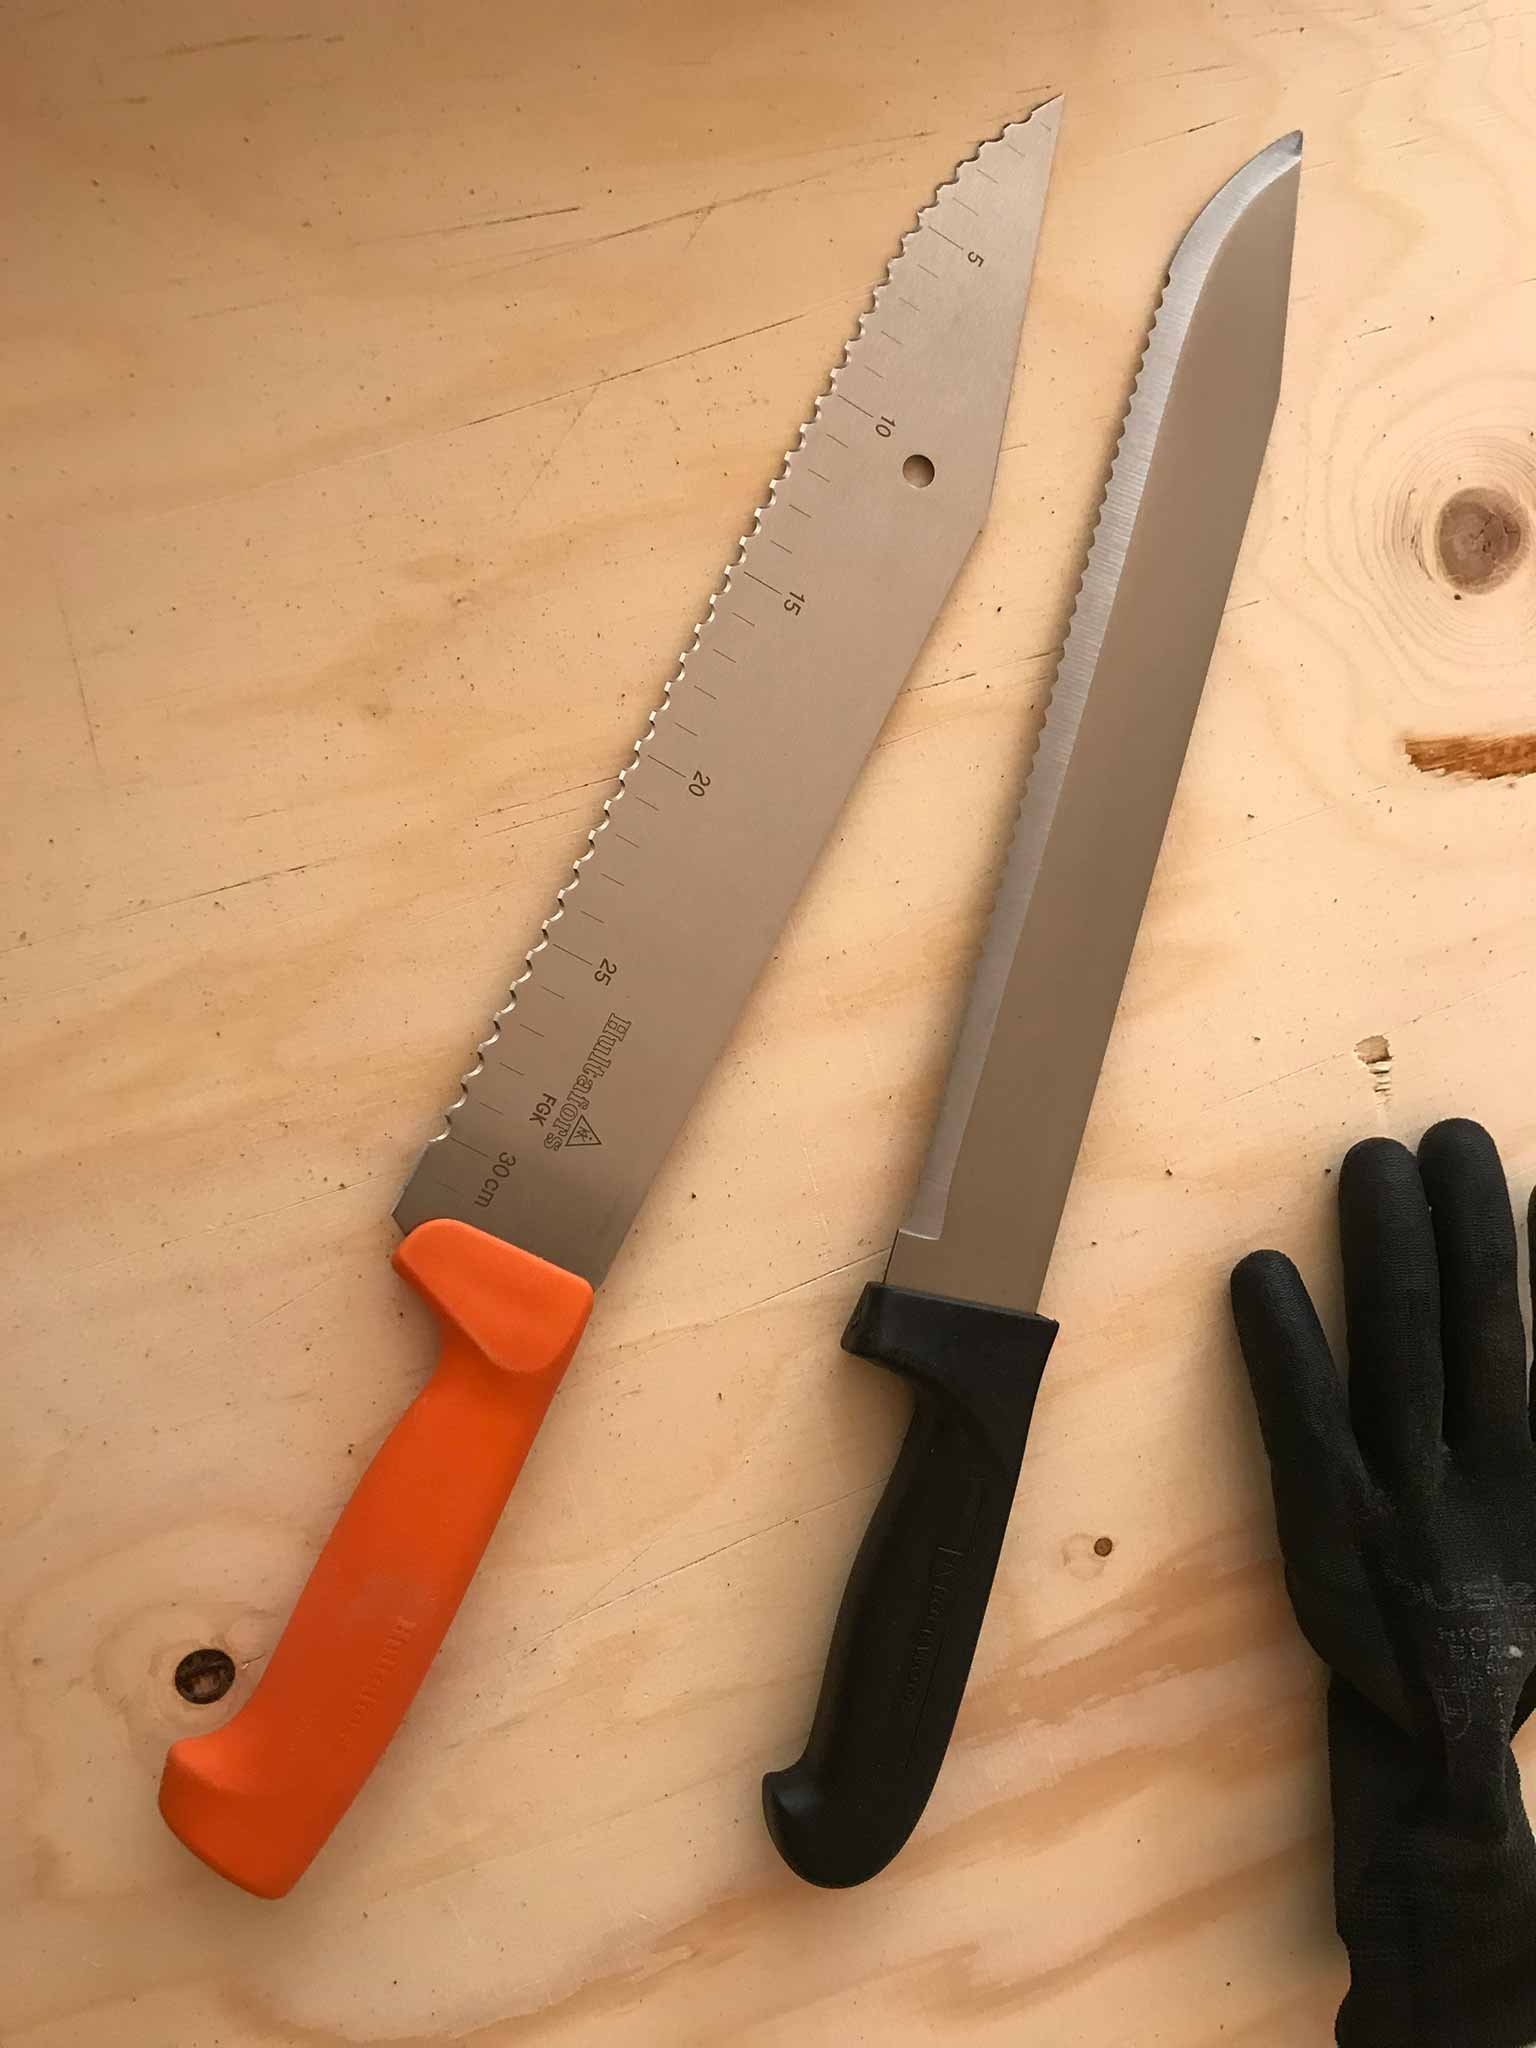
The tools with which you work are impressive. The orange (Hultafors) one is thinner and feels slightly flimsy. The black one (official Rockwool issue) is thicker but lacks the teeth at the curved tip. That makes it cut less well because when you cut on a table, the curved tip is what cuts the few millimeters that are on the table and the teeth cut a lot better than just a sharp edge. So, in case you ever need one: the orange one. We’re told the knifes can be sharpened with a right angled grider, but we have not been there yet.
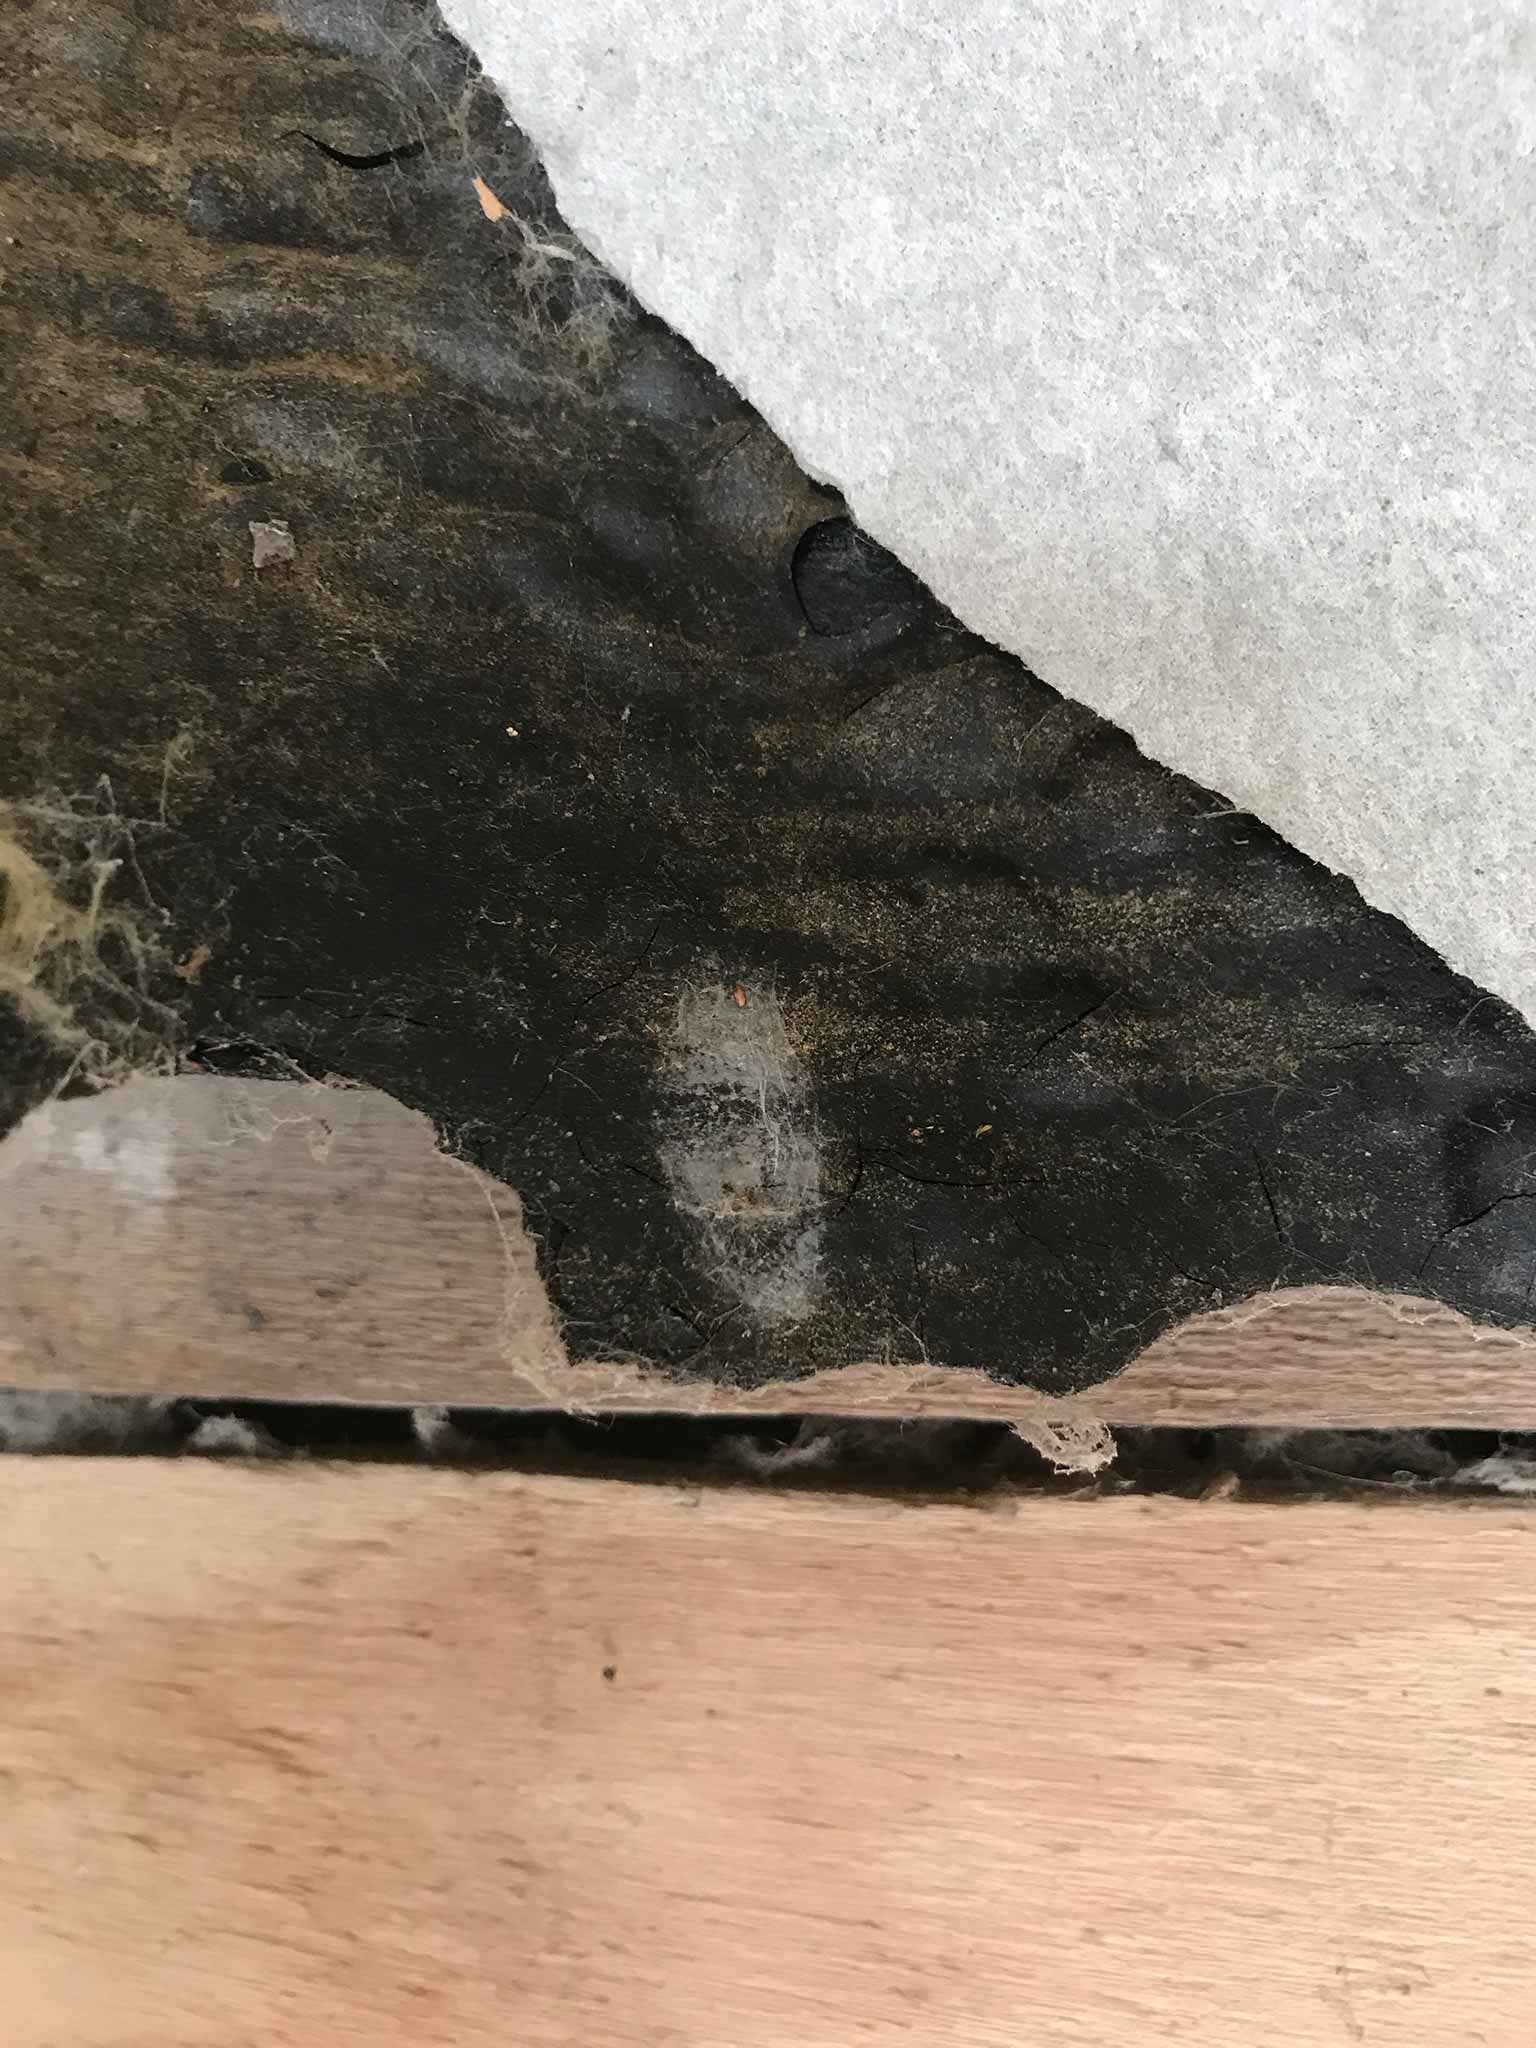
With the isolation, a bunch of things are hidden ‘forever’ (or until we start working on the outside part of the roof). Ghostly faces, asbestos, electrical wires. A bit scary: “what if we need to get to it again?”
Once the two layers are on there, it will be finished with damp-proof membrane. Trying to get it around all the obstacles as good as possible…
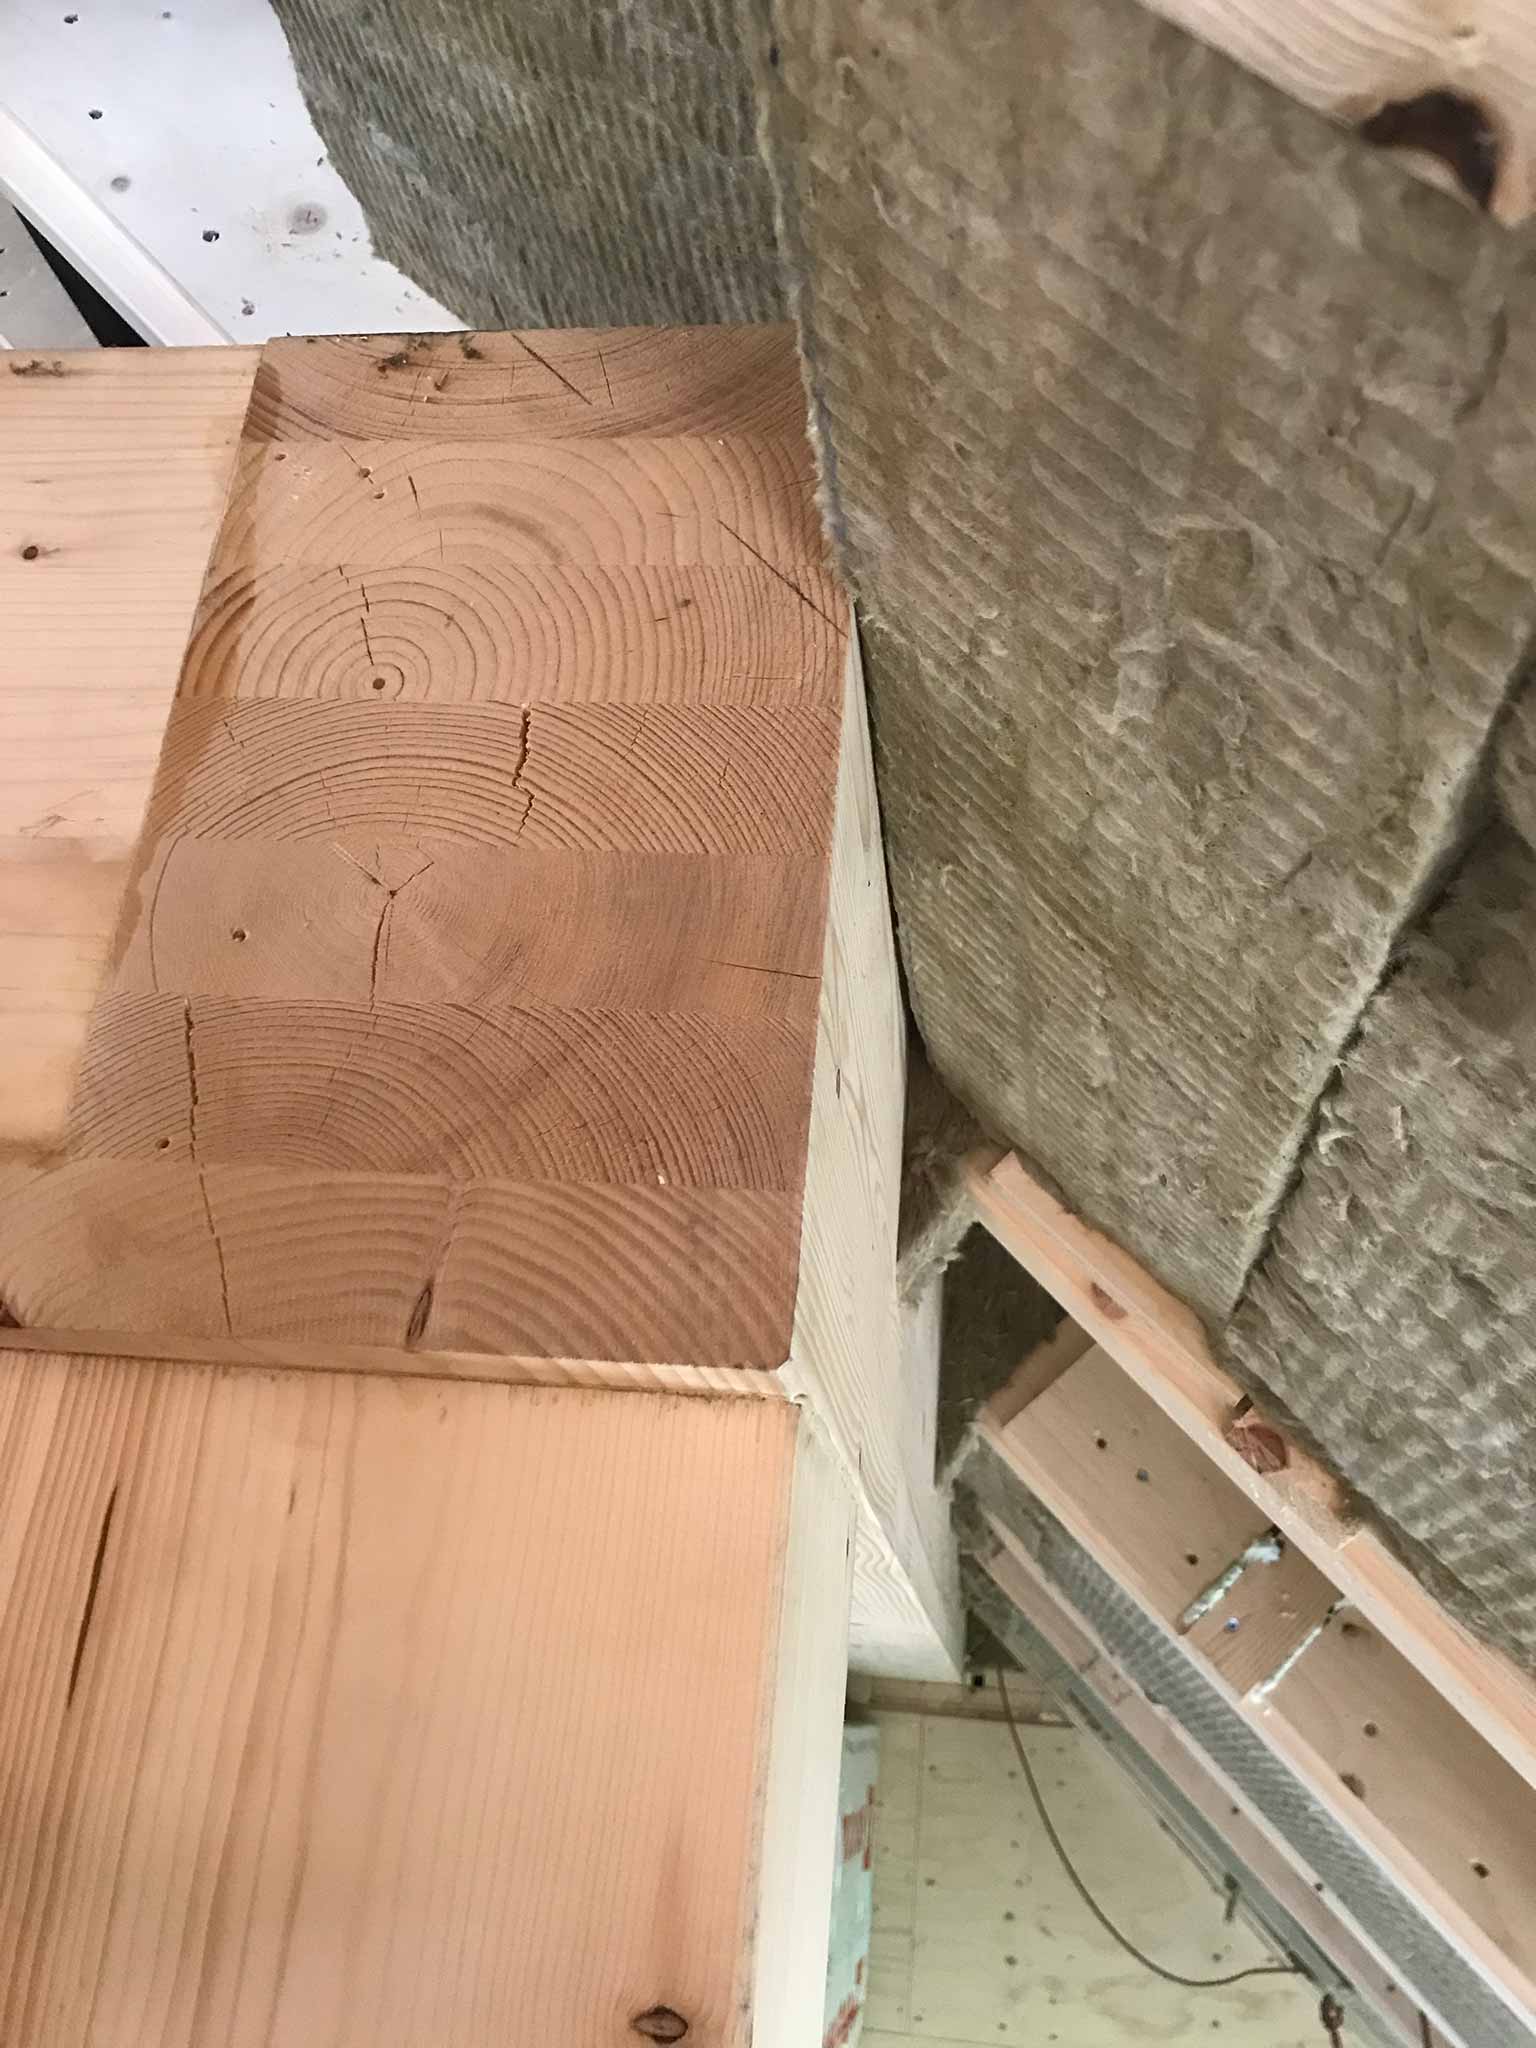
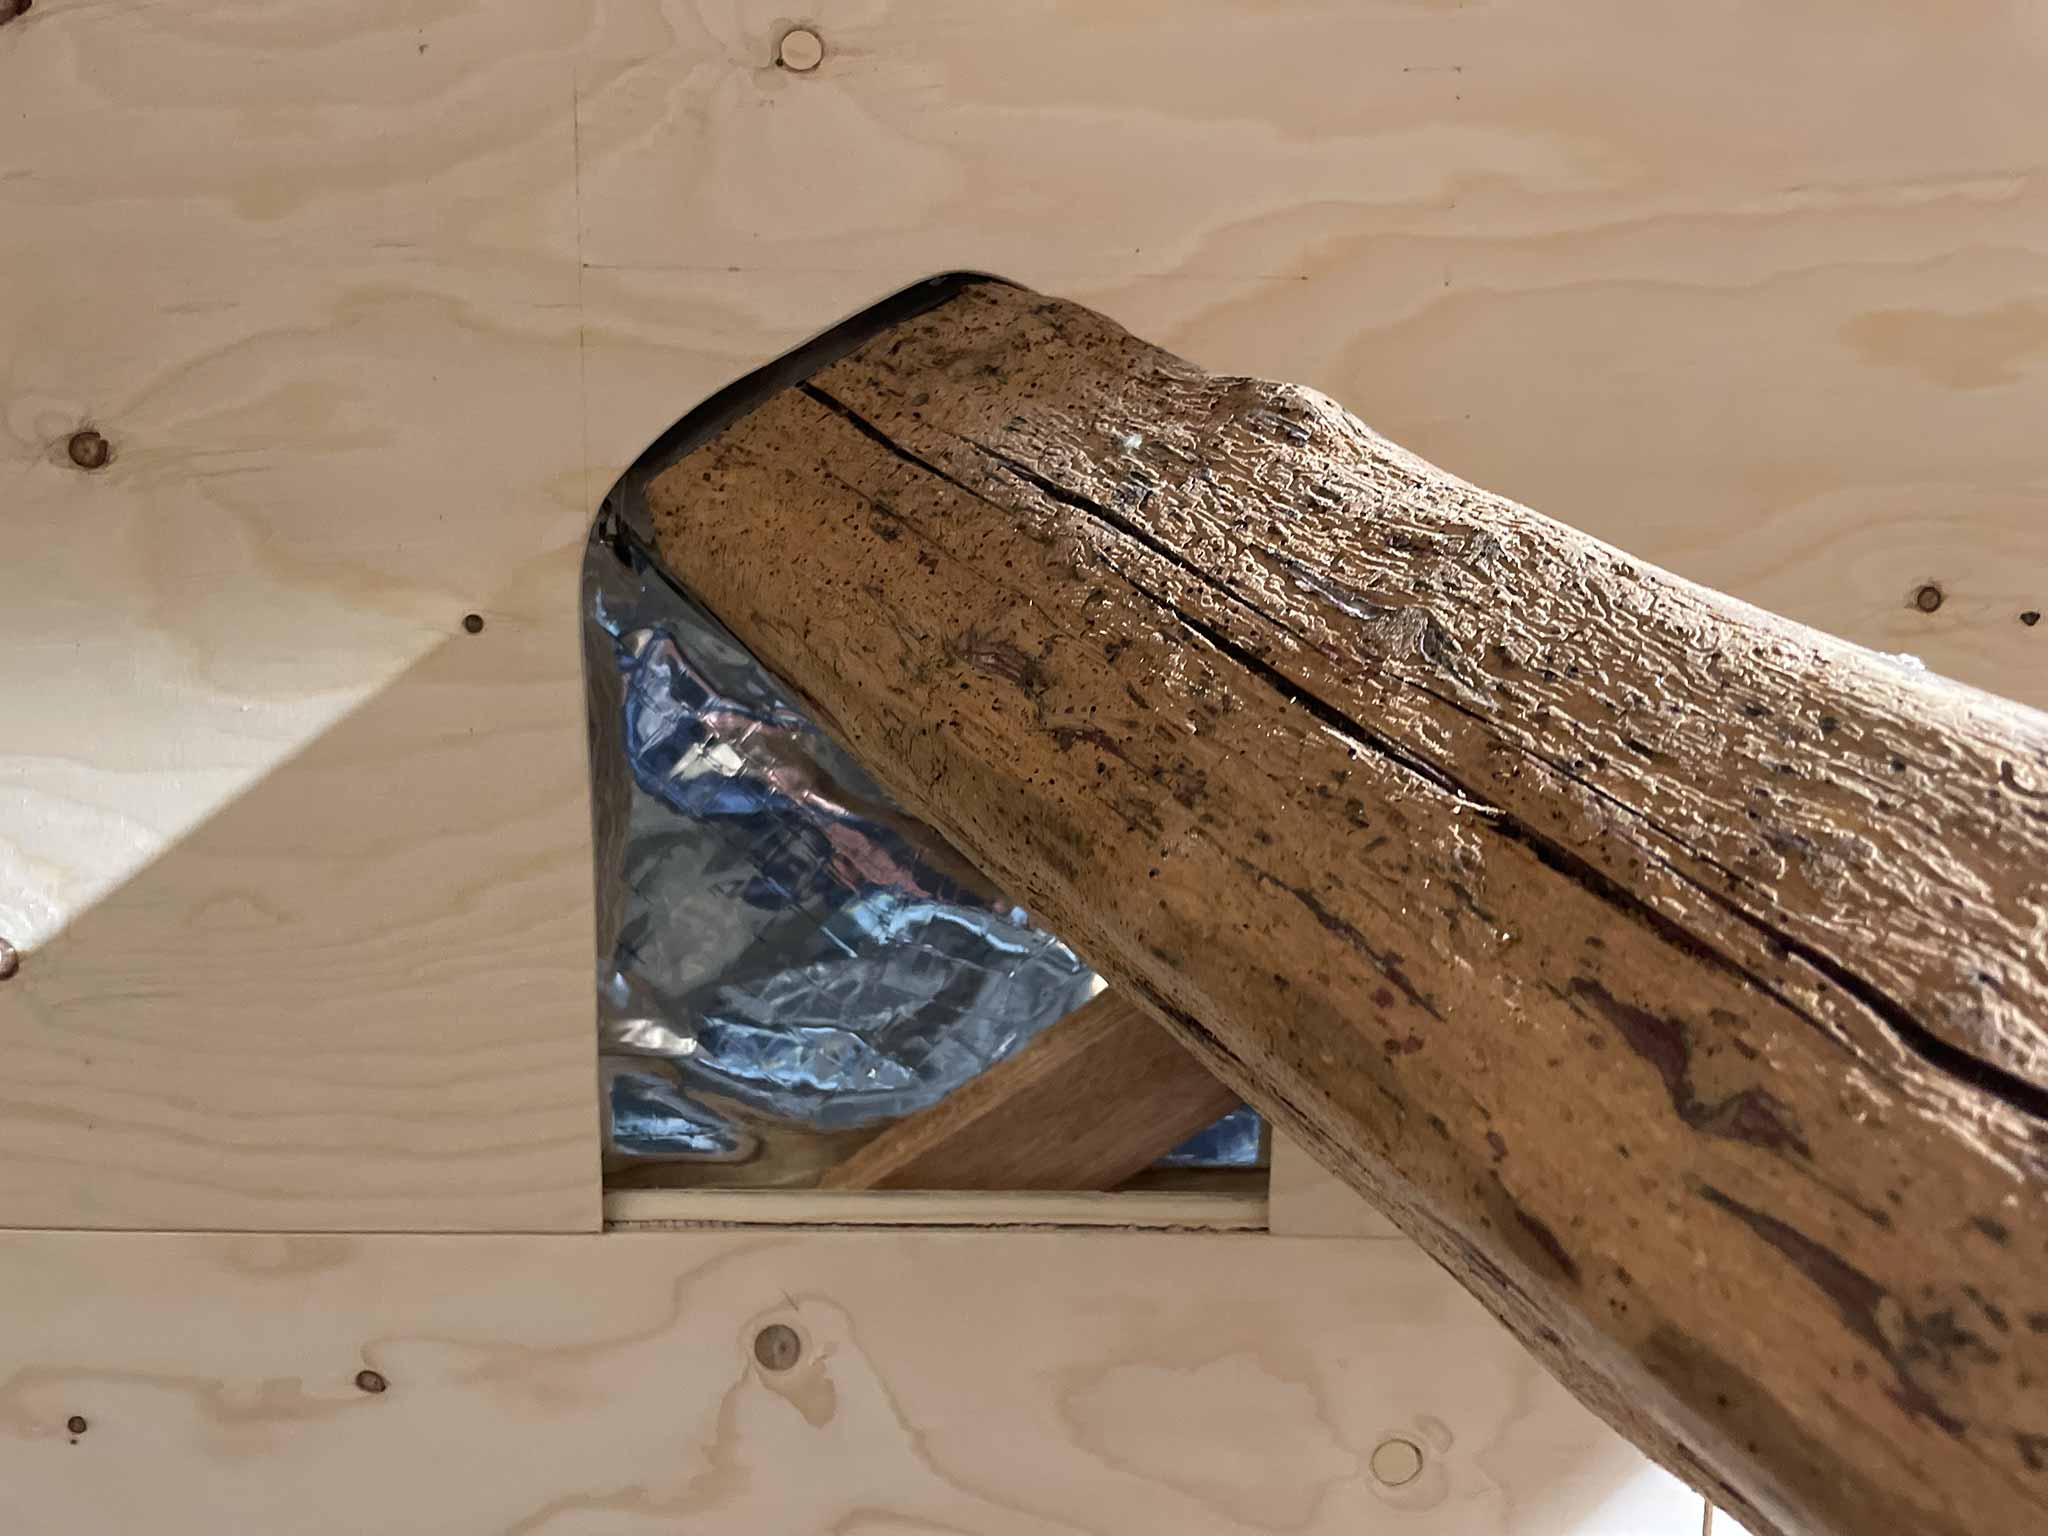
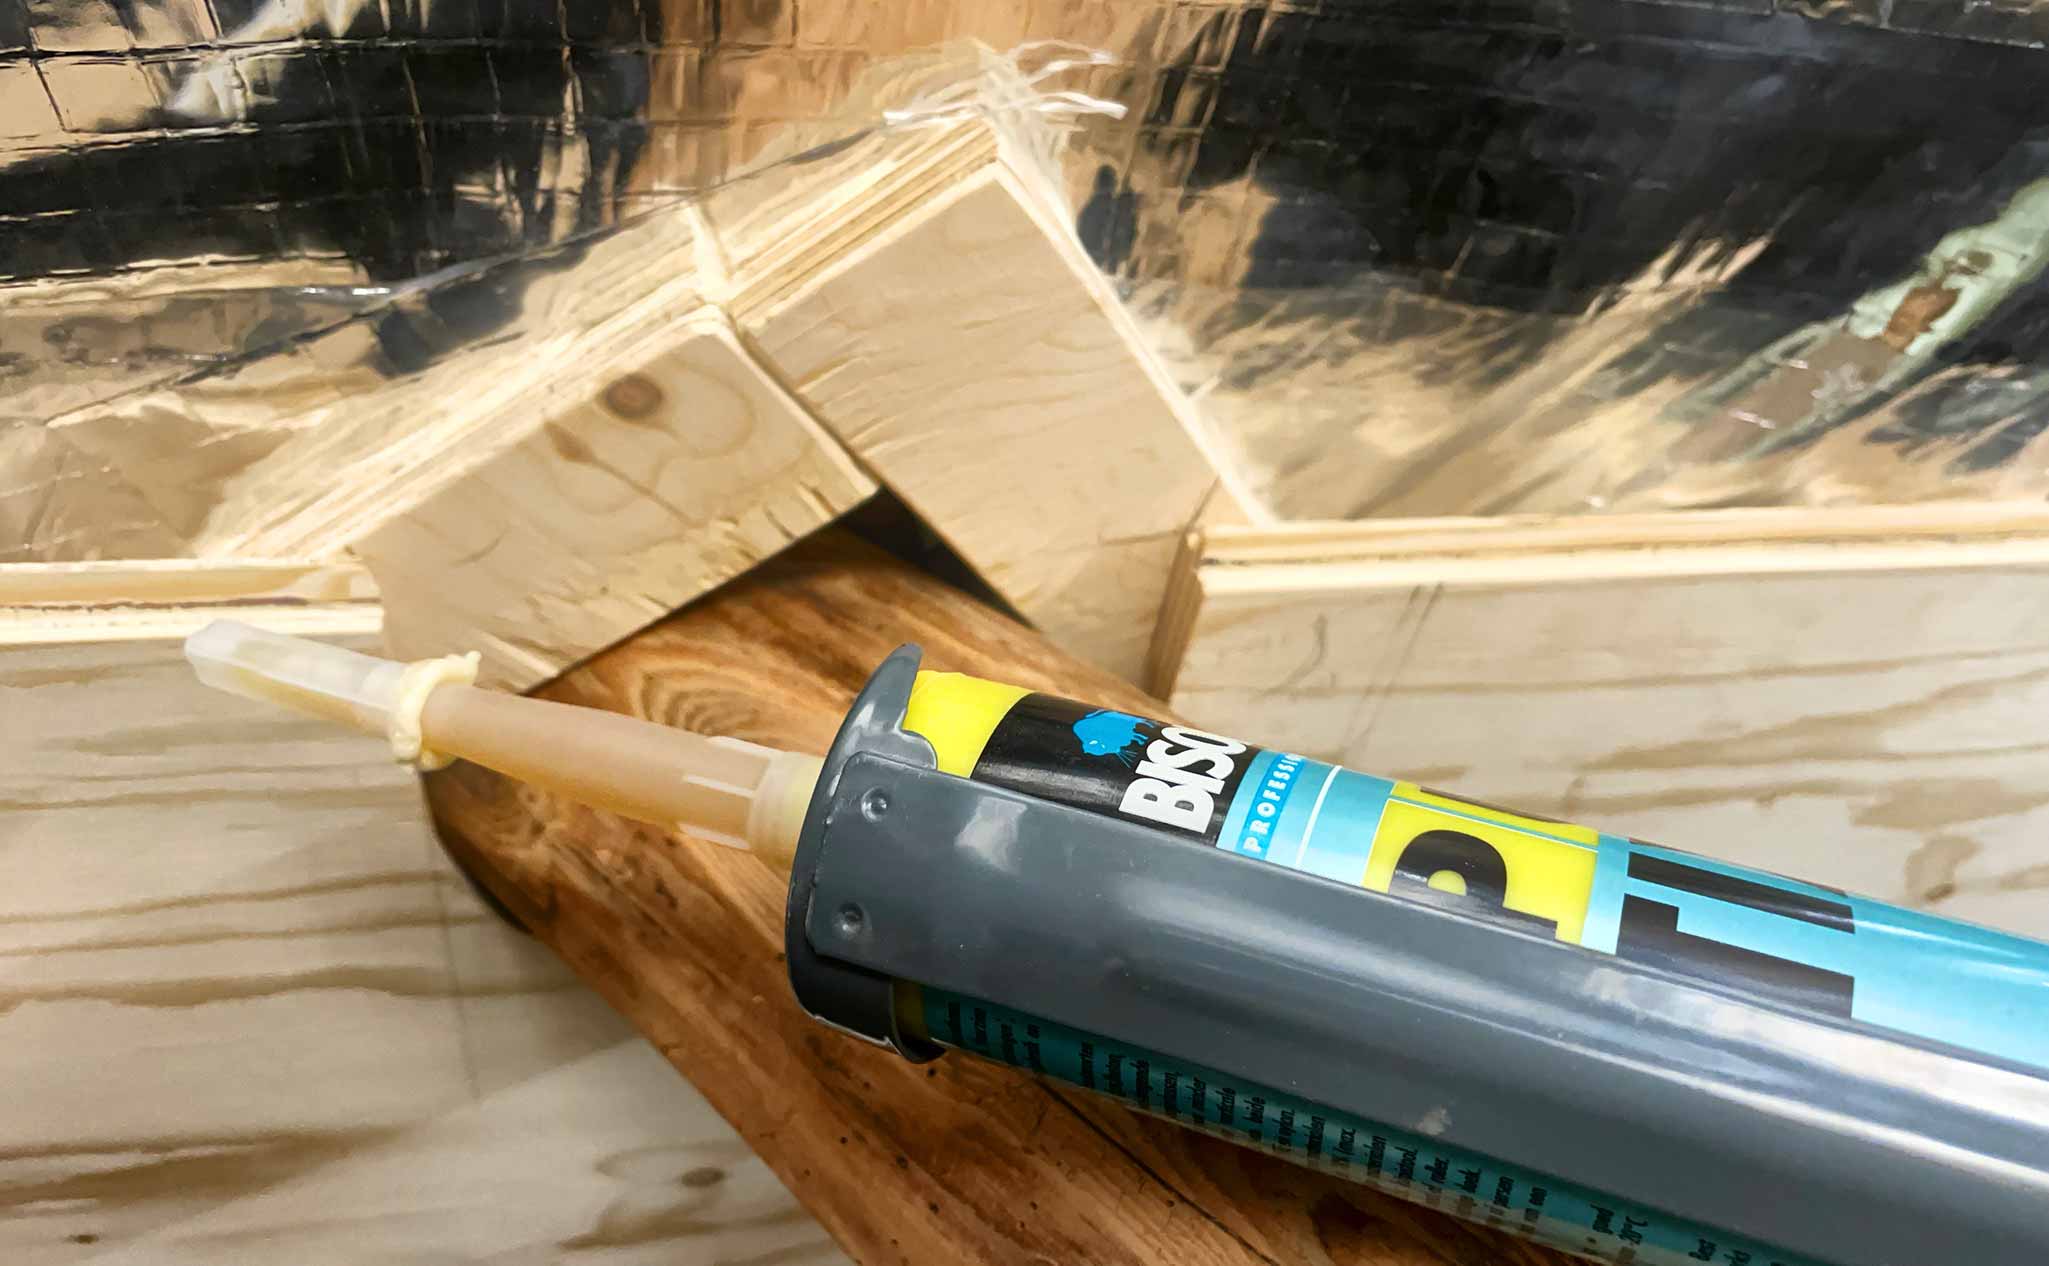
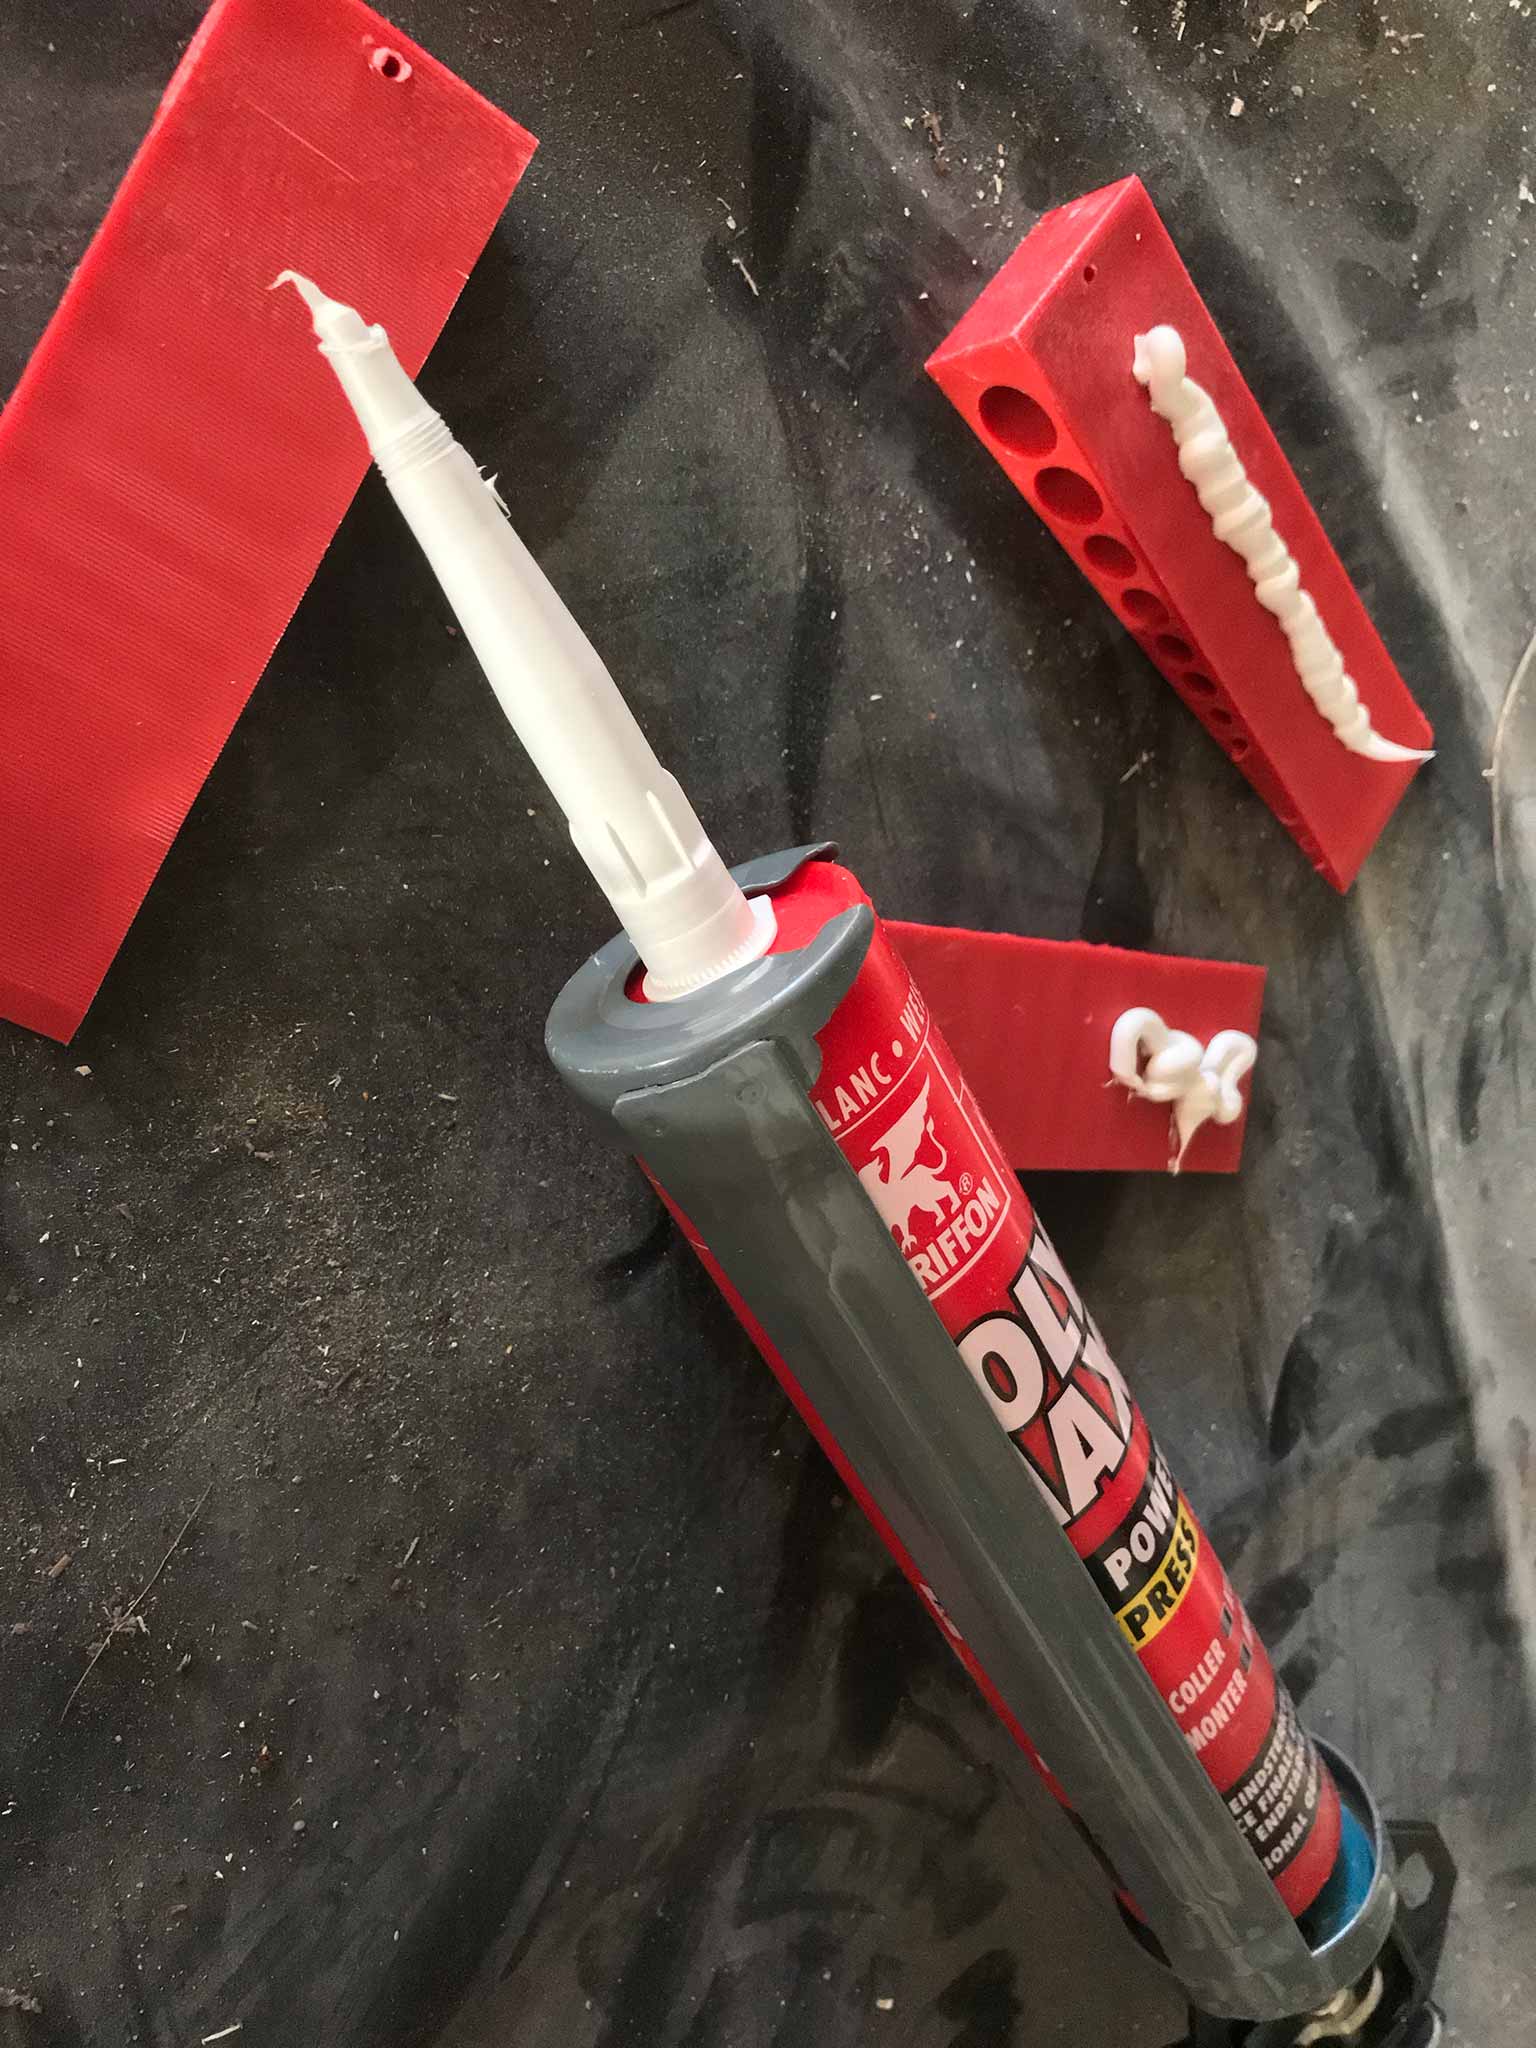
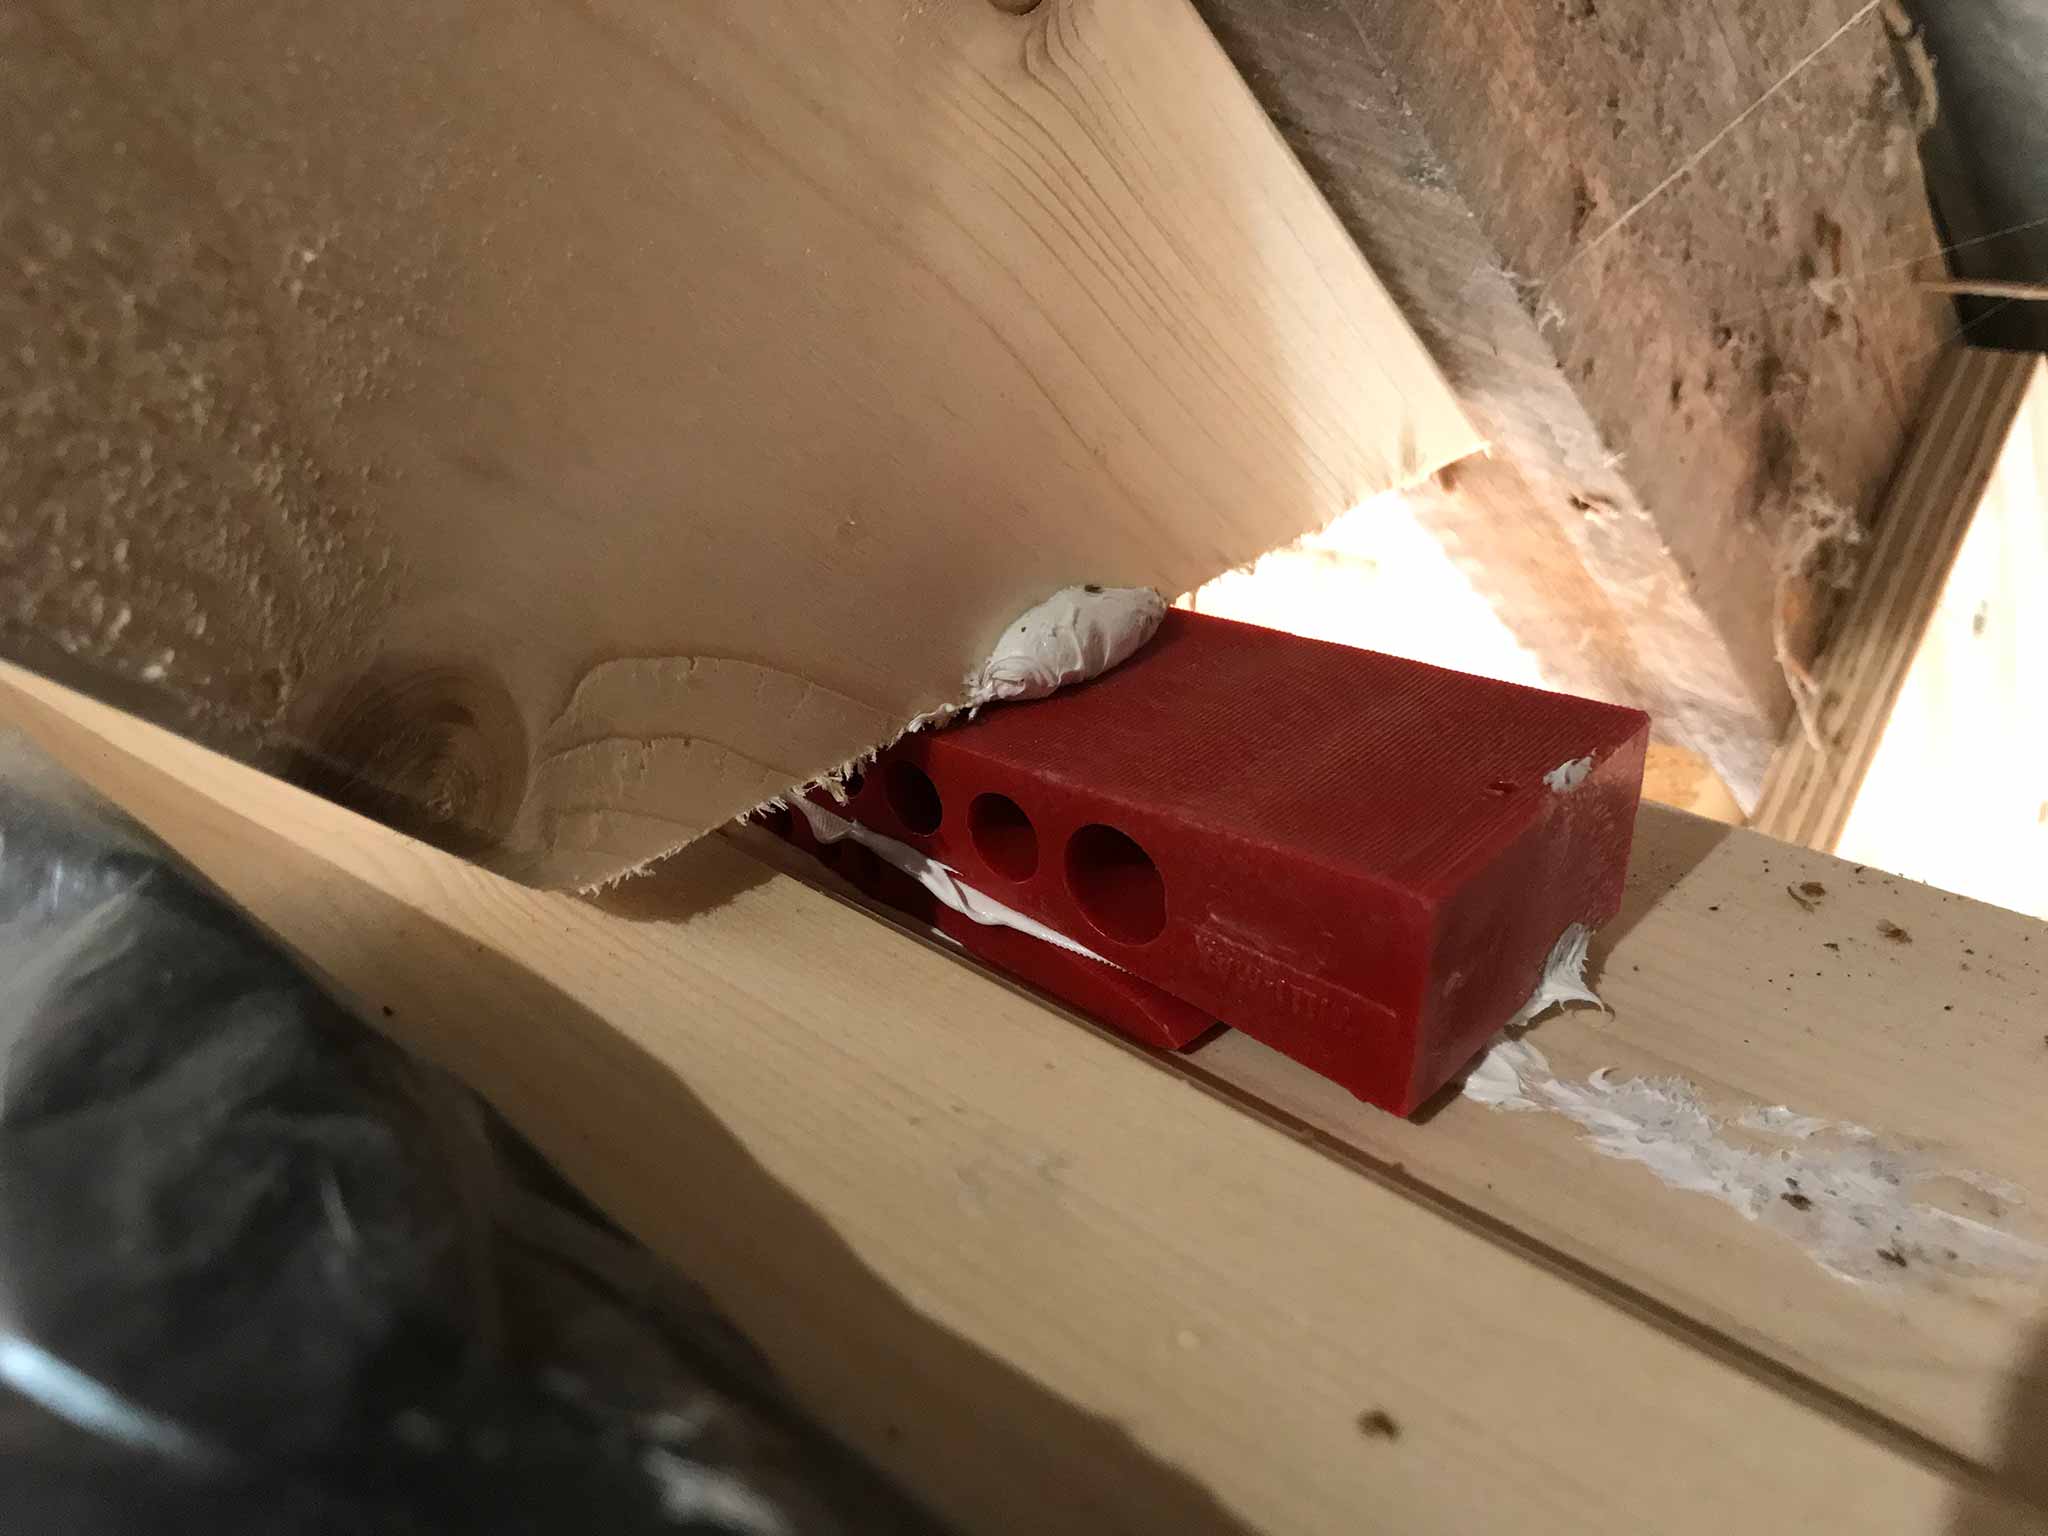
How do you connect the new beams fixed to the roof to the ceiling and the beams supporting it? Wedges! (and glue)
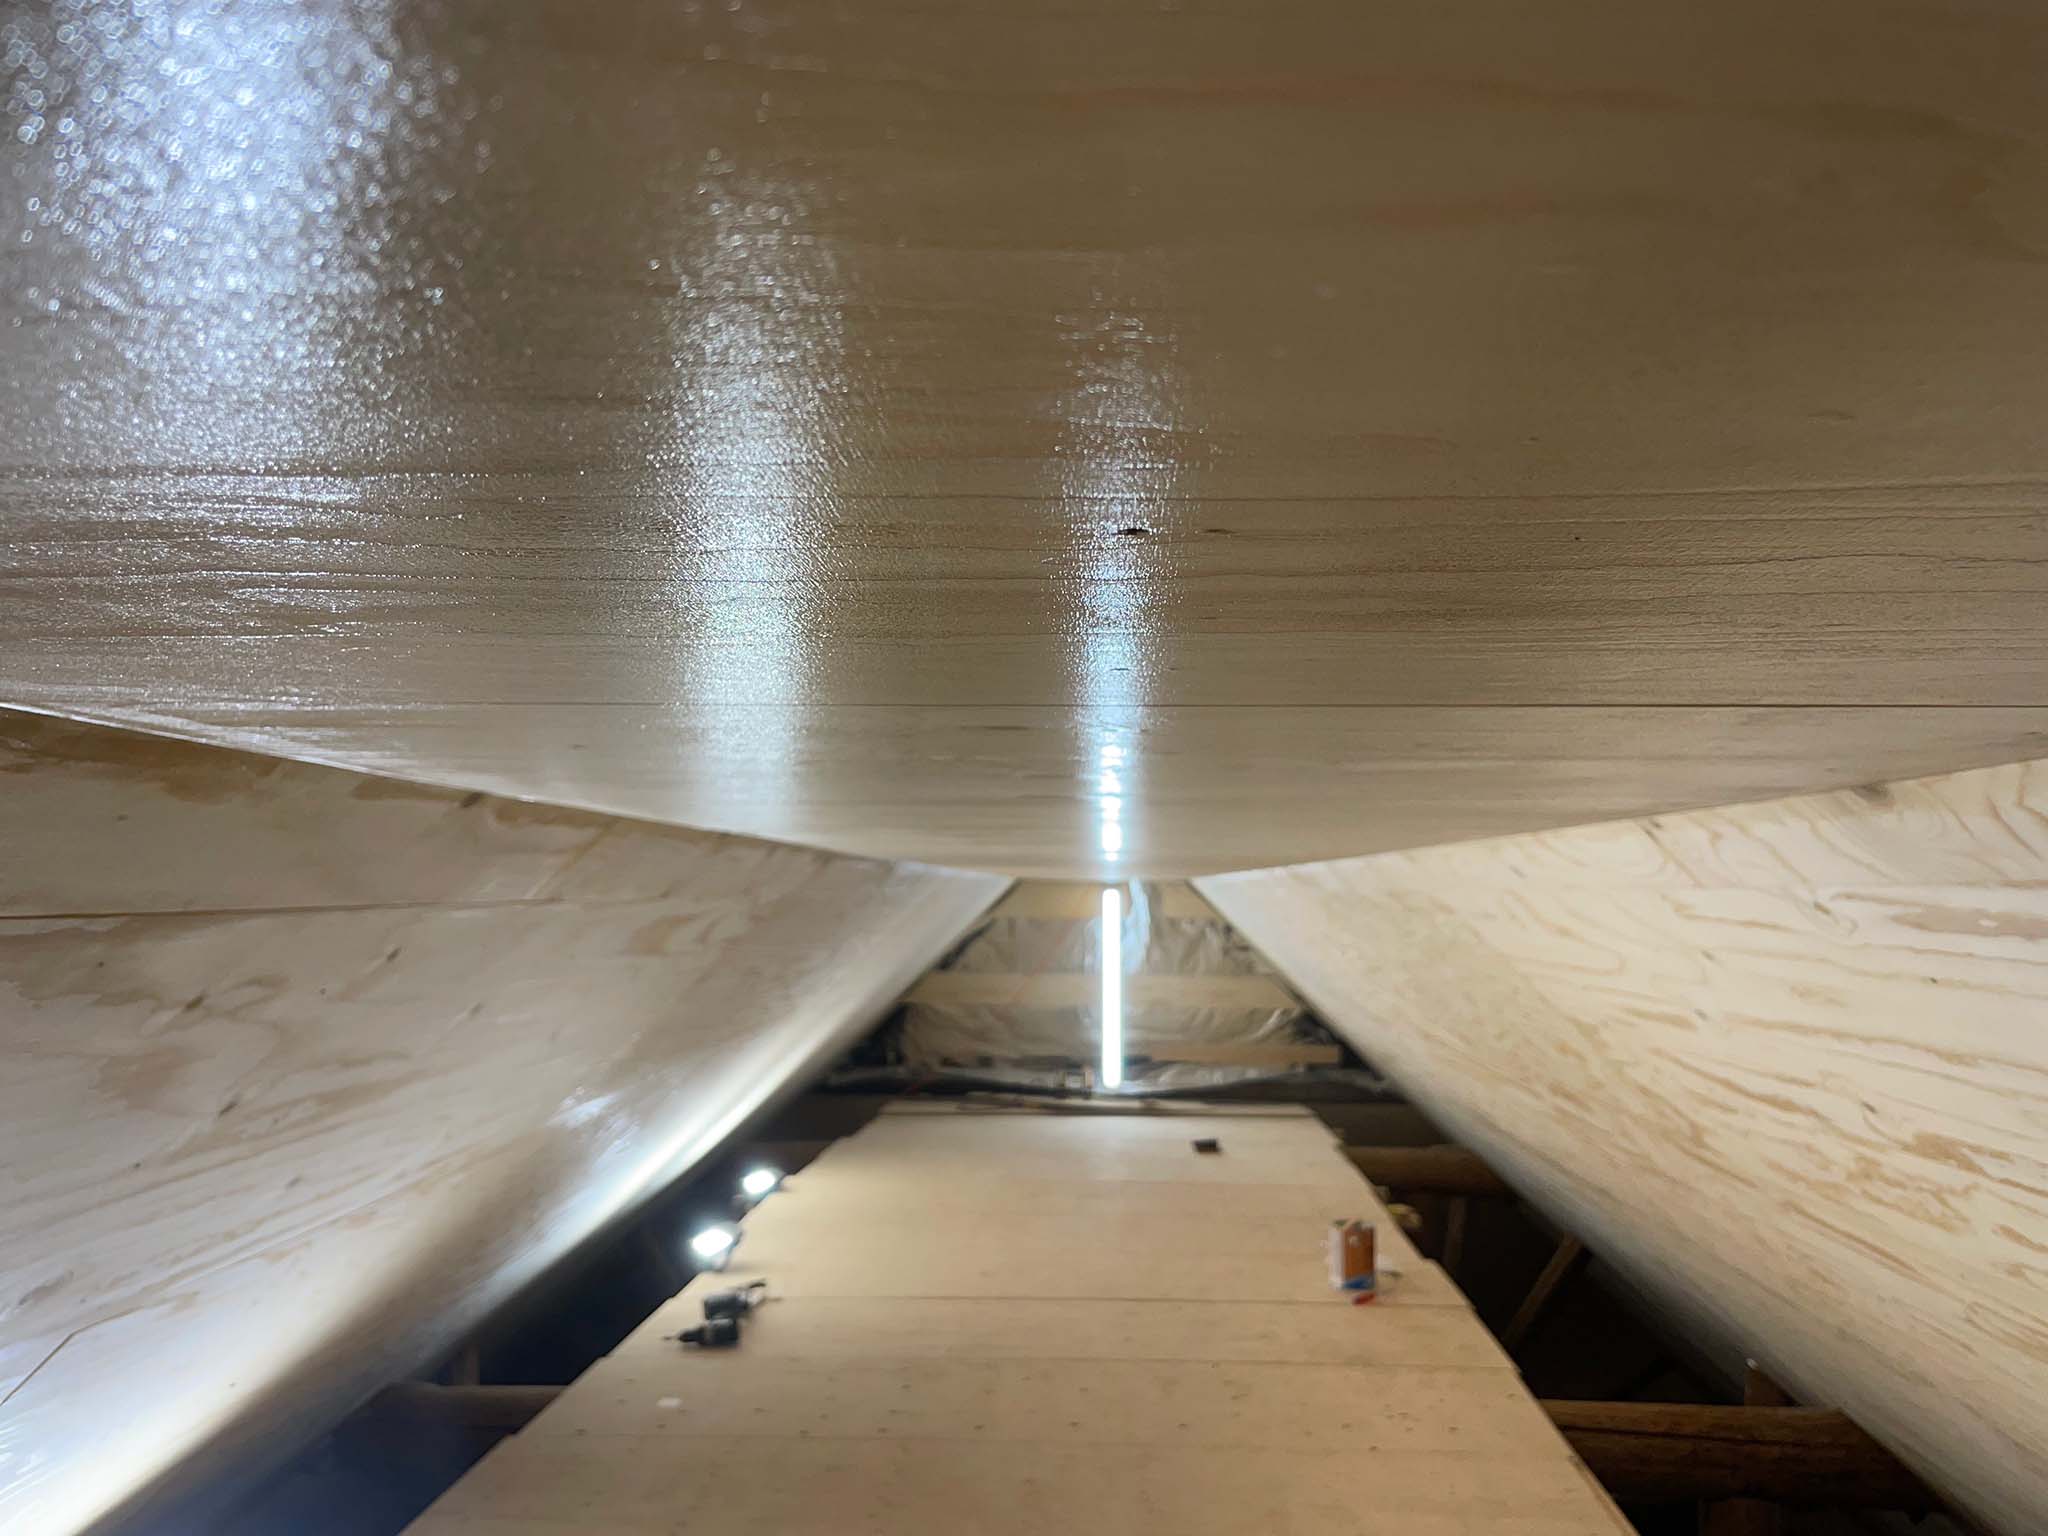
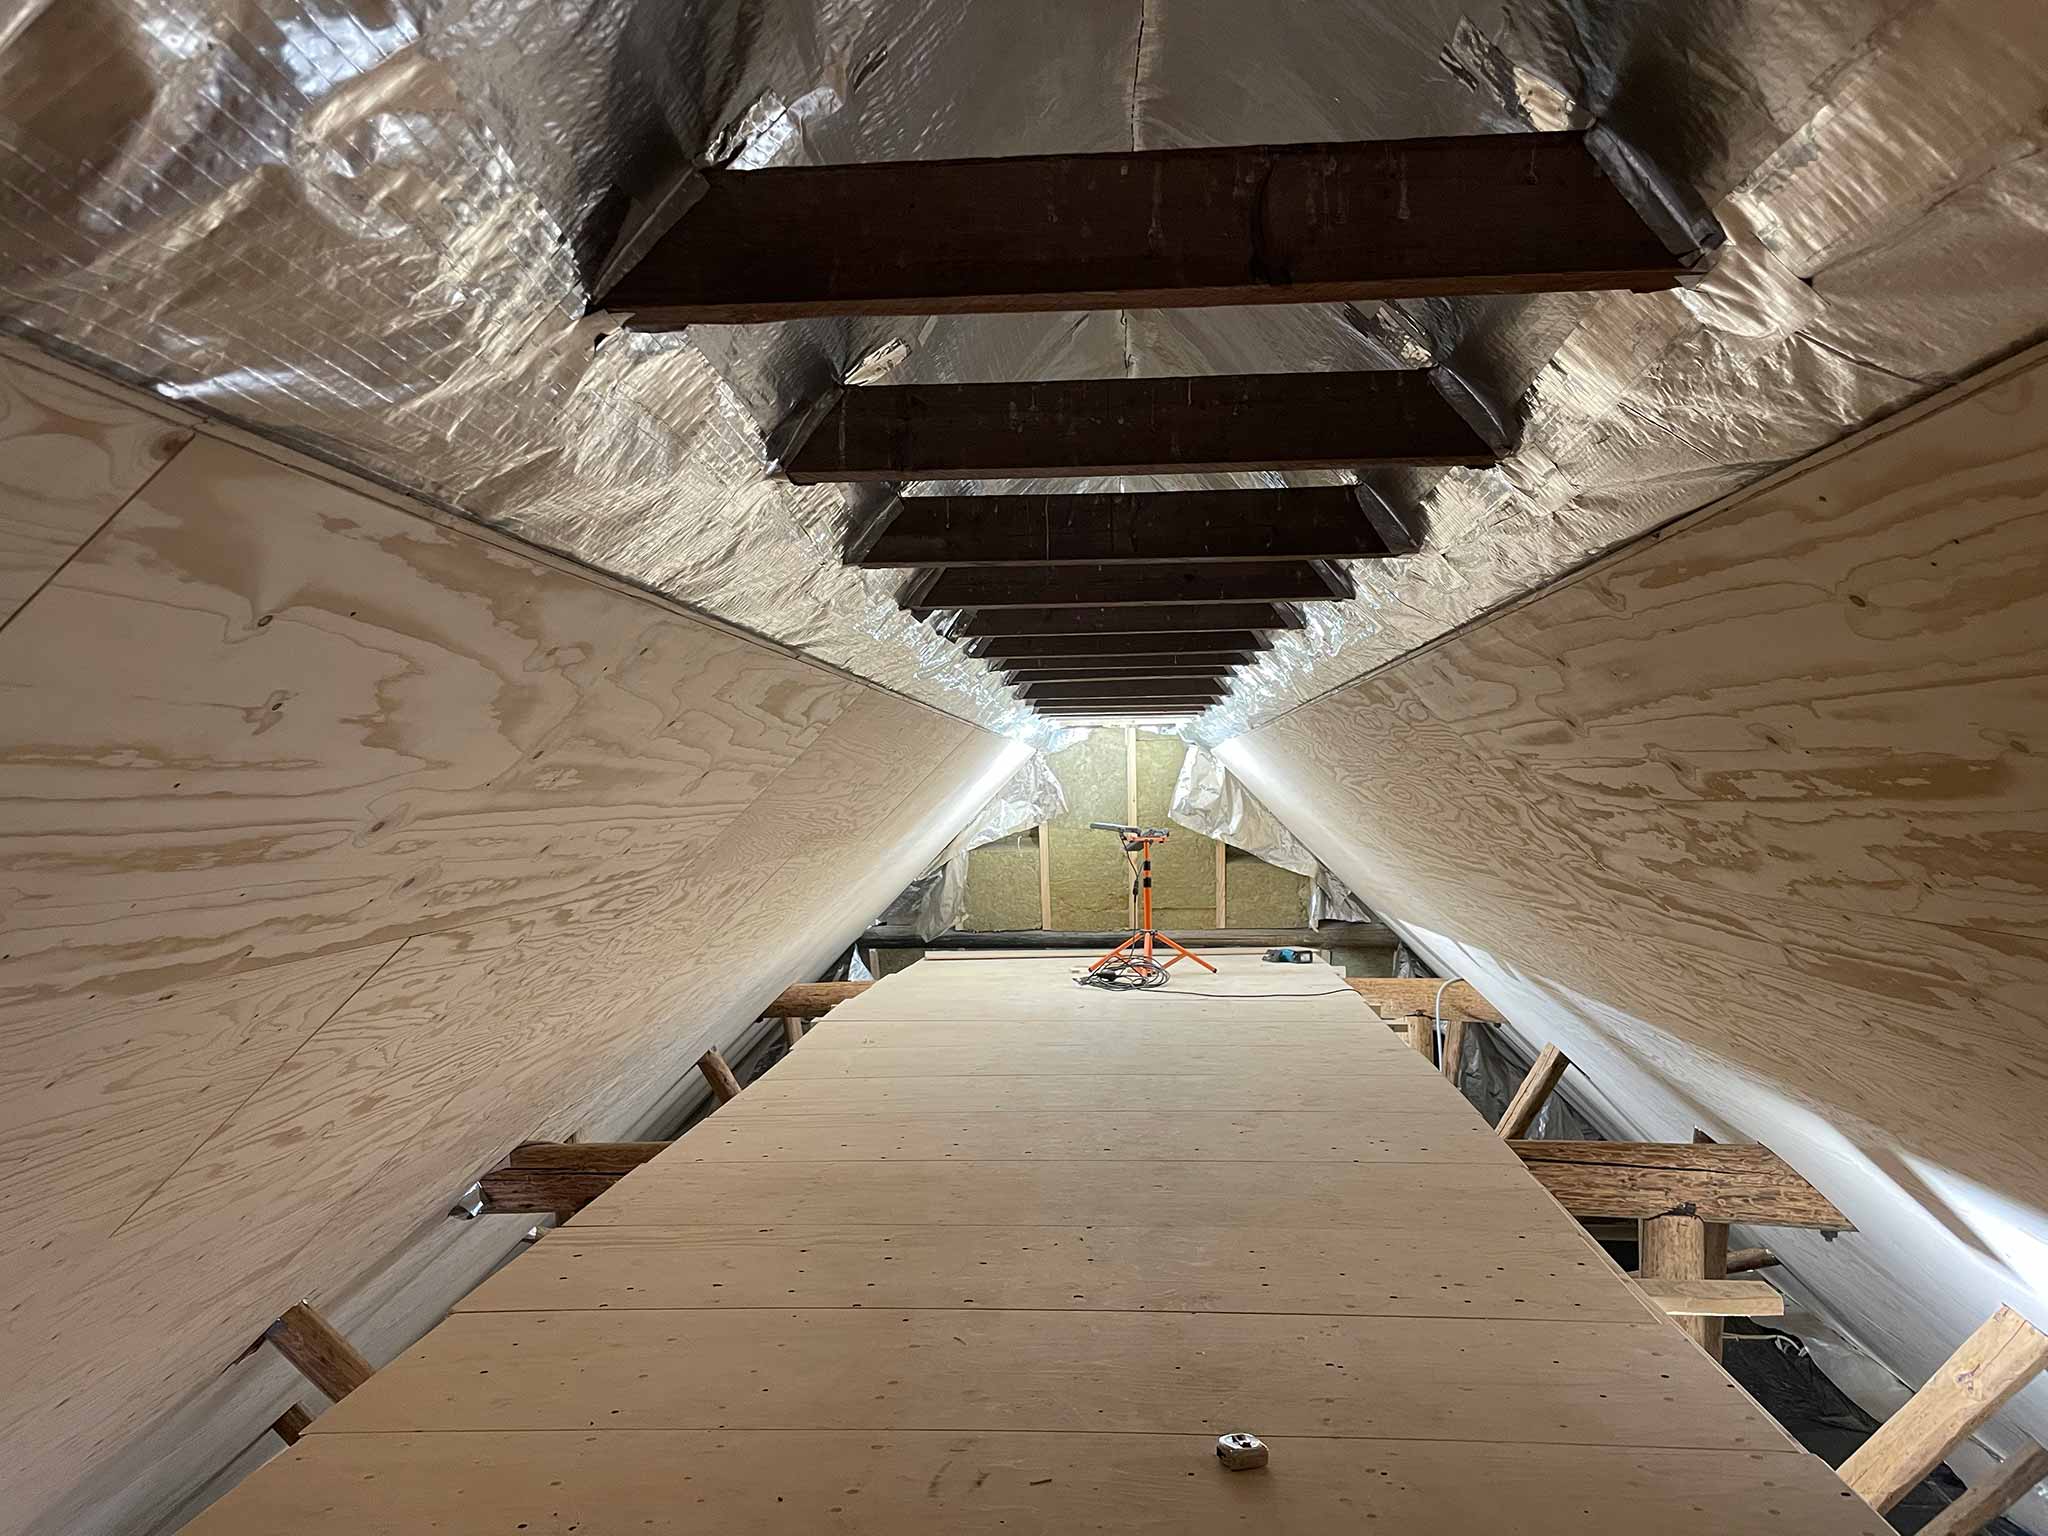
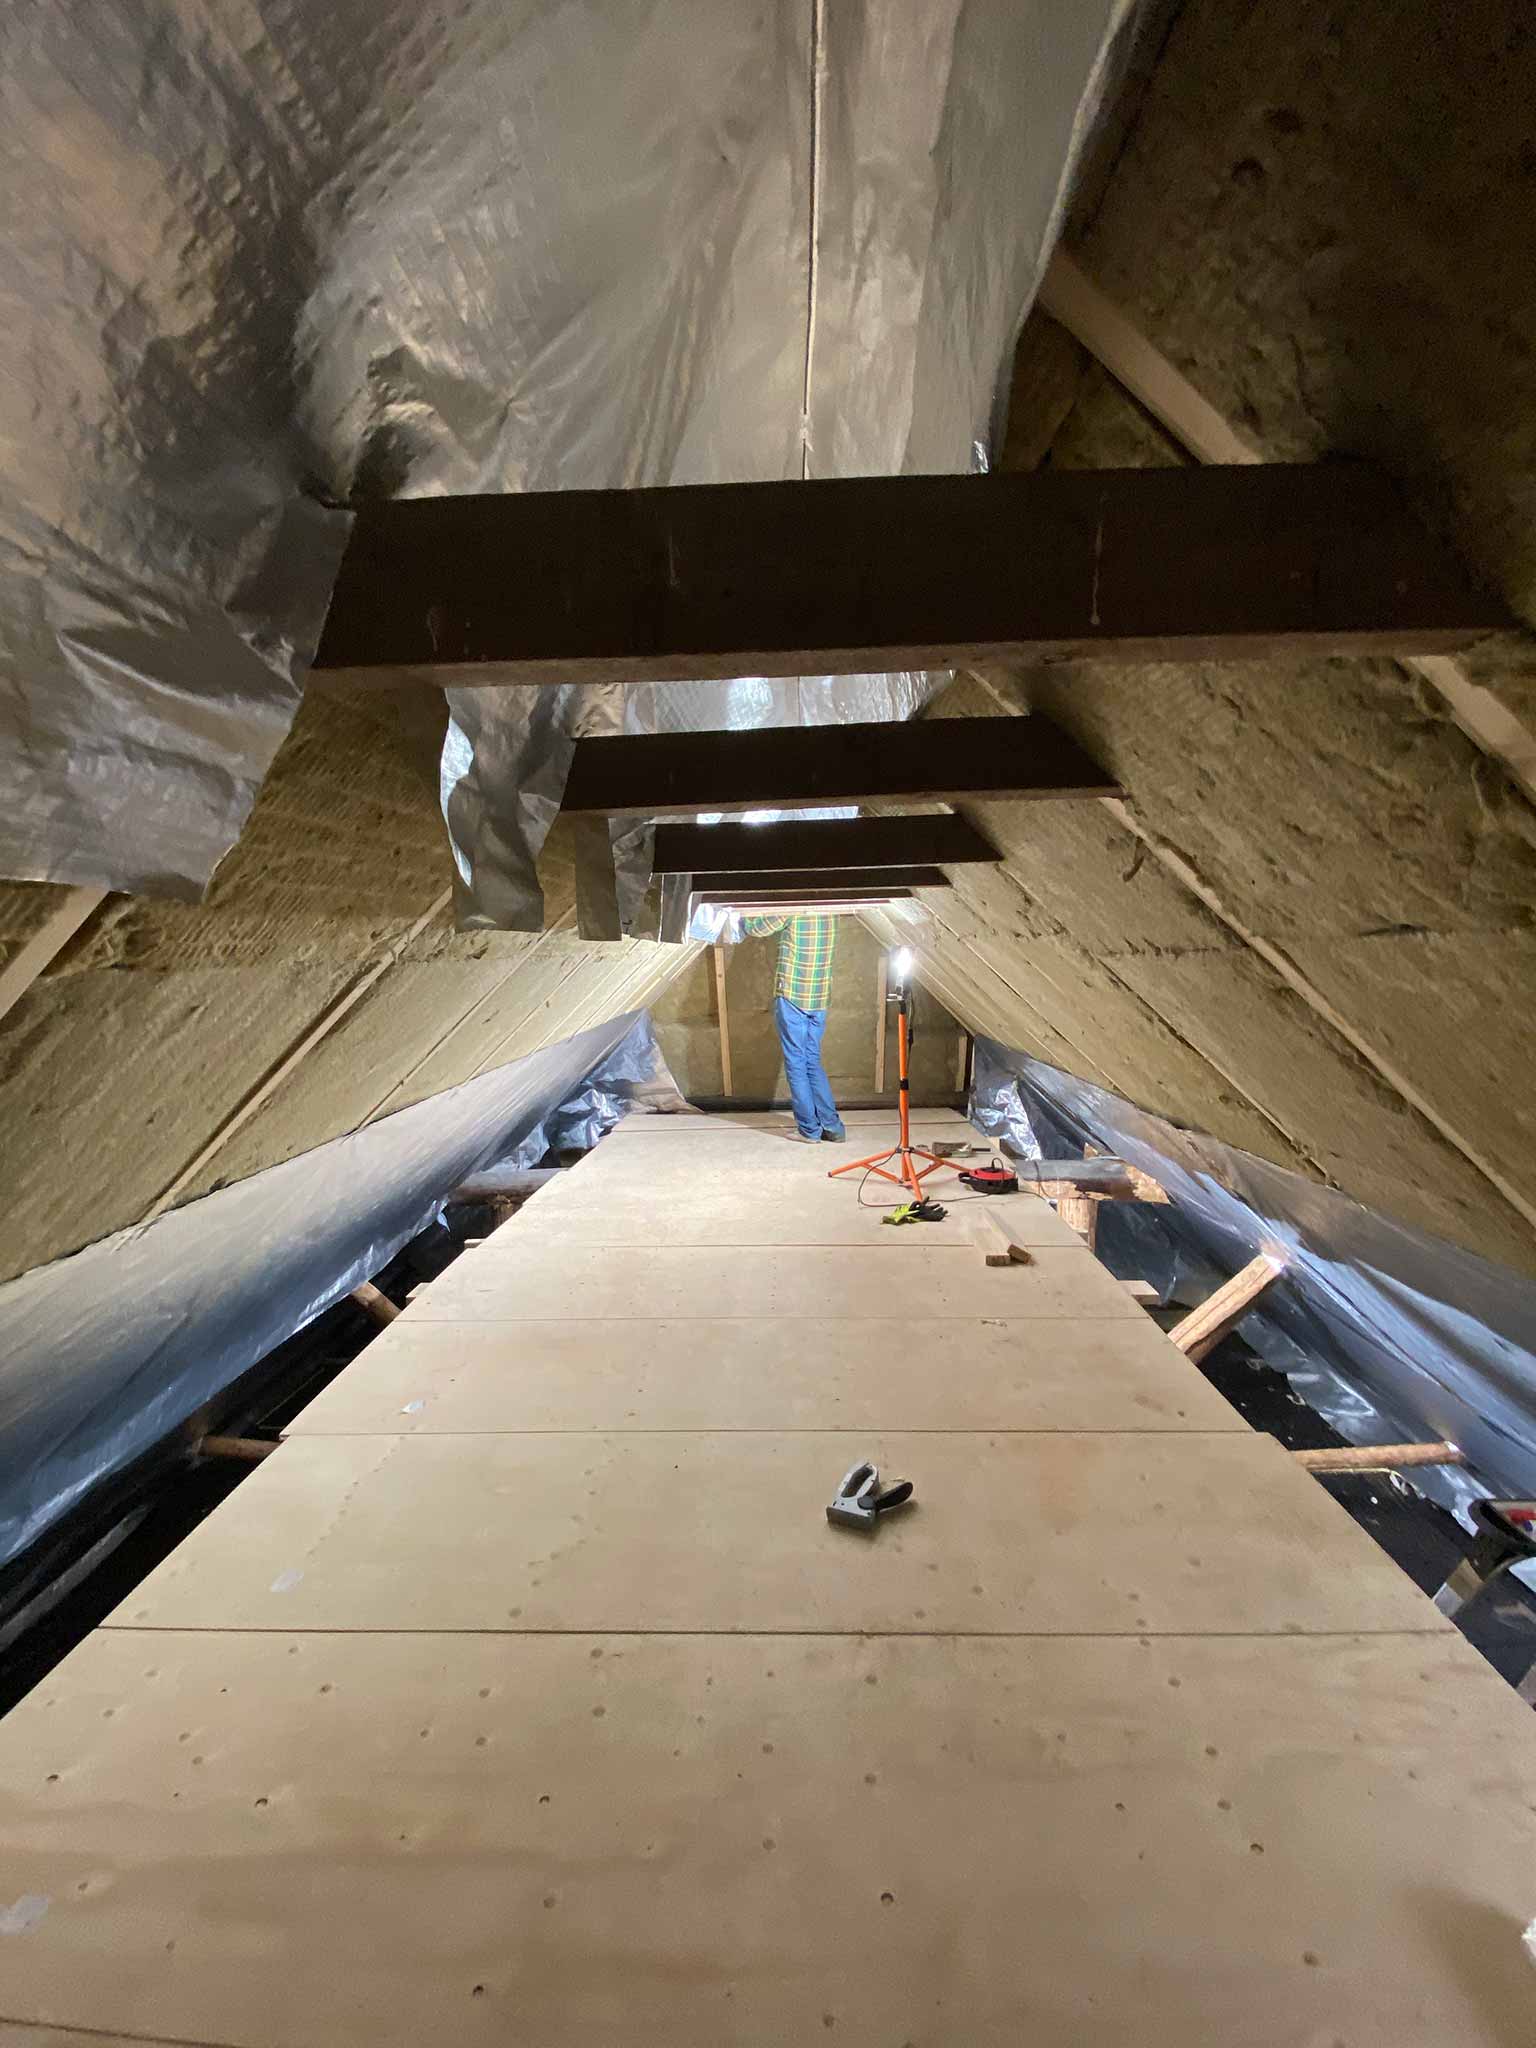
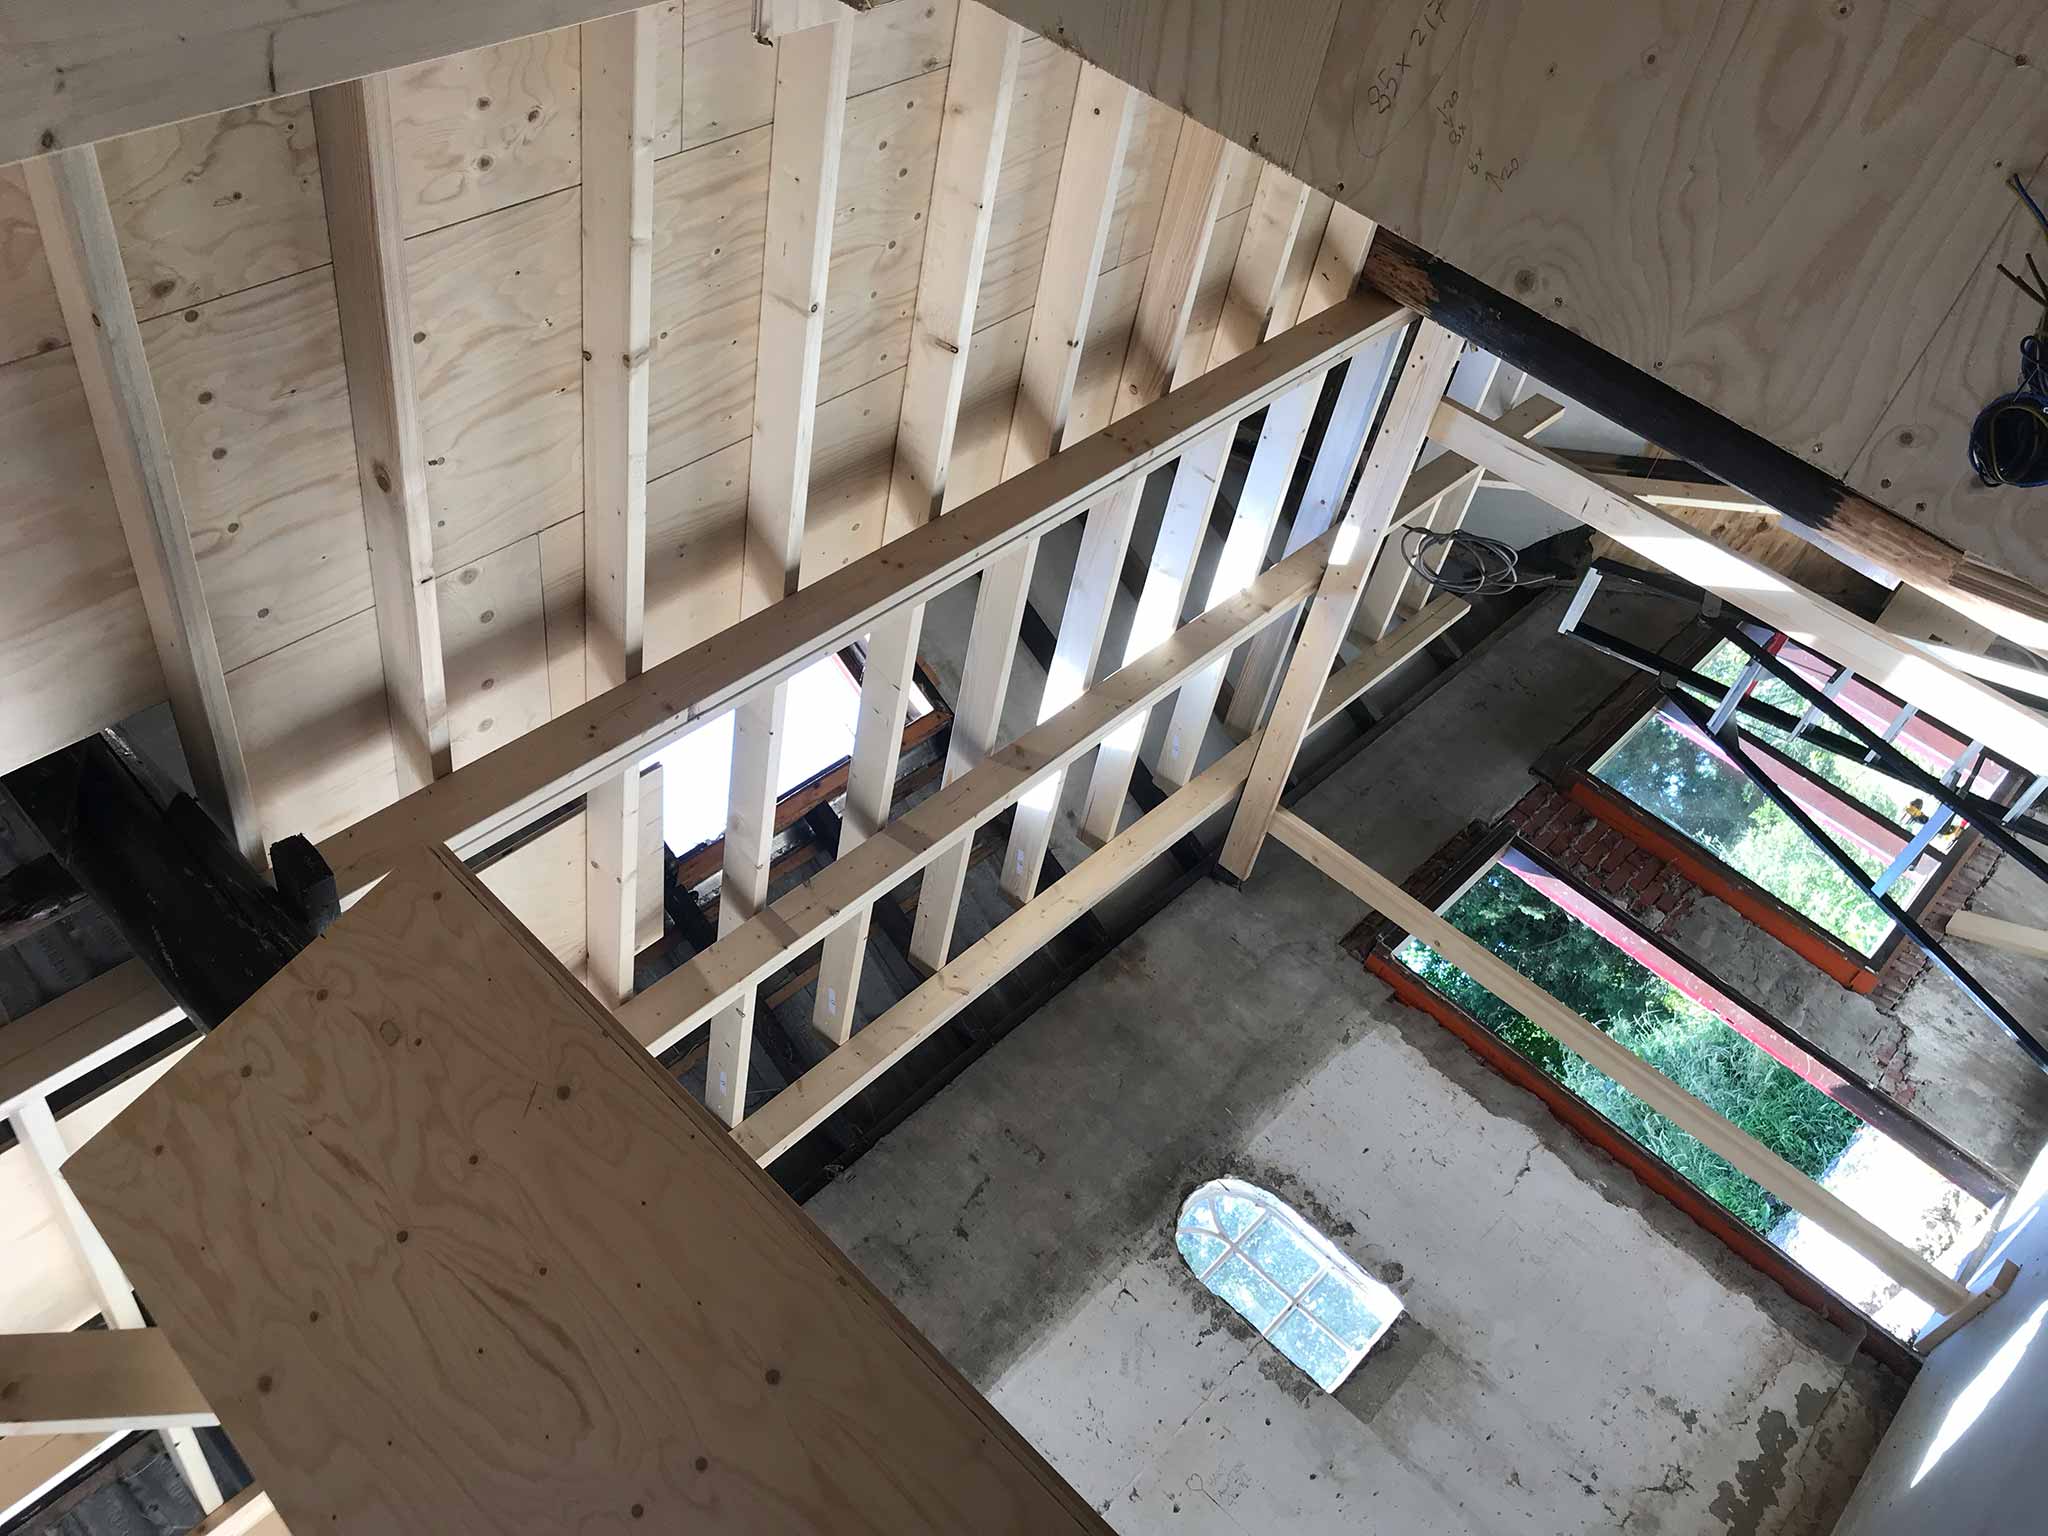
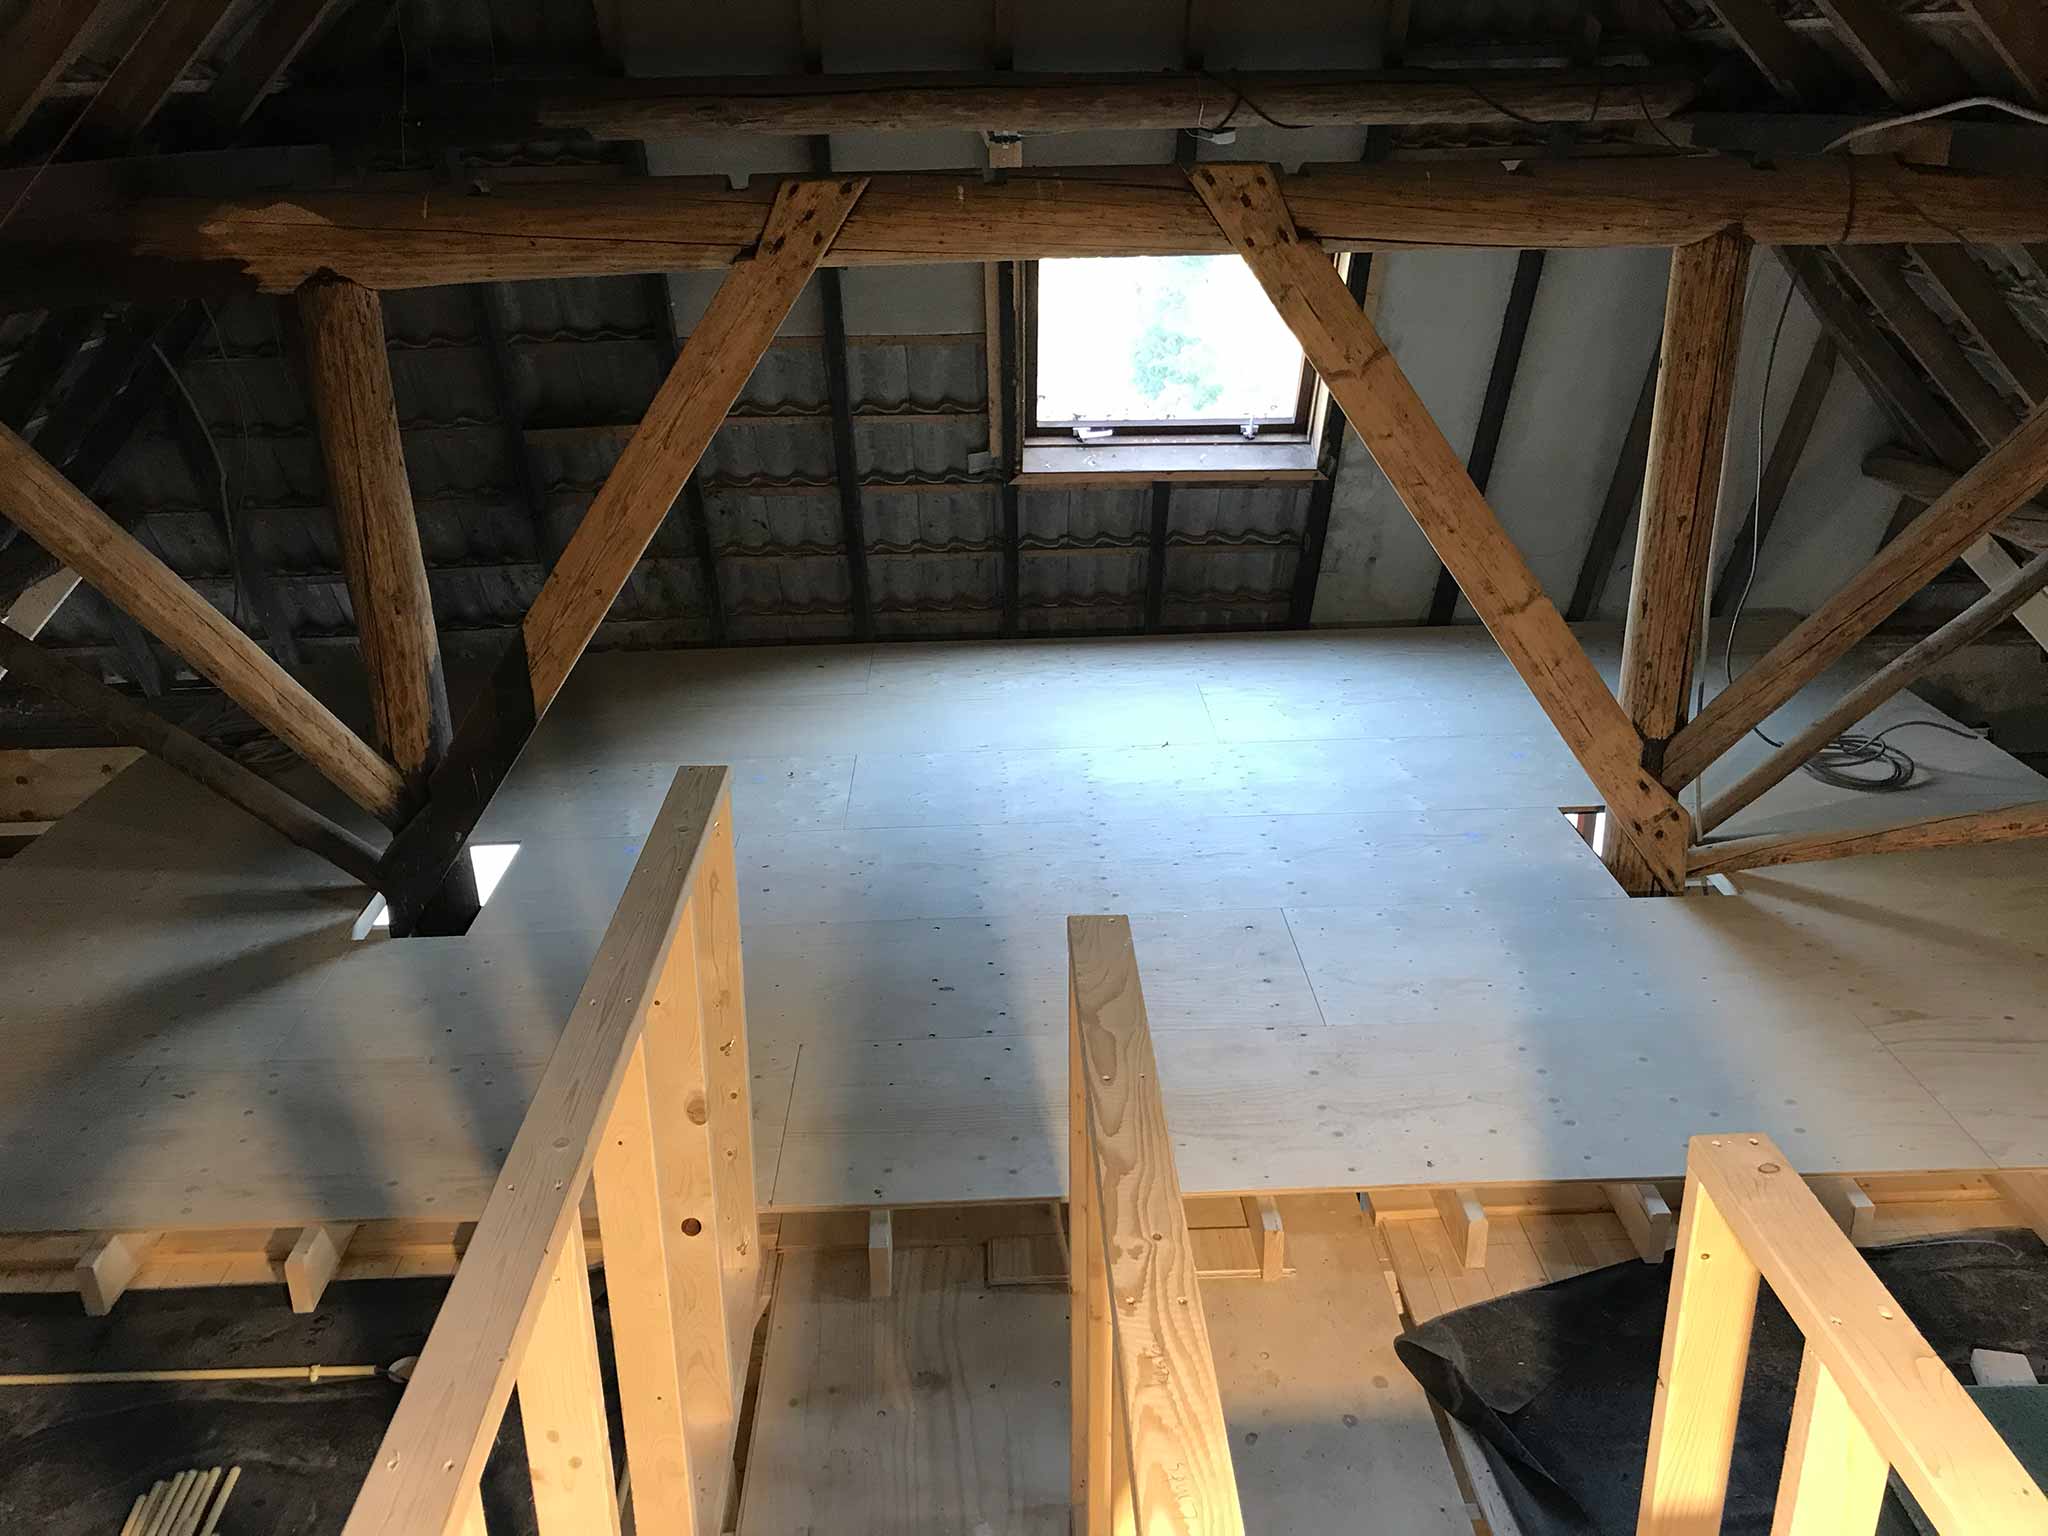
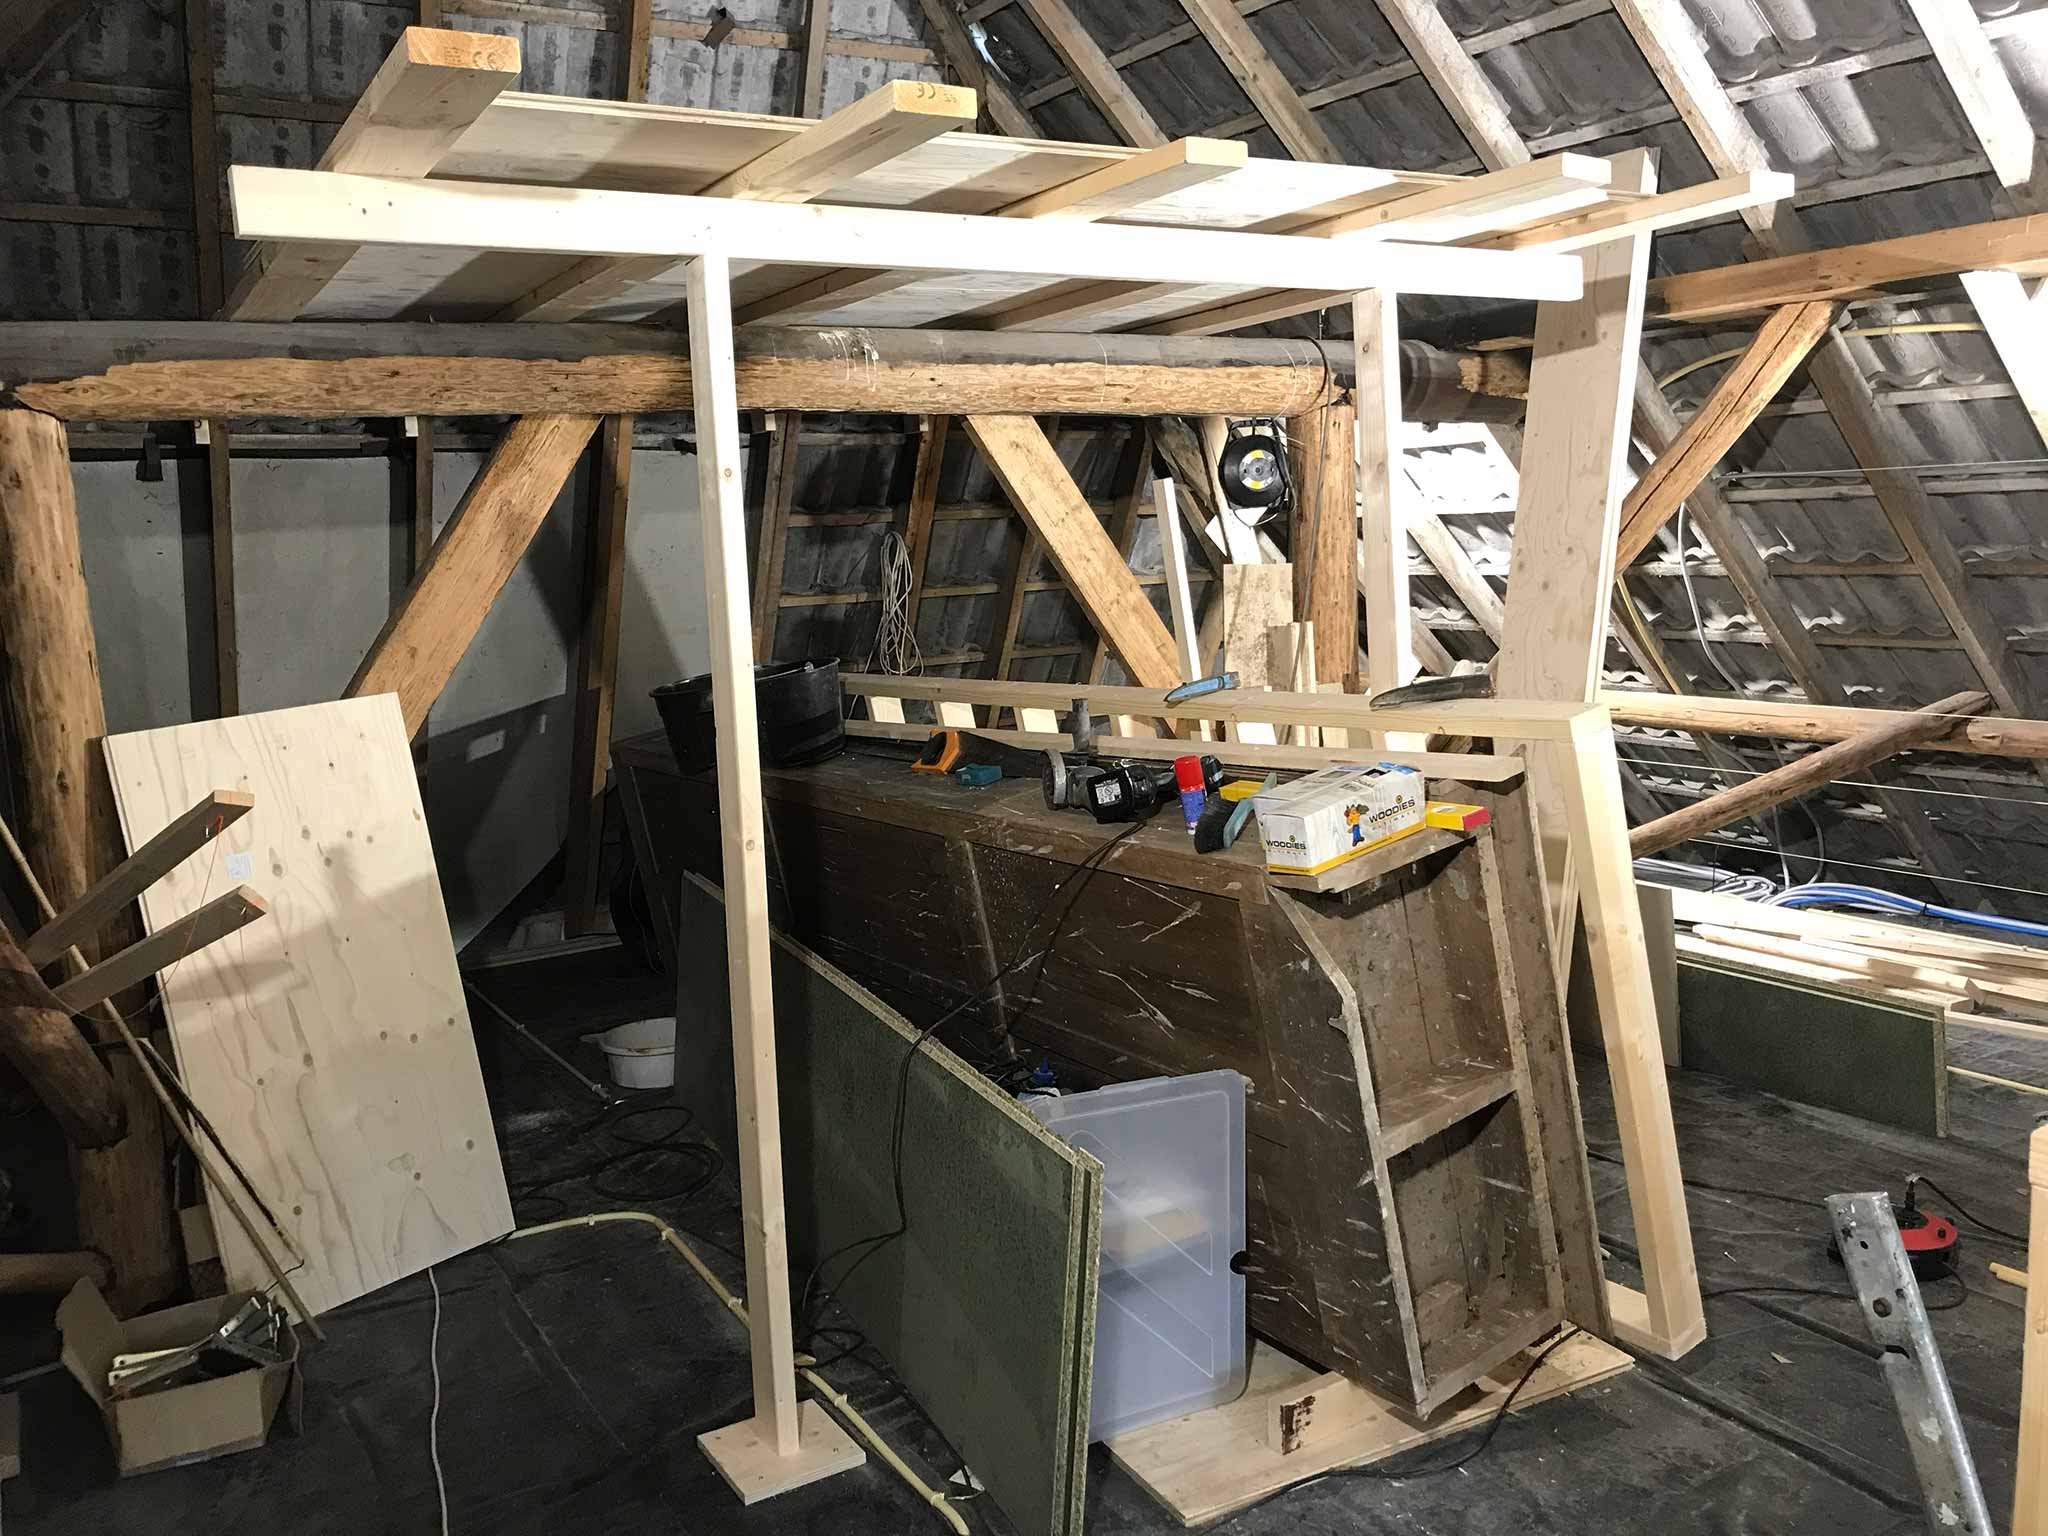
In stead of having to cart a mobile scaffolding around all the time, it was decided to build temporary floors. 👍.
Way faster in the end. After all, the vertical beams of the roof need to be made thicker, the insulation needs to be placed, the wooden boards need to be placed and then the staining needs to happen…
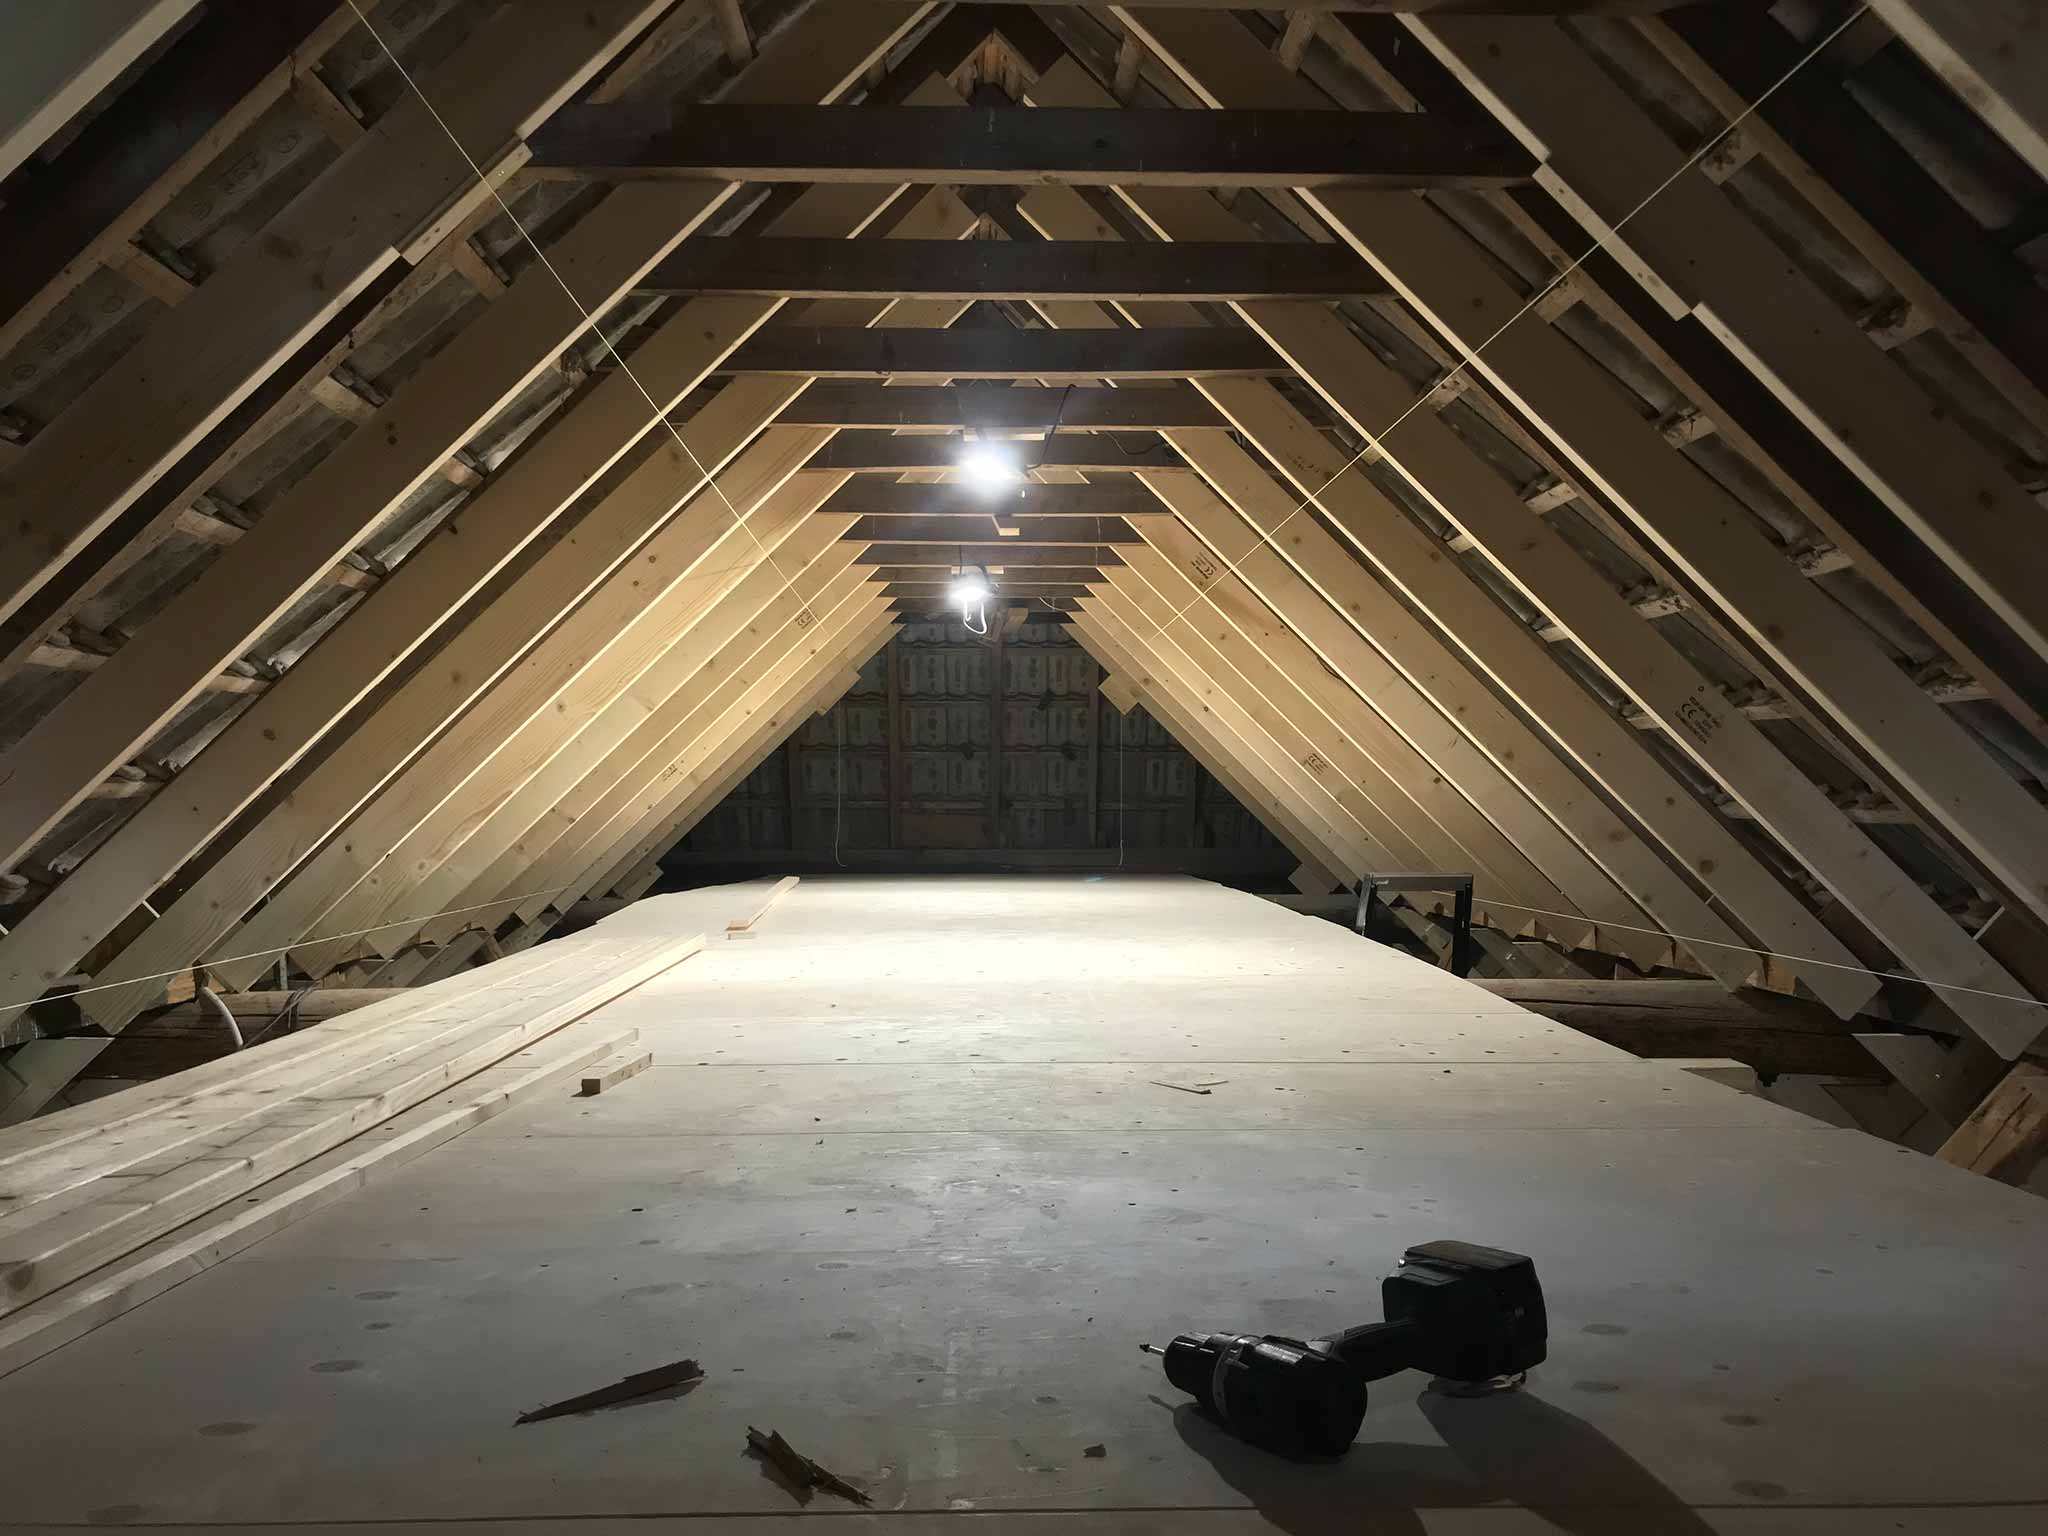
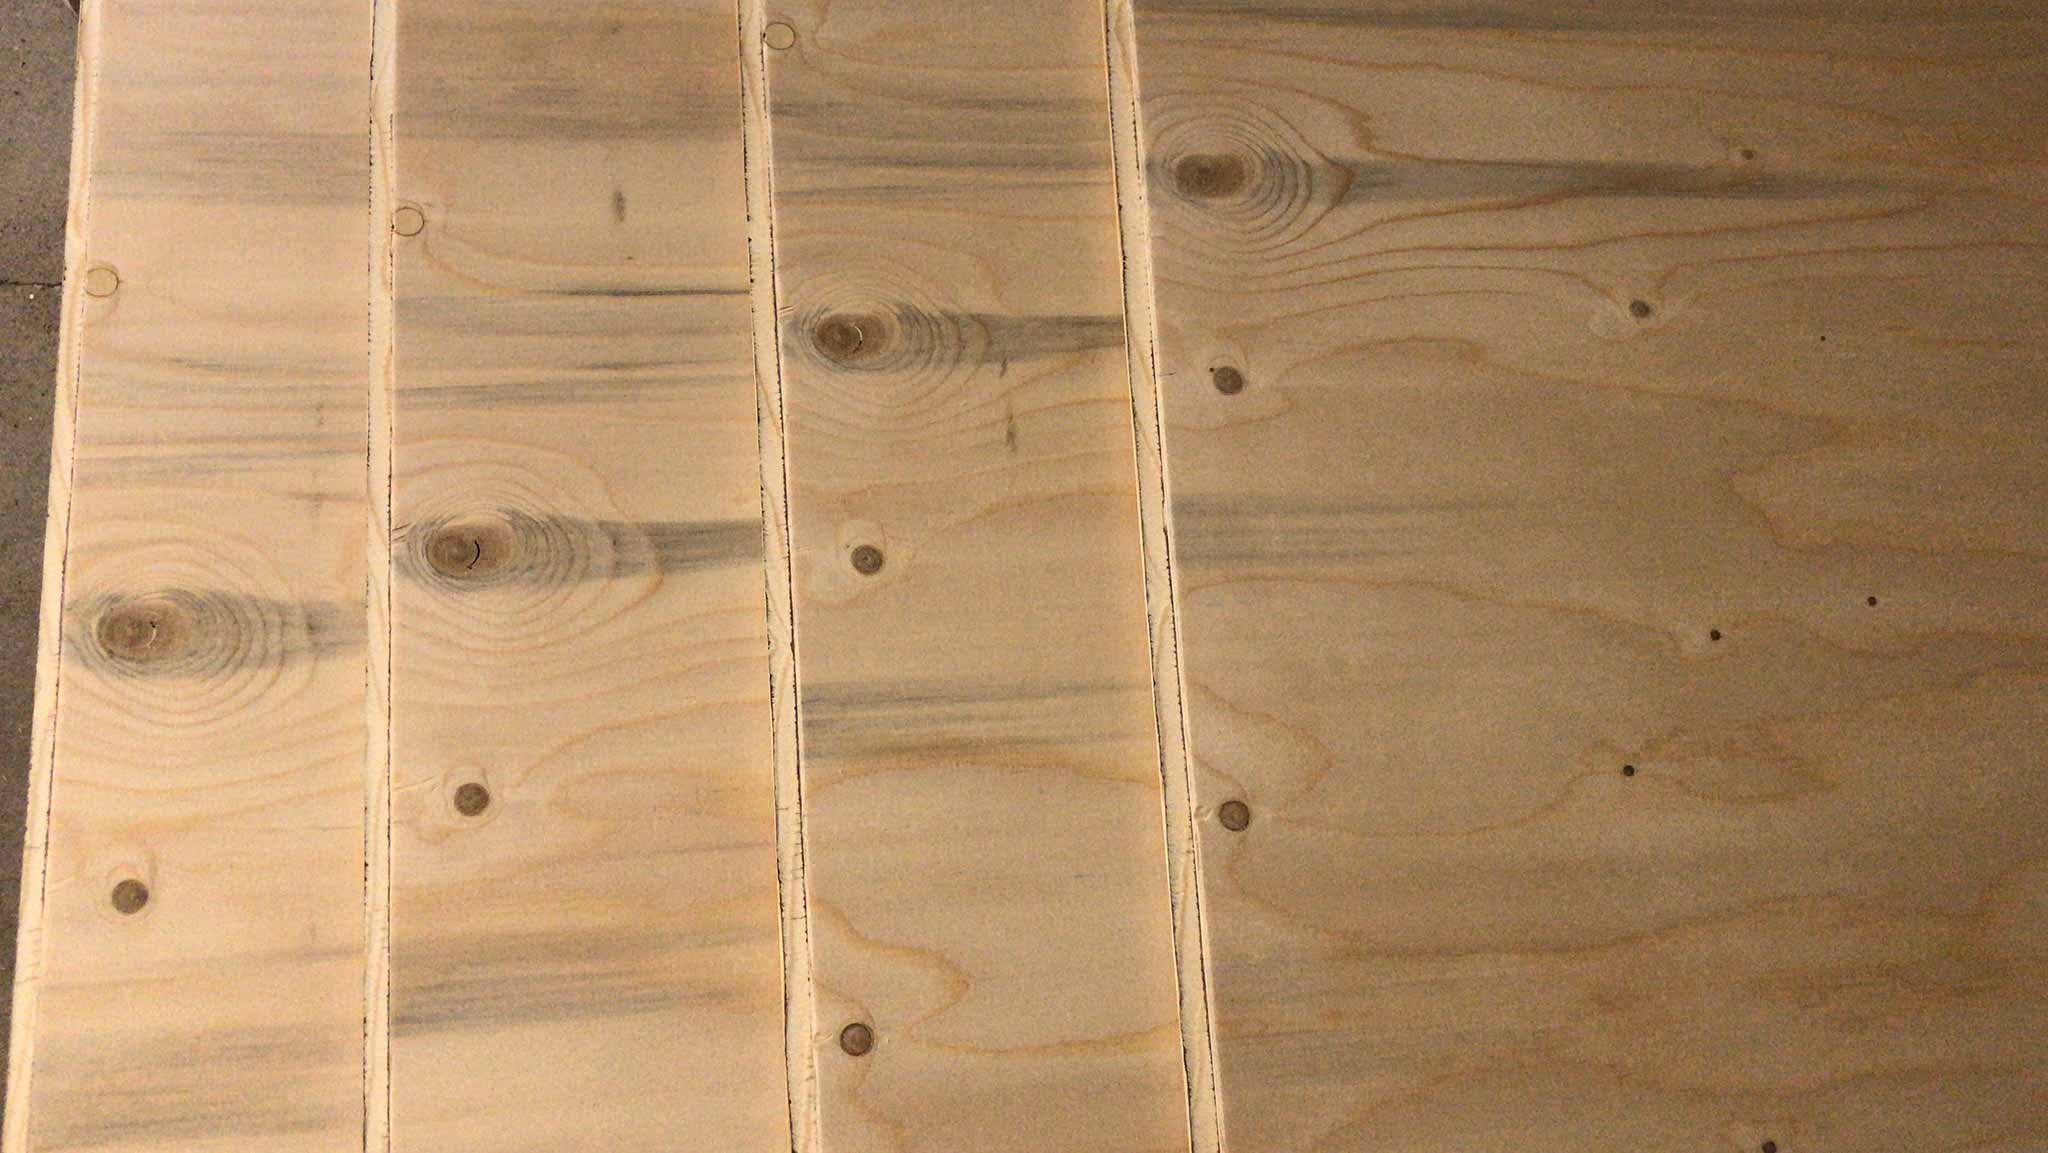
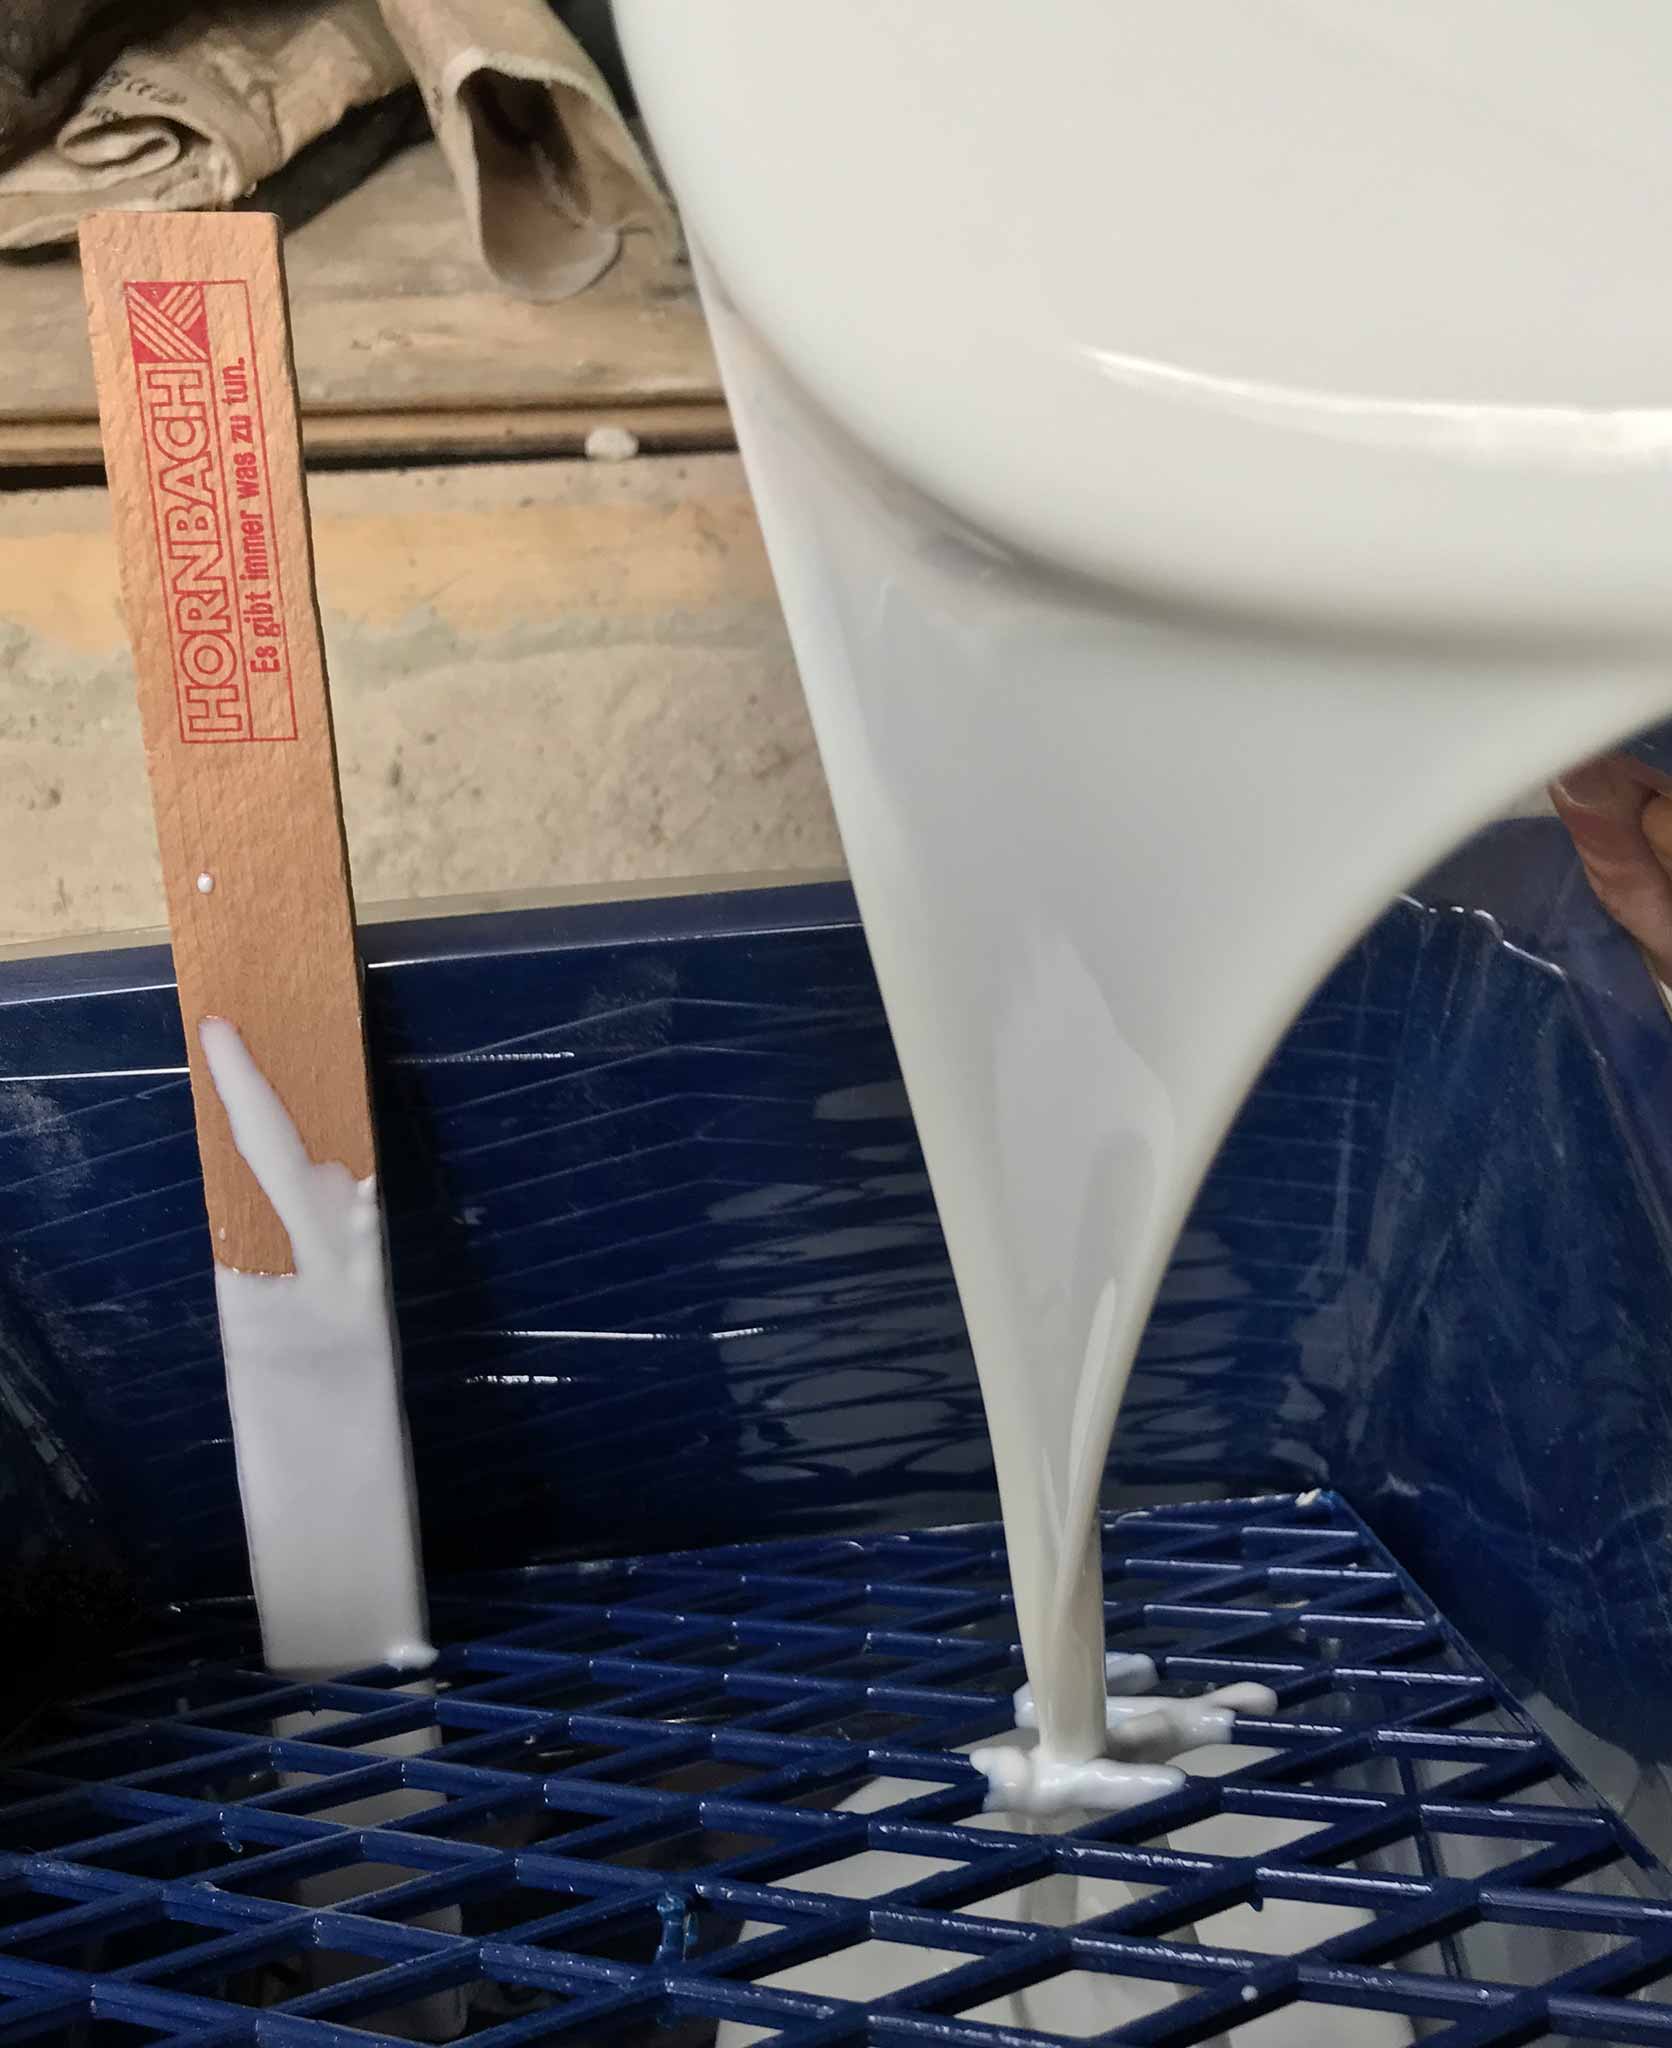
… but I guess it needs to happen. 12 litres of colourless stain is all over the ceiling now. One base layer and one finishing layer. Pretty damn hard to see what you have and have not done yet. When still somewhat wet, a well positioned lamp shows the glistering but that’s about it. Together with our ‘smart’ choice of ceiling (beams, planks with small grooves between them), it makes for a dirty job that someone has got to do. All for a good cause of course!
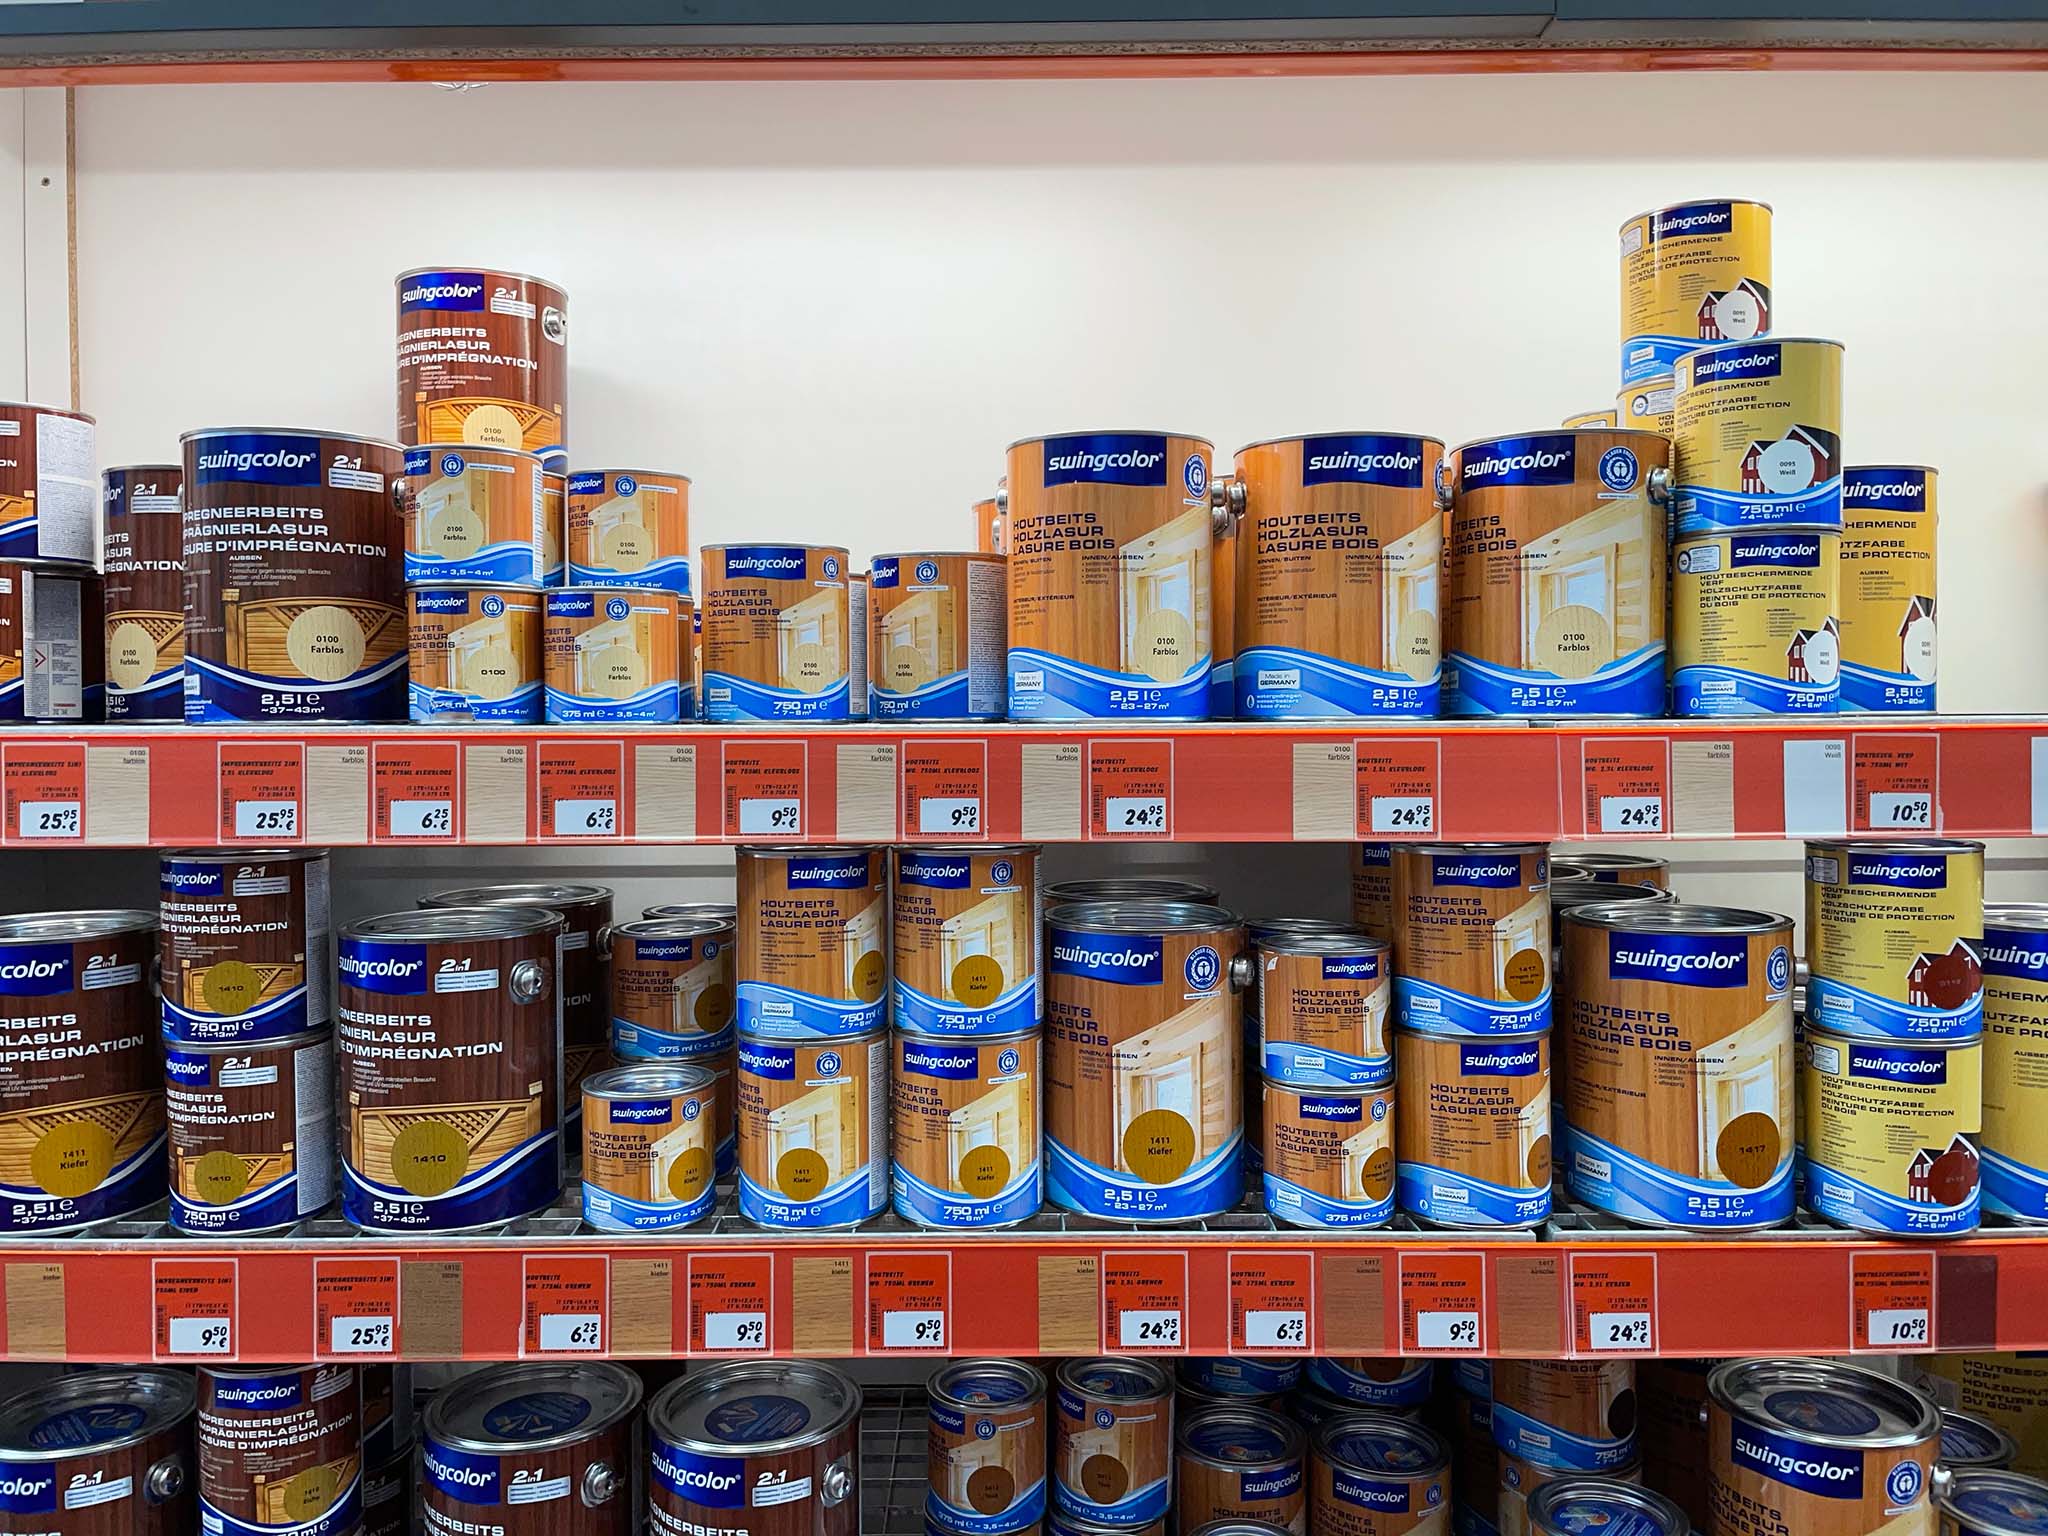
Stain is pretty expensive btw. Make sure you need it before you decide on amounts etc….
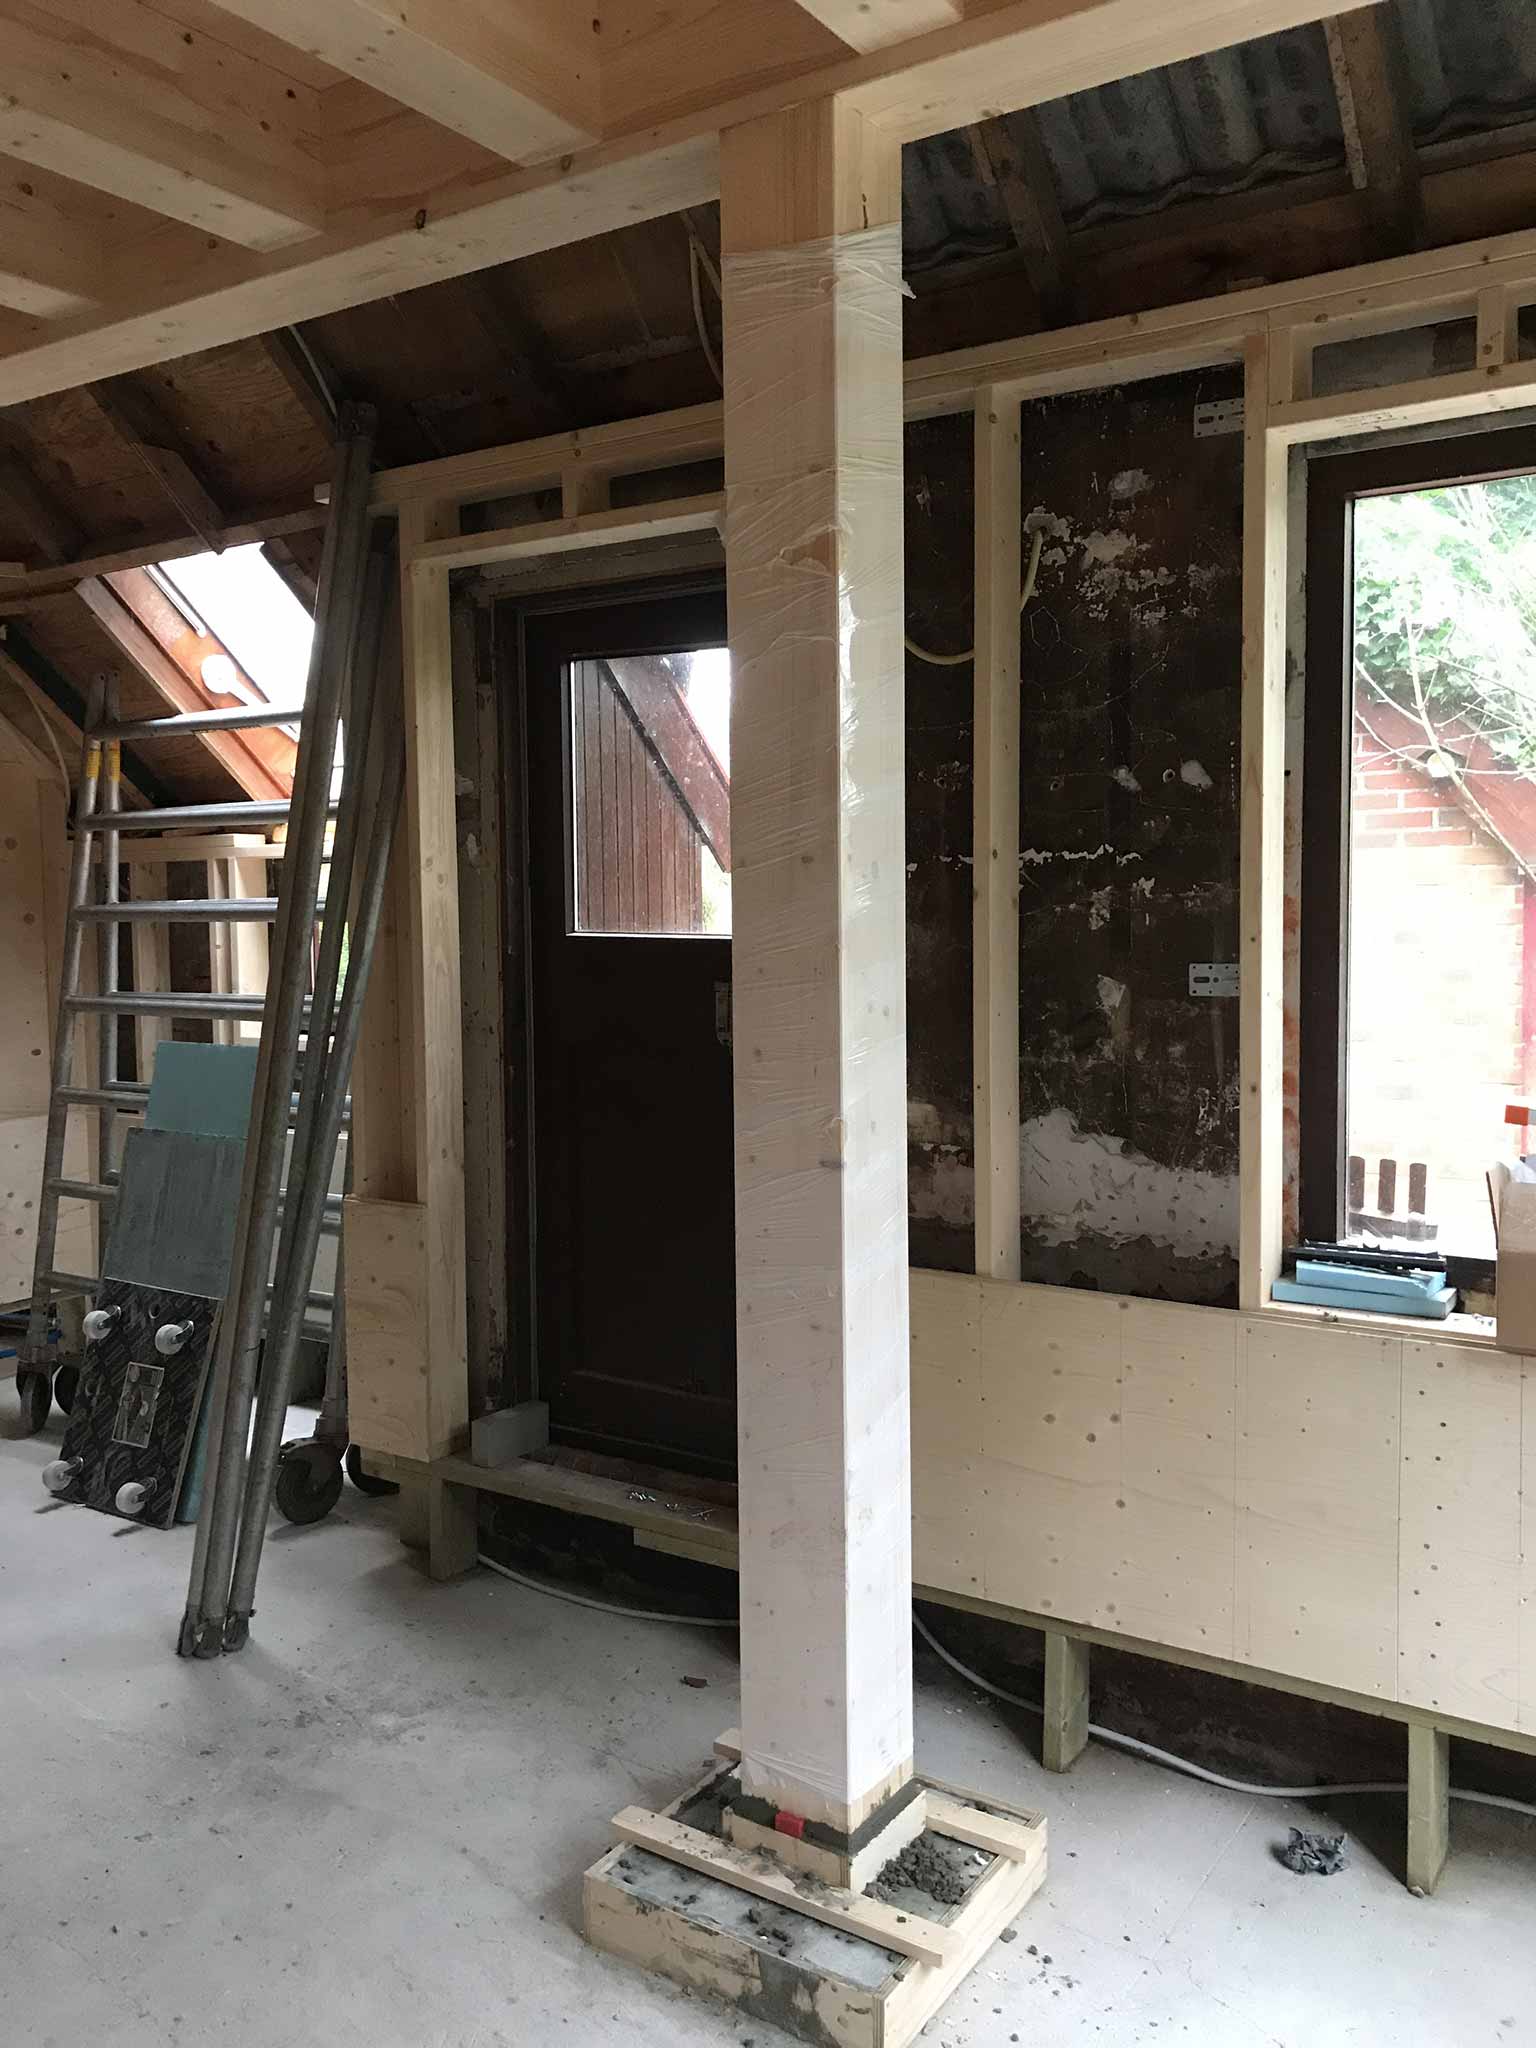
The first column is placed onto its support. It is positioned into the beam it supports by means of a small piece of concrete reinforcement combined with a bit of glue.
At the bottom there is two wedges for the first support. Remaining space is filled with concrete.
So, from the bottom up: