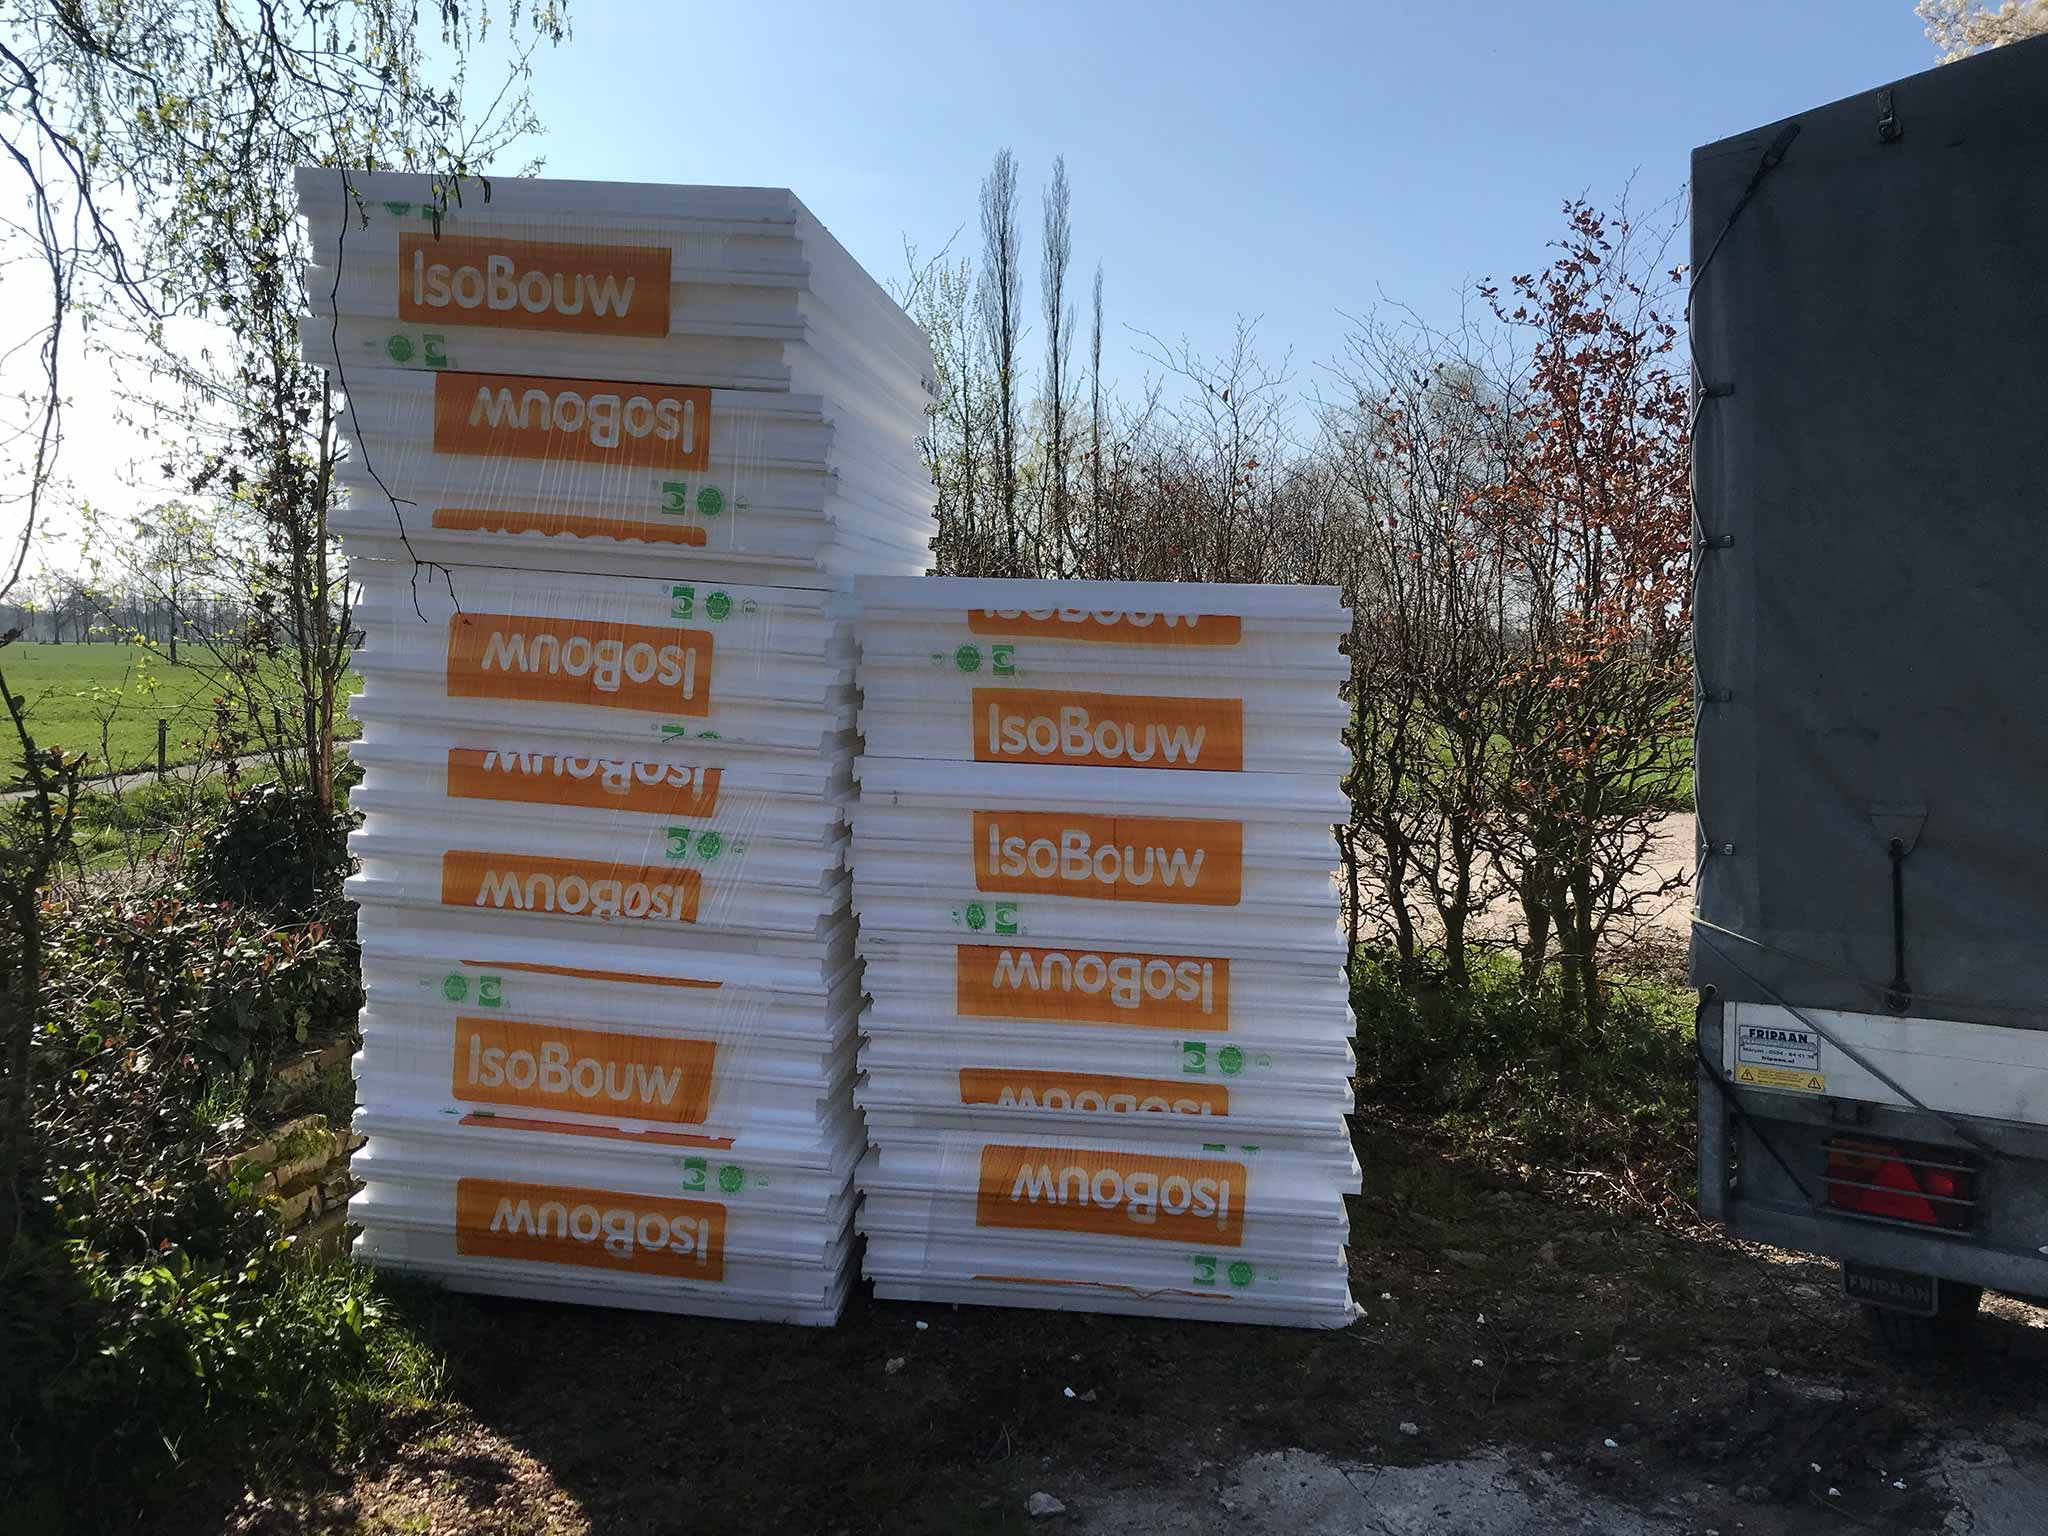
Near (what should be) 300 square meters of styrofoam arrived, it will become one layer of 11cm plates and one of 9cm plates.
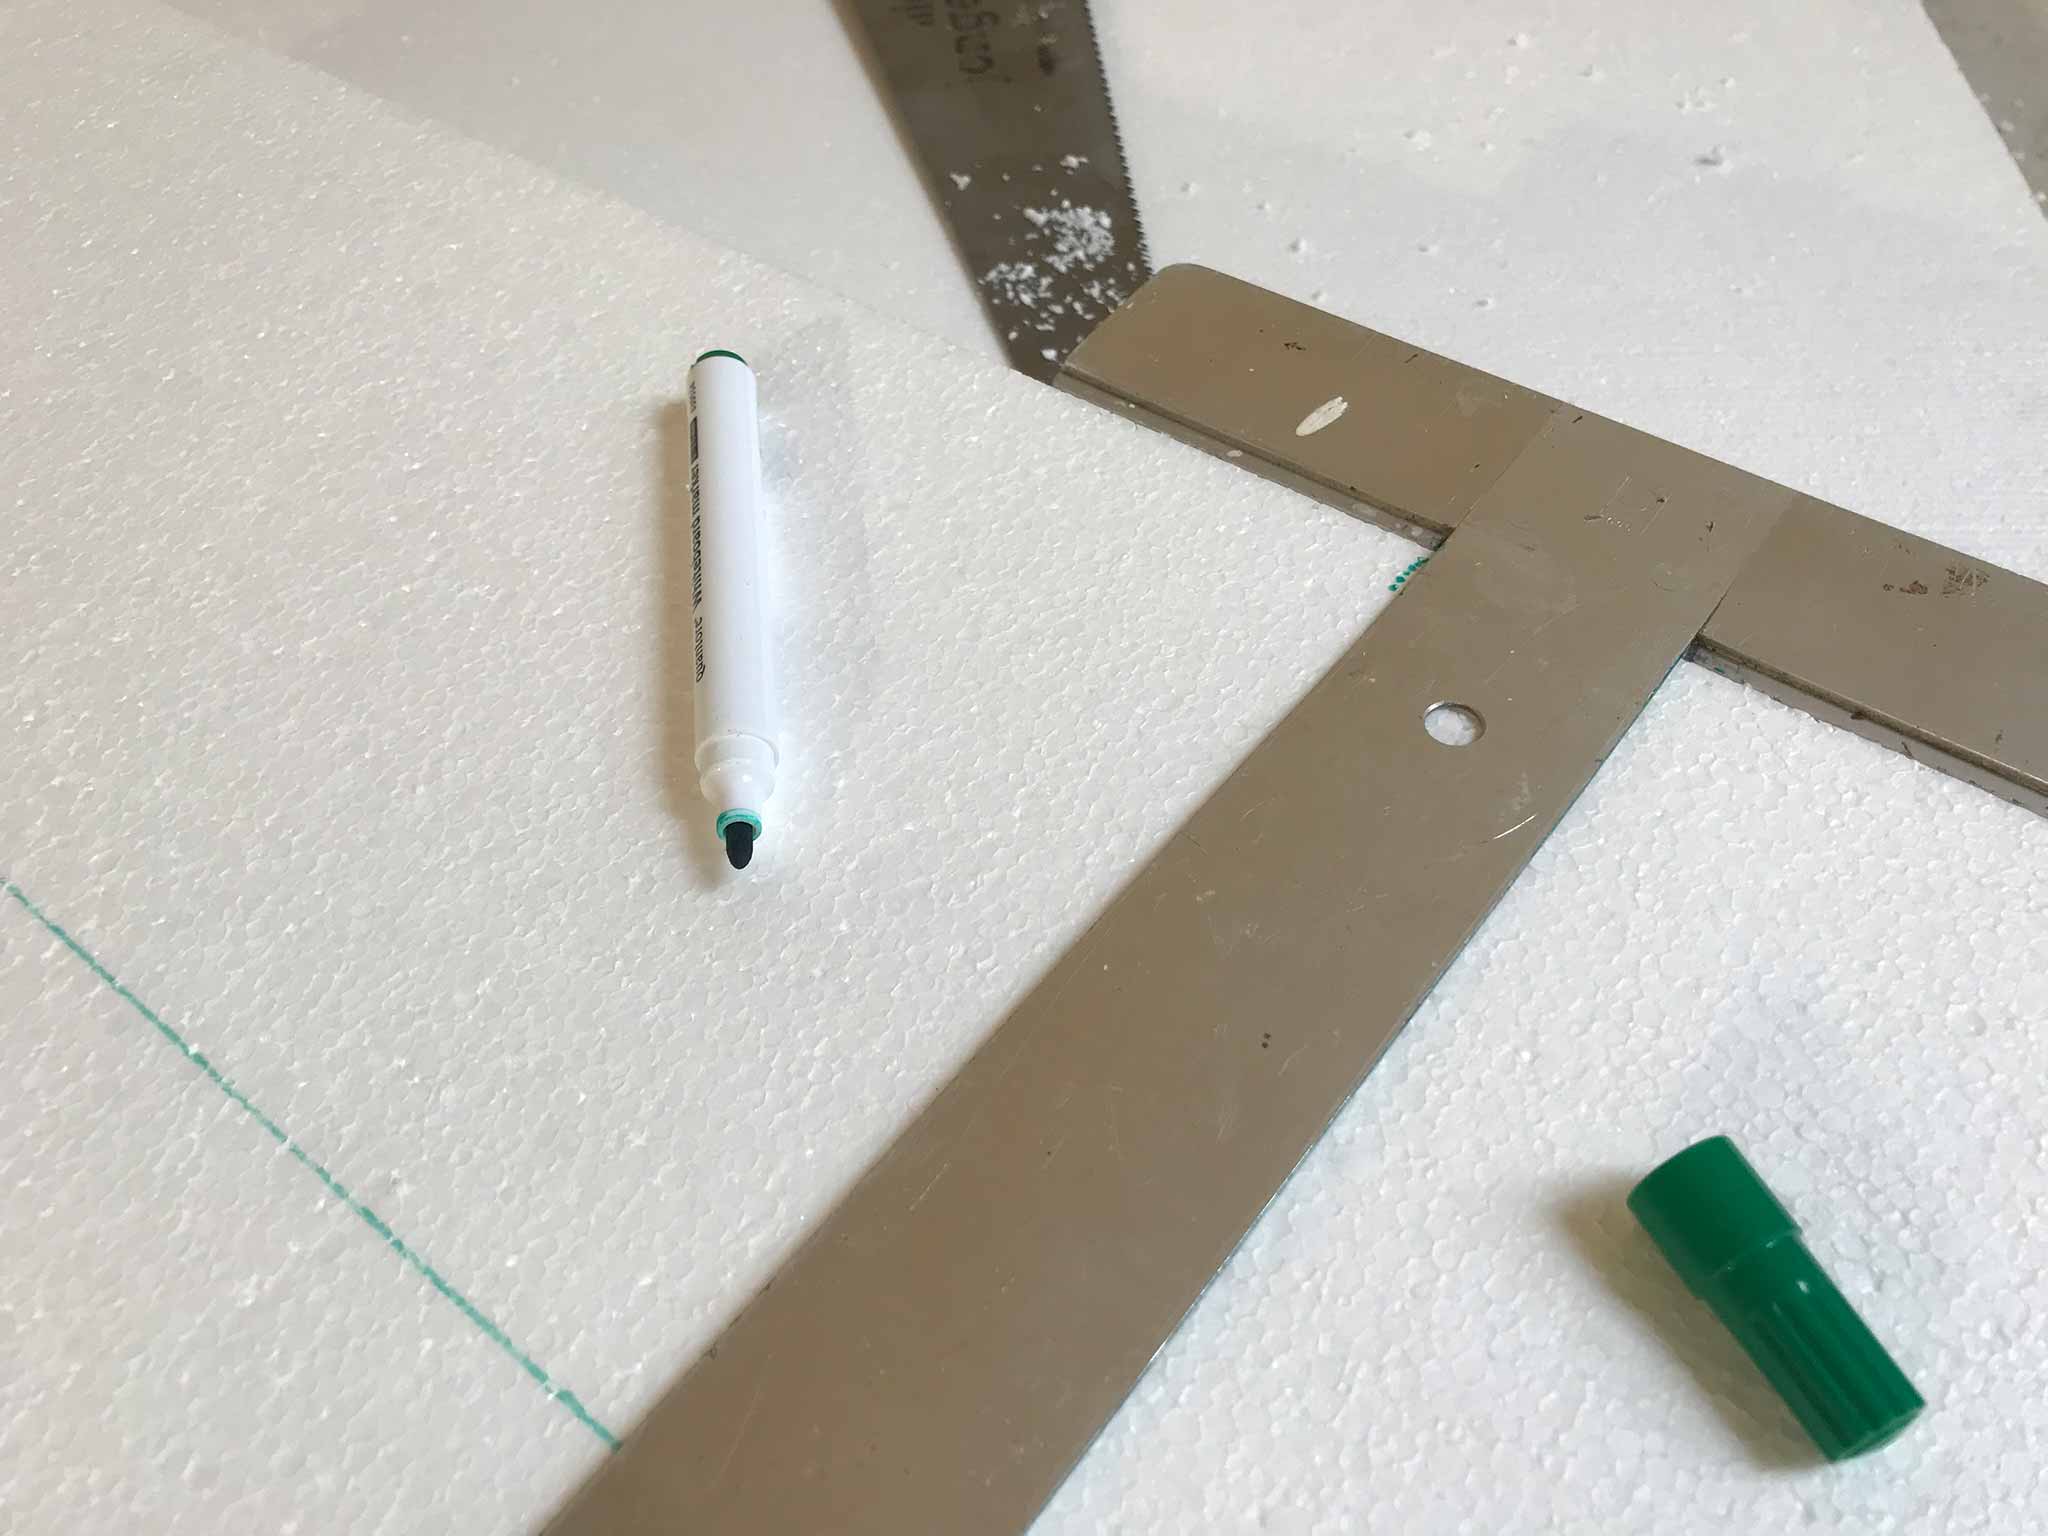
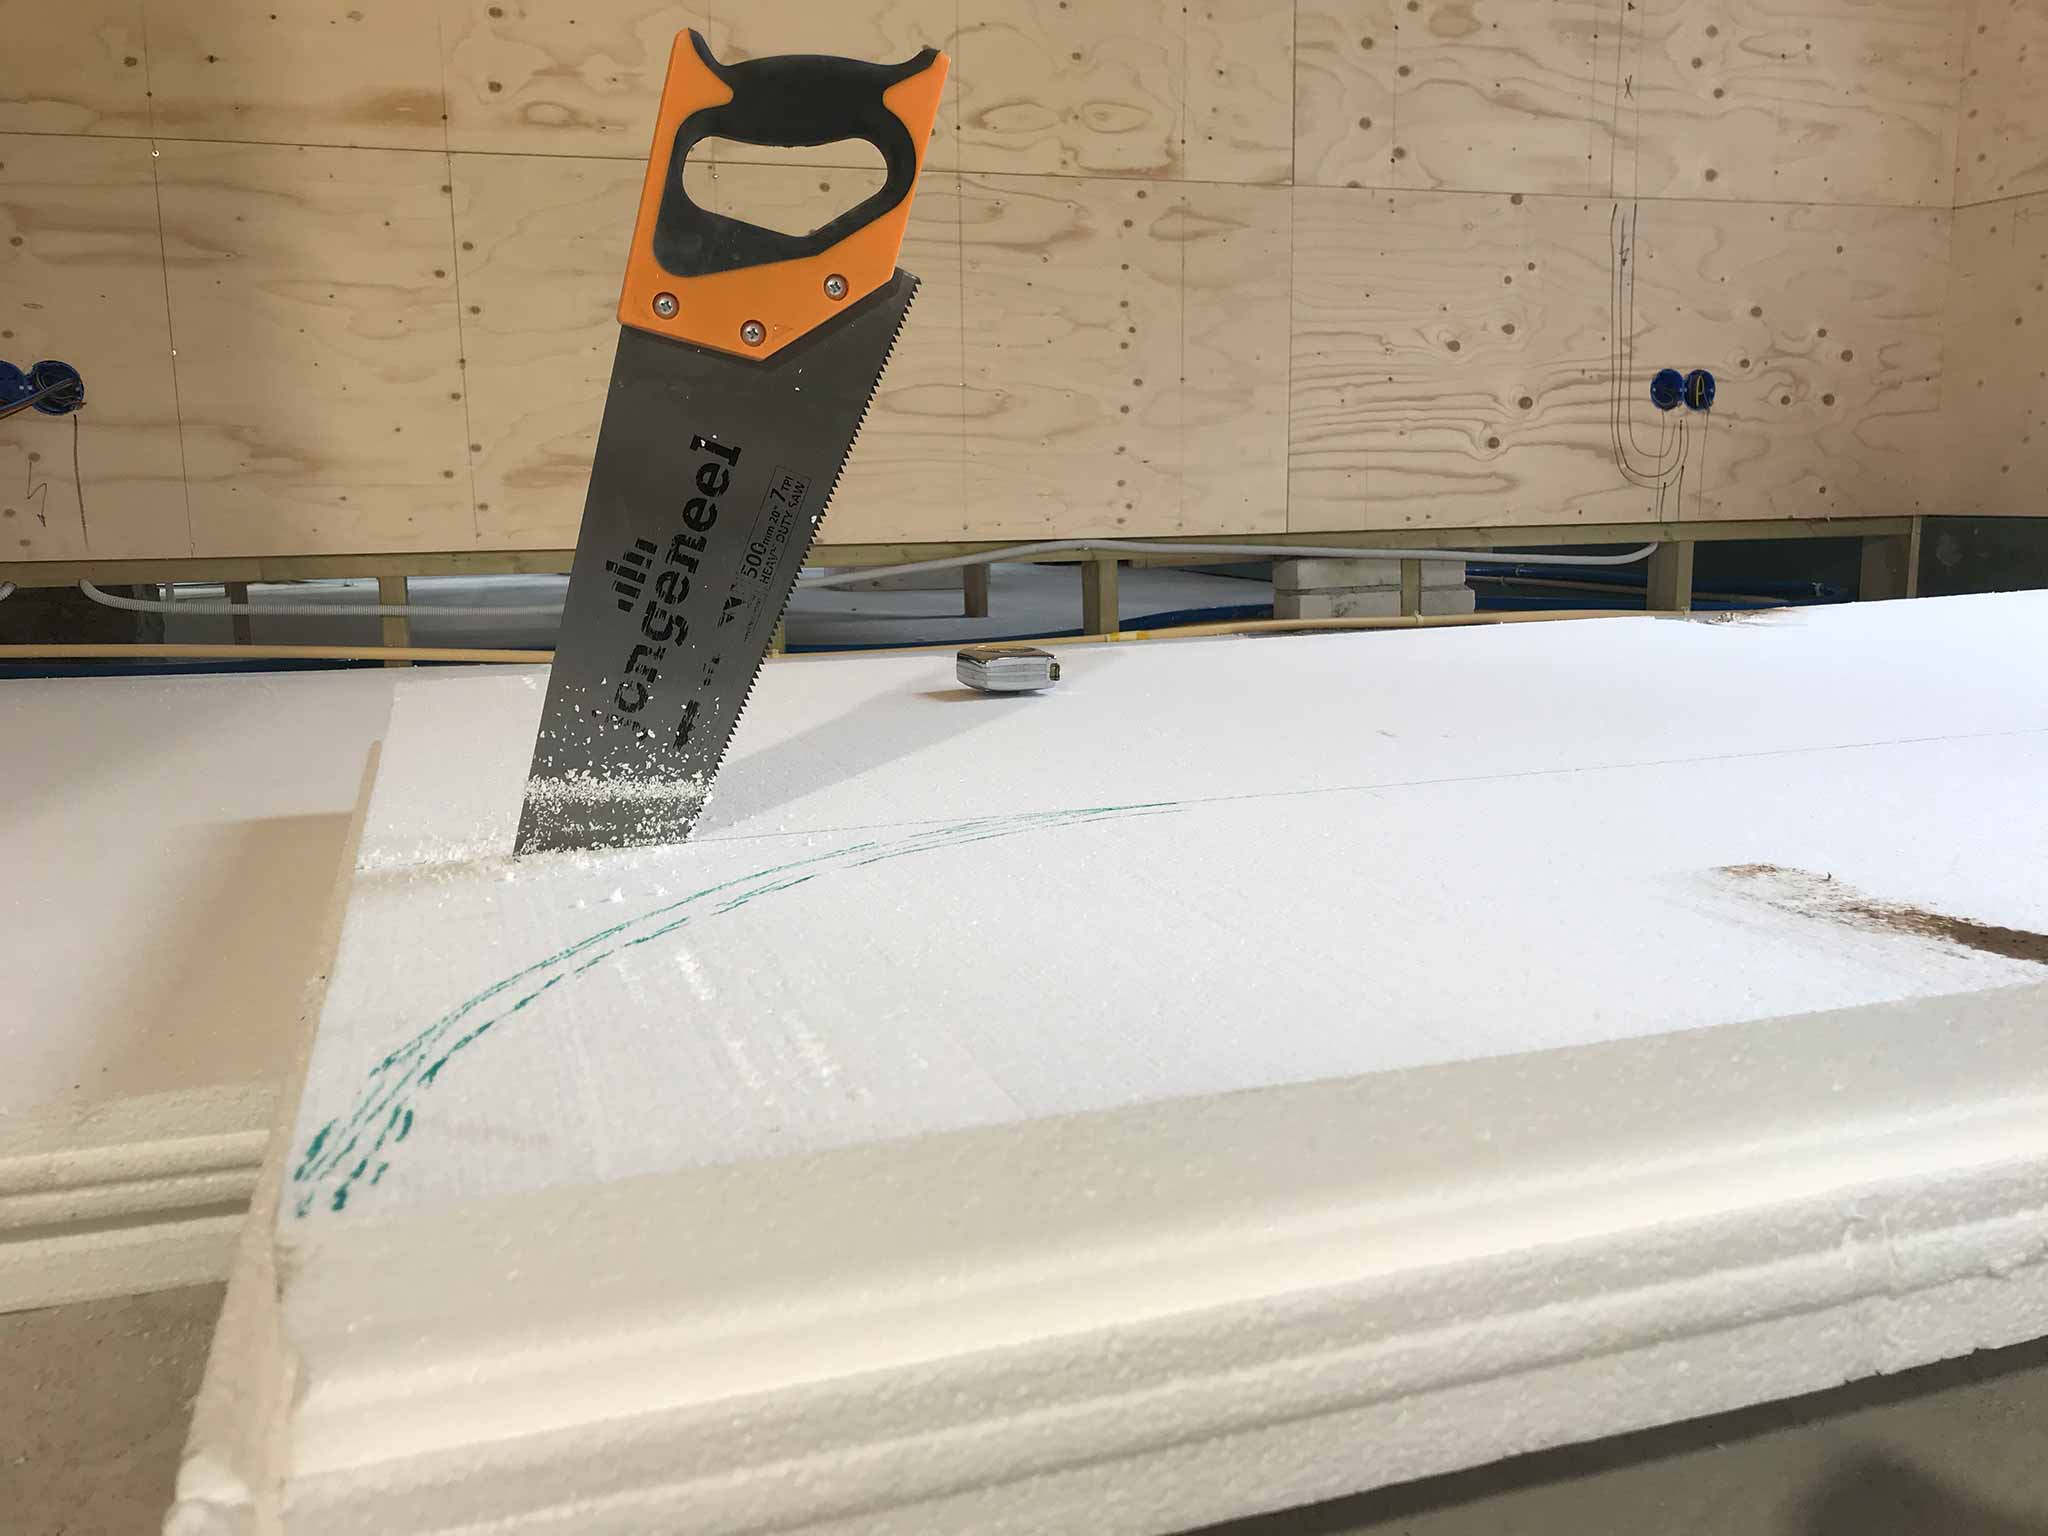
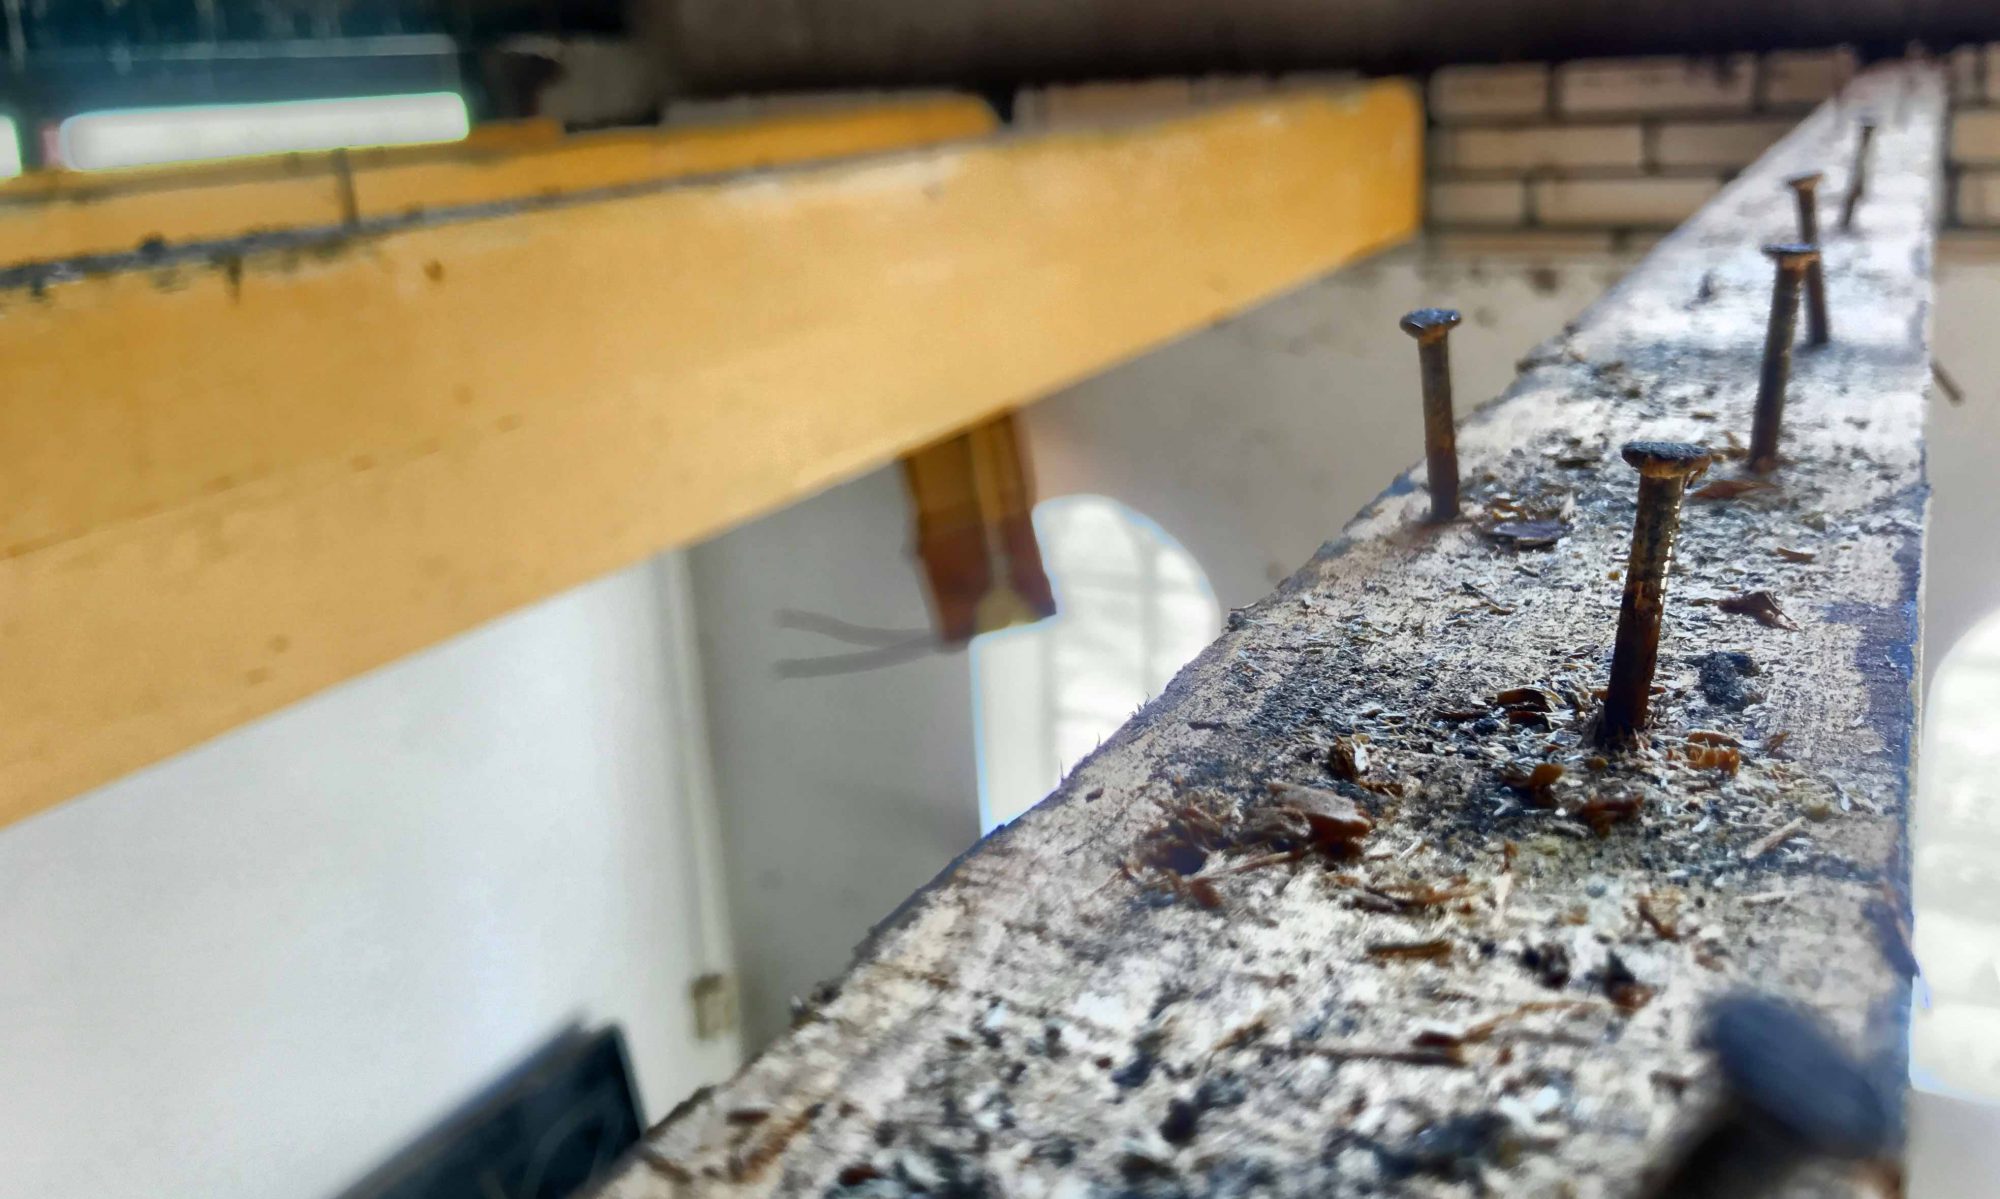
Measuring and cutting is at times pretty hard. All the straight stuff is no problem, but plumbing and electricity is hard to cut out of the plates. Especially if you can’t quite see the pipes anymore when you put the plate against is to estimate the cutting lines. Things get messy real quick with a cloud of statically charged pellets everywhere you look.
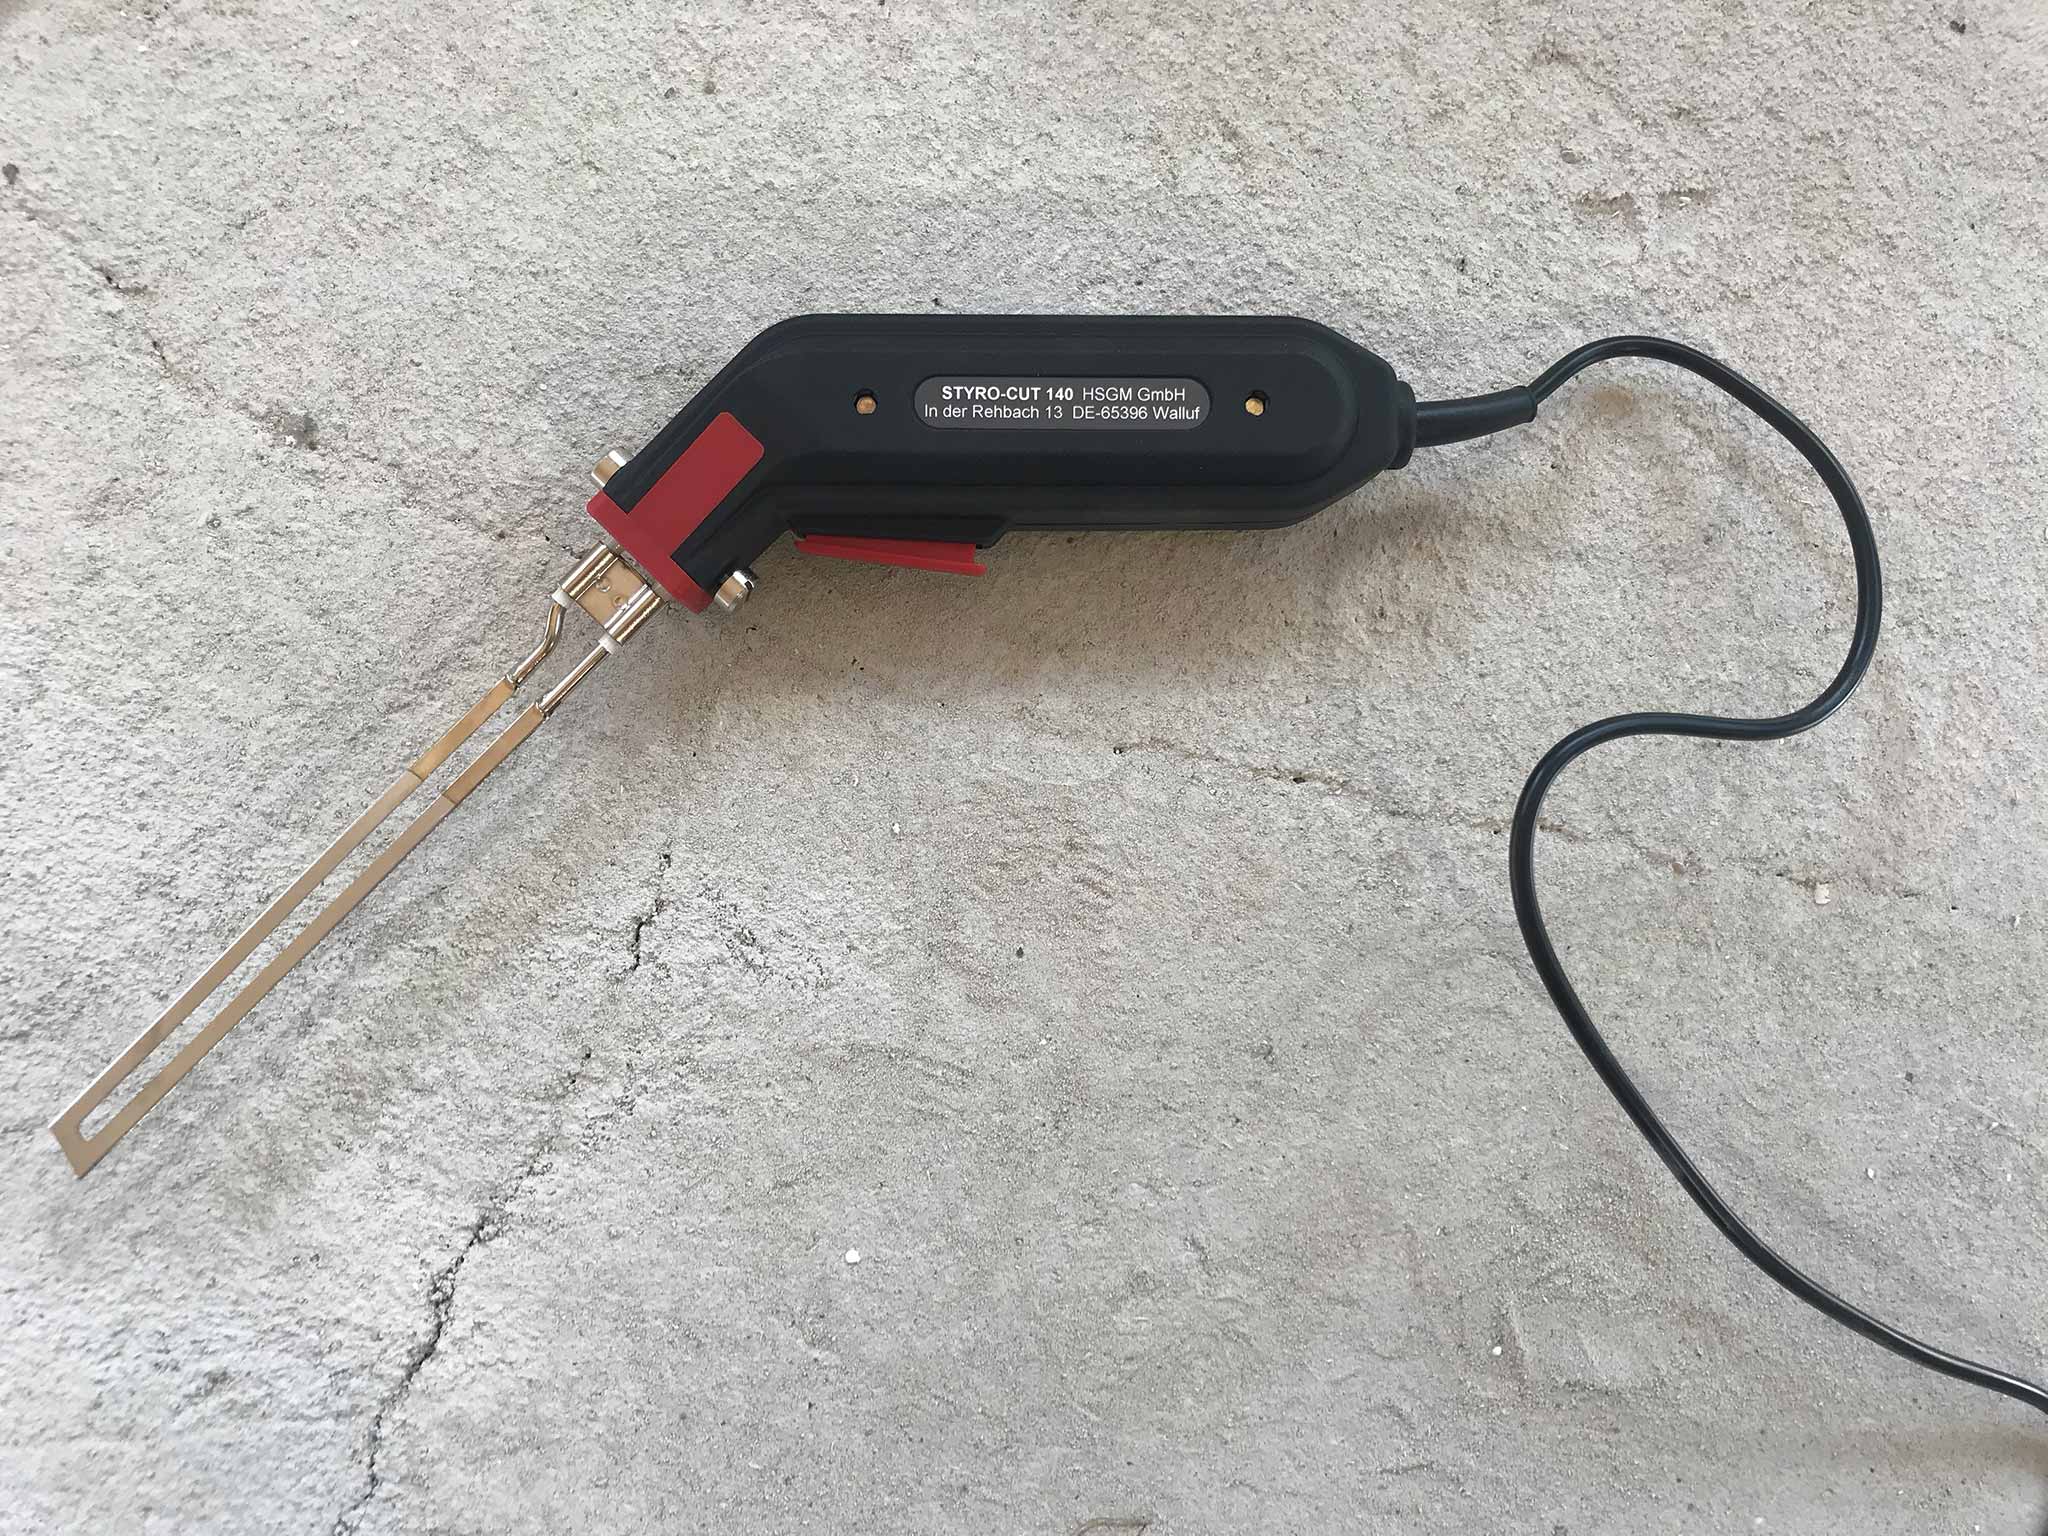
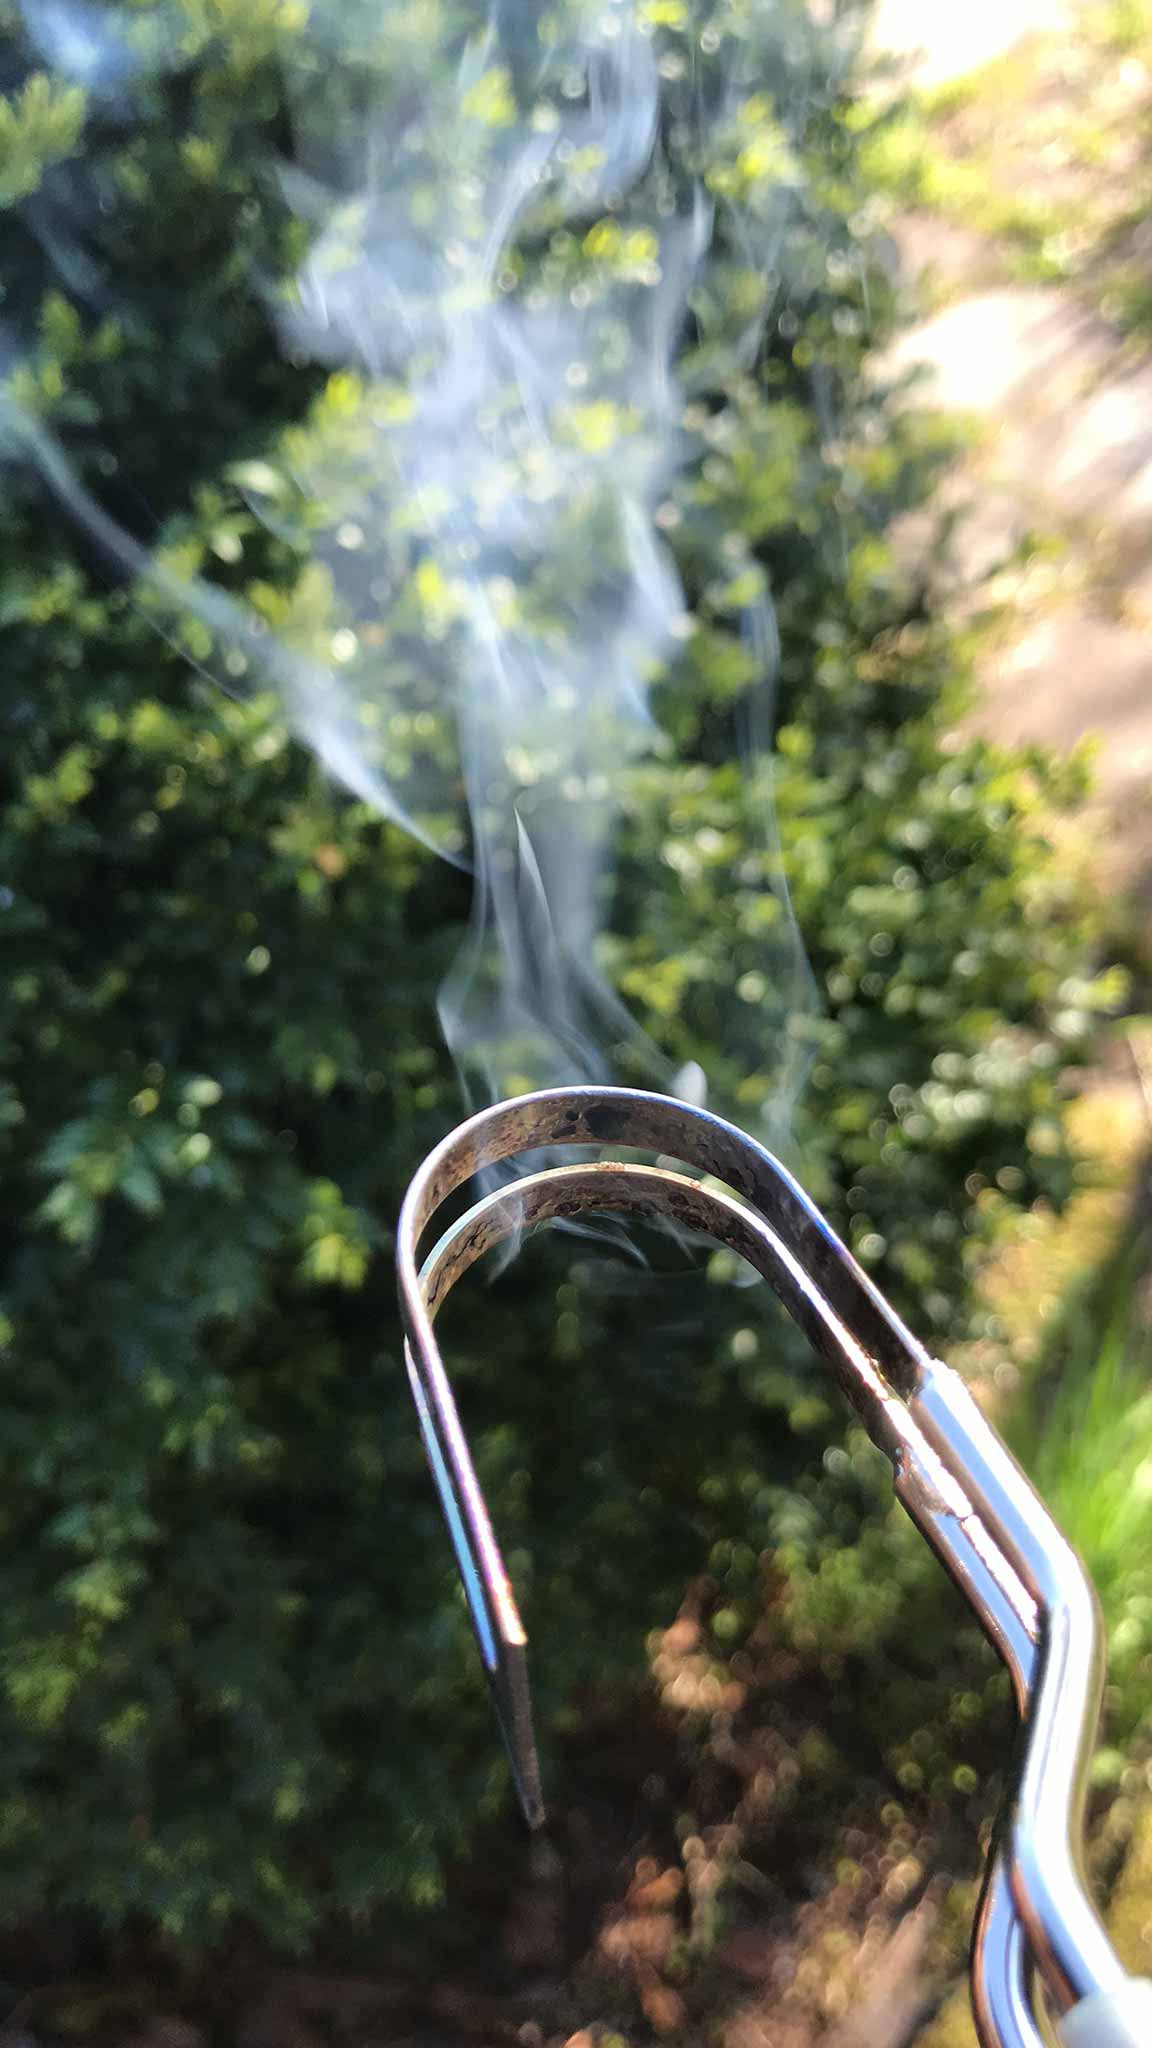
Hot knifes are a real improvement there. Cleaner cuts and spacings for the pipes are way easier to cut with the proper shaped knifes. Downside there is that IT SMELLS (and probably are not the best fumes to breathe). Fortunately the weather is still good and cutting can be done outside.
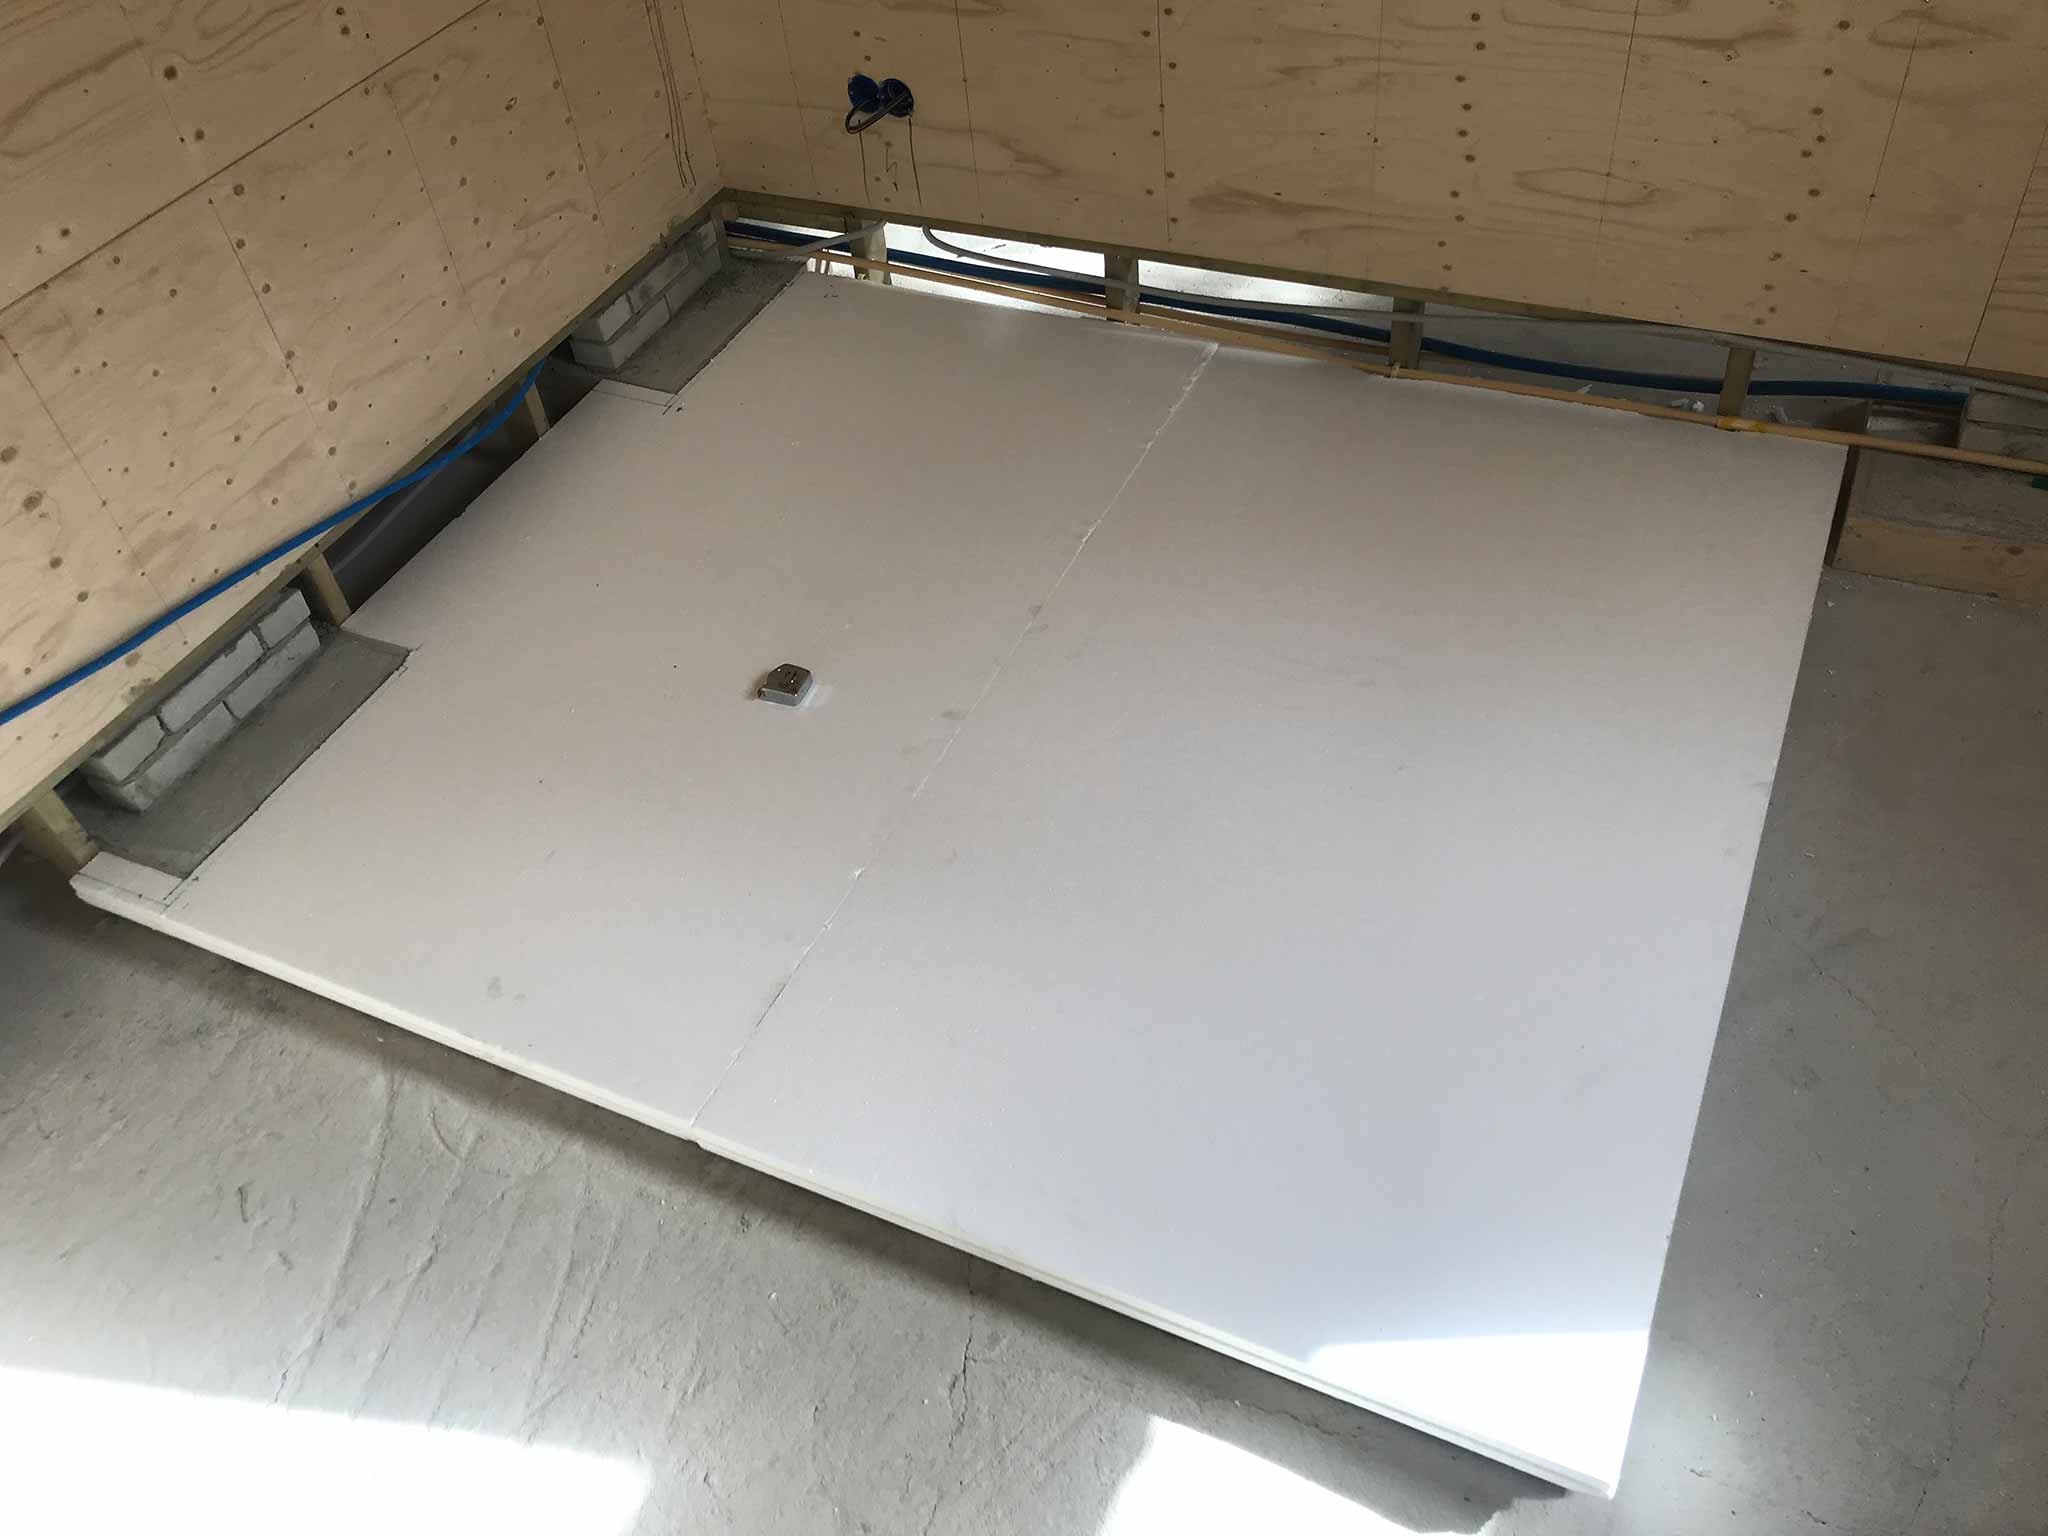

The finishing touch is done shoving the remains that were cut away in the gaps and filling it with some construction foam to keep things nicely in place and have no thermal bridges.
Beginners mistakes to watch out for:
- Do not catch a piece of styrofoam mid air which you just used to used to smooth out some construction foam right before you dropped it.
- Take care you start working in the right direction with the styrofoam plates. Do NOT do it so every next plate needs to be placed _under_ the previous. Especially working your way into nasty corners.