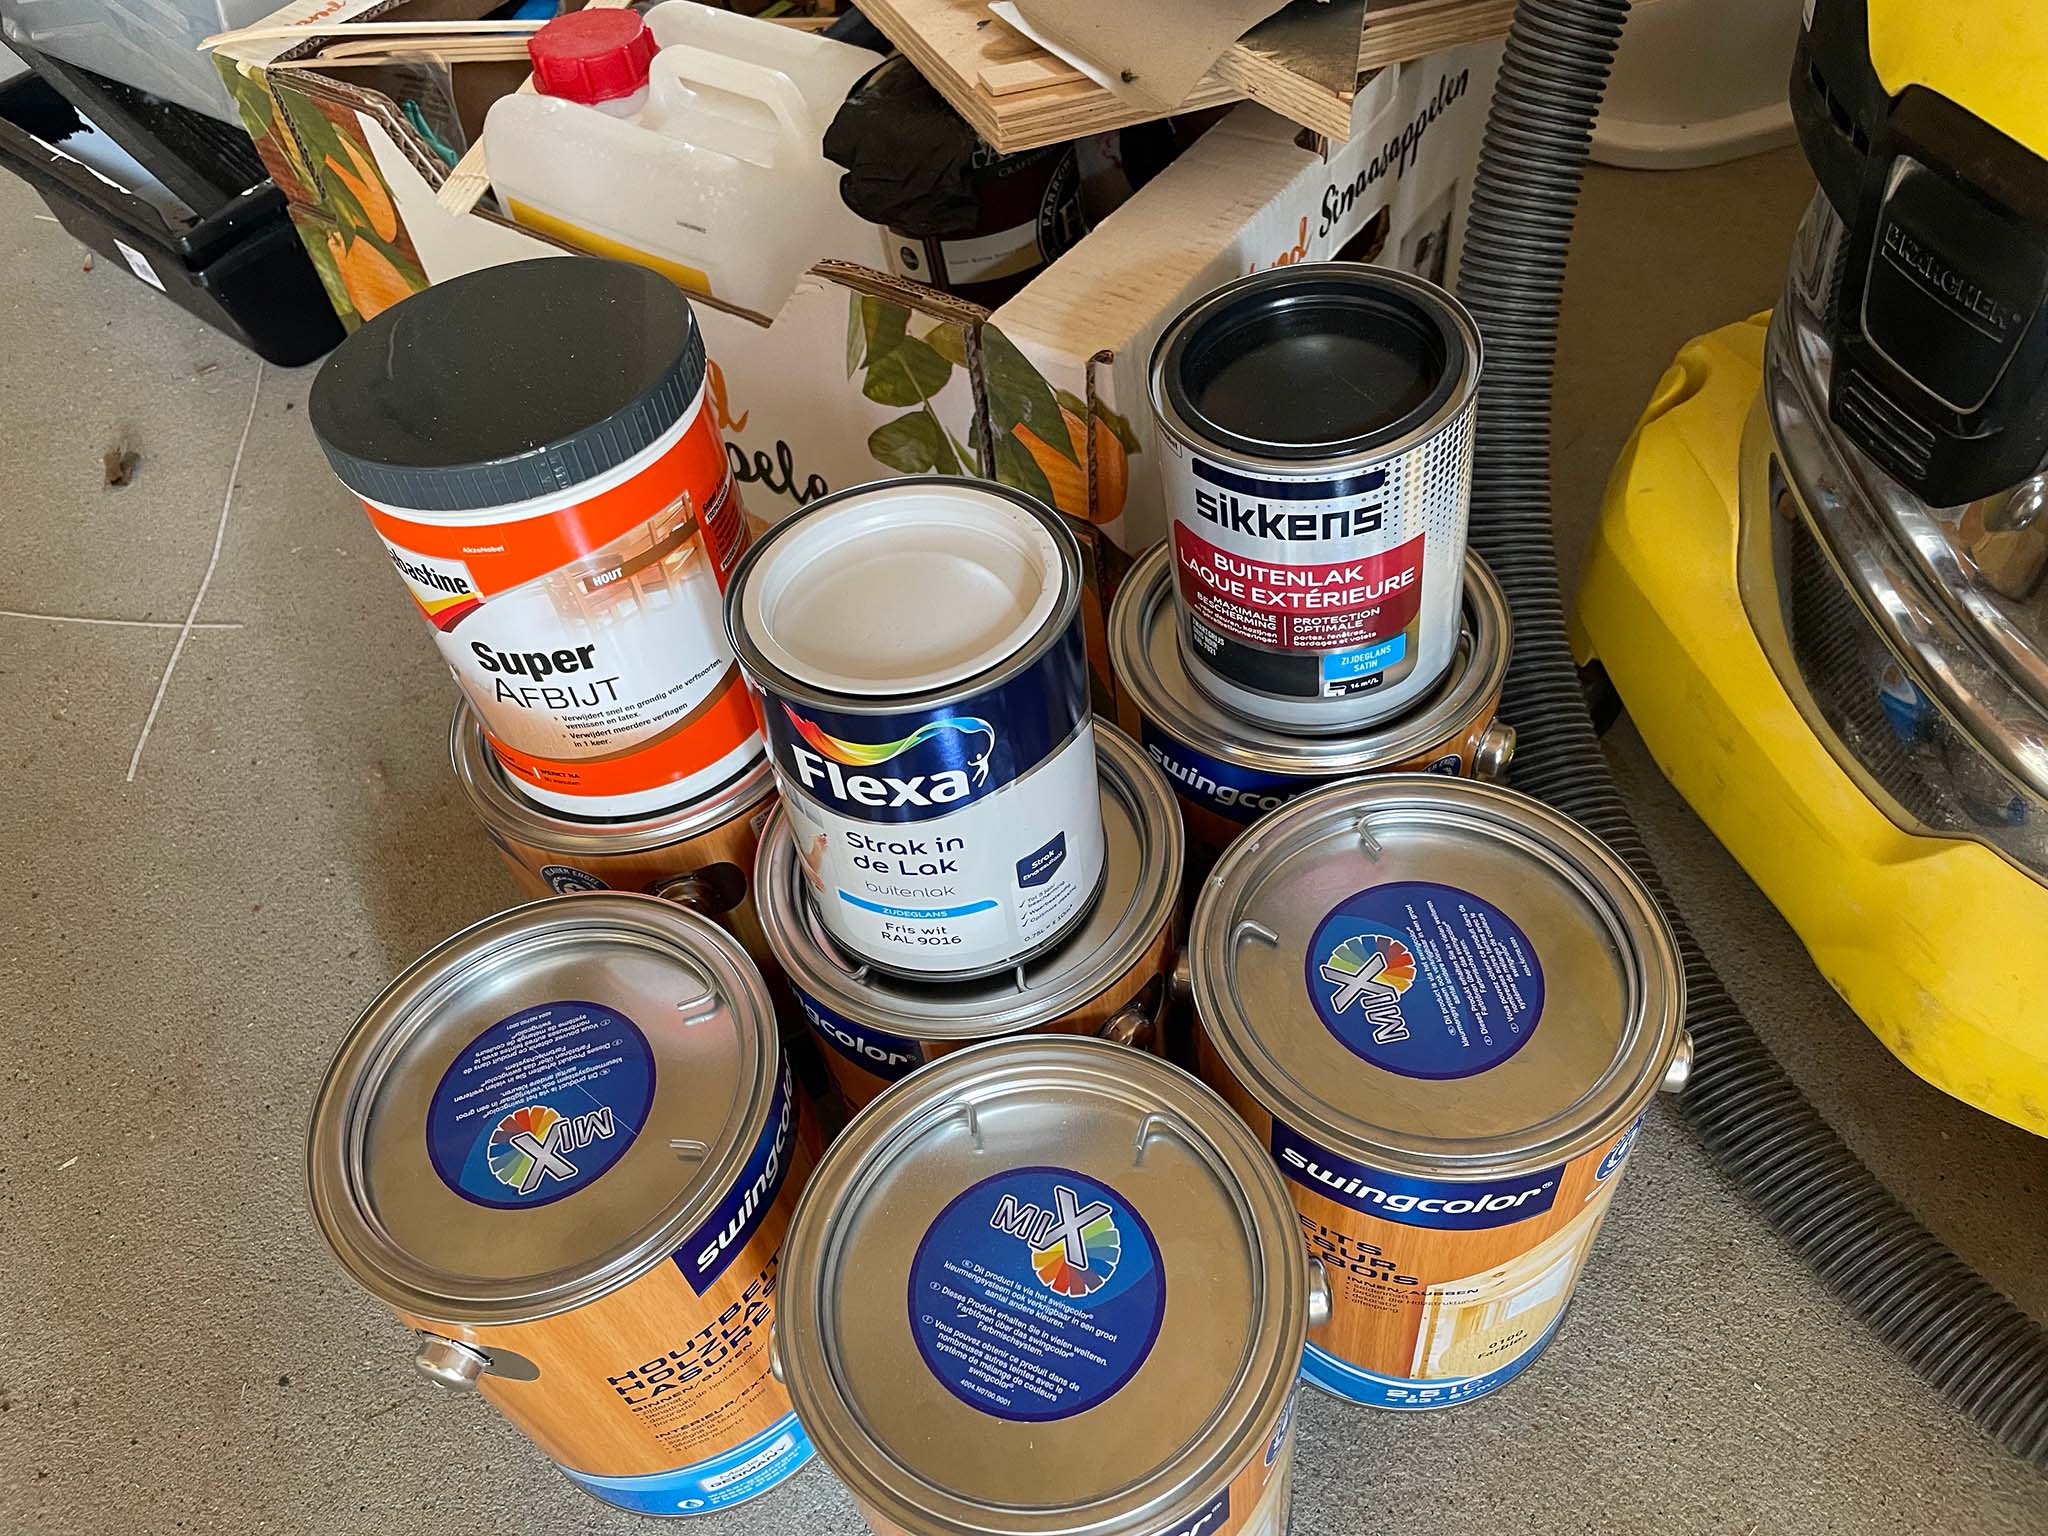
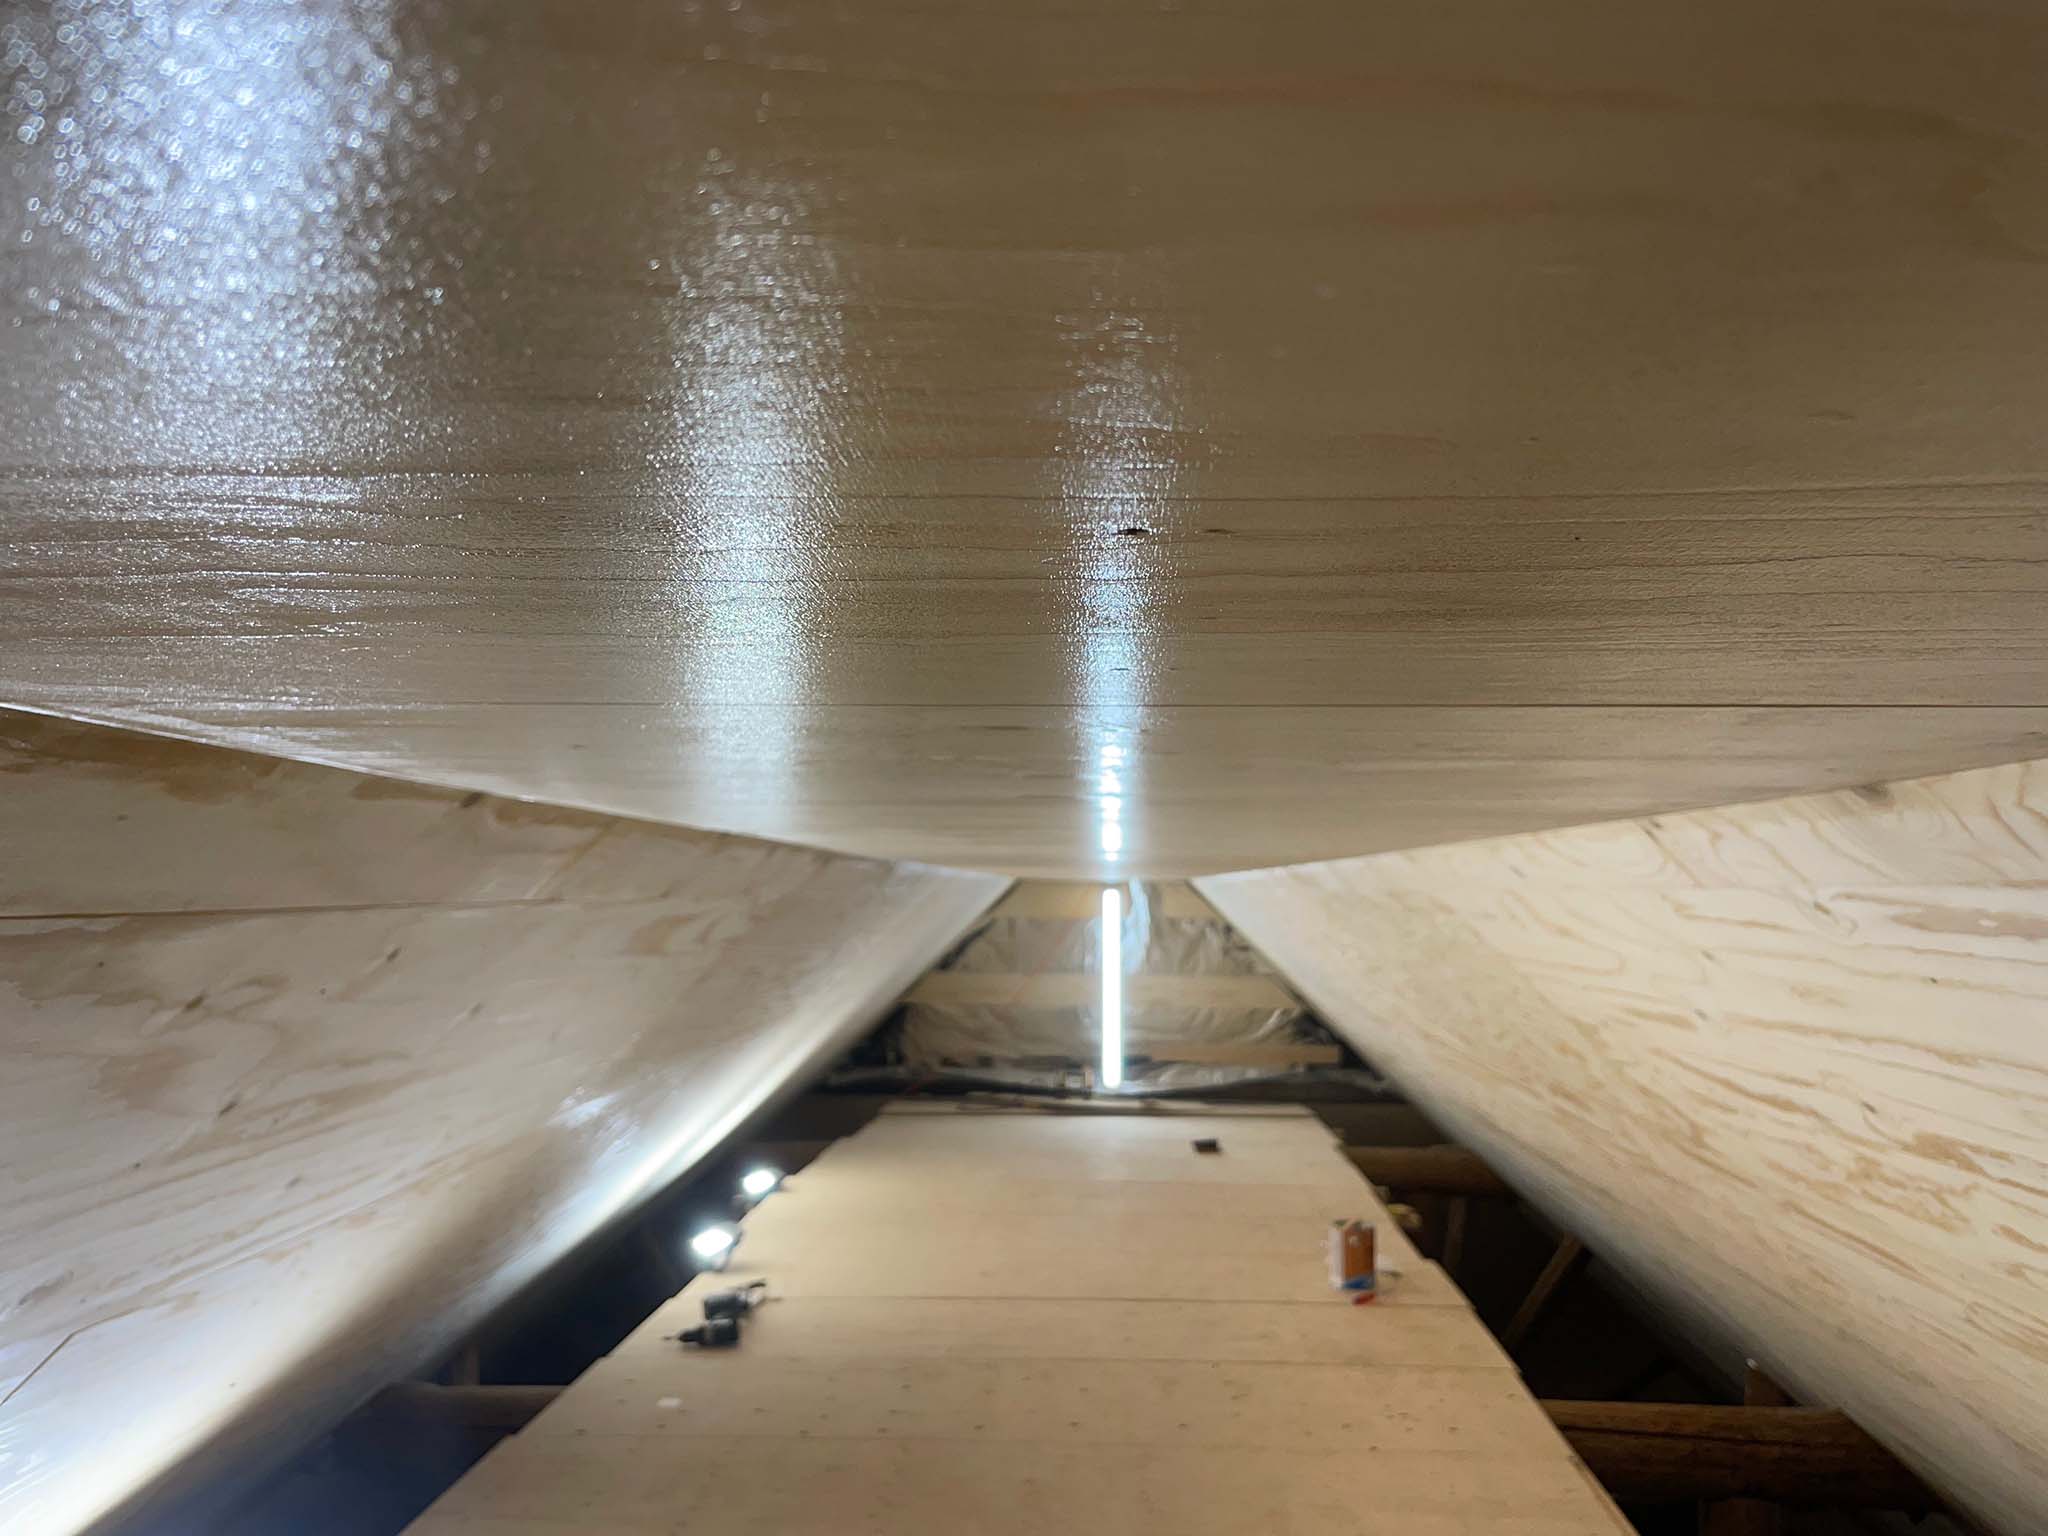
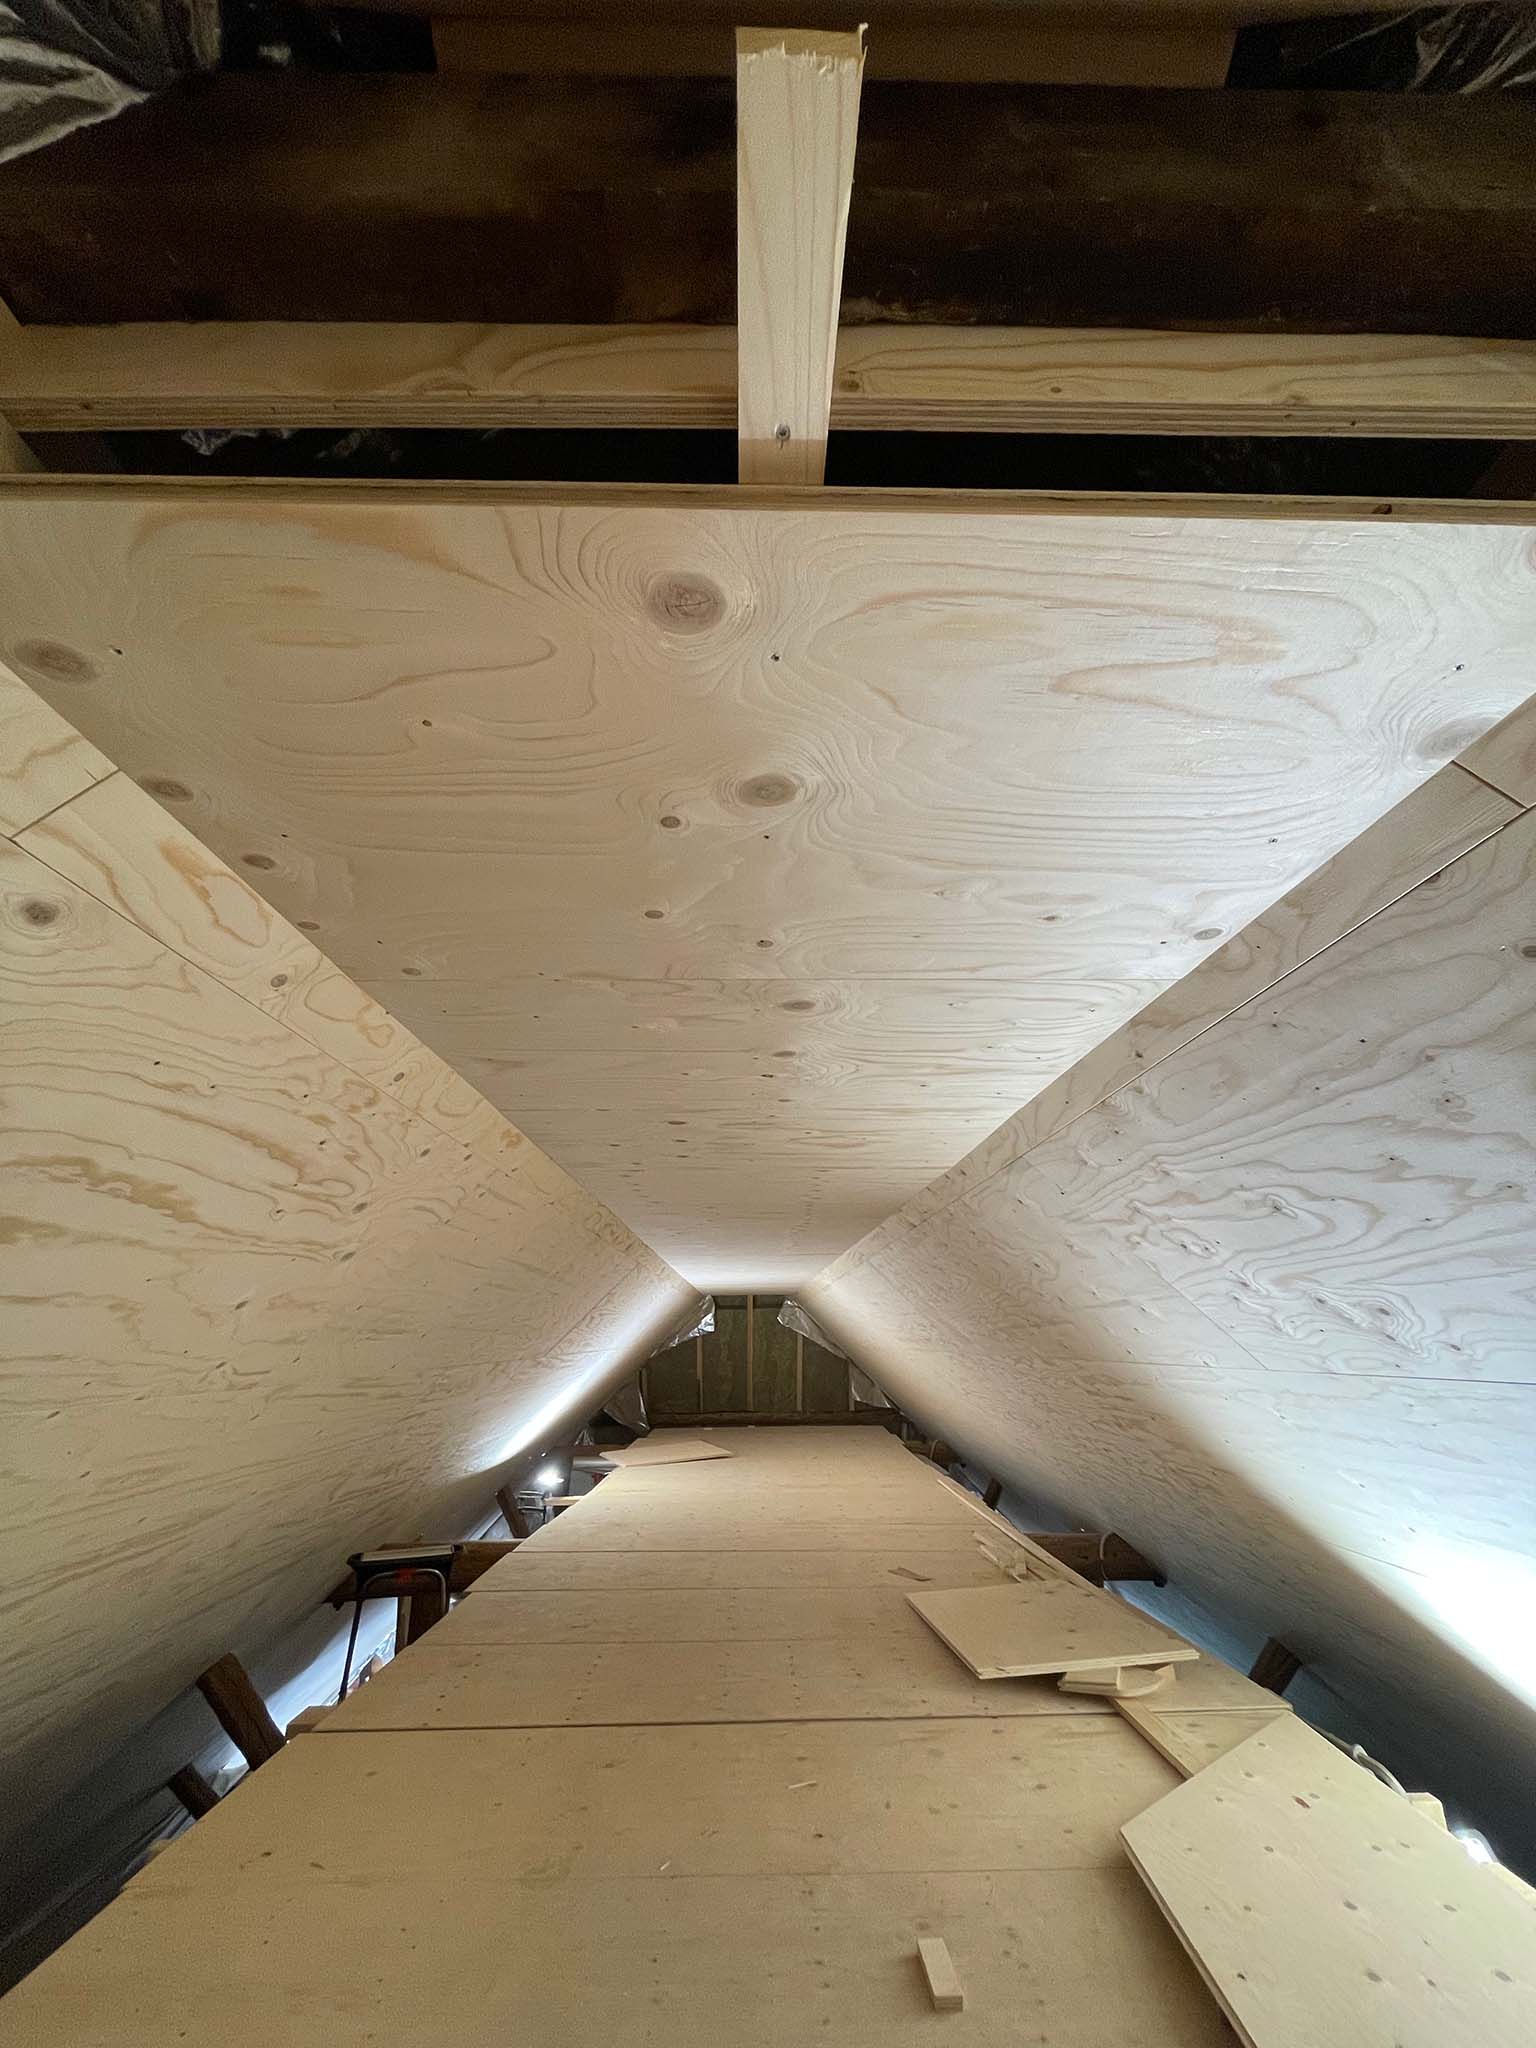
The ceiling needed staining. In total near 250^m and three layers. It took about 12(?) cans. Staining-sanding-staining-sanding-staining. Pfffft…


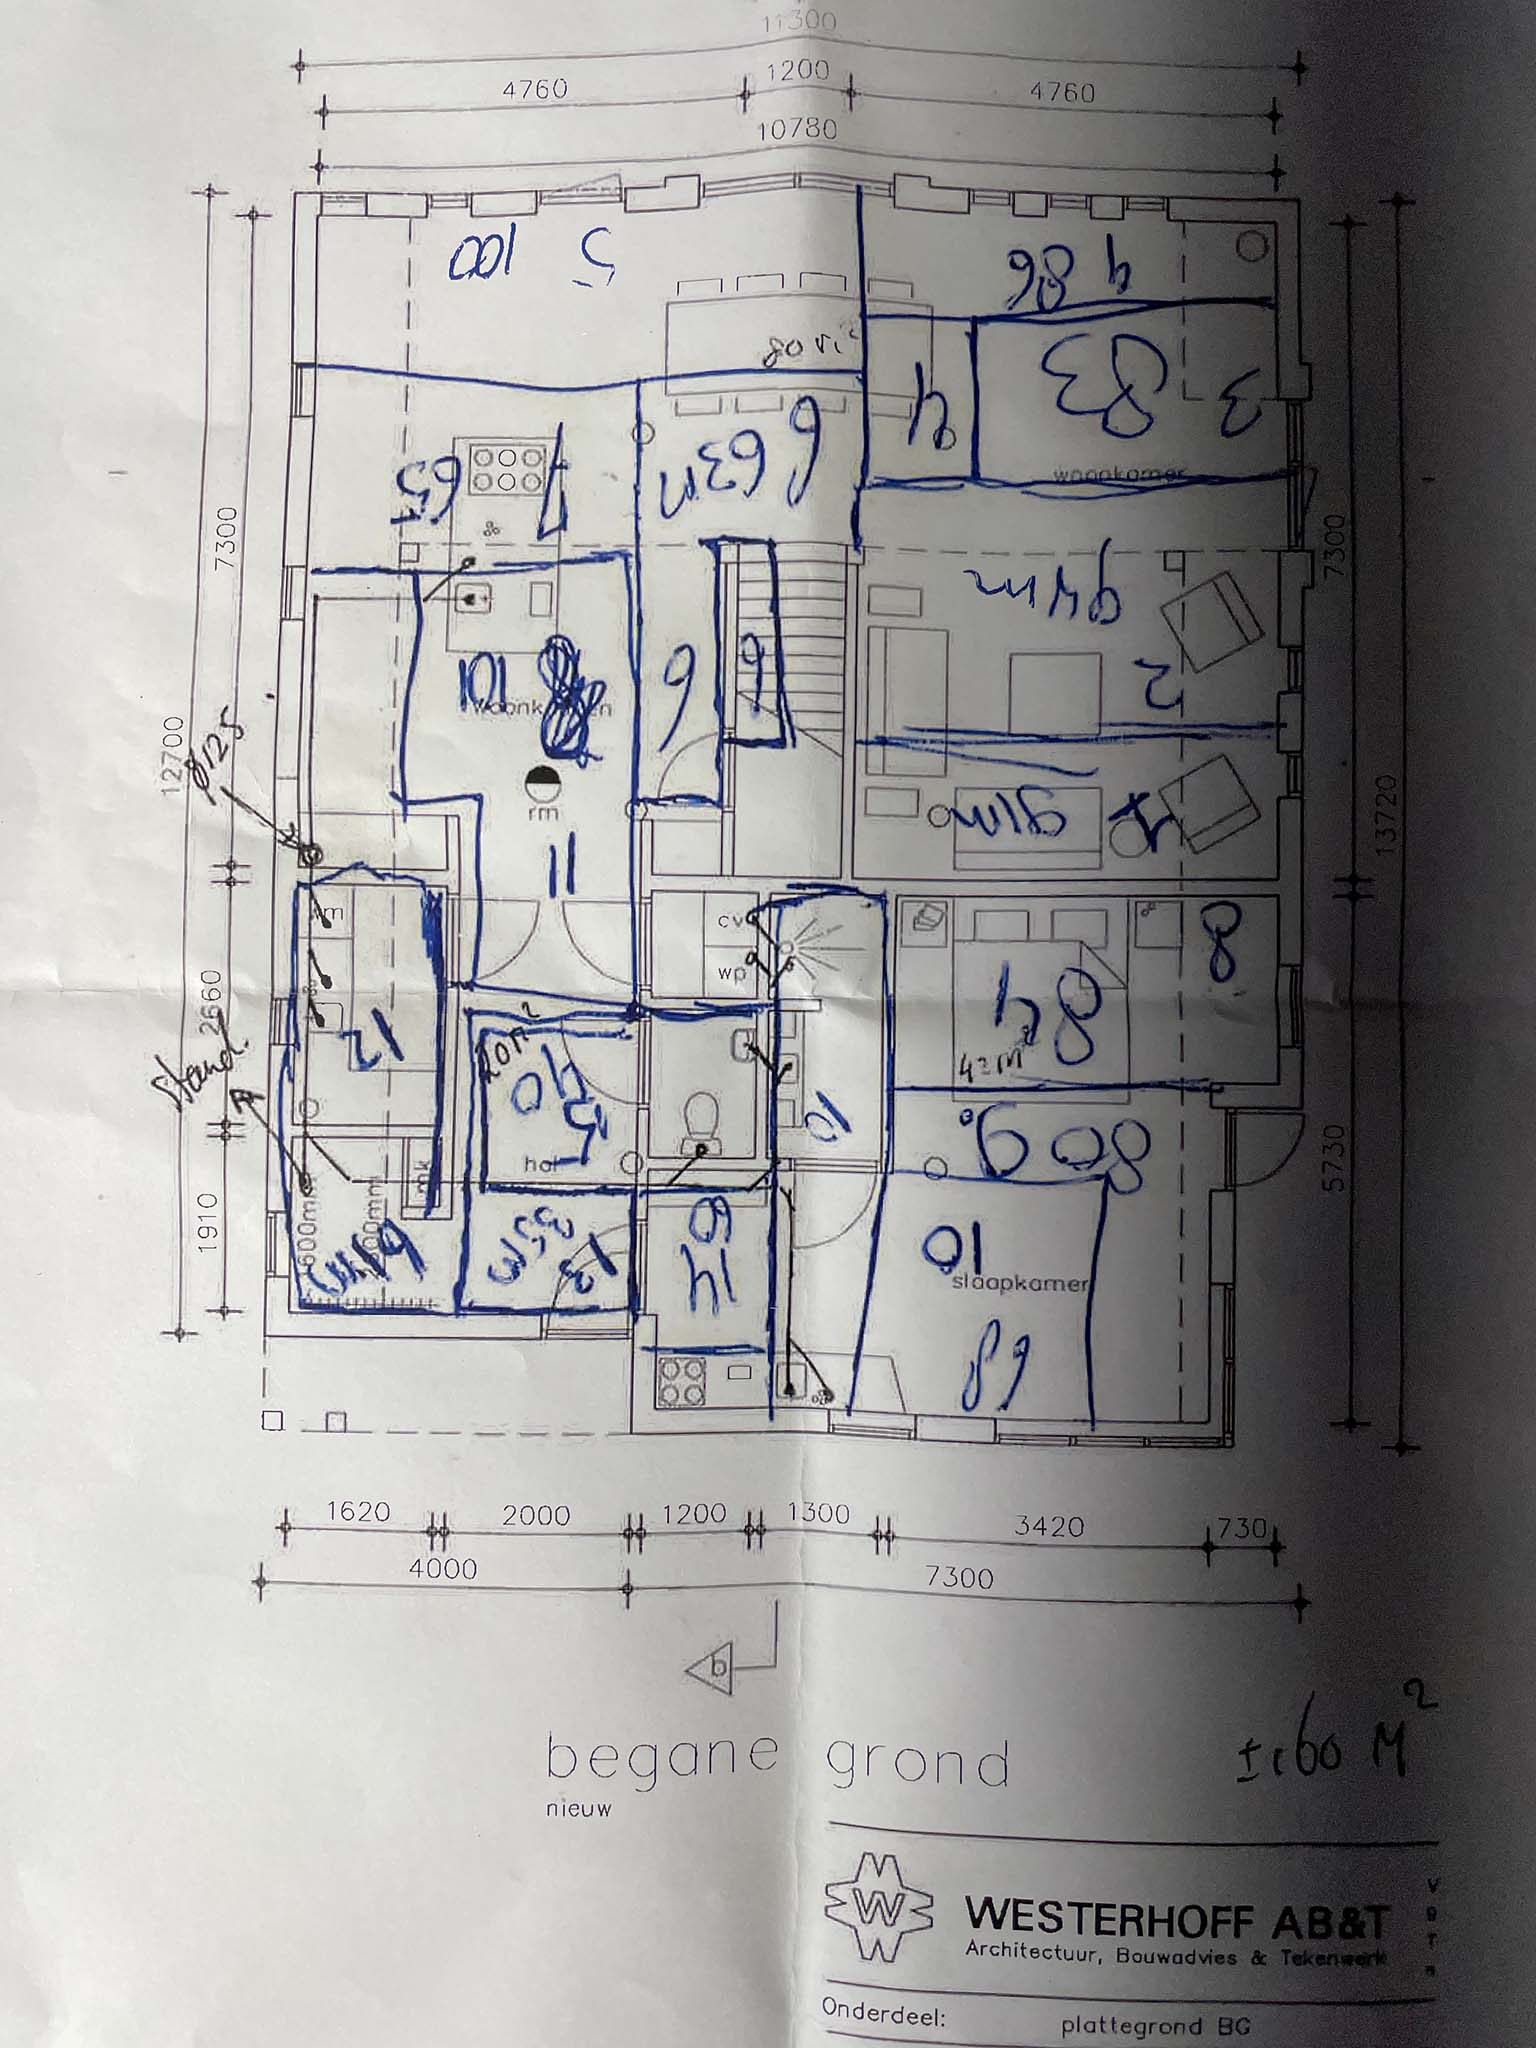
Renovating a home
The ceiling needed staining. In total near 250^m and three layers. It took about 12(?) cans. Staining-sanding-staining-sanding-staining. Pfffft…
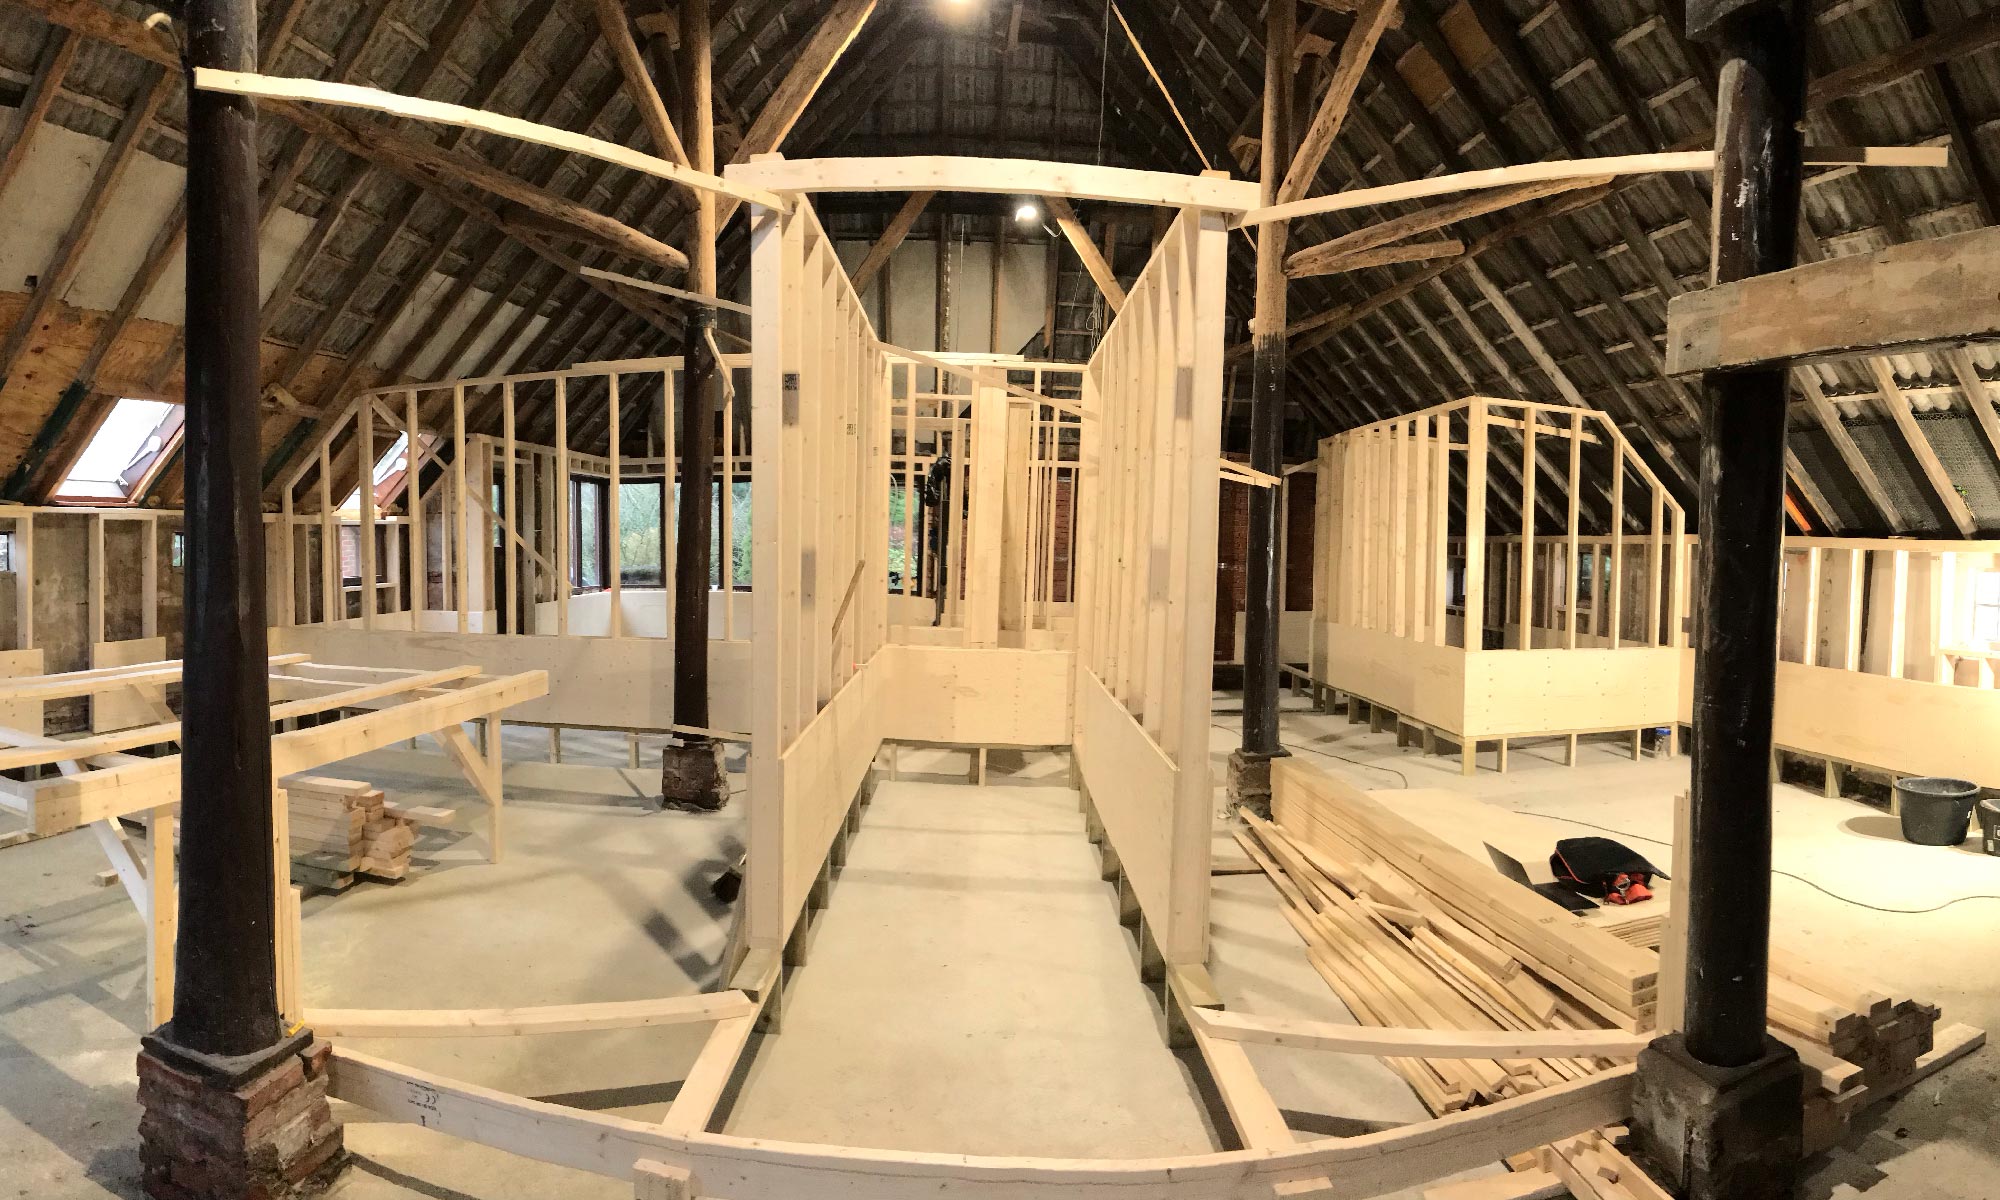
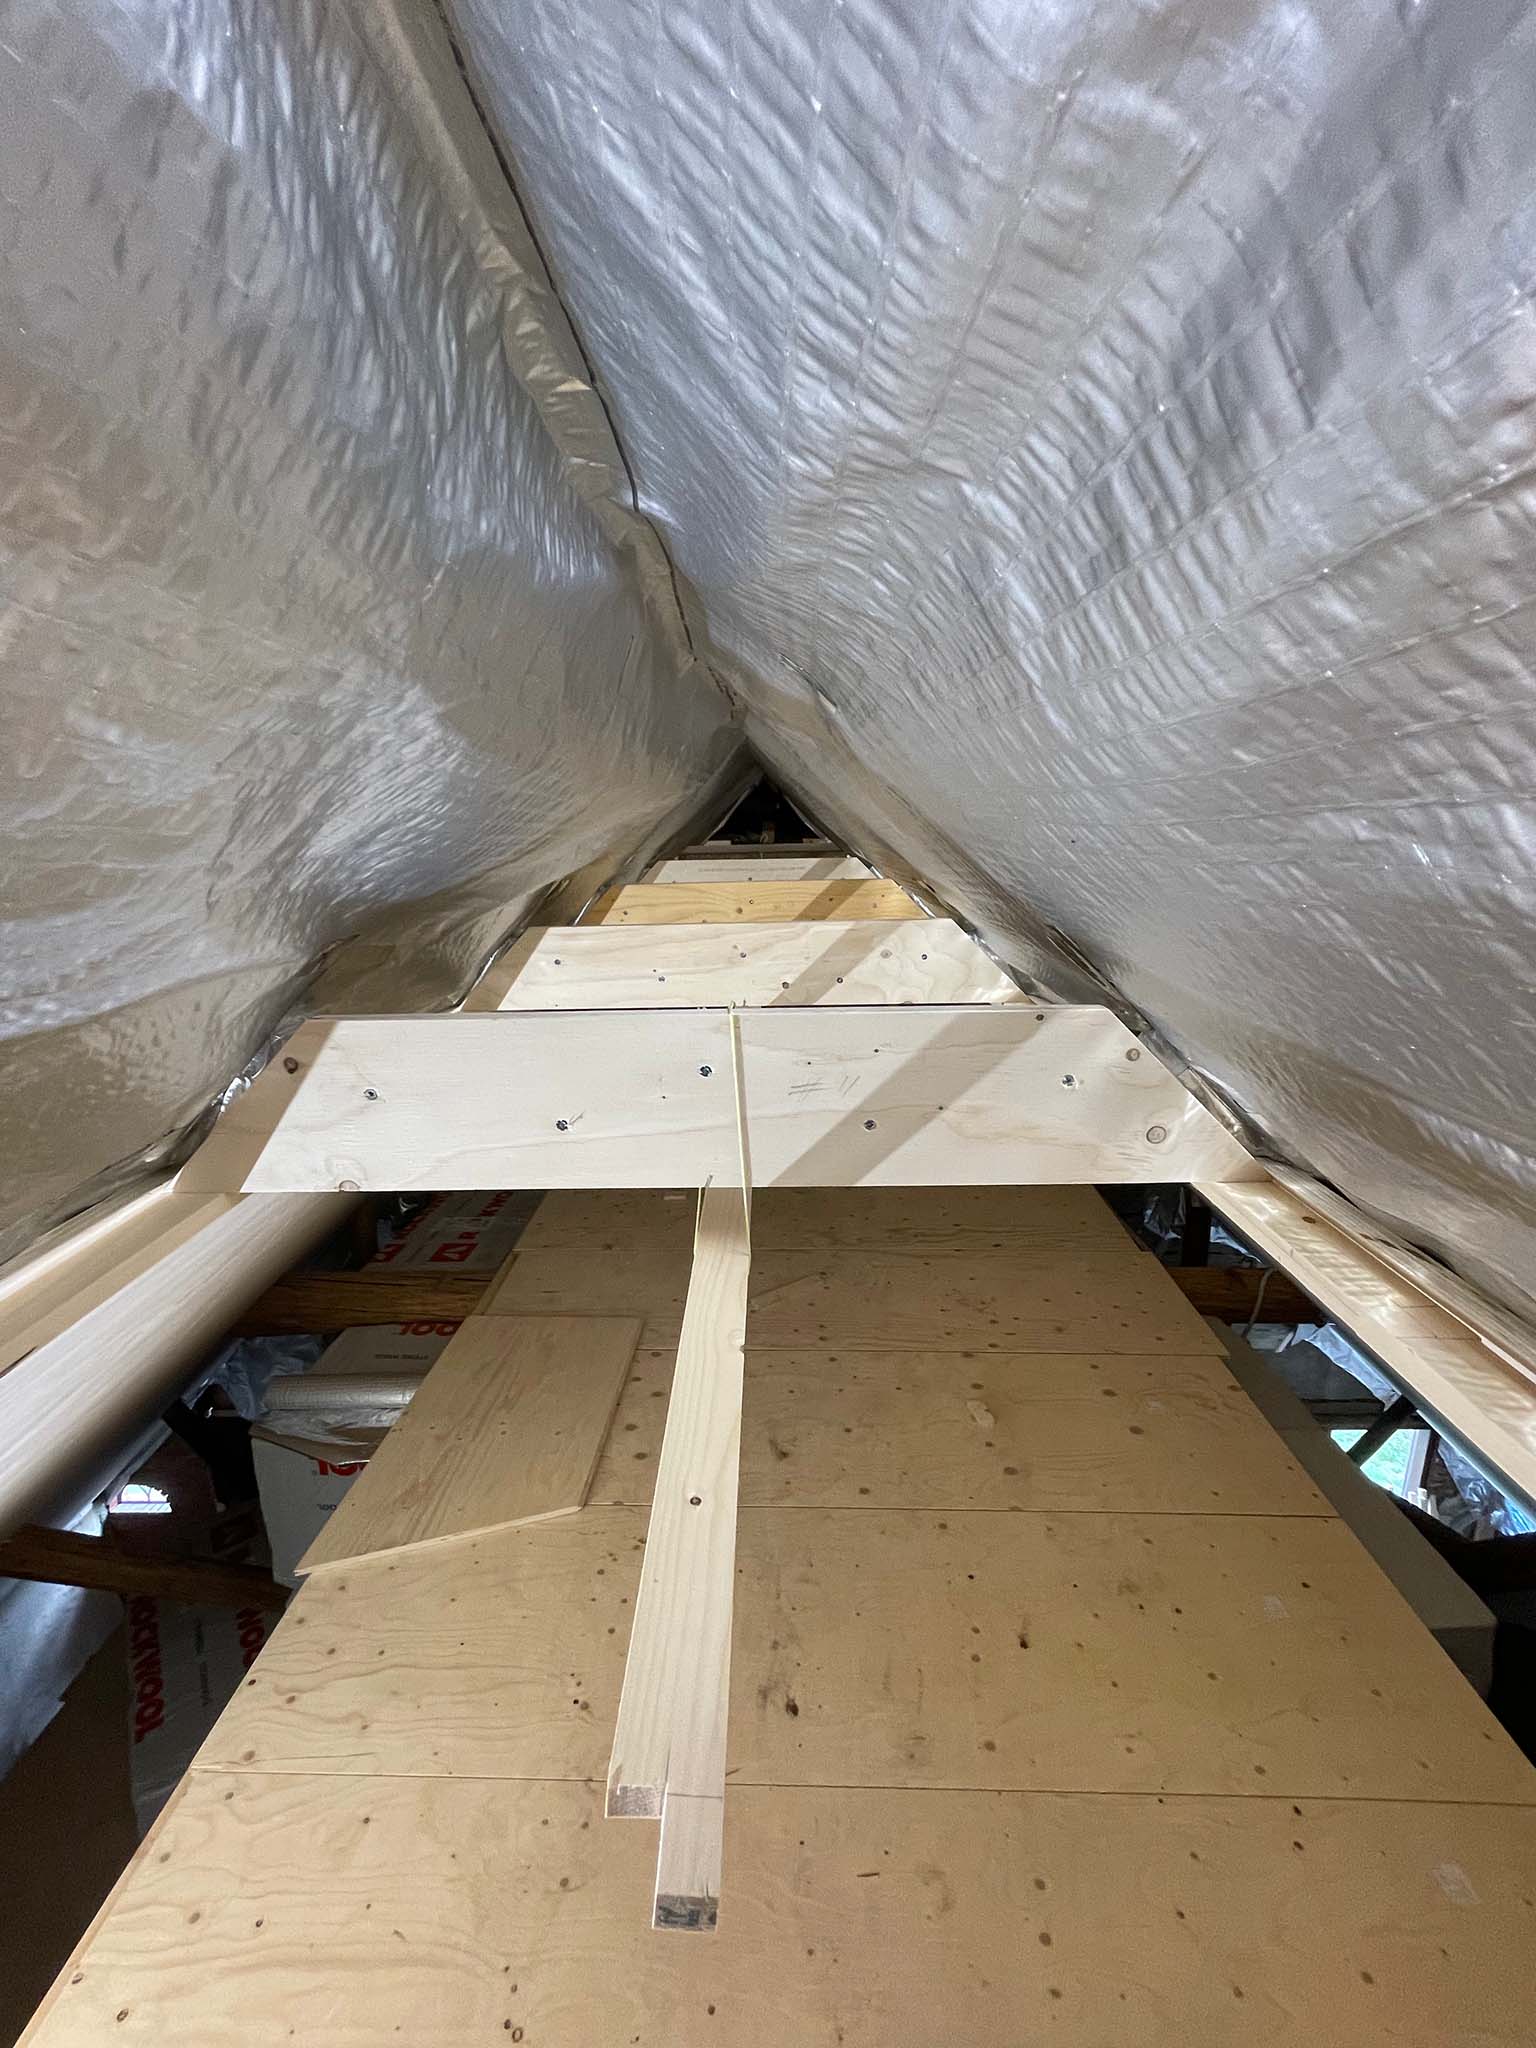
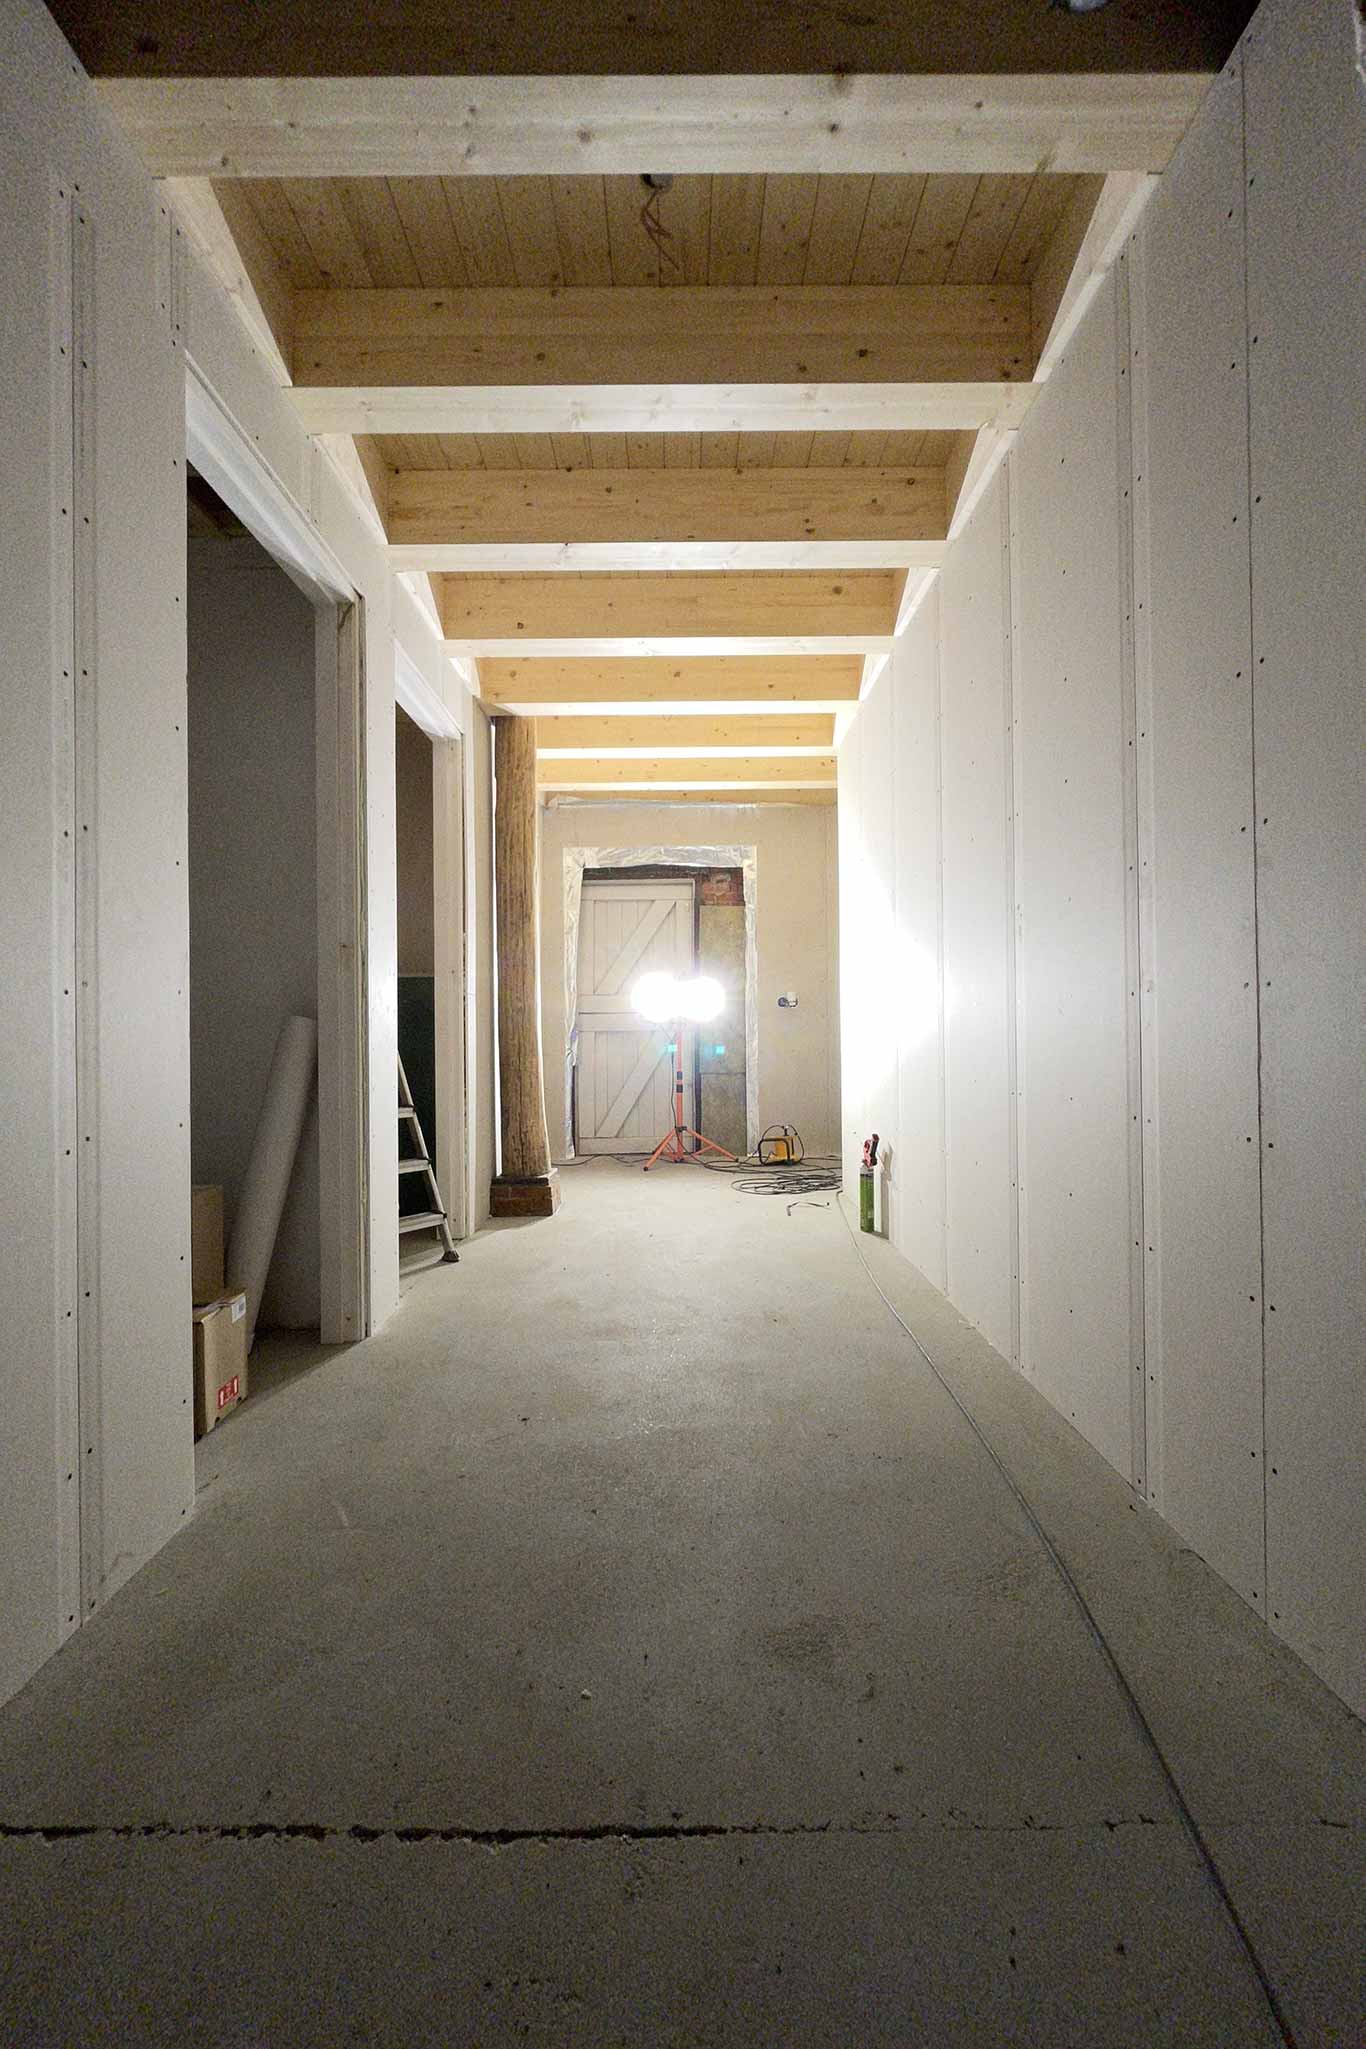
The ceiling underneath the rafters (hanebalken) is about done. the end still need to be done in order to be connected properly to the roof there. But the main thing is ready.
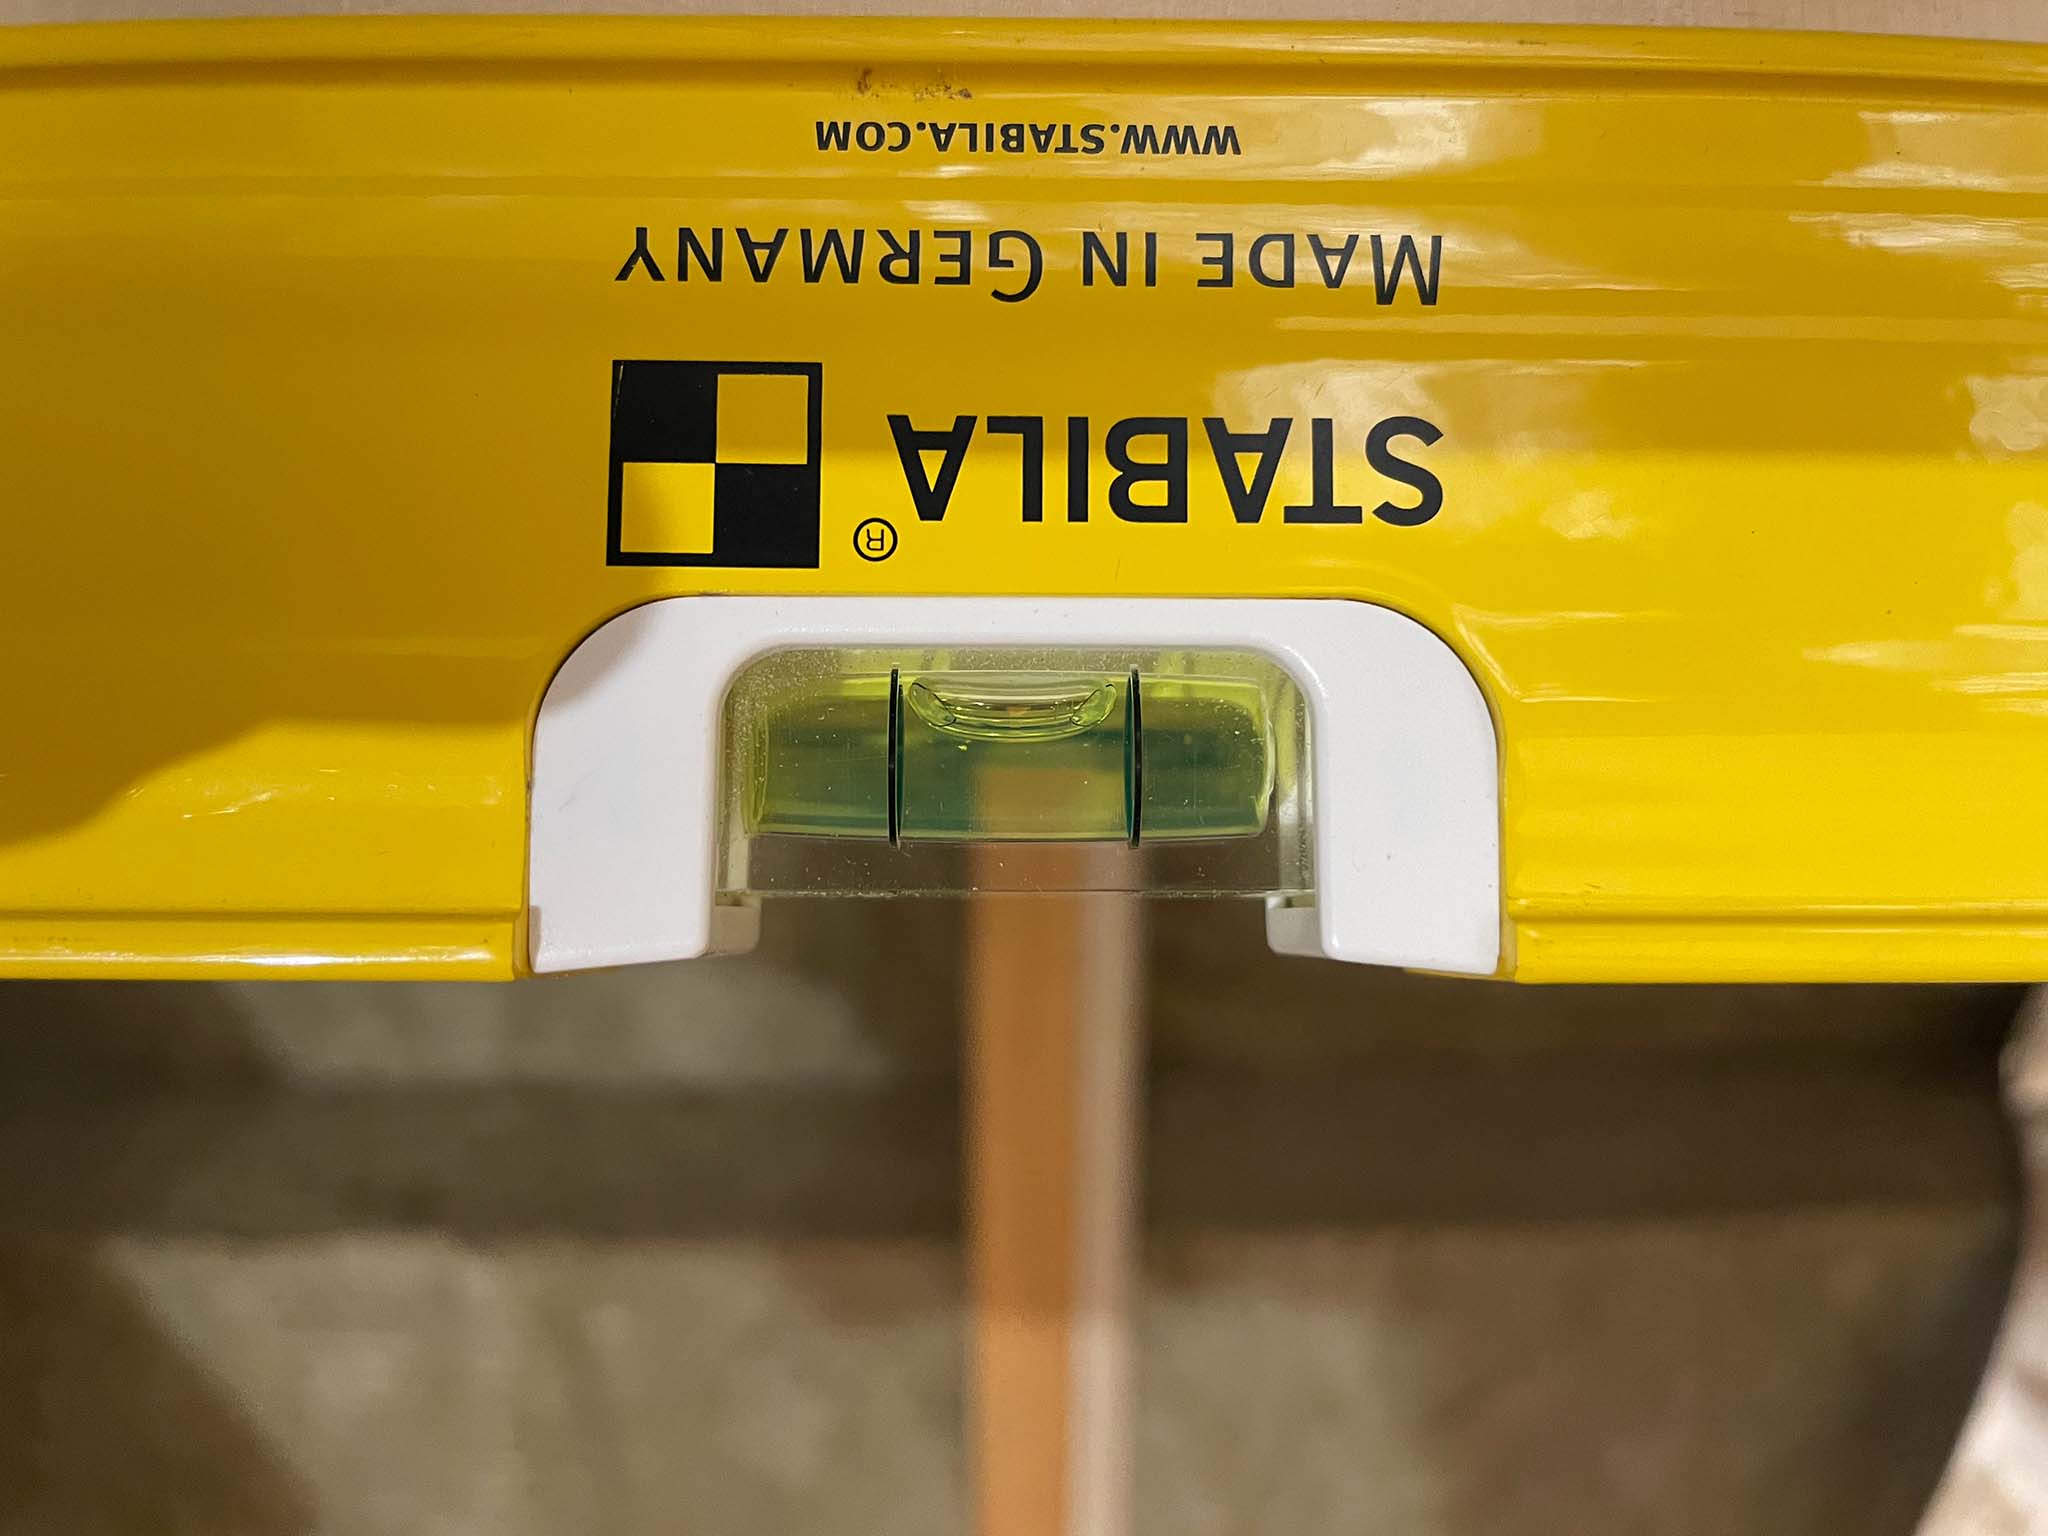
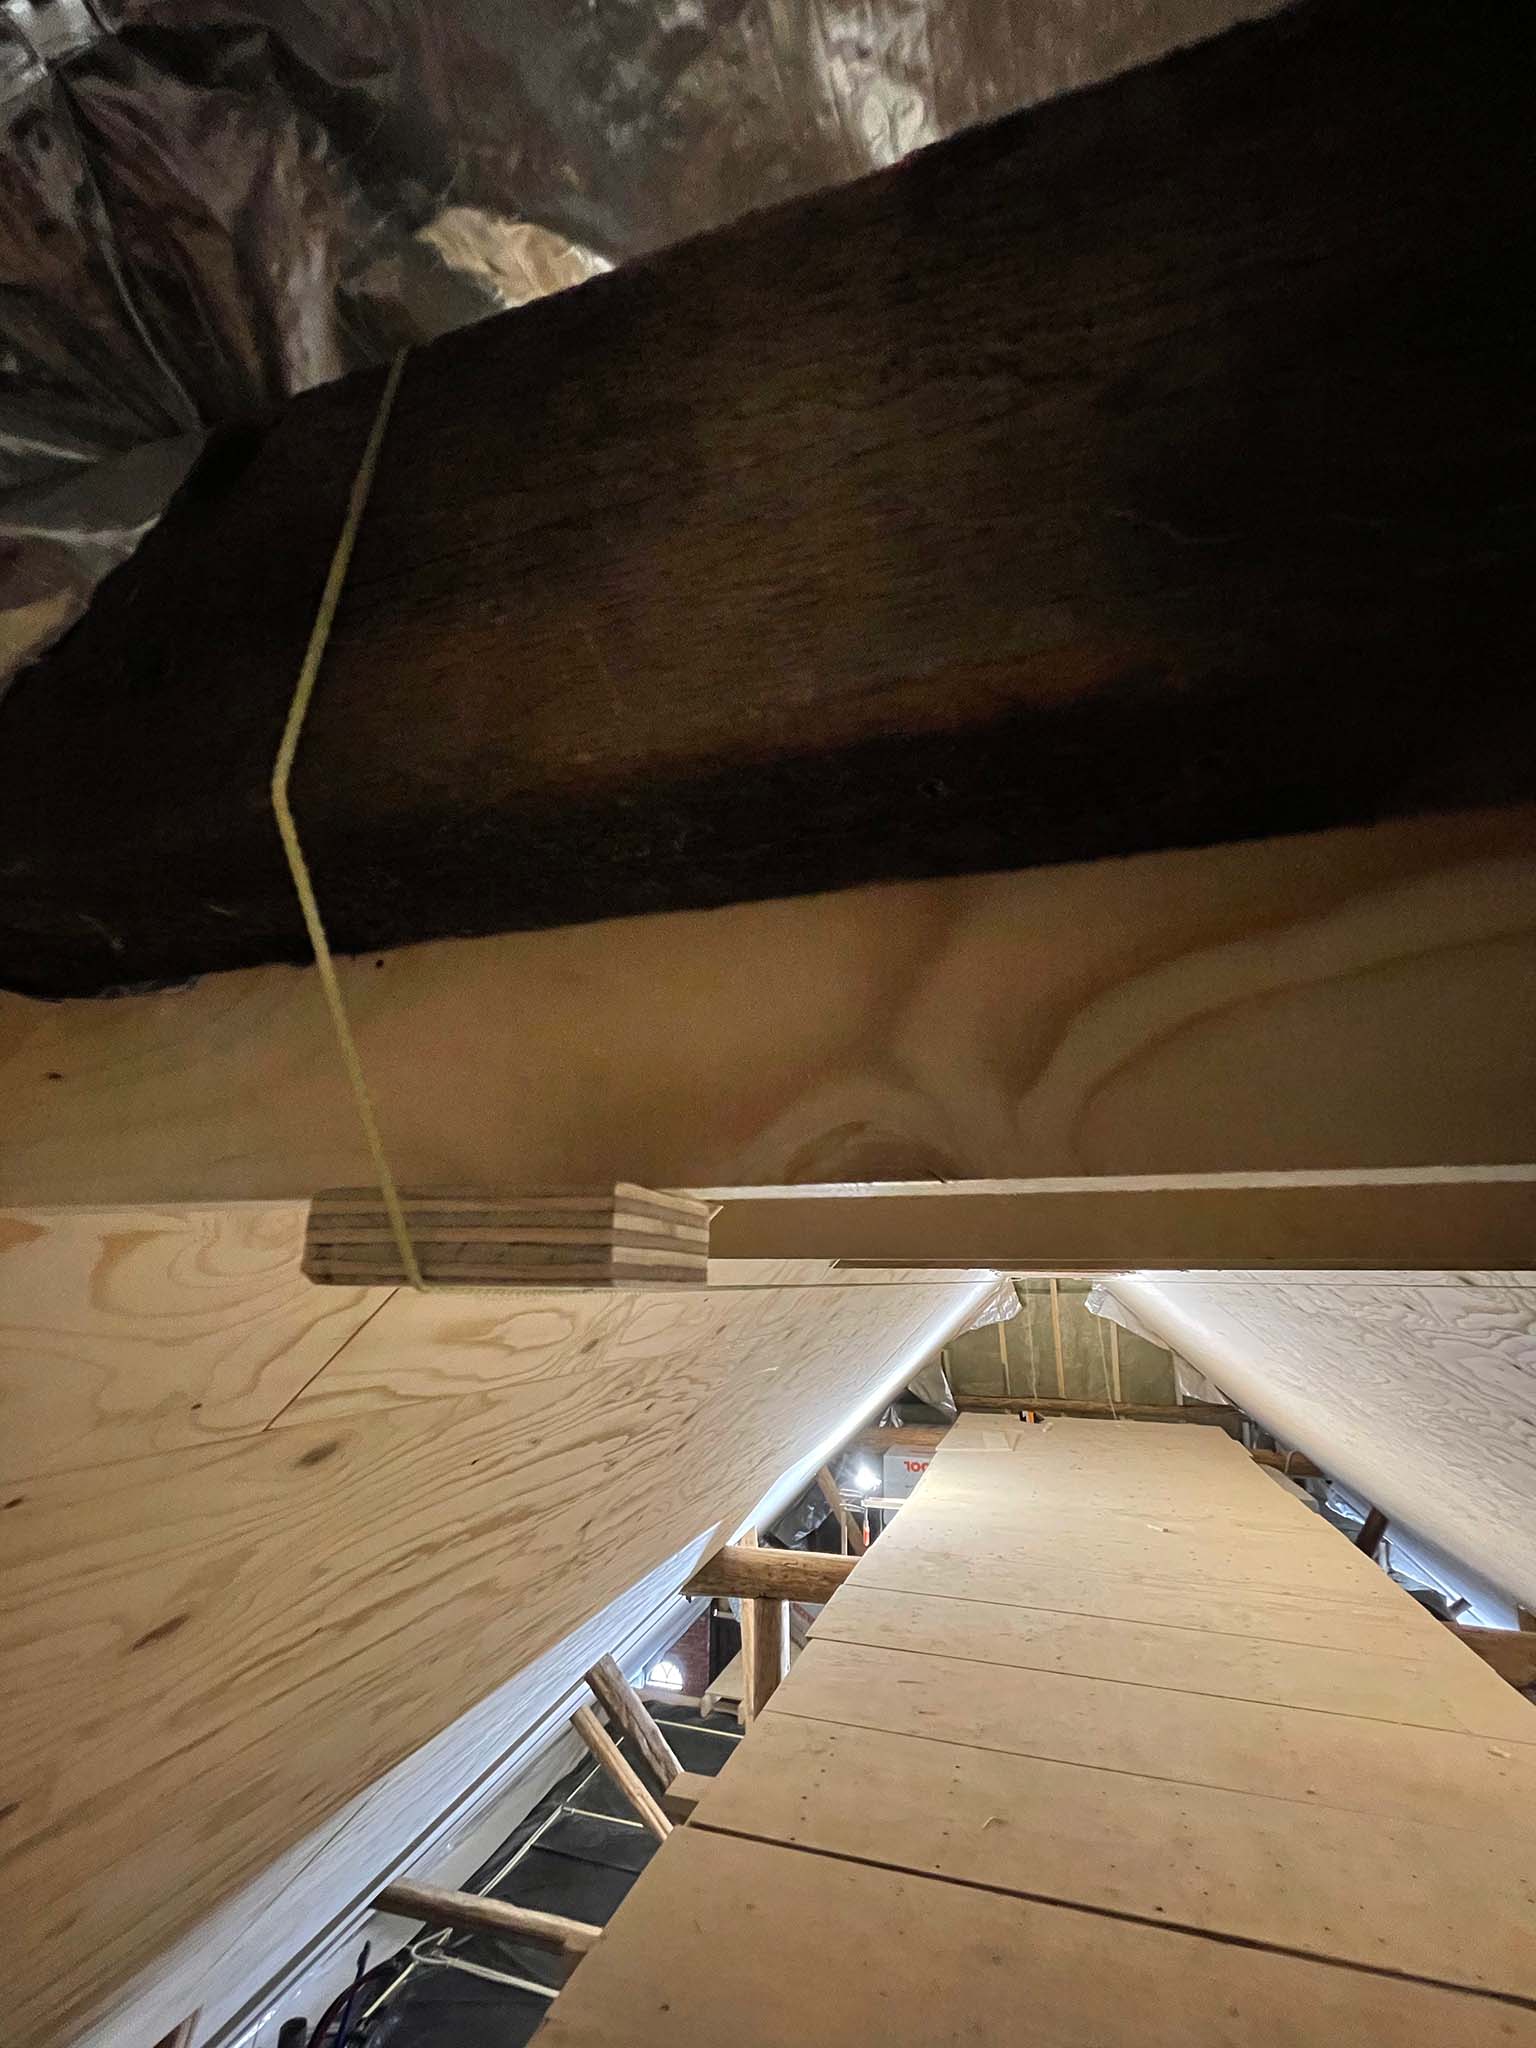
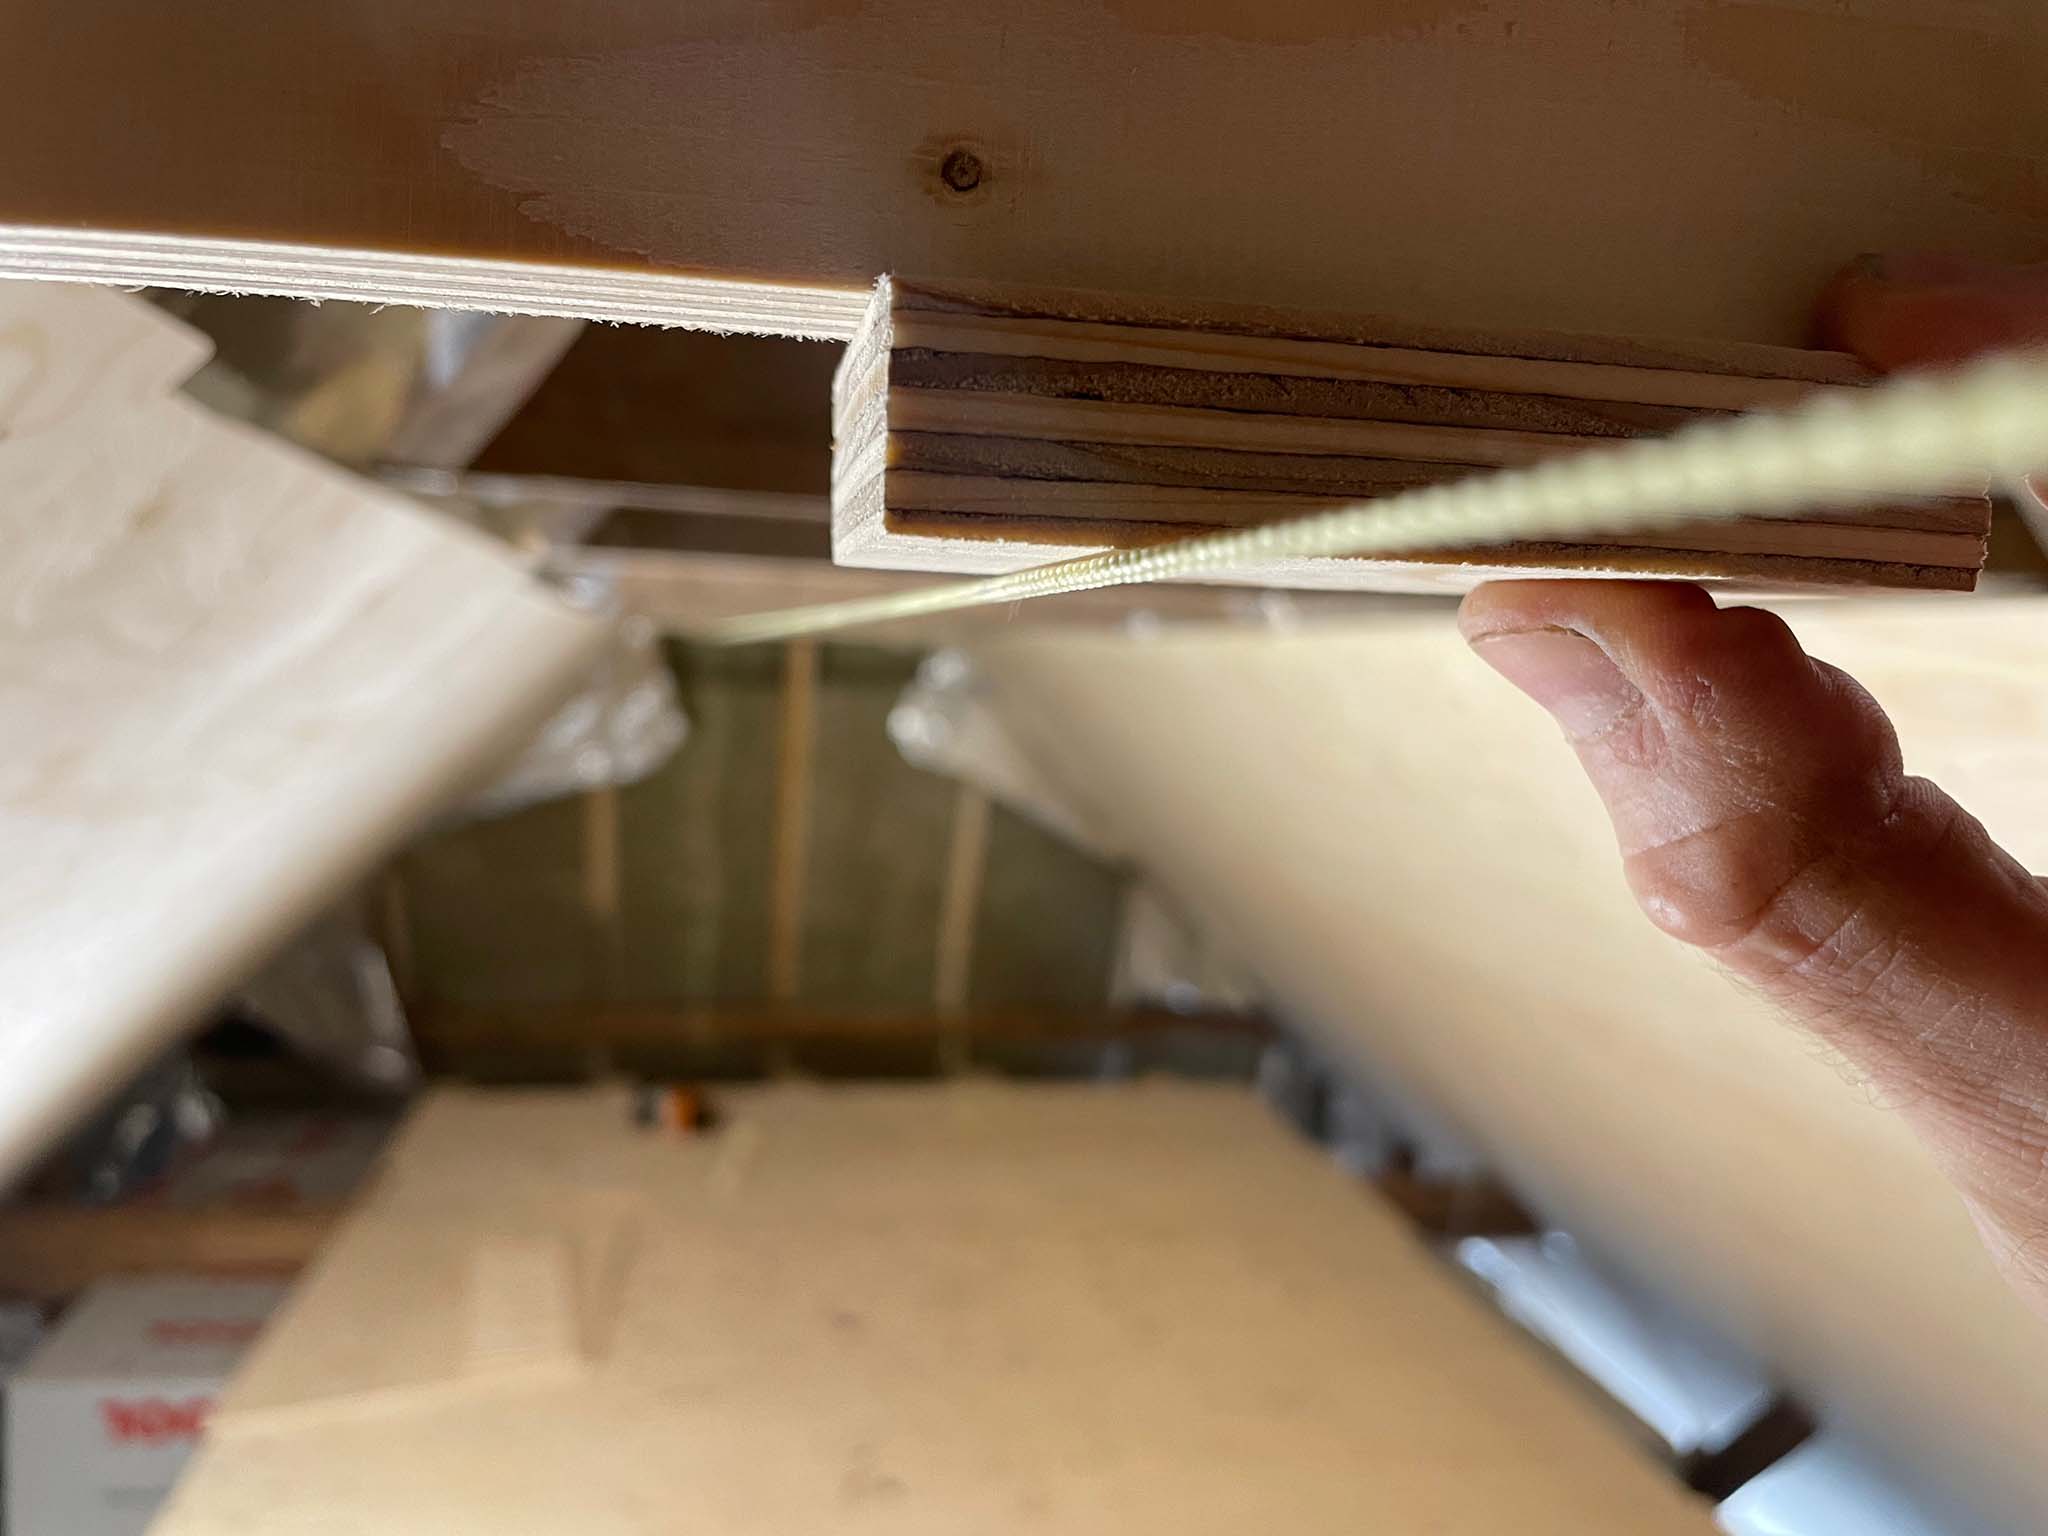
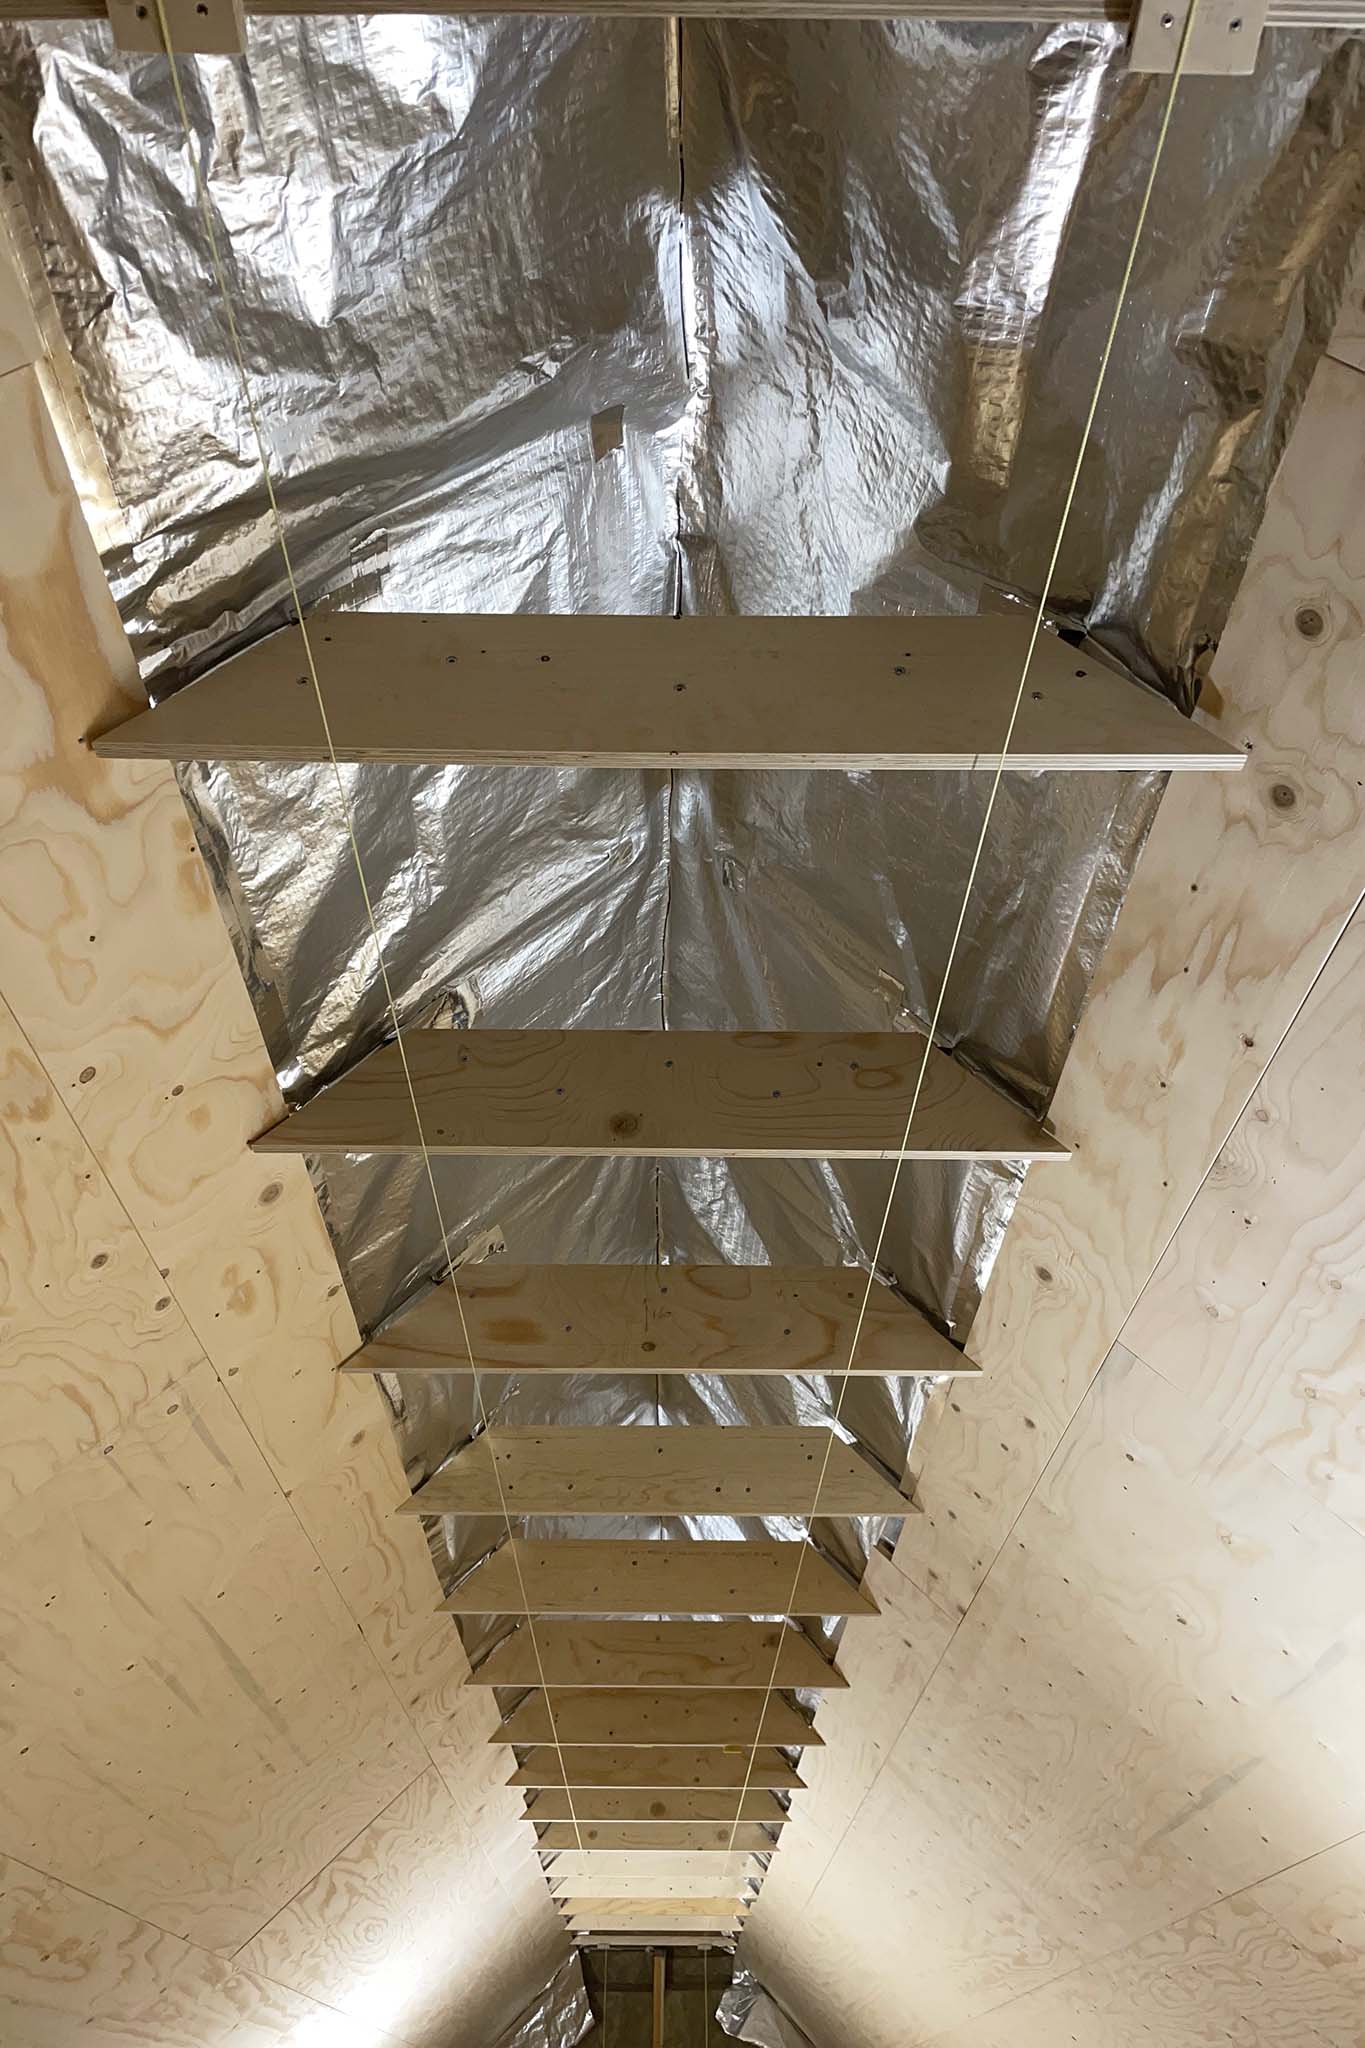
First everything had to be leveled as the rafters were not really at the same height. So with underlayment, a spitit level and some thread the base was laid out. Then laths were fixed to that structure so that finally the underlayment panels could be fixed to them.
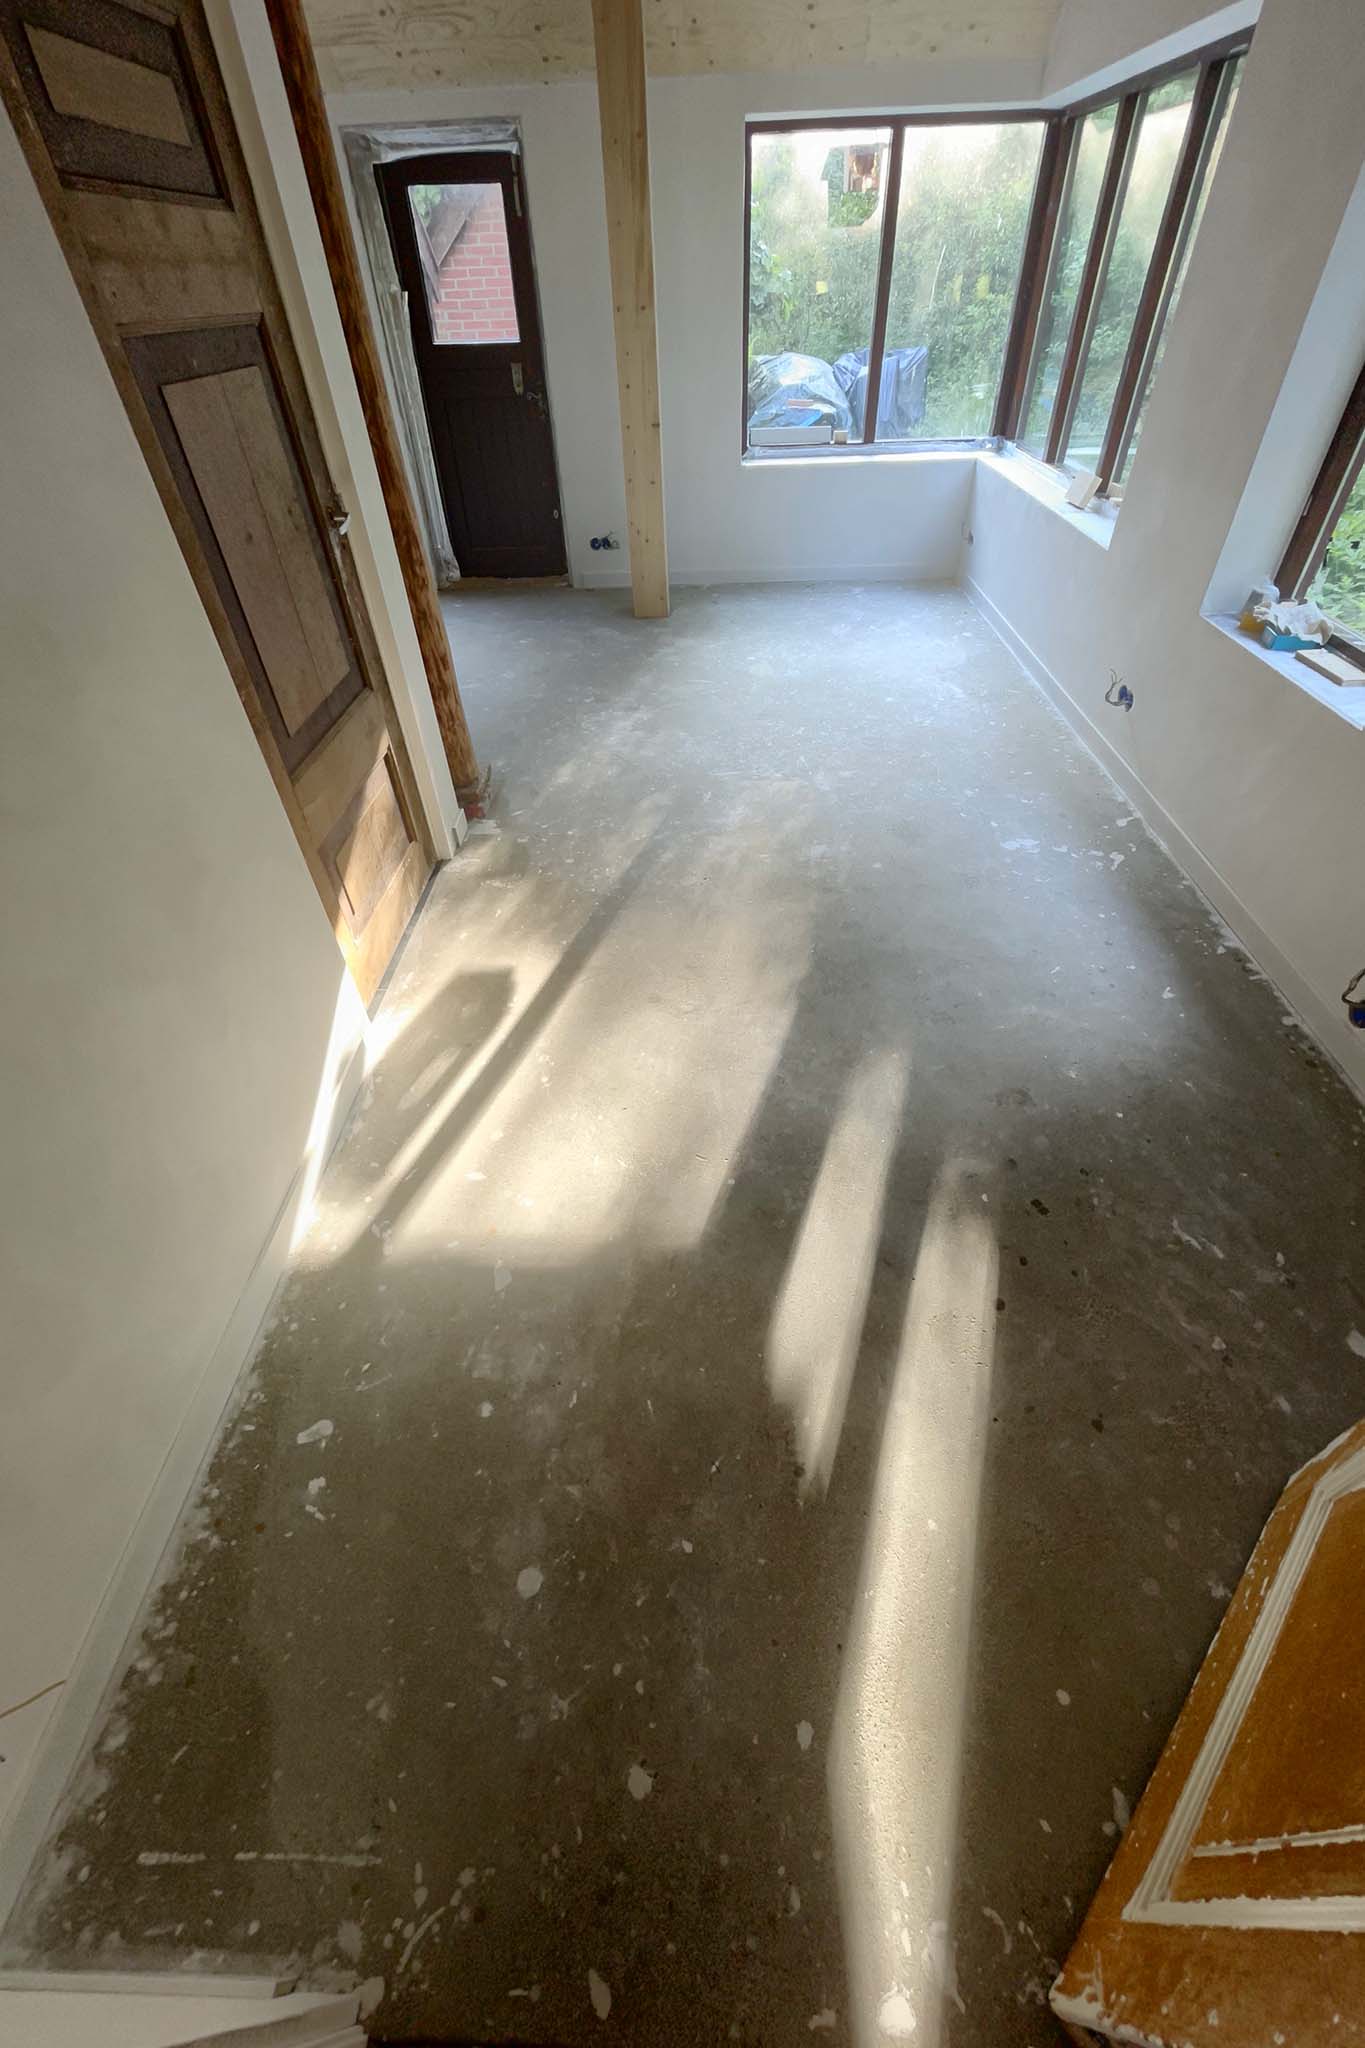
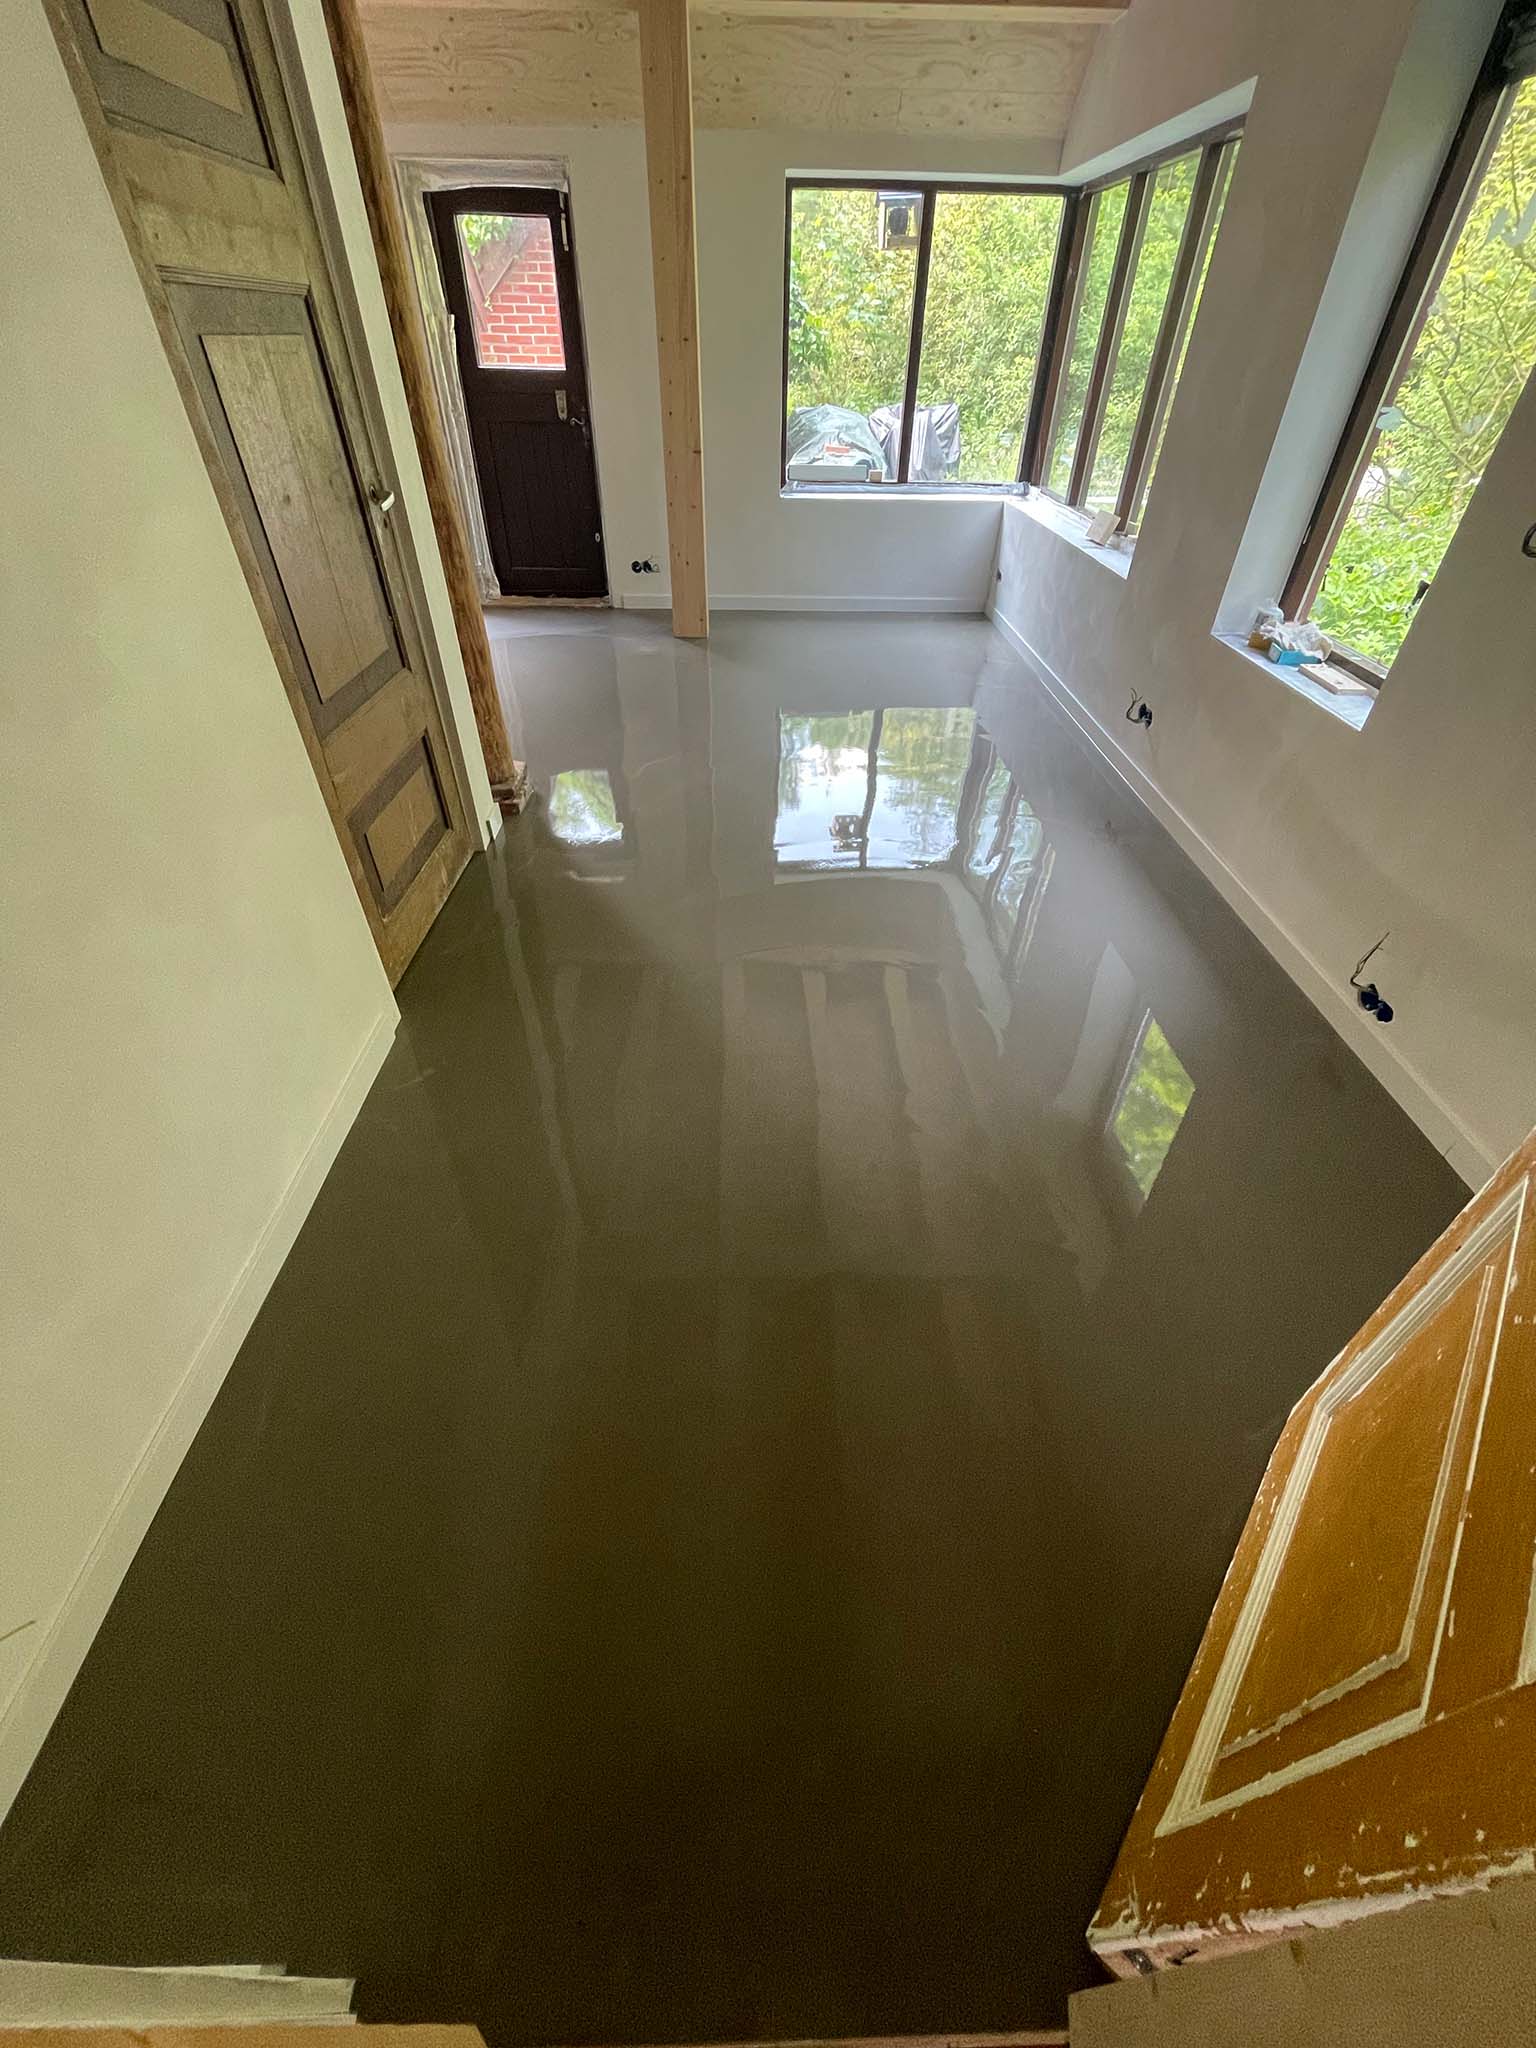
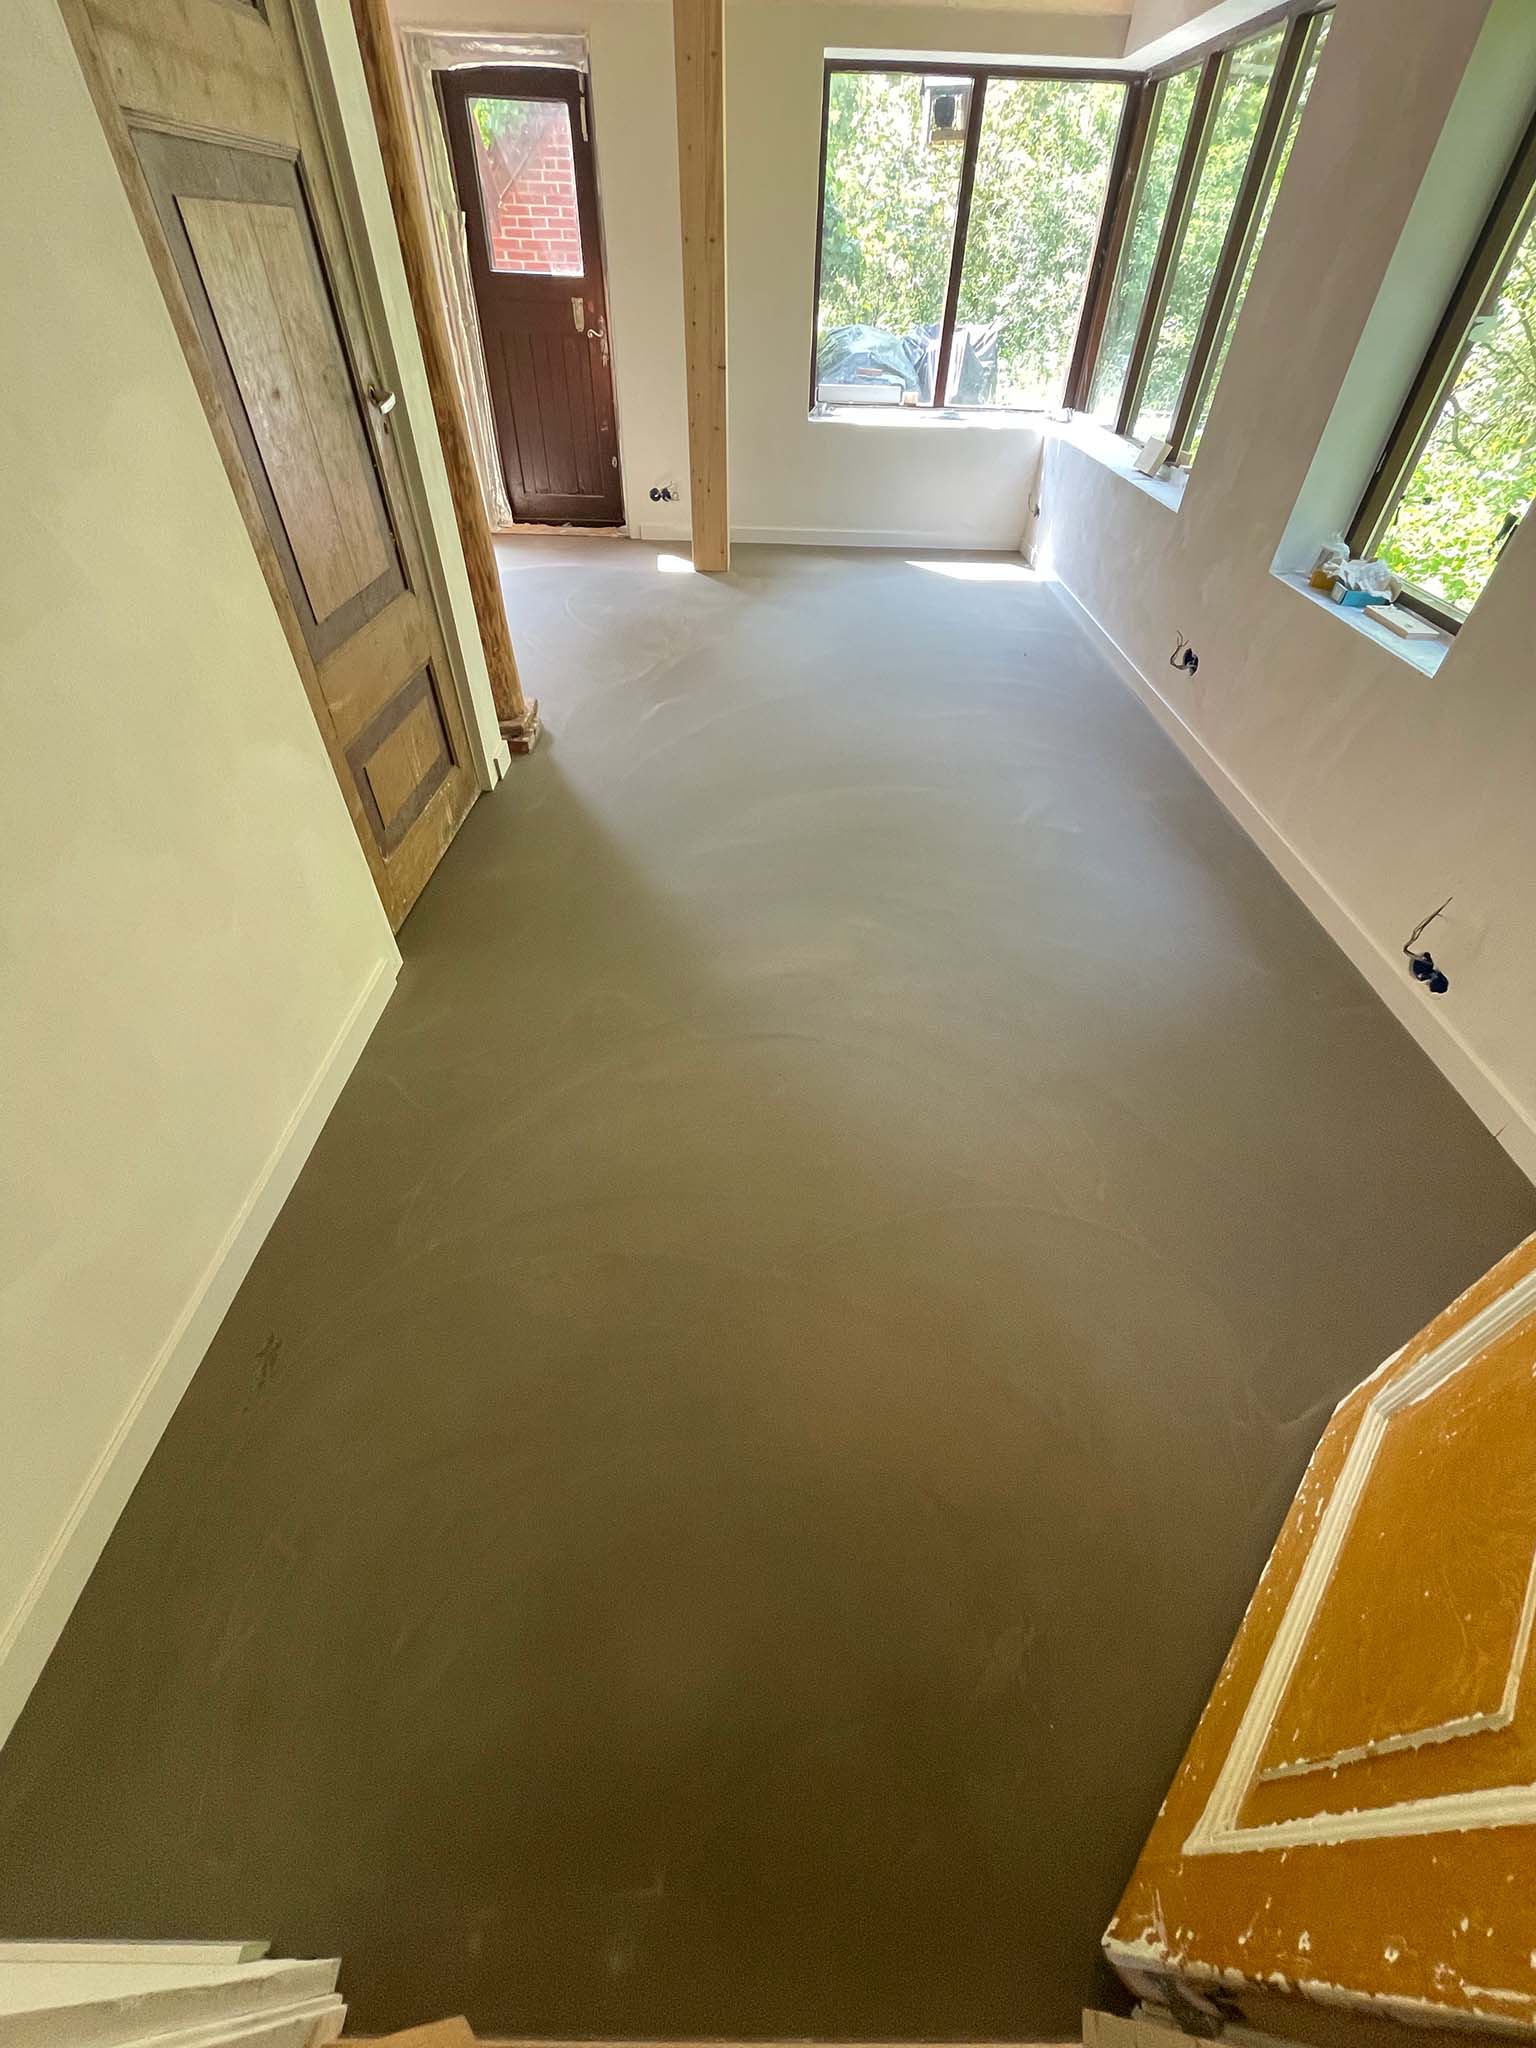
The floor needs a finish too before moving in. The cement floor will get another type of cement finish (egaline) and then some coating layers. Actually this is more meant as a base layer for wooden floors, but everyone seems to like it enough so that the wood is left out of the process…
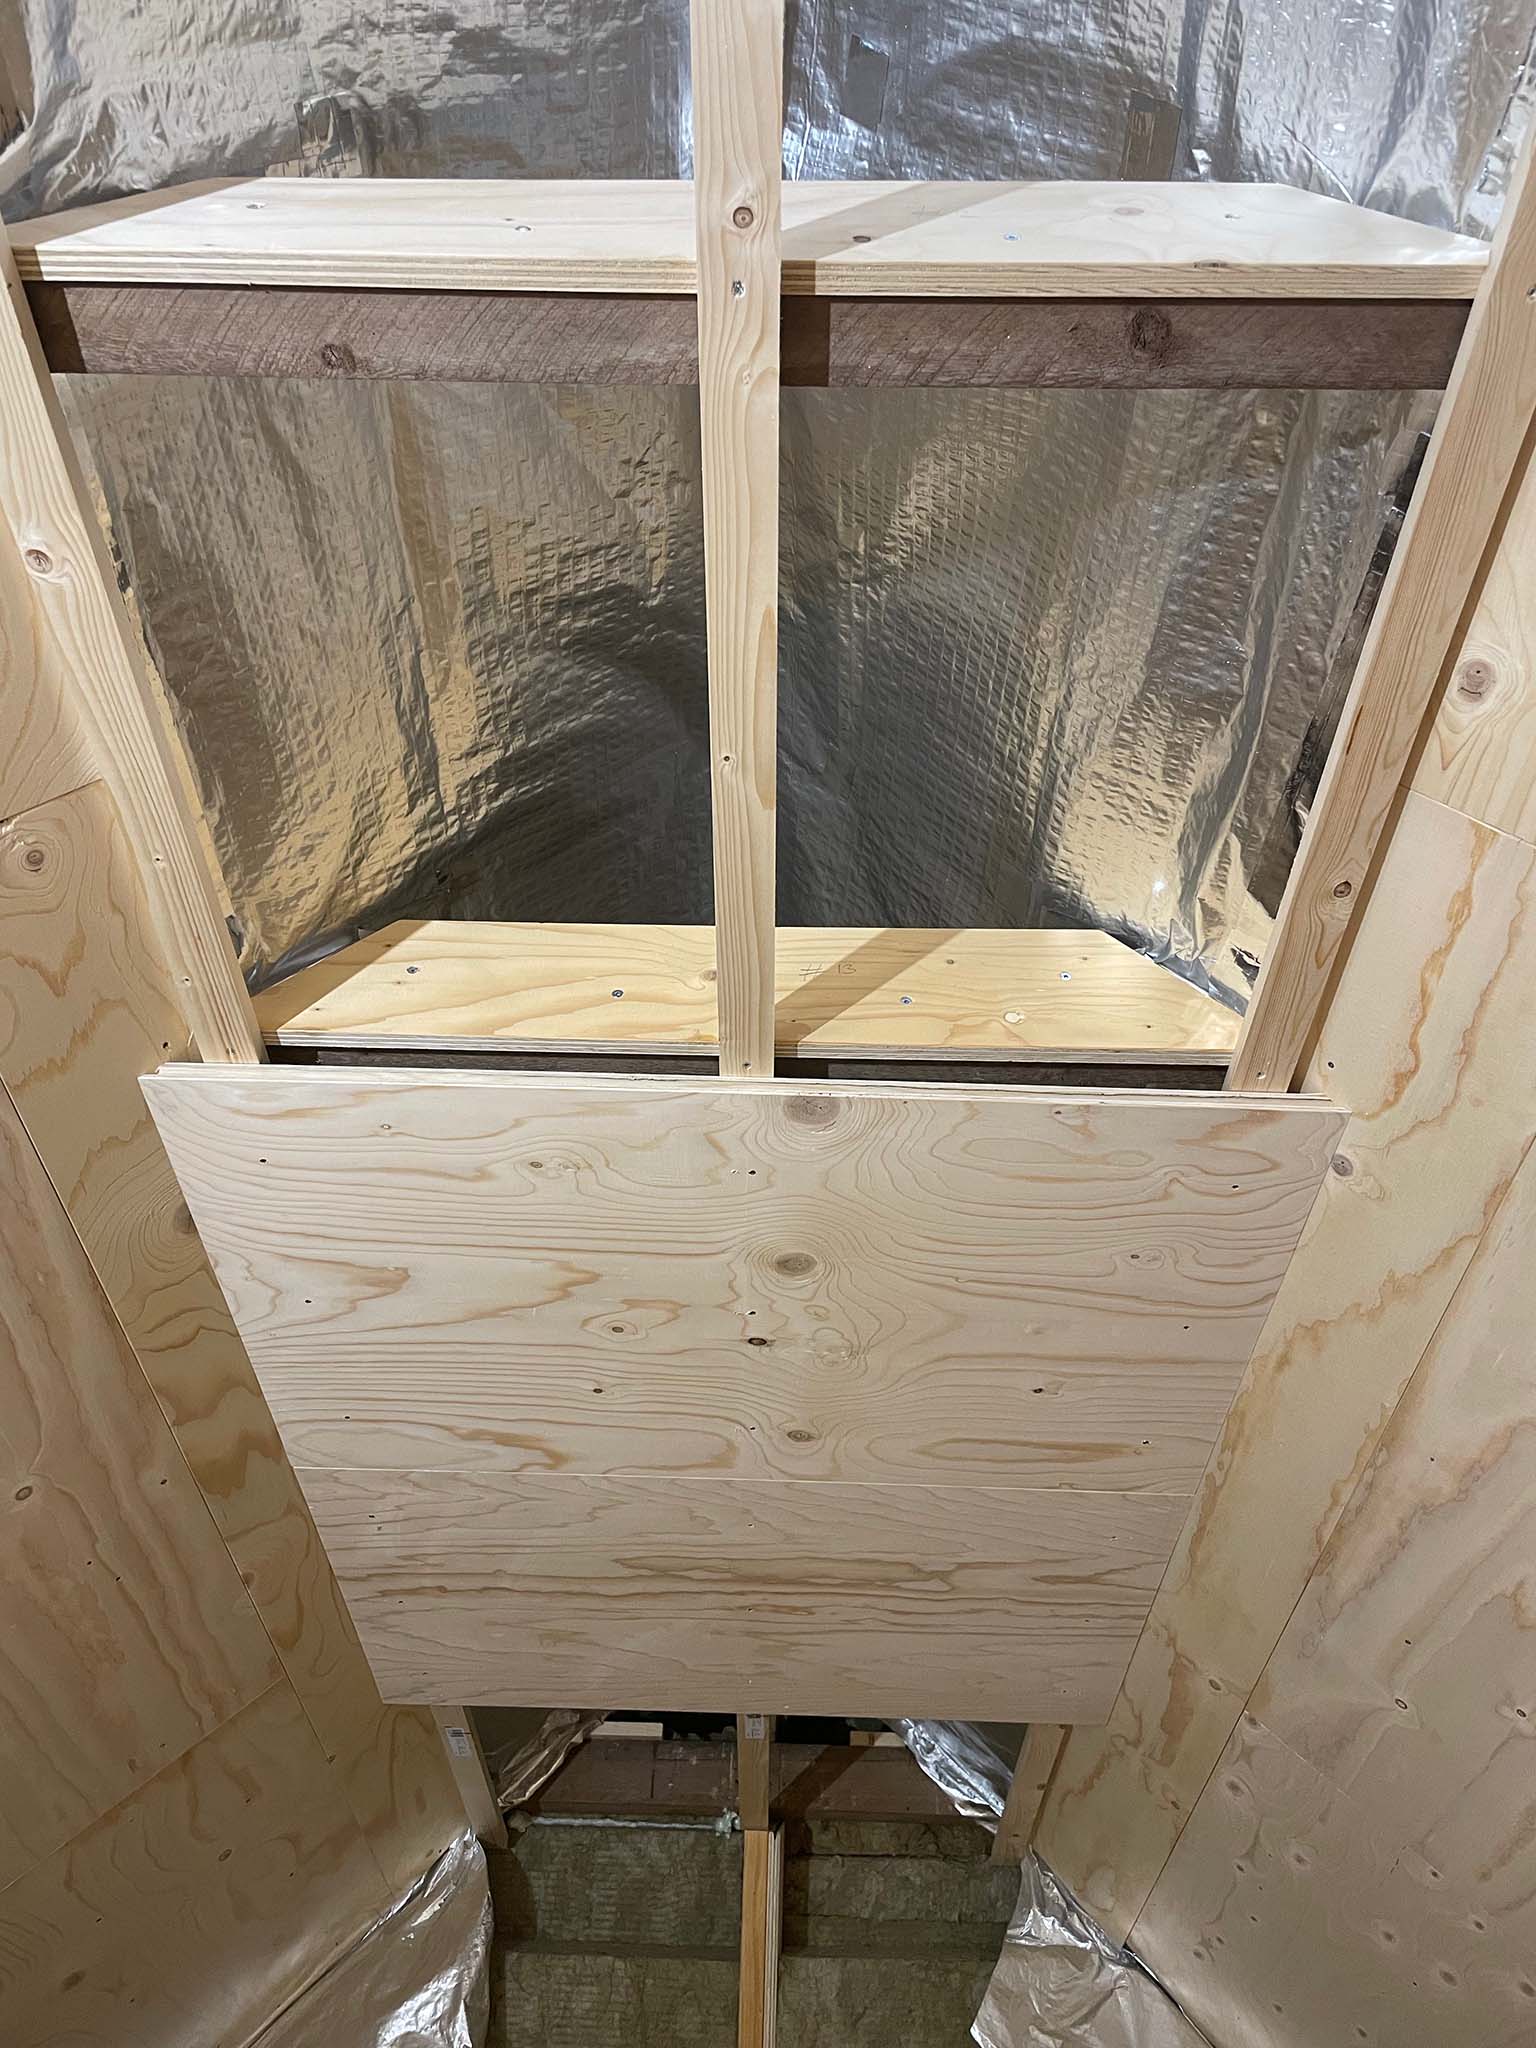
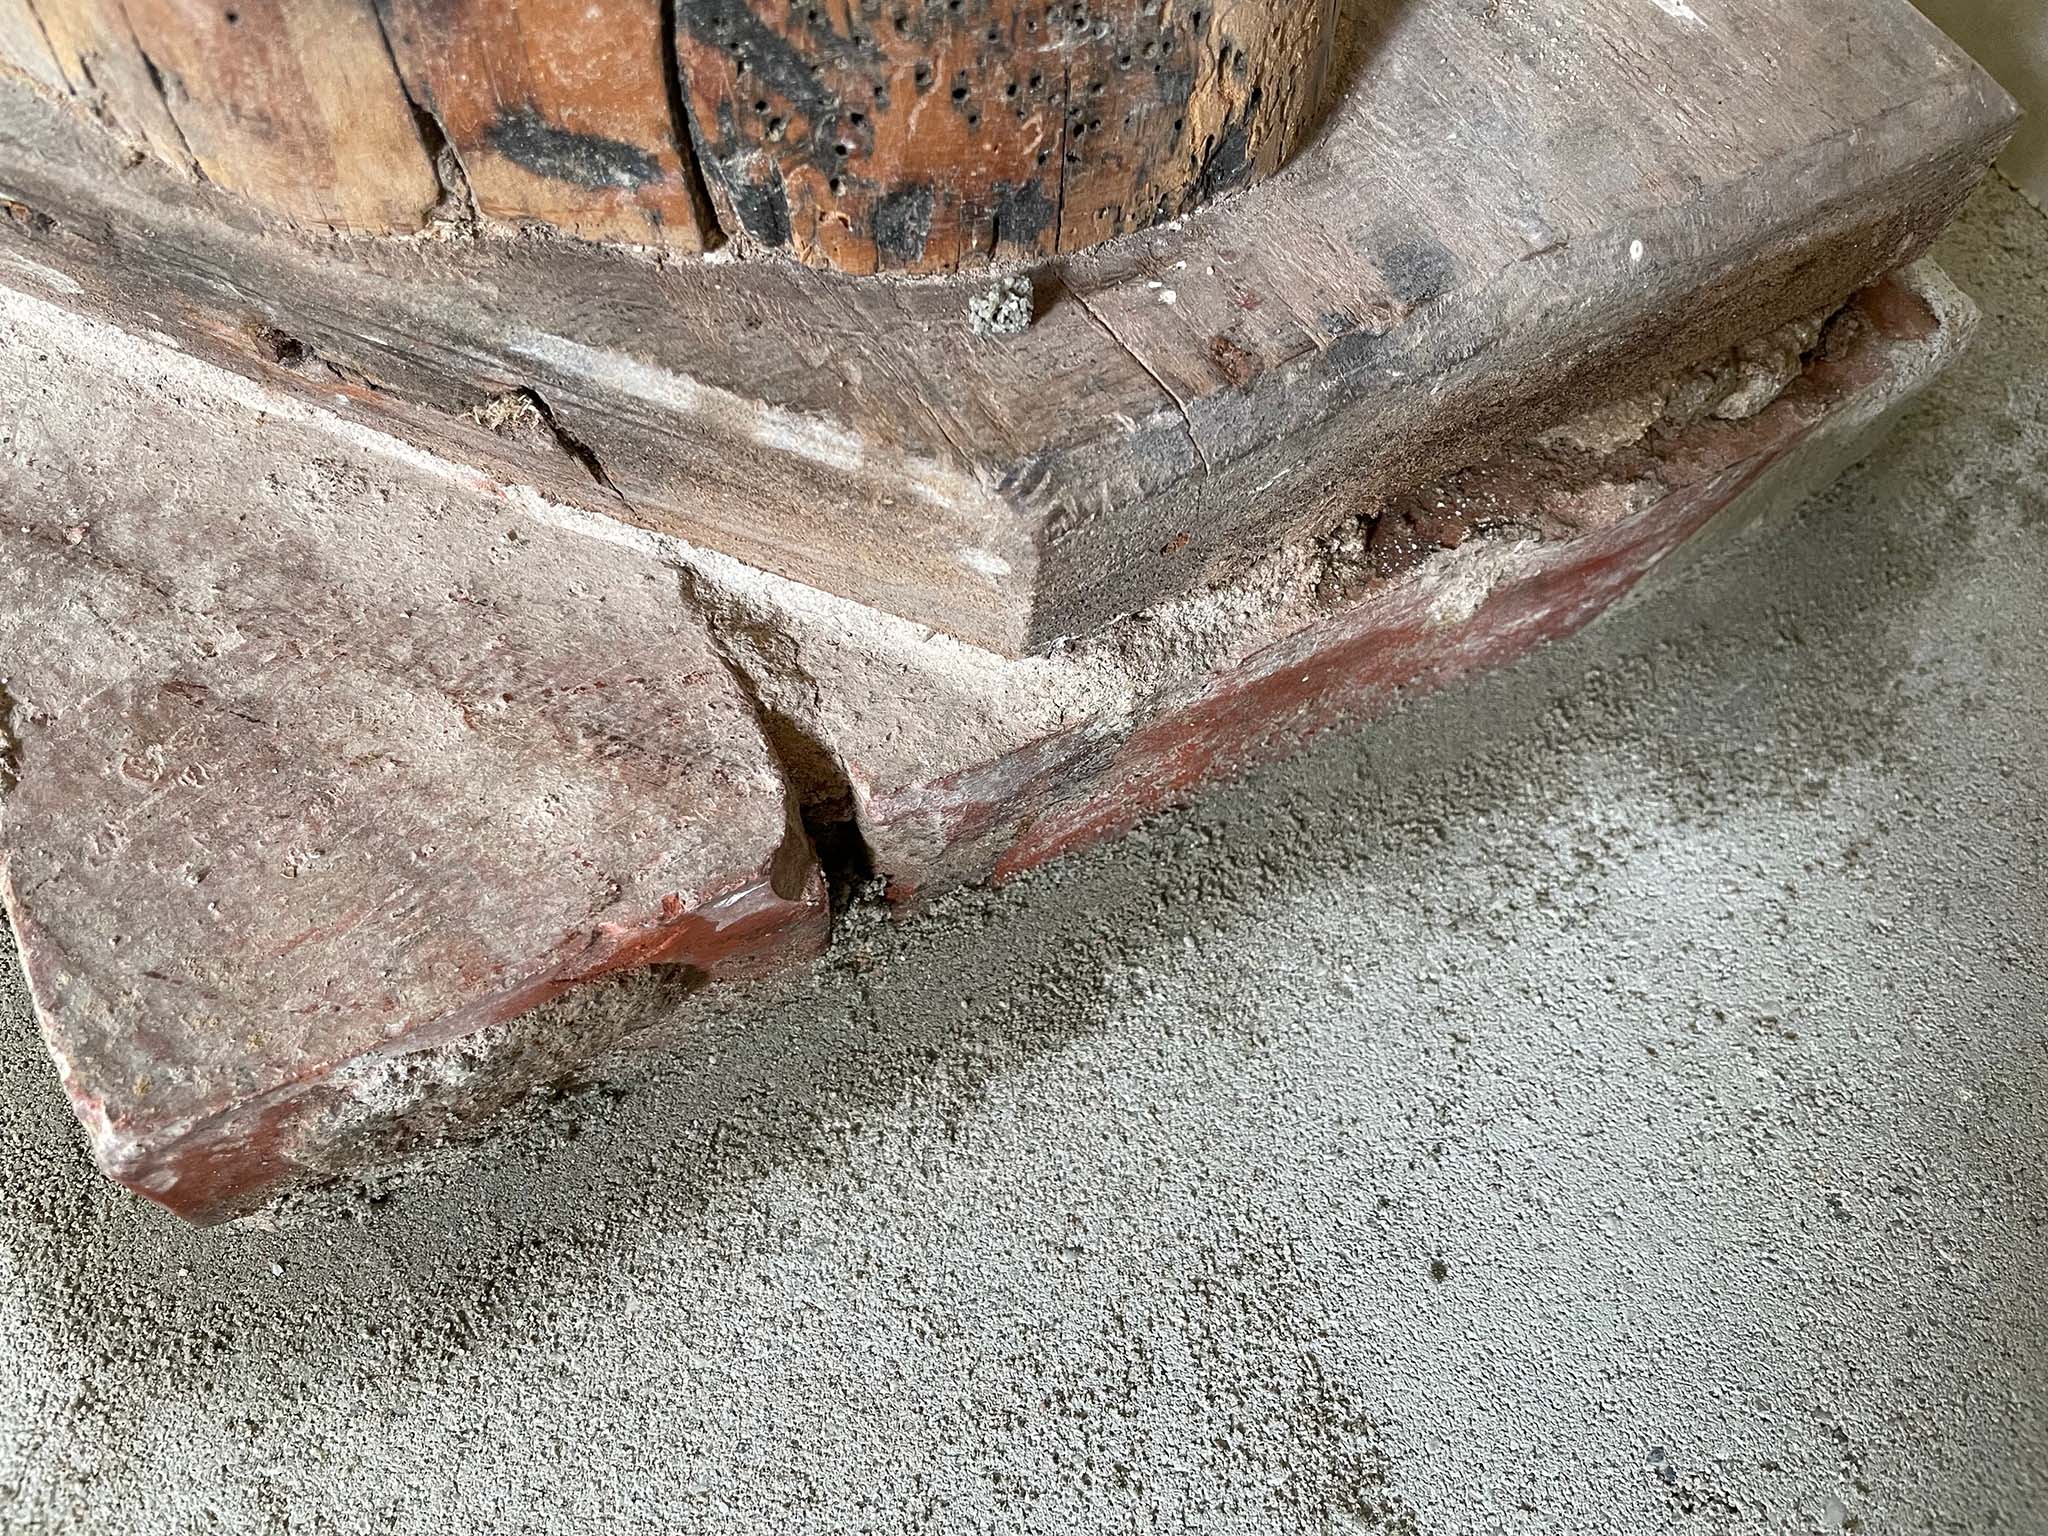
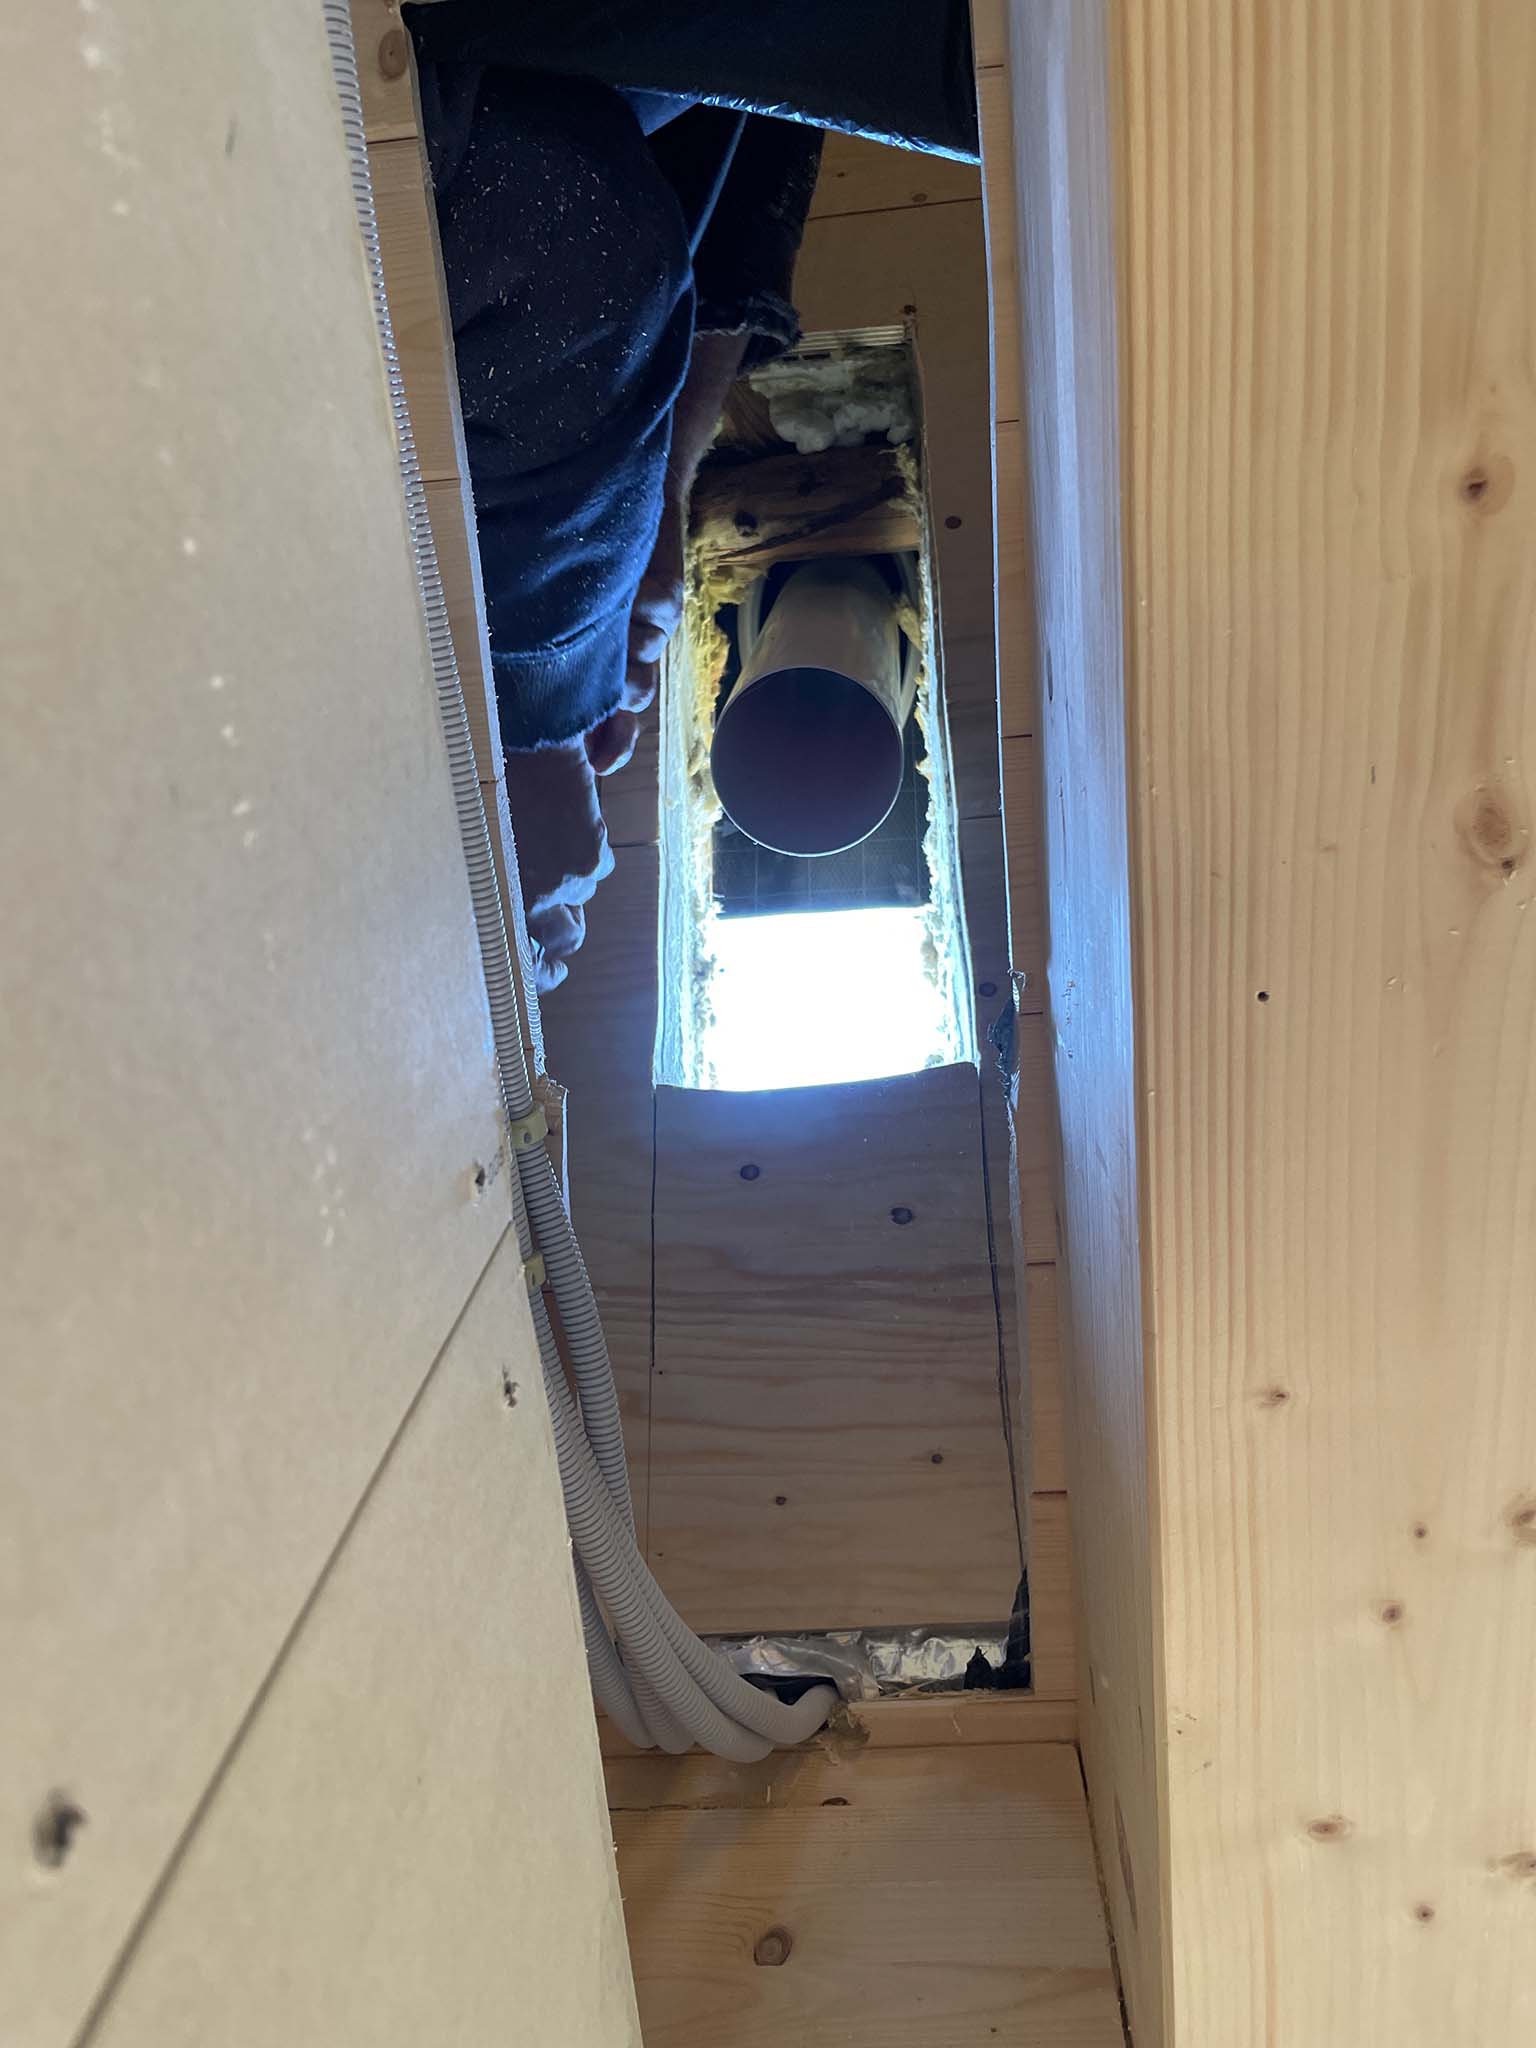
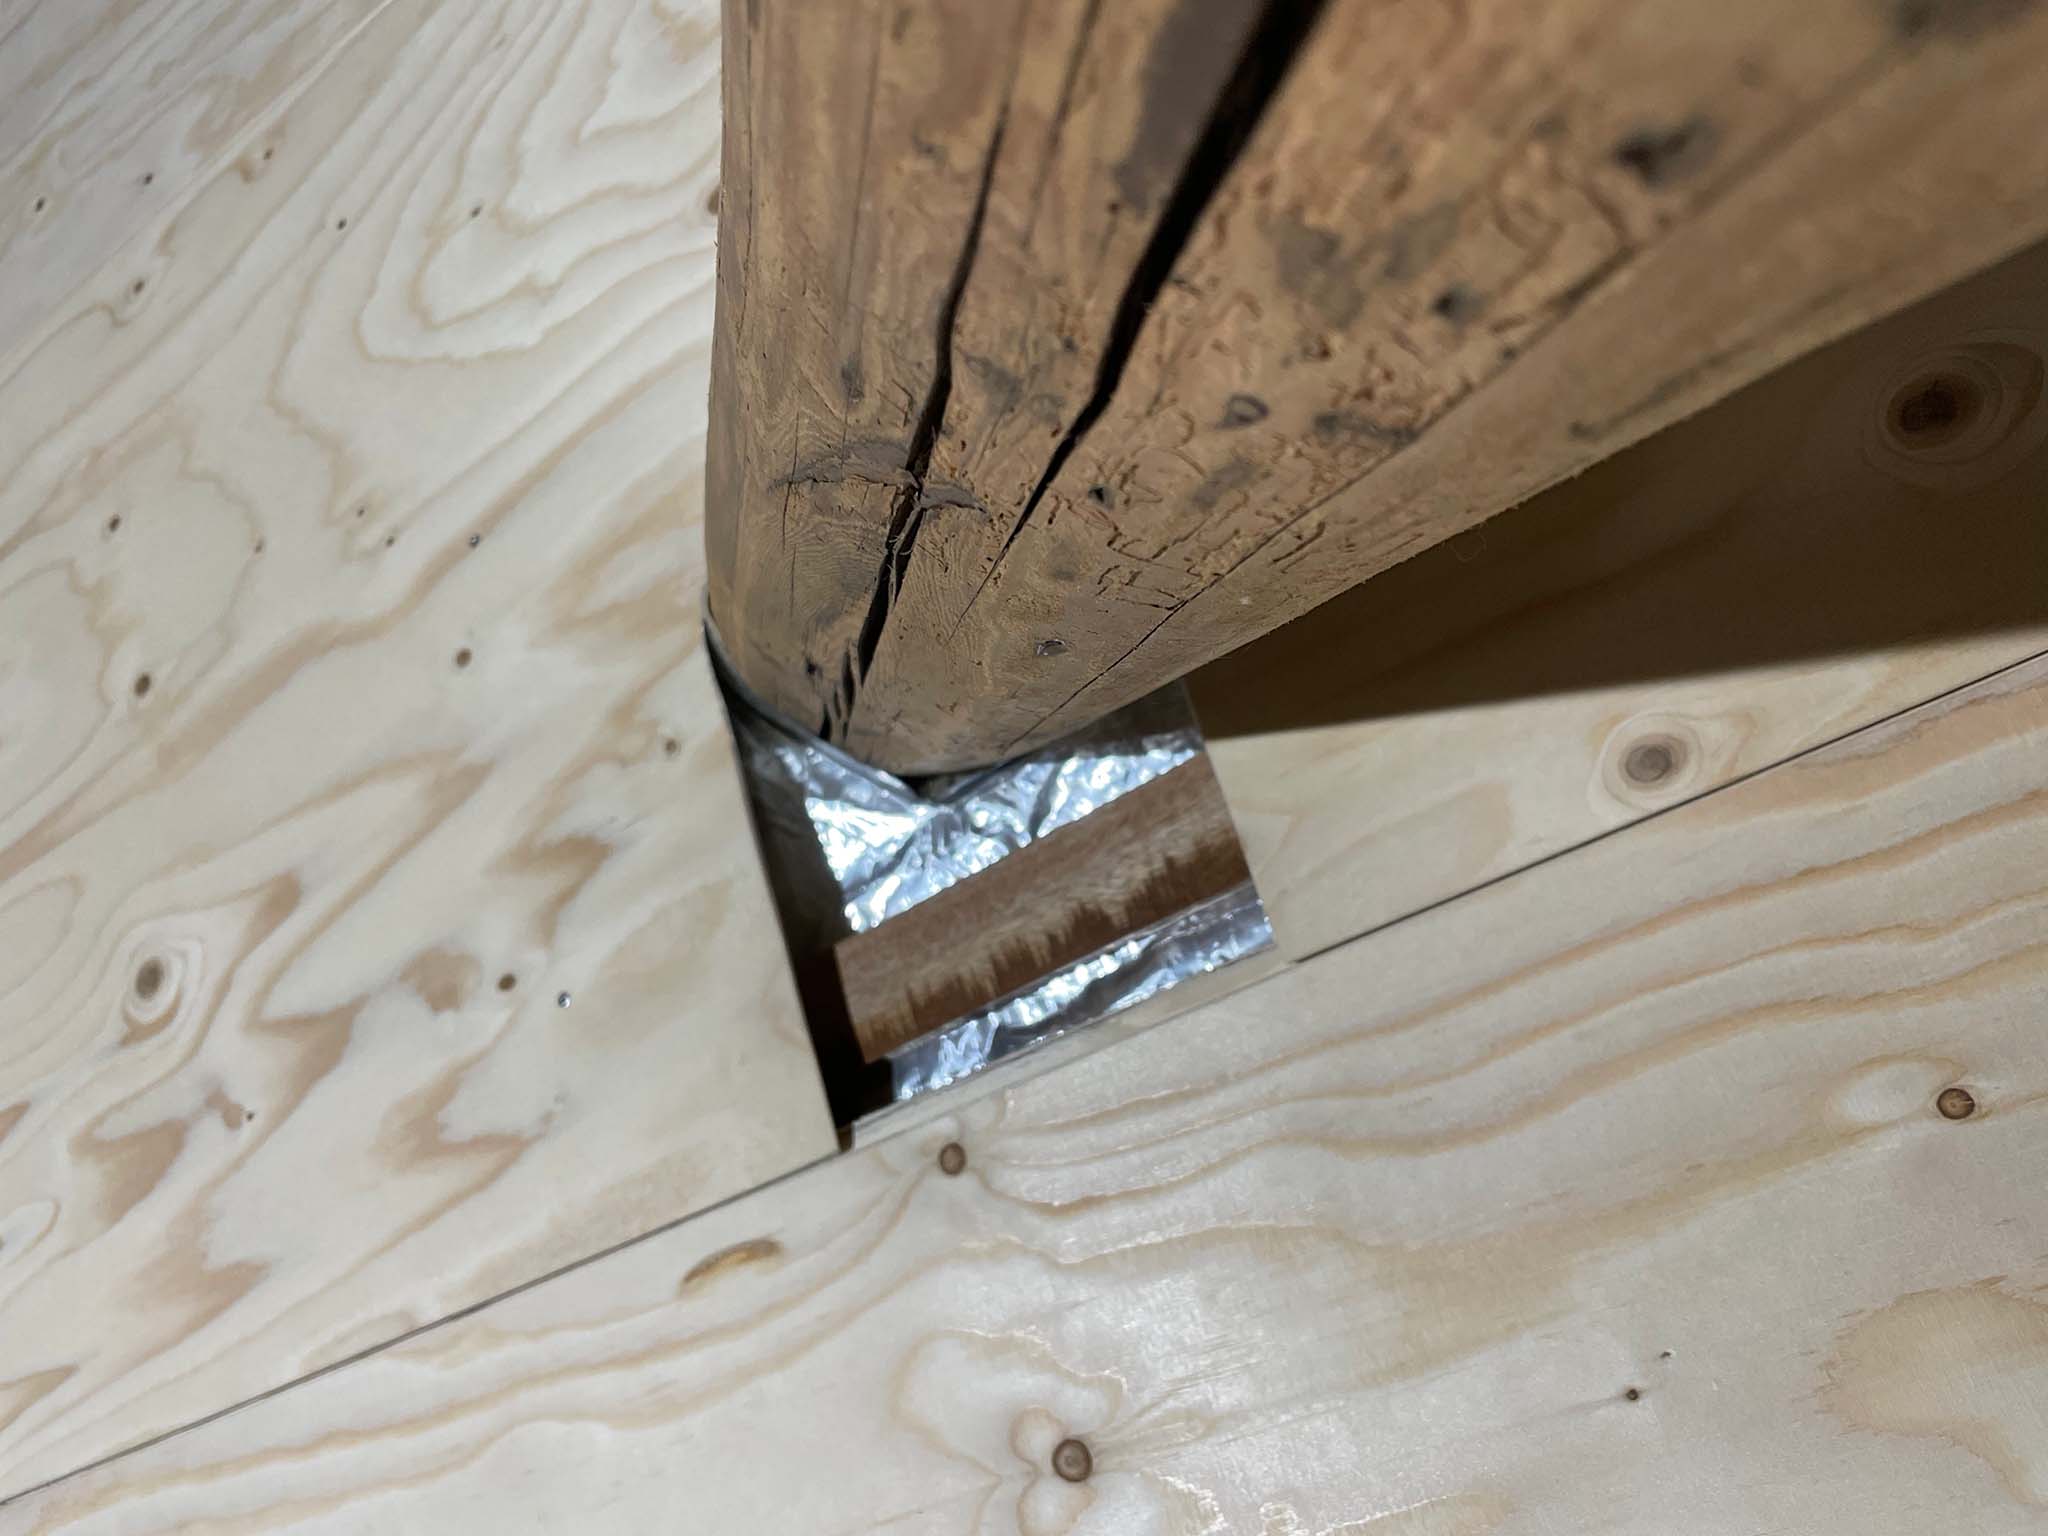
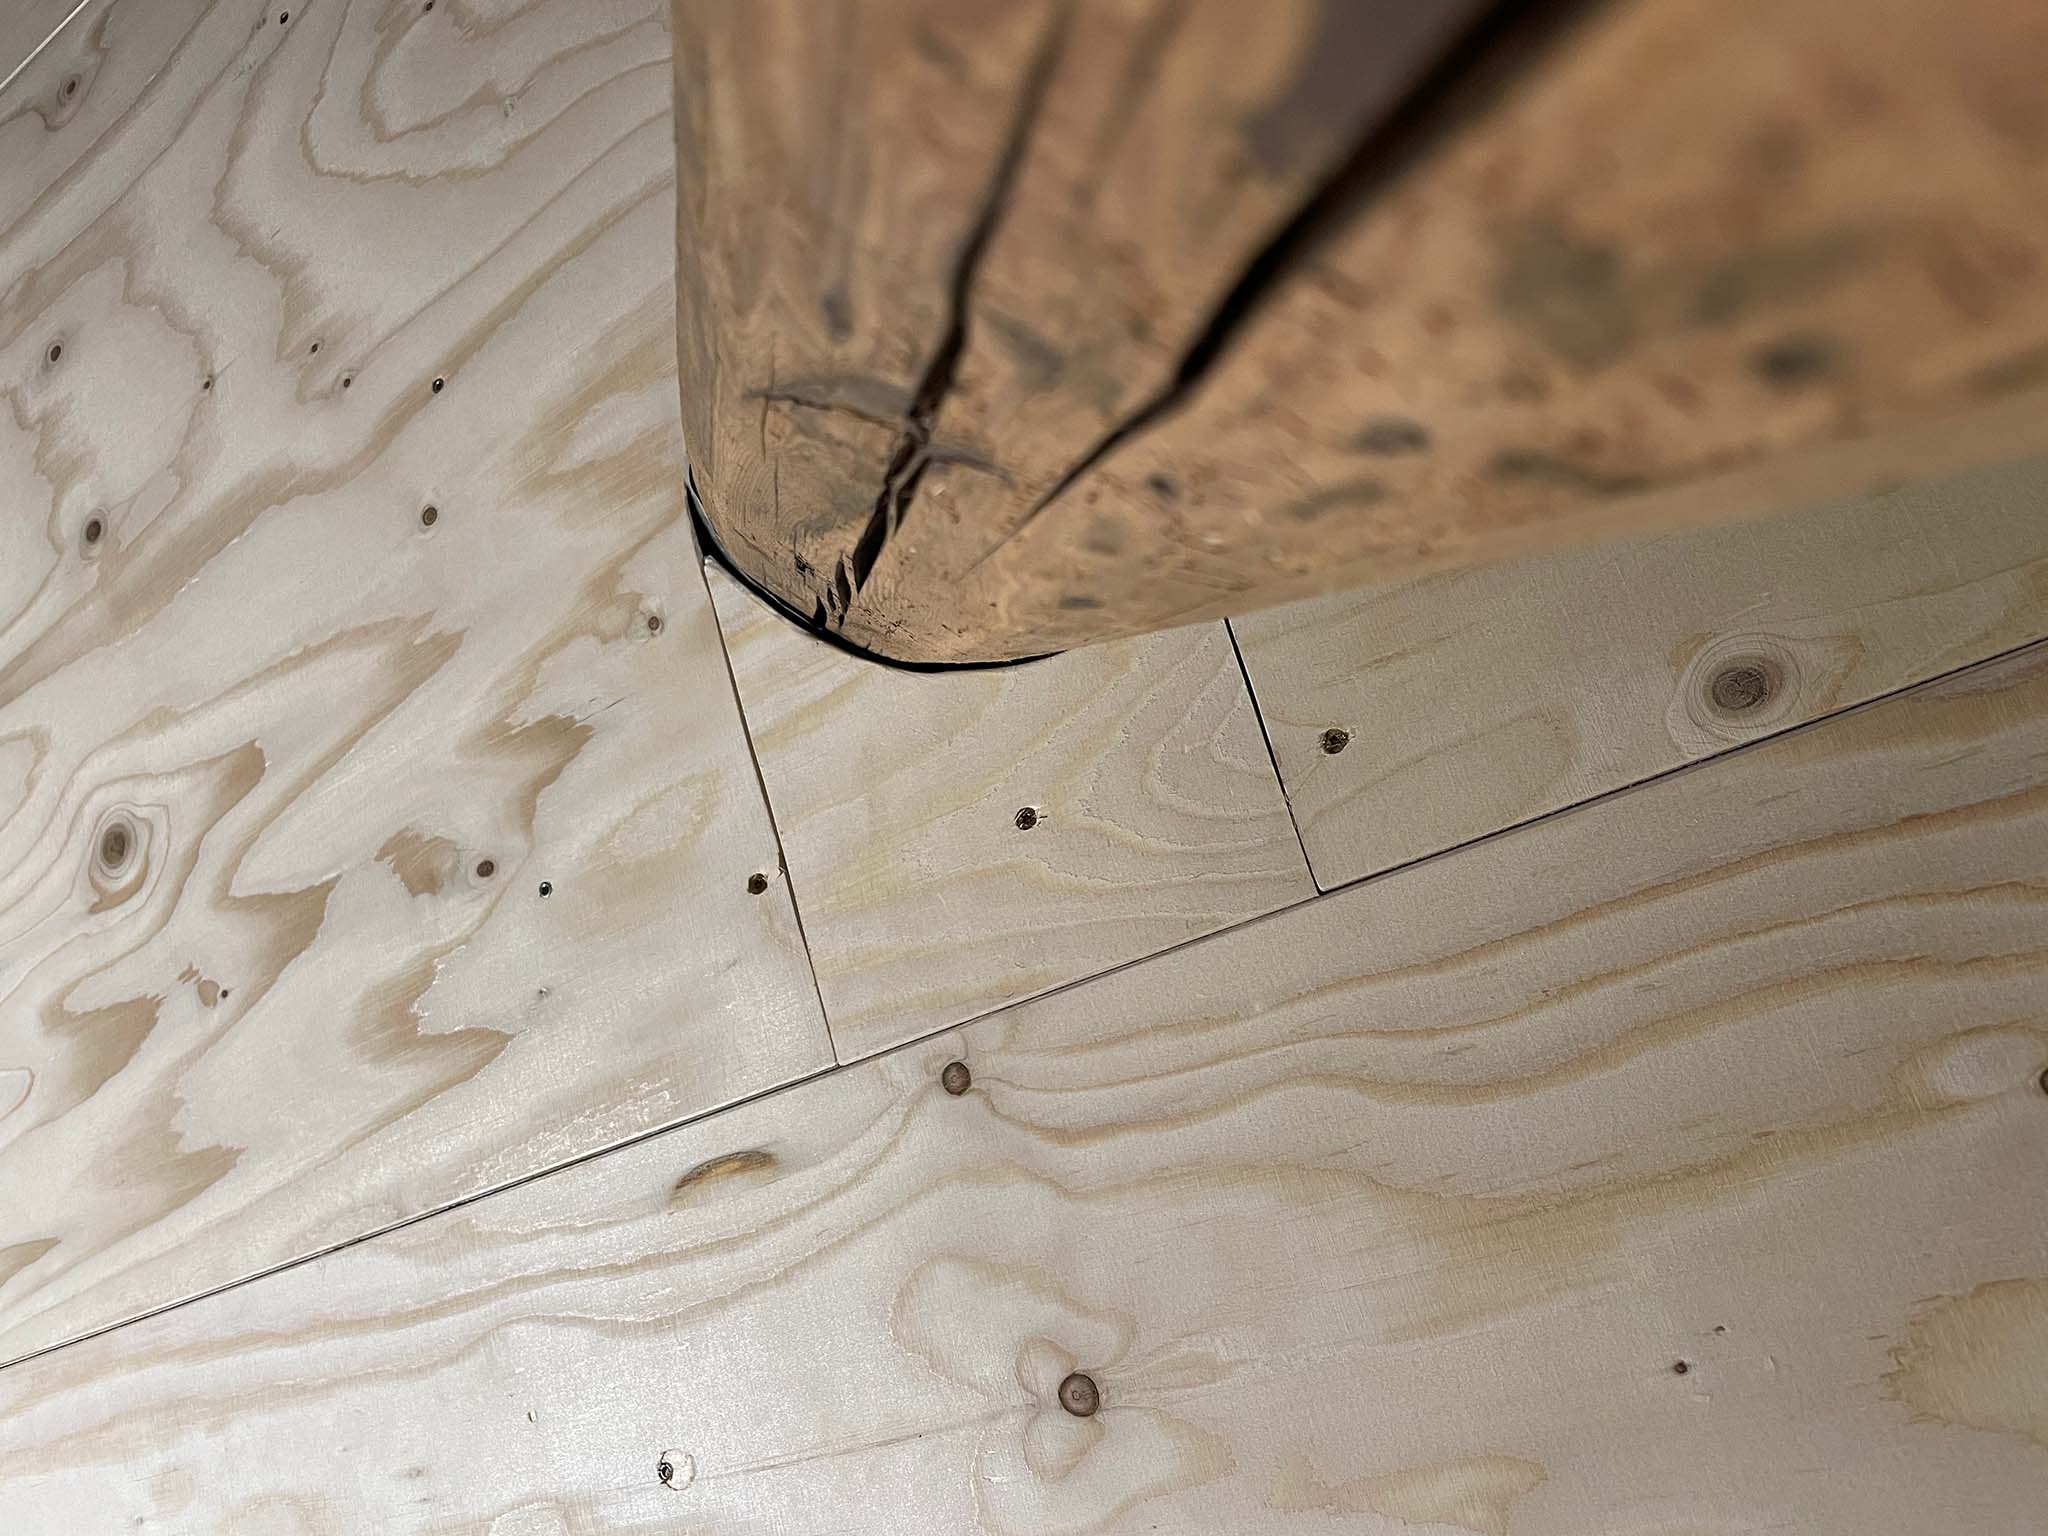
In order to let the stuff not leak into the isolation, some gaps had to be closed first.

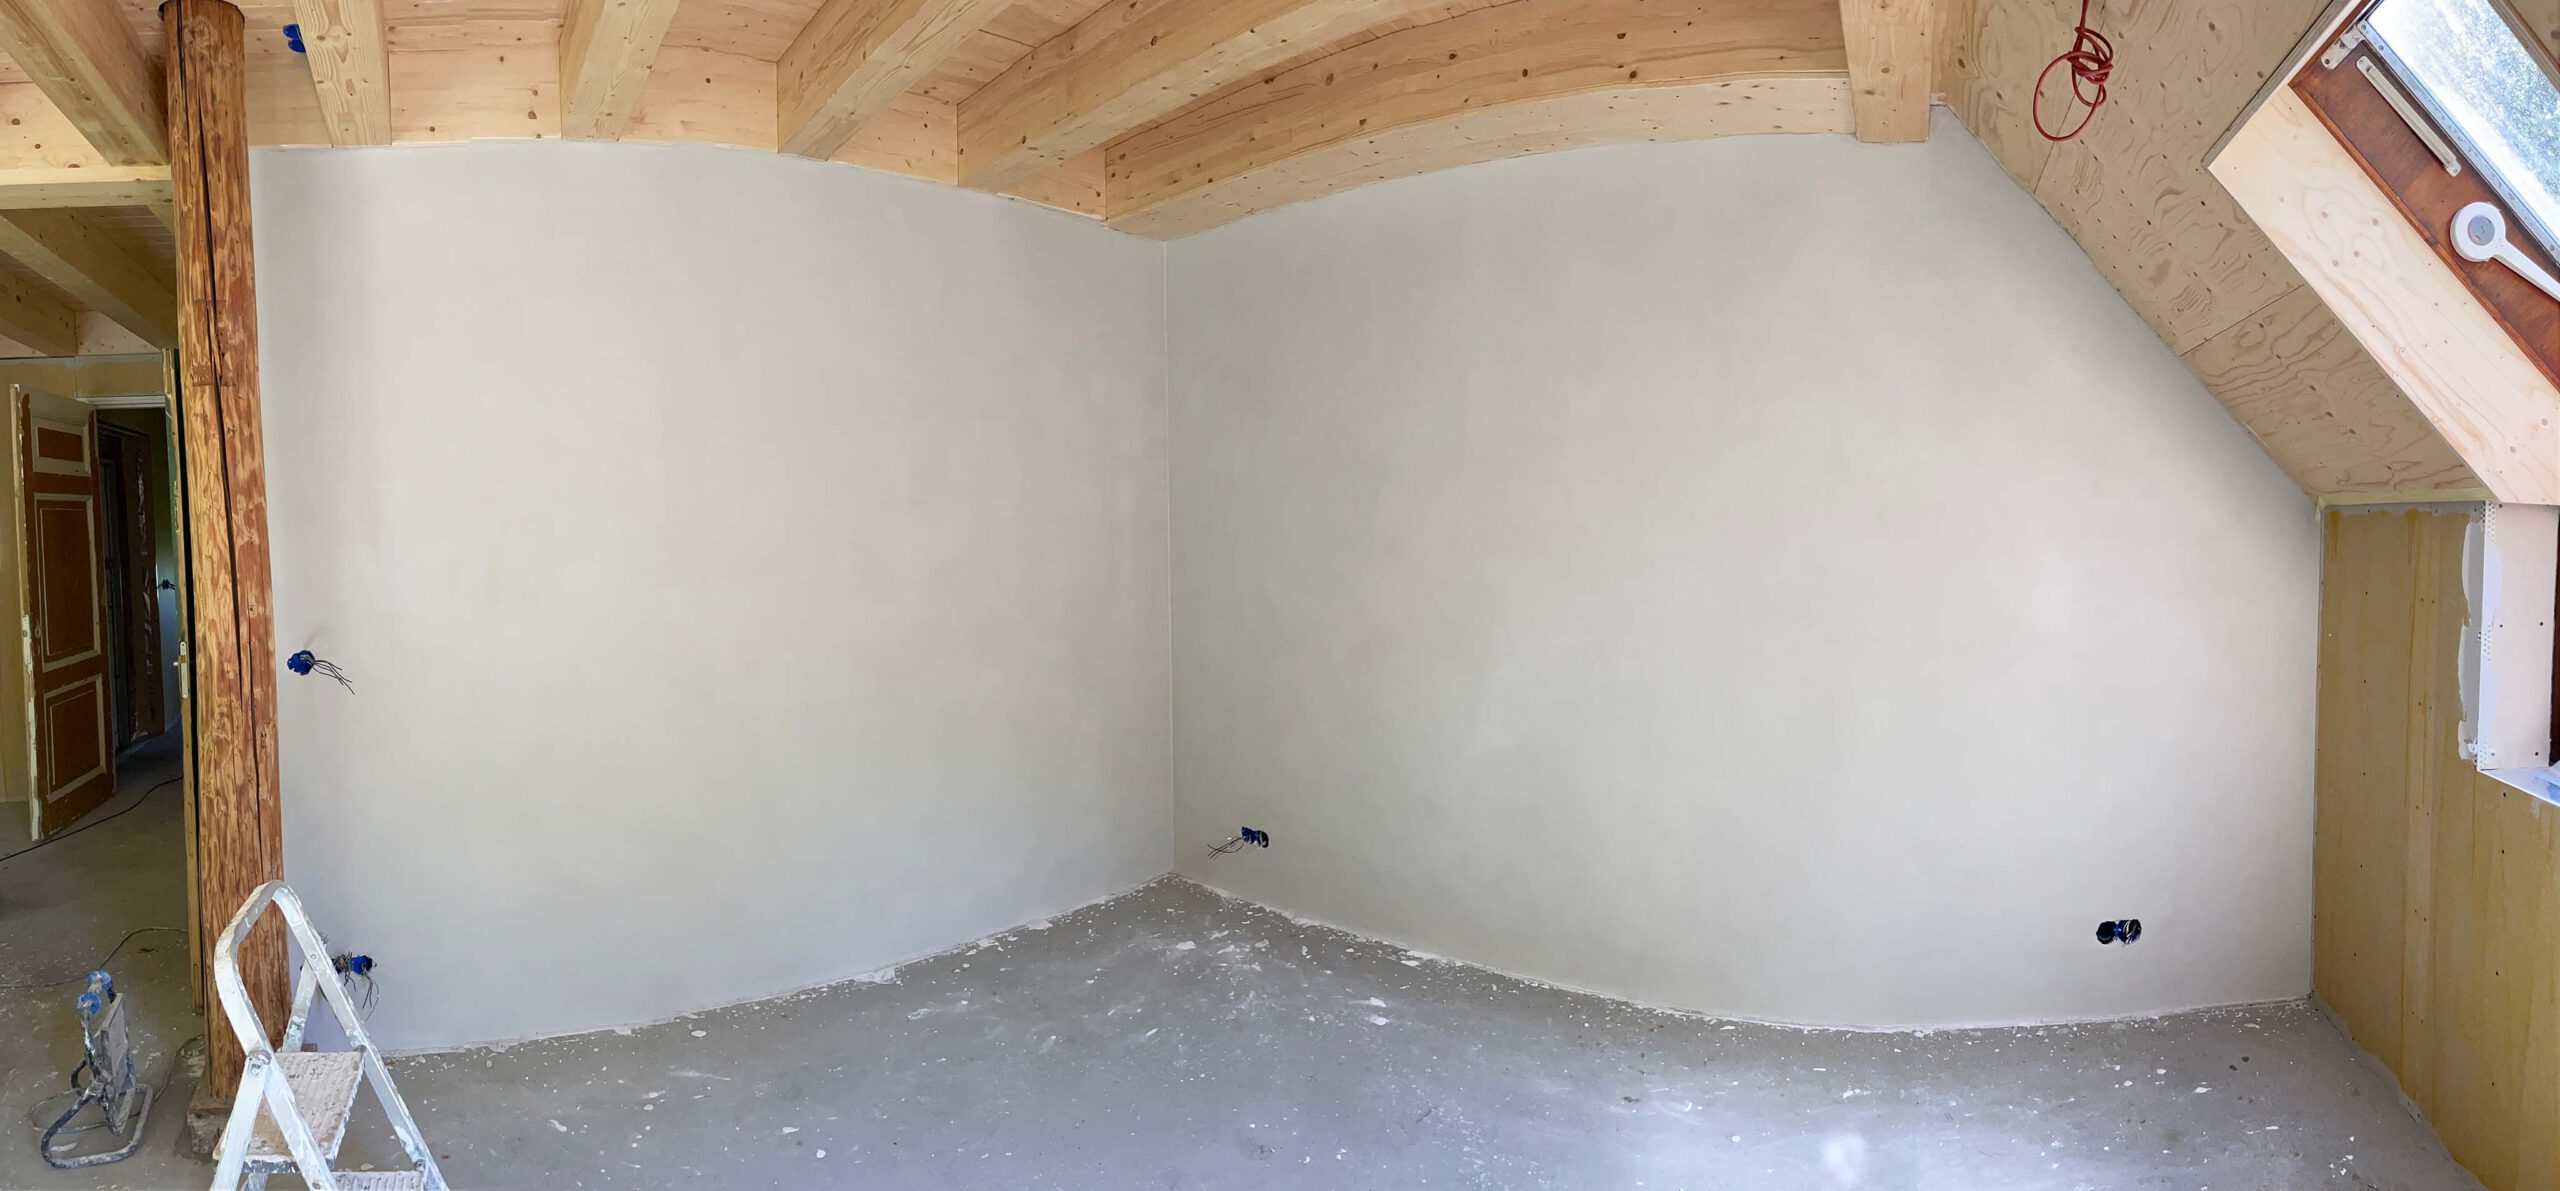
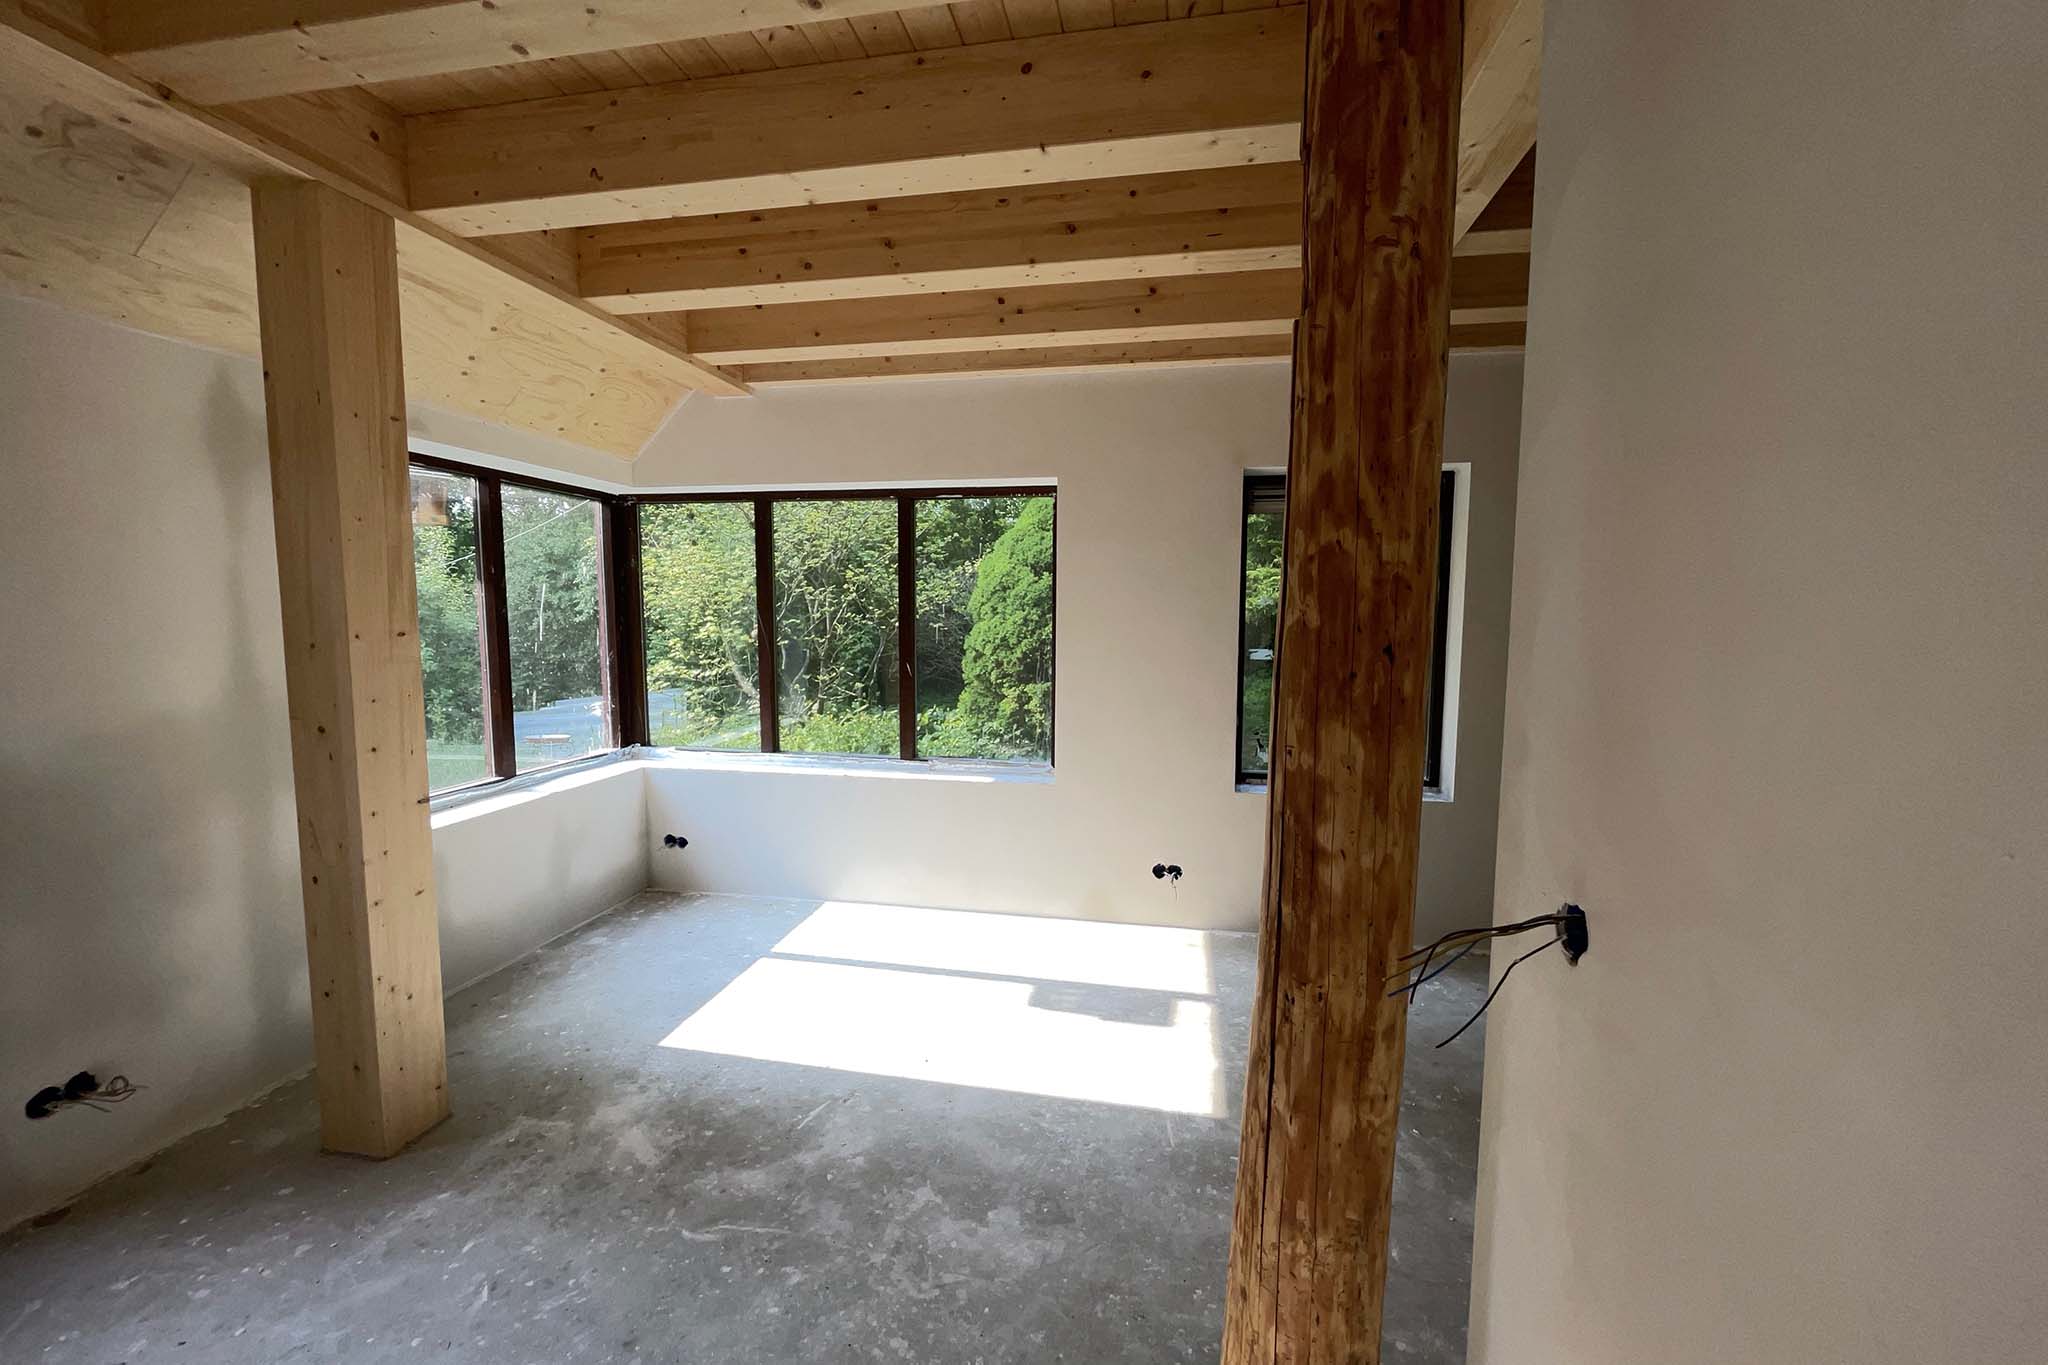
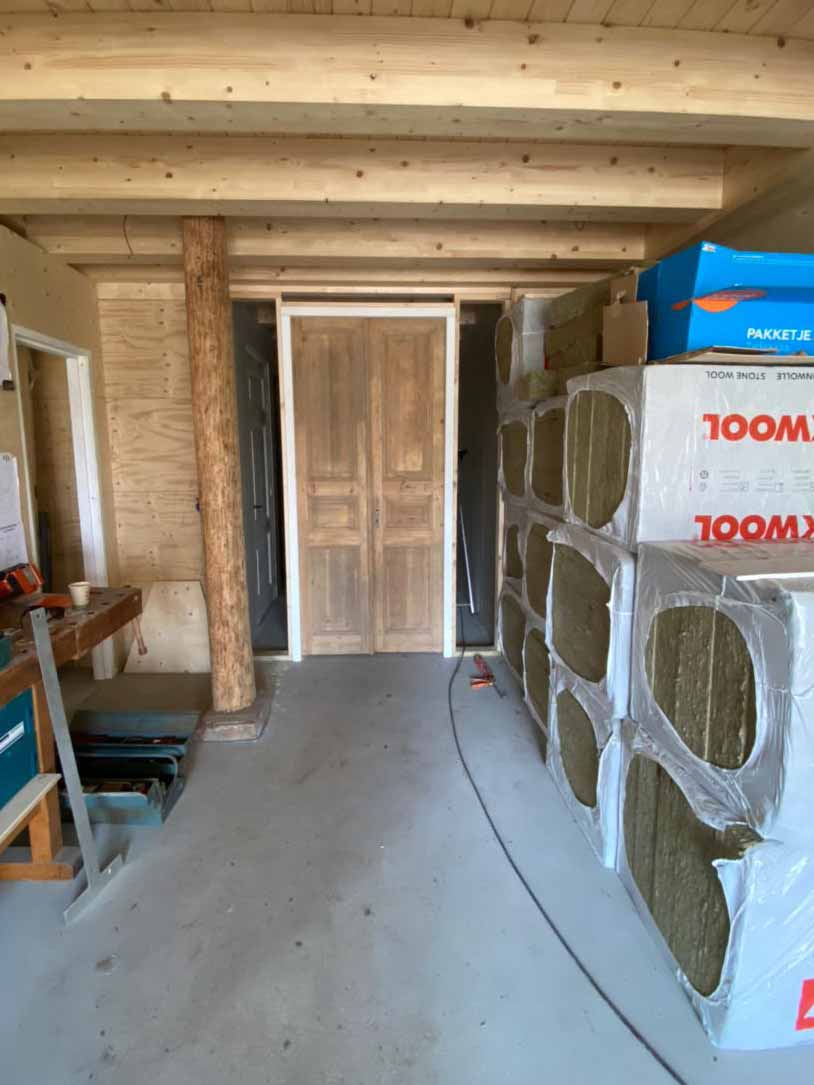
In order to be able to move into part of the house, that part was plastered asap. Also something you wanna leave up to the expert I guess
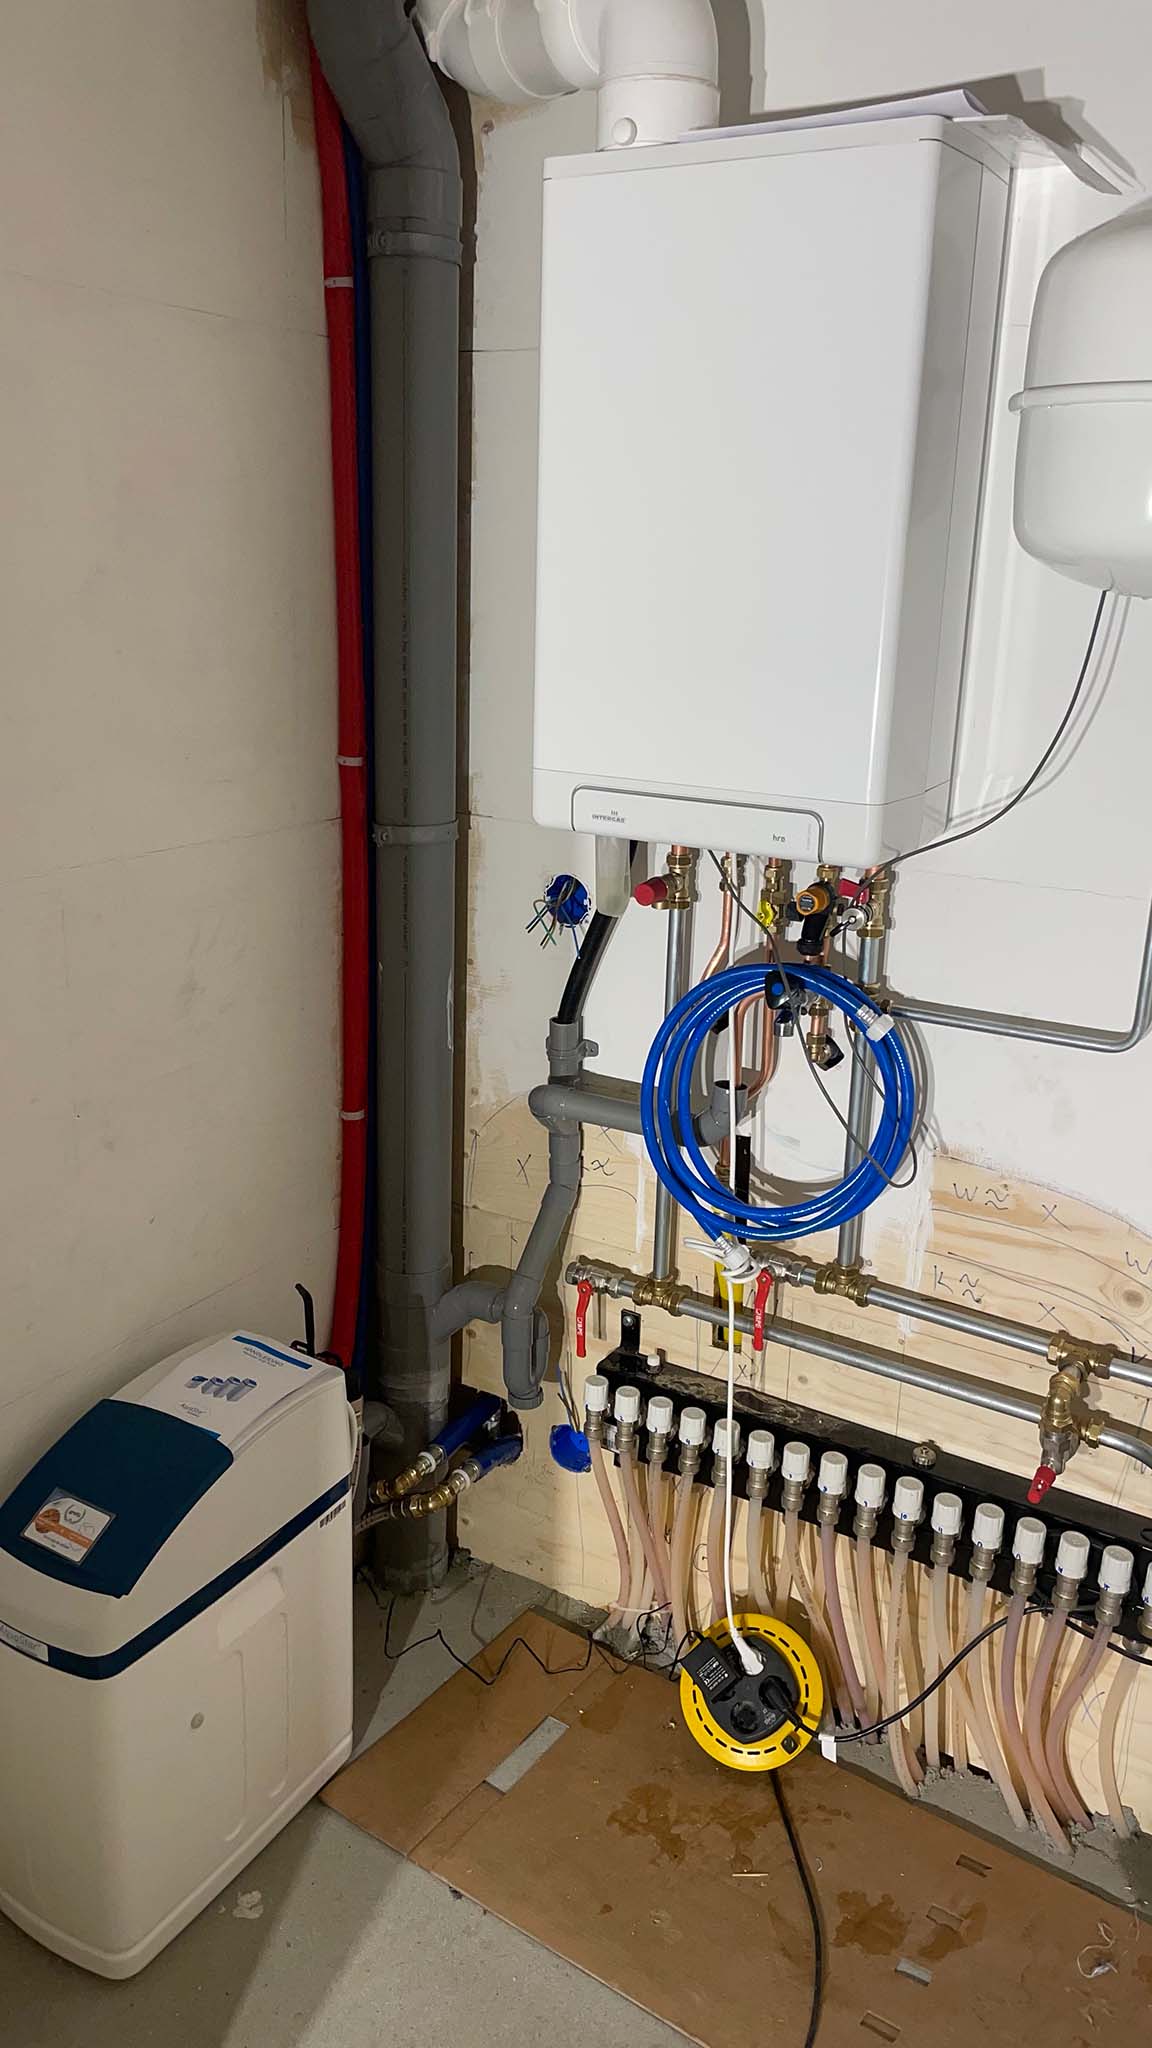
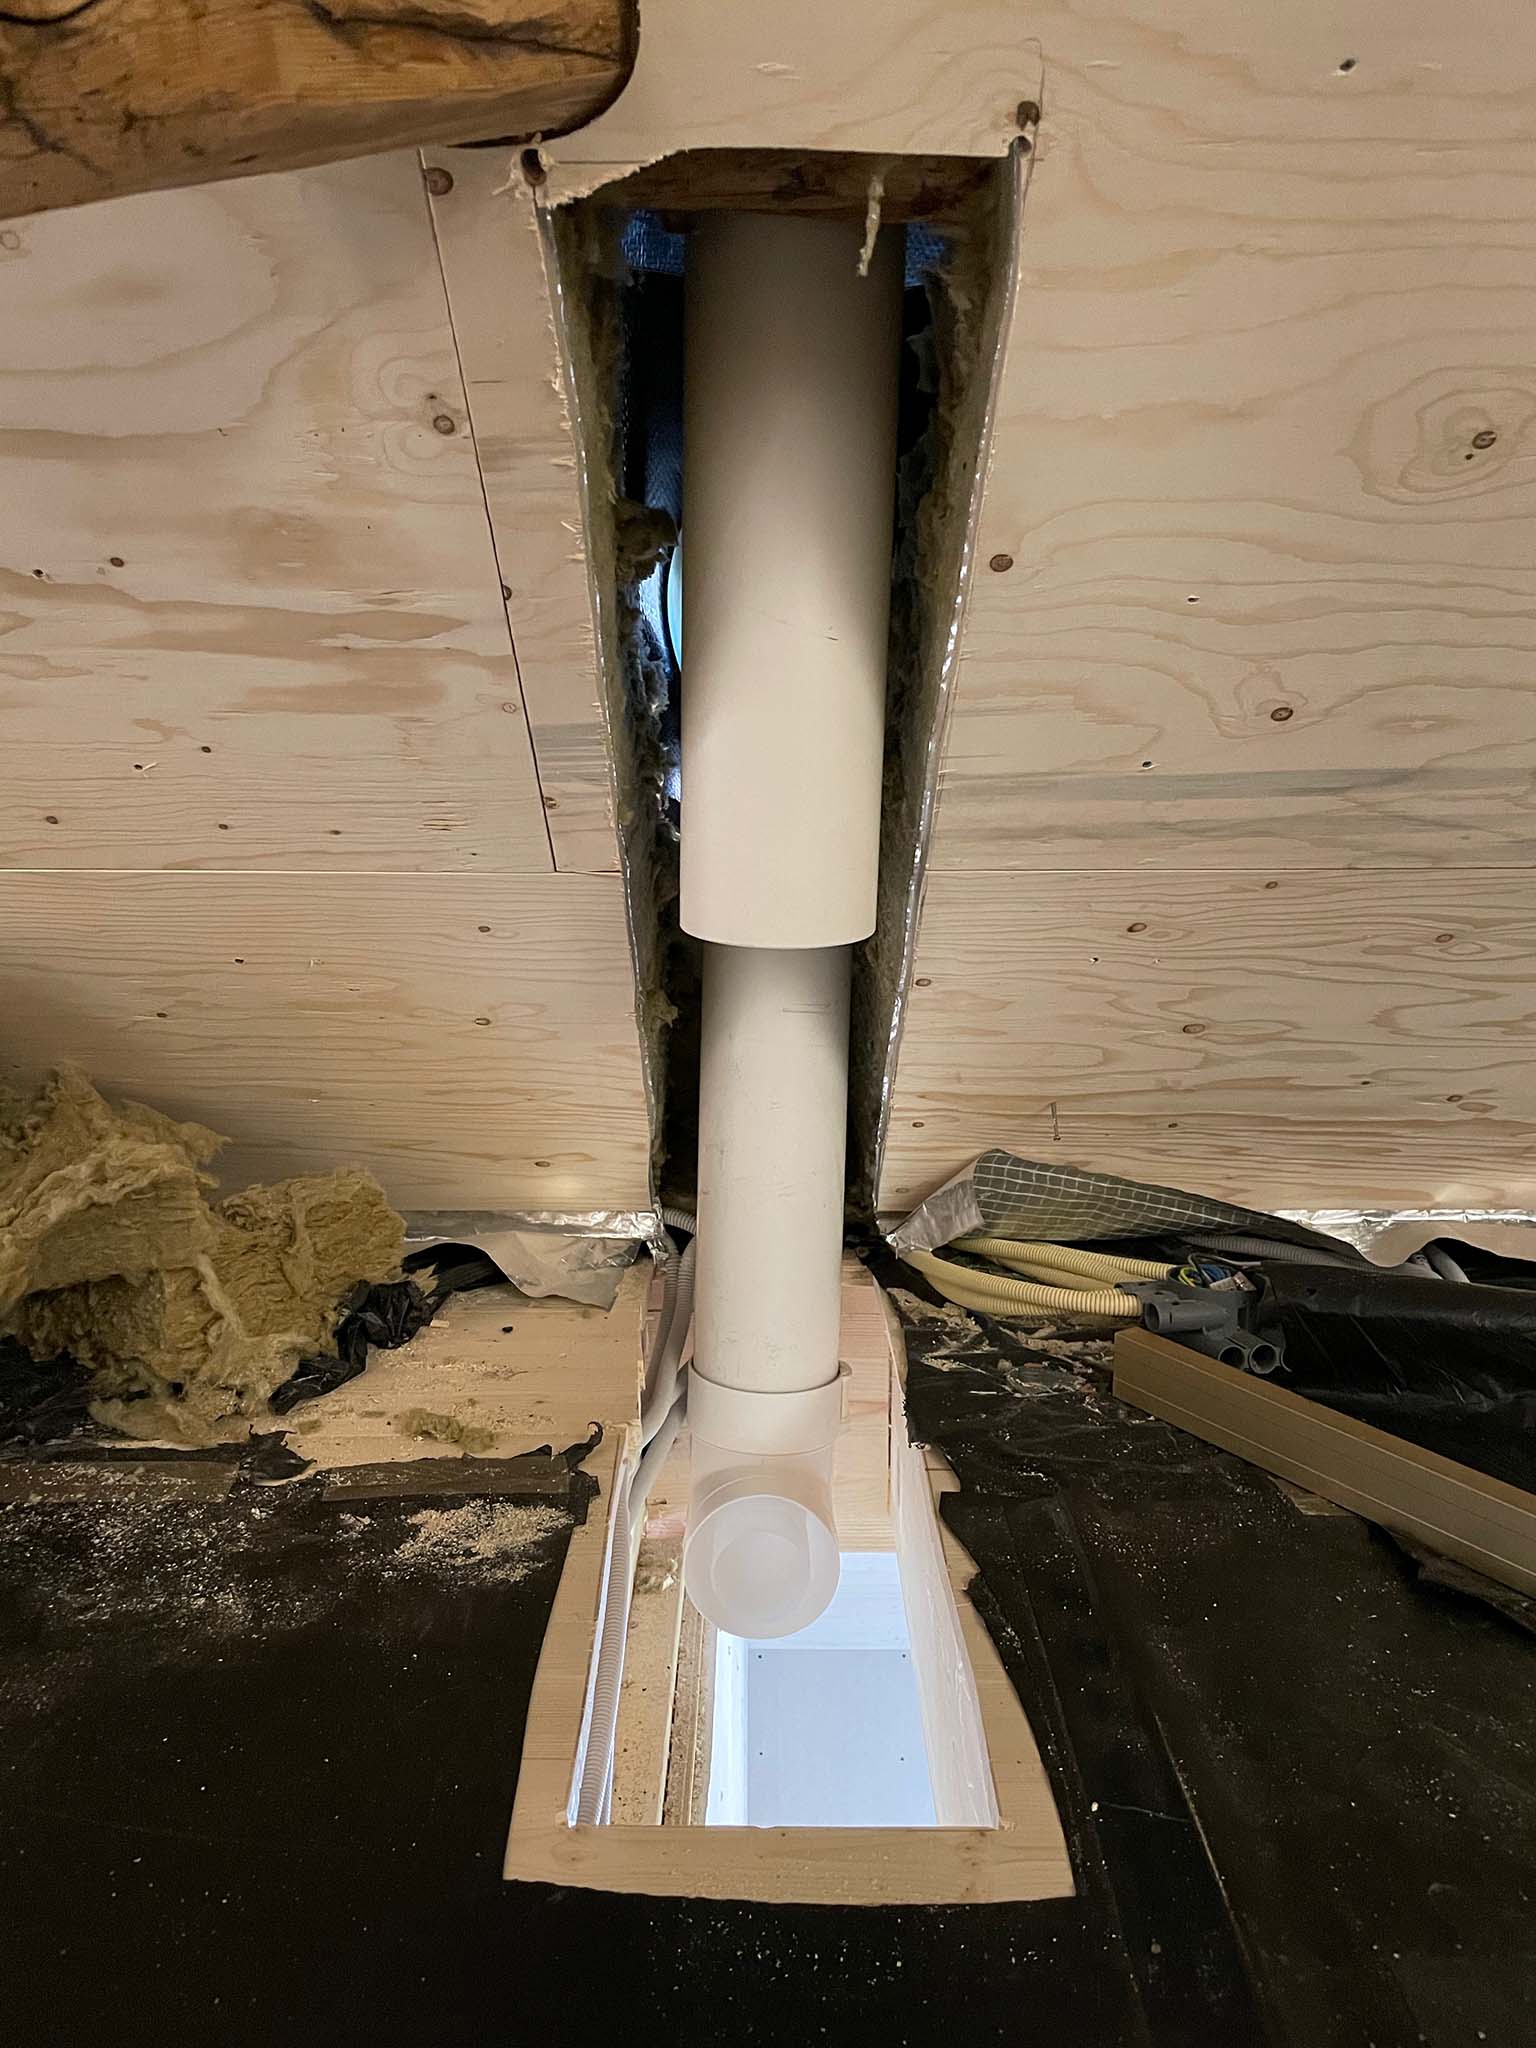
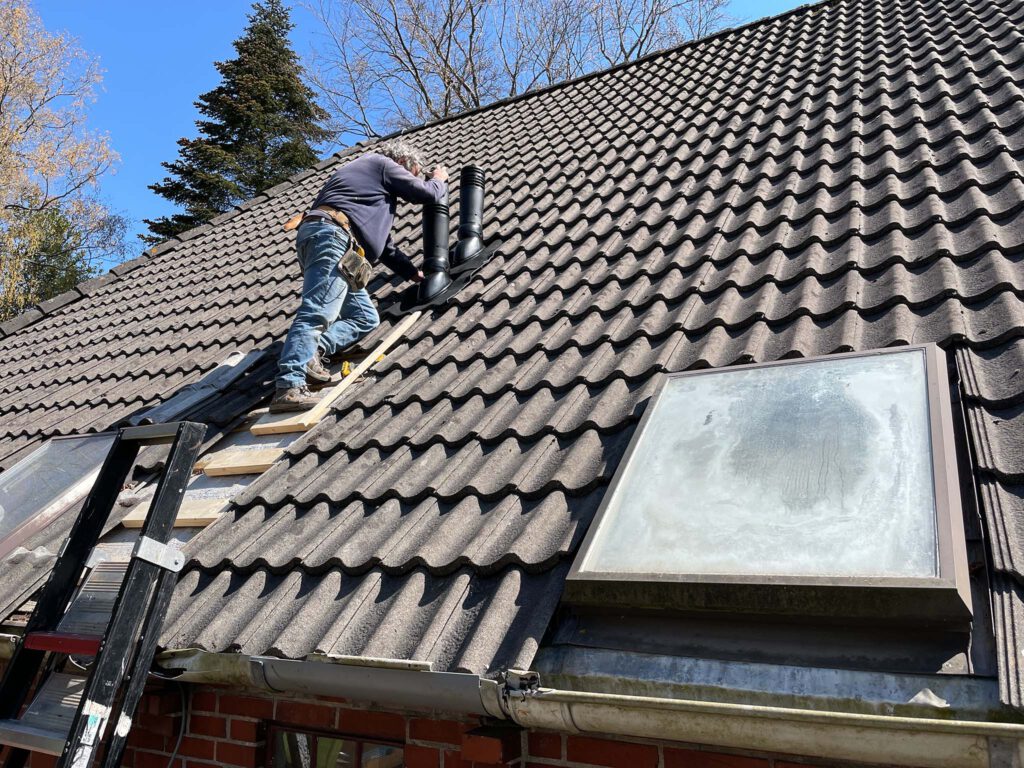
The heating is installed! The boiler connected to all the underfloor heating below and above to the chimneys. Next to that all the other water and air related things were connected.
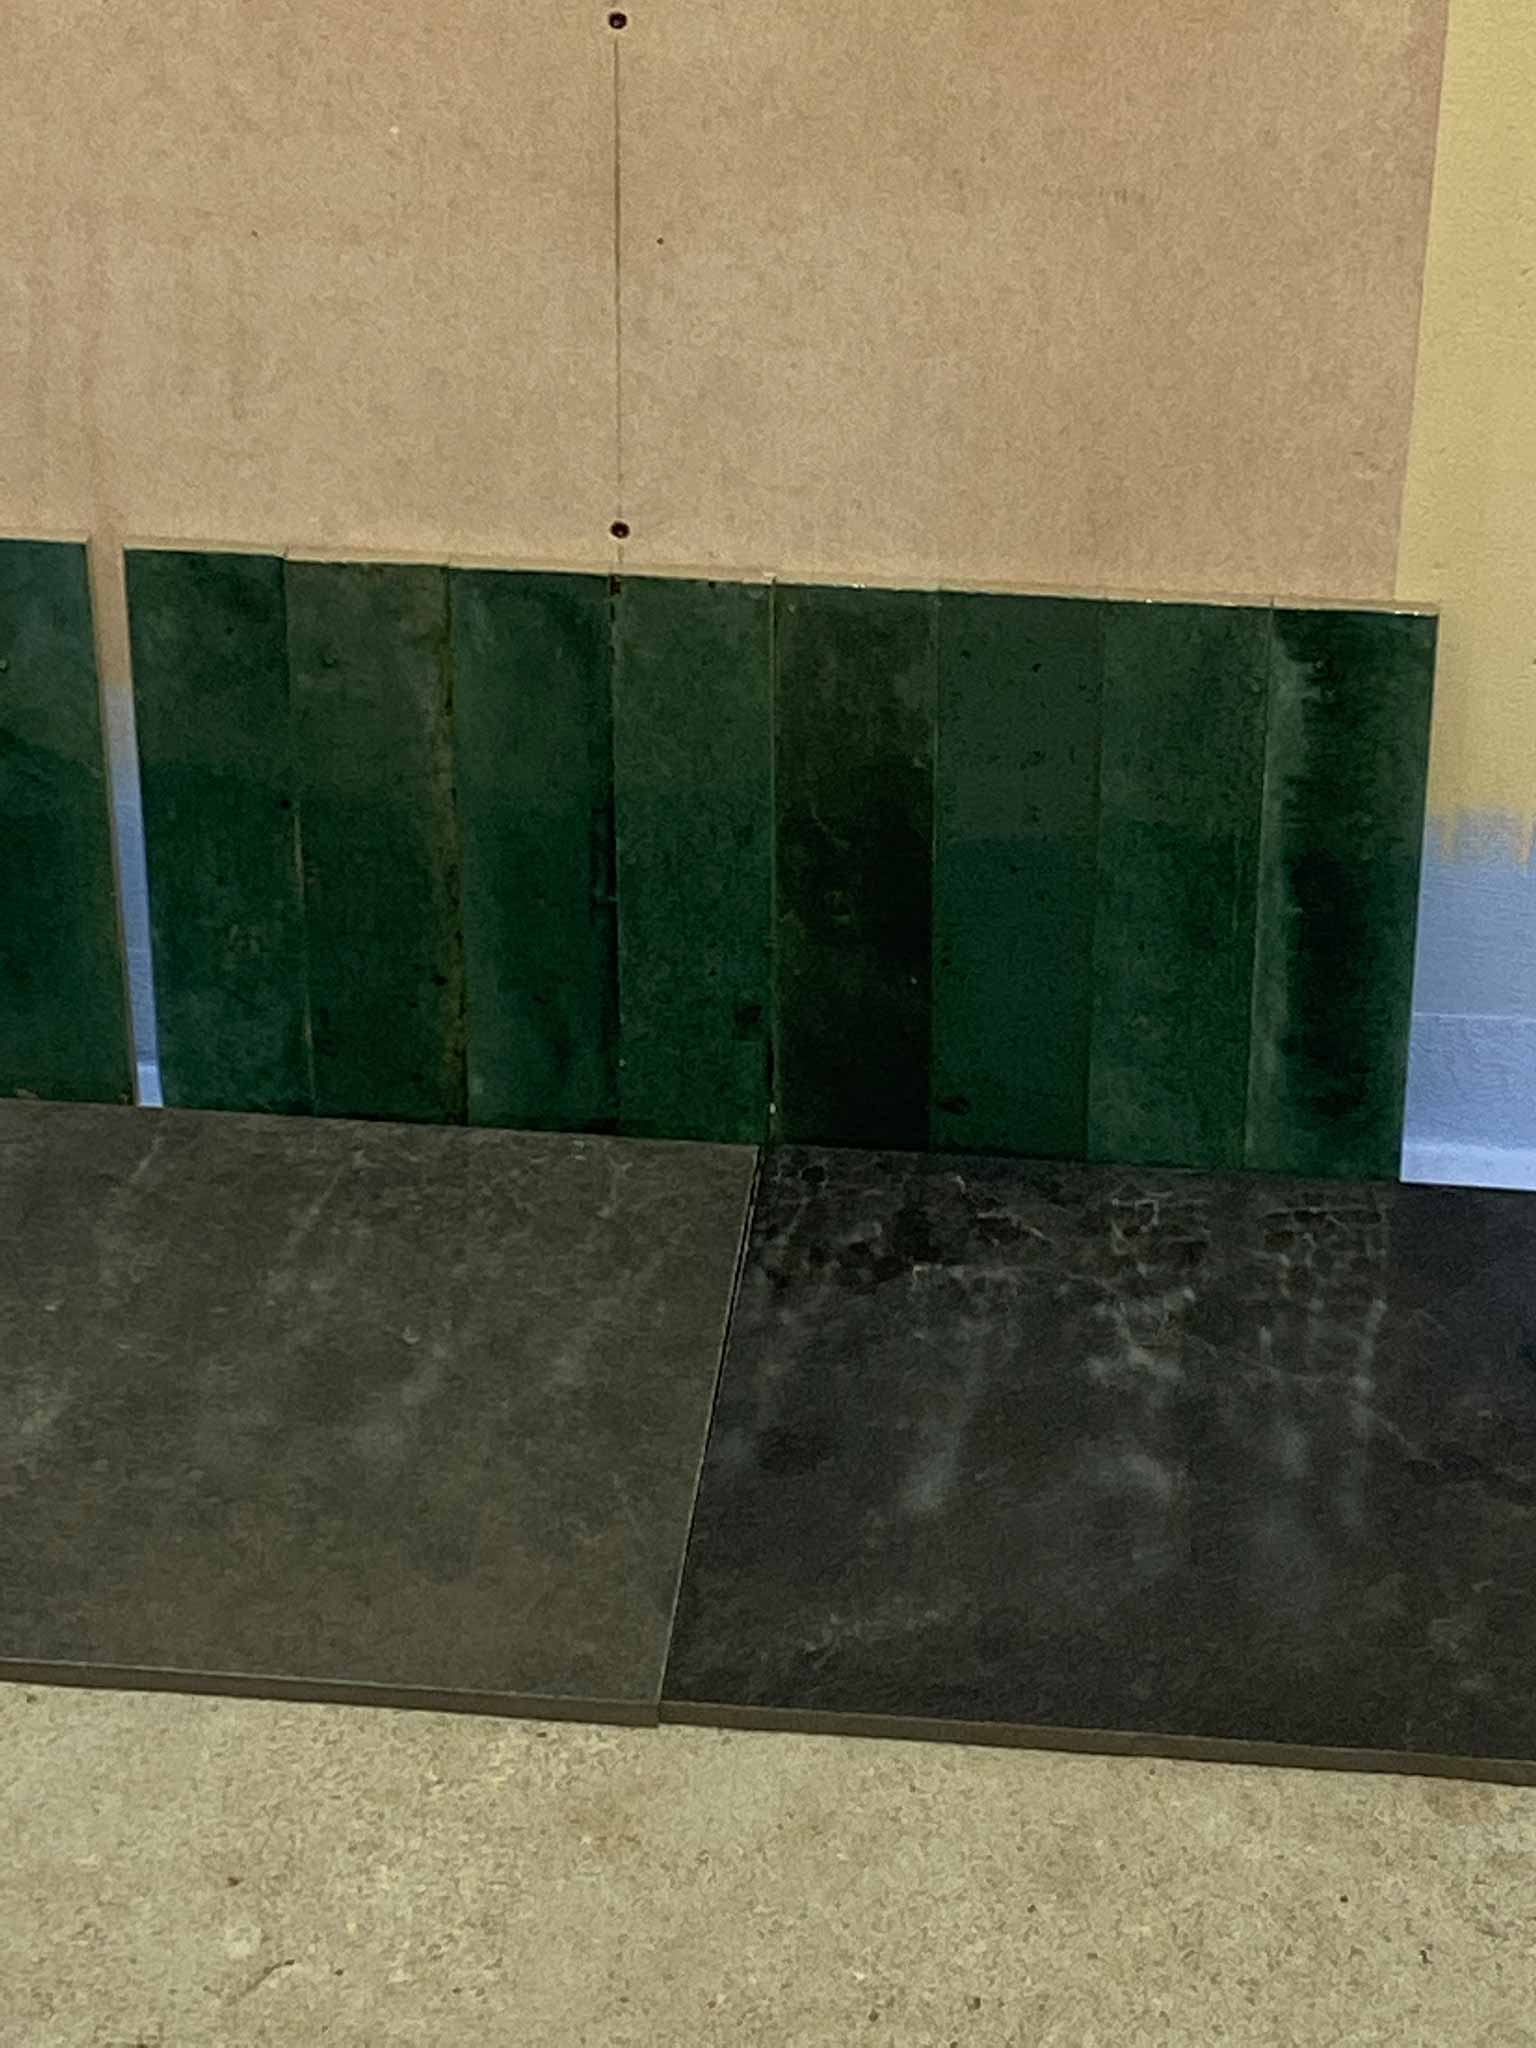
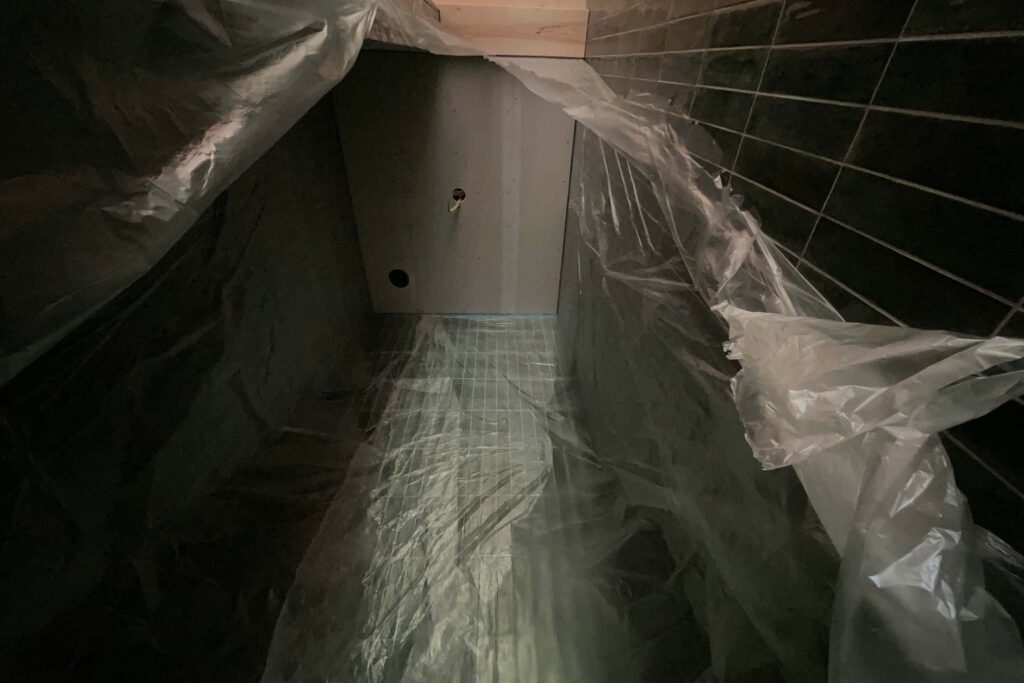
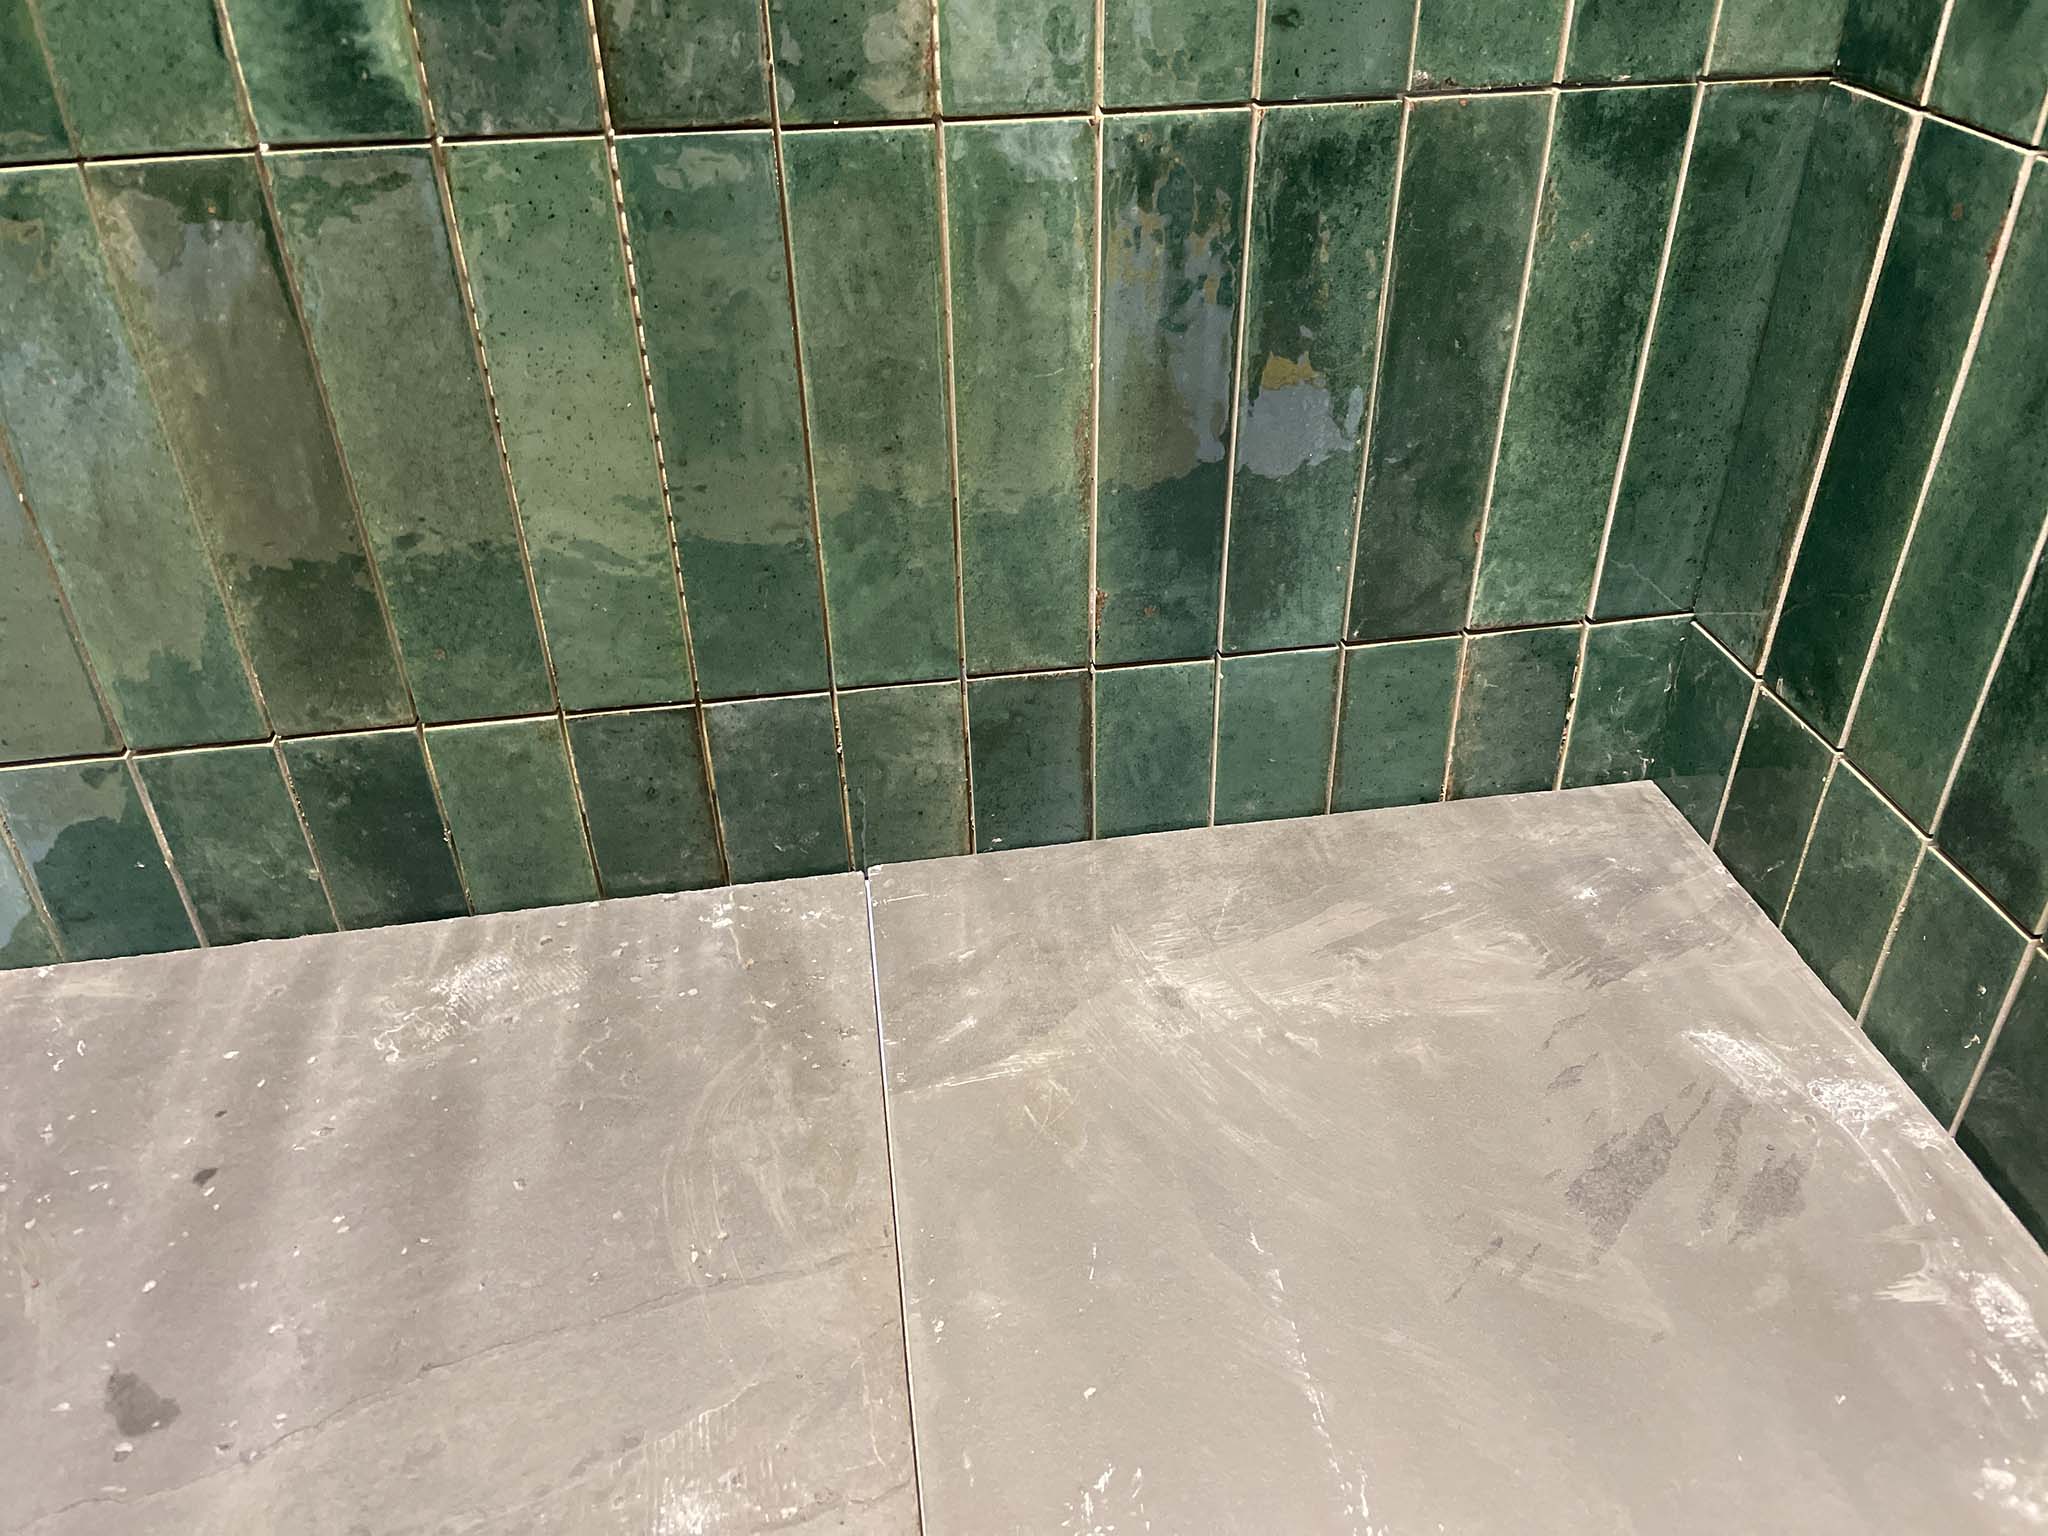
The shower is taking shape. Tiles chosen, purchased and placed. The latter not by us. Let’s leave that up to the expert.

The paneling of the ceiling left some gaps in the original beams/trusses. Time to close the gap. Some jigsaw action!
The first half is done! Now waiting for the stucco man 🙂
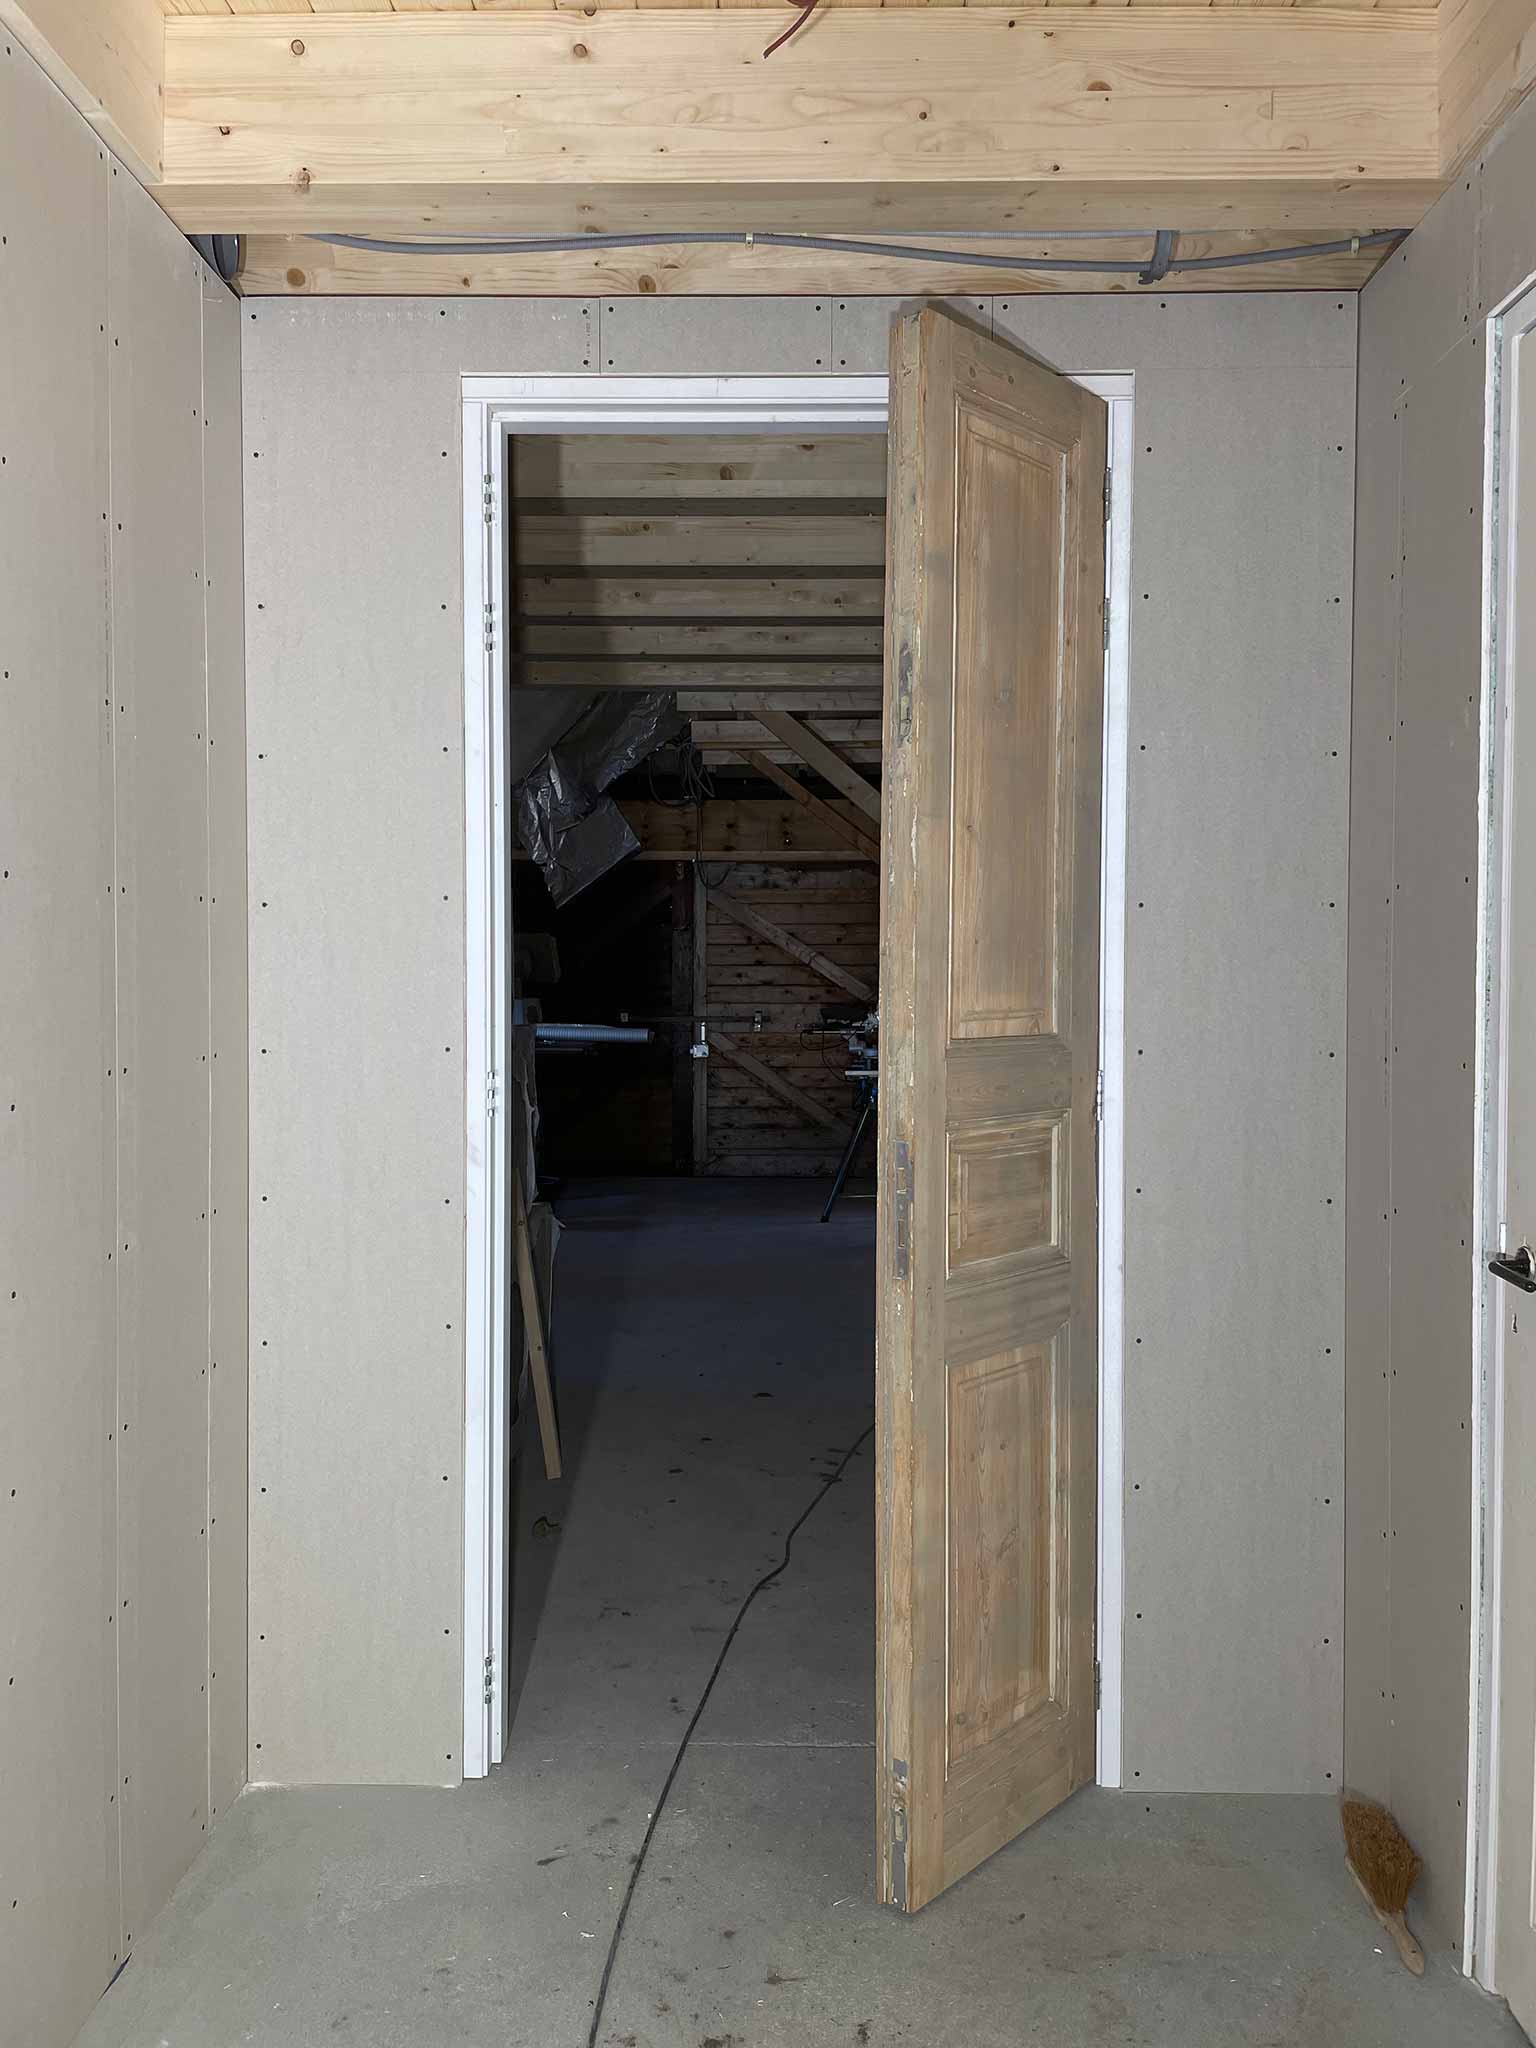
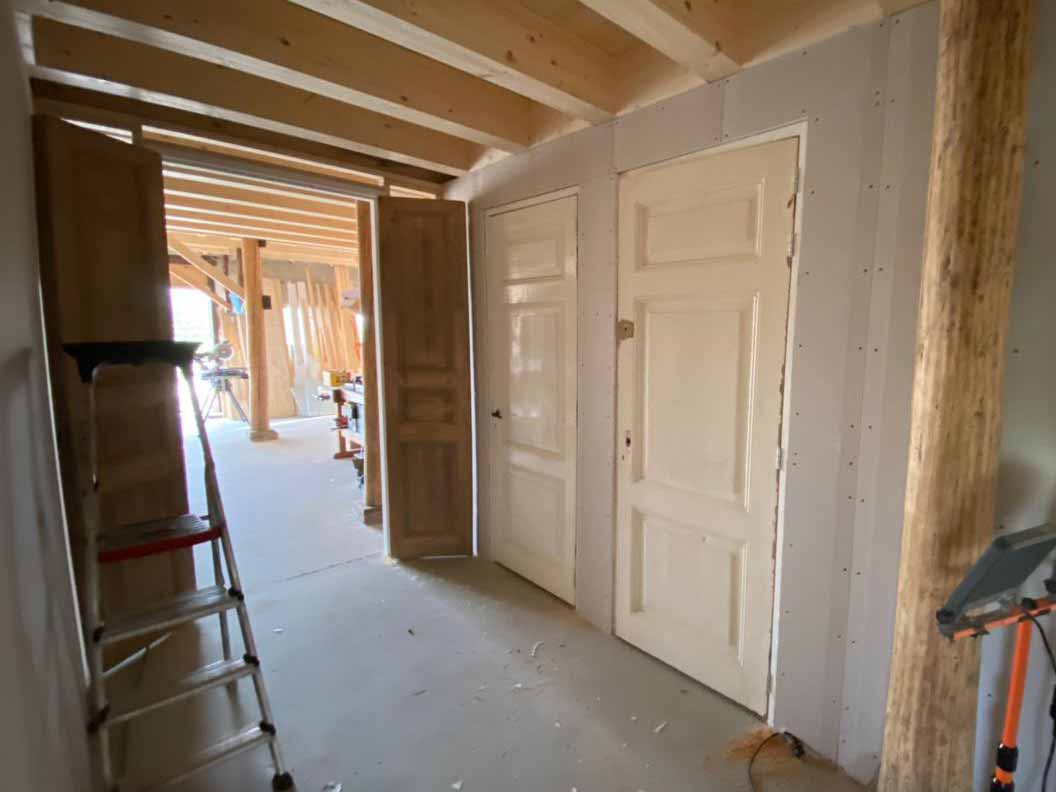
The doors have been made to fit and have their hinges etc. Looks homely but still need ‘some’ sanding.
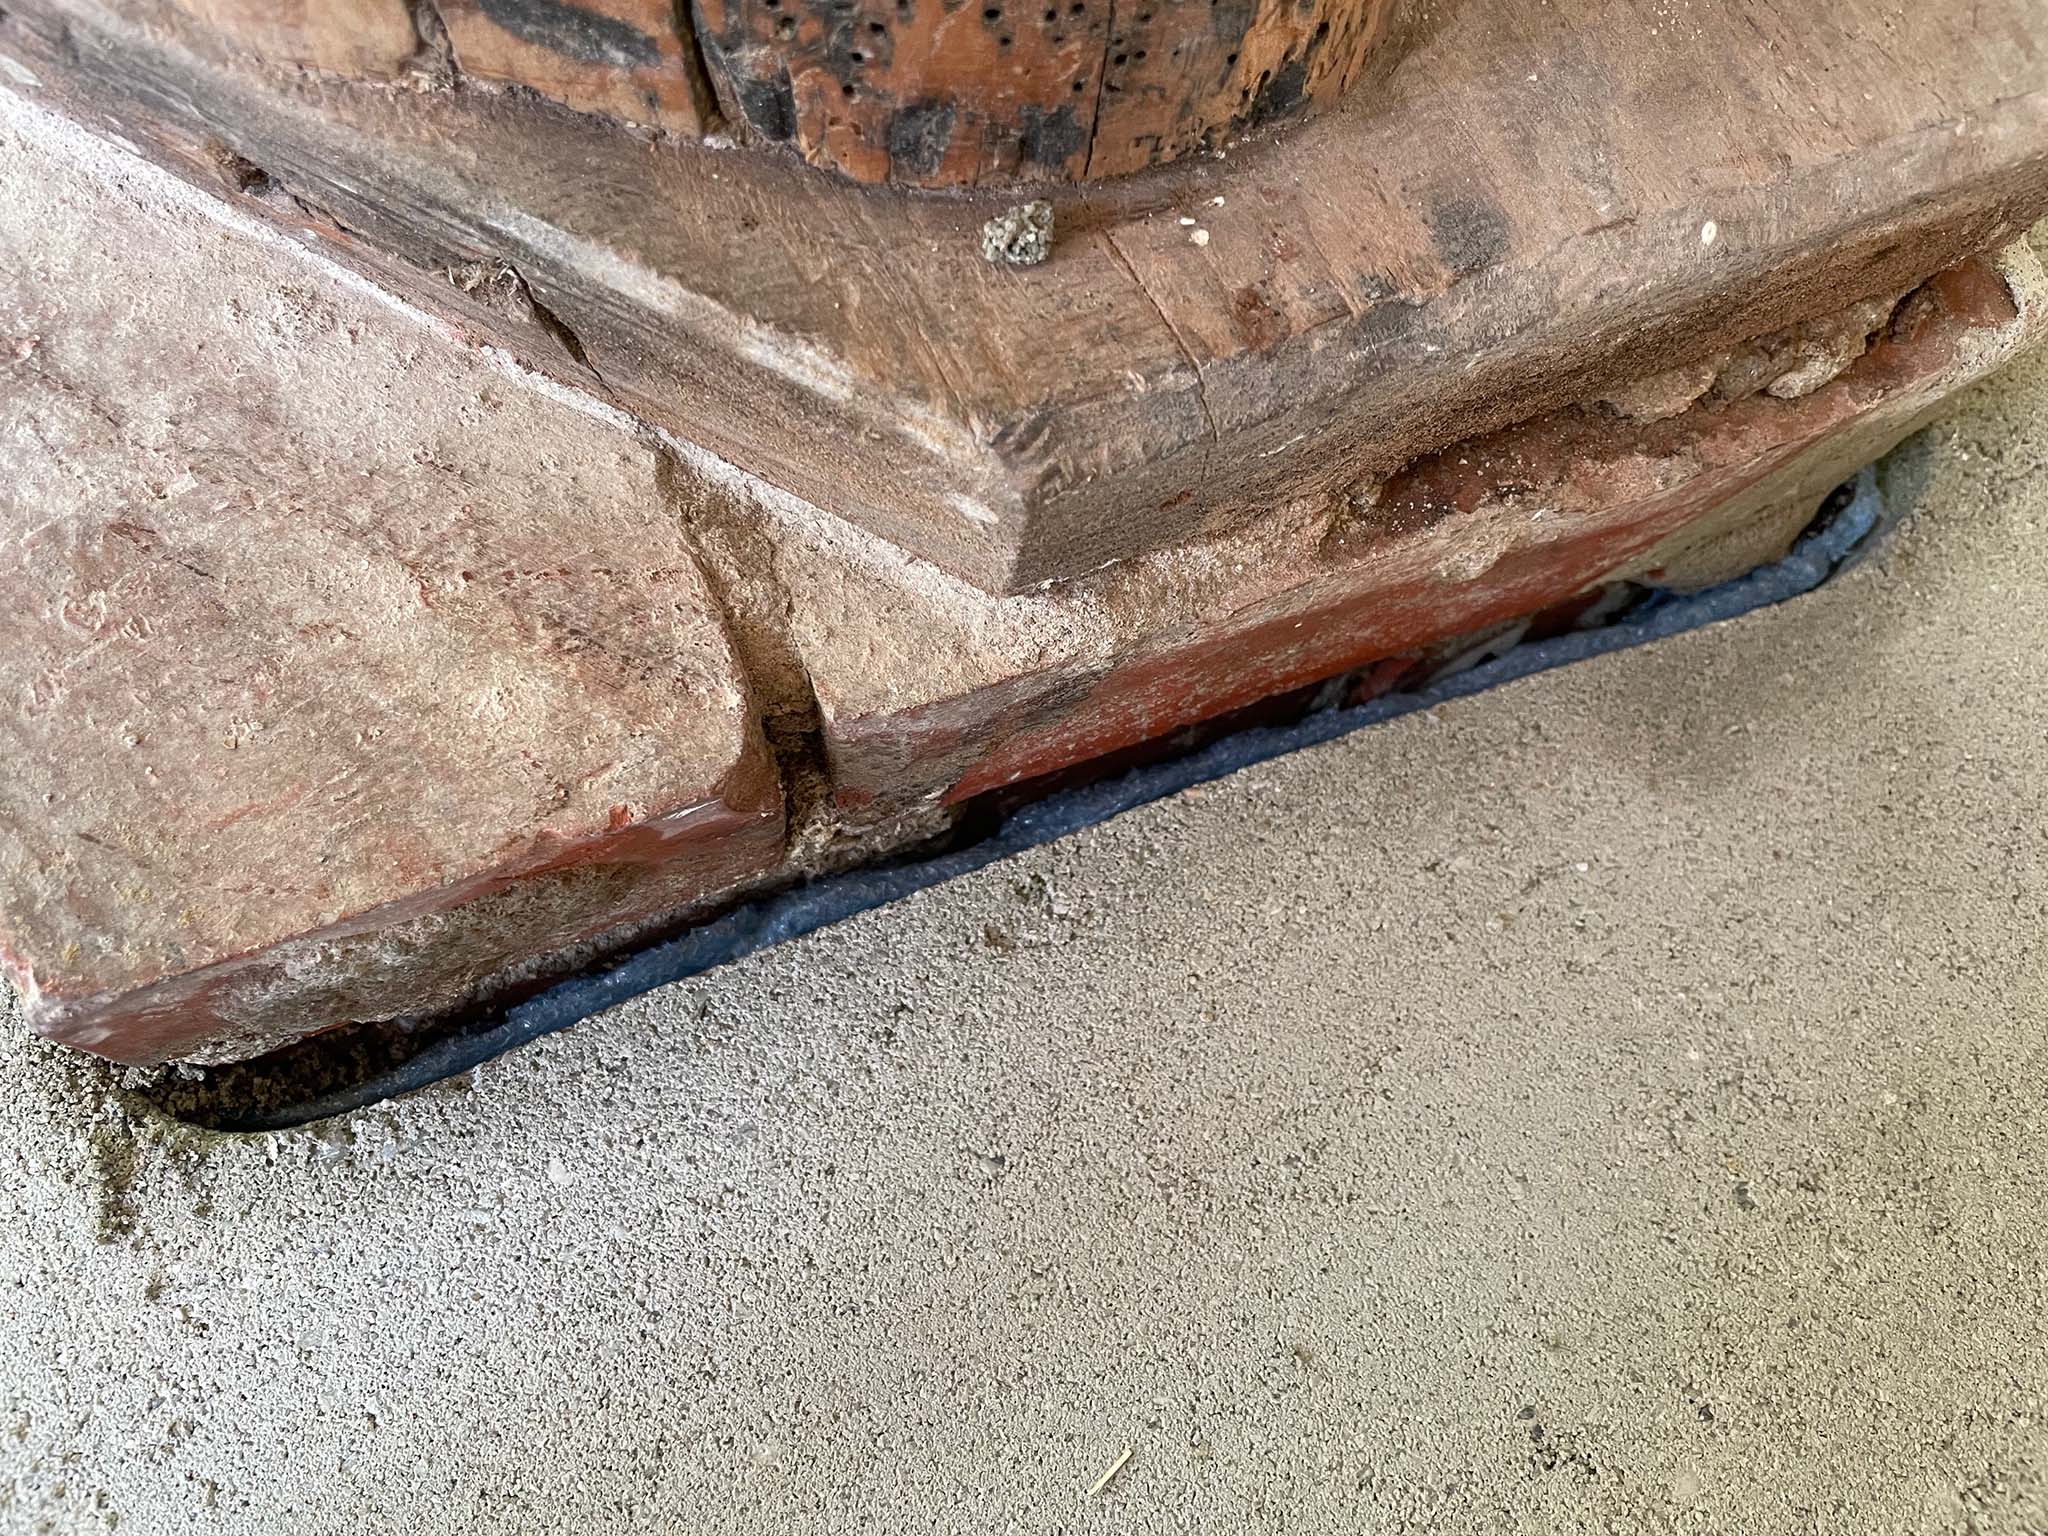
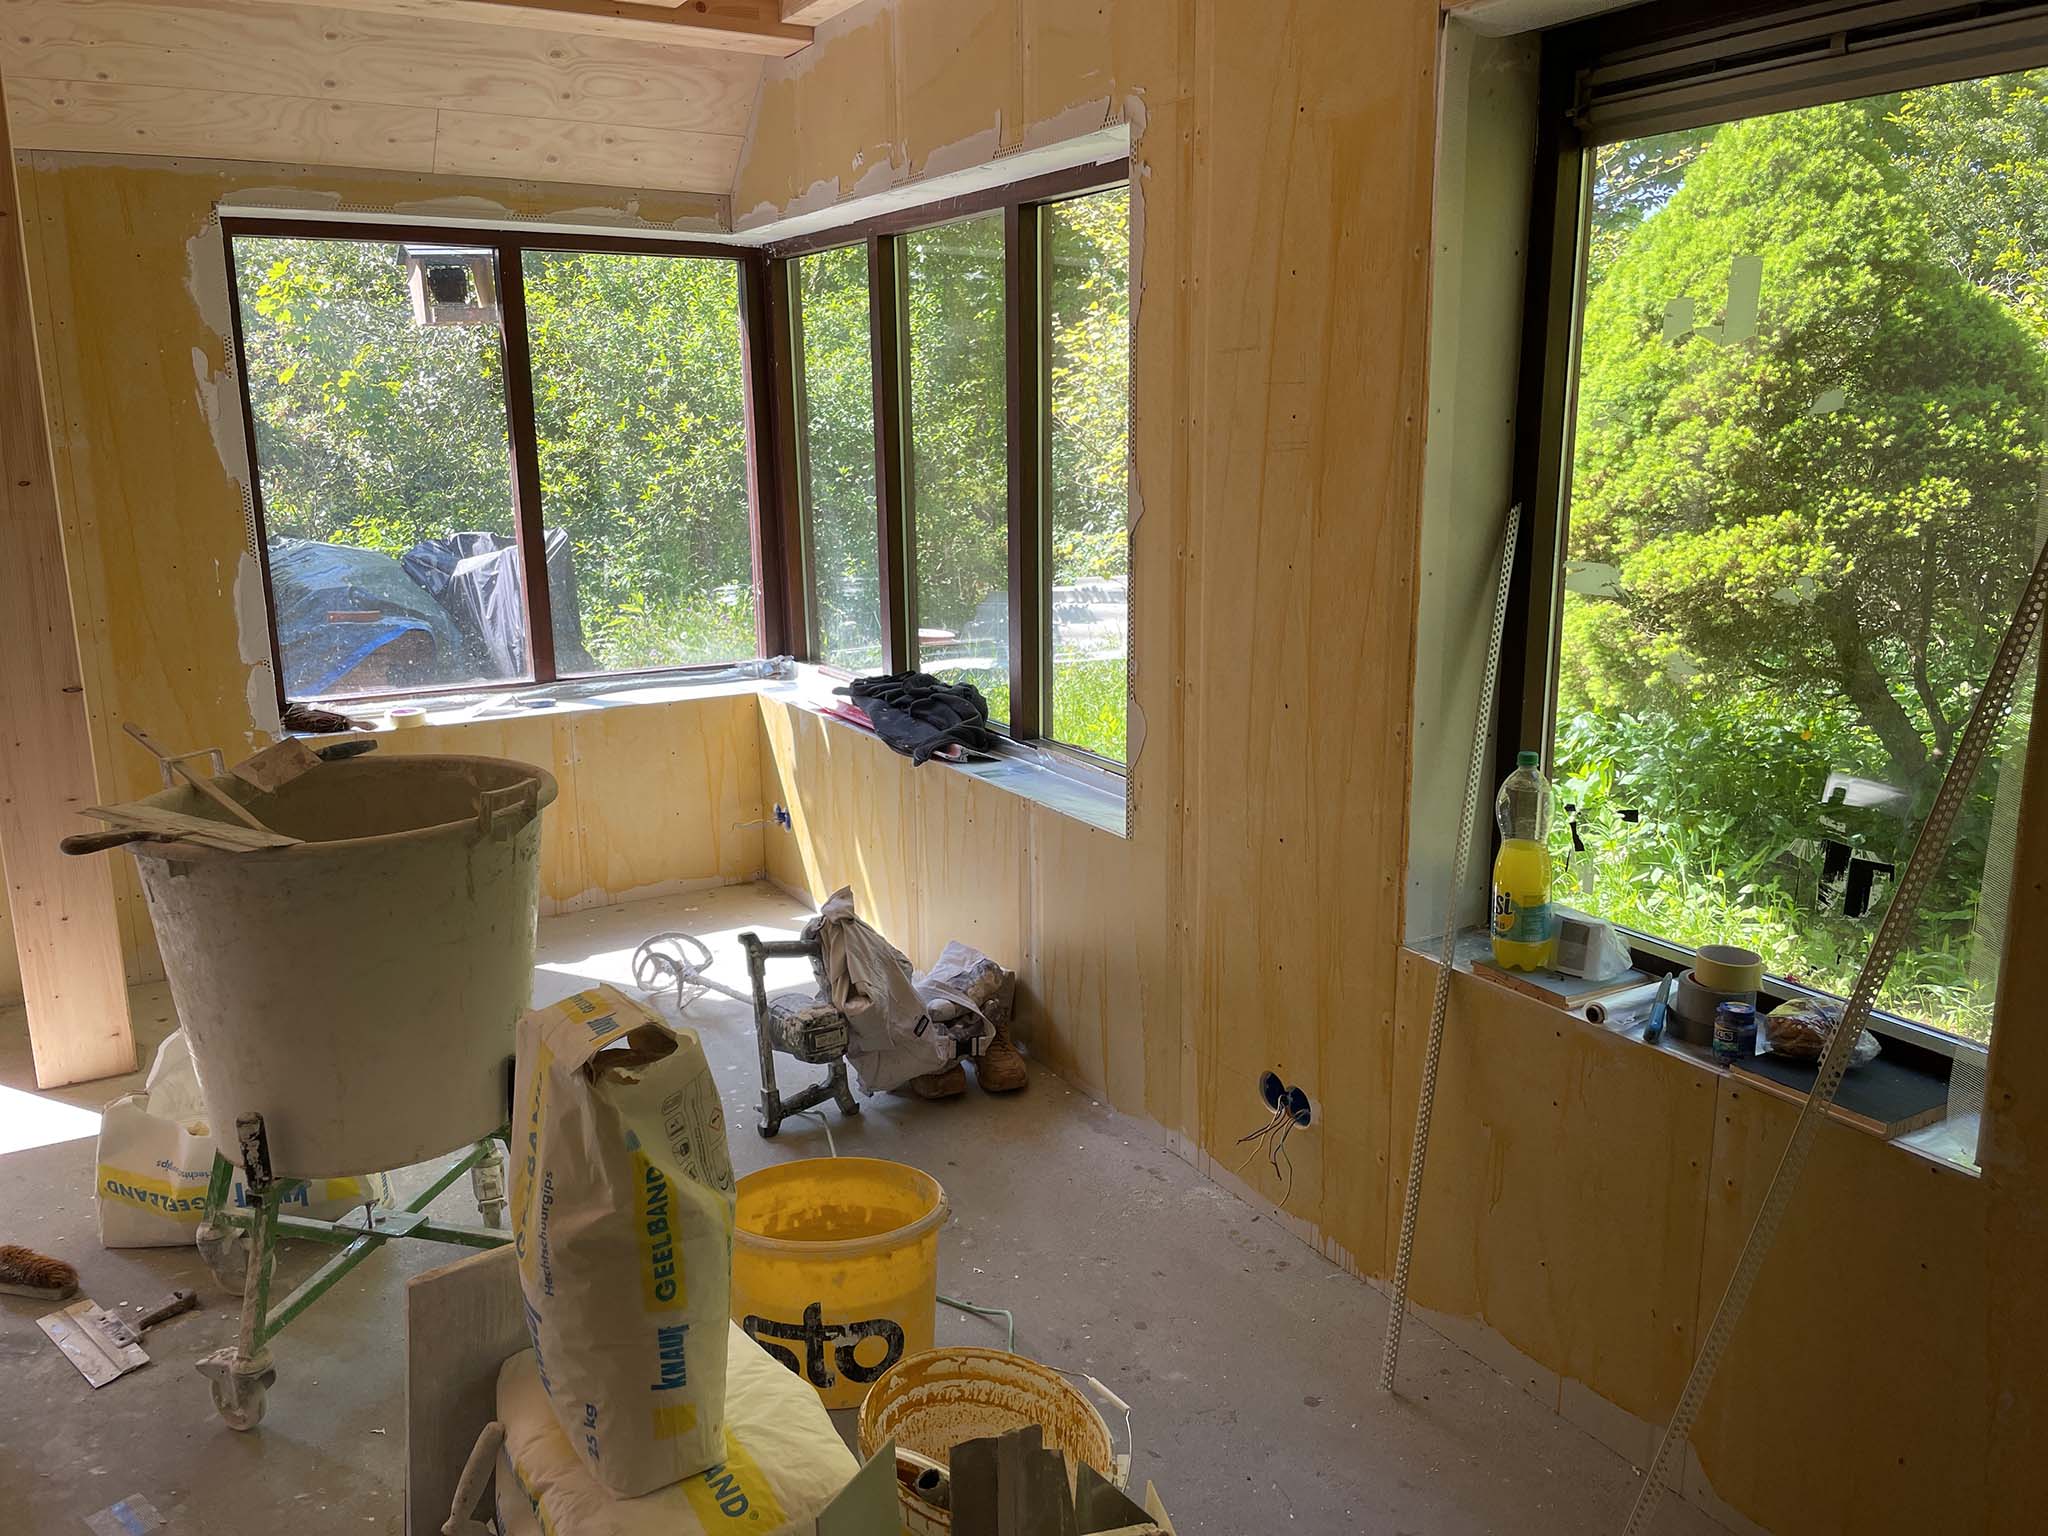
Lets just say the pictures’ quality is reflecting the work still needing to be done…
The bathroom is being tiled. First the walls and then the floor (for which we still need to find the proper tiles. Preferable 1.5cm thick and no bigger than 45x45cm. The black tiles in the ‘test setting’ do not meet those technical requirements…